Hi, friends and happy Friday!
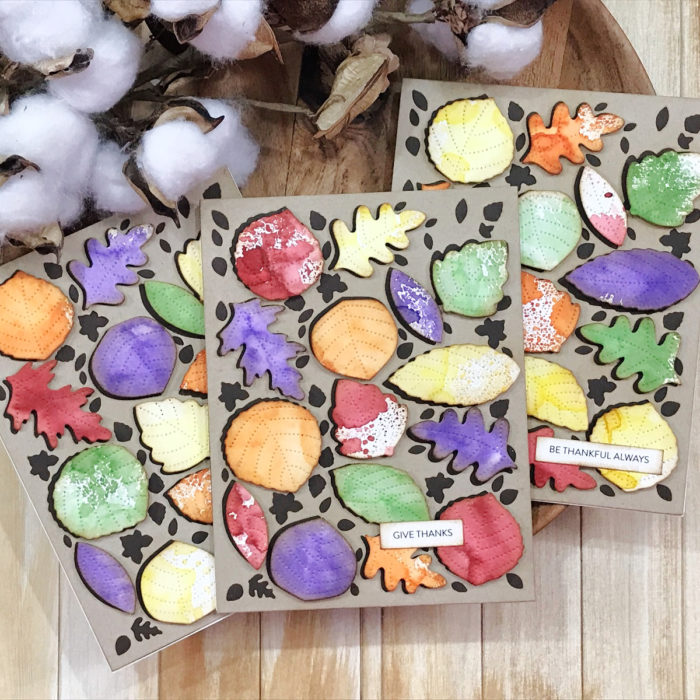
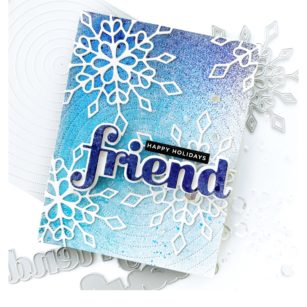
Dee (@dilaynacar) here today sharing a fun snowflake card featuring one of my favorite layering dies and a background that I created using acrylic sprays and die cuts! Let’s get started!

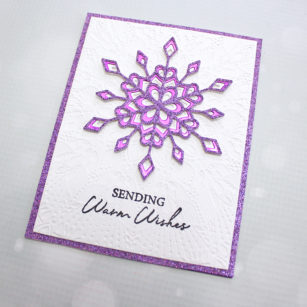
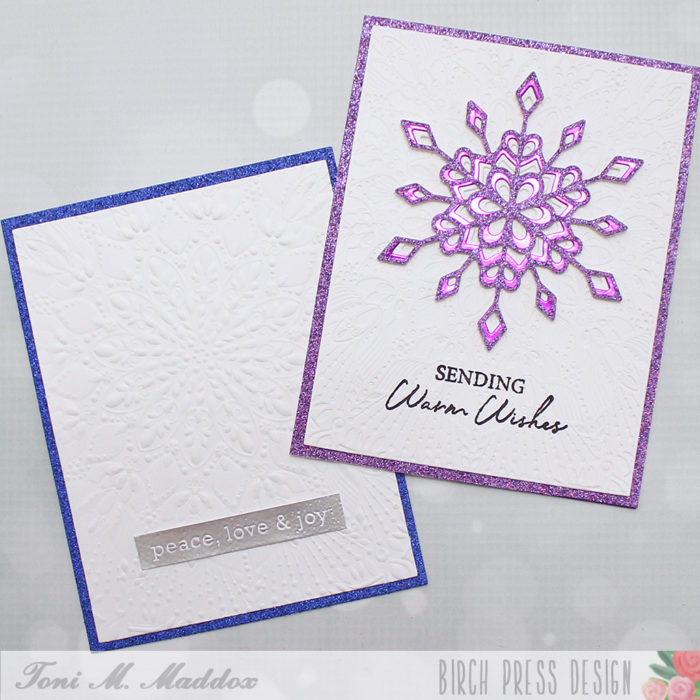
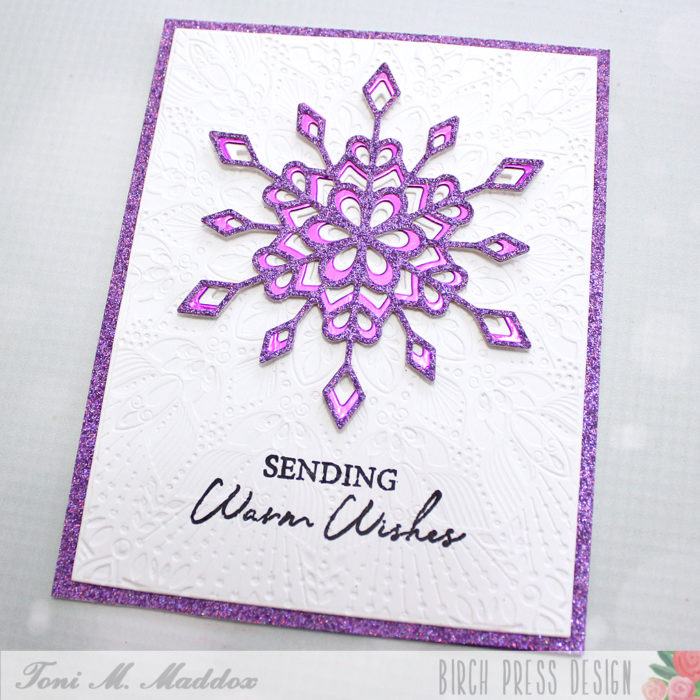
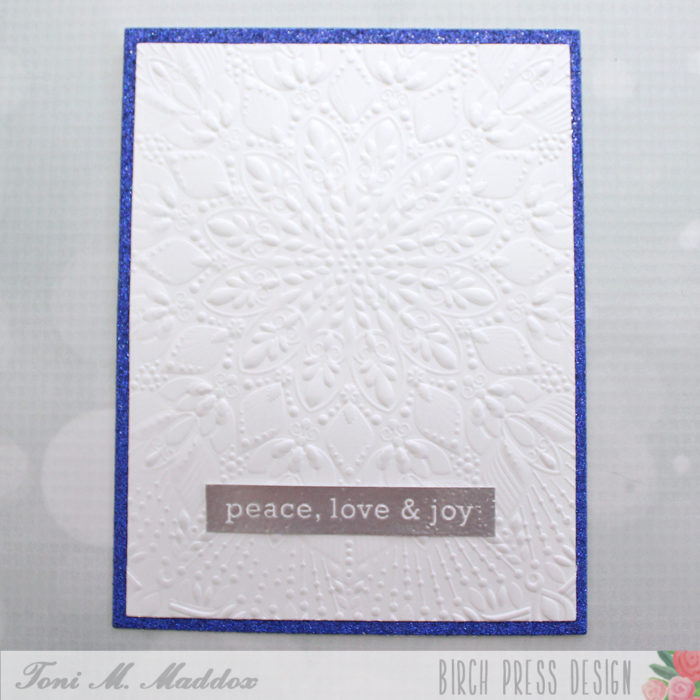
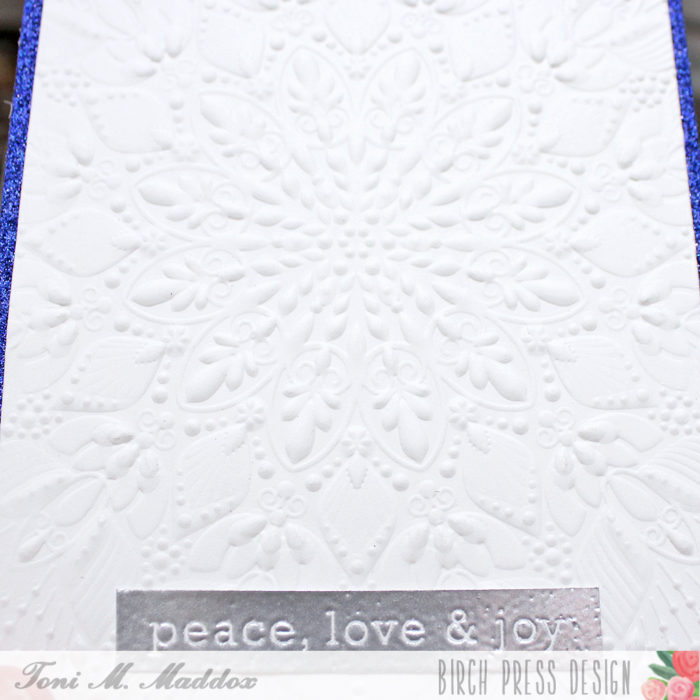
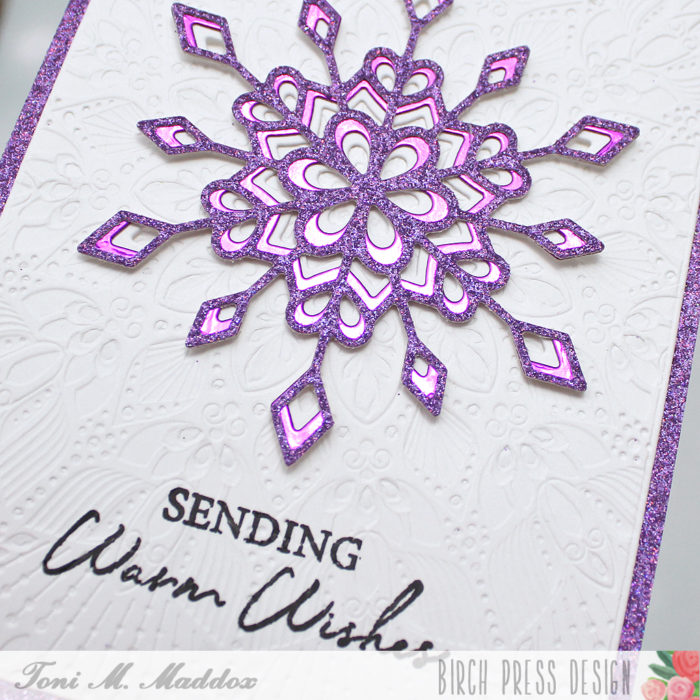
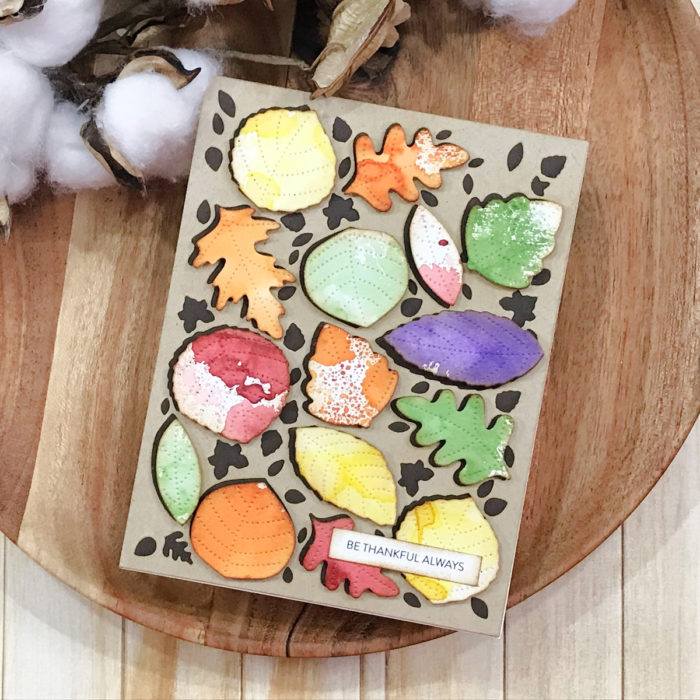
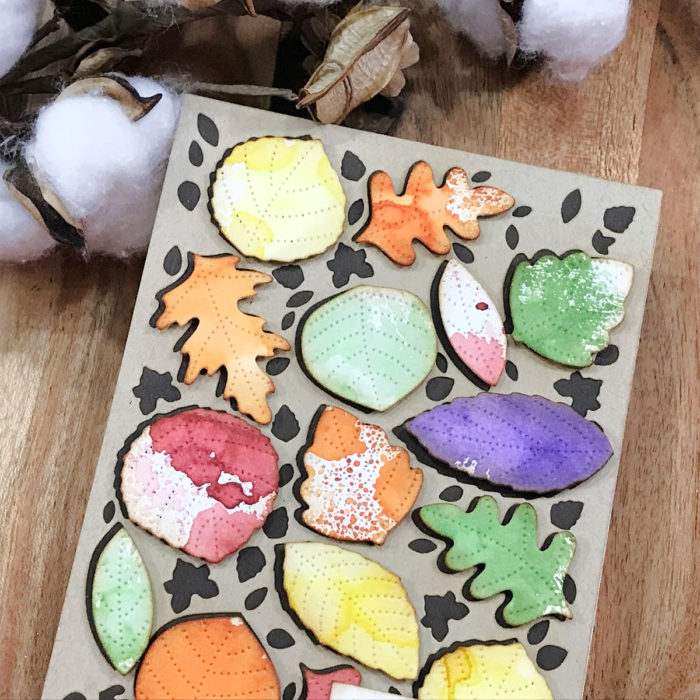
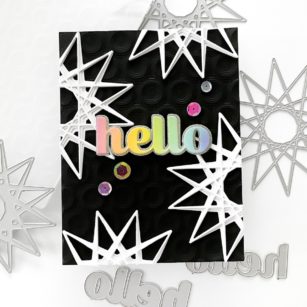
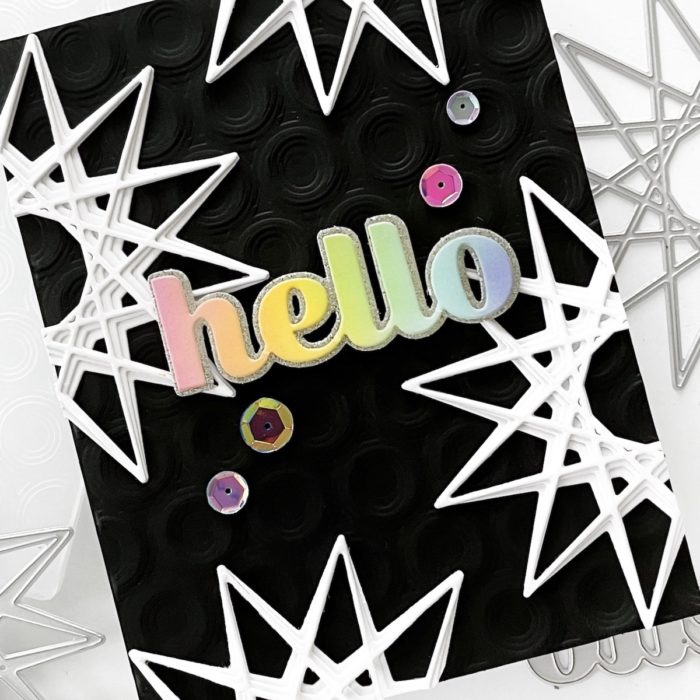
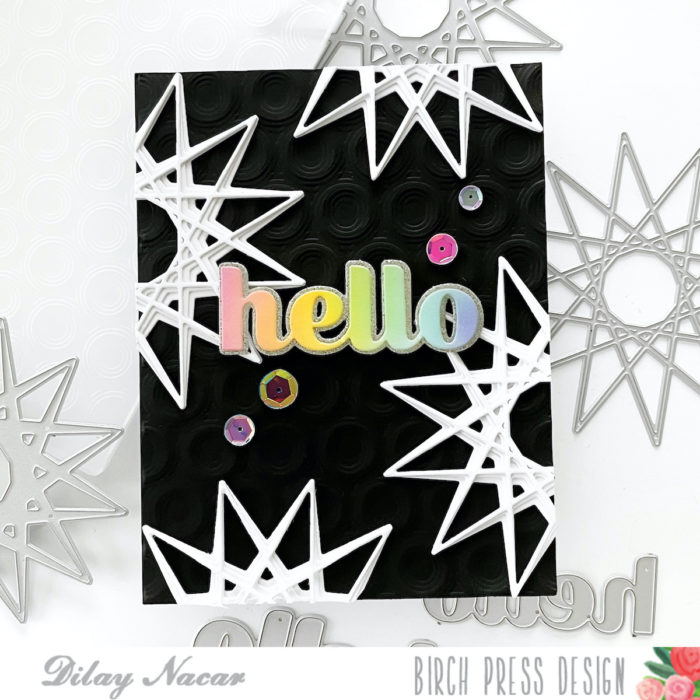
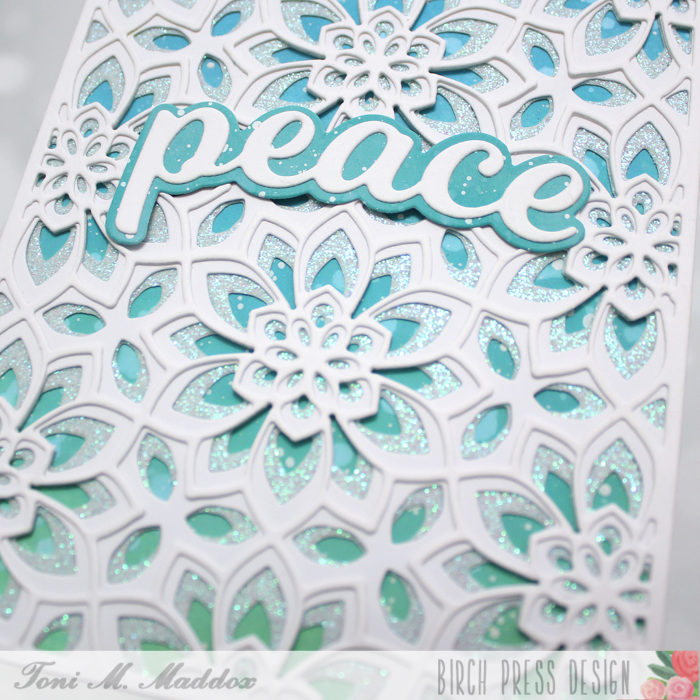
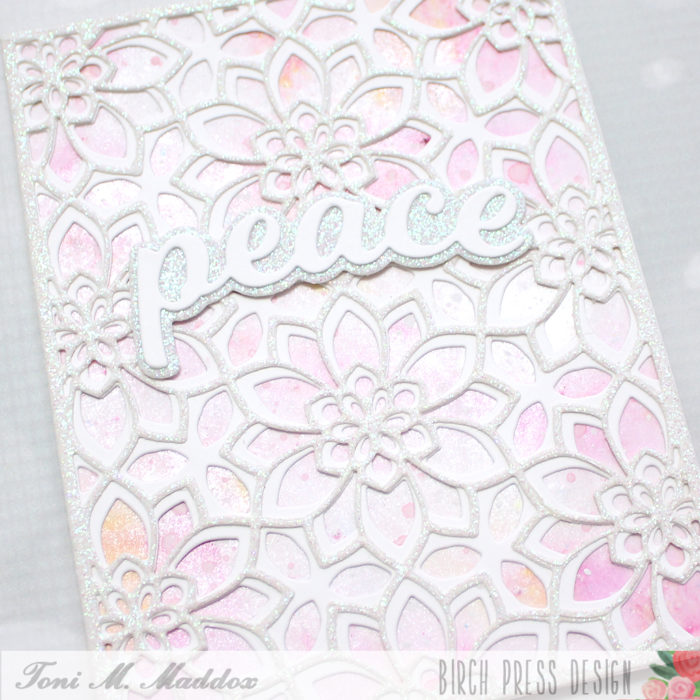
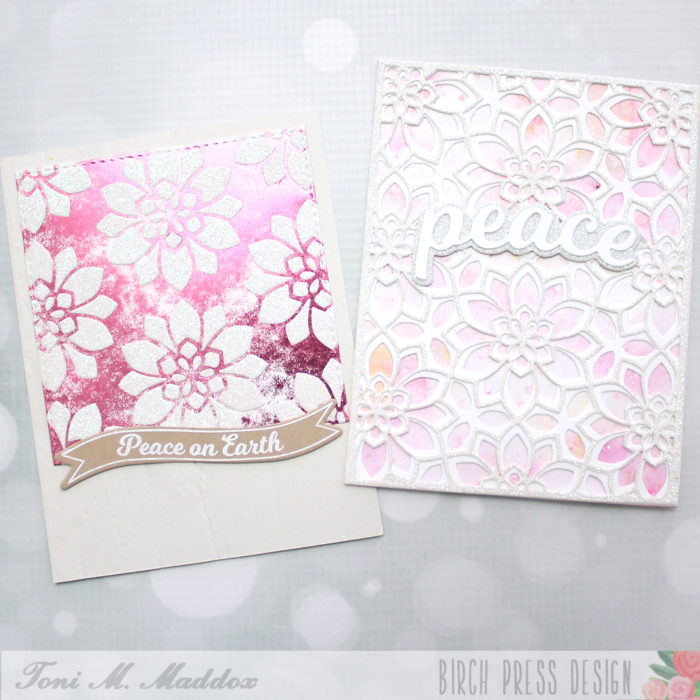
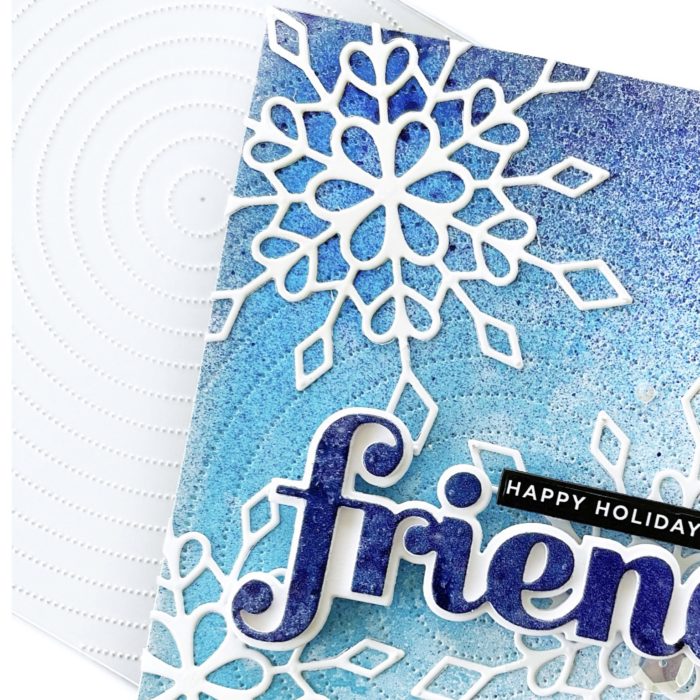
To begin, I took an extra background that I had previously created and cut it with the Pinpoint Radial background die (you can use any background that you like!) Next, I die cut three of the Frosty Flake snowflake die (only Layer A), adhered them to the background, and trimmed off the excess.
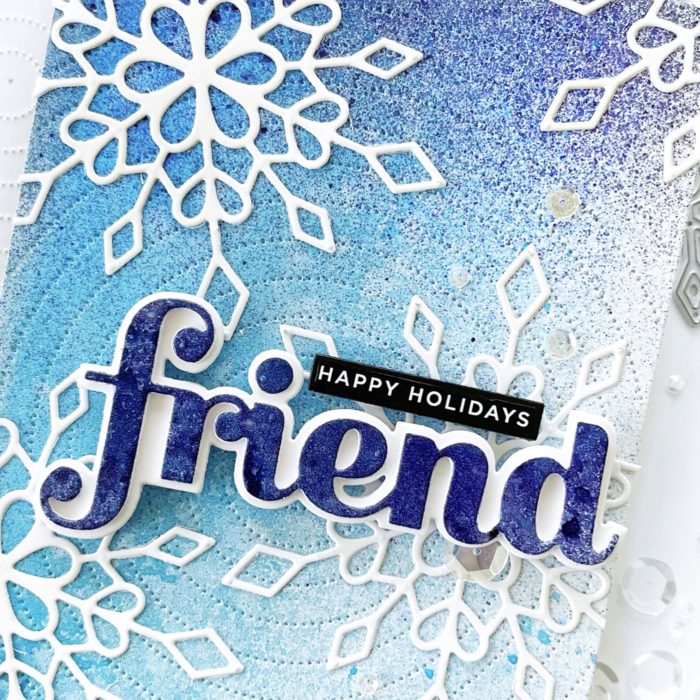
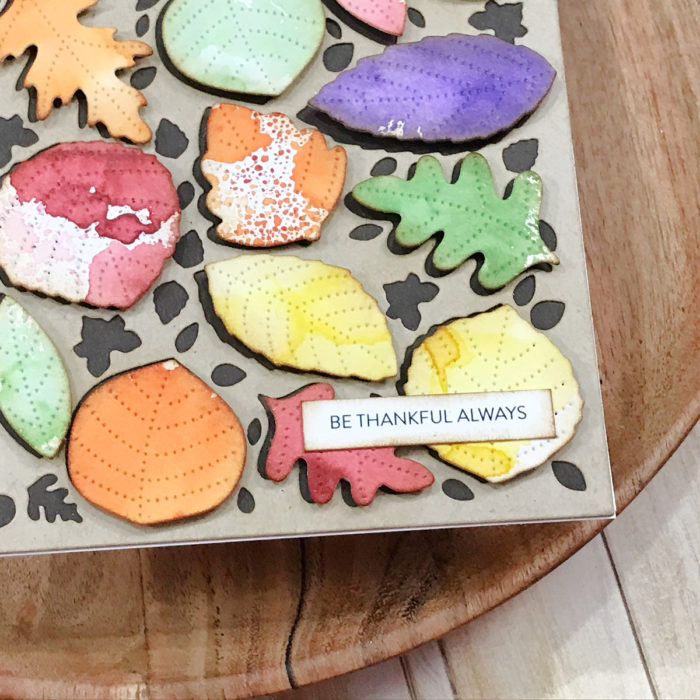
Next, I cut the Big Friends Sugar Script die with the leftover acrylic-sprayed cardstock and the shadow die in white, then adhered them to the card using foam tape. To finish, I added a sub-sentiment from my stash and some clear sequins for a little extra sparkle!
Thank you so much for joining me today!