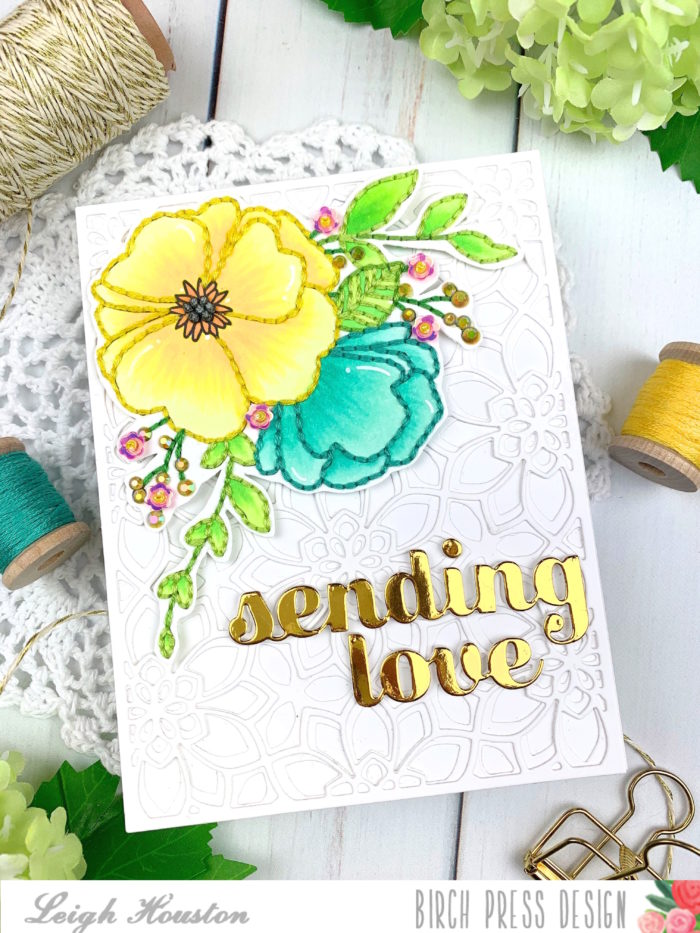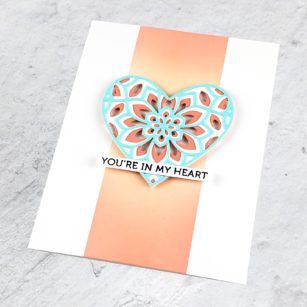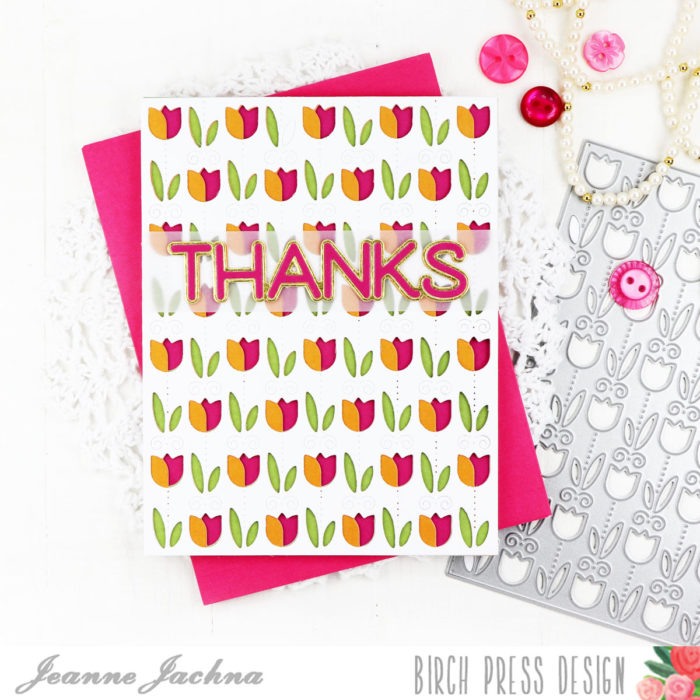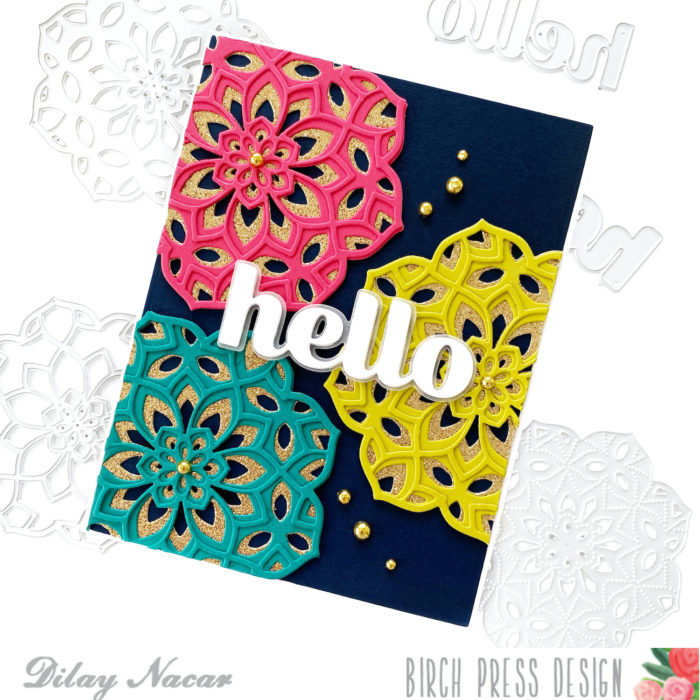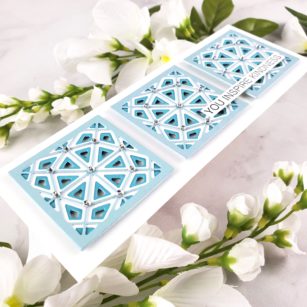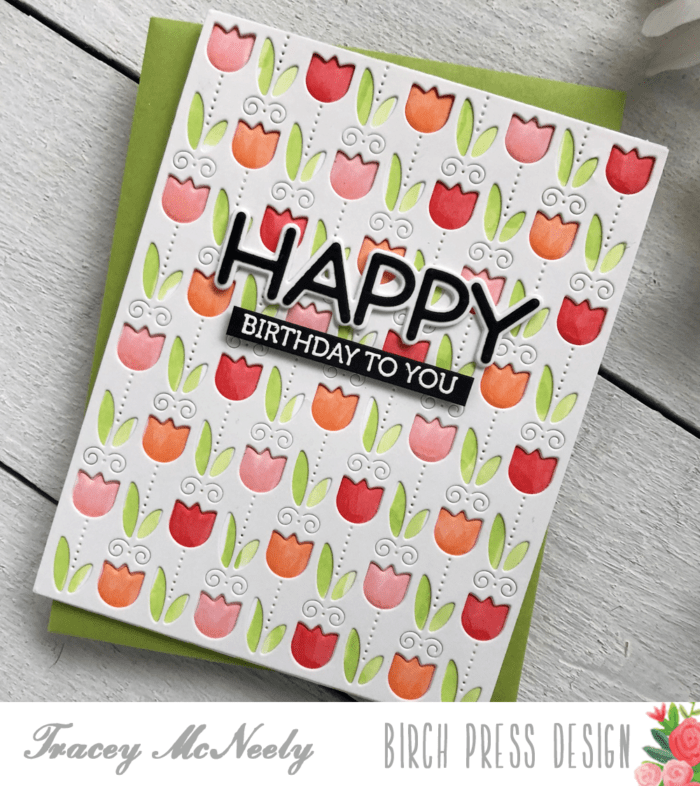
Welcome, friends! Dee (@dilaynacar) here and today I will be sharing a clean and simple card with pops of color, perfect for any occasion!

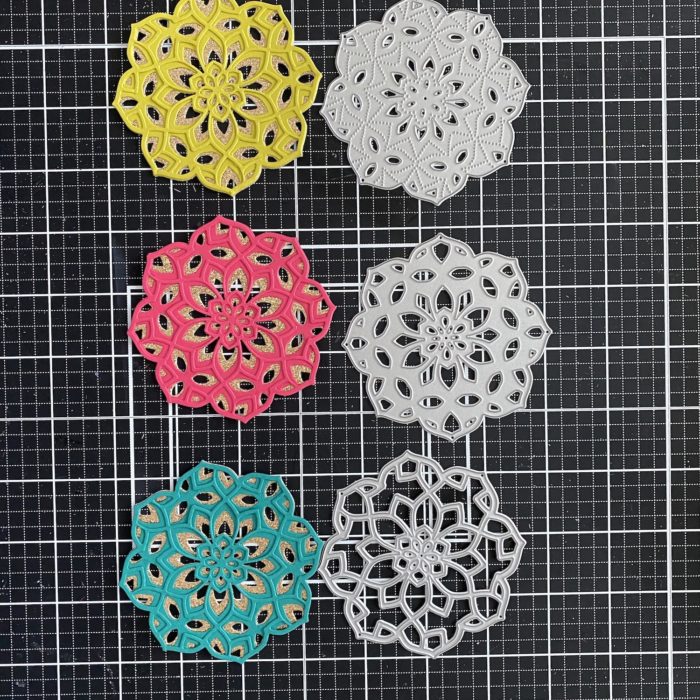
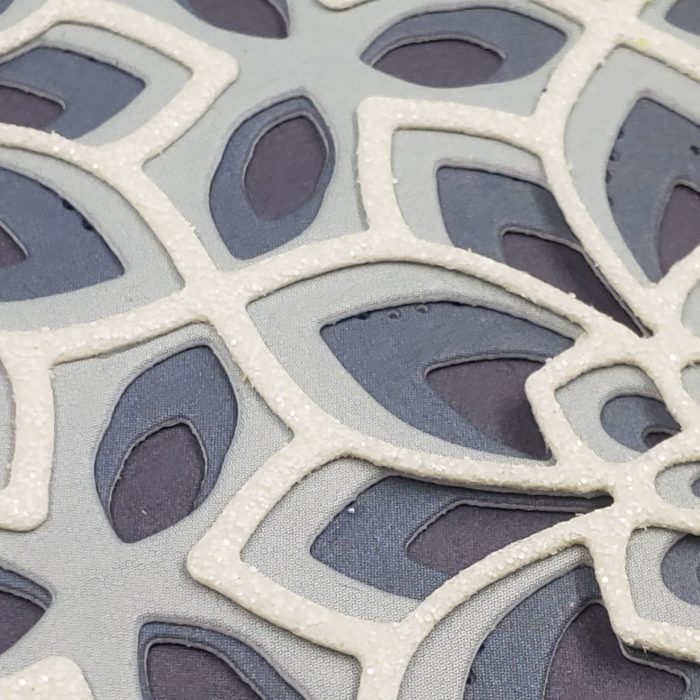
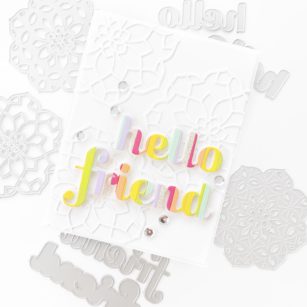
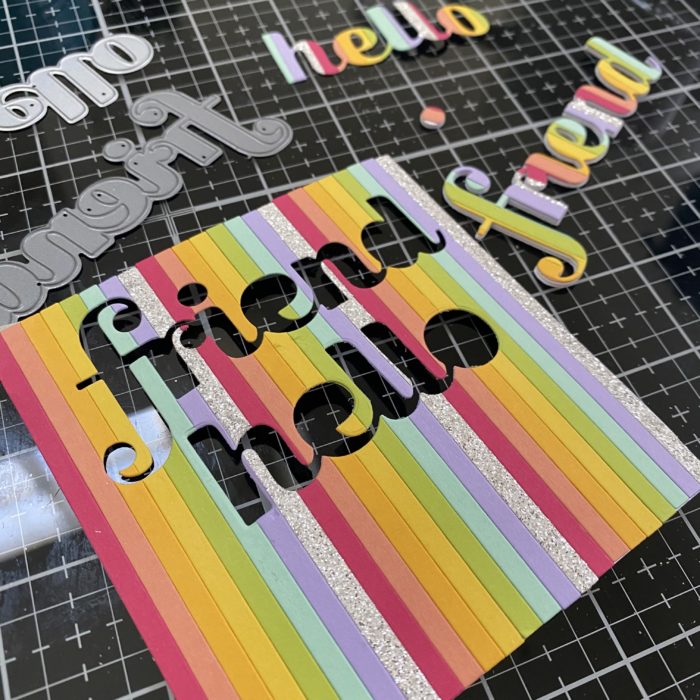
To get started, I cut multiple shades of colored and silver glitter cardstock (you can use any color for this step) into thin strips. I then used tape runner to adhere the strips onto a piece of white cardstock to create a background design to later die cut. I then set this aside to dry and started on the next step.
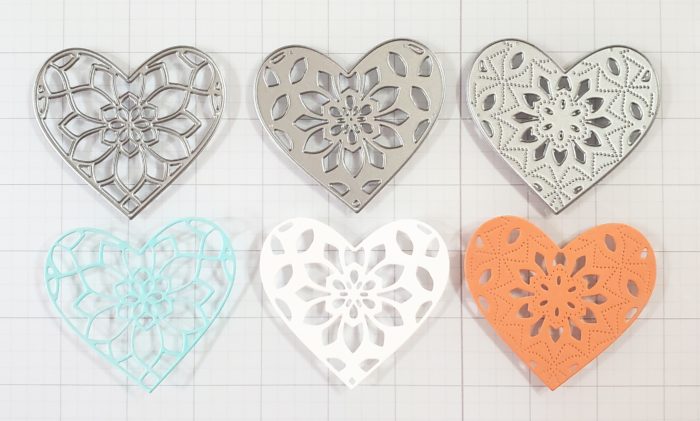
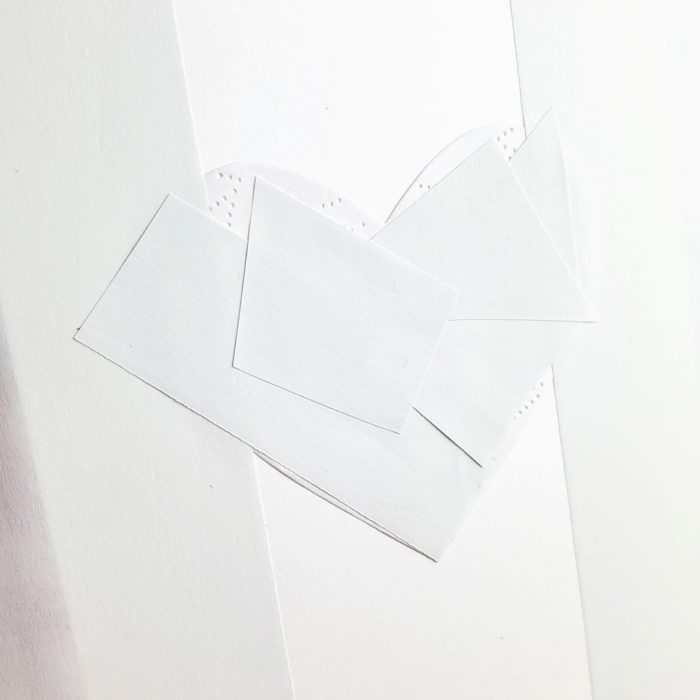
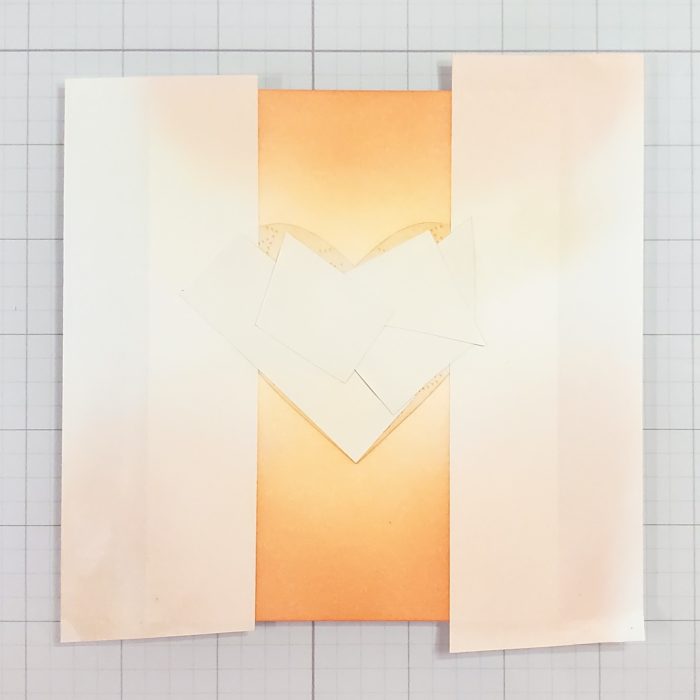
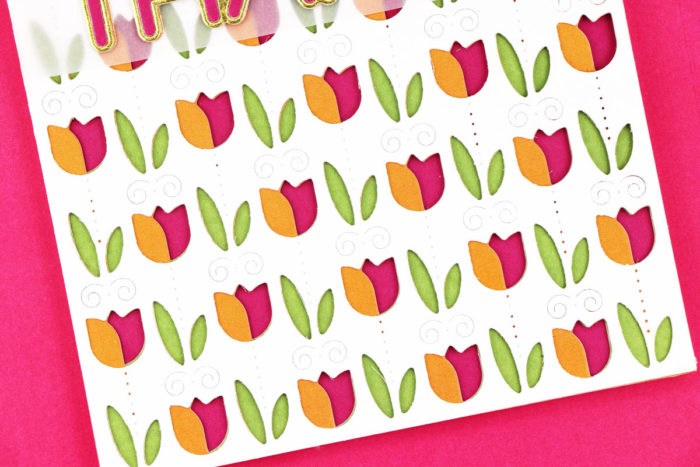
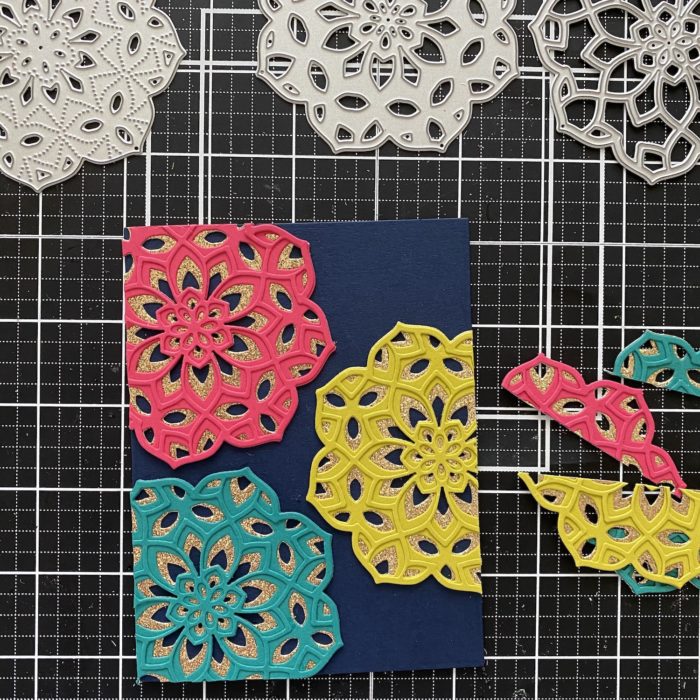
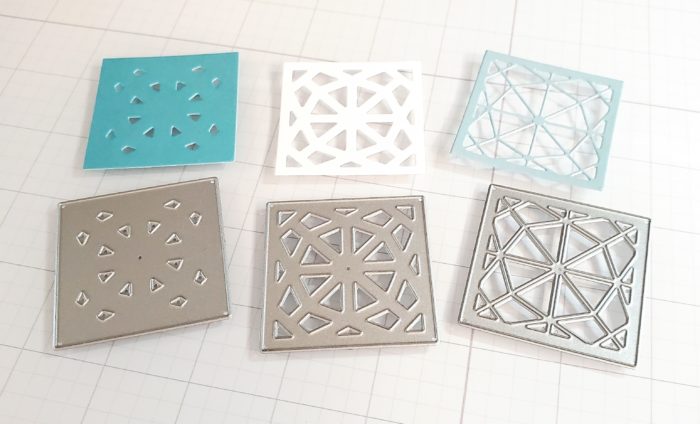
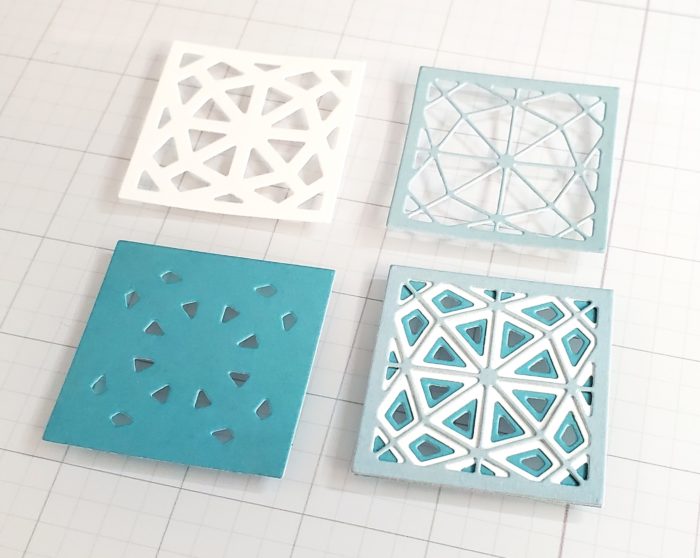
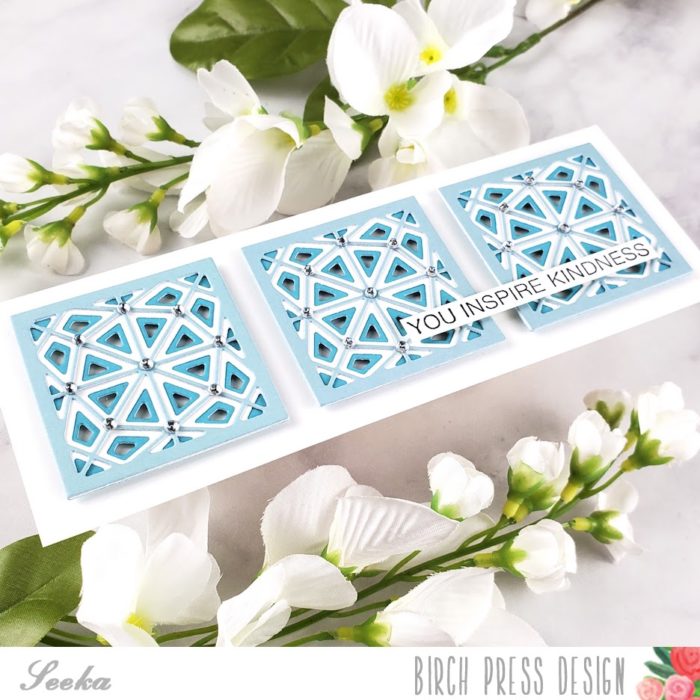
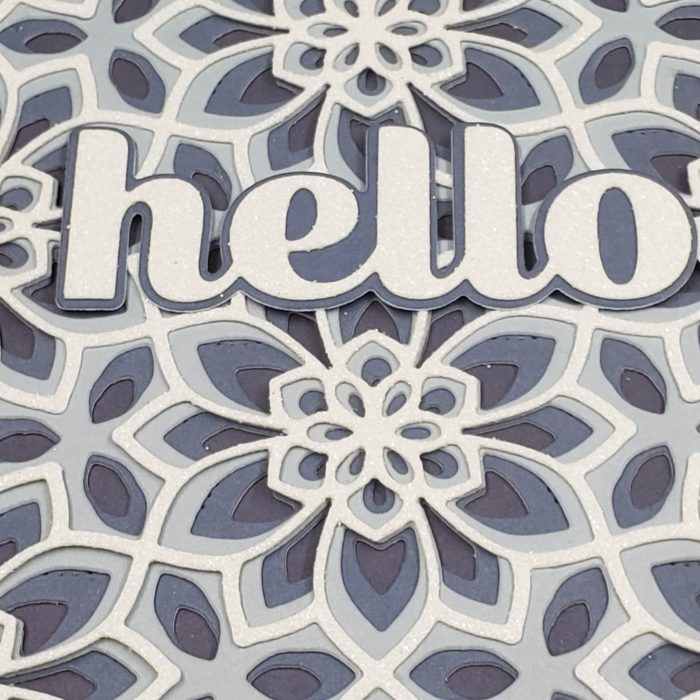
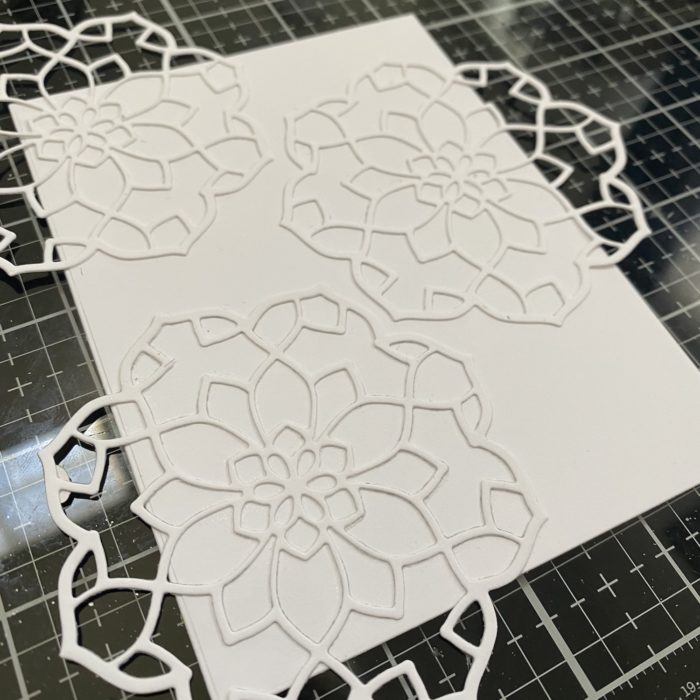
For the background of the card, I cut a piece of heavyweight white cardstock to an A2 size base as the panel. Next, I die cut only the ‘Kinsley Layer A’ die 3 times in white cardstock and adhered the 3 onto the panel in a design that I liked, trimming off any extra.
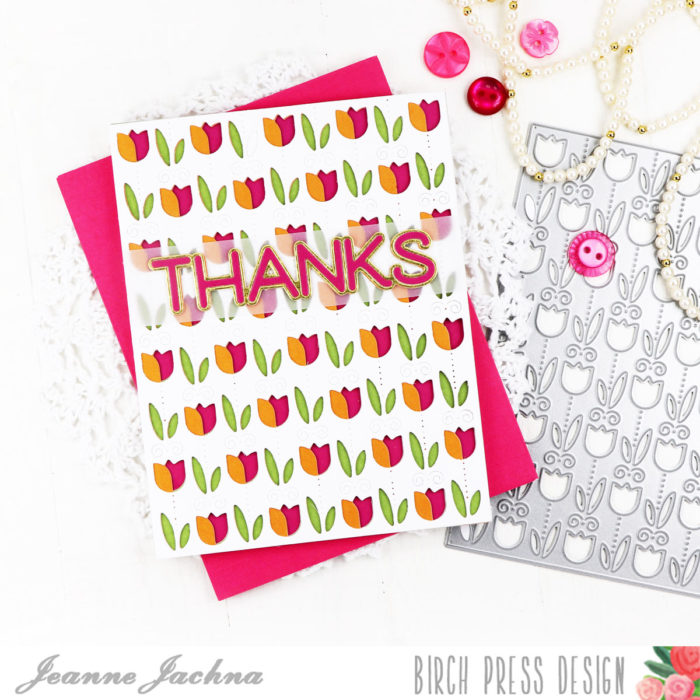
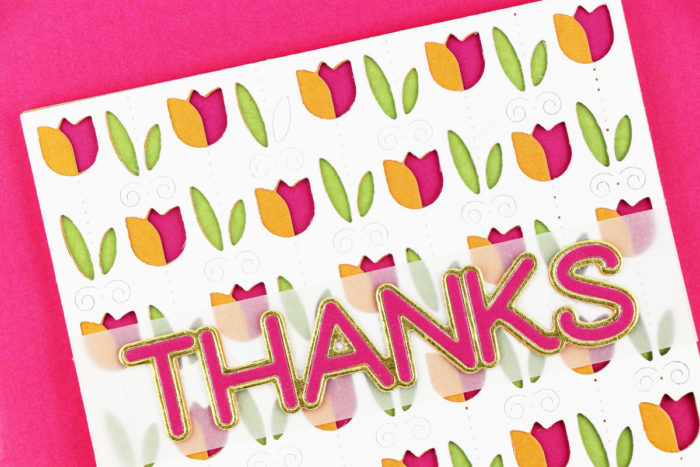
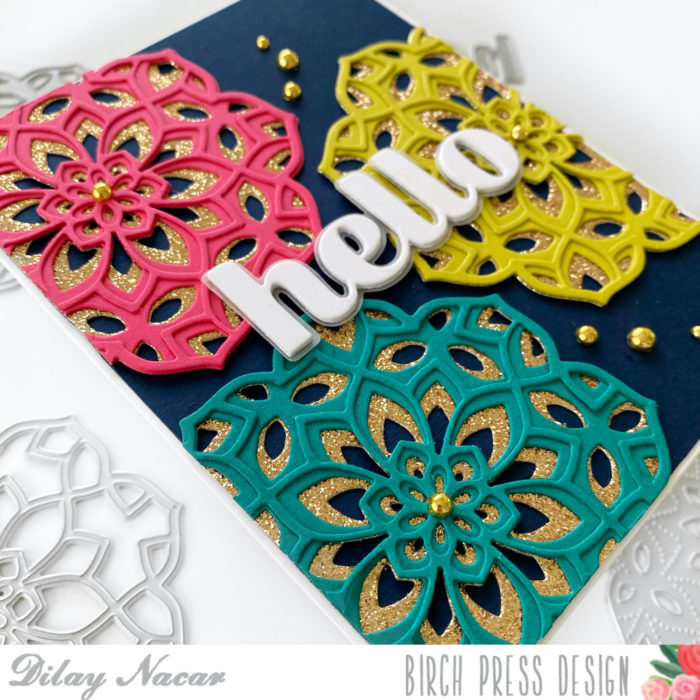
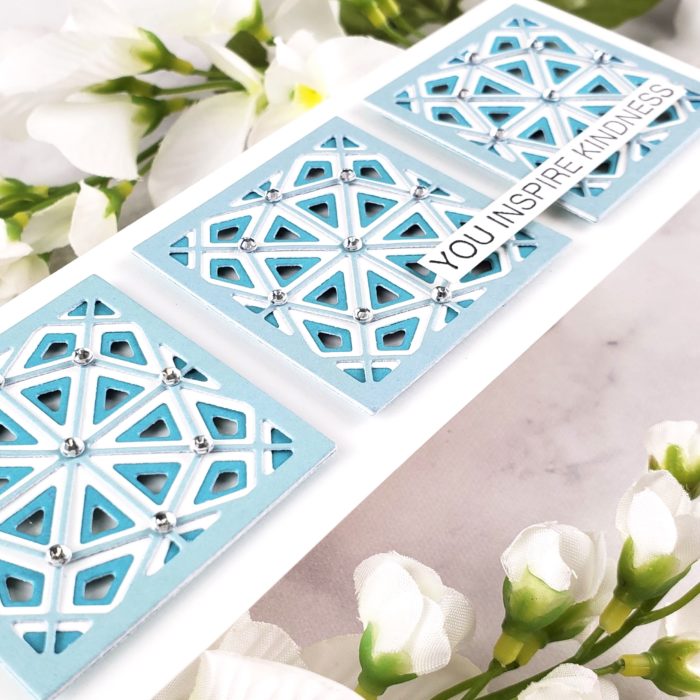
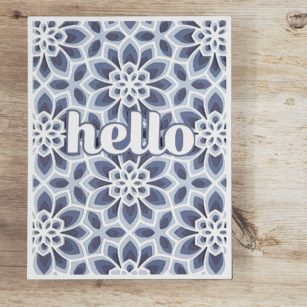
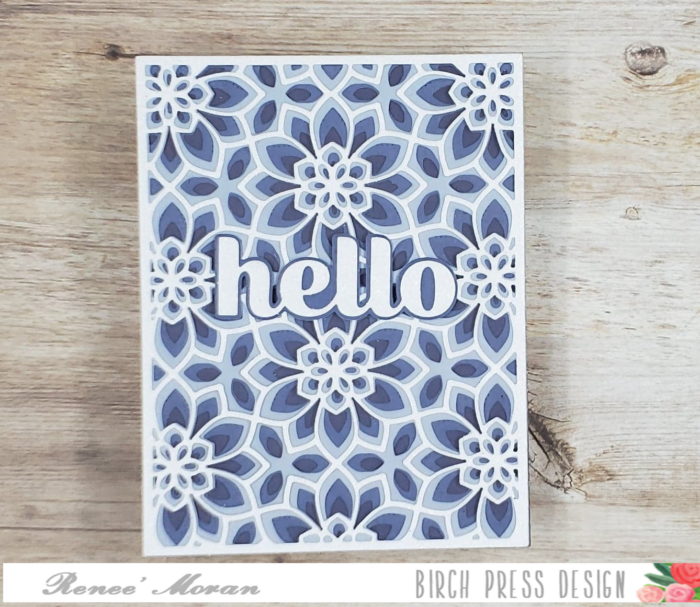
Next, I die cut hello and friend Big Sugar Script dies from the striped cardstock and the shadow dies in white, then adhered them together. I then mounted the word dies onto the card with foam squares.

To finish, I added a few silver sequins for extra sparkle! I hope you you enjoyed my post today and found some inspiration!
Thank you so much for stopping by!