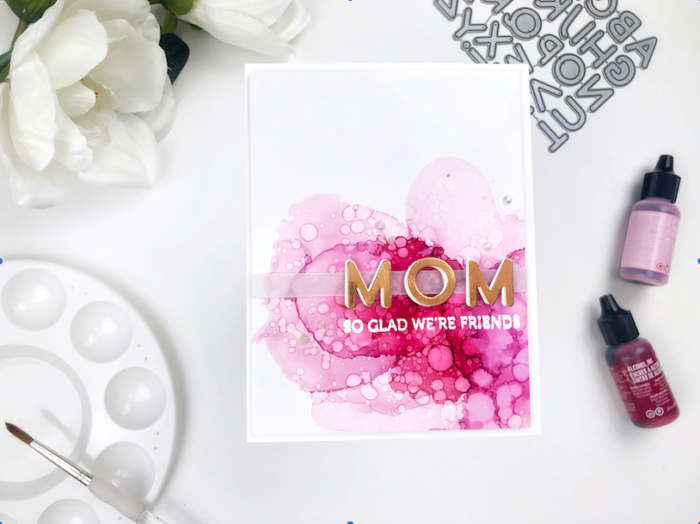
Hello all! Ashlea here, and I’m back again playing with more alcohol inks because I just can’t get enough lately. This time I’m creating a very simple card featuring rainbow alcohol ink art. Before we get into the basics, check out this video from my YouTube channel:
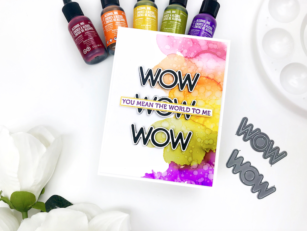
To begin, I chose my alcohol ink colors: Cranberry, Sweet Orange, Sunshine Yellow, Lettuce, and Purple Twilight. I thought these best represented rainbow colors and would work well next to each other. My favorite AI technique is a drop of ink, a drop of blending solution, and small puffs onto the solution with my air puffer (camera lens cleaner).
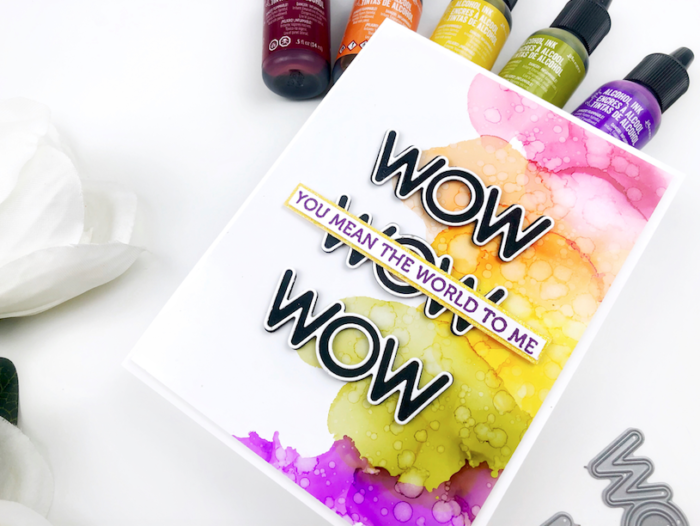
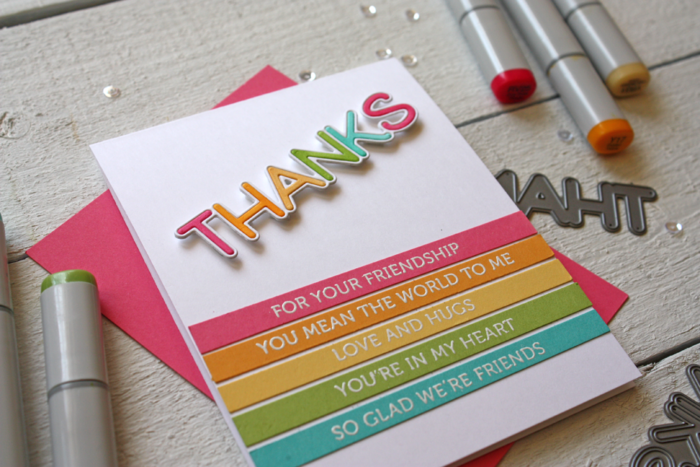
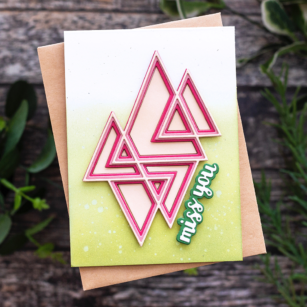
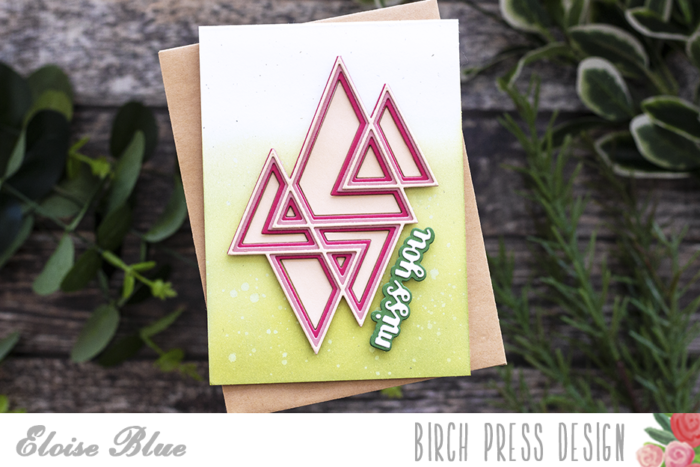
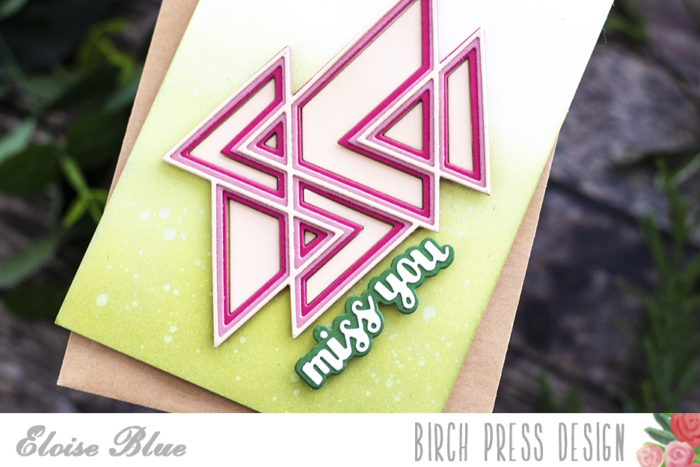
For the sentiment, I used the Big Lingo Type Wow in black and white to contrast the colors of the inks. Before I adhered the die cuts, I trimmed the card front down to 4″ x 5 1/4″ and adhered it with foam tape to an A2 sized card base. I then adhered the middle “wow” so that I could evenly space the top and bottom words.

To finish it off, I used the sentiment “You Mean The World To Me” from the Thanks Lingo stamp set and adhered that to the center die cut.
I hope that you’ve enjoyed learning a little about how I created this quick and simple alcohol ink card today! Thank you so much for stopping by. I’ll see you very soon!