Category: April Antonio

  • It’s Fall, Ya’ll | by April Antonio

    It’s Fall, Ya’ll | by April Antonio

    Hello friends! Design Team member April here today sharing a card in honor of the first day of Fall. Time to light some cozy candles, grab a warm blanket, and sink into a fun afternoon of crafting.
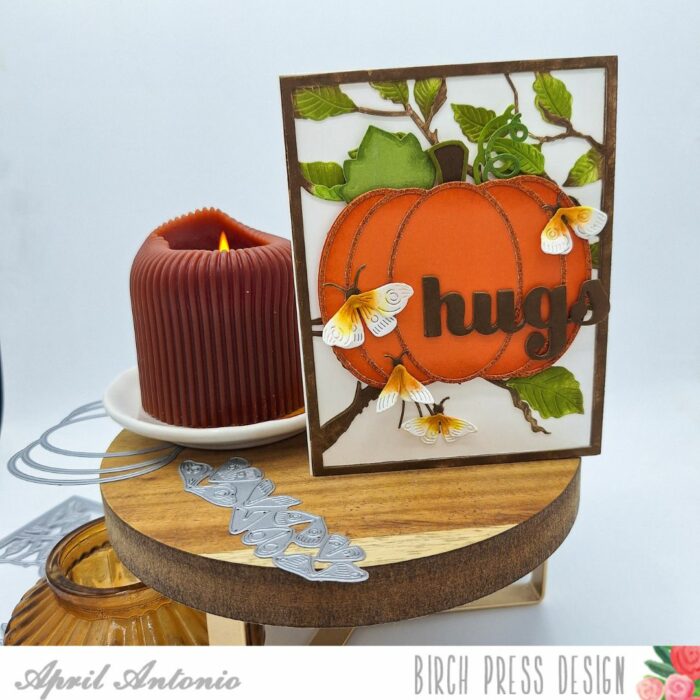
    Here’s how I pulled this card together:

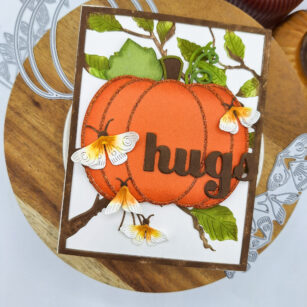
    I used layer A and B from the Forest Canopy Layer set and ink blended on the leaves and branches with green and brown inks. I glued both layers together, and then used a tape runner to attach them to an A2 card front.
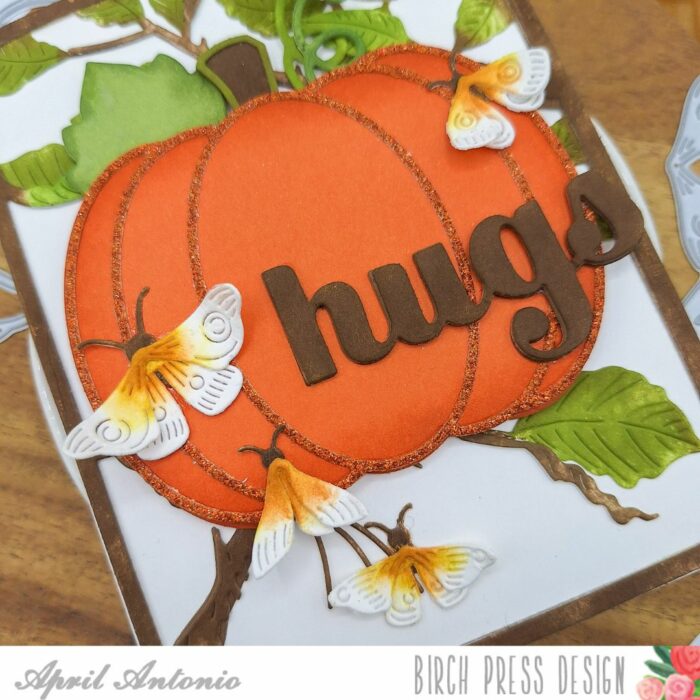
    I then used a sheet of orange cardstock from the Sunny Orange cardstock pack to cut the background of the Adornment Pumpkin die set. I cut this out twice and used foam tape to glue the two pieces together.
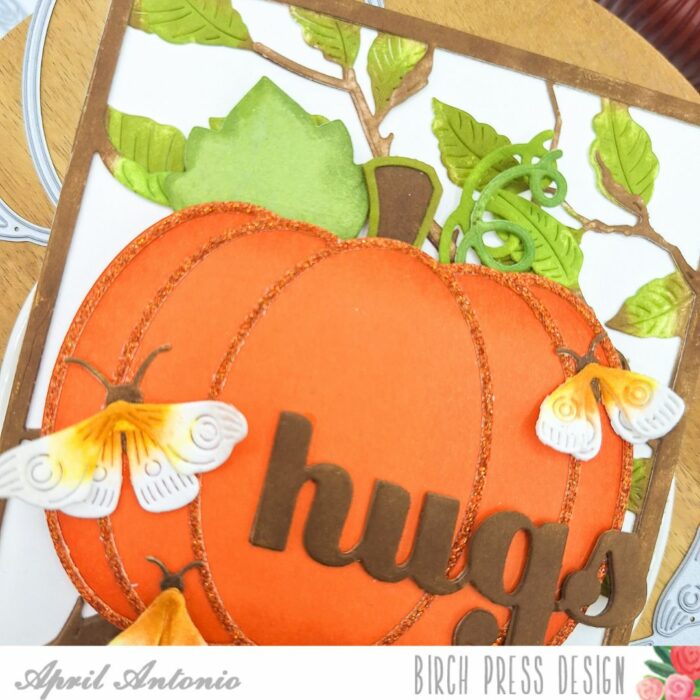
    I cut the outline part from a piece of orange cardstock from the Glitzy Glitter pad. I finished off the pumpkin by ink blending the stem and leaves and adding them to the top.
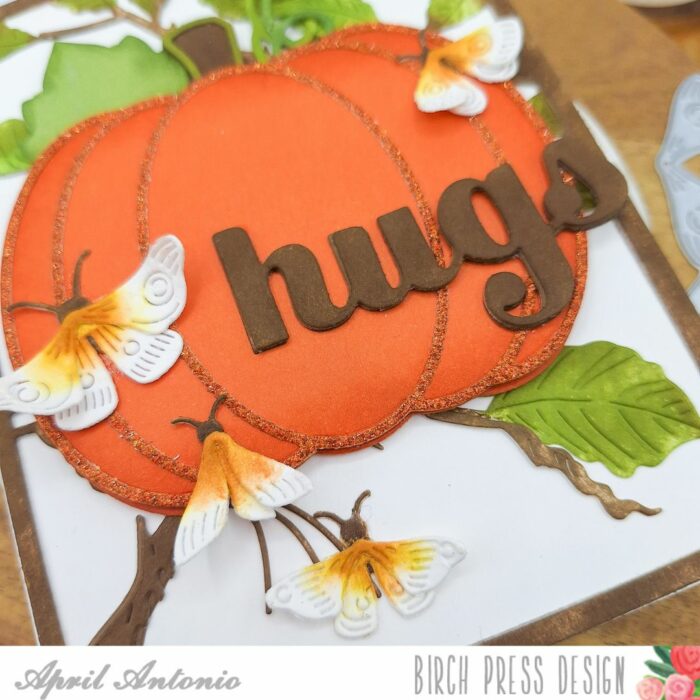
    For my sentiment I used the Big Hugs Sugar Script die, cutting it out three times and ink blending brown onto the layers, and gluing them together.
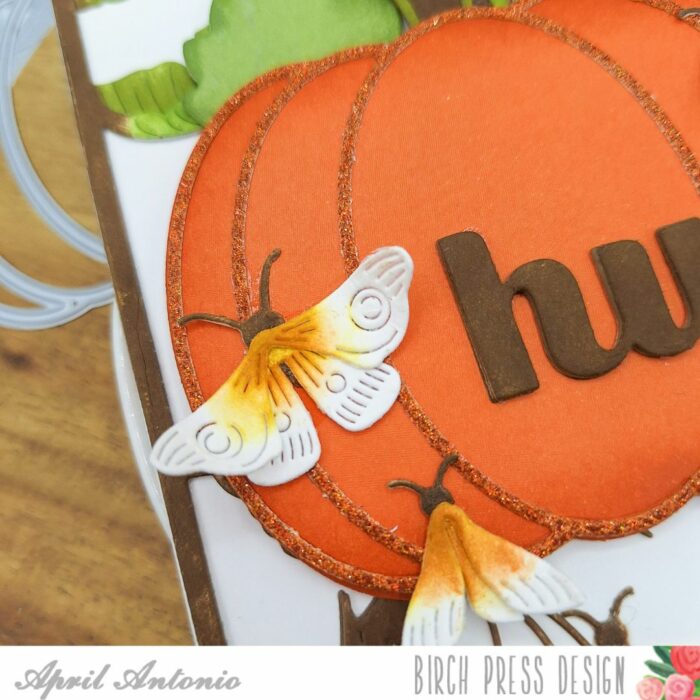
    Lastly, I cut out all the dies from the Evening Moths die set from white cardstock.

    Supplies

    Supplies
  • 105 days until Christmas | by April Antonio

    105 days until Christmas | by April Antonio

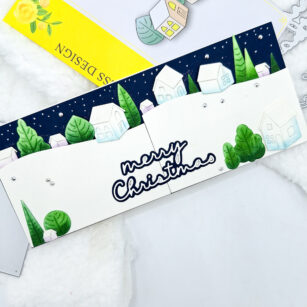
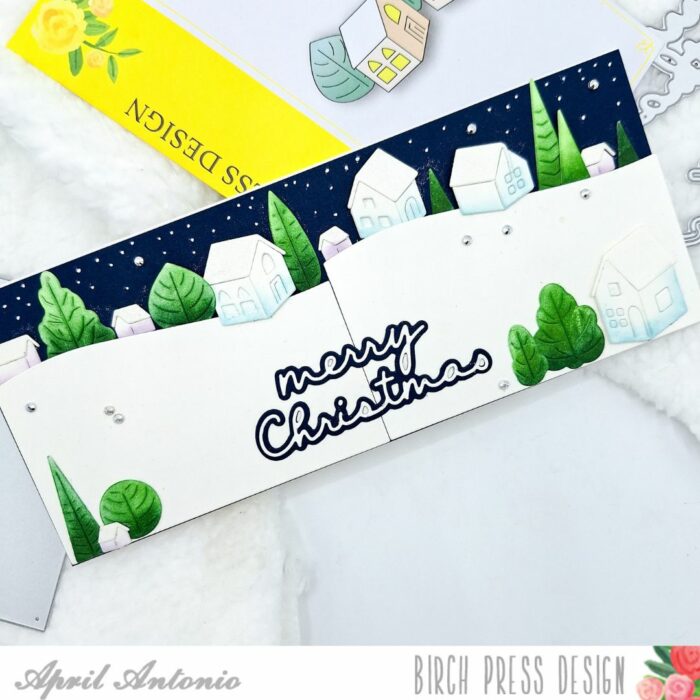
    Hello friends! Design Team member April here today sharing an early Christmas card using some of the products from the new holiday release. With Autumn almost upon us, everything is about to speed up, so why not start on creating some holiday cheer?! Also, these new dies are just too cute to put down!

    Here’s how I pulled this card together:

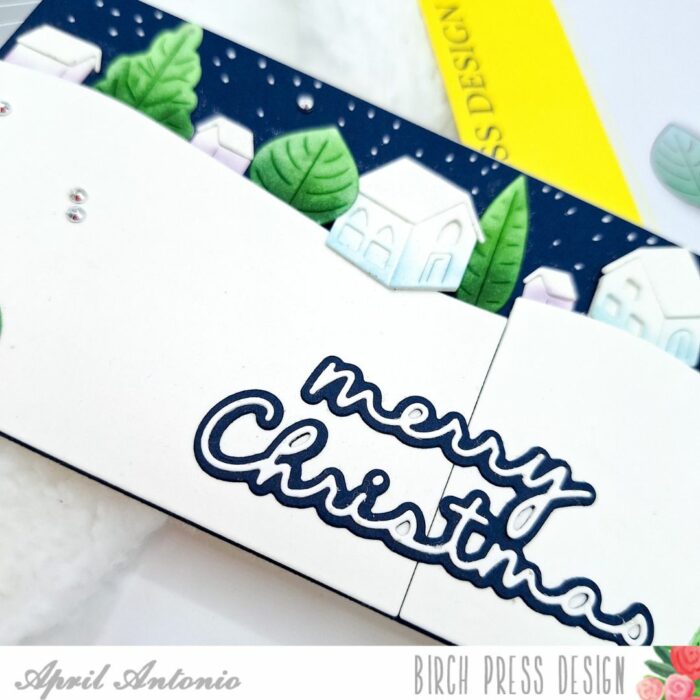
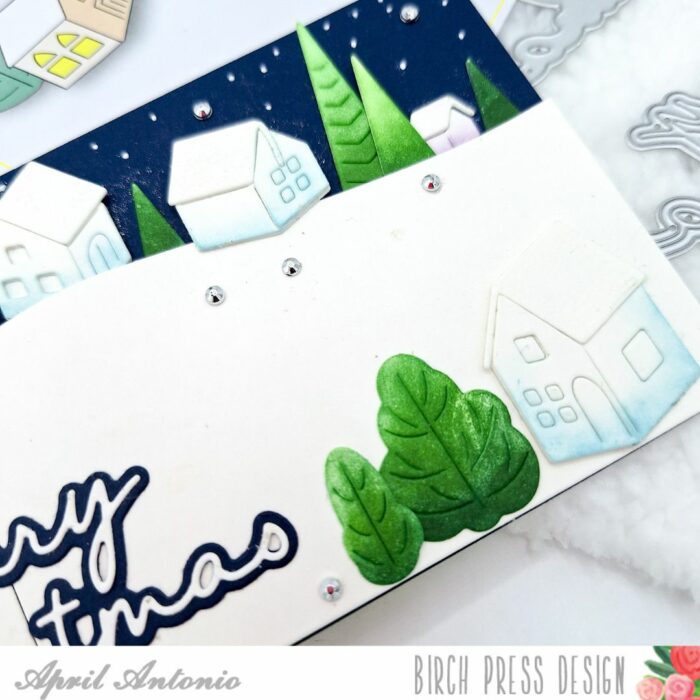
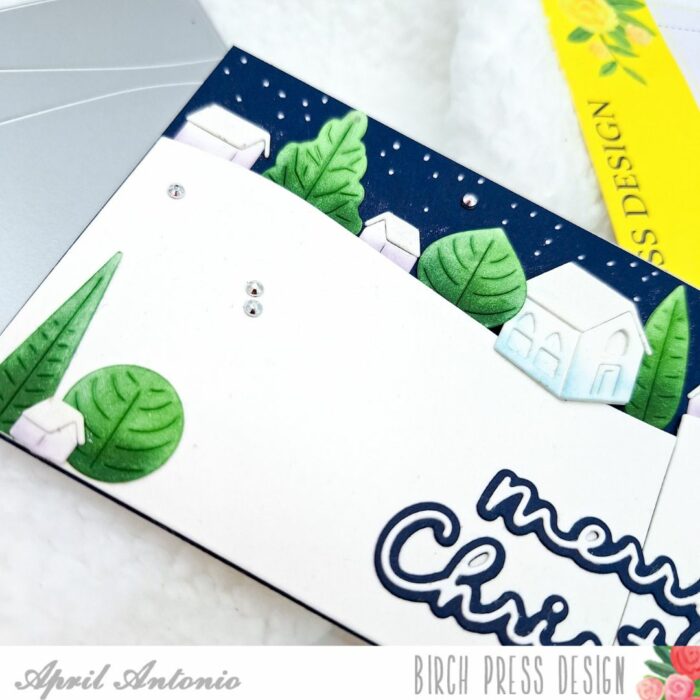
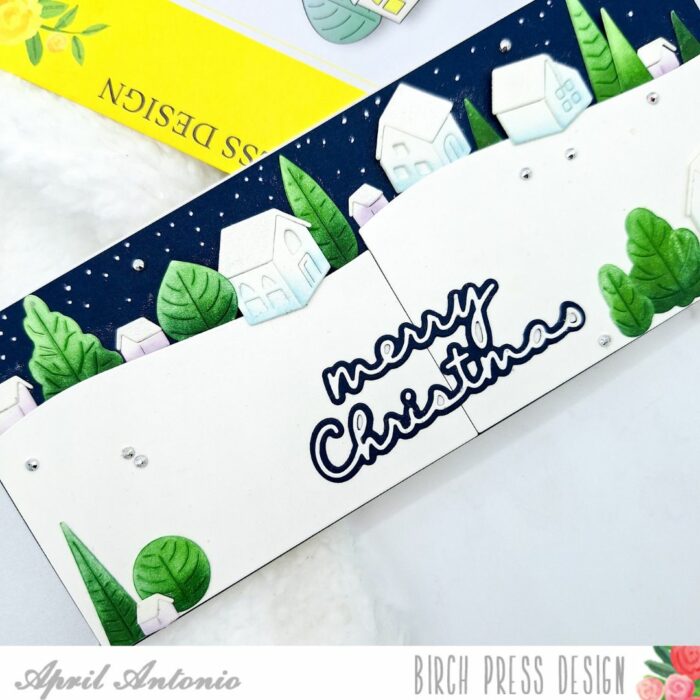
    I grabbed a pre-cut slimline card base in white, and glued a dark blue cardstock mat to the background to represent the night sky. I used the new Wavy Hillside die set and cut the largest die from white cardstock twice. I glued the die cuts twice to the front of the slimline card using foam tape, and made sure to leave a little room at the top so that I could later tuck in some of the houses and trees.

    I cut the Littletown Village, Littletown Church, and Littletown Home die sets all from white card stock, and assembled them accordingly. I then did some light ink blending in blue and purple on the bottom of each building, and did some darker ink blending in green on the trees. I then arranged the trees and houses across the hillside tucking some behind the ‘snow’ and placing some on top. I also added some to the bottom of the card front in either corner.

    For my sentiment I used the Merry Christmas Confection Script die with the shadow in the same dark blue as my background and the letters cut out from white cardstock.

    Finishing touches: I used a white gel pen to add some ‘falling snow’ to the dark blue background. I also added some silver jewels from the Memory Box Christmas Fairy Jewels set, and used a glitter pen to add some sparkle to the roofs of the buildings.

    Supplies

  • Summer Ocean Blues | by April Antonio

    Summer Ocean Blues | by April Antonio

    Hello friends! Design Team member April here today sharing a beautiful, bright, blue ocean inspired card using the Budding Twigs Contour Layers die set. I visited the beach last month and was inspired to create something ocean-y.

    Here’s how I pulled this card together:

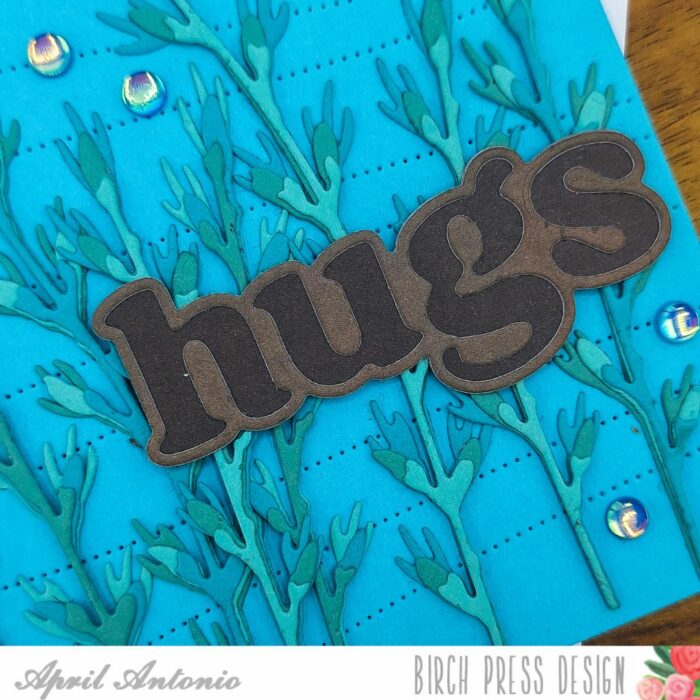
    I cut a piece of heavy-weight white cardstock down to A2 card size. is made from 80 lb. I used on of my favorites, the Pinpoint Contour Plate to cut a background from the Memory Box Lagoon 6×6 cardstock pack and layered that onto the card base.

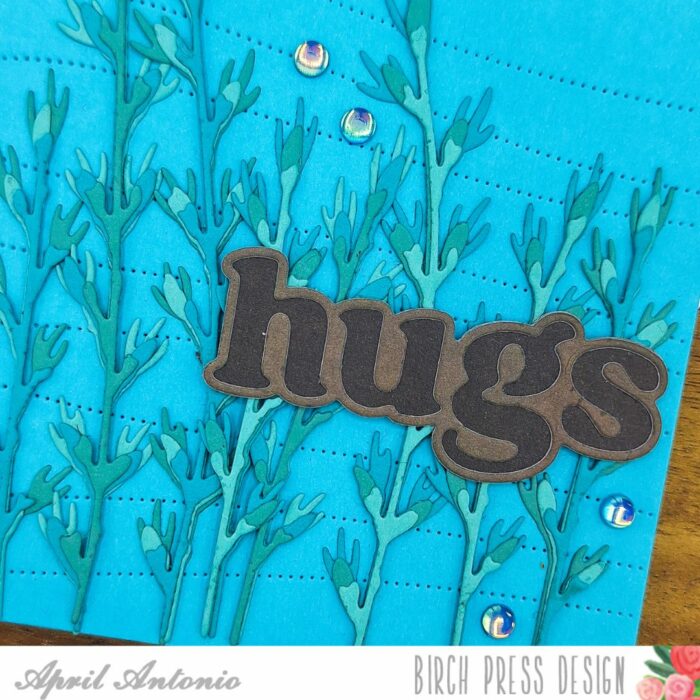
    Next I cut the three layers of the Budding Twigs Contour Layers die set from three different colors from the same Lagoon cardstock pack. I glued the layers together following the included guide, making sure to alternate colors, and adhered each finished twig onto the card front. The blue background with the budding twigs reminded me of seeing coral underwater!

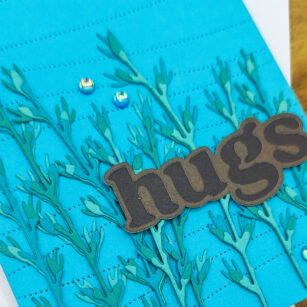
    I used the Big Hugs Vintage Sentiment die and shadow die to cut the ‘HUGS’ and adhered it to the front of the card. I used two different shades of brown I found in the Memory Box Earth Neutral 6×6 cardstock pack.

    I finished off the card with some fun gemstones from the Winter Fantasy Fairy gemstone set. I really enjoy paper-piecing and this card was fun to pull together! I hope you are able to have fun and do something creative this weekend.

    Supplies

    Supplies

  • Finding Joy | by April Antonio

    Finding Joy | by April Antonio

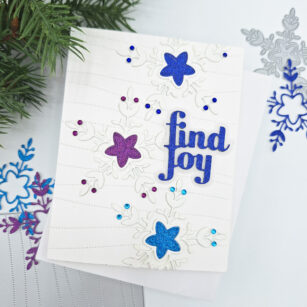
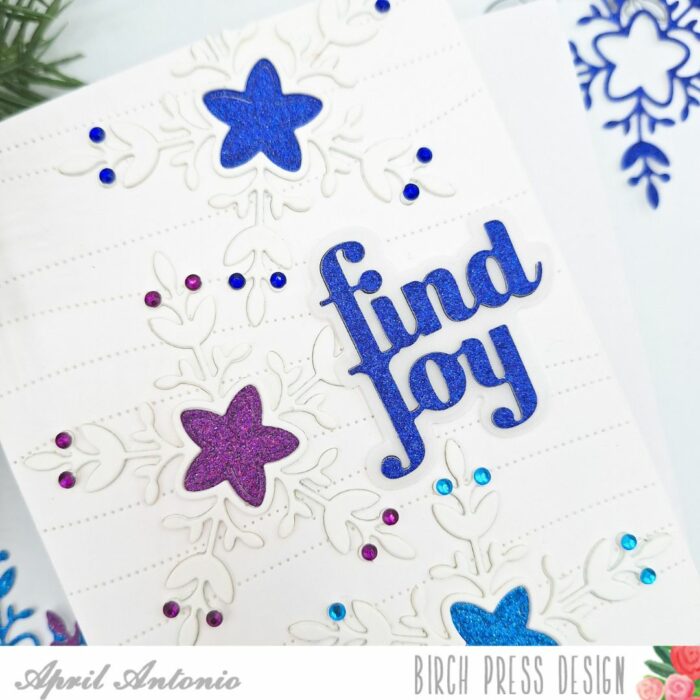
    Happy Saturday! I’m so excited to be back on the blog today sharing a card on this Christmas weekend. I used the really fun Piped Icing Star die set to create a sparkling holiday card. Read on to find out how I paper pieced this card together.

    I cut an A2 sized panel from white cardstock and then used the ‘icing’ part of the Piped Icing Star die set to cut from the panel three times — at the bottom, the middle, and the top, creating a visual triangle along with the placement. I then took the panel and die cut it withe the Pinpoint Contour Plate to give the background the fun wavy dot texture.

    I glued the panel to an A2 card base and then did one of my favorite things – die cut inlay. I cut the intricate star from white cardstock multiple times, and then stacked them three times into the openings I cut into the cardstock panel.

    I also cut the star from three colors from the Glitzy Glitter Pad (dark blue, medium blue, and purple) and added the inner star pieces into my die cut inlays.

    I used the same dark blue to cut the words ‘find joy’ using the Find Joy die set. The shadow I cut from vellum, and I cut the word once from black cardstock and layered it underneath the glitter from some added dimension.

    Lastly, I had to add some sparkle of course! I used the Bright Jewels rhinestone set to add matching jewels to each star.

    That is it! I love die cut inlay, and with the beautiful piped icing set it’s easy to cut everything from white and add a little shine with glitter. I hope you have an amazing holiday season and happy new year!

    Supplies

    Supplies

  • Ho Ho Holidays | by April Antonio

    Ho Ho Holidays | by April Antonio

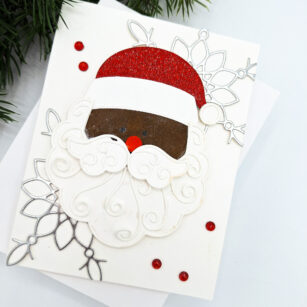
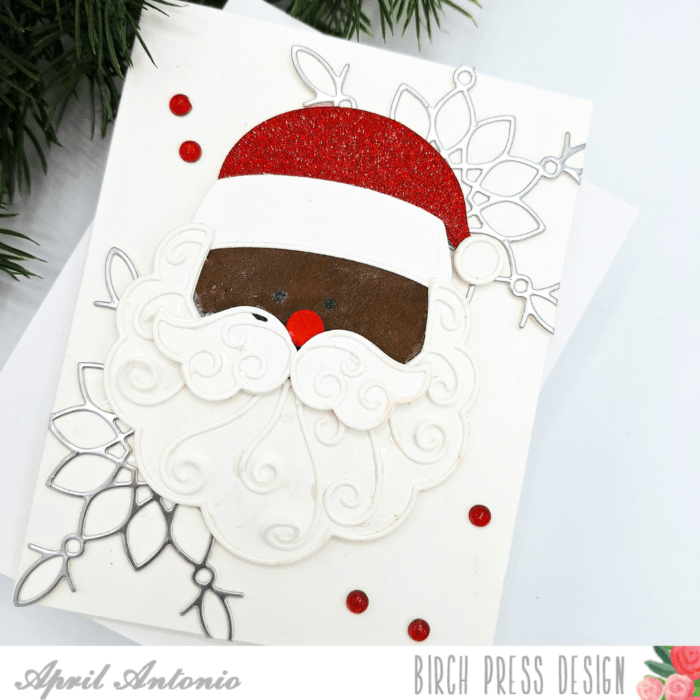
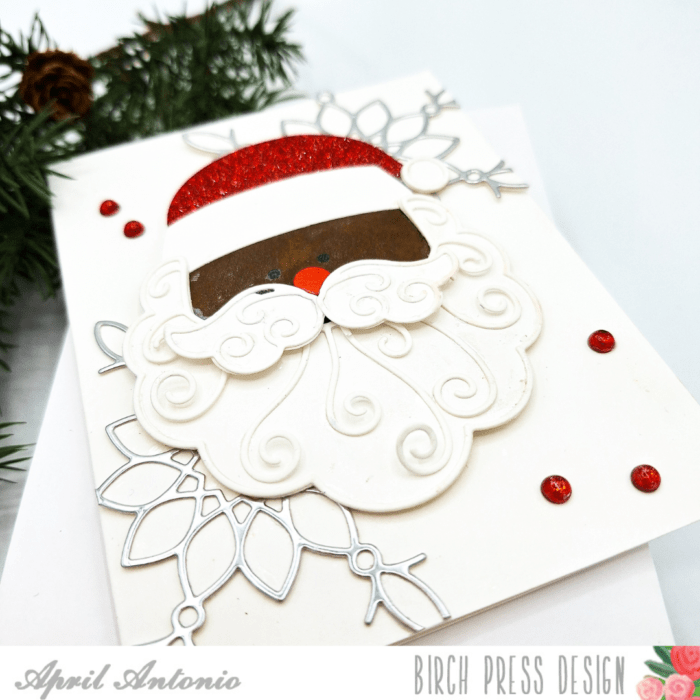
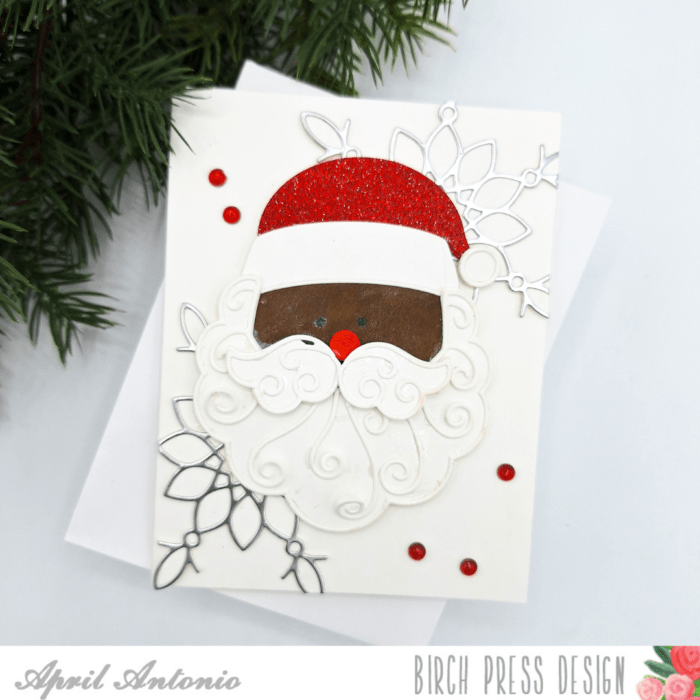
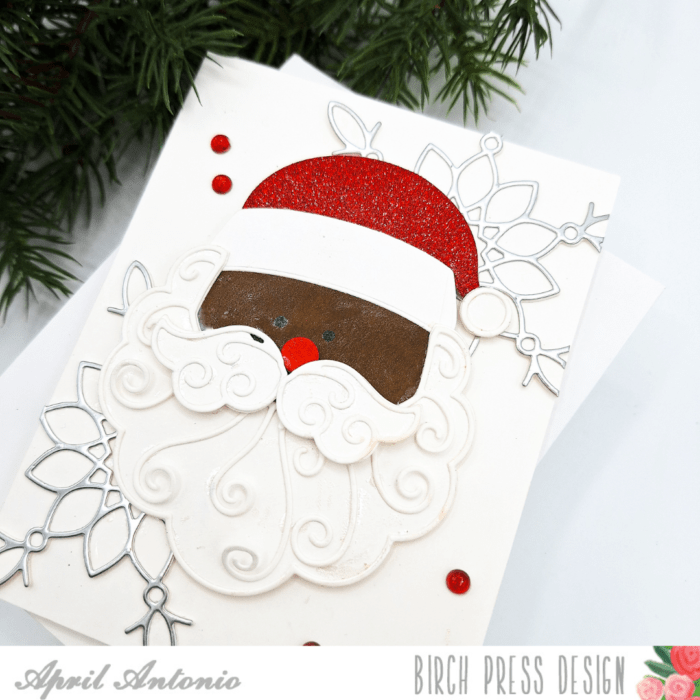
    Happy Saturday! With Christmas less than 10 days away, I think many of us are in full swing with holiday themed cards. I had a lot of fun creating a Santa card using the Adornment Santa die set. Read on to find out how I pulled this card together!

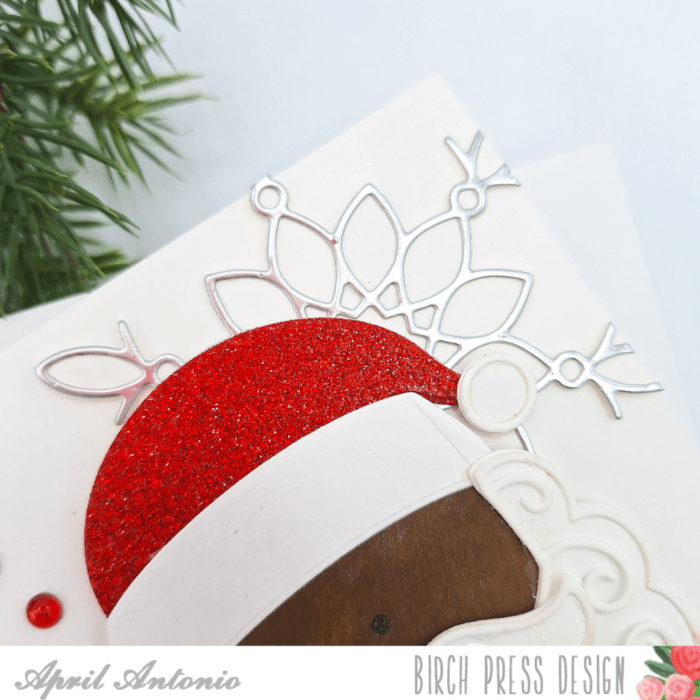
    I started with the Santa Adornment die set and die cut each piece from white cardstock. I also cut the hat from a beautiful red glitter cardstock piece from the Memory Box Glitzy Glitter Pad.

    I used ink and blending brushes to color my Santa brown, and used red on the circle shape for his nose.

    Next I assembled Santa together, starting with his face and, beard, and hat pieces. Then I added his mustache and nose, and also made sure to layer the thin outline cut out pieces (I did leave the outline pieces off of his hat by choice). I used a shiny black gel pen to add eyes to his face šŸ™‚

    For the card base I cut the outline from the Adornment Snowflake out of silver cardstock I grabbed from the Vintage Pastel Mirror Pad (which is one of my favorites!). I cut the snowflake background from white cardstock and layered the white and silver pieces together. I then glued the assembled snowflakes to my A2 card background, and trimmed off the pieces that were hanging over.

    I then glued my Santa on top of this background, and added red Christmas Fairy Crystals around him for some extra shine.

    That is it! The Adornment Santa is super cute and perfect for the holidays!

    Supplies

    Supplies

  • Holly Jolly Holidays | by April Antonio

    Holly Jolly Holidays | by April Antonio

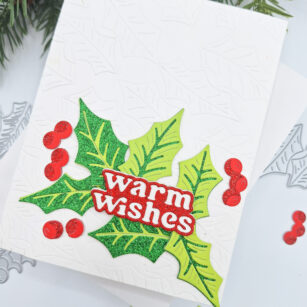
    Happy Tuesday! So happy to be back on the blog sharing a fun card using the Holly Jolly Contour Layers set to get in the mood for the holidays. I had a lot of fun creating this card and it was really simple to pull together. Read on to find out how I pulled this together.

    I used both of the leaf dies from the Jolly Holly Contour Layers die set and dry embossed them across my A2 card base. Dry embossing is the process of creating an impression of a die onto cardstock without cutting all the way through. To achieve this effect I used a rubber embossing mat with my die cut machine.

    Once I had completed the dry embossing I grabbed red and green cardstocks from the Lush Green, Berry Red, and Glitzy Glitter cardstock pads. I cut the holly leaves and berries multiple times from the different colors and glued them together, alternating the use of glitter and plain cardstock.

    I adhered the berries and leaves in the lower right hand corner, creating a sort of visual triangle. Lastly, I used the Warm Wishes Vintage Sentiment die to die cut ‘warm wishes’ from glitter cardstock and the shadow/background from white cardstock. I adhered this to the middle of the holly leaves and berries.

    That is it! This card was very straightforward and yet turned out so wonderfully colorful and crip. I hope you found some inspiration from this project and have a wonderful rest of your week.

    Supplies

    Supplies

  • Crafting Holiday Cheer | by April Antonio

    Crafting Holiday Cheer | by April Antonio

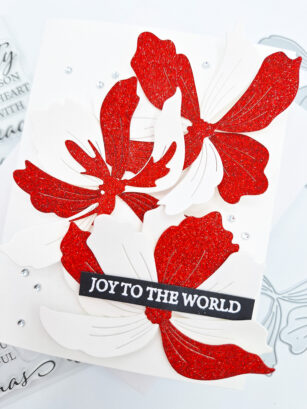
    Happy Wednesday, and welcome back to the Birch Press blog! Today, I am excited to share a card using the Large Cosmos Contour Layers die set. These big, bold, petals are great for creating a quick, and beautiful holiday card.

    I started this card by cutting the Large Cosmos Contour Layering dies from medium weight white cardstock and red glitter cardstock multiple times. The glitter cardstock was taken from the Glitzy Glitter Pad.

    I took all of the cut layers, and used liquid glue to adhere 3 layers together, alternating between white and glitter cardstock until I had three complete flowers.

    I used foam tape to glue the flowers to an A2 card front, and curled up the flower edges to add some dimension.

    I took a sentiment from the Glad Tidings stamp set, embossed it with white embossing powder onto black cardstock, and adhered the strip to the card front on top of a flower.

    Lastly, I added sparkly Clear Jewels around the flowers, and that was it! I hope you enjoyed today’s post, and that you have a very Happy Thanksgiving!

    Supplies

    Supplies
  • Embrace Nature with the Forest Canopy set | by April Antonio

    Embrace Nature with the Forest Canopy set | by April Antonio

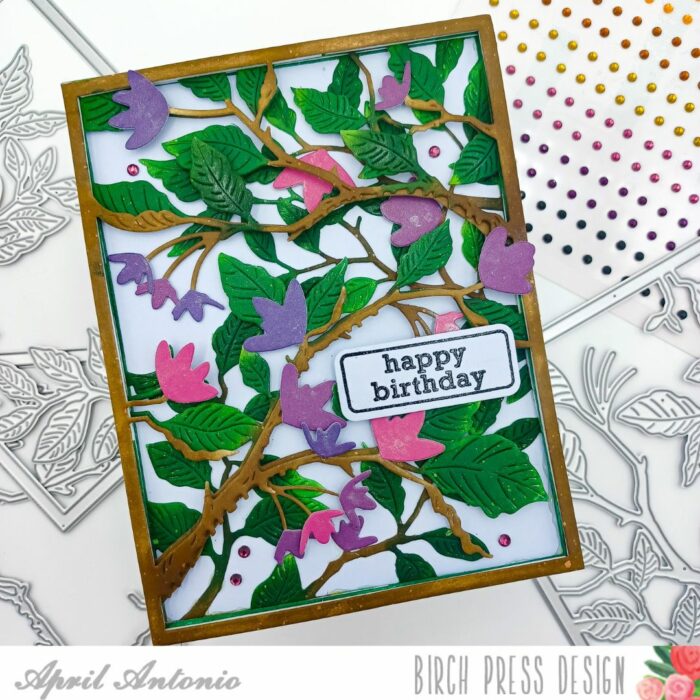
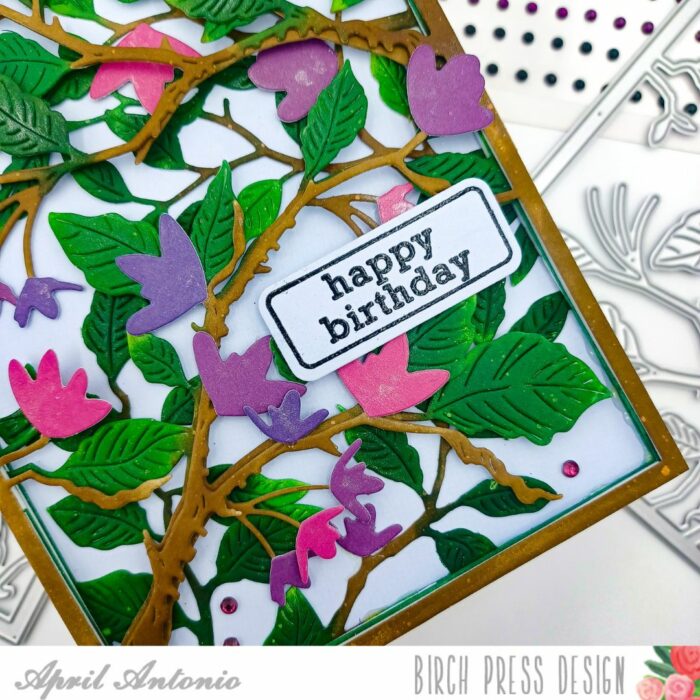
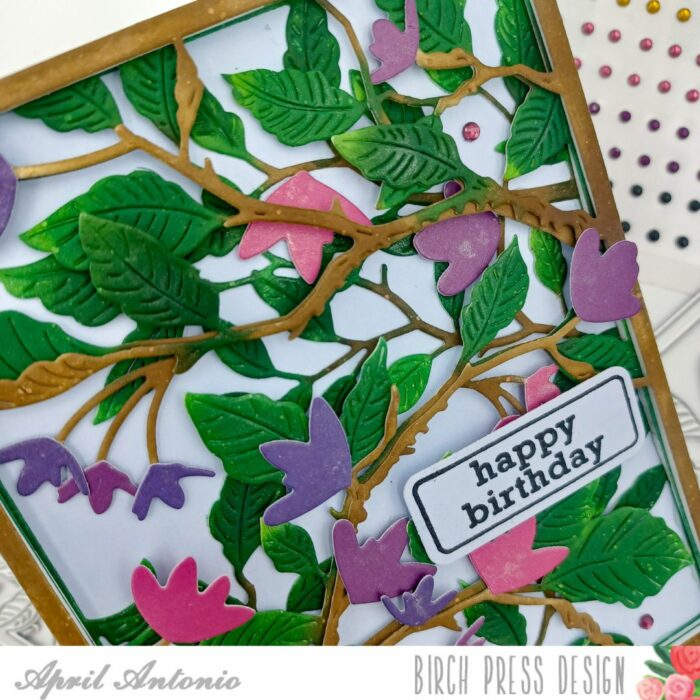
    Happy Saturday, and welcome back to the Birch Press blog! Today I am excited to share a card using the Forest Canopy layering die set. Each layer of this beautiful set can be used one it’s own or layered together as you will see in the following card.

    To start this card I first took each layer and cut it twice from white cardstock. Once for the card, and a second time to either make a second card later or in case I made a mistake with one layer while crafting.

    I then used ink blending brushes to ink each layer with shades of brown and green for the branches and leaves. To help avoid mess I used a non-stick craft mat for my ink blending.

    TIP: for more realistic looking ink blending on foliage, use lighter colors towards the top and darker colors towards the bottom. Also, it helps to use 2 or 3 colors to add more realism and dimension.

    Next I decided to create a sort of shadow box effect, so used thin layers of foam to adhere each layer together.

    To give the entire card background a ‘sky’ look I used blue cardstock from the Memory Box Ocean Blue cardstock pack and cut it to A2 sized, and glued it to a white card front. I then glued all three layers that I had adhered together to the front of the card.

    The set comes with some berries, but I really wanted to have sprouting flowers, so used flower dies from the Tiny Tuft Flowers & Leaves die set. I cut the flowers in three different colors from the Vibrant Violet card stock set.

    I then glued the flowers all over the card front, making sure to add some to the back layers as well as the top layer.

    Lastly, I added some powder shine and also jewels from the Autumn Fairy Jewels set.

    Supplies

  • Cozy Florals | by April Antonio

    Cozy Florals | by April Antonio

    Welcome back to the blog! Today I’m bringing you a cozy Autumn themed card using some beautiful floral images, and emboss resist inking.

    To start todays card I used the large floral image stamp from the Gracious Floral stamp and die set and heat embossed it with white powder onto a piece of white cardstock.

    I then used my mini blending brushes and a few different ink colors to blend all the flowers and leaves, making sure to use darker colors towards the bottom of center of flowers and lighter colors towards the top.

    TIP: color blending like this can be very forgiving. I was not worried about the colors overlapping each other, because once it’s all blended out it looks cohesive.

    Once I was satisfied with the color blending, I took a clean paper towel and wiped it across my image to remove any residual ink from the white embossed part. Then I used the coordinating die to cut the image out.

    To add some extra interest and shine to my flower I sprinkled a few drops of water so the ink would lift in those places, and also rubbed some shine powder across the image so it would sparkle a bit.

    Separately, I took the Pinpoint Contour Plate die and cut it from a piece of white cardstock, and glued it to an A2 card base. I then arranged the floral image into the center of the card and adhered it using foam dots.

    Next I took the ‘Just Because’ that is in the same Gracious Floral set and stamped it in black ink and heat embossed it with clear powder. I used the matching die to cut it out, and cut it out two more times from white cardstock. I glued all the layers together to add some dimension to the sentiment, and then added it to my card front.

    Lastly, I had to add some bling of course! I used jewels from the Autumn Fairy Jewels set to bling out the flowers. Some I filled in the center with jewels, and others I just did a few or filled in petals.

    That is it! I hope you enjoyed reading through my process to create this colorful, fall themed card and see you next time!

    Supplies

    Supplies

  • Fall Leaves for the First Day of Autumn | by April Antonio

    Fall Leaves for the First Day of Autumn | by April Antonio

    Fall is a beautiful time of year, and what better way to celebrate than with a handmade card? Iā€™m excited to be back on the blog today to show you how to create a simple yet stunning fall card using some of the Fall themed supplies from the Birch Press Design store.

    I chose a piece of woodgrain paper and cut it to size for my card front. I used the cream woodgrain to match the Fall theme, and cut the size to A2.

    I die cut the leaves and veins using the Adornment Oak Leaf die in five different warm, Fall colors. I used the same color to cut the leaf and the vein, layering them on top of one another for added dimension.

    TIP: the veins are delicate to handle. I put them upside down on a nonstick mat, and ran my tape runner over the back to get adhesive on them. It’s less messy than liquid glue and the nonstick mat insures the tape runner adhesive doesn’t get tape everywhere.

    Next I die cut the warm wishes vintage sentiment from brown cardstock, and the background from the same cream woodgrain paper. I layered those on top of each other and added foam squares to the back for dimension.

    To pull my card together I added my sentiment to the lower left of the card, and layered the leaves all around it, letting them hang off the edge. Once I was happy with their placement I glued them down with liquid glue, and used heavy duty scissors to trim off the excess.

    I hope you enjoyed today’s card and Happy Fall!


    Supplies