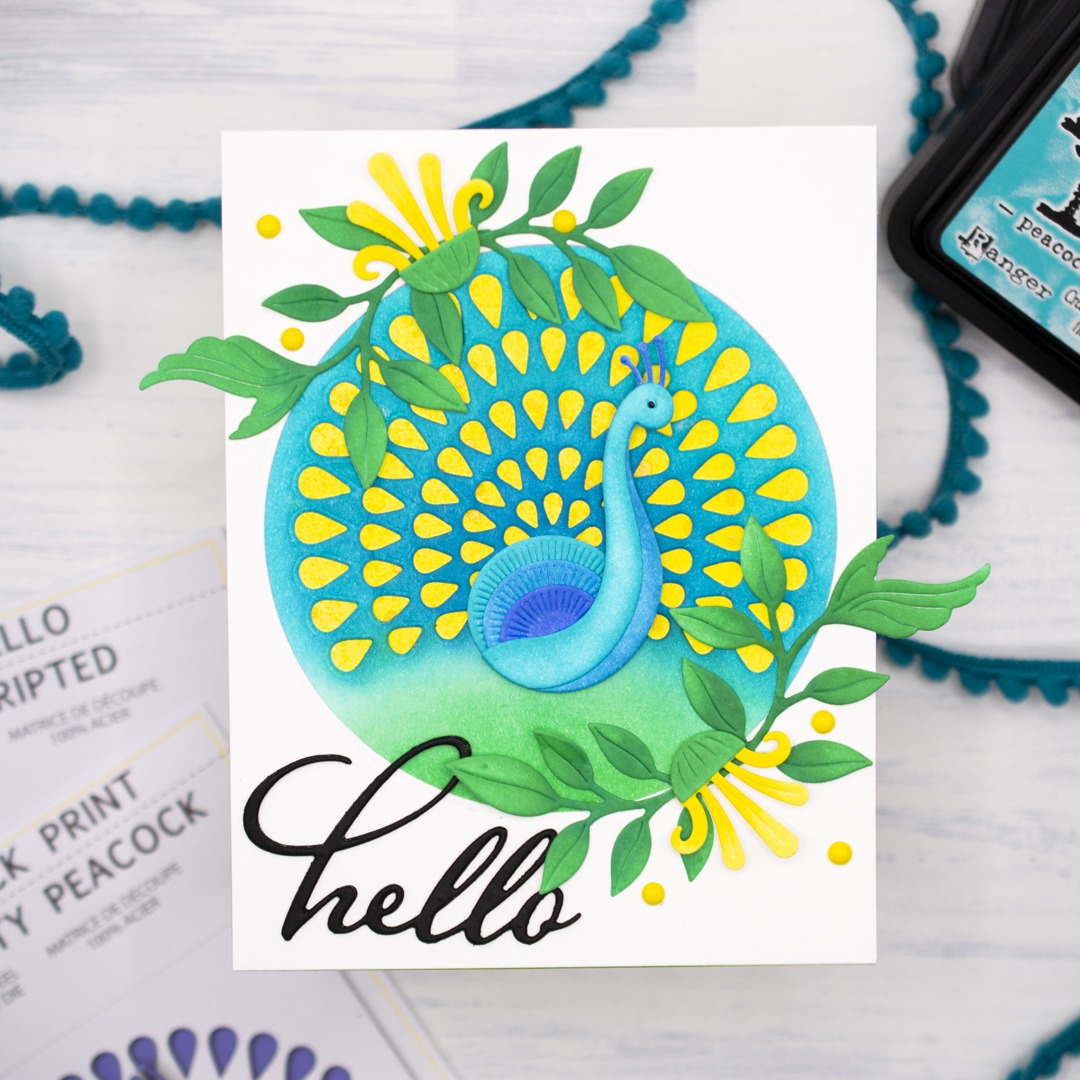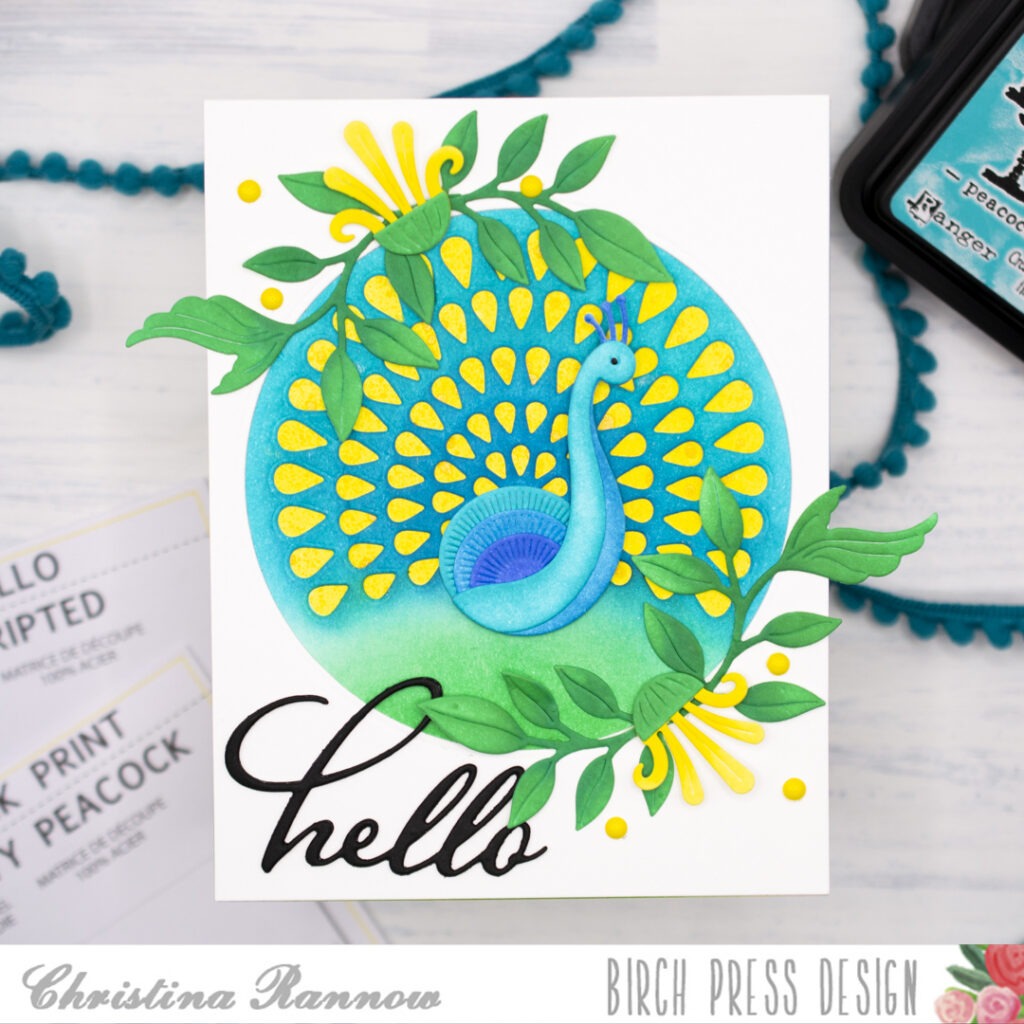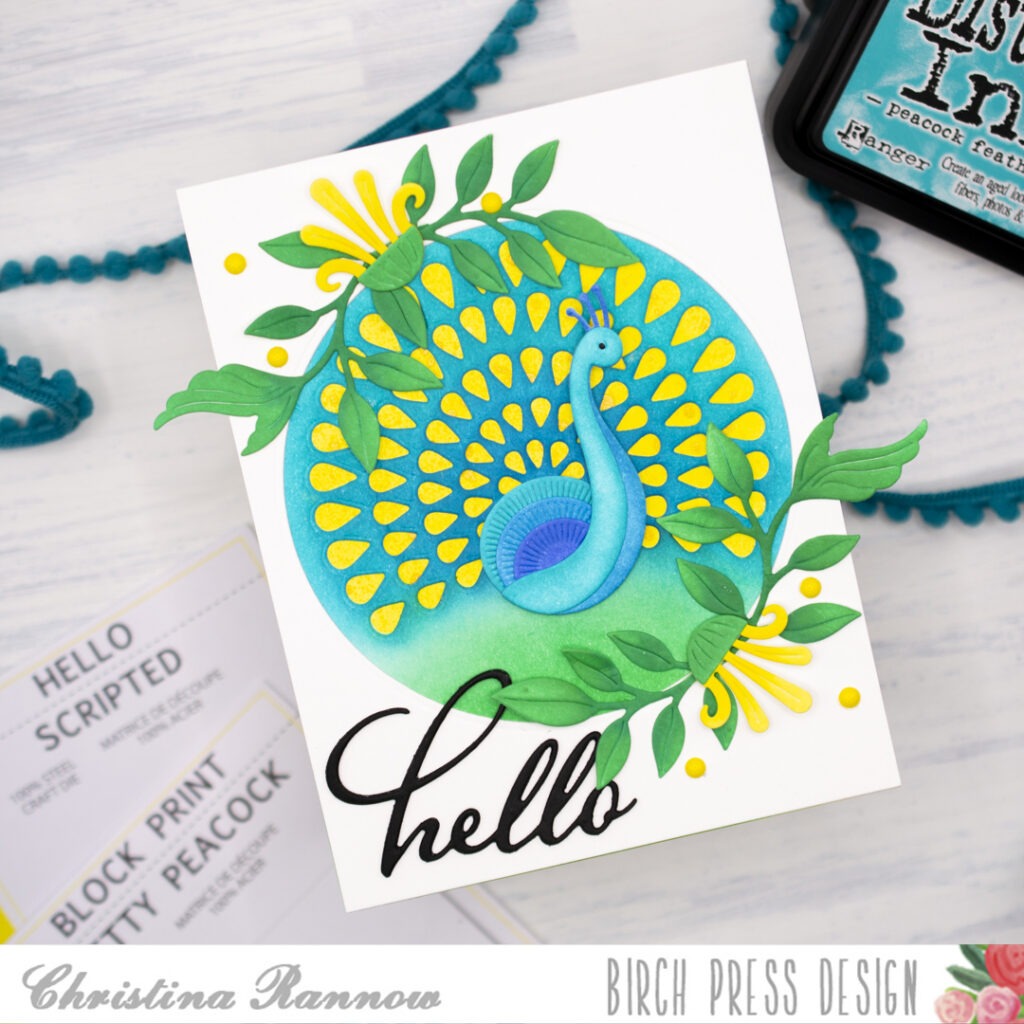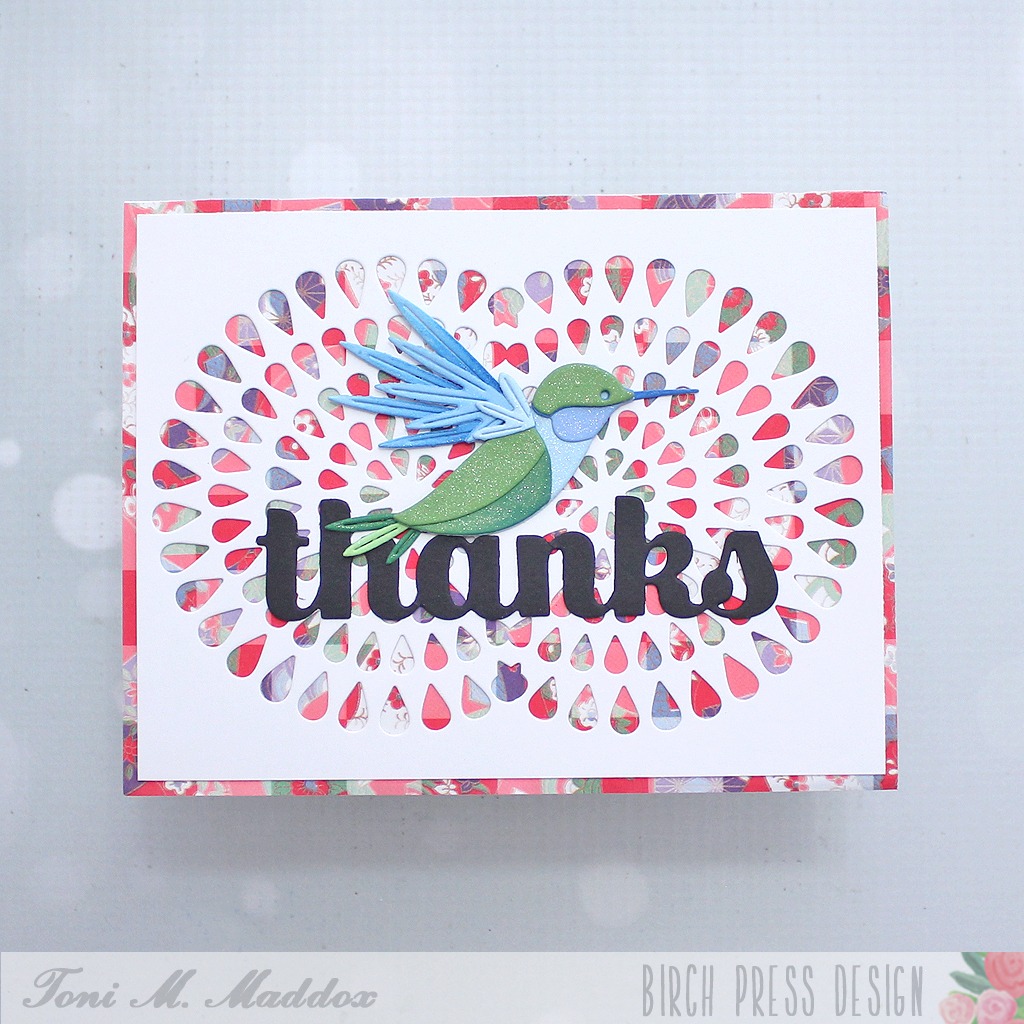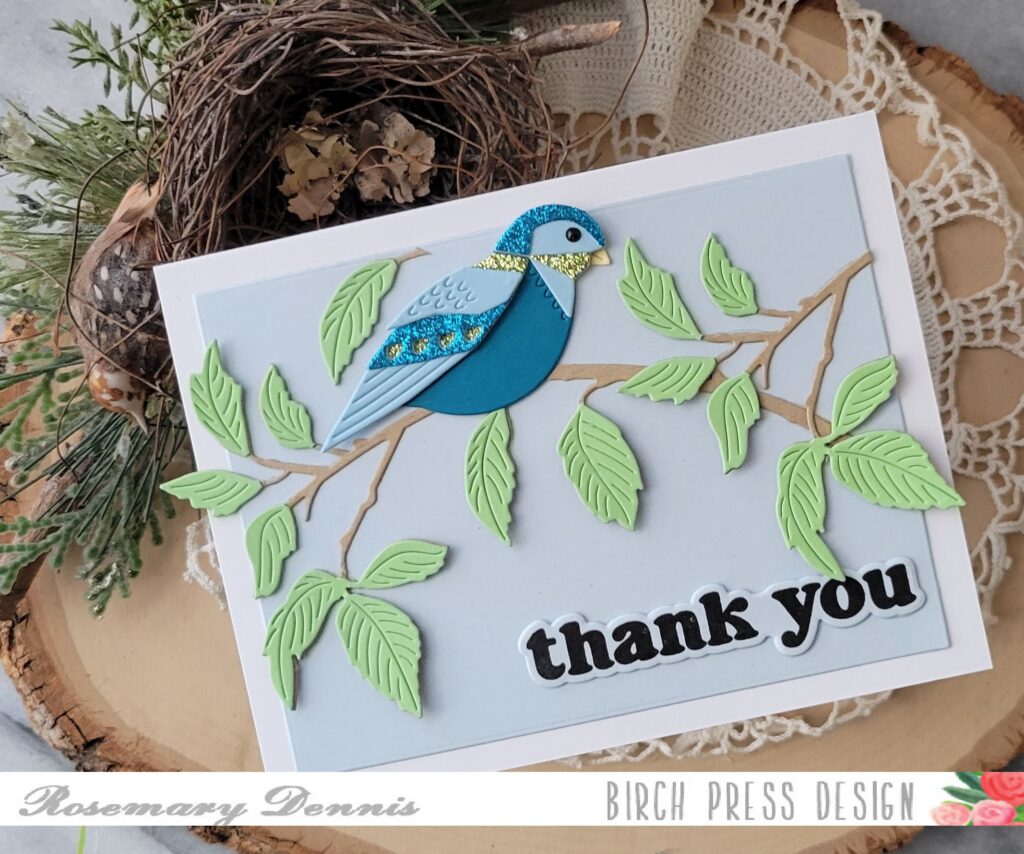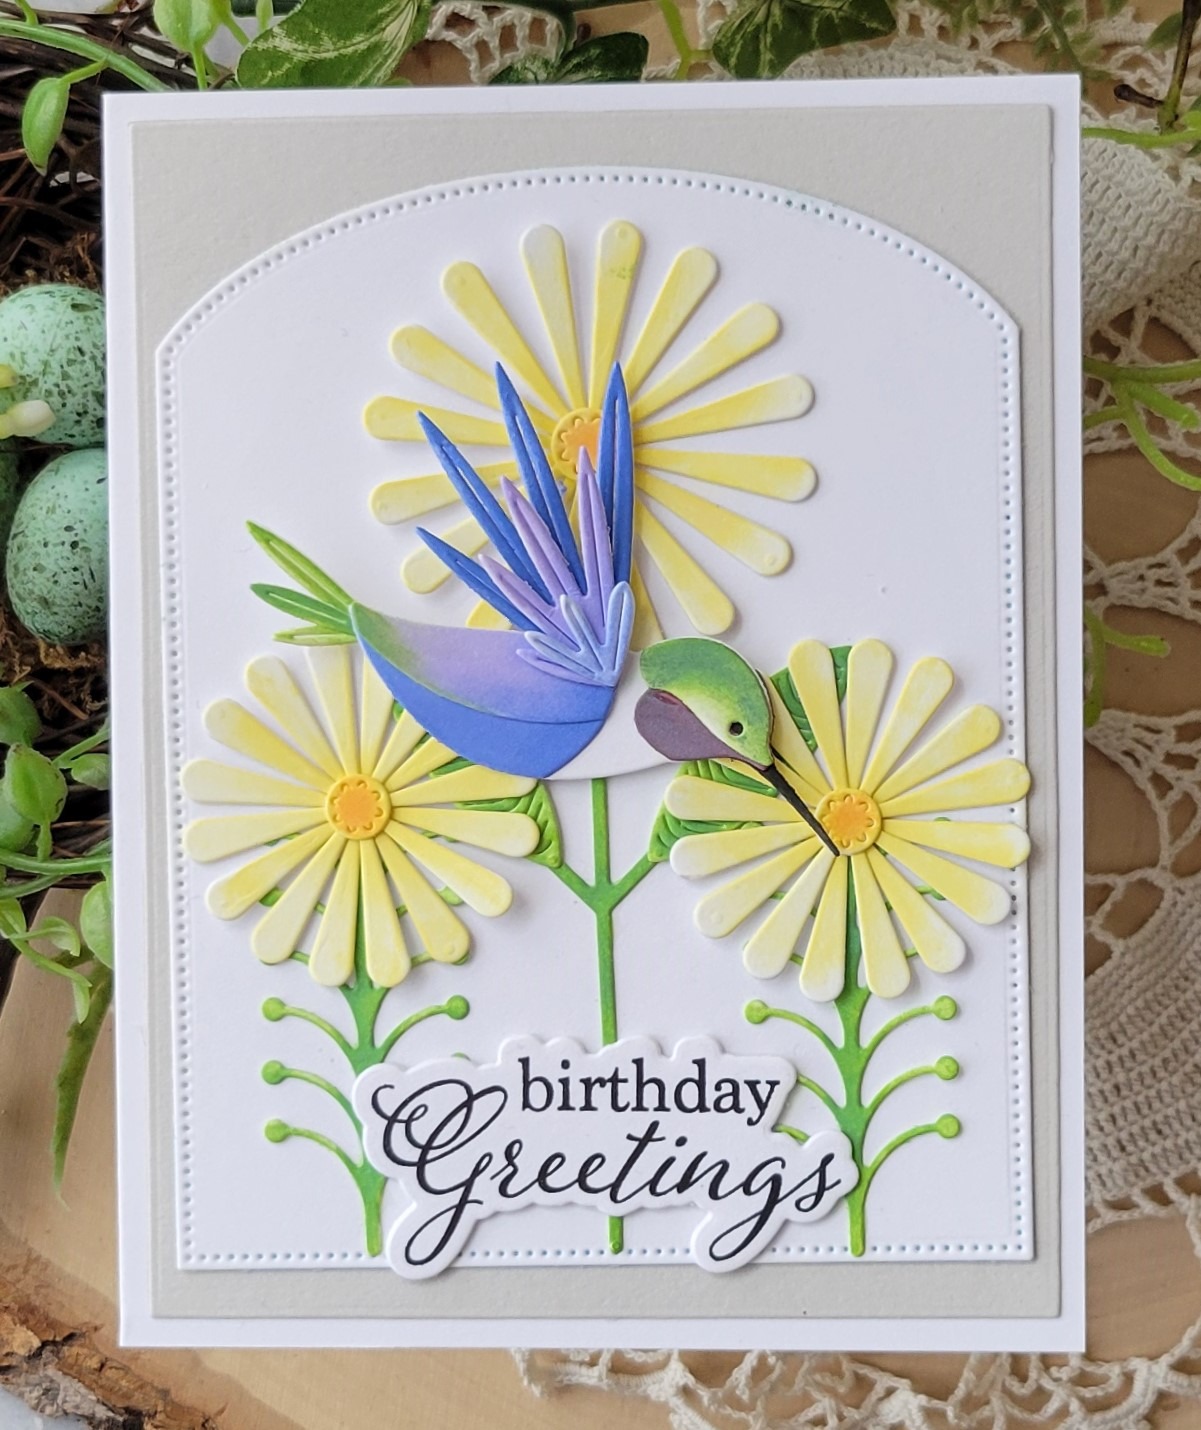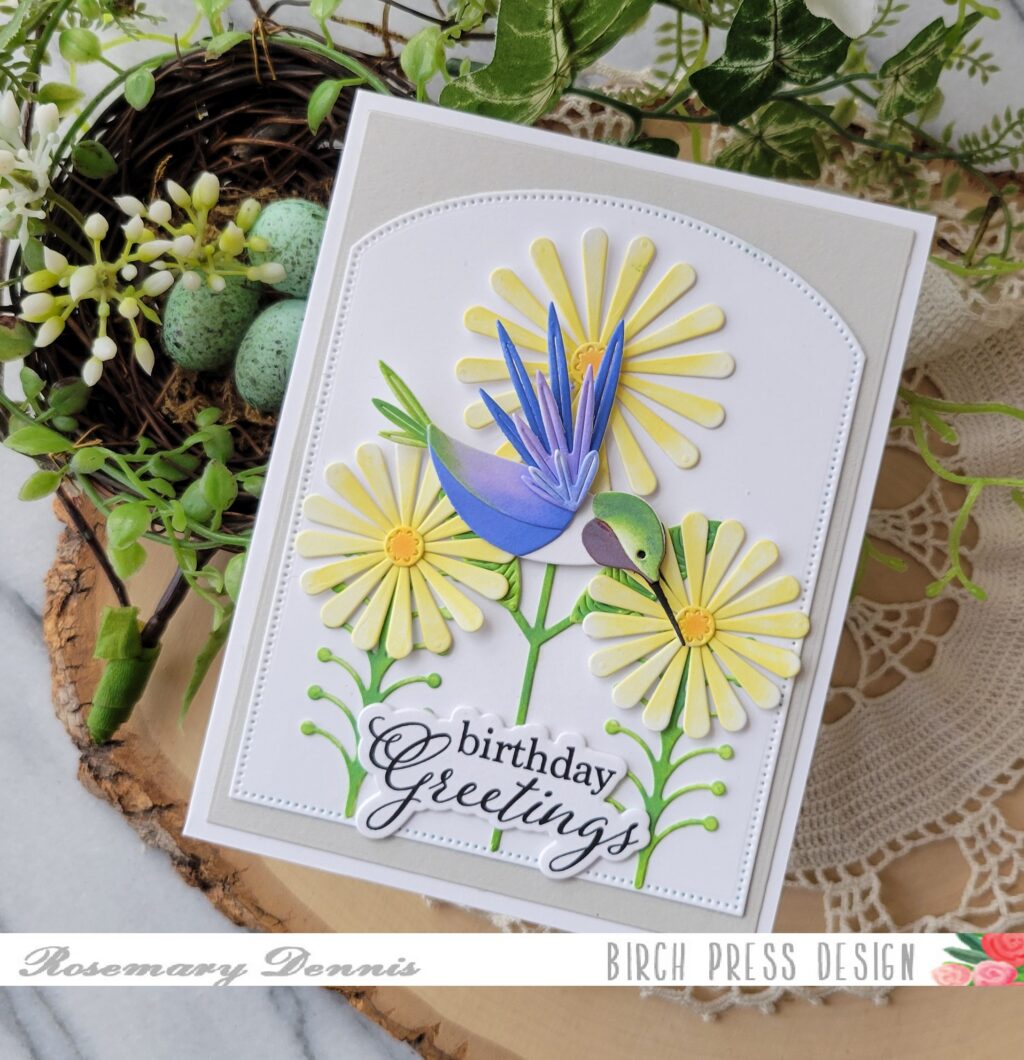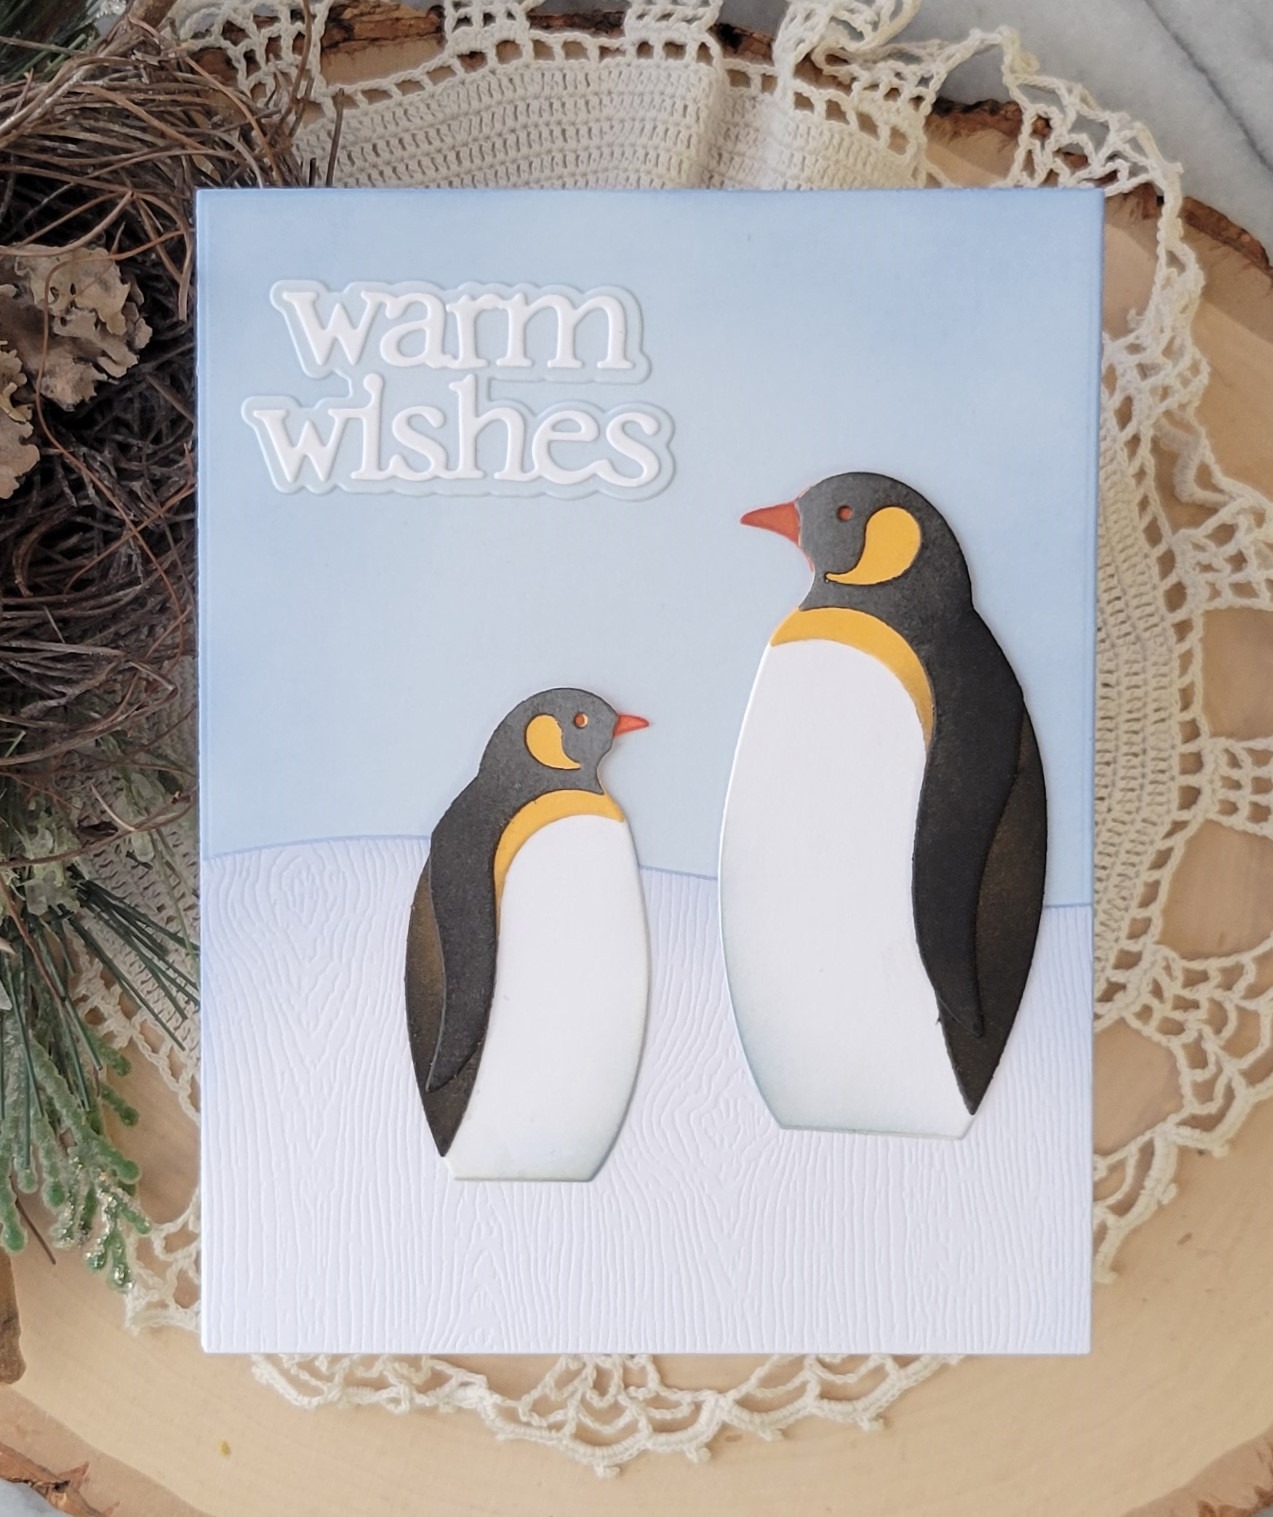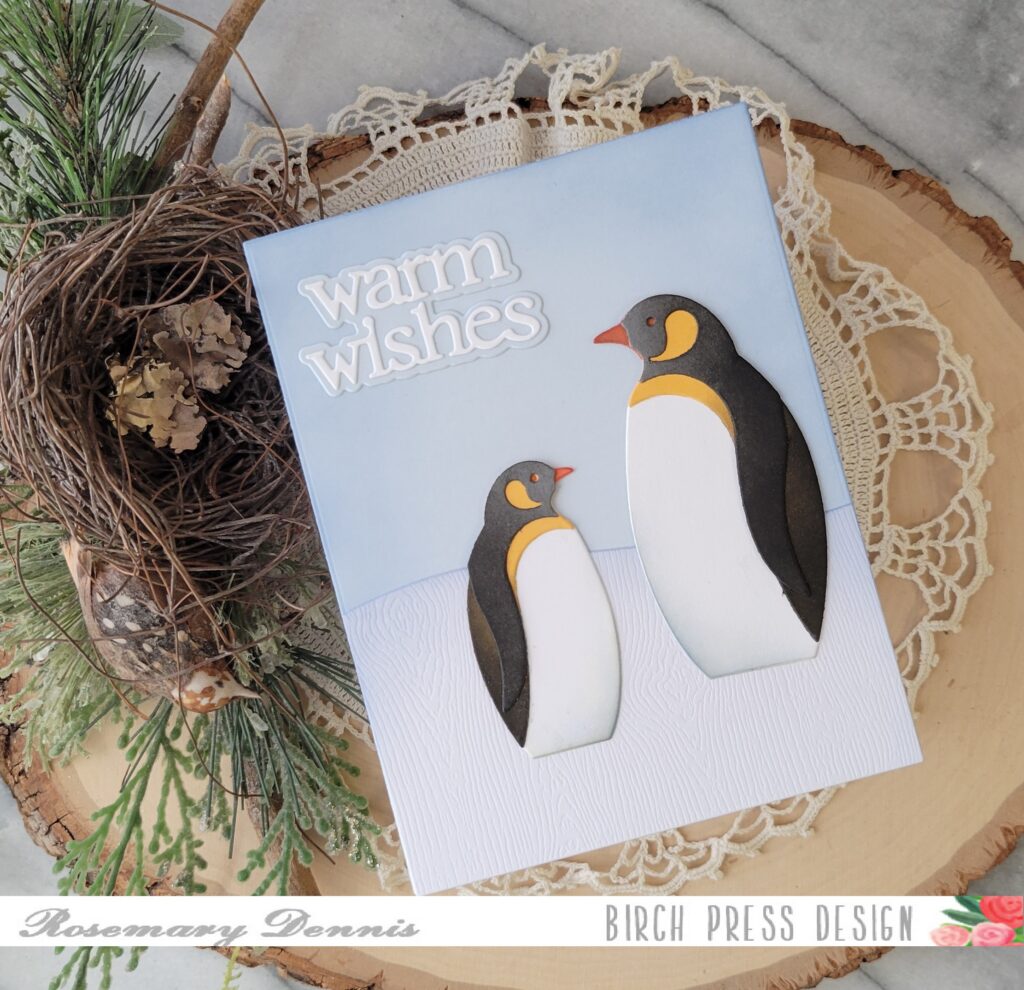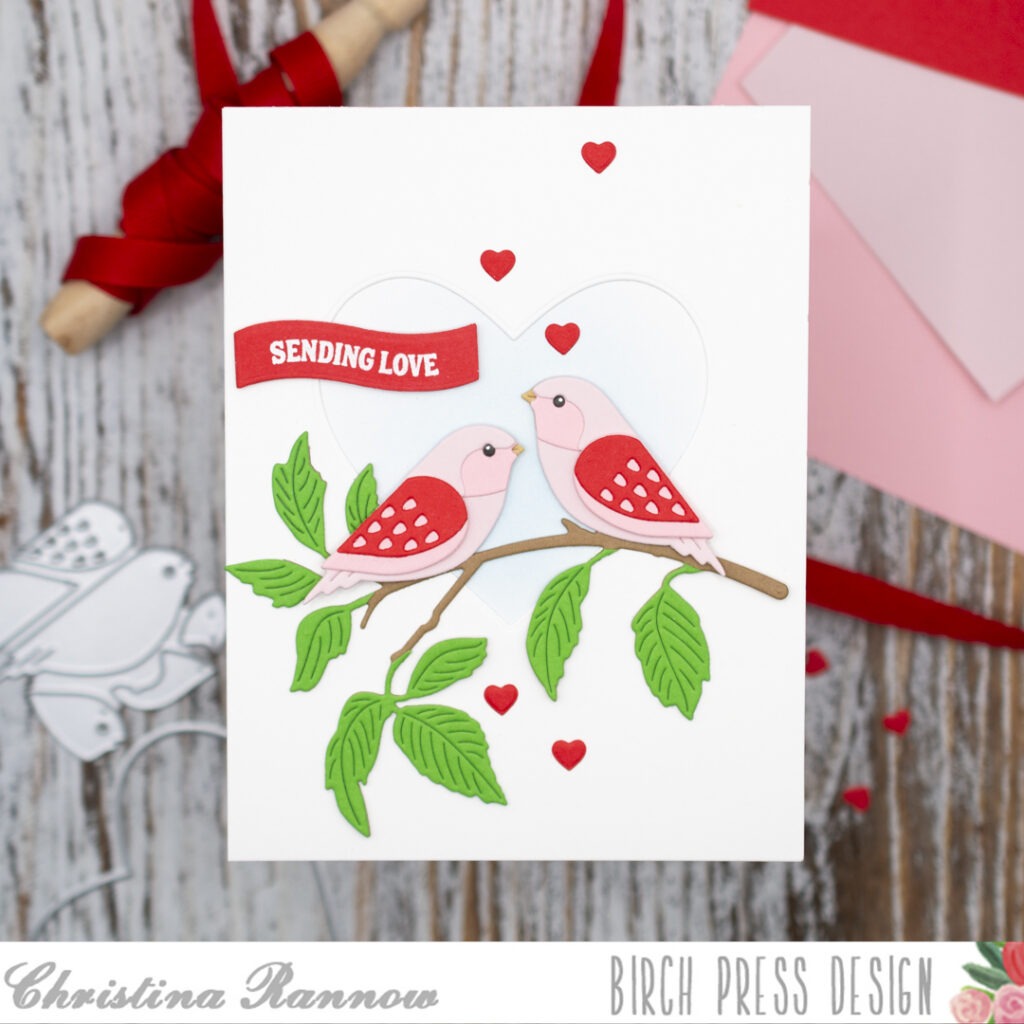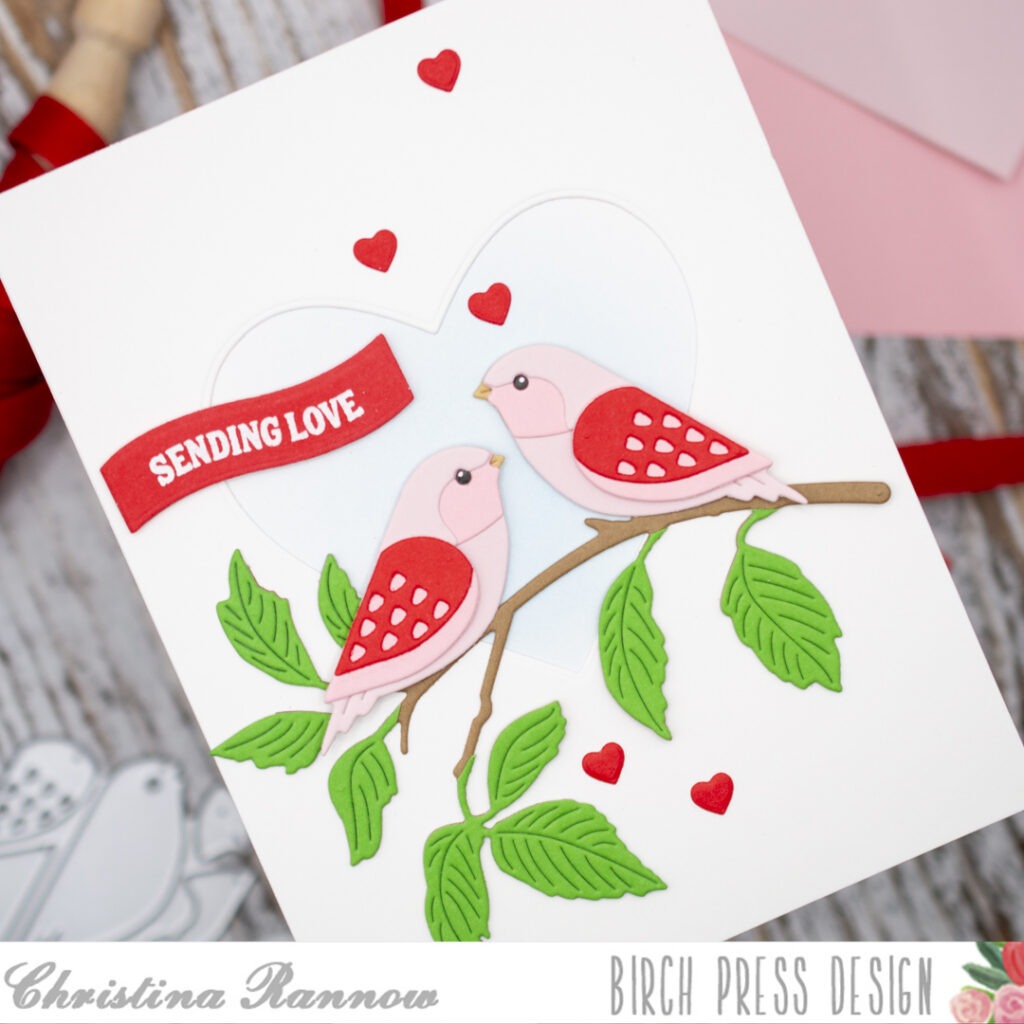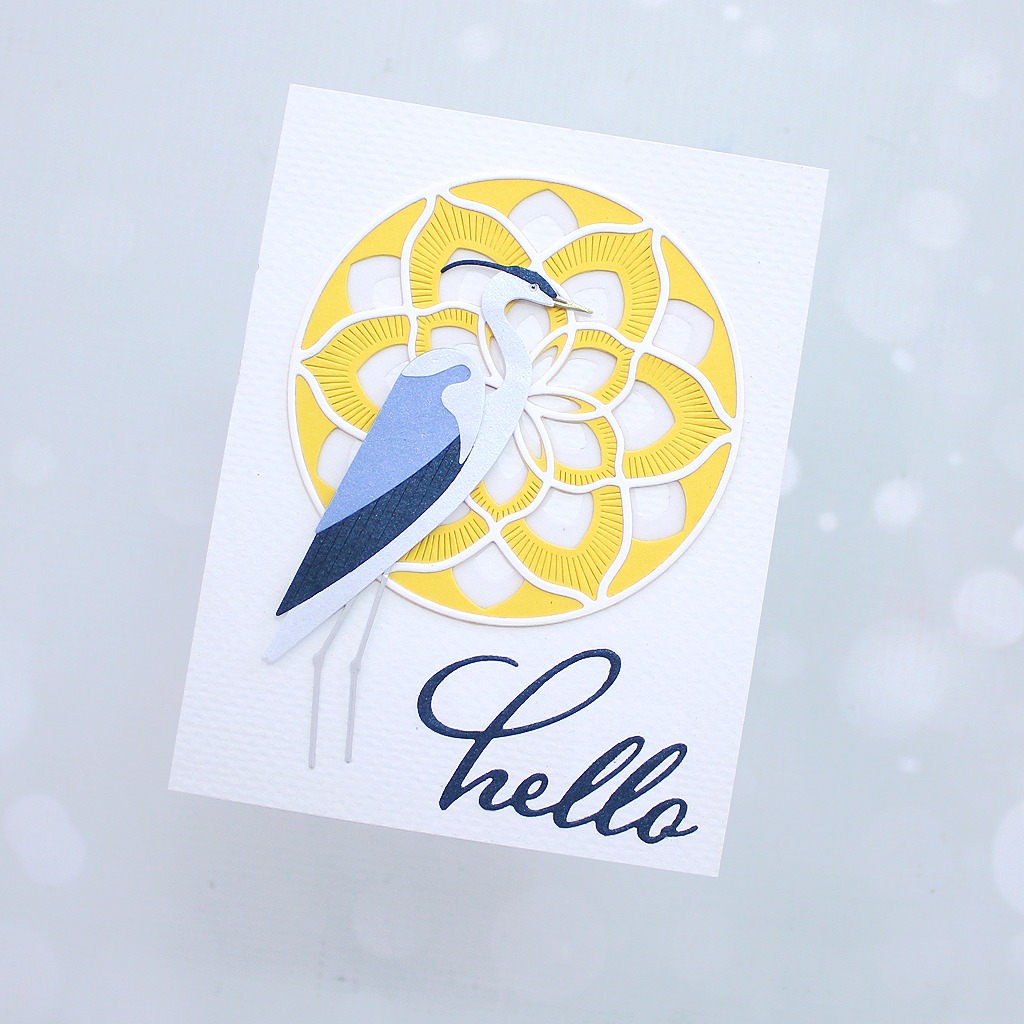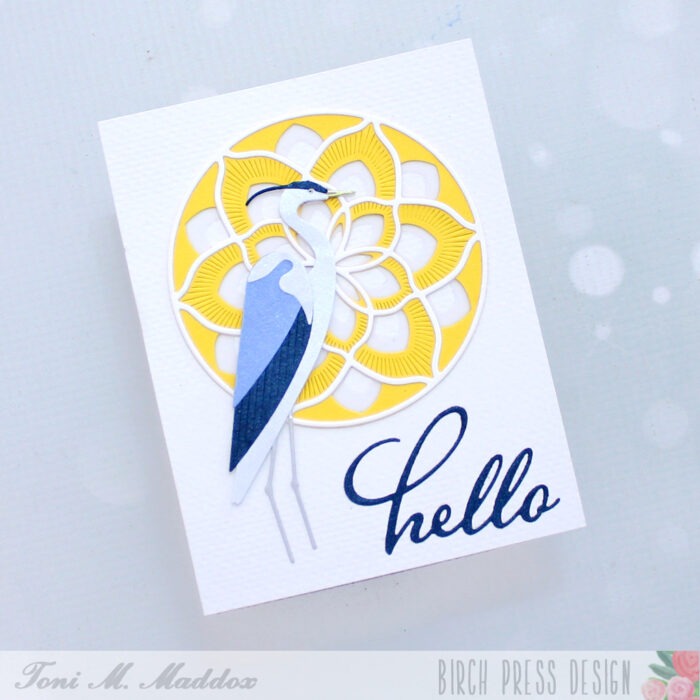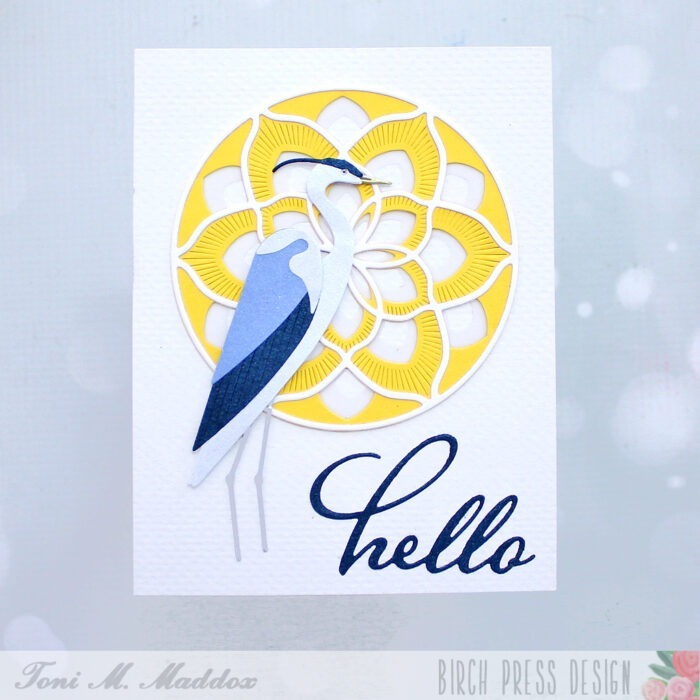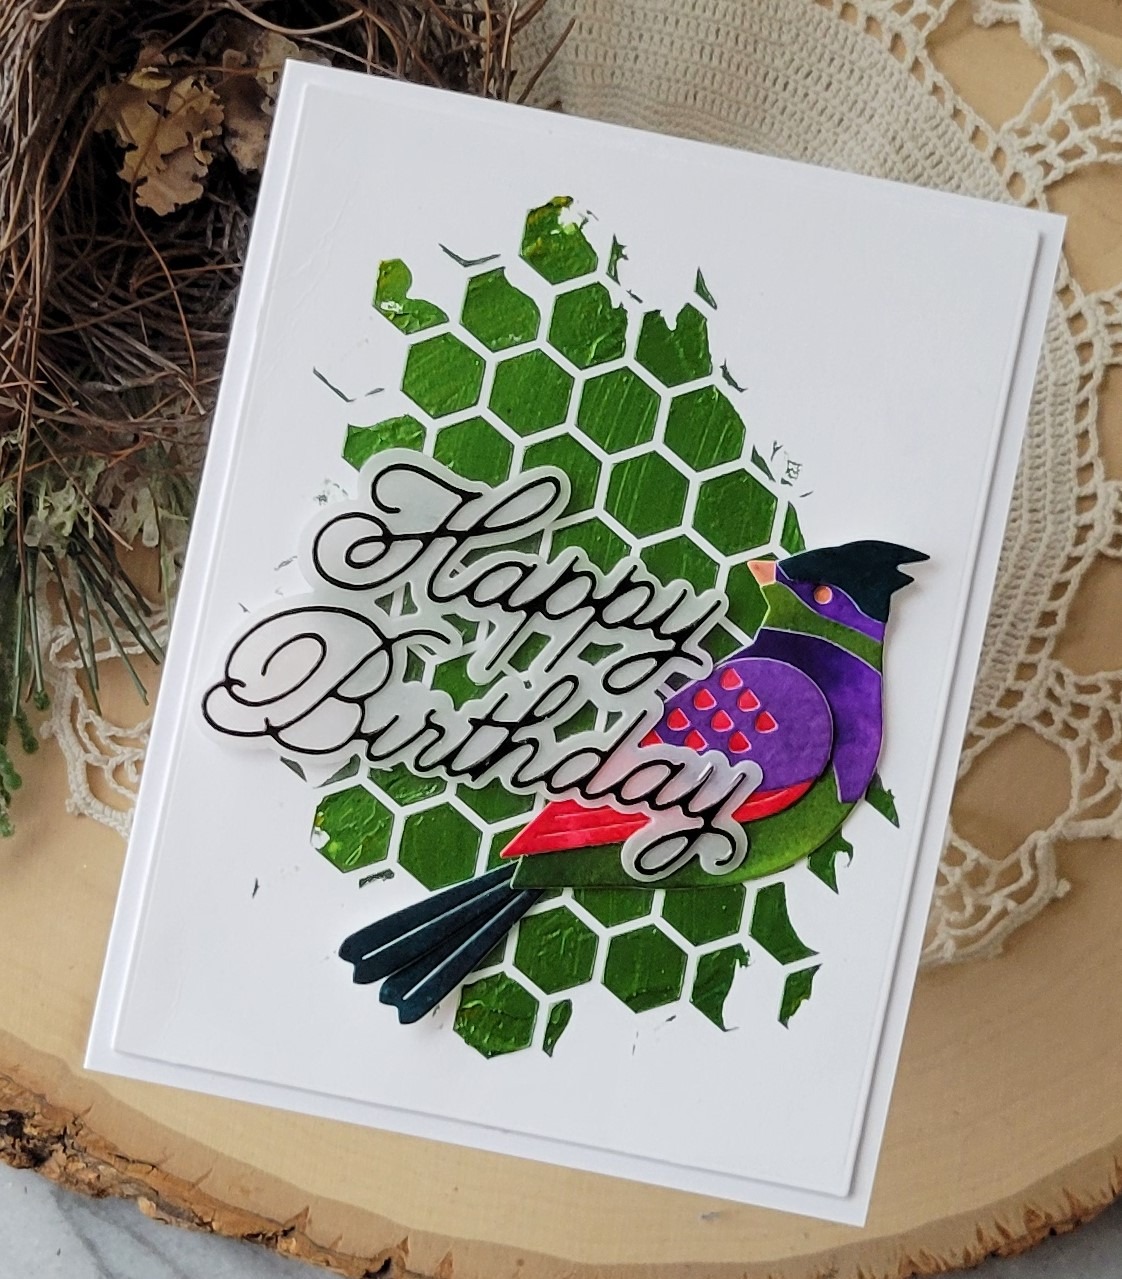
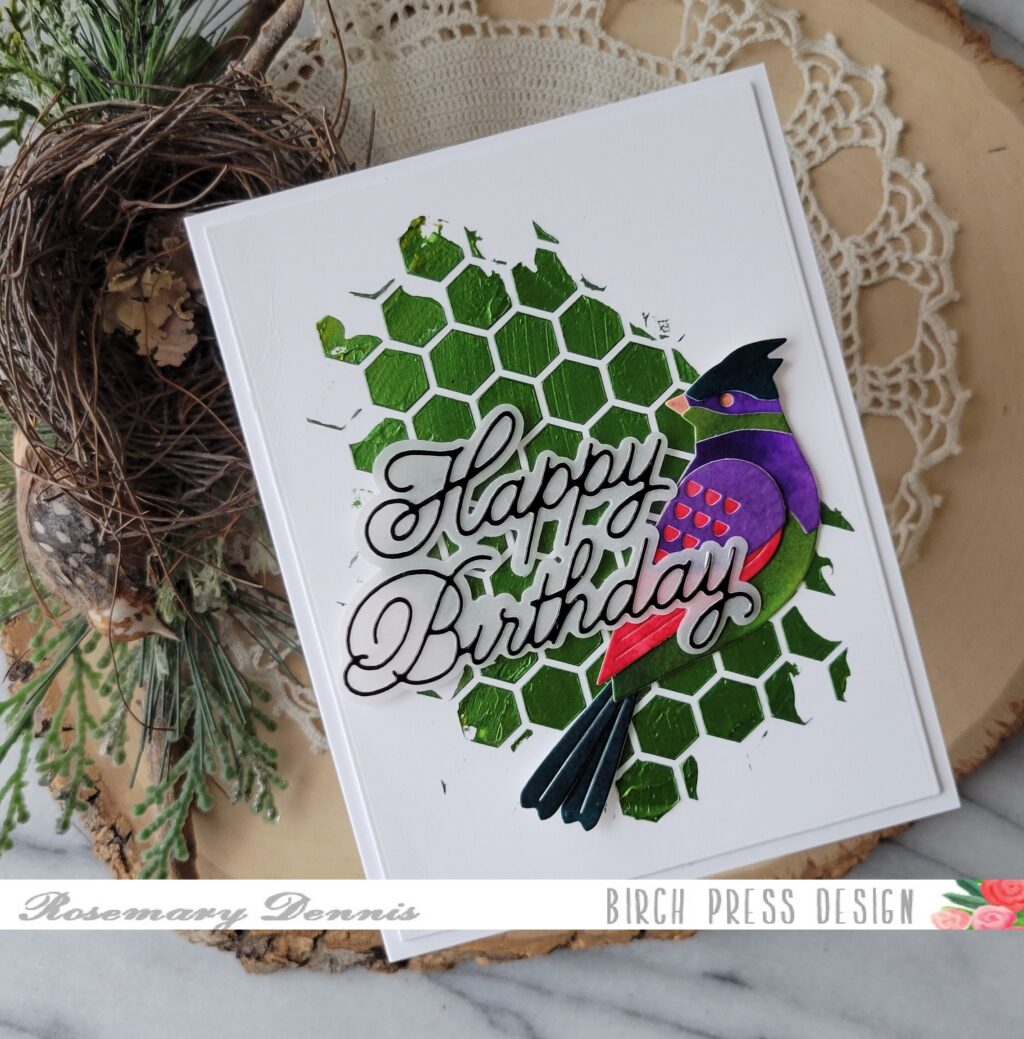
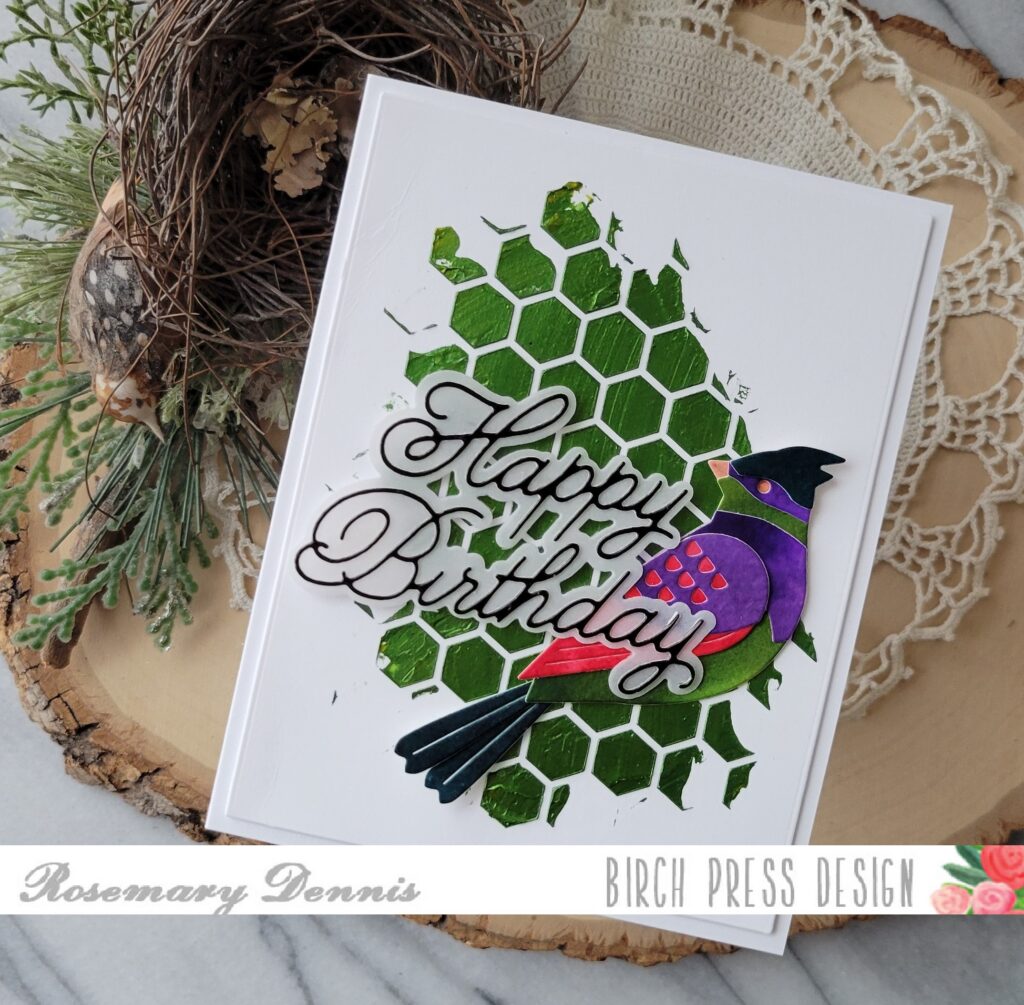
Hello, hello! Rosemary here on the blog today share a fun mixed media card that I made with the new Block Print Tropical Perched Bird and Handwritten Happy Birthday and Outline dies. I also used the Honeycomb Stencil for the project. Let’s take a look at what I made.
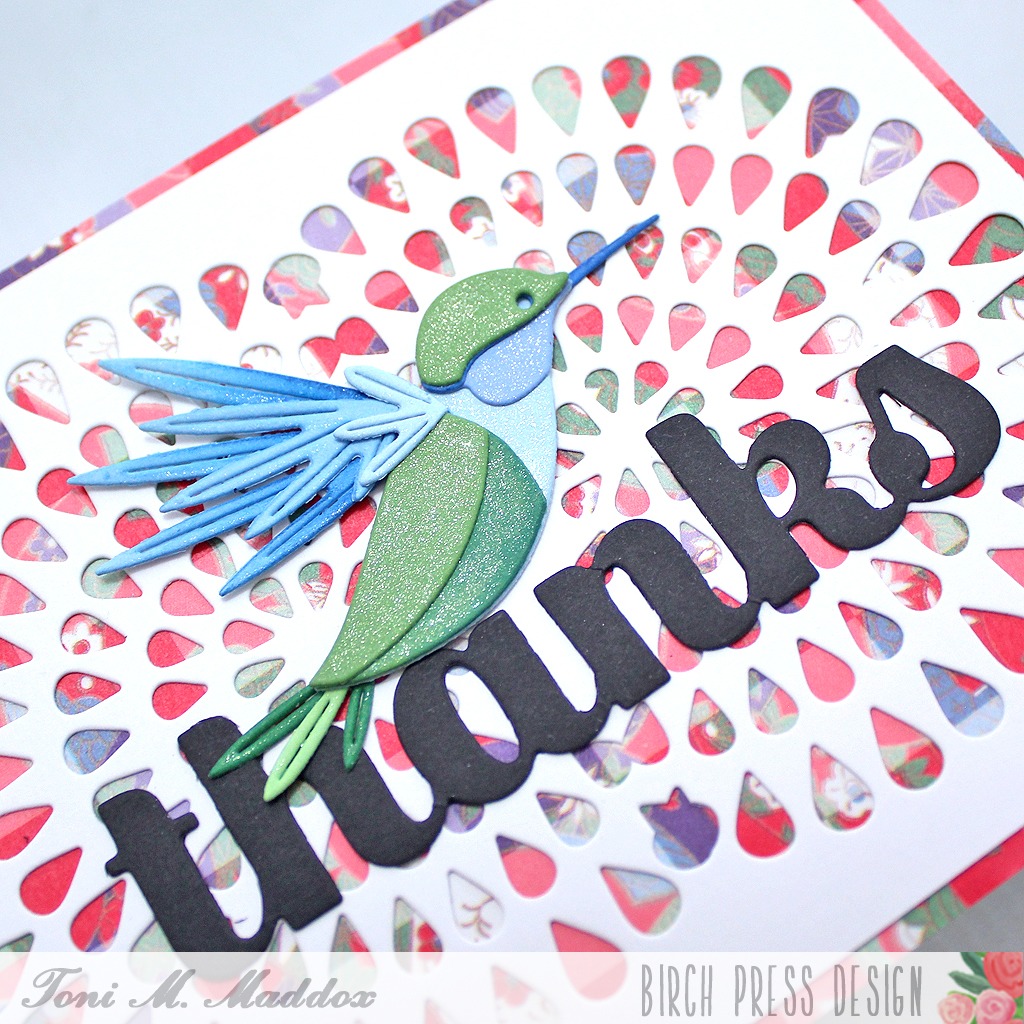
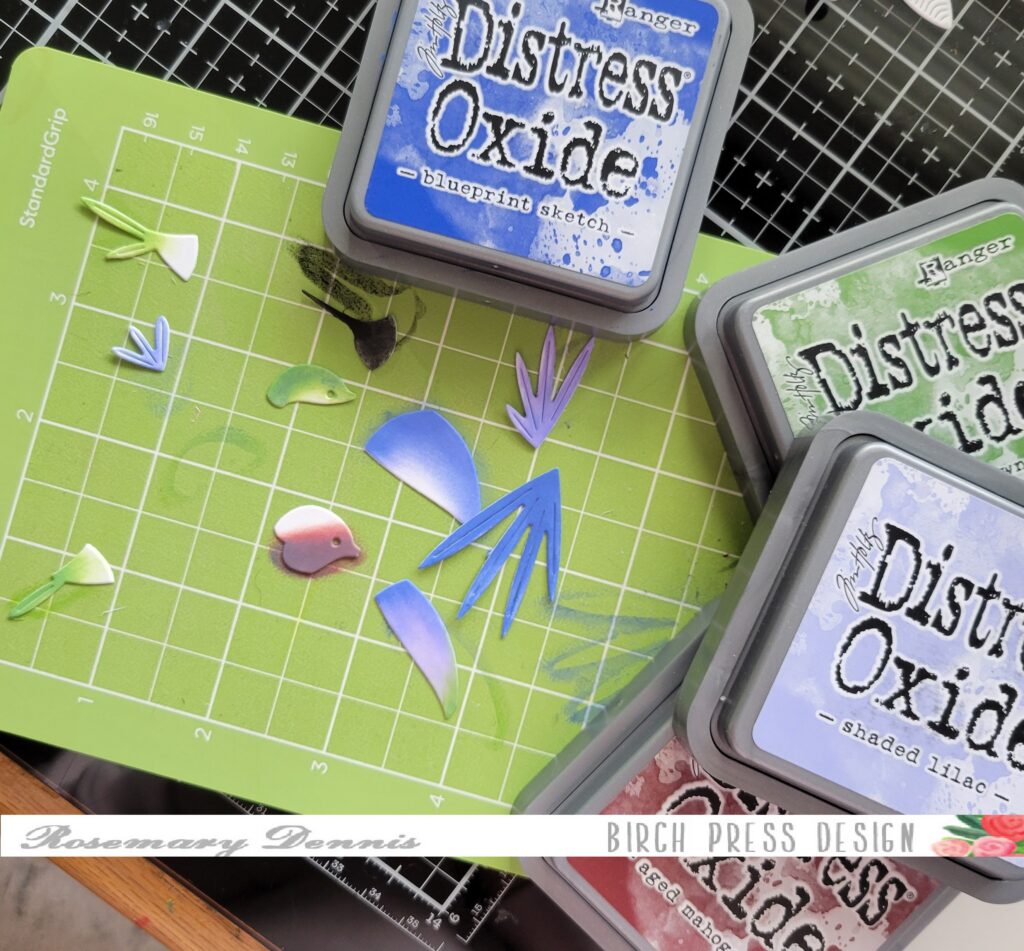
When I started the card I used just going to use some colored cardstock to create my bird. Then I started going through my supplies and I found containers of some Ken Oliver color burst medium that I had purchased long ago. So I decided to grab a sheet of watercolor cardstock and see what happened. Below is what happened, lol.
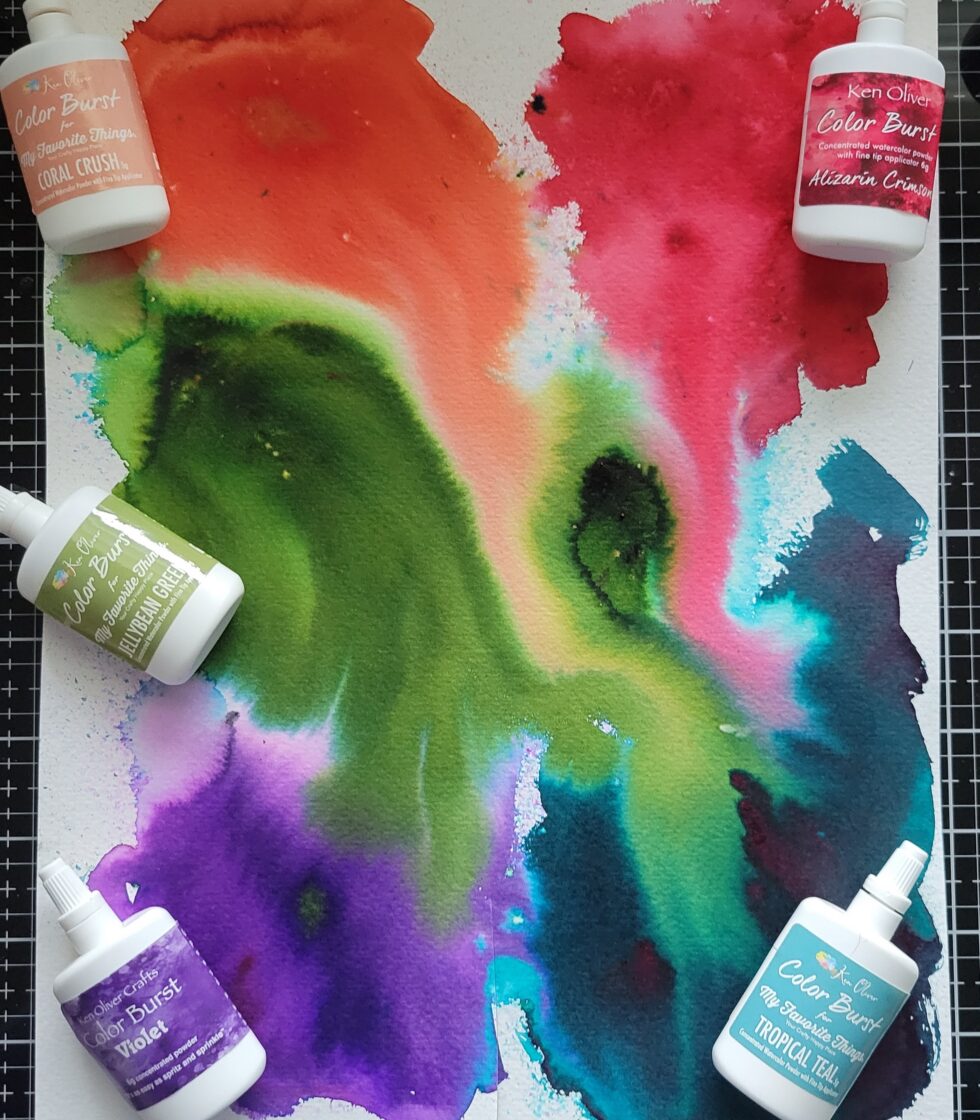
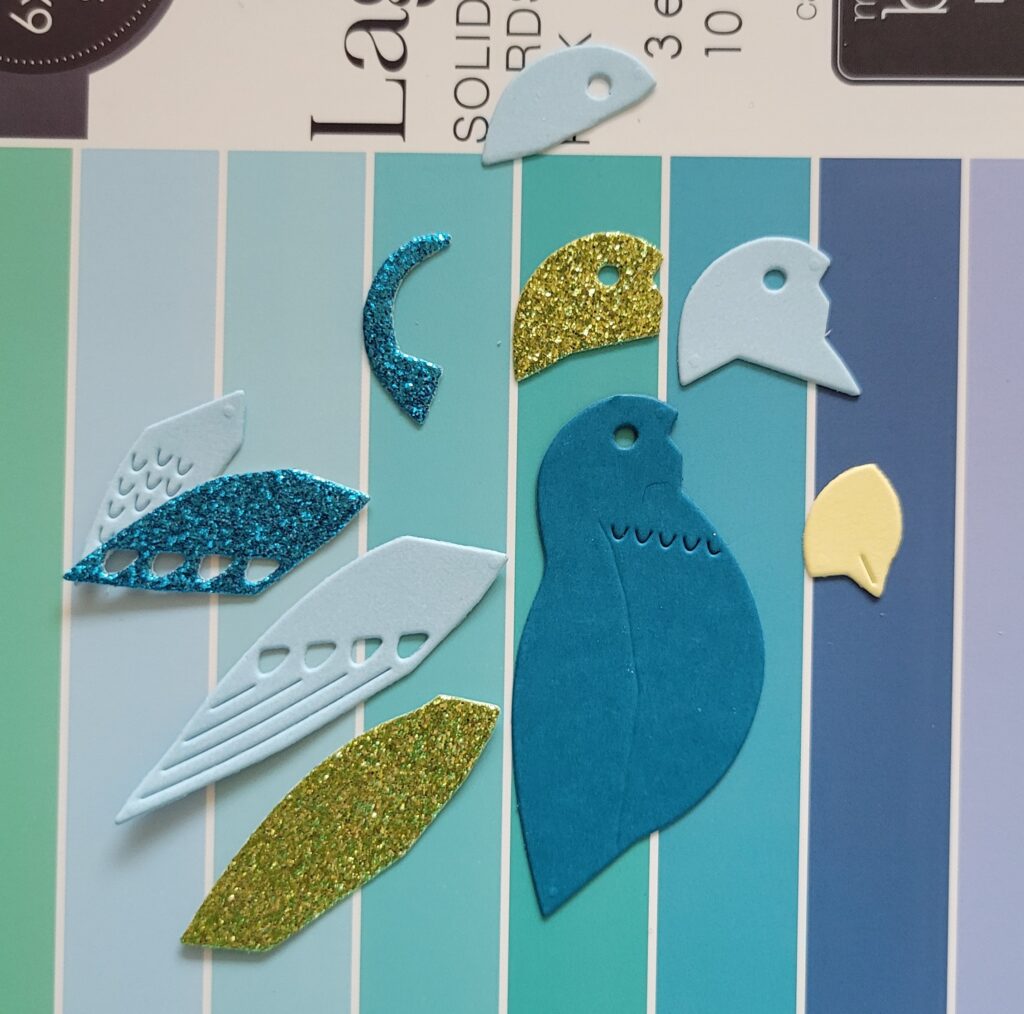
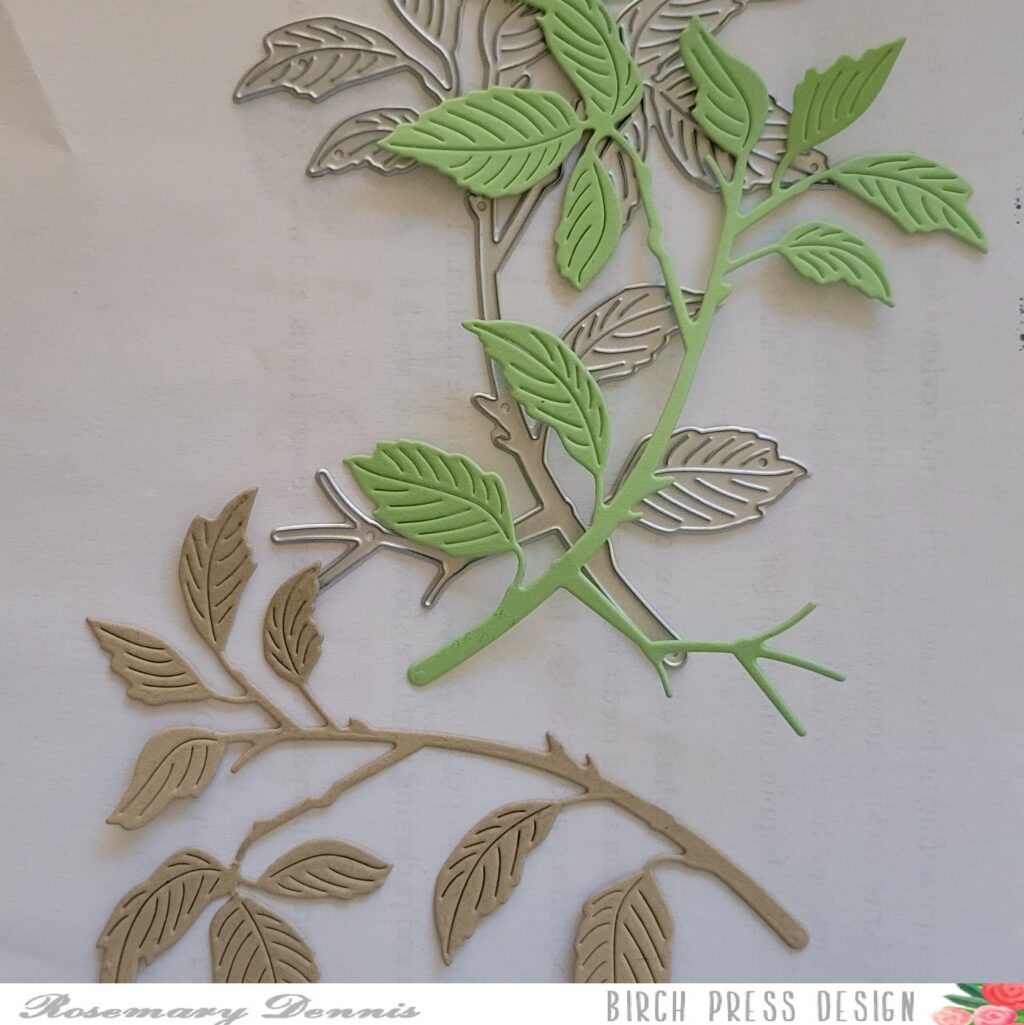
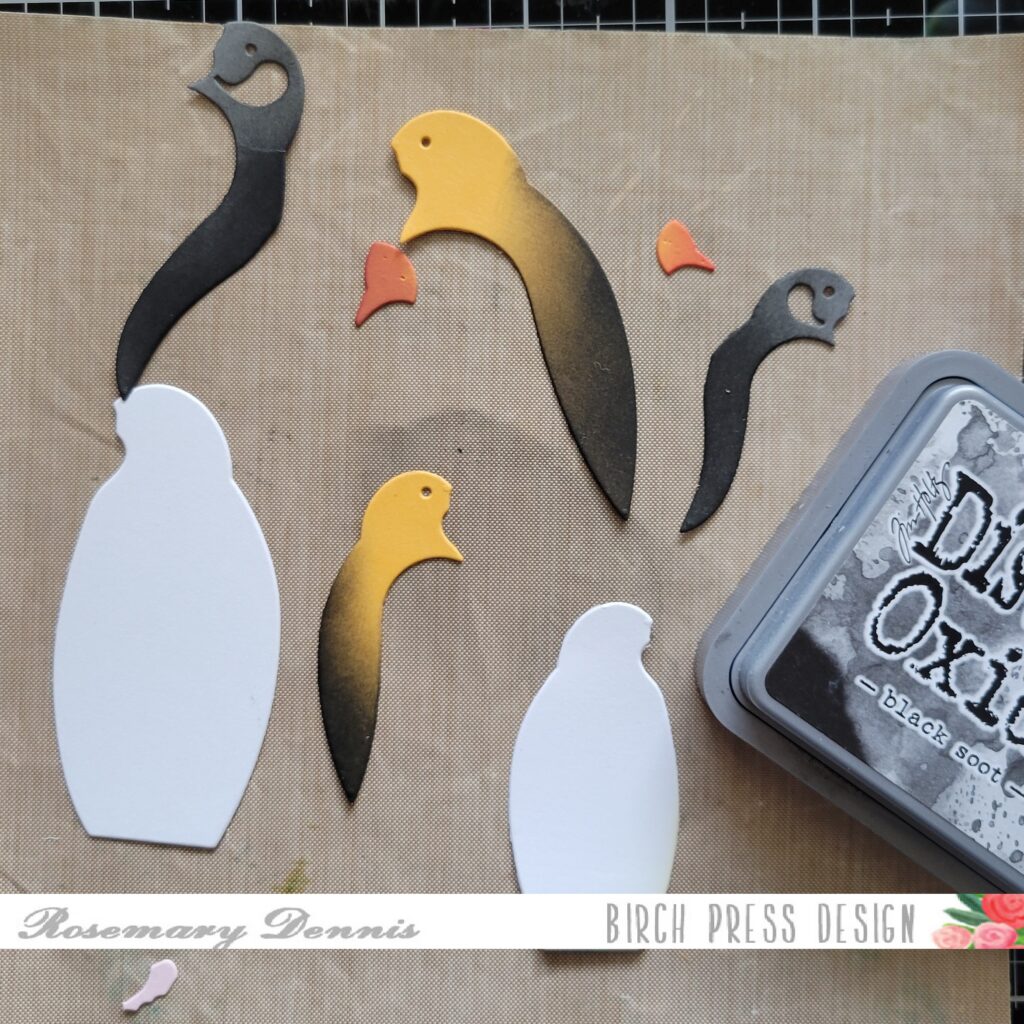
Bit of a mess, right? But I knew I could make something out of it once I cut all the pieces. I cut both dies multiple times so that I would have enough pieces to come up with the right combination.
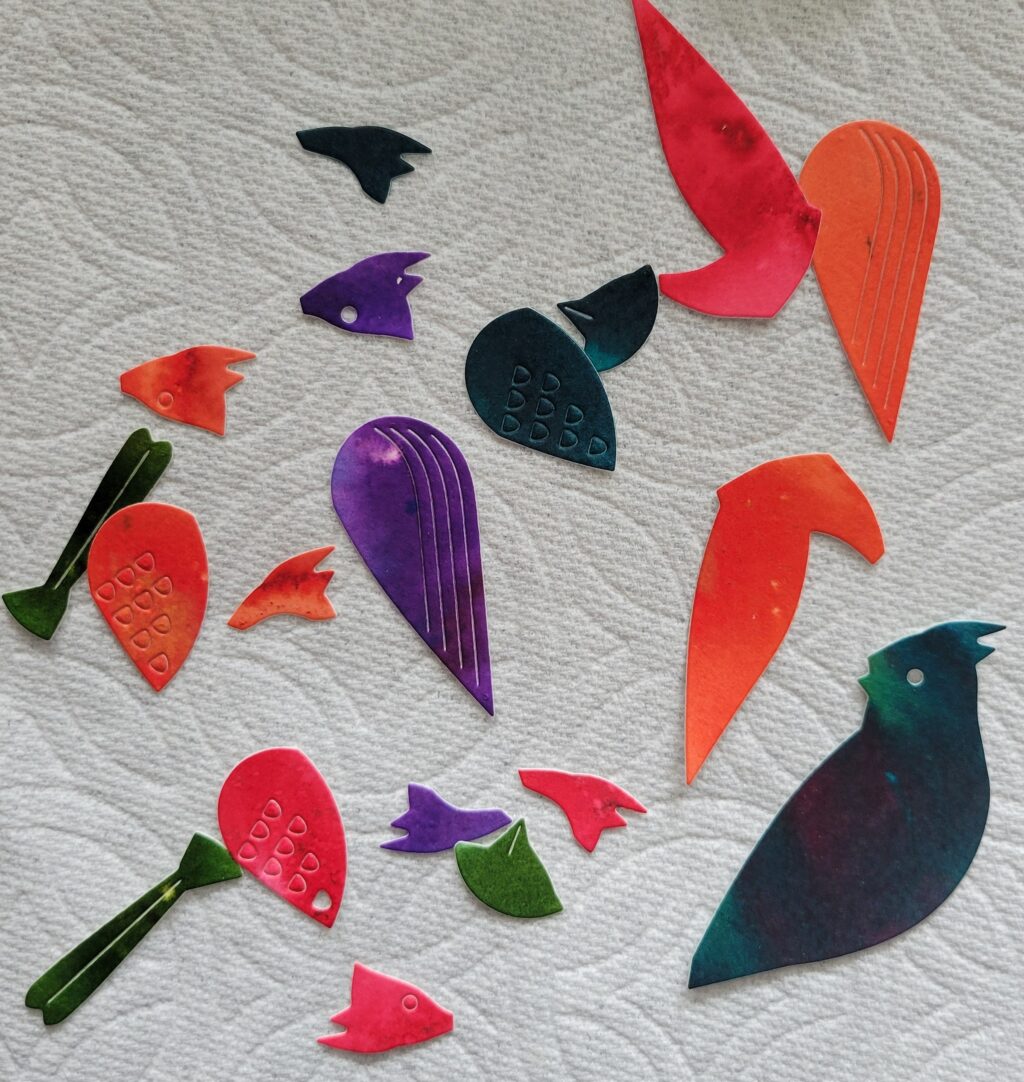
Here are the majority of the pieces.
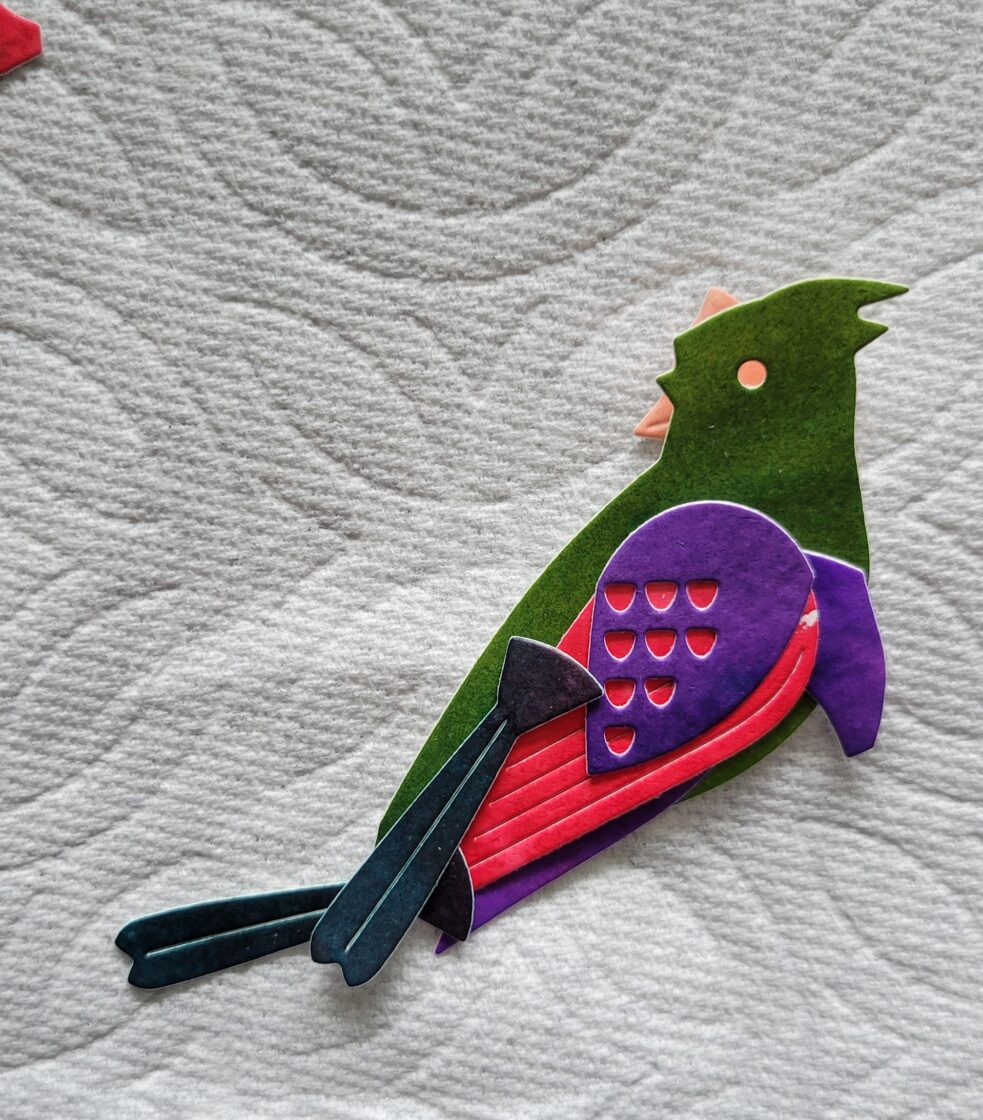
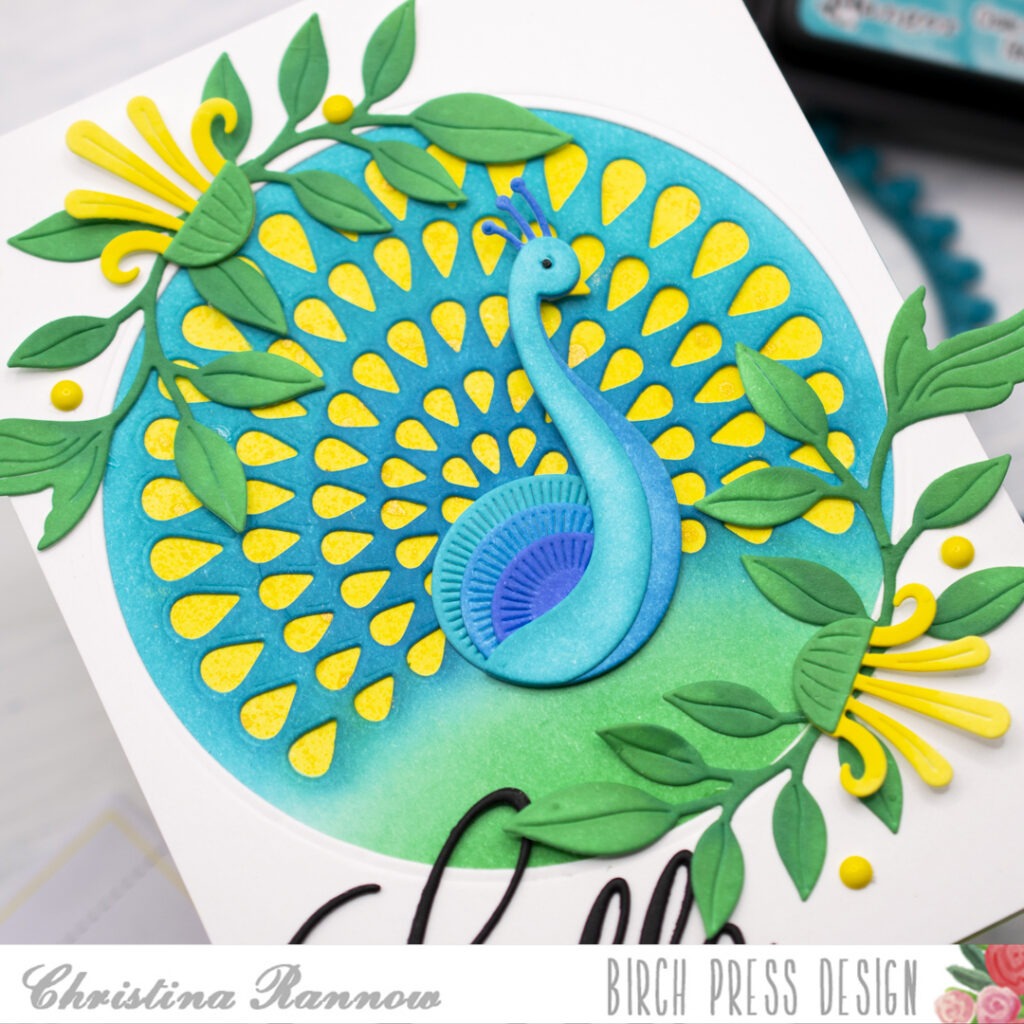
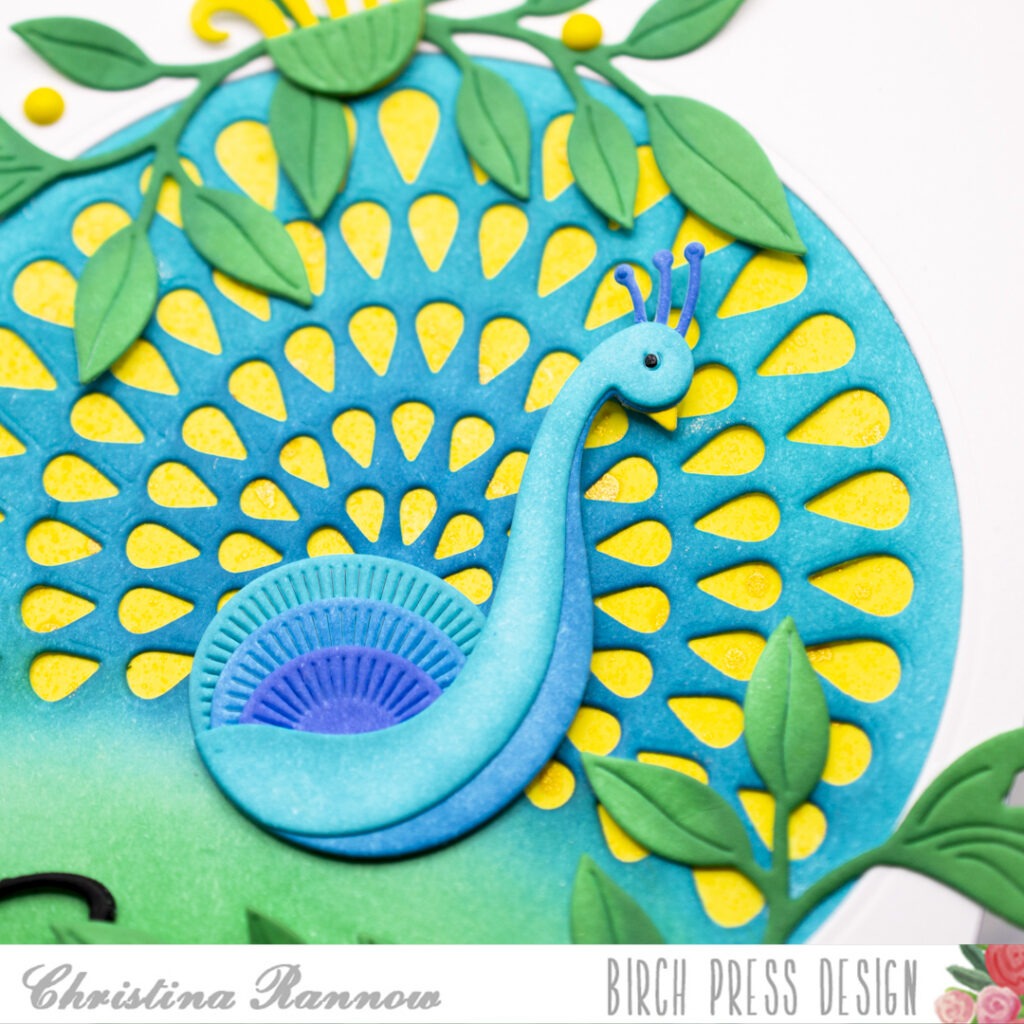
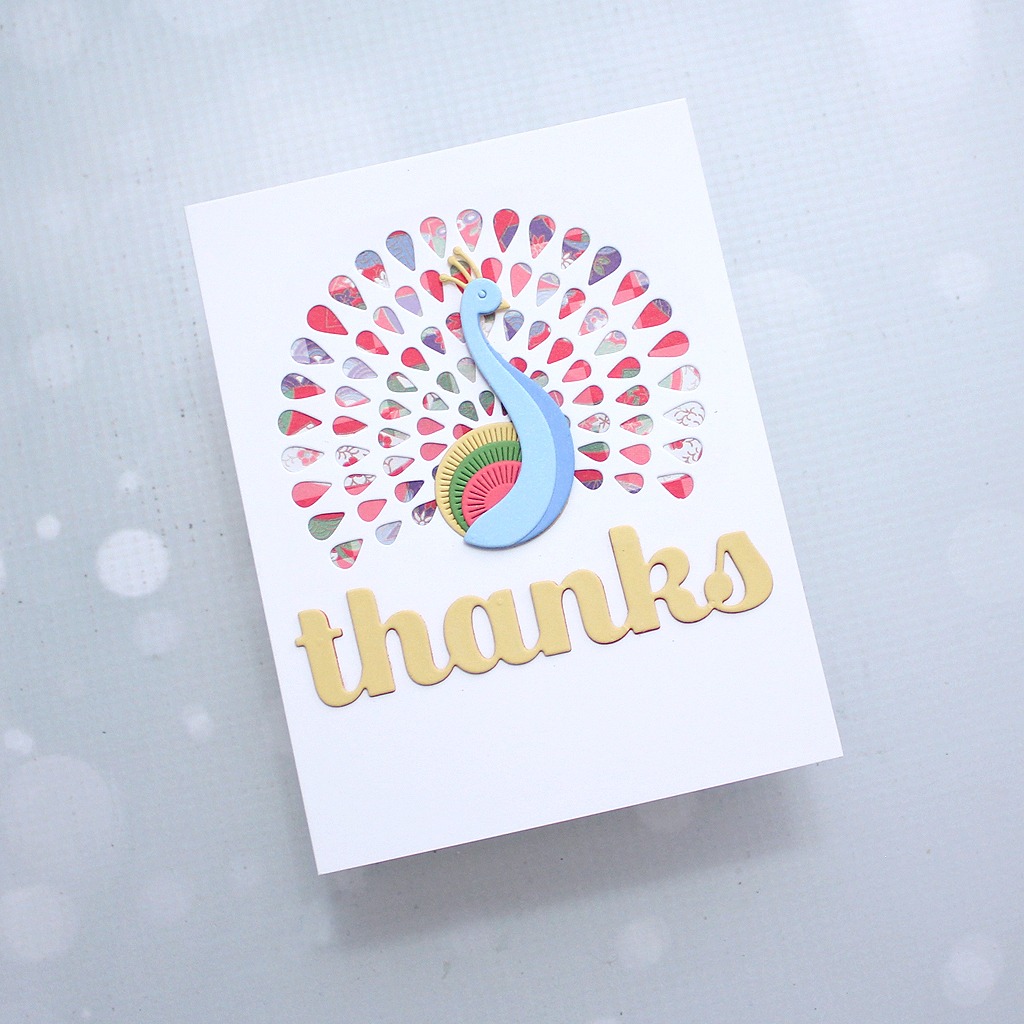
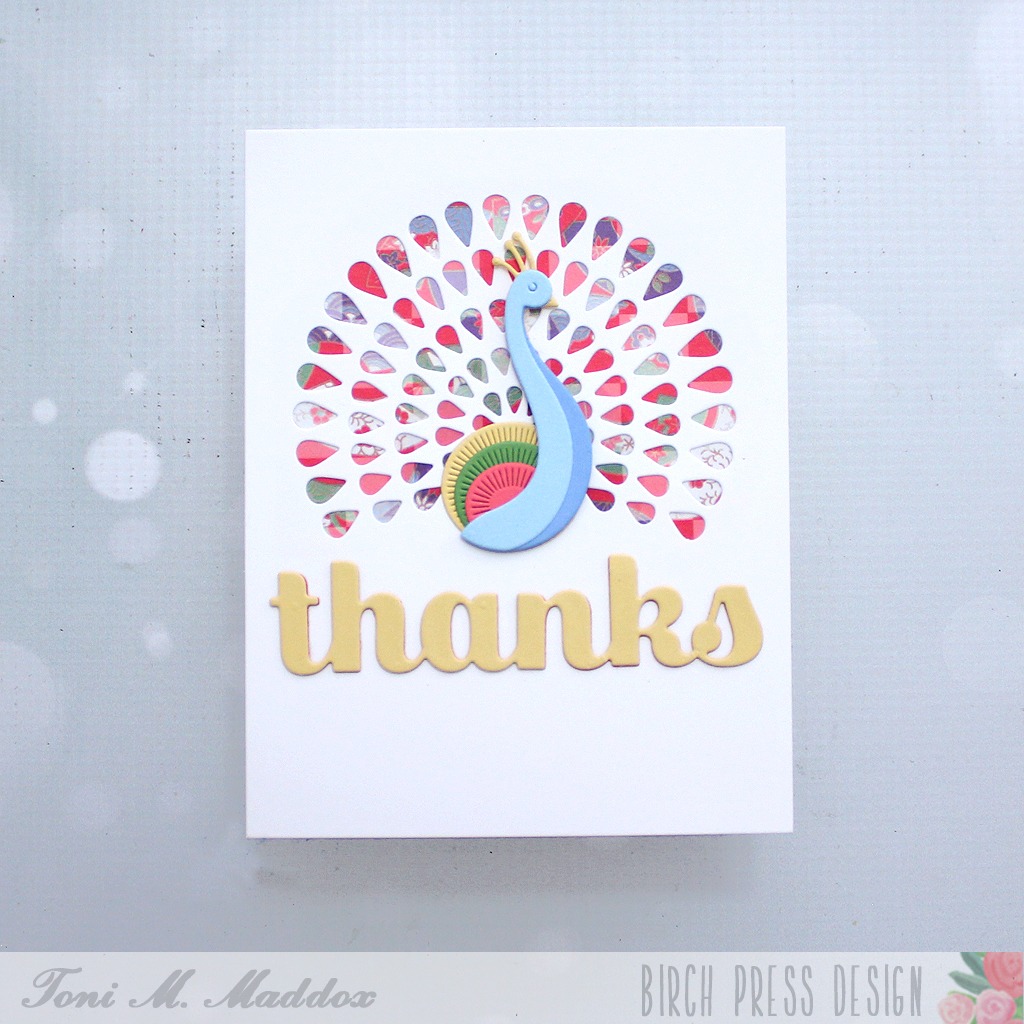
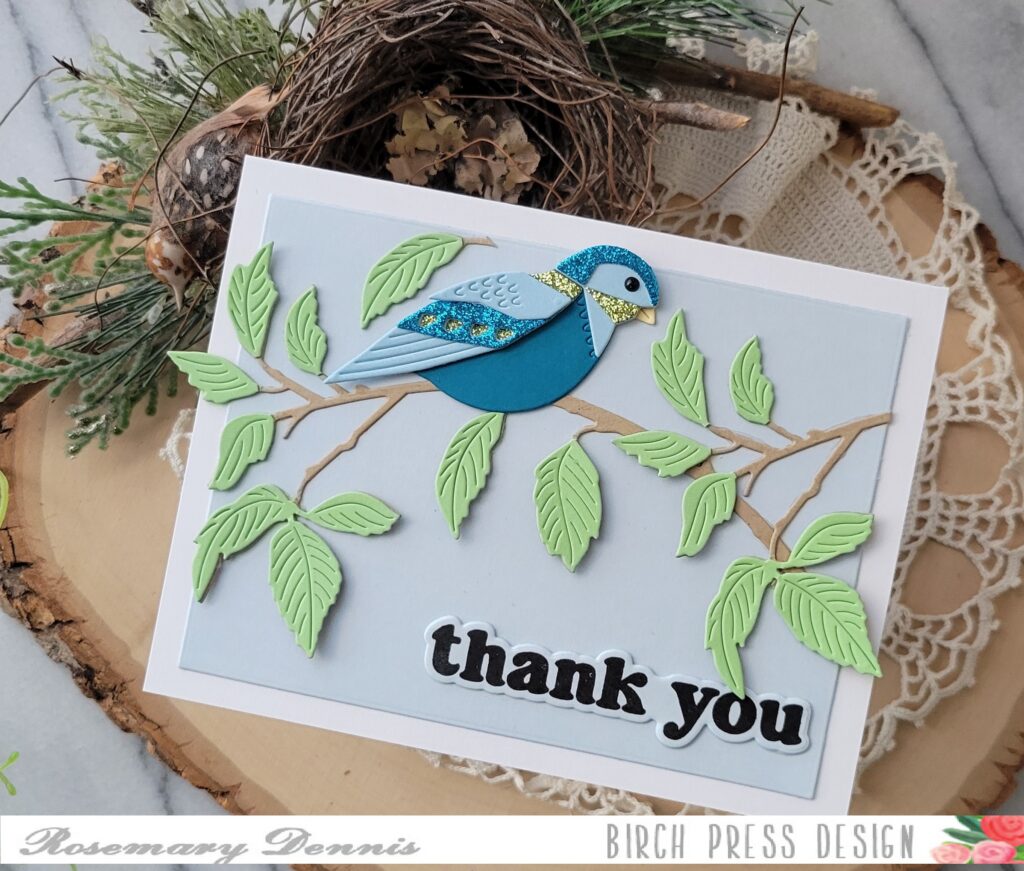
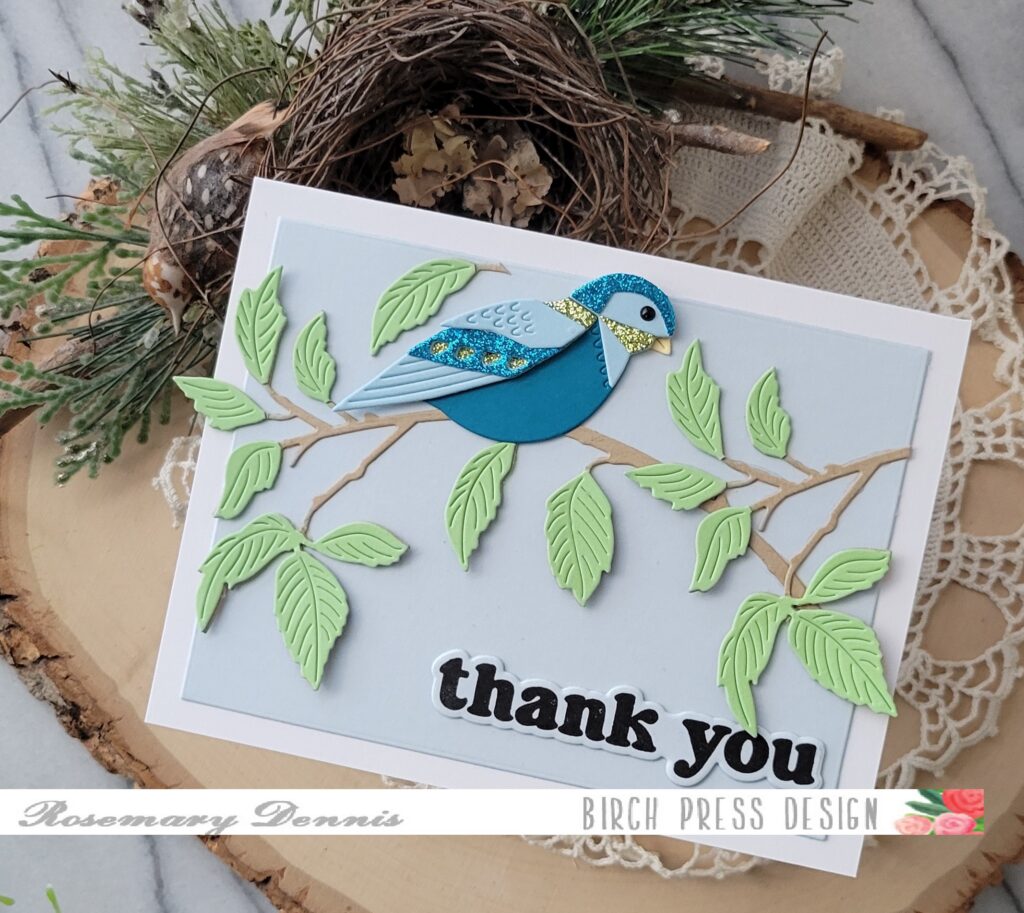
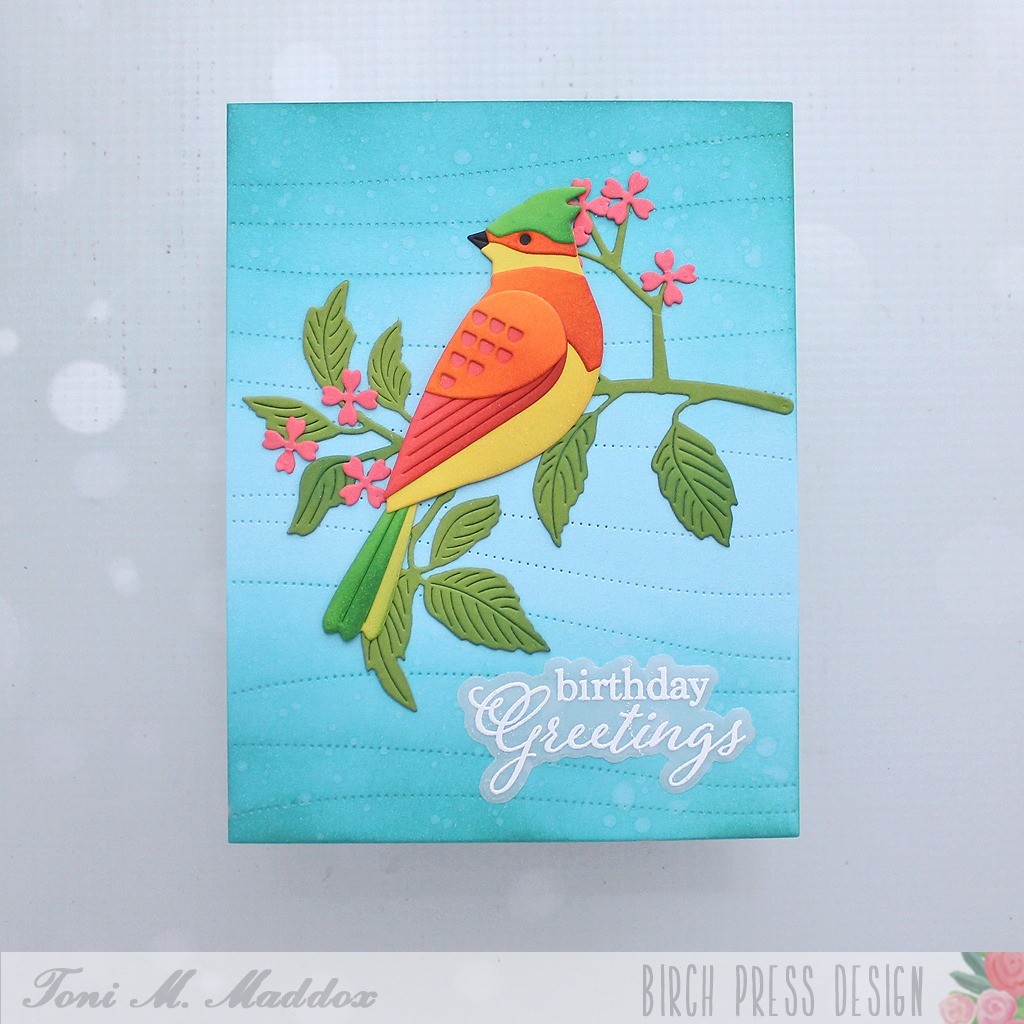
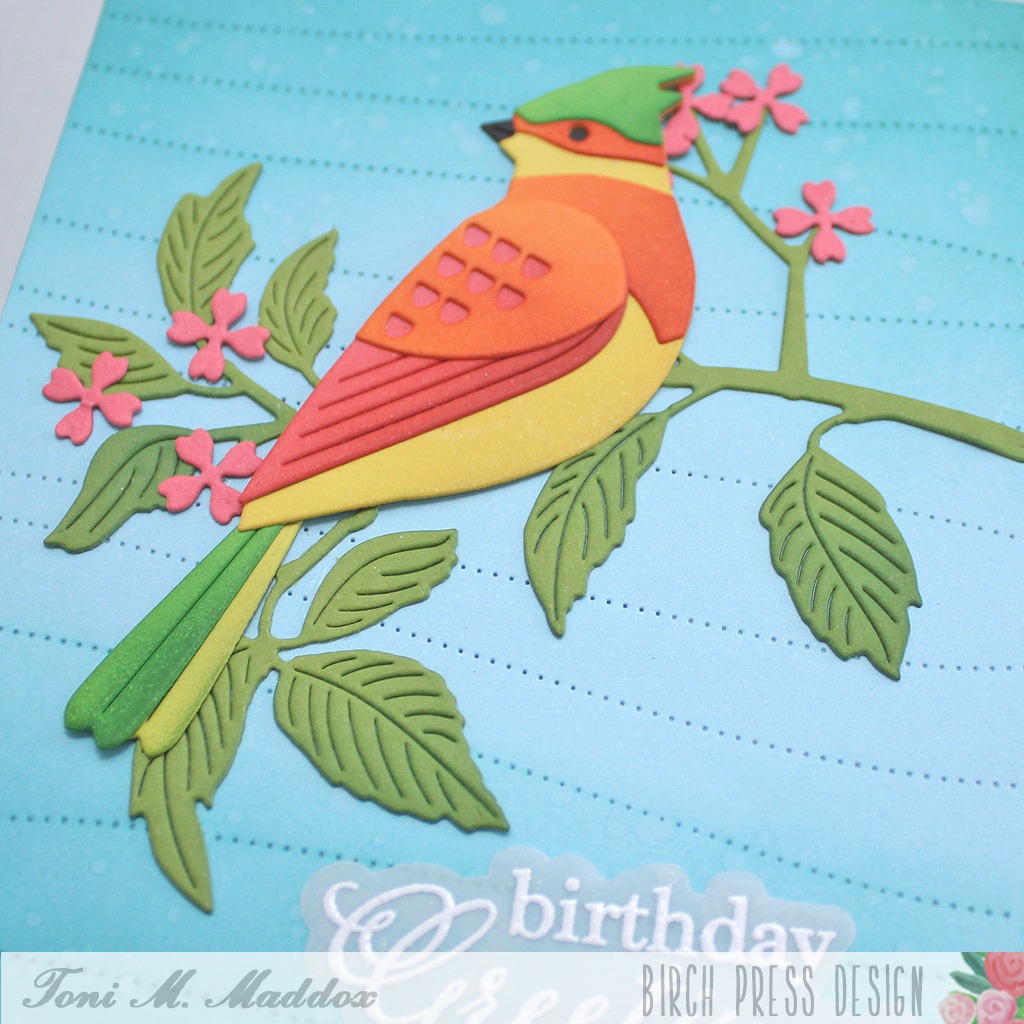
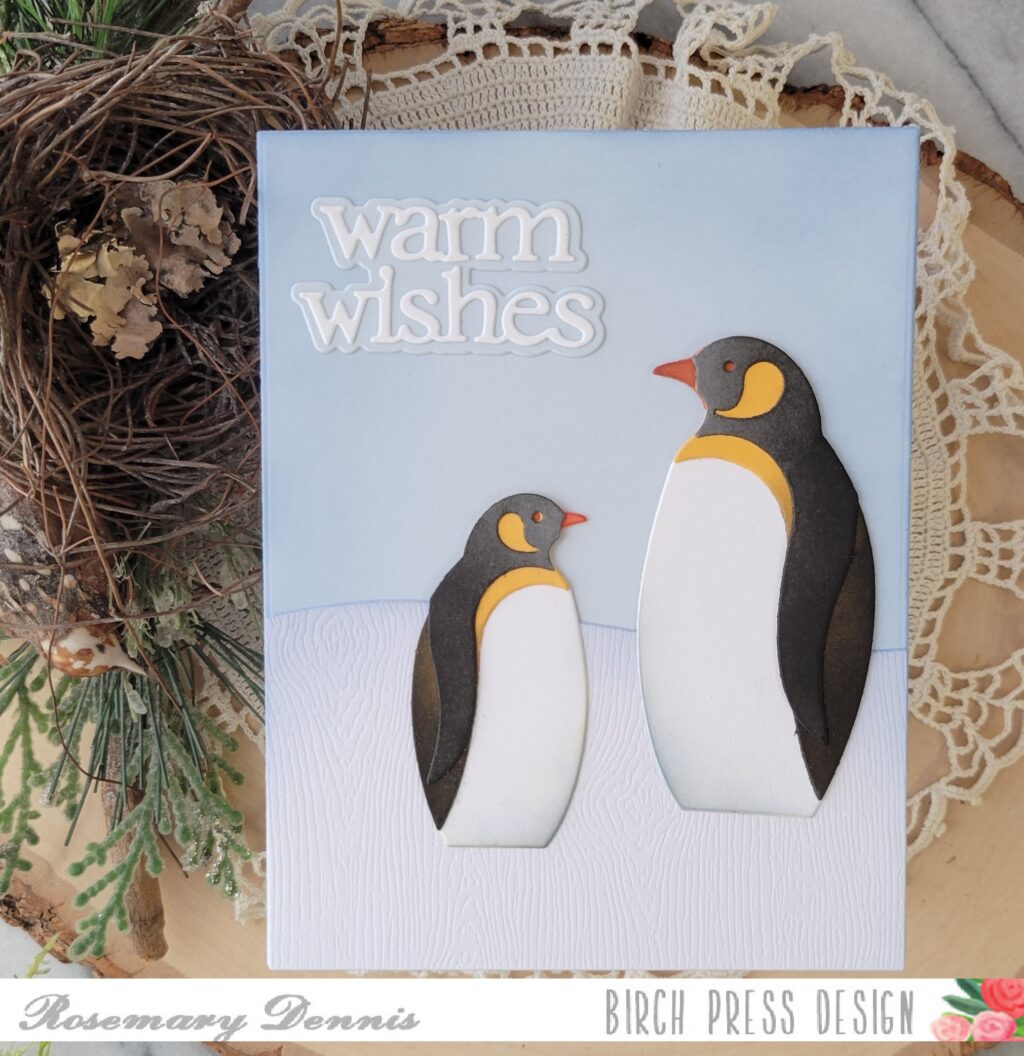
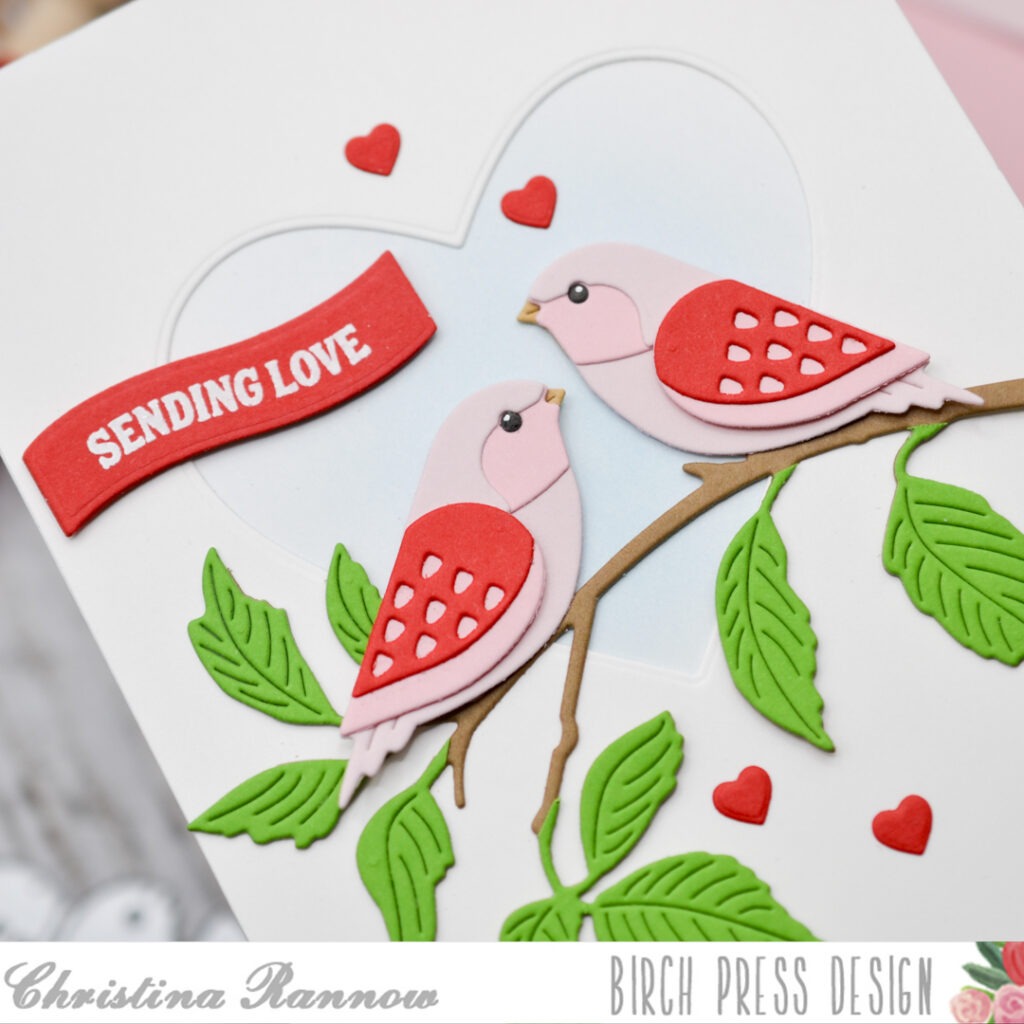
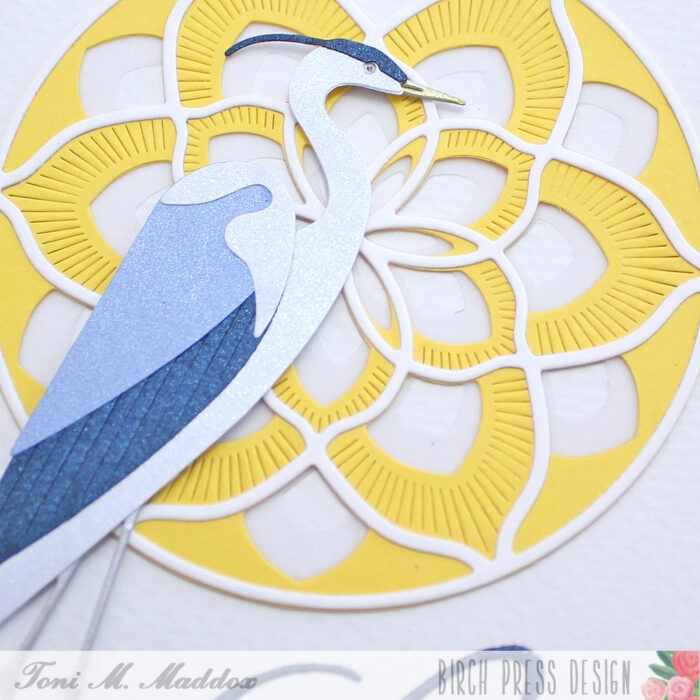
And here is the combination that I decided upon. Originally I was going to have more red in the bird, but in the end decided to limit that color to just the wing.
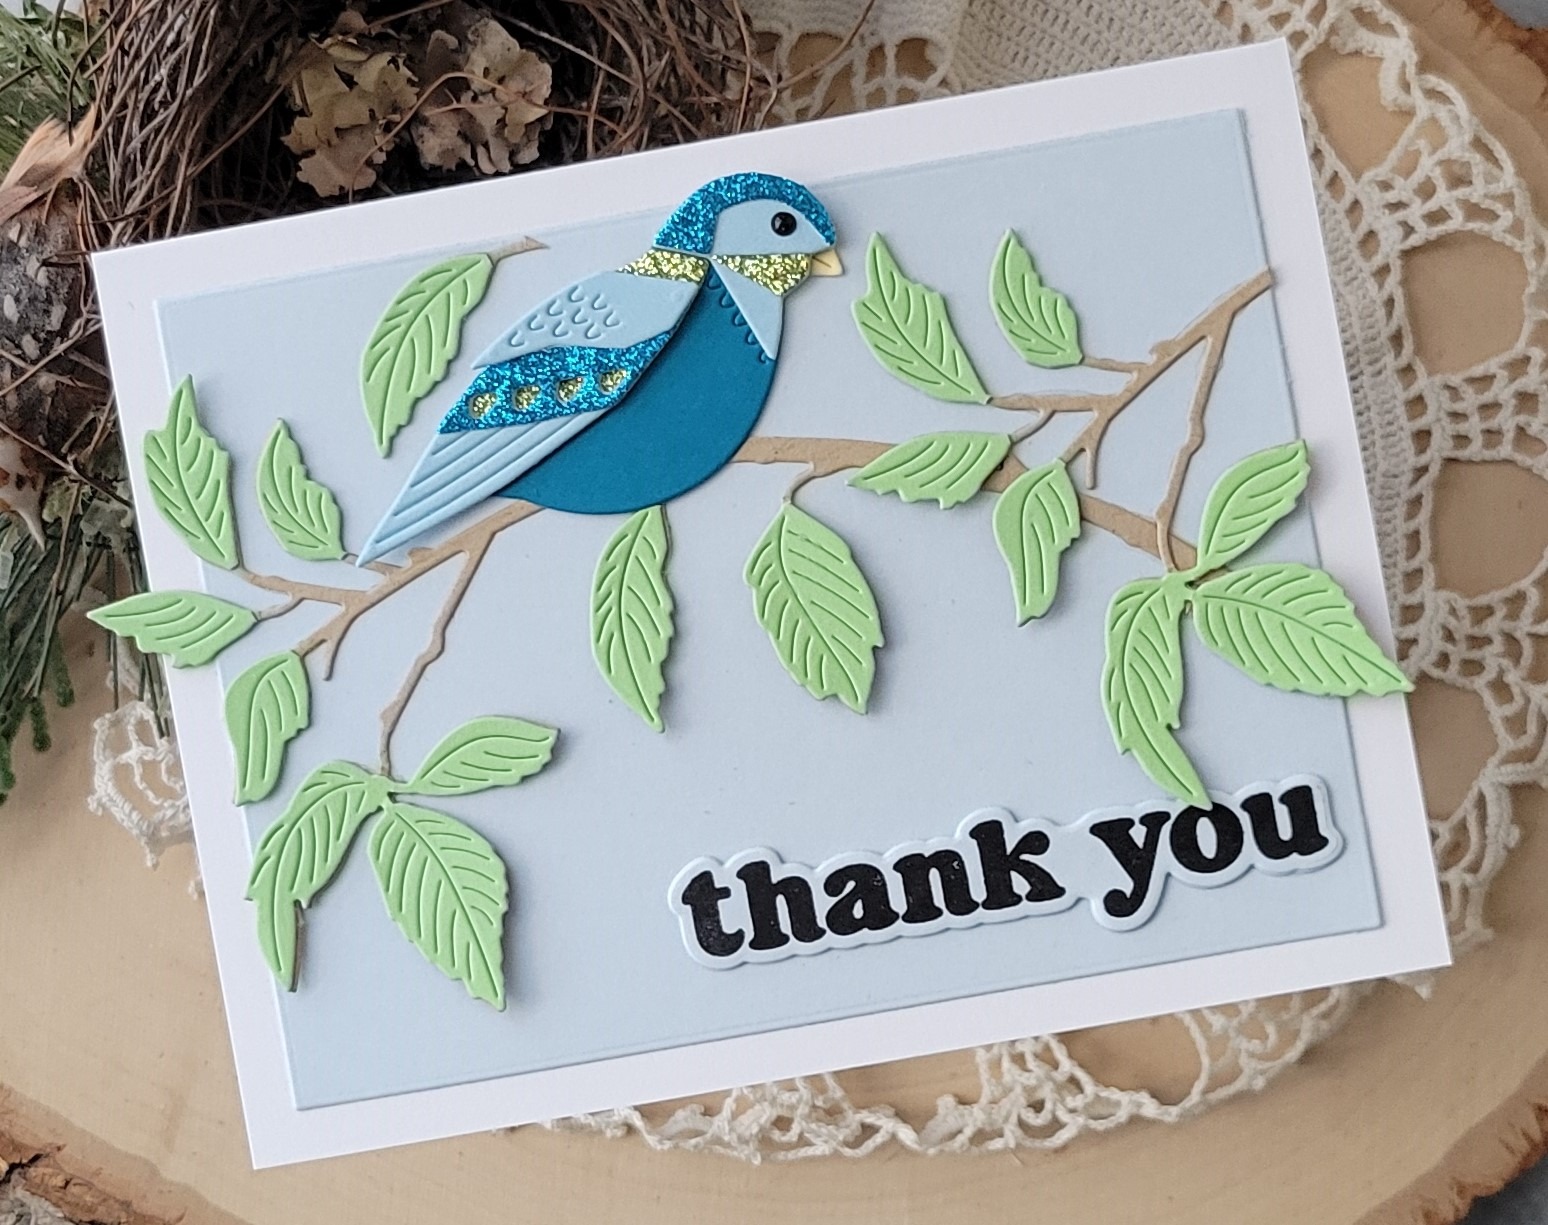
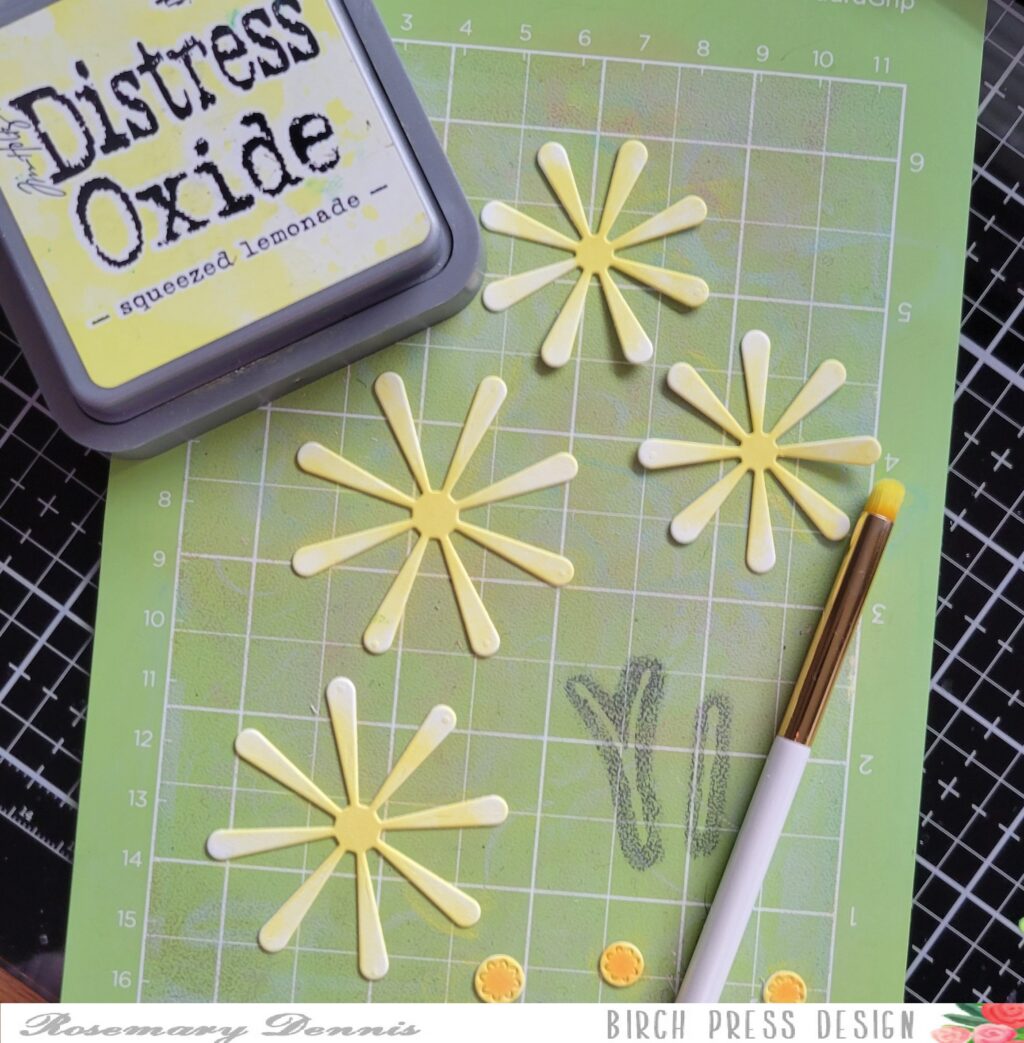
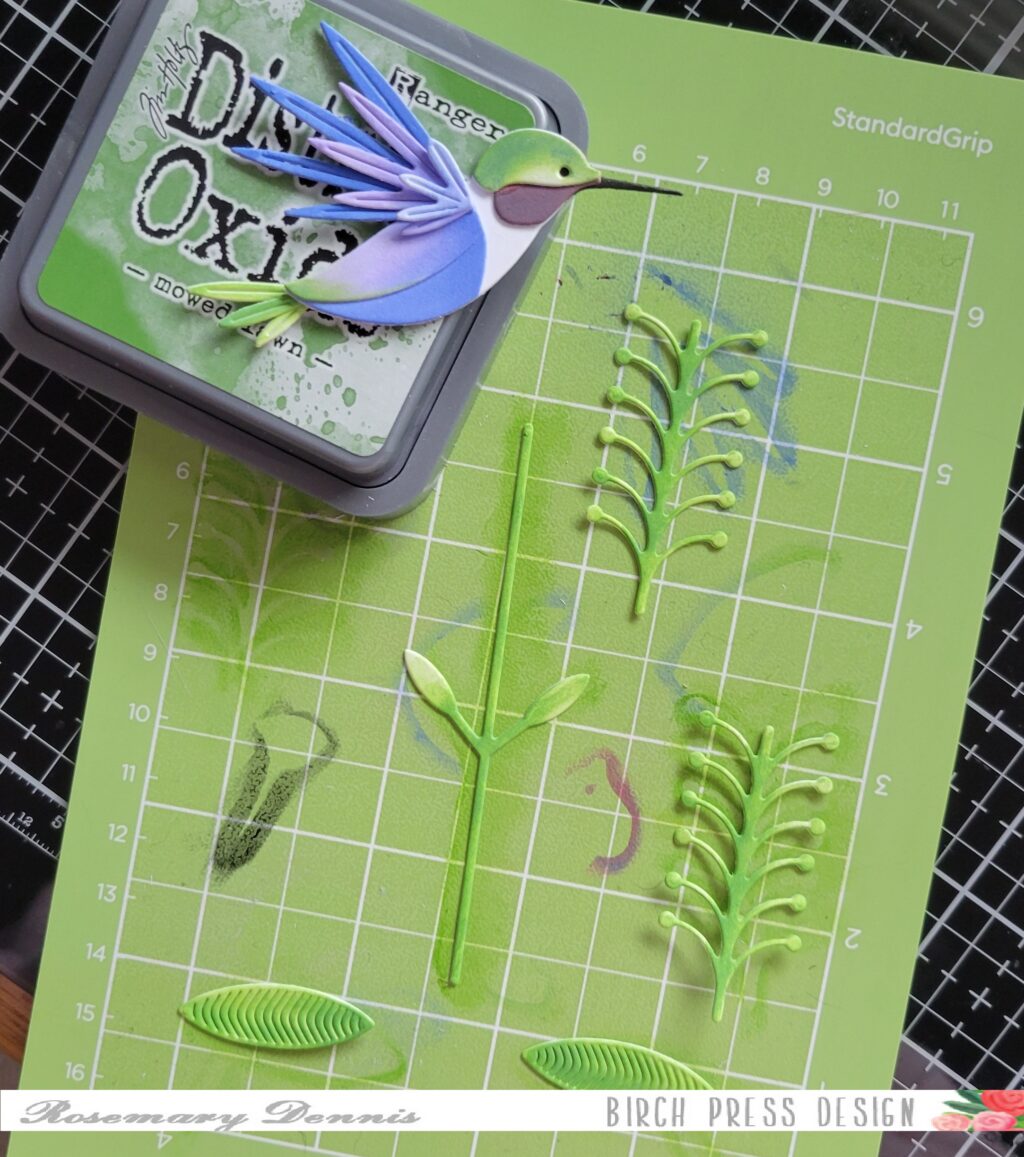
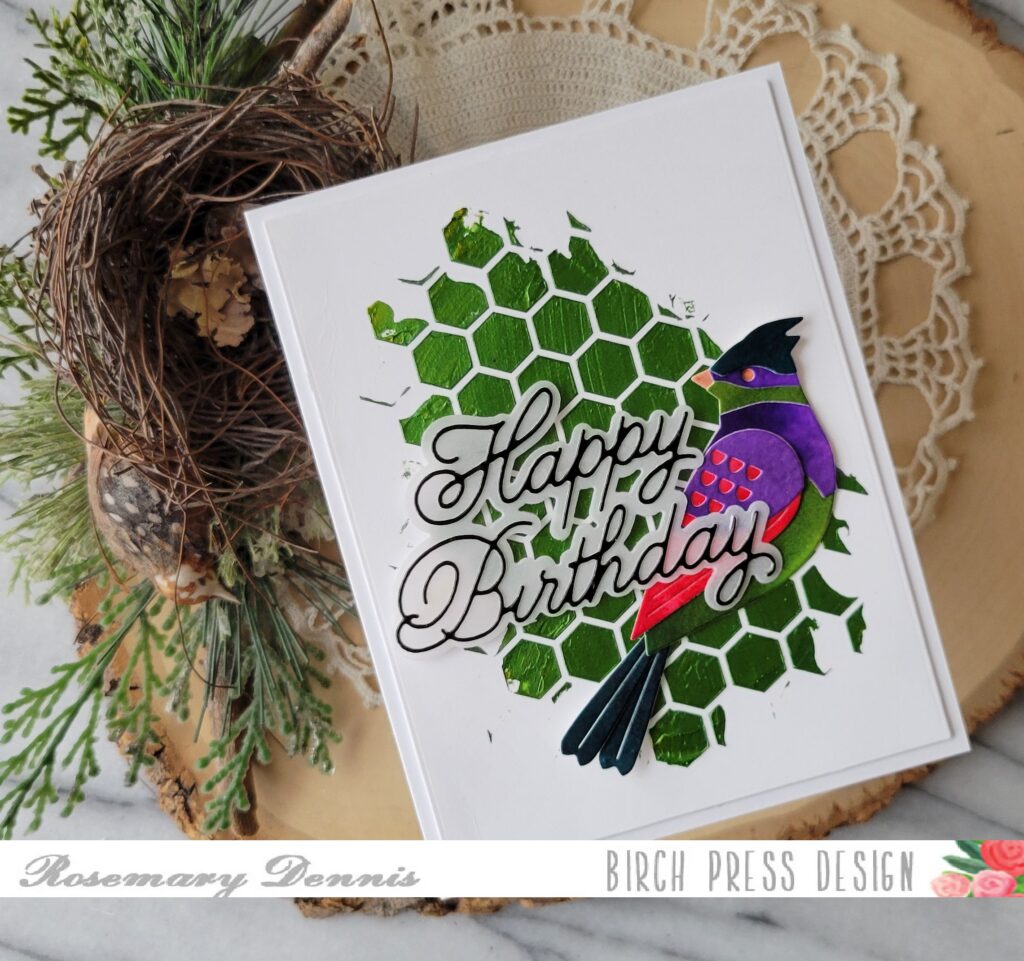
I adhered the bird with liquid glue and then set him aside to dry. I used a sketch layout for my card and decided to use the Honeycomb stencil for the background. I thought I would just do some ink blending, but then decided to take a look at some of the stencil butters that I had. I decided to combine a bright yellow and bright green and came up with this darker green that you see. I die cut white heavystock cardstock and then applied my stencil butter mix.
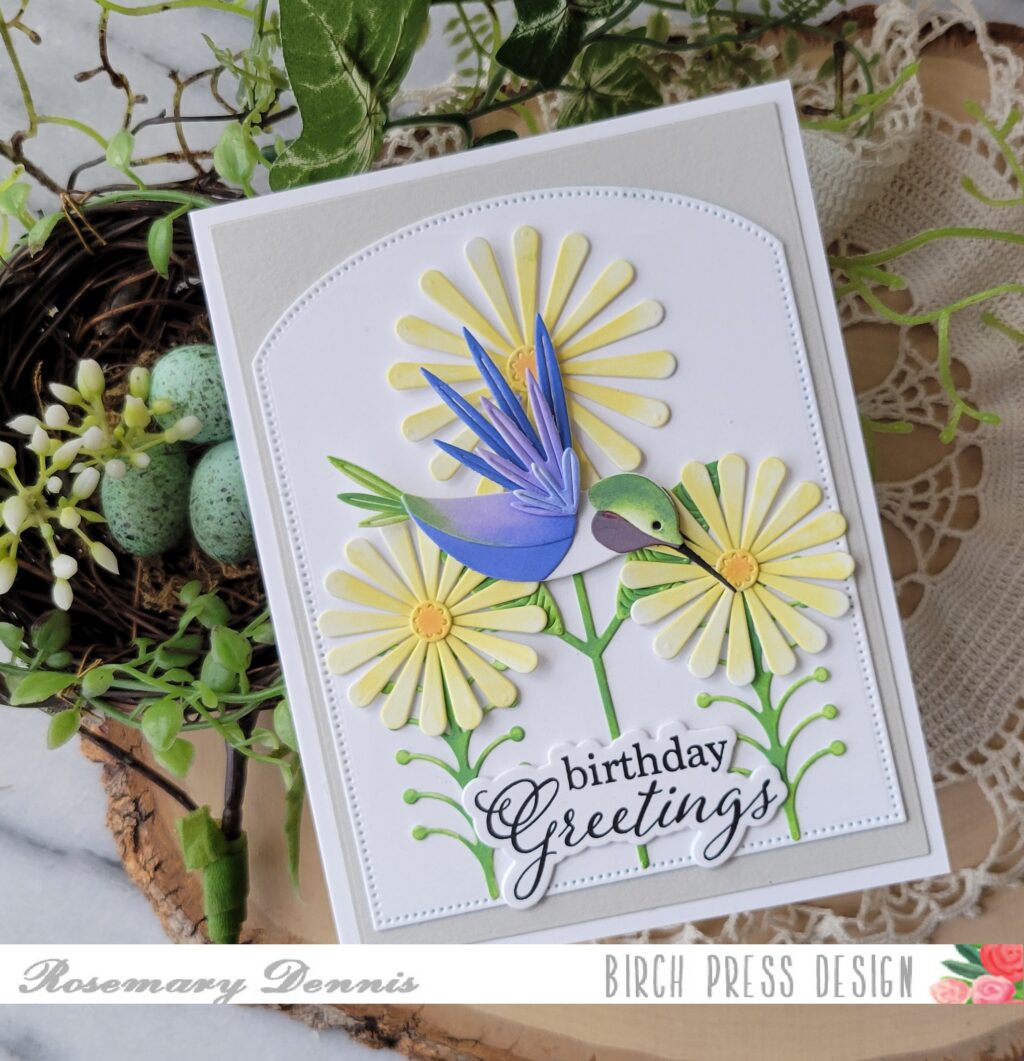
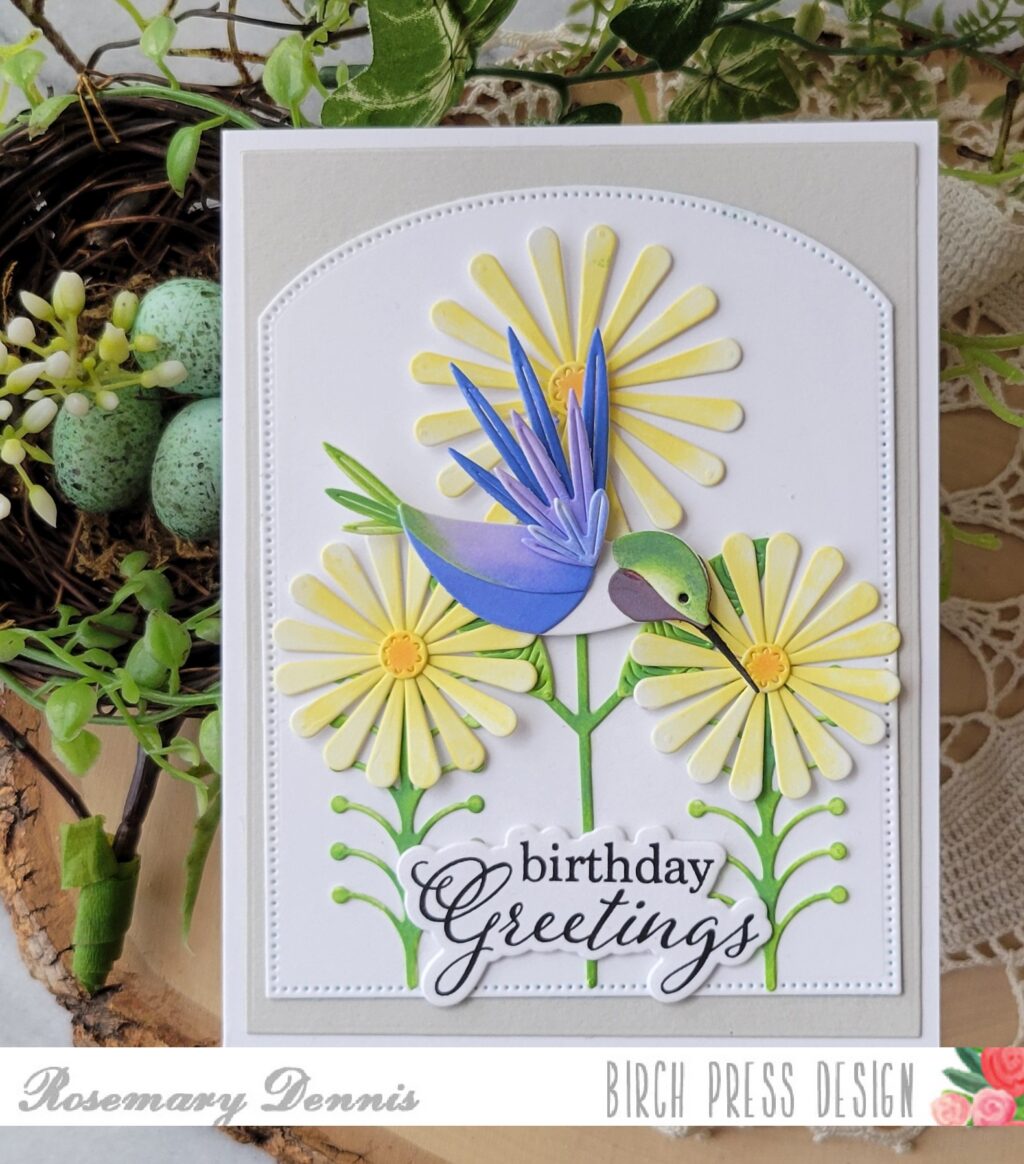
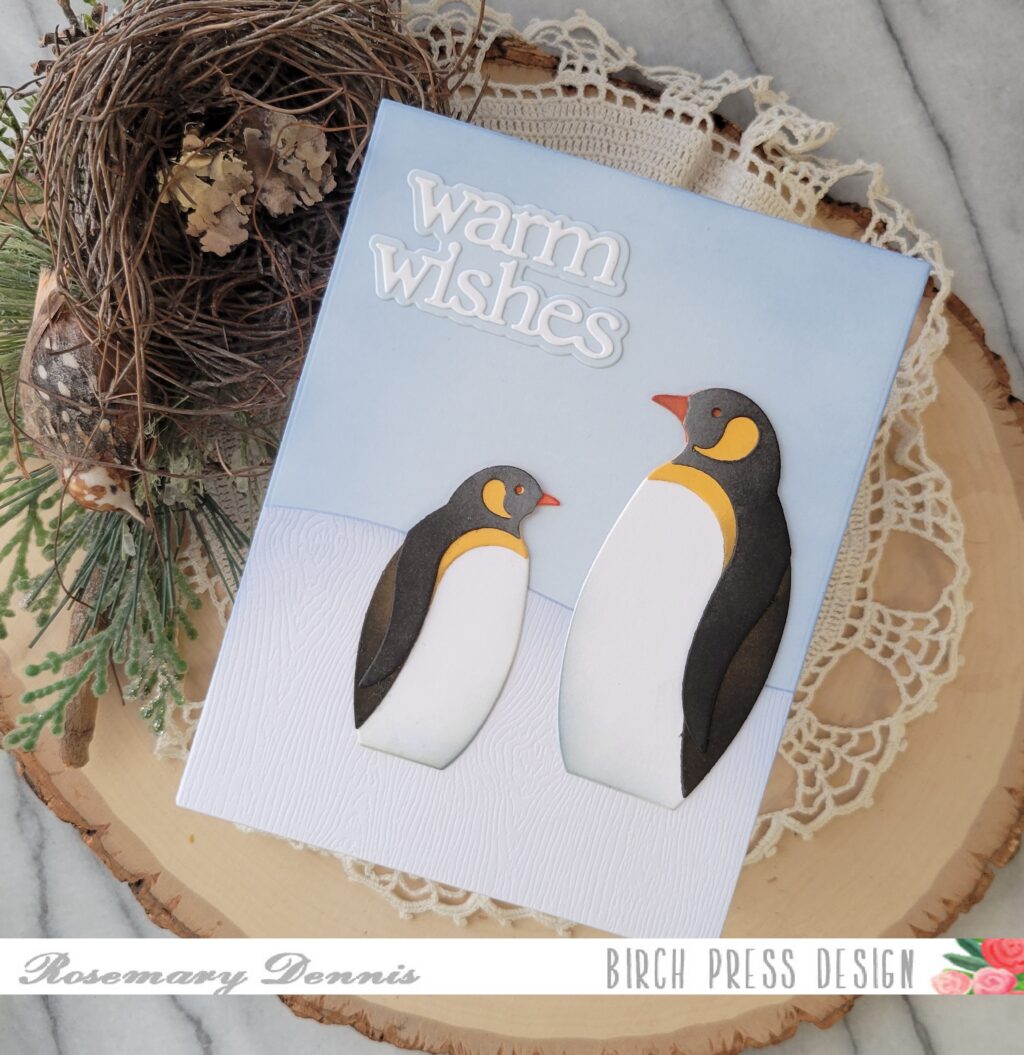
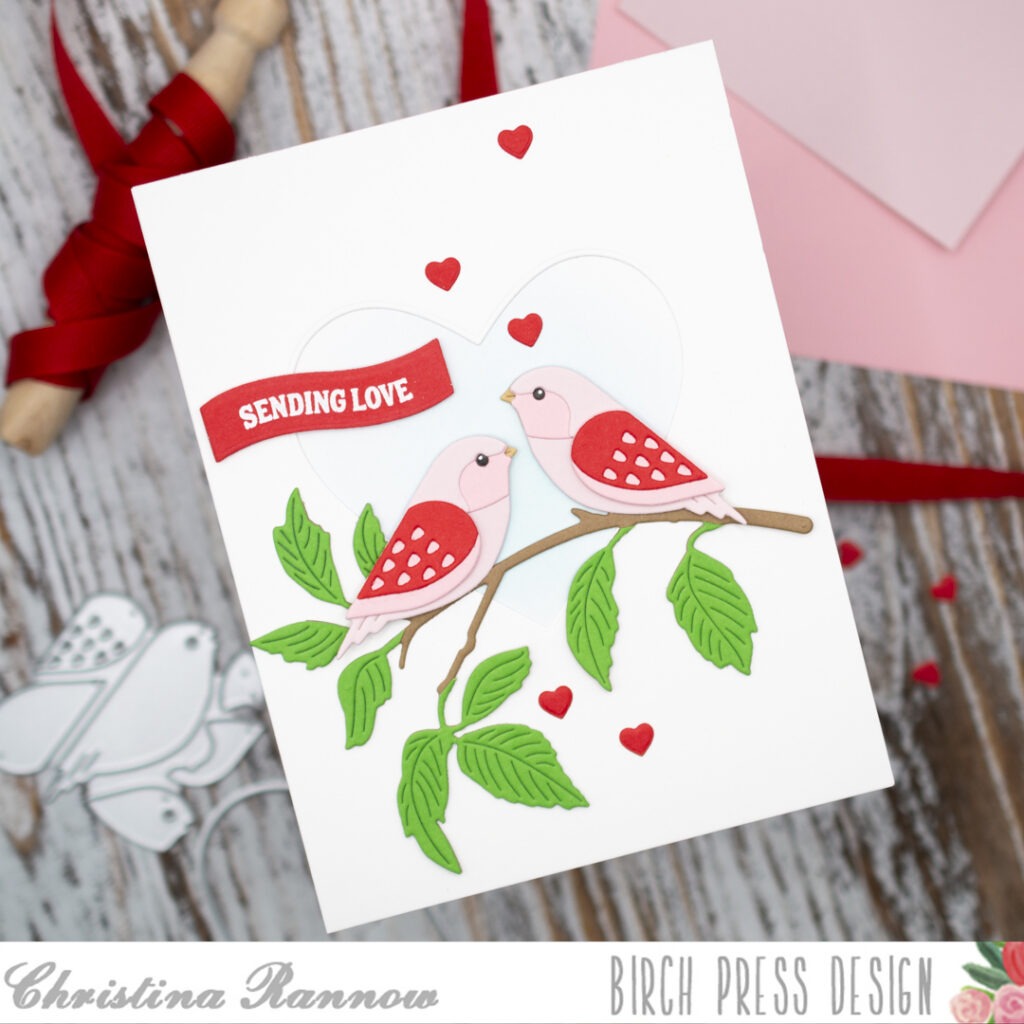
Once the panel was dry I got to work putting the card together. I adhered the bird with glue and then added the sentiment (which I had already had die cut and ready to go) with rolled up glue dots and glue
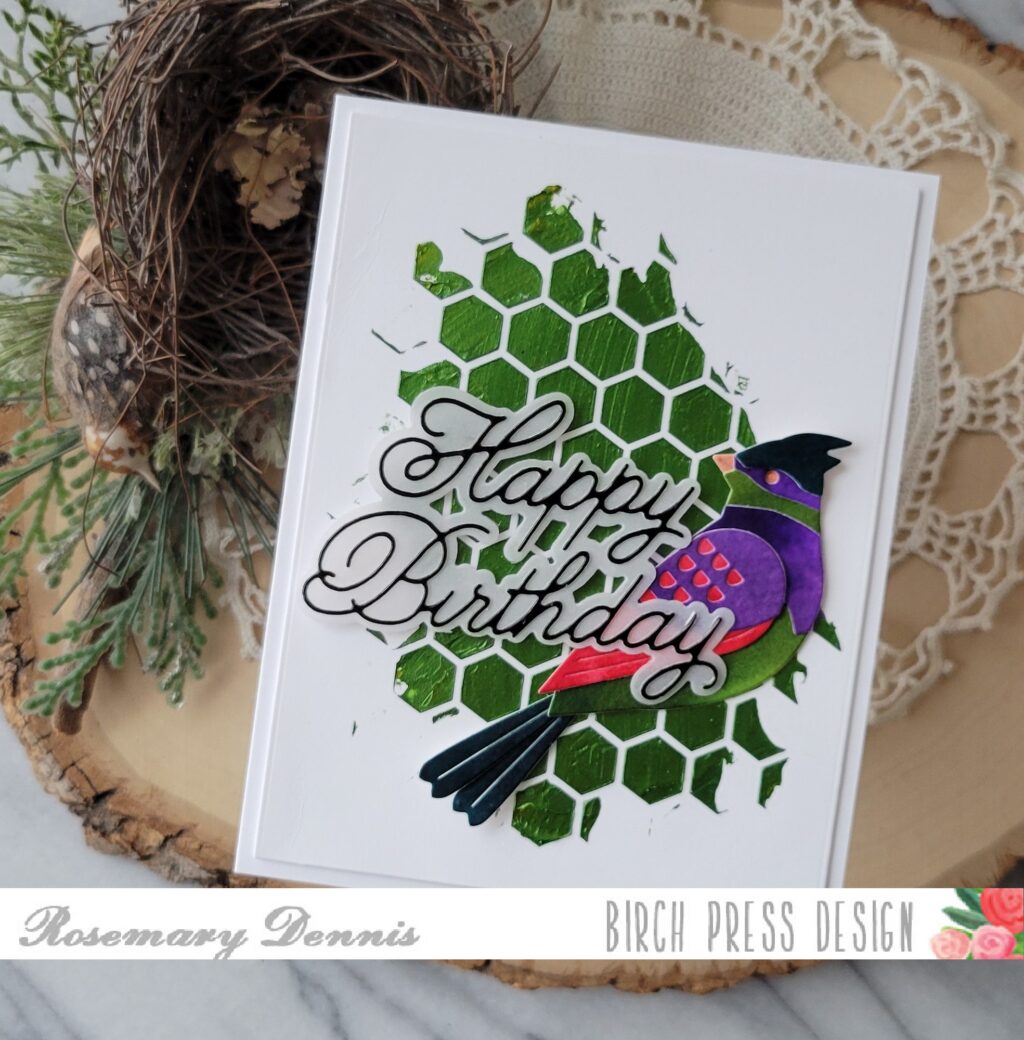
I hope you enjoyed today’s project. I had a lot of fun creating it using supplies that to be honest I had forgotten I had! Thanks for stopping by and have a wonderful day!