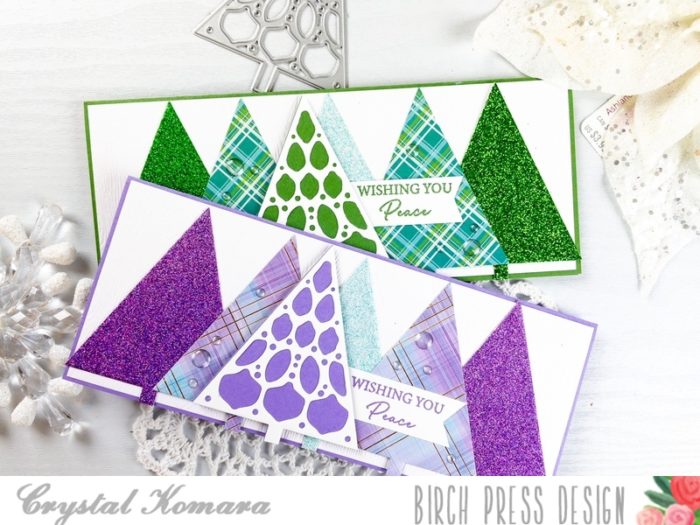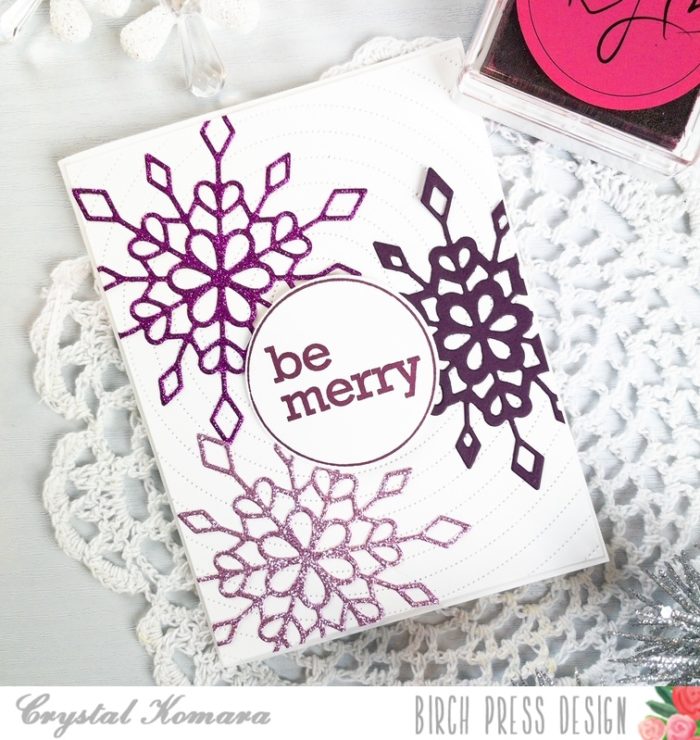
Happy Saturday! Birch Press recently had an amazing release of a lot of Christmas goodies, and I am so excited to be sharing a card using just a few of the new supplies with you today.

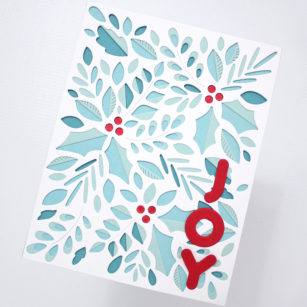
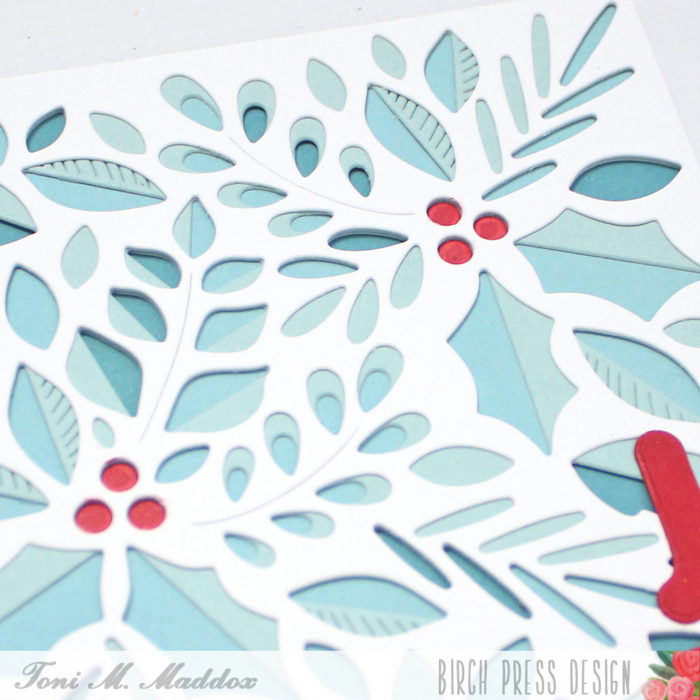
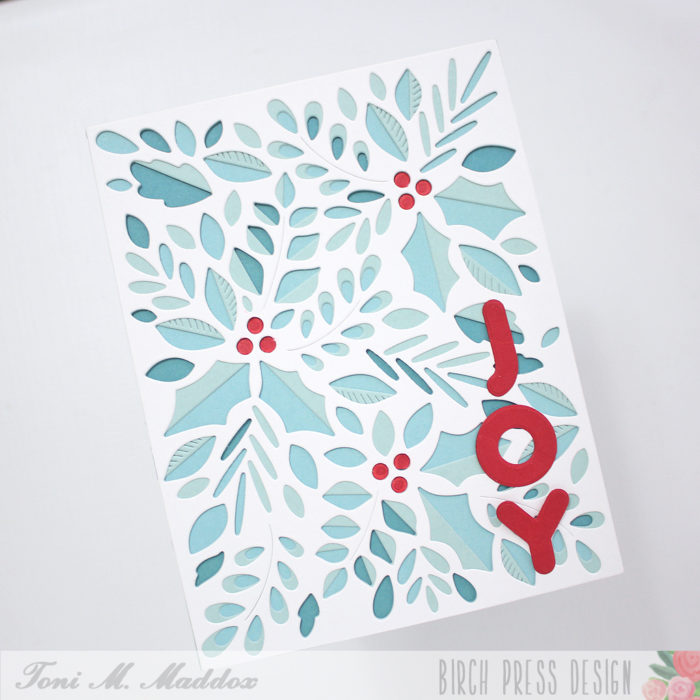
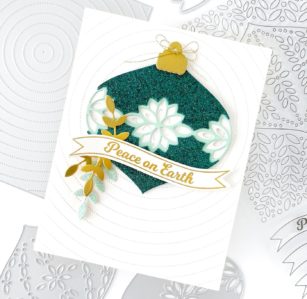
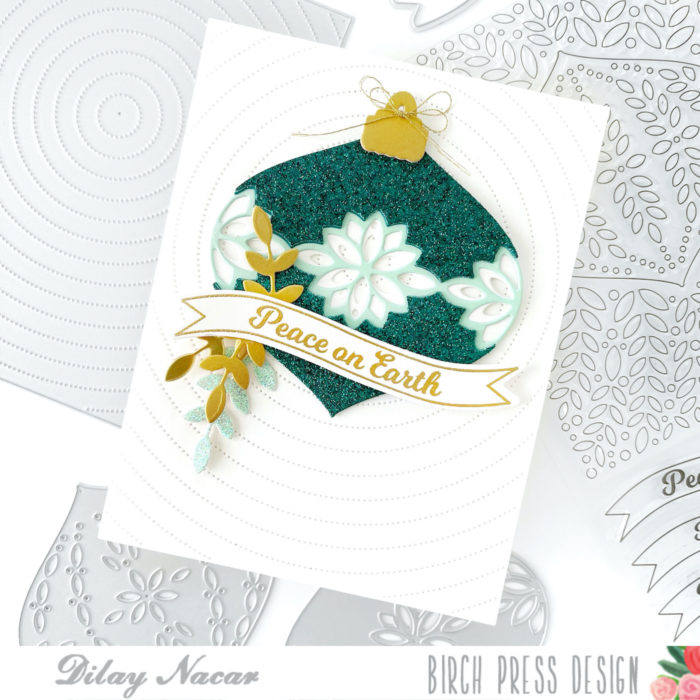
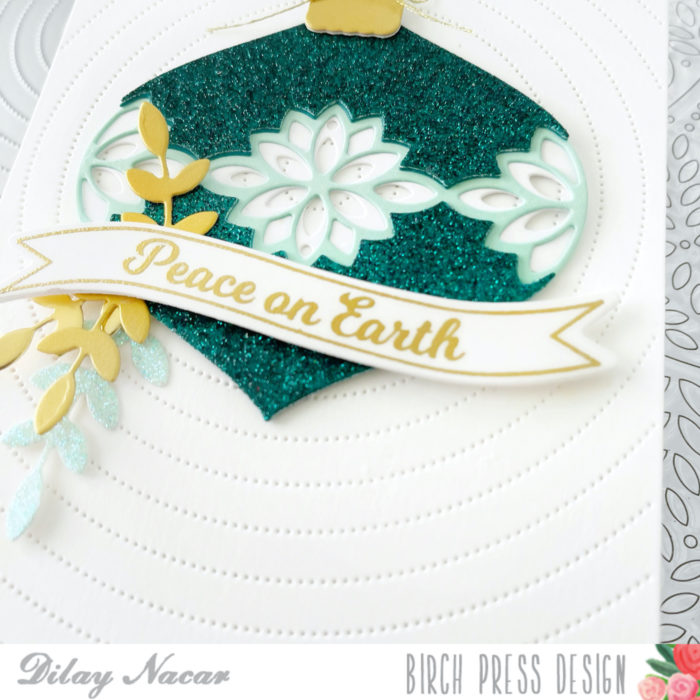
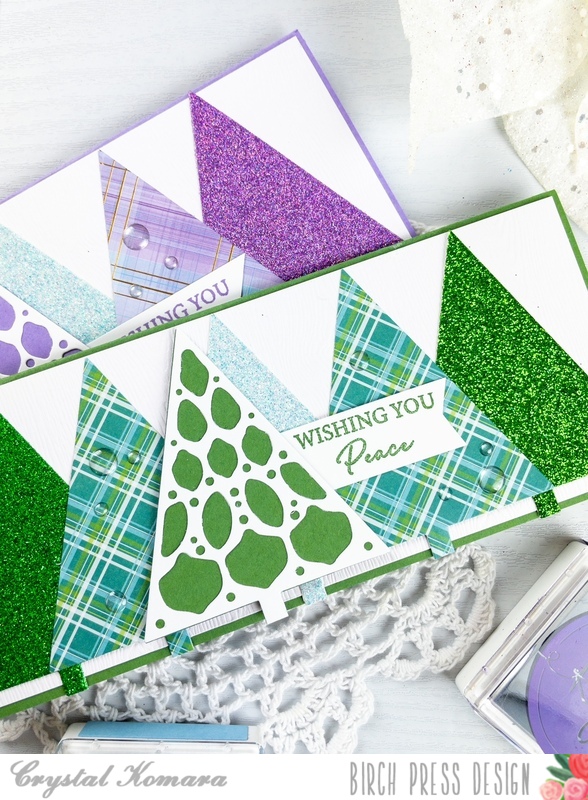
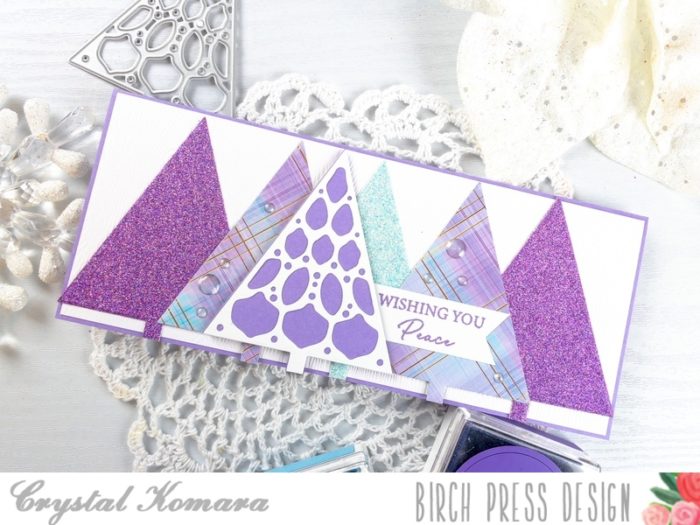
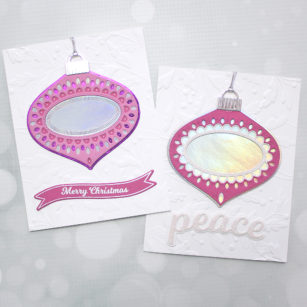
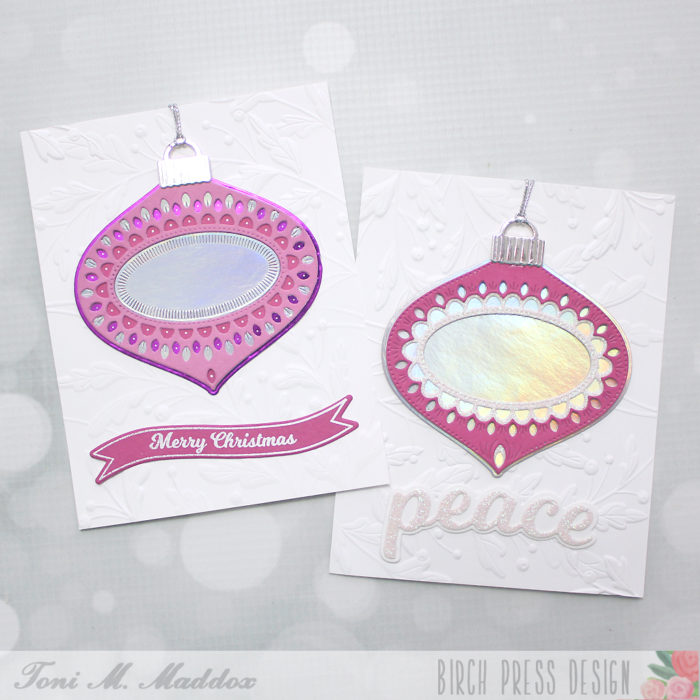
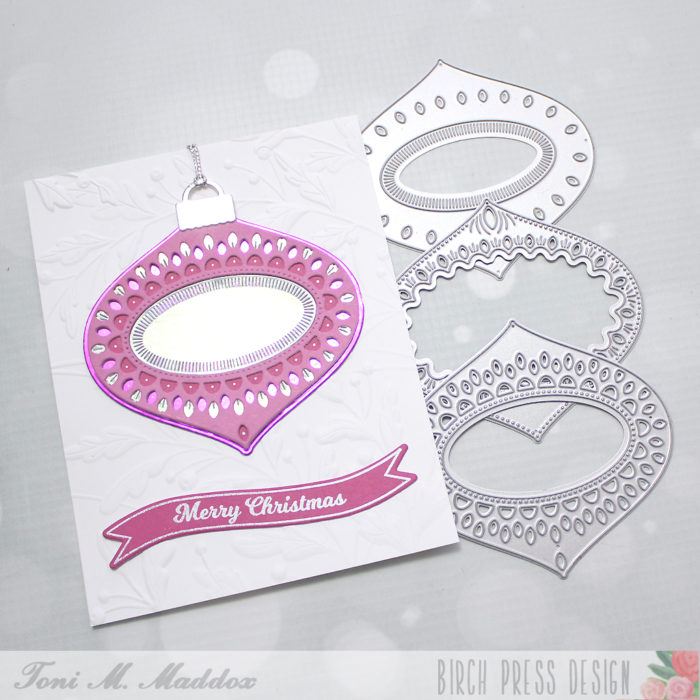
I created a card using the new Meridian Ornament layering set. As with all Birch Press supplies, this layering set is beautifully detailed.
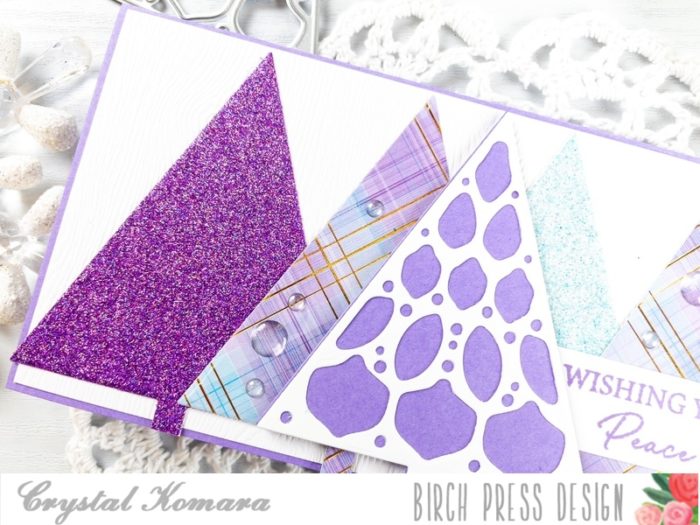
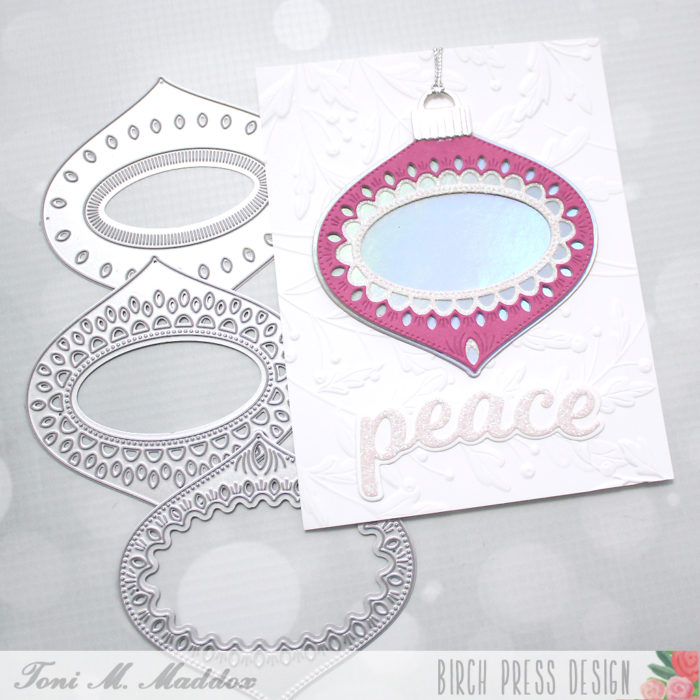
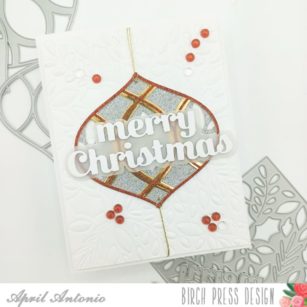
I started by cutting out layers A, B and C with three different cardstocks. Layers A and C use cardstocks from the new Glitzy Glitter Pad, and the gold layer B uses a piece from the Rainbow Reflections Mirror Pad.
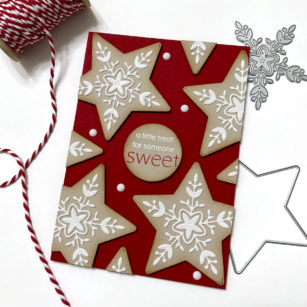
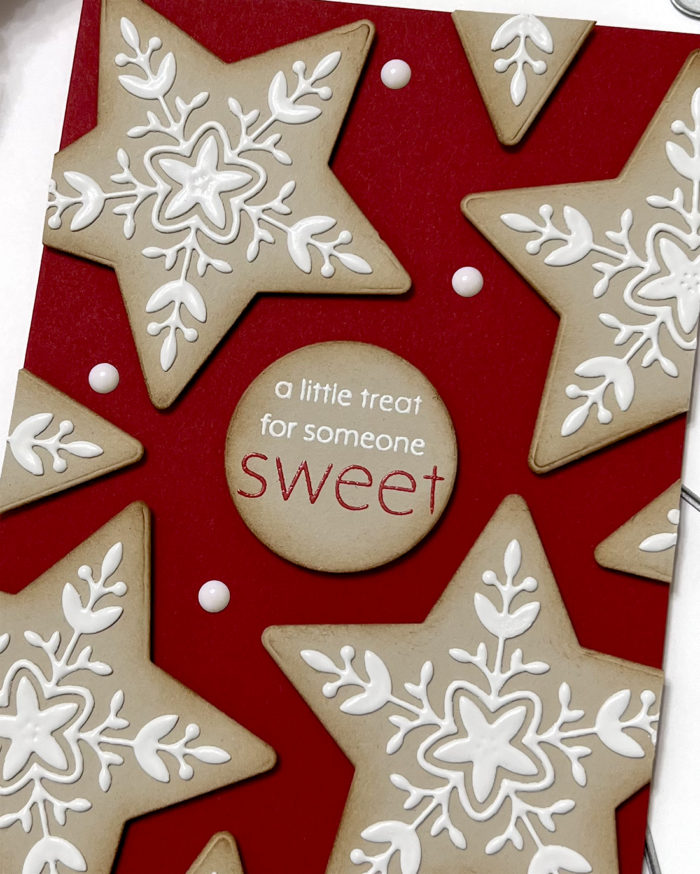
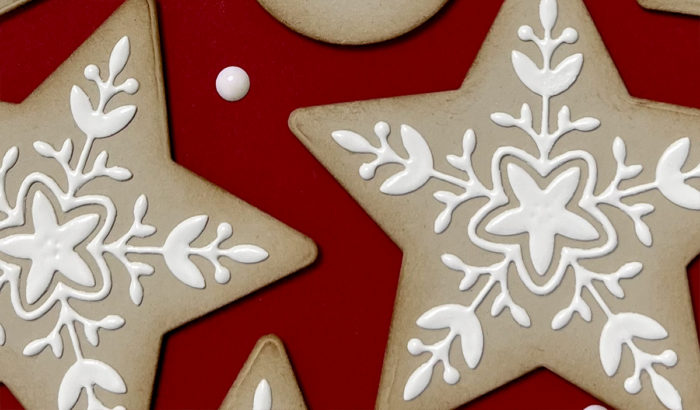
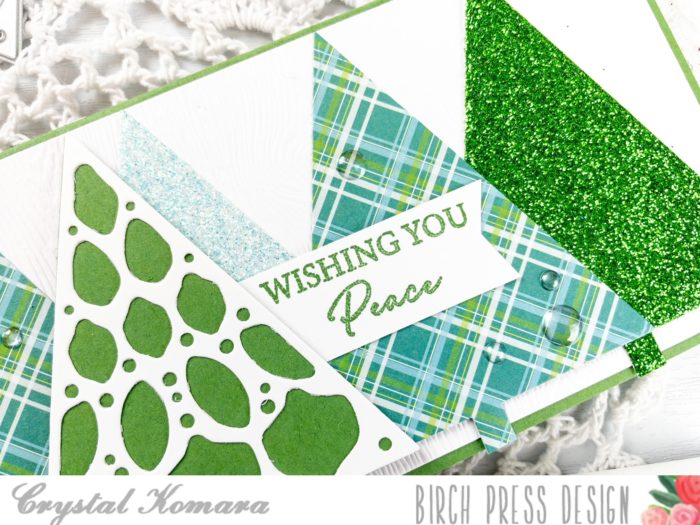
Next, I took another new goody — the Herbarium Plate layering set and used only Layer A (the top layer) to dry emboss onto white cardstock. I wanted to make an impression, not cut, the entire layer. I cut 1/4″ off each side to create a nice border.
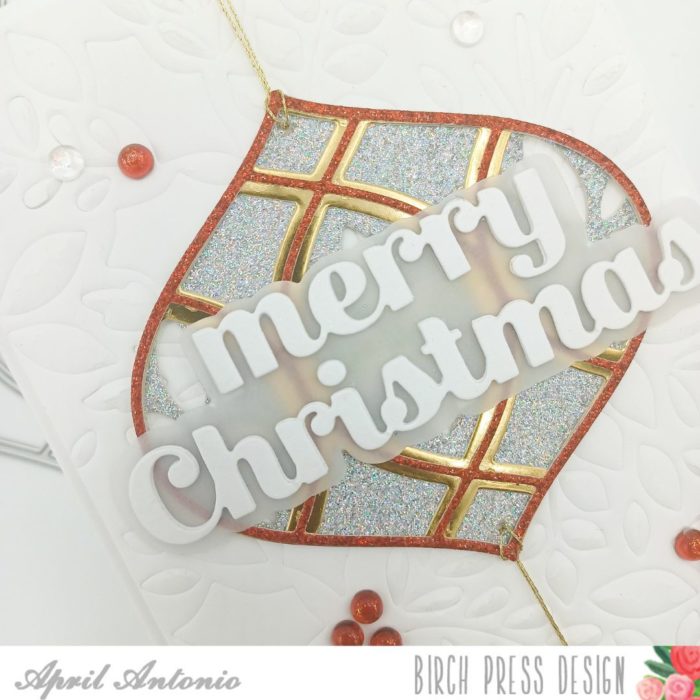
I used my Tim Holtz poky tool to poke holes into the top and bottom of the ornament and threaded gold thread through each hole. I tucked the thread behind the dry embossed panel and secured it with tape on the back.
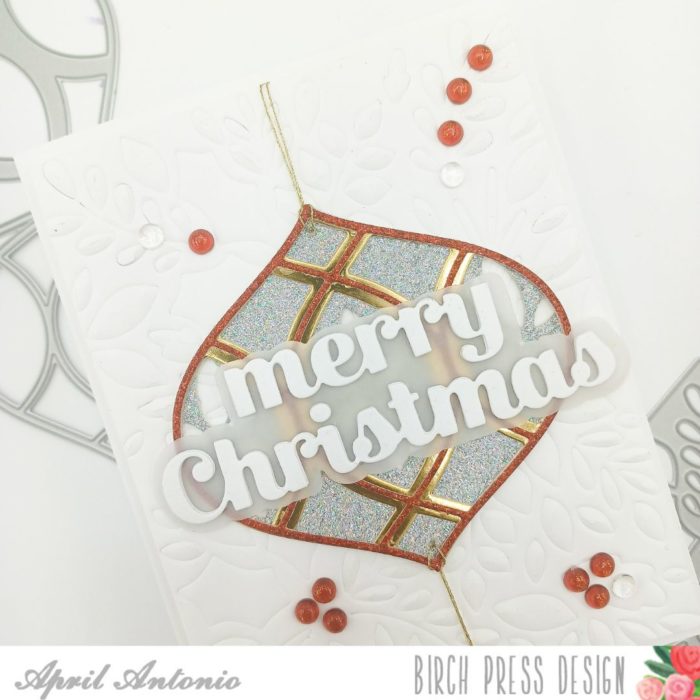
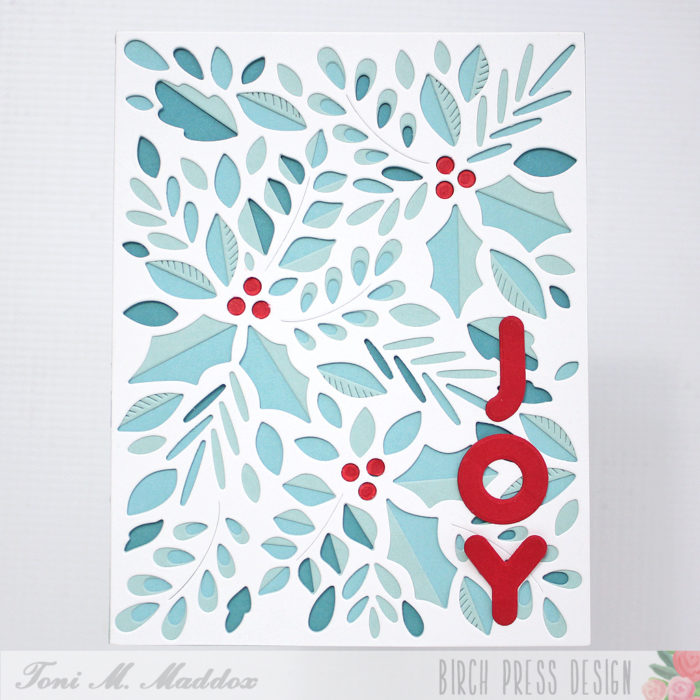
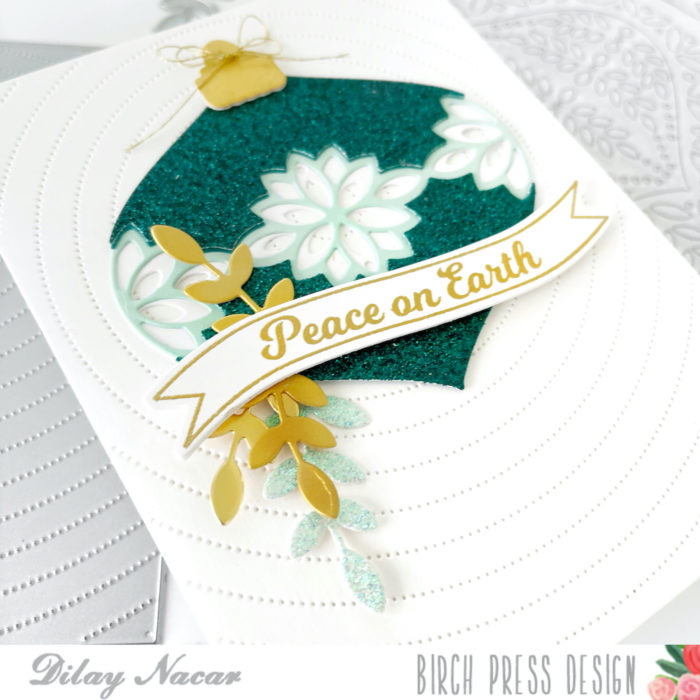
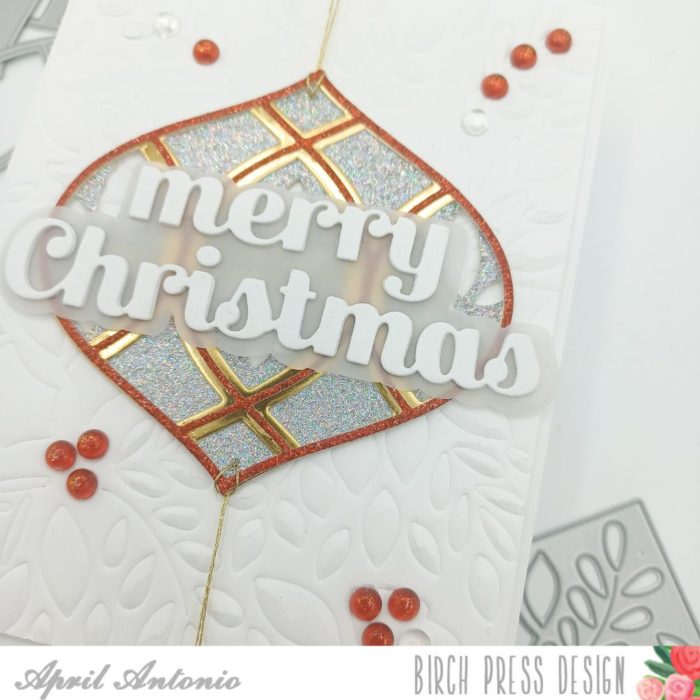
I put the entire panel onto an A2 sized cardstock, and then used yet another new goody — the Merry Christmas Sugar Script, to die cut the sentiment.
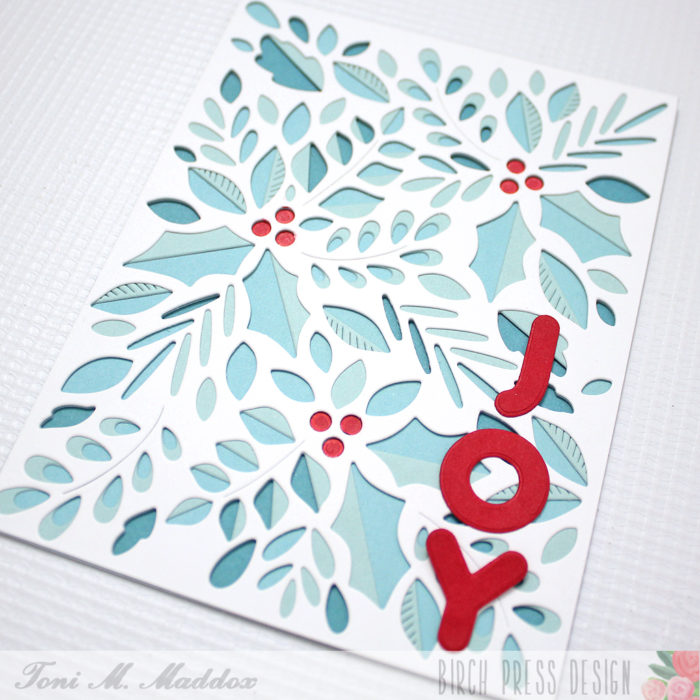
For the sentiment, I die cut the shadow from vellum, and die cut the words twice from white cardstock and then layered them together.
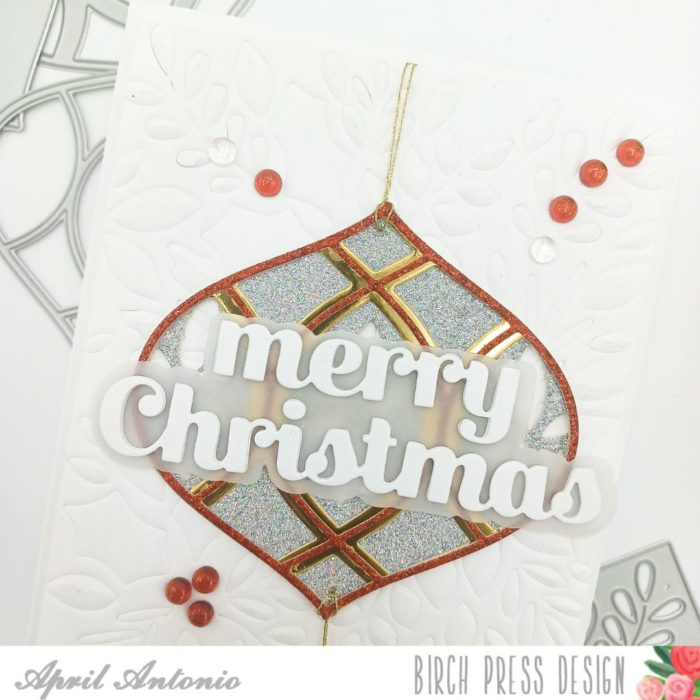
Lasty, you know I needed some bling, so I used the Christmas Fairy Crystals self-adhesive jewel set to add red and clear crystals across the card. That is it!
Honestly, I am just getting started with making Christmas cards with this newest release — and it is AMAZING!!
I hope this has inspired you to go craft and I can’t wait to come back with more crafty goodness.

Supplies


Supplies