Hi friends,
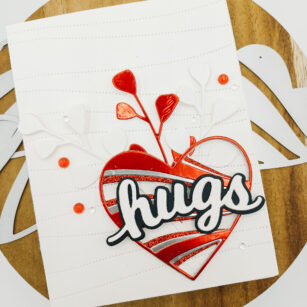
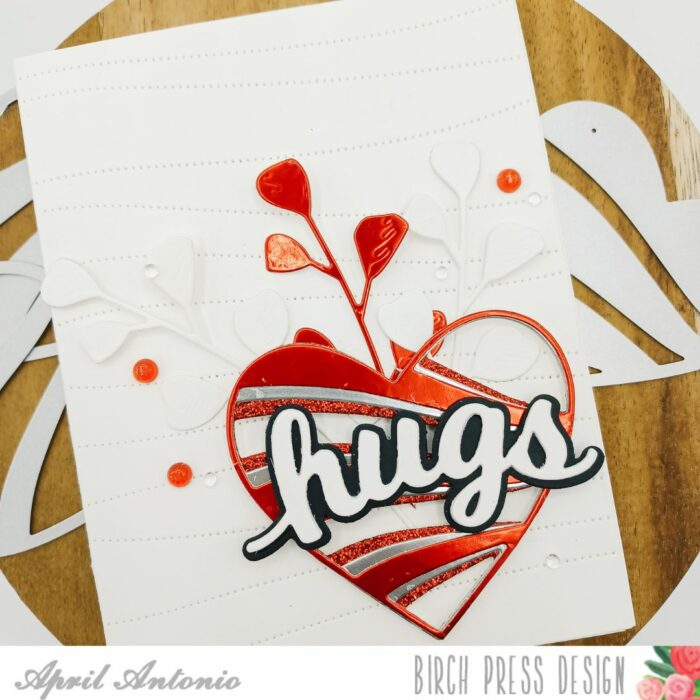
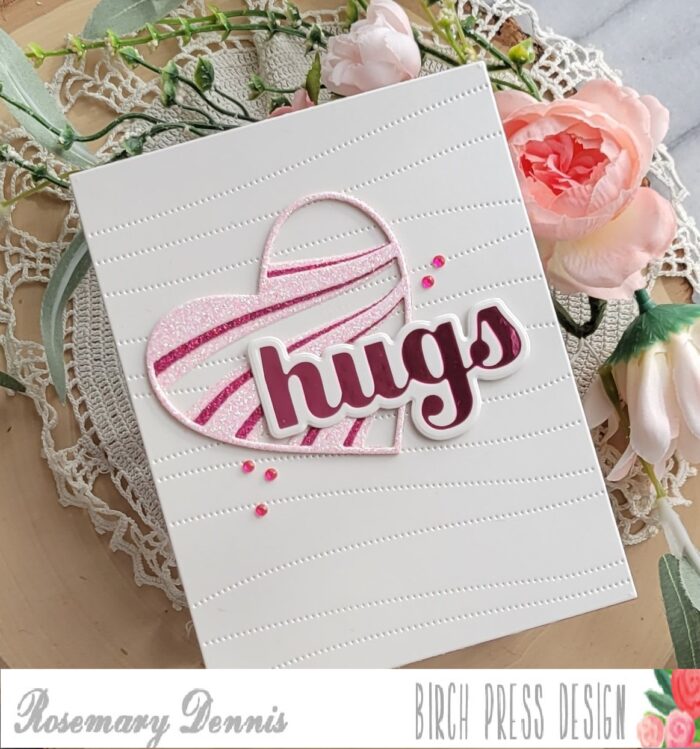
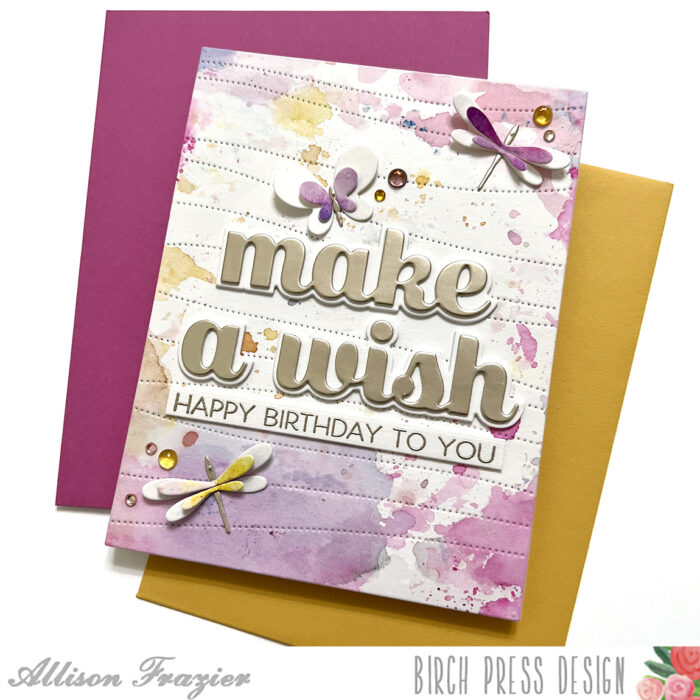
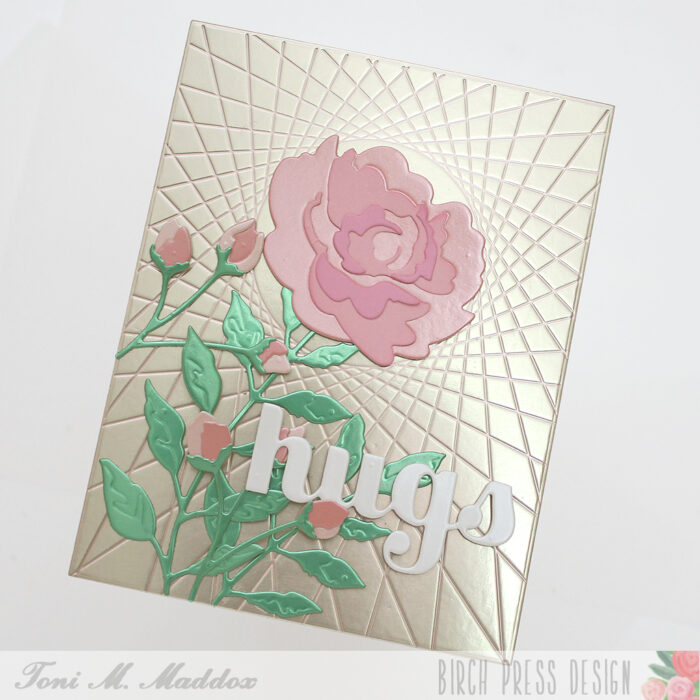
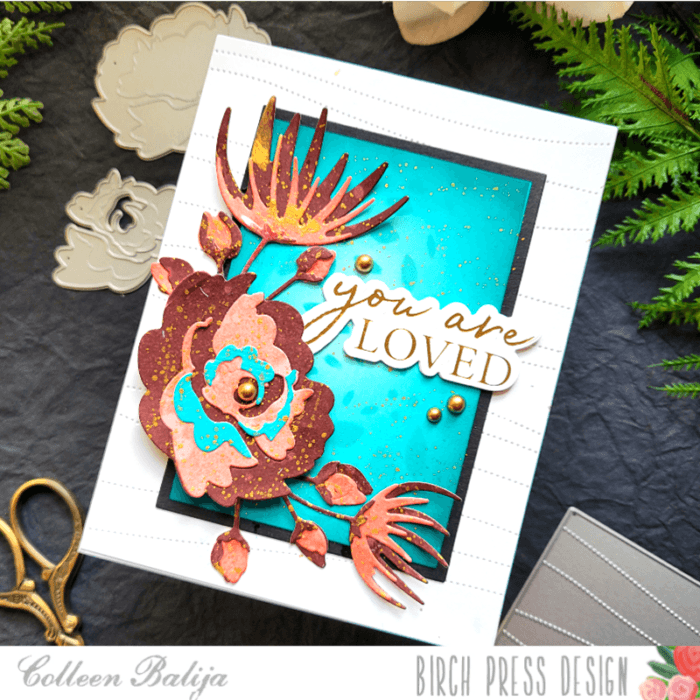
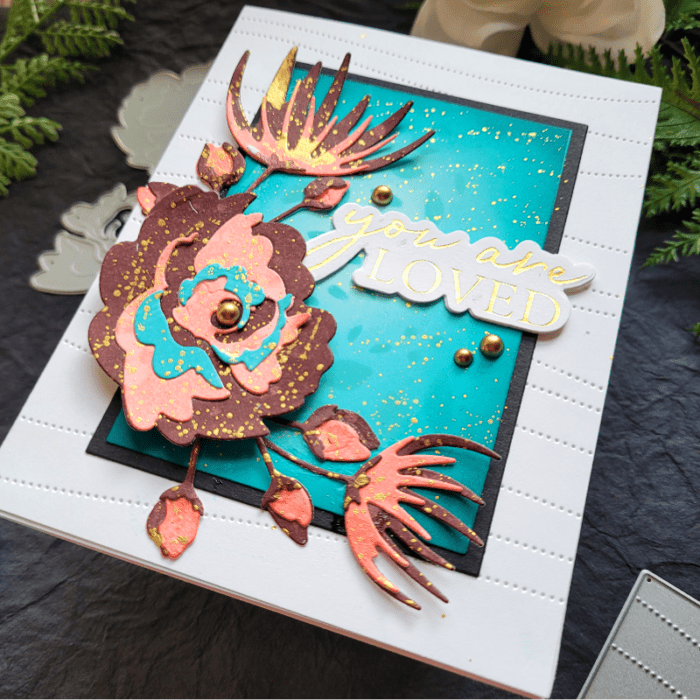
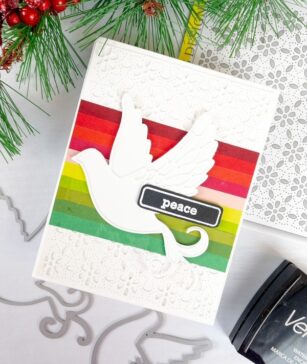
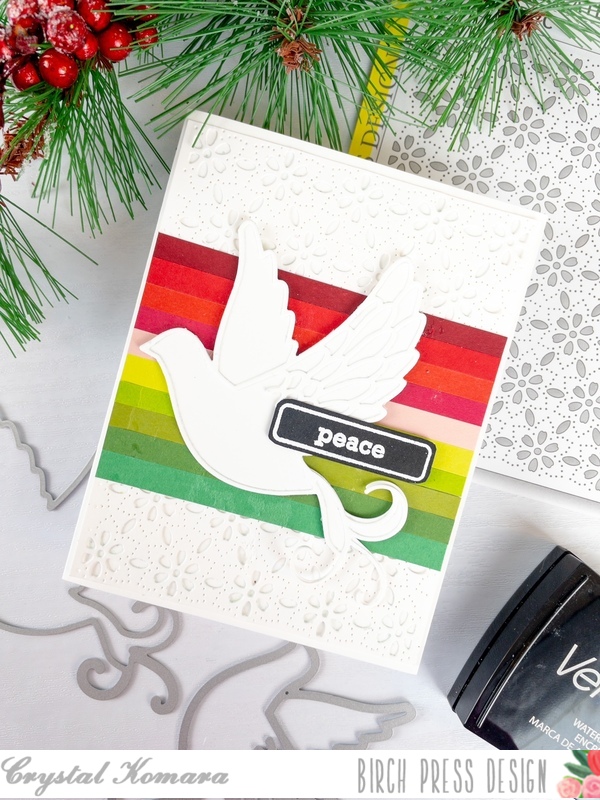
I’m back with another post on how to use Color Mood Boards for inspiration!!! In my post earlier this month, I shared a mood board and card that was inspired by it. Today I’m going to share a completely different card using that same mood board! My hope is that you will see how inspiring it can be to create TONS of unique cards with just one color mood board! Here is my card below.
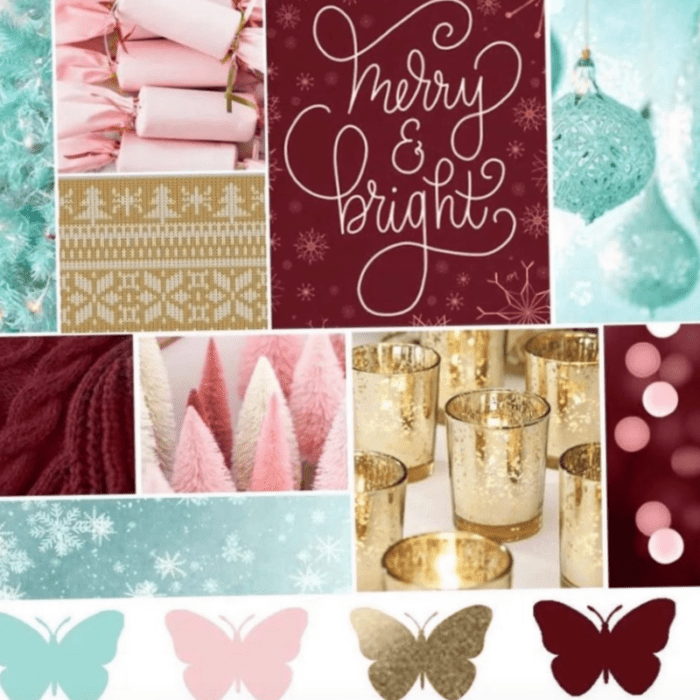
And, here is that Color Mood Board in which I was inspired to create this card ealier this month! Again, I found this through DT Crystal Komara!
The first step was to plan the layout of my card. I found a card on Instagram where I just fell in love with the layout and design elements, so I used that card as my starting point. Since I didn’t want to CASE the card, I used just the background design ideas from it.
Next, I chose the Birch Press Designs dies I wanted to use for my card.
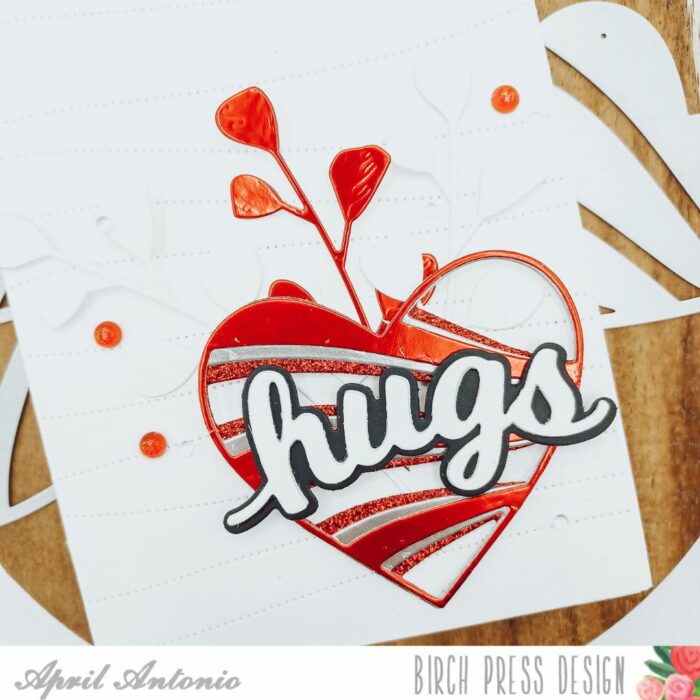
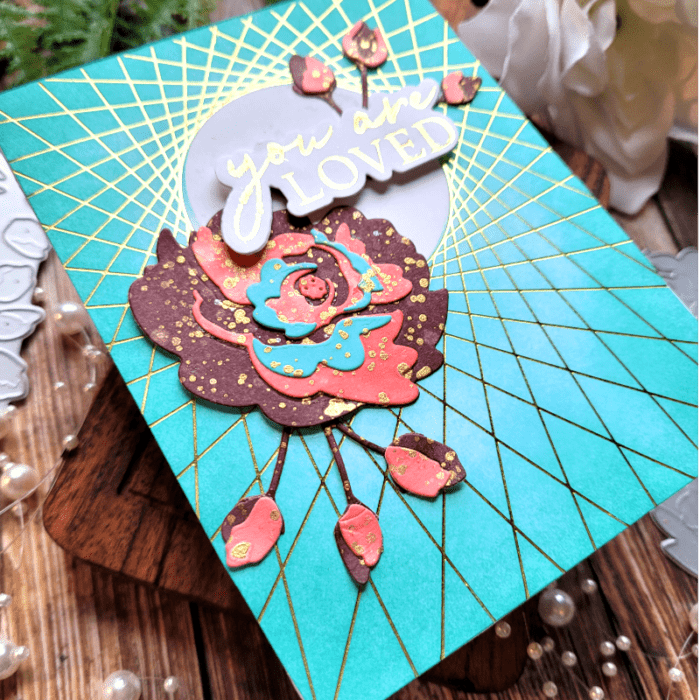
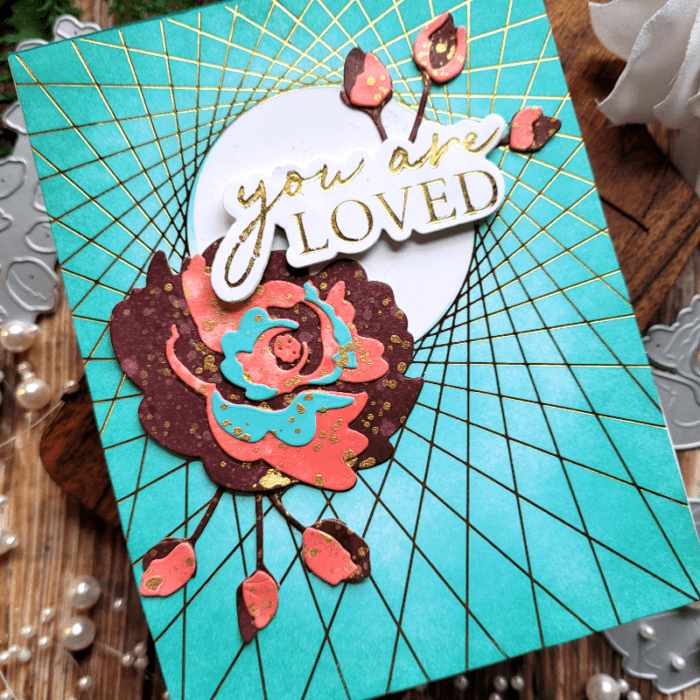
Birch Press Designs just released a beautiful, layered floral called Morning Rose & Tripe Buds Contour Layers. In addition to this die, I used Wispy Blooms Contour Layers die to compliment the Morning Rose.
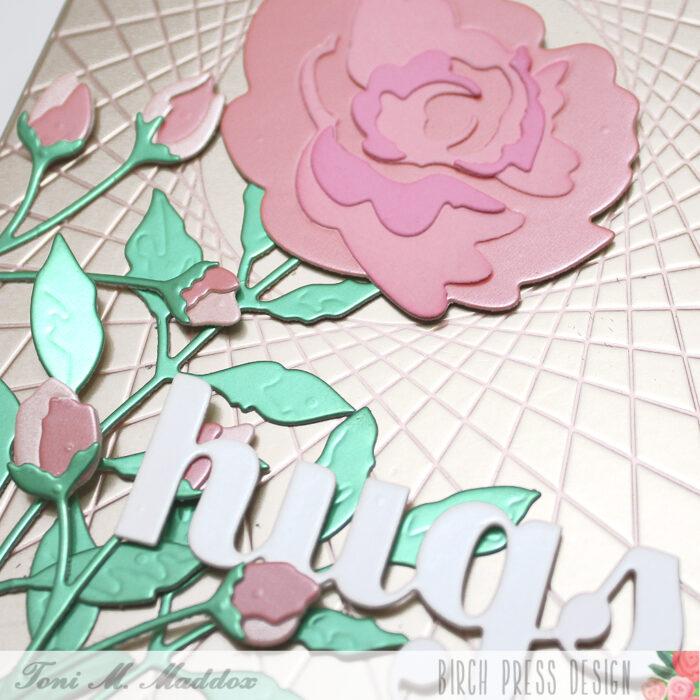
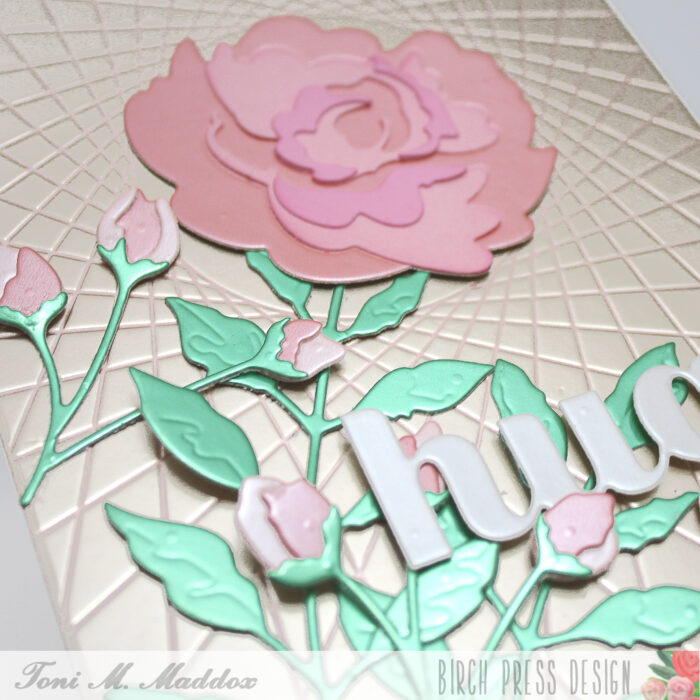
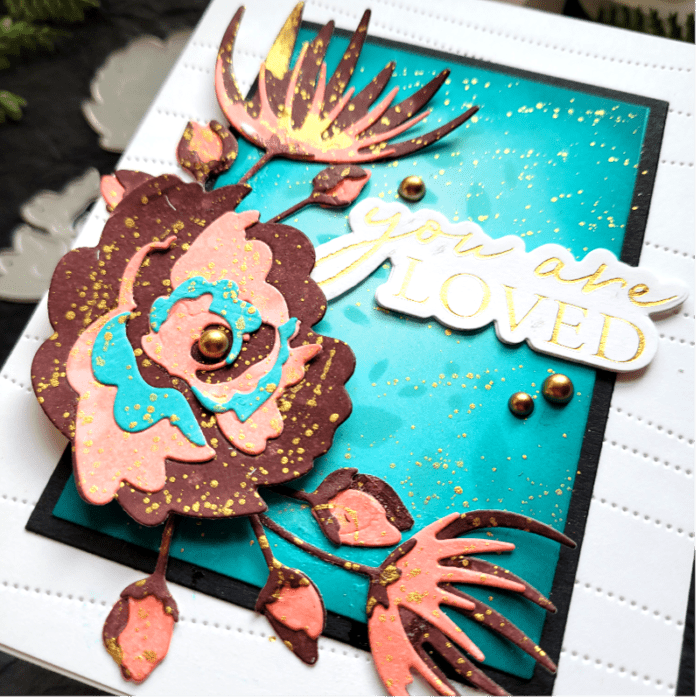
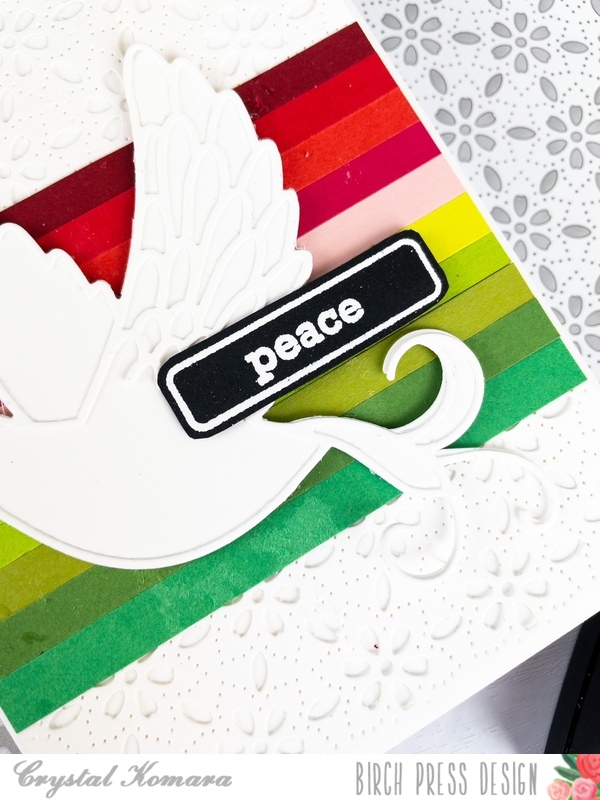
Following the Color Mood Board, I used ink colors in similar shades and applied them directly to white cardstock. Then I splattered gold metallic ink and water over it to add interest. Once my card panel was fully dry, I die cut the layers of my flowers and buds and adhered it all together. All the flowers are coordinated with the same colors from the Color Mood Board for cohesiveness. I added more gold splatters to the flowers after they were die cut. You can see in the photo below how pretty the colors work together!
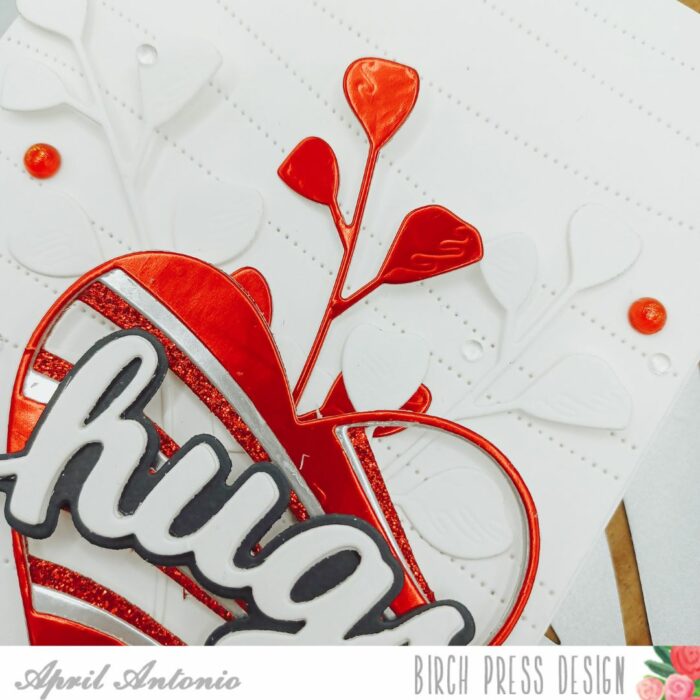
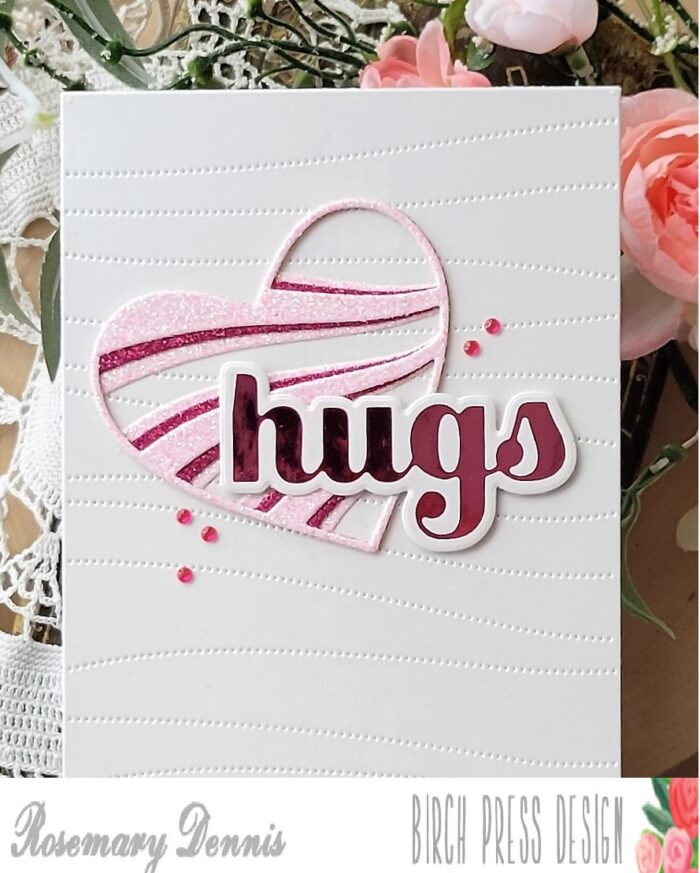
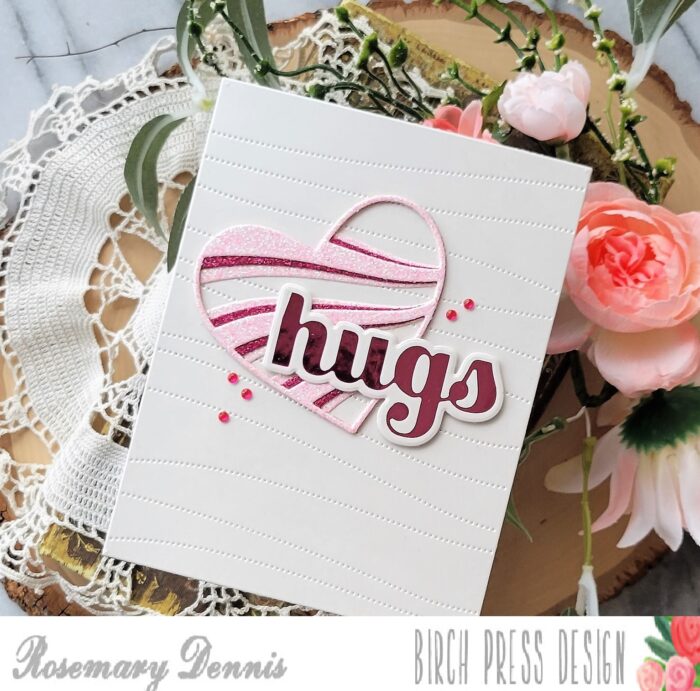
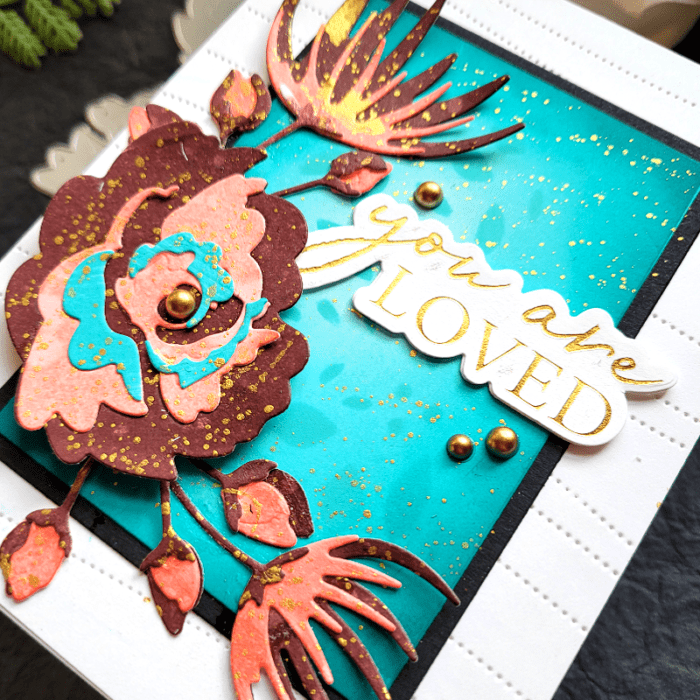
The next step was to work on the background! I die cut the brand-new Pinpoint Contour die plate onto a 5.5×4.25 white card panel and adhered it to a white card base. This is a beautiful die that creates a design without die cutting it. It’s perfect for a background!
Next, I trimmed 2 more card panels – one in white and a larger one in black. I inked up the white card panel using teal shades of ink, similar to the Color Mood Board. I went from lightest in the center to darkest on the outer part. To add interest, I used Layer A of Herbarium Layer Plates as a stencil and inked through it to create an abstract design over the teal ink! It was subtle enough to add interest without competing with the focal point! I also added gold splatters.
I adhered the inked-up card panel to the larger black card panel, and then adhered both to the card base so that enough of the Pinpoint Contour die was peeking out from behind. You can see all that lovely detail in the photo above!
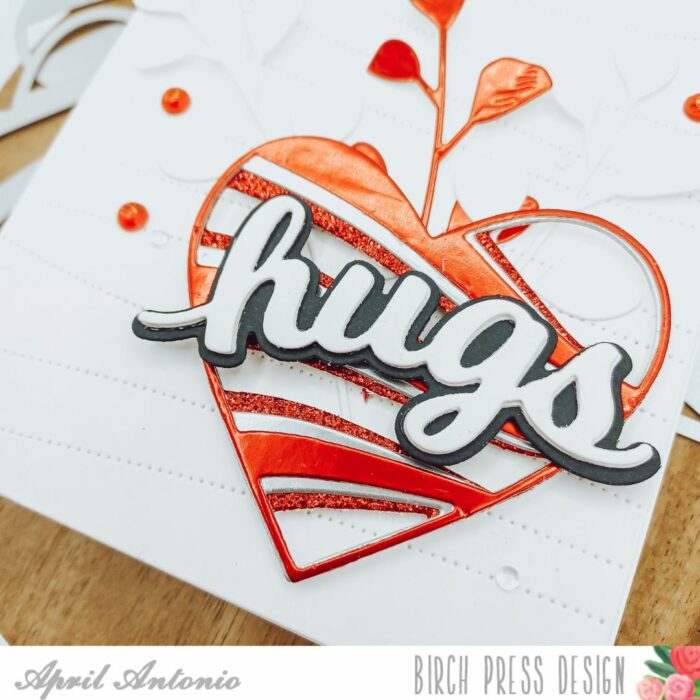
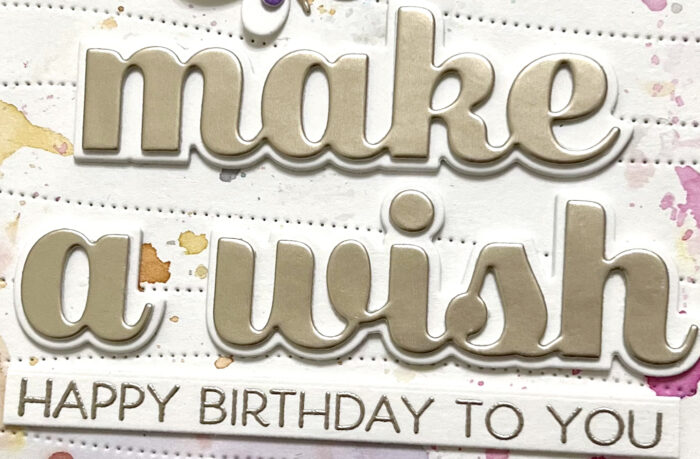
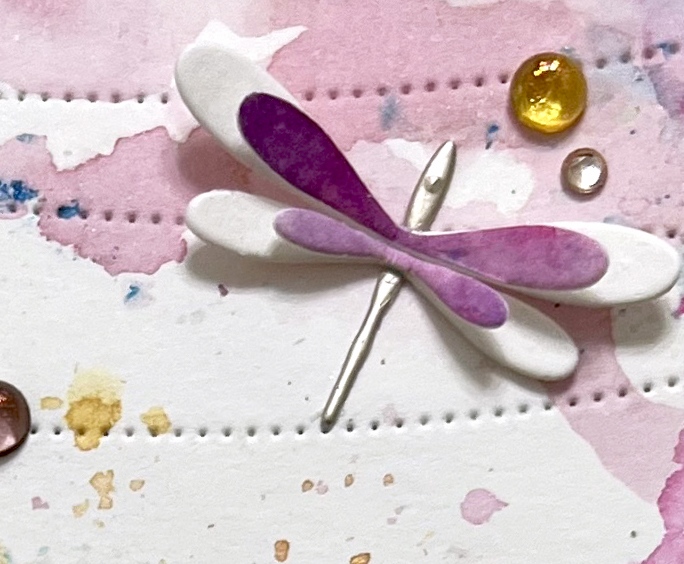
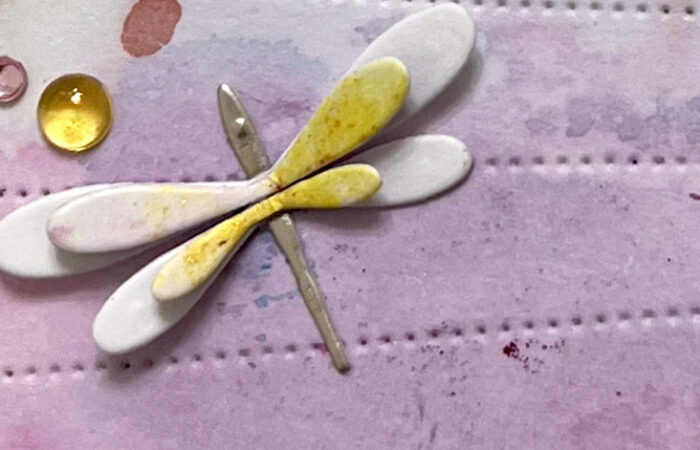
Finally it was time to add my flowers over that beautiful card base! I “staged” everything exactly where I wanted it and then adhered it all down with liquid glue once I was satisfied with placement. The Morning Rose flower was popped up on foam tape. I finished with a gold foiled sentiment from You Are Loved.
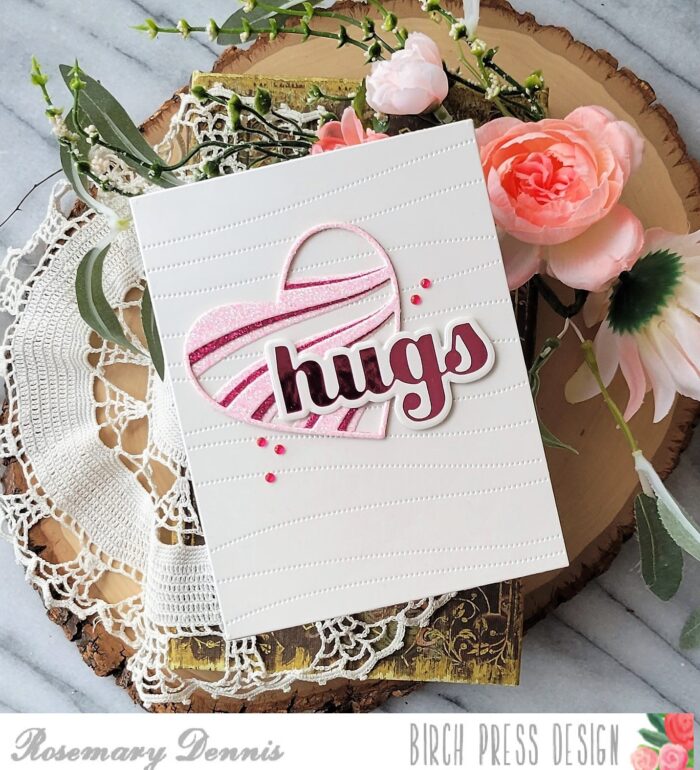
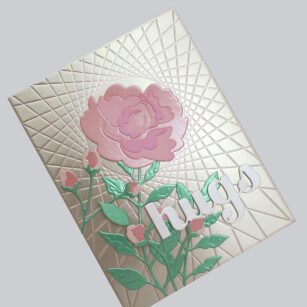
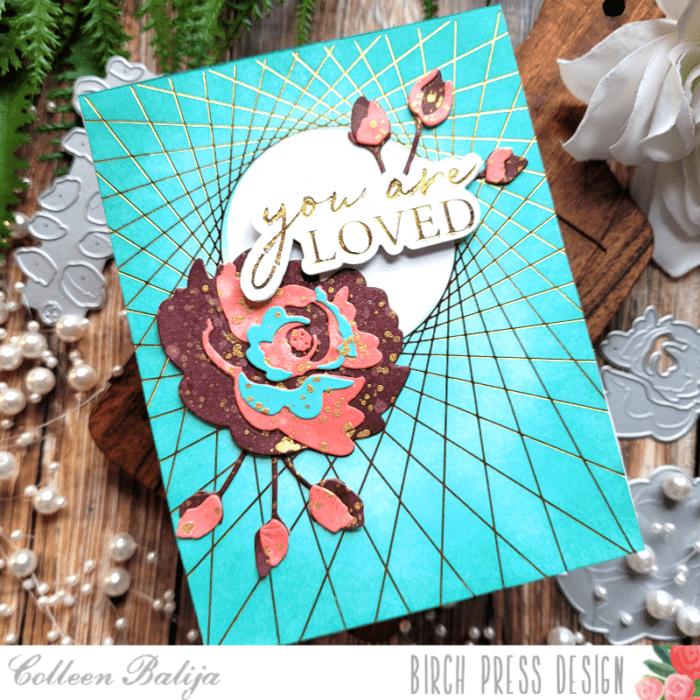
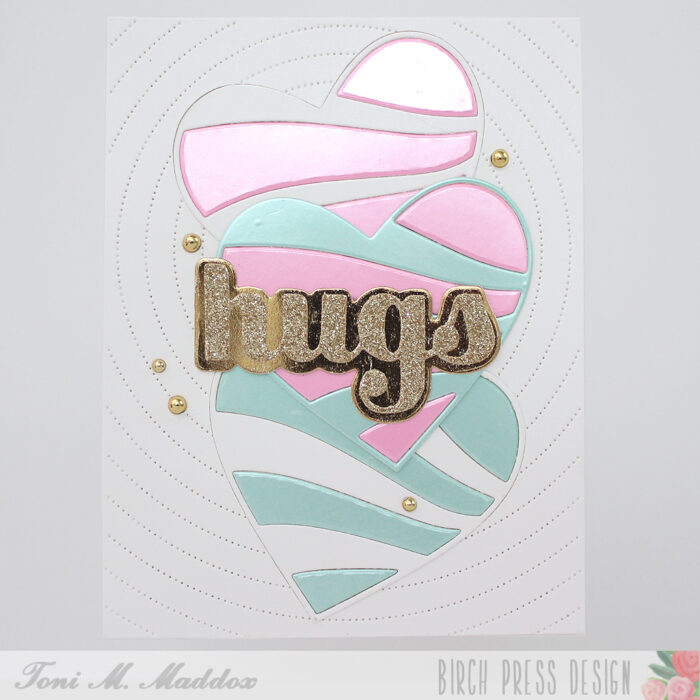
As a refresher, here is the card that I made from my last blog post, so that you can see how different that card is from today’s card!
The colors are similar of course, but the layout and design elements are different! Color Mood Boards are coordinated for you so that the colors will work together nicely. That’s really important, as too much color can take away from the beauty and cohesiveness of a card! So, you can feel free to use all the colors on the mood board with whatever design elements you choose!
You can find Color Mood Boards by googling them, by searching for them on Instagram, or by creating your own! I also frequently refer to color mood boards designed by Sarah Renae Clark, whom you can find on Instagram. She creates a multitude of mood boards for every season and every reason!
Thanks for stopping by today!
Supplies