Hello crafty readers! This is Design Team member Crystal Komara here today and I’m excited to start making some Valentine’s Day cards. It seemed like this holiday season I had started Christmas cards back in October, so I’m really for a change! And who doesn’t love love themed cards?
Card details:
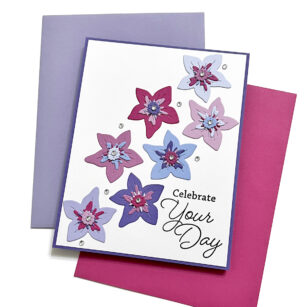
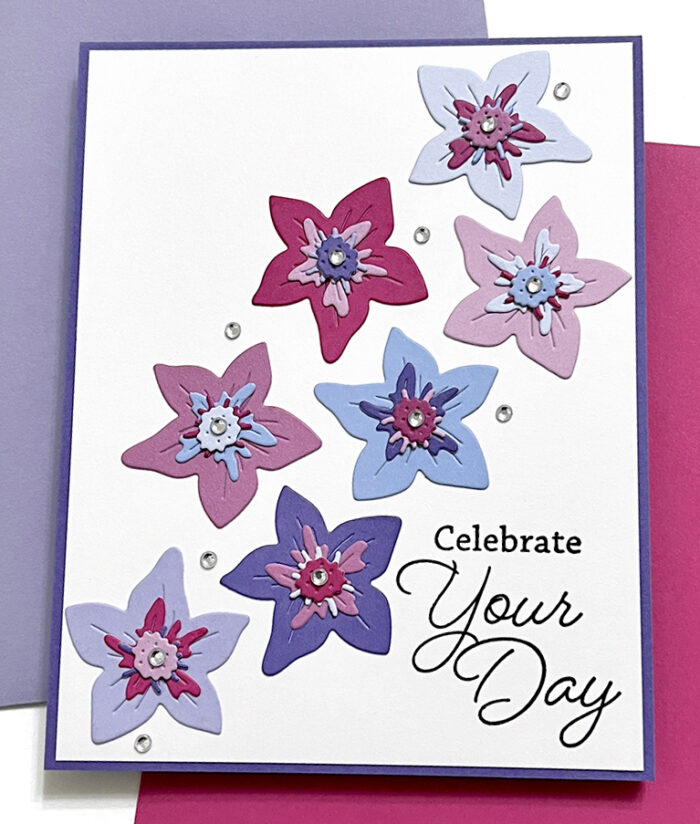
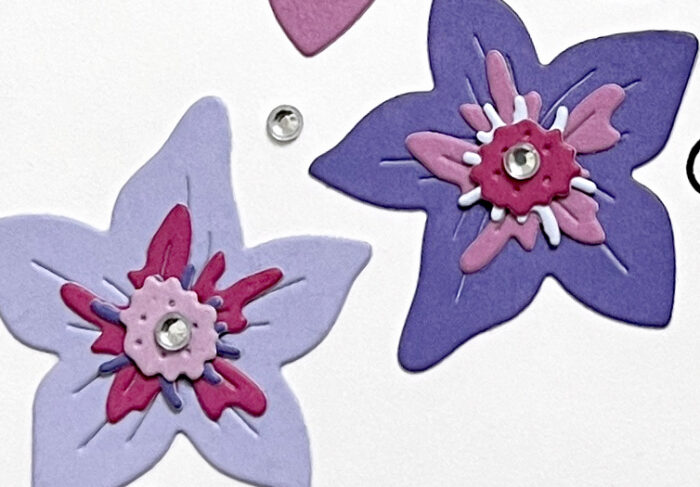
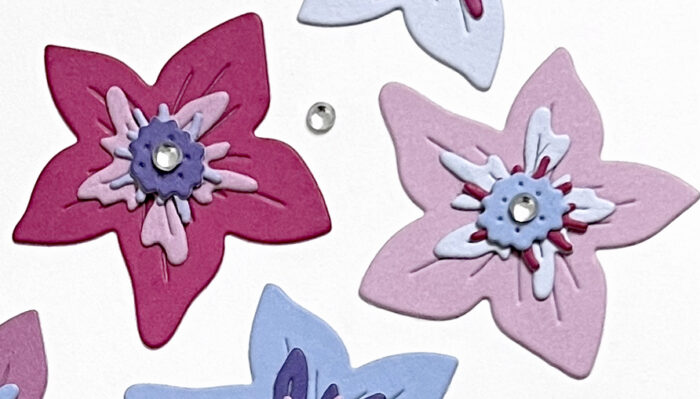
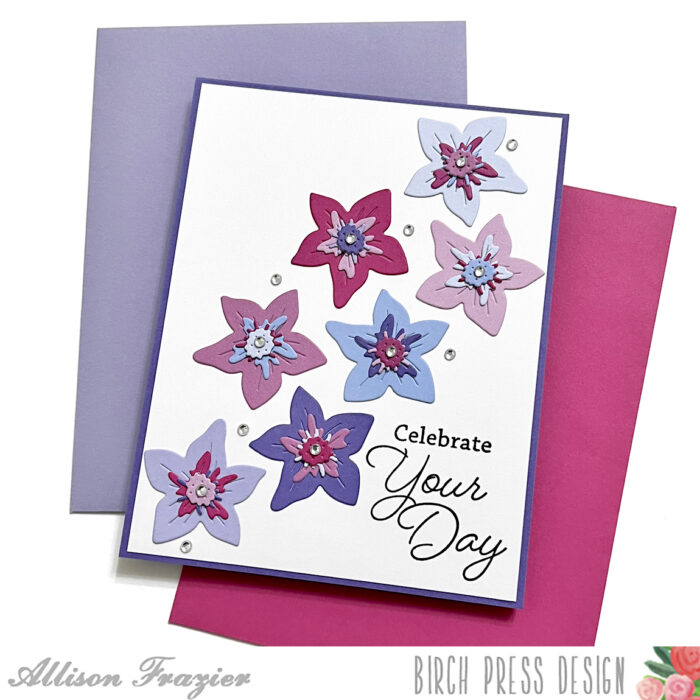
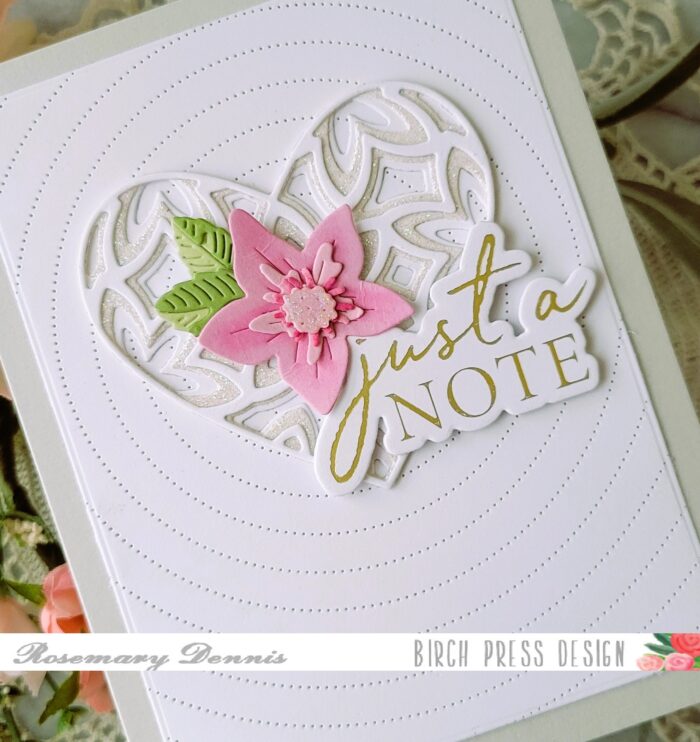
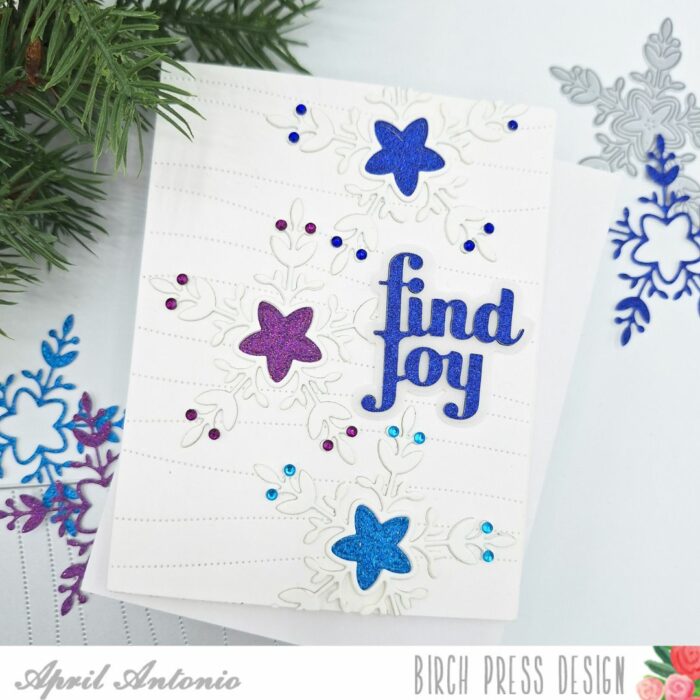
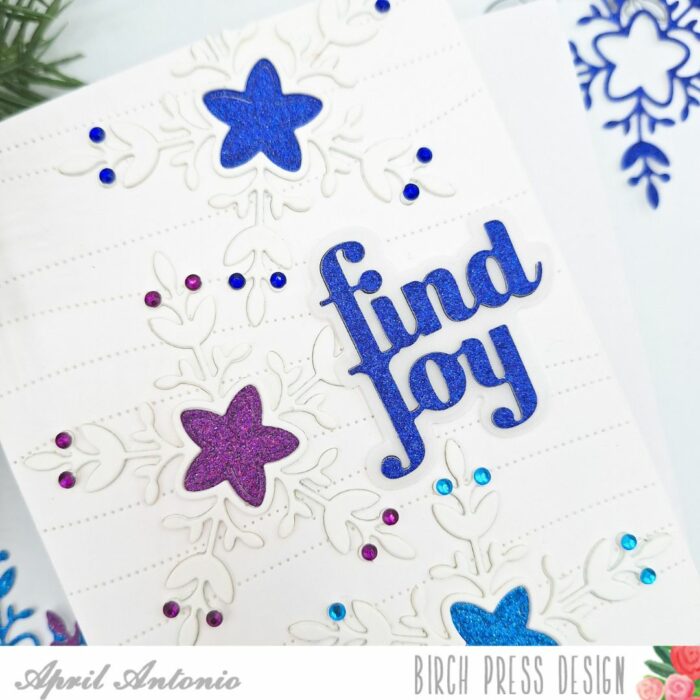
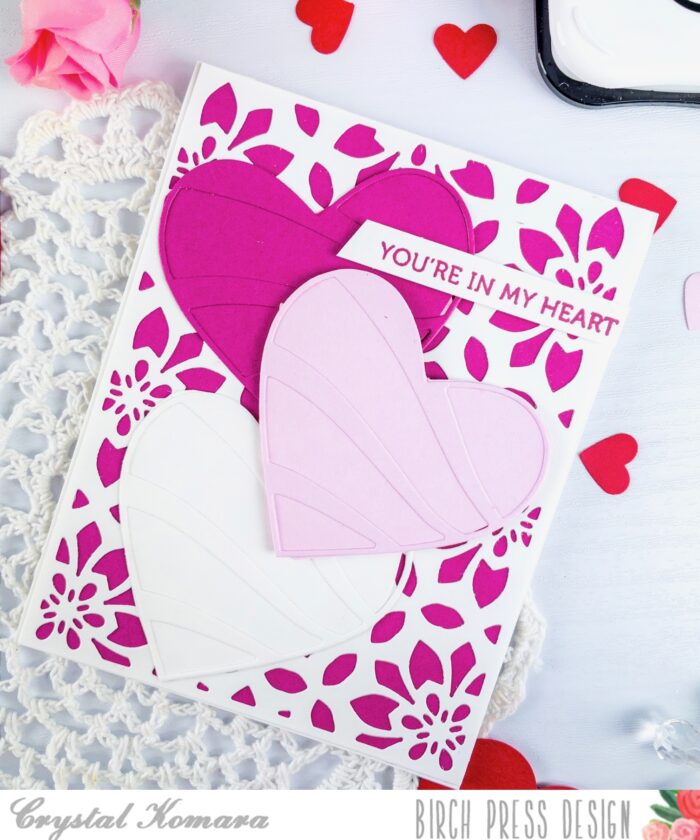
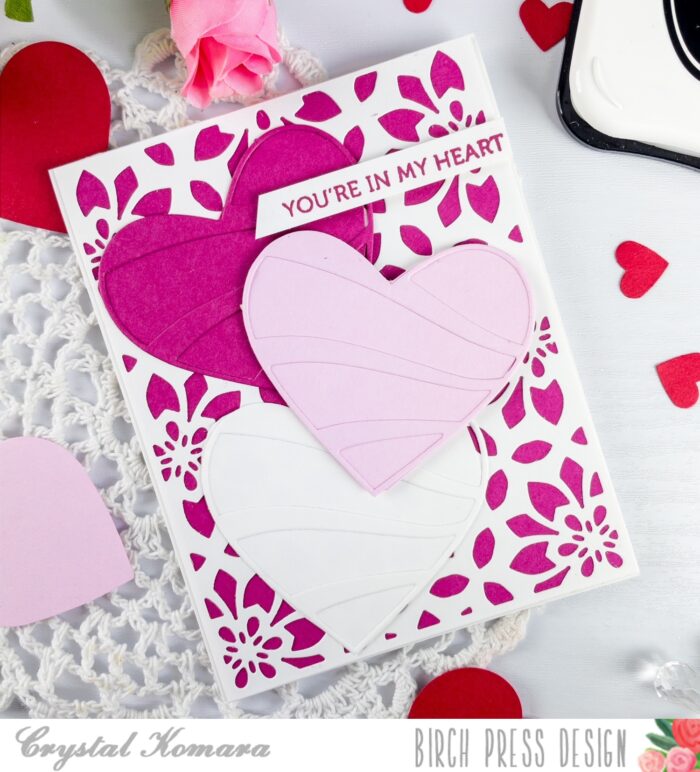
The base of this A2 sized card is made from 80 lb. Neenah Solar White smooth cardstock. I cut a 5 1/4″ x 4″ piece of magenta cardstock to use as the base layer, adhering it directly to the white card base. Using the Viola Layering Plates, I die cut Layer B from white cardstock. I layered this over the magenta pink cardstock, so the pink shows through the die cut layer.
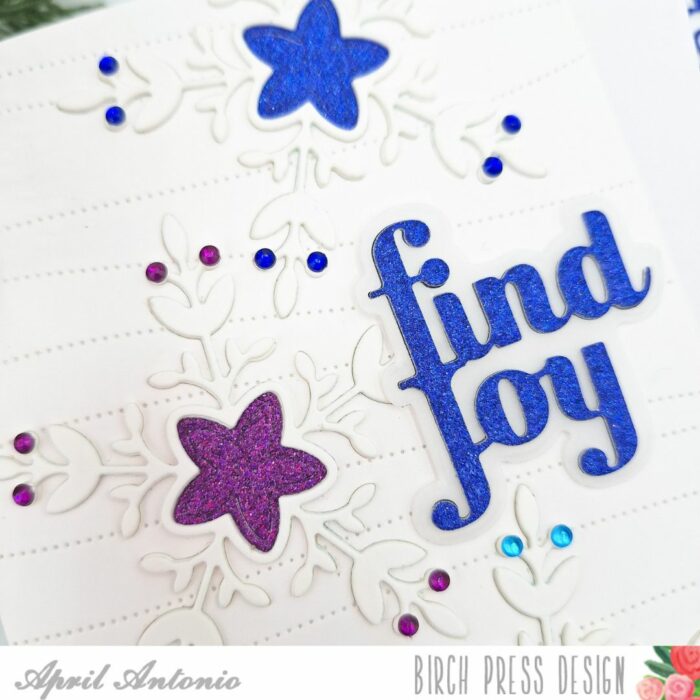
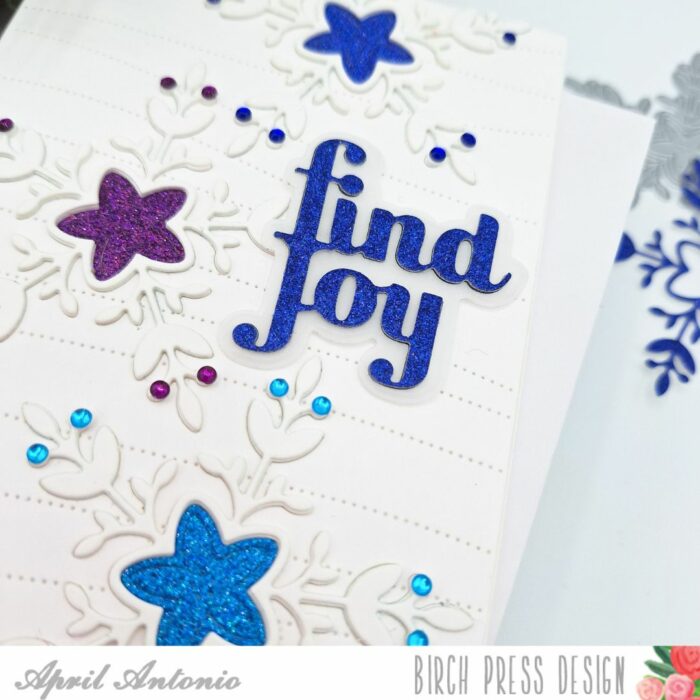
Next using the Banner Heart Layering dies, I die cut three hearts from dark pink, light pink and white cardstock. I only die cut Layer A from the Banner Heart dies and layered it onto a solid piece of the corresponding cardstock. I adhered the three hearts to the card using foam adhesive for added dimension.
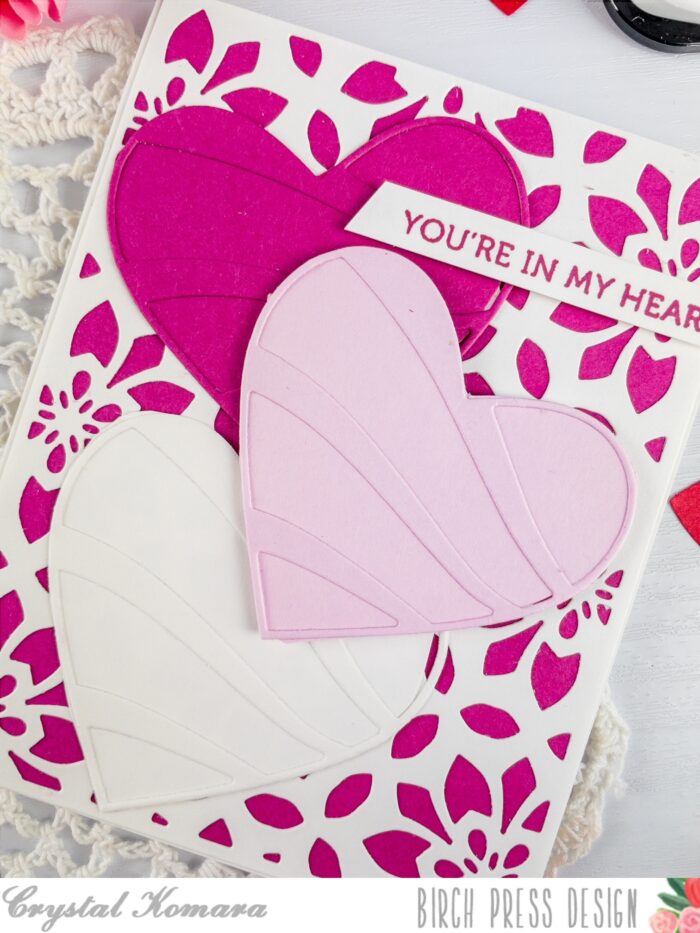
Lastly, I stamped the sentiment “you’re in my heart” in pink ink on a thin strip of white cardstock. I notched the left side of this sentiment strip before adhering it to the top right of the card using 3M foam adhesive. This sentiment is from the Lingo Thanks stamp set.
I wish you all a season filled with love and happiness! Thanks for visiting and have a wonderfully creative day!

Supplies