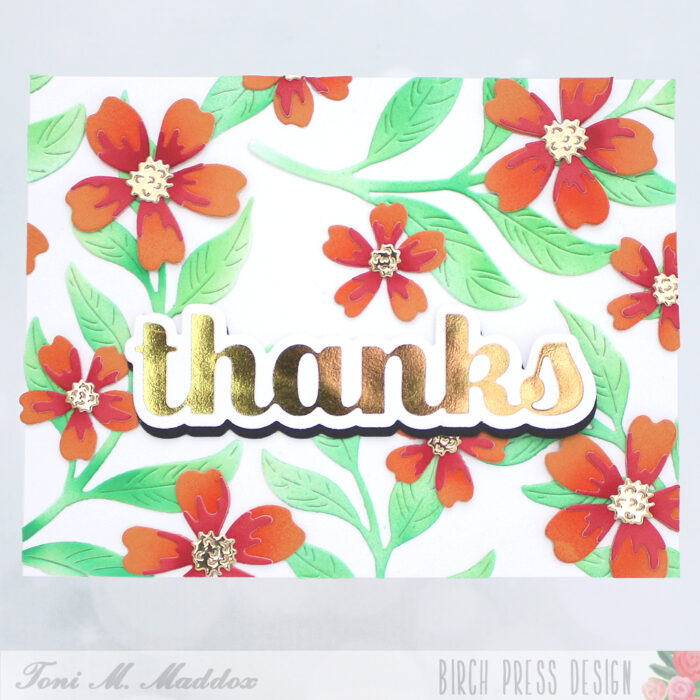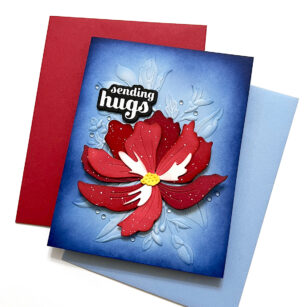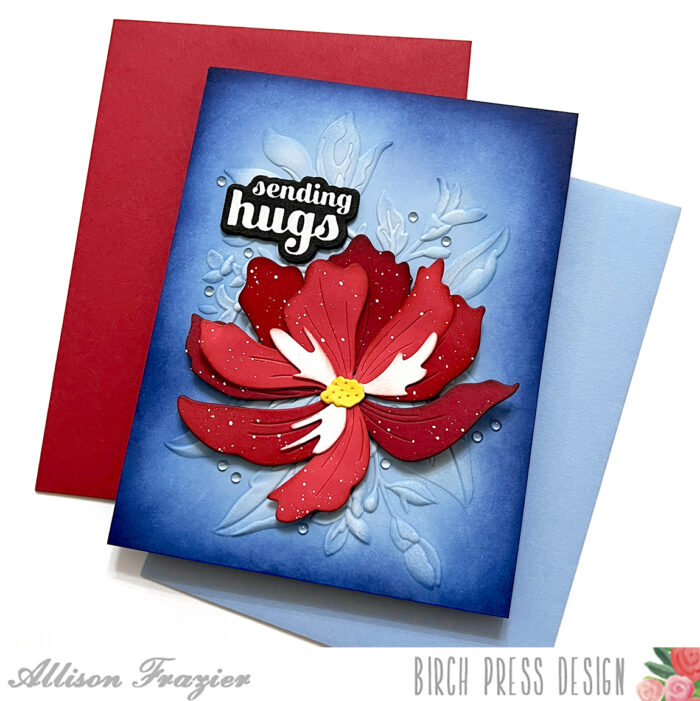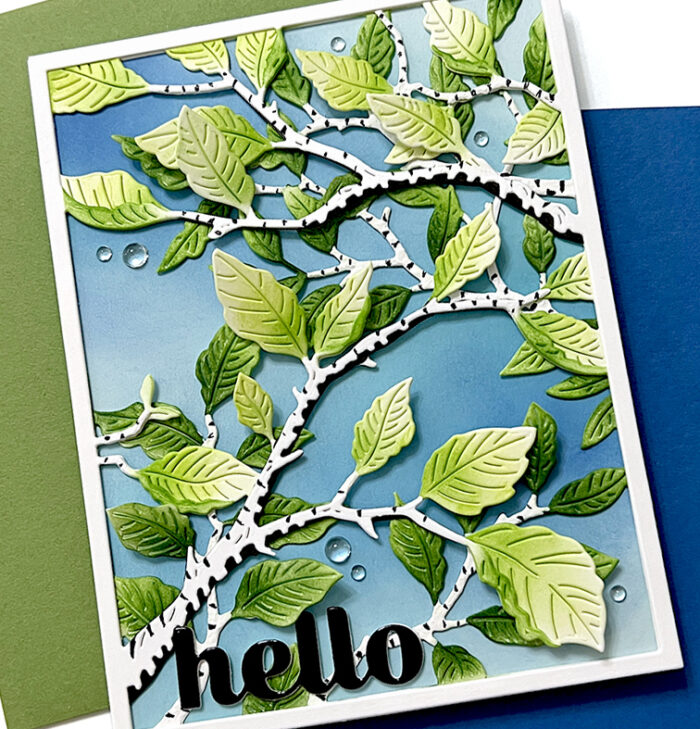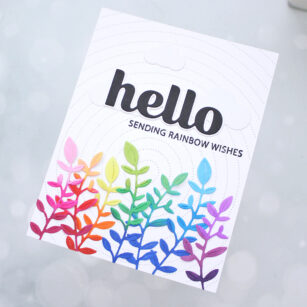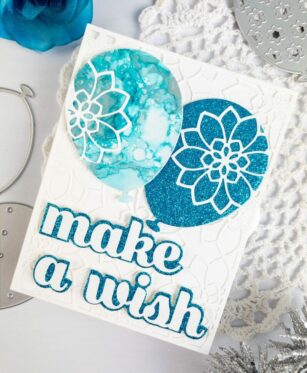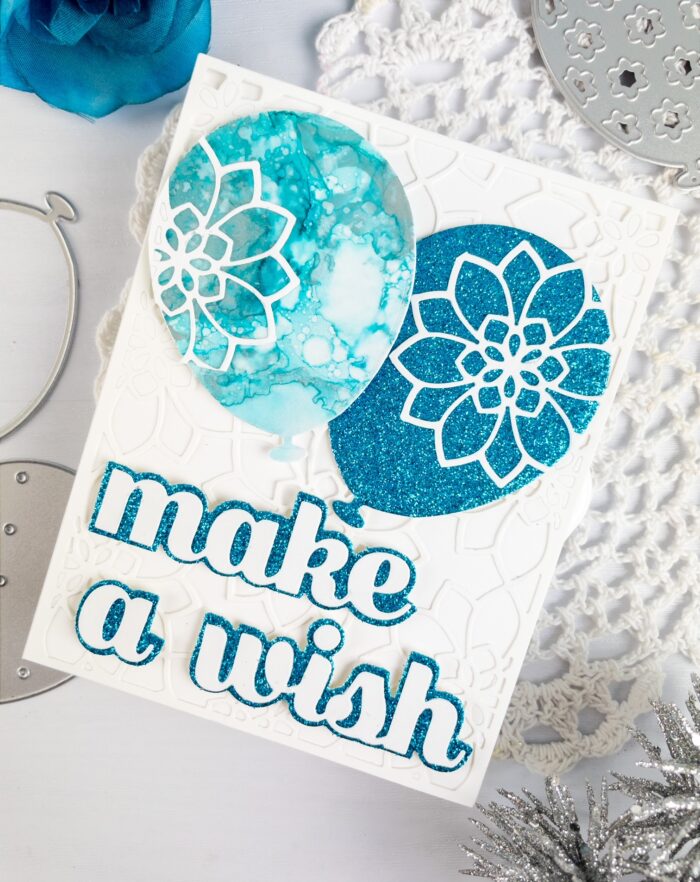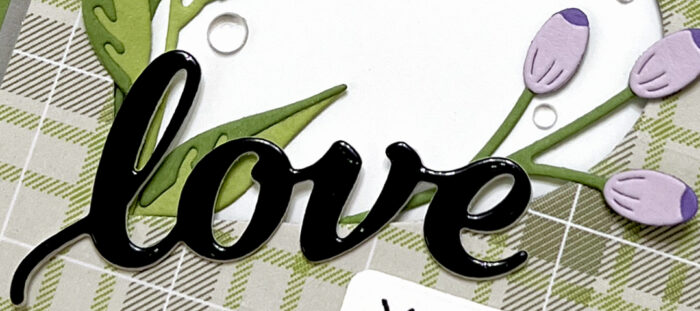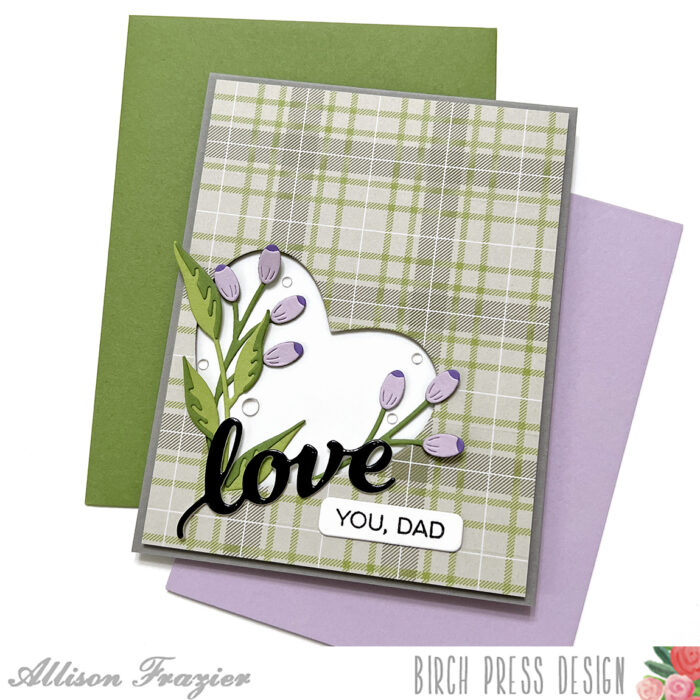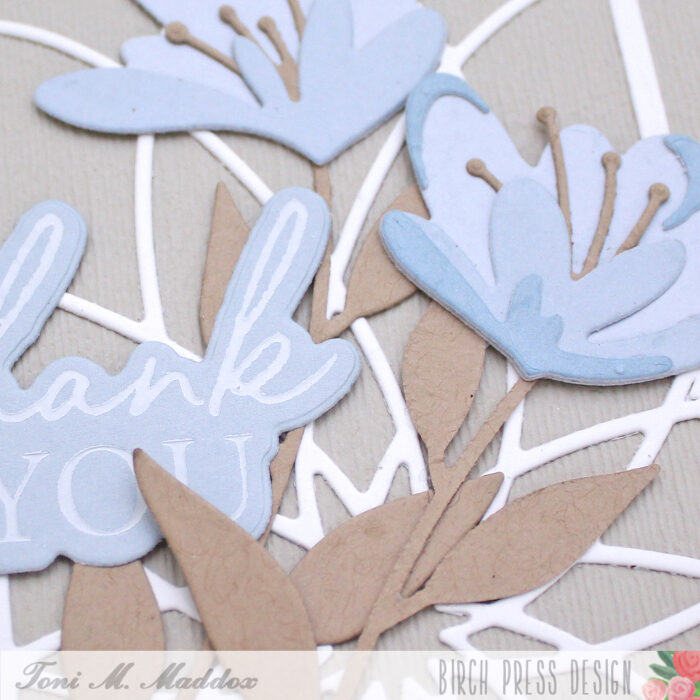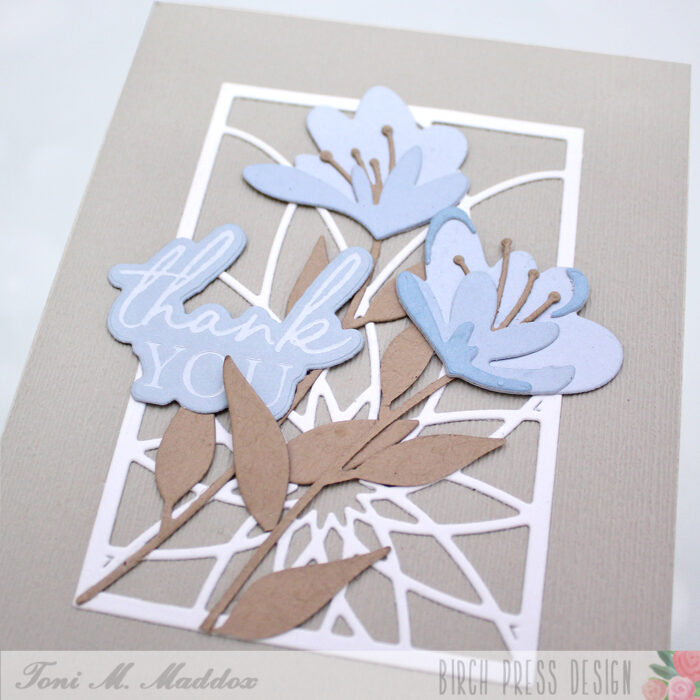
Hello! Rosemary here on the blog today sharing a mixed media type card that I created using the gorgeous new Large Cosmos Contour Layer die set, along with Fuddled Leaf Branches Contour Layer die set and a sentiment from the Sugar Script Sentiments 1 set. Let’s have a look.
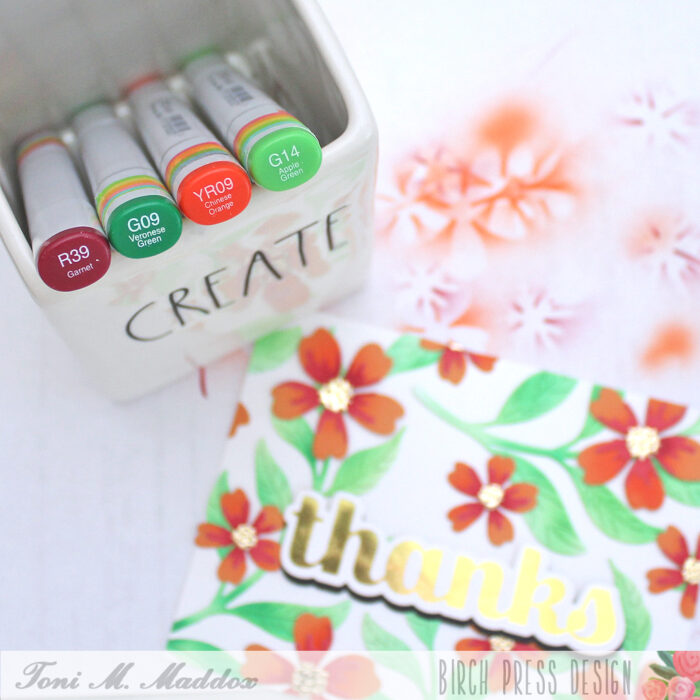
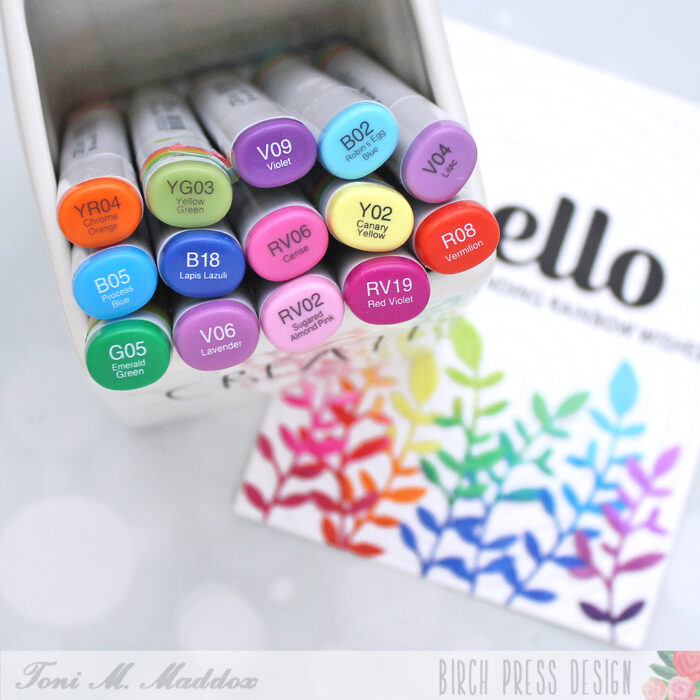
My teammate, Natasha, creates the most amazing mixed media projects using her Birch Press products. I was inspired by her to create my card combining by clean and simple with mixed media. I used Tim Holtz distress mica sprays and distress sprays and watercolor cardstock to create my panels.
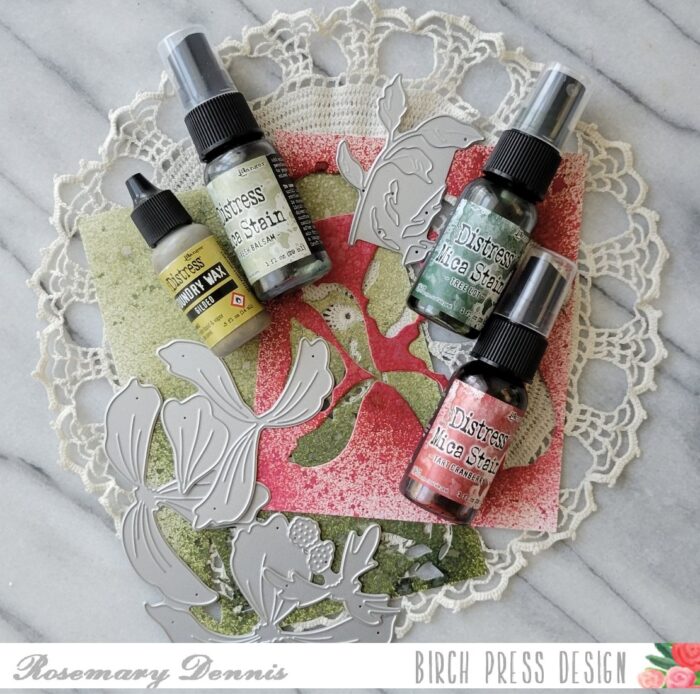
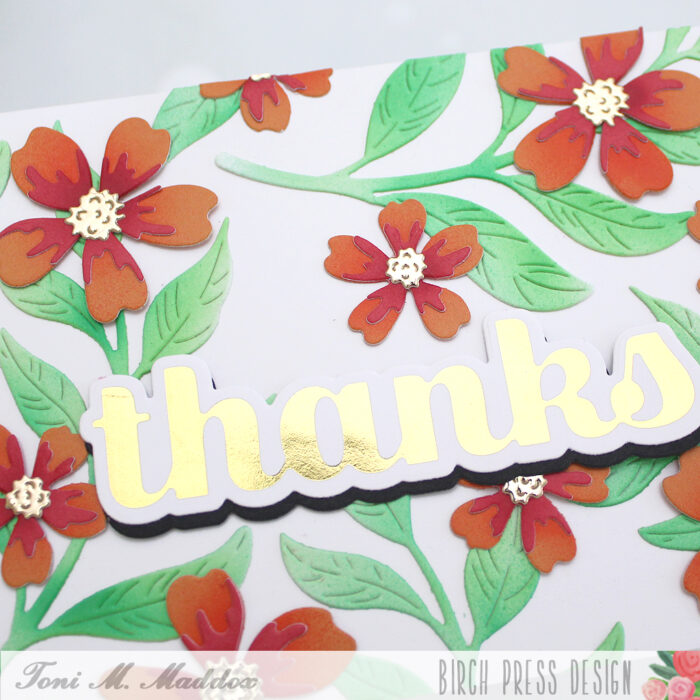
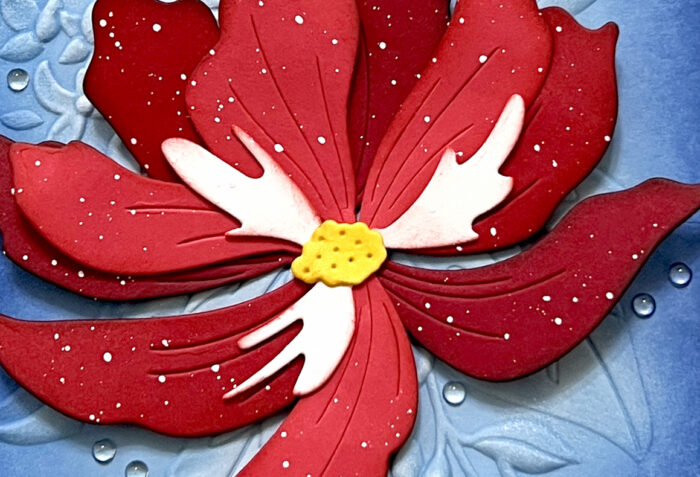
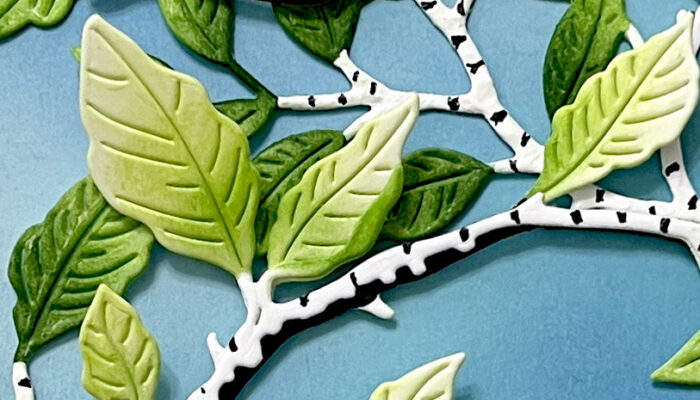
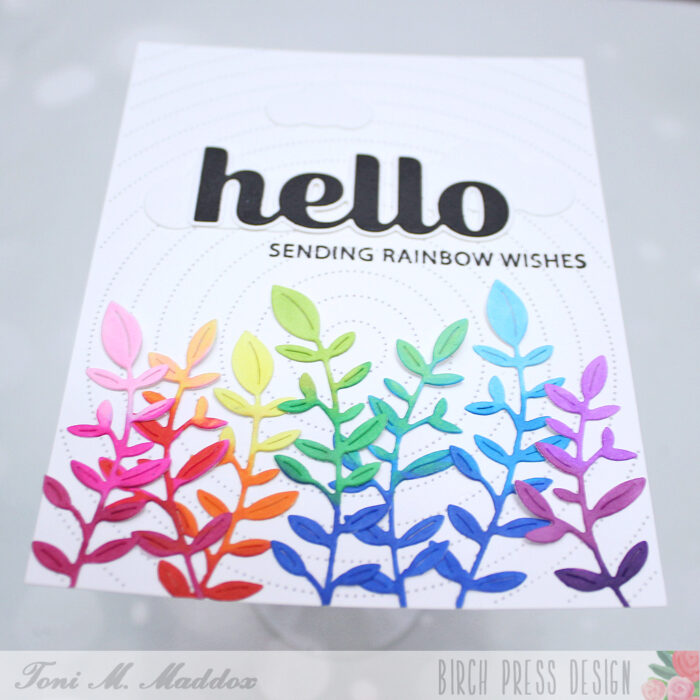
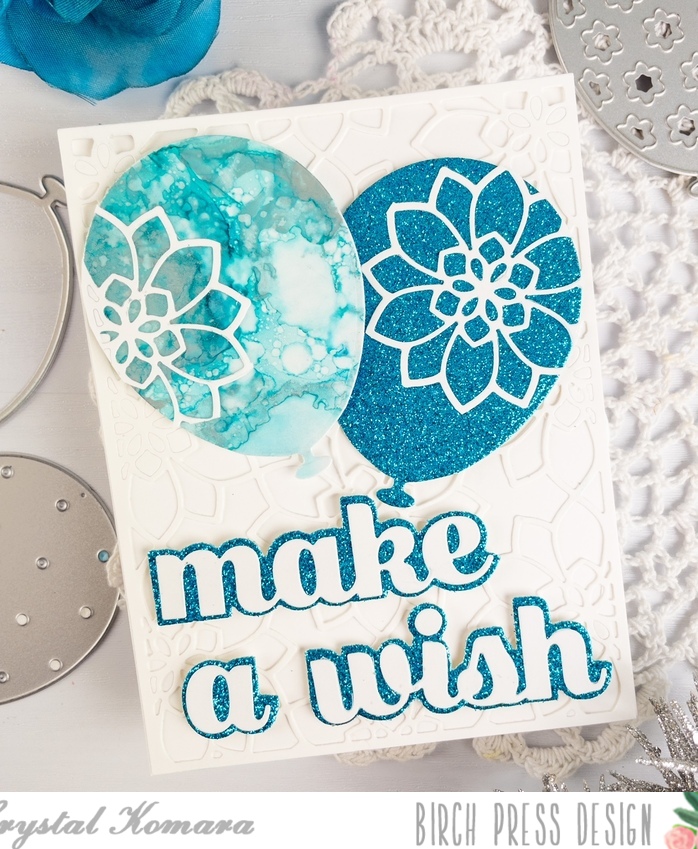
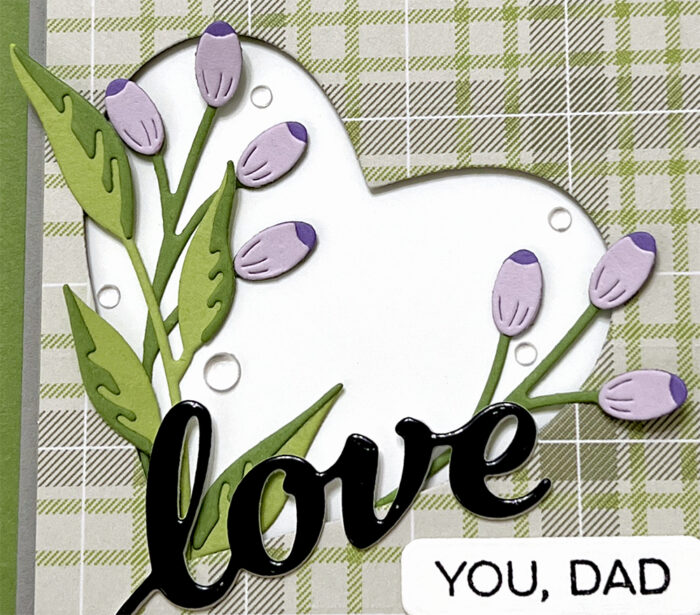
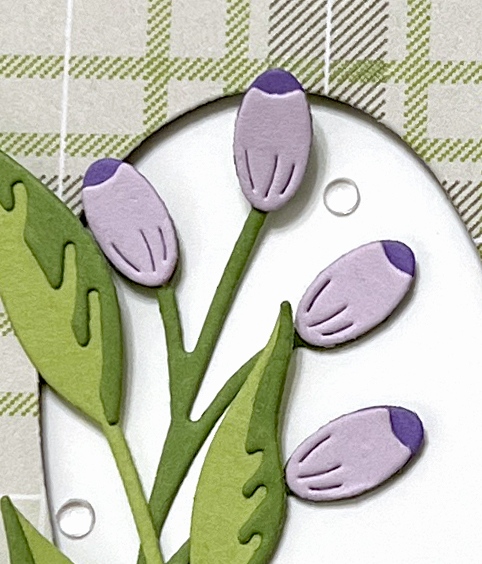
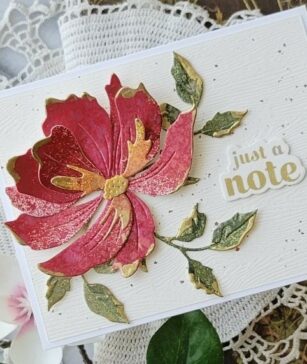
I die cut all the pieces and them assembled them using liquid adhesive. After the pieces were dry I added Gilded Distress Foundry Wax to the edges of the petals and the leaves. I used only smallest leaf cluster from the Fuddled Leaf Branches for my card. You have to work quickly when applying the foundry wax since it dries fast. I used my ring finger to apply the wax and then heat set it with my heat tool. Heat setting serves two purposes, it gives the wax the gilded look and it permanently sets it on your project. If you don’t heat set the was, it will simply chip off.
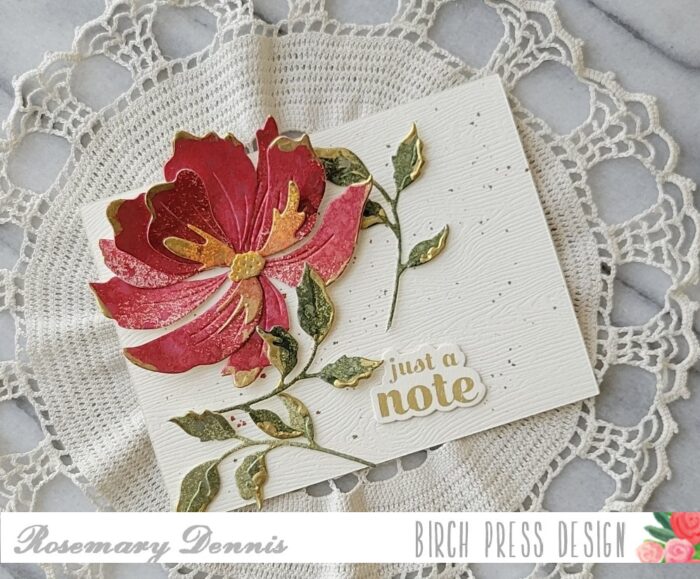
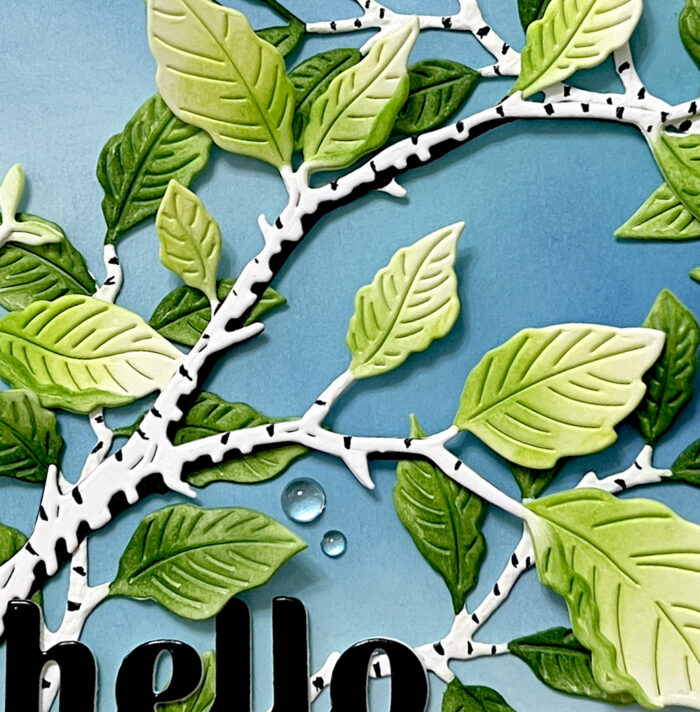
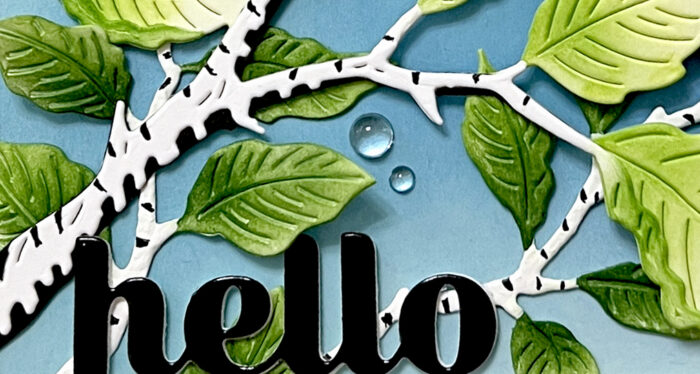
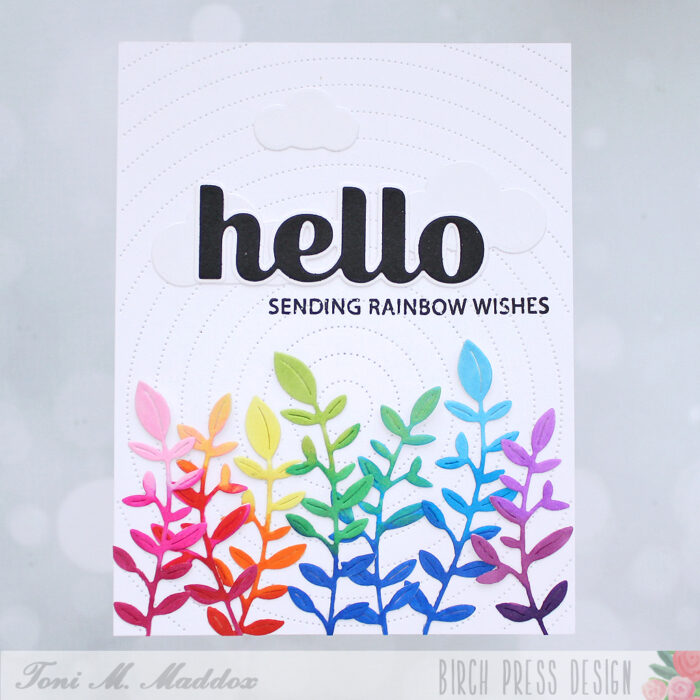
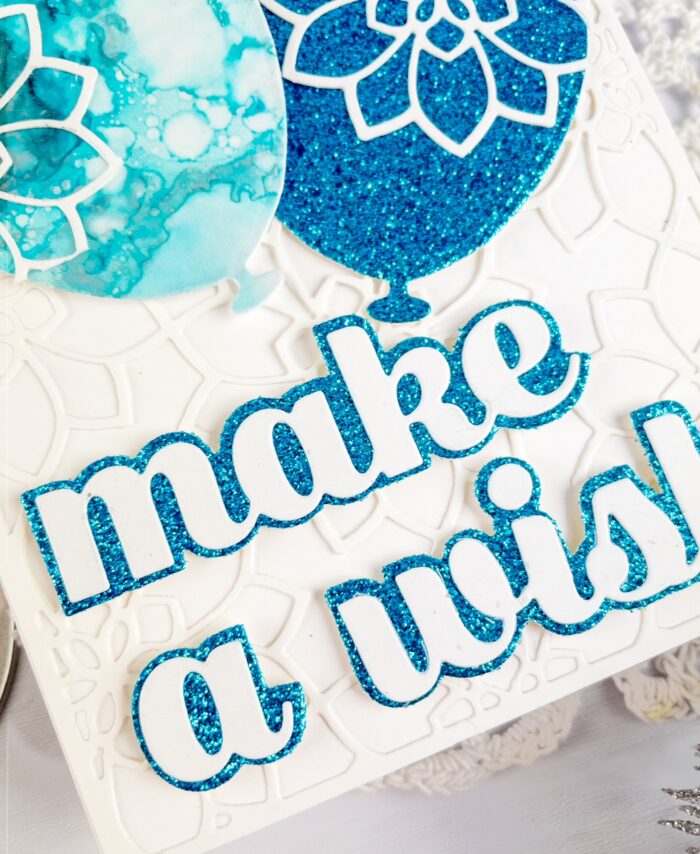
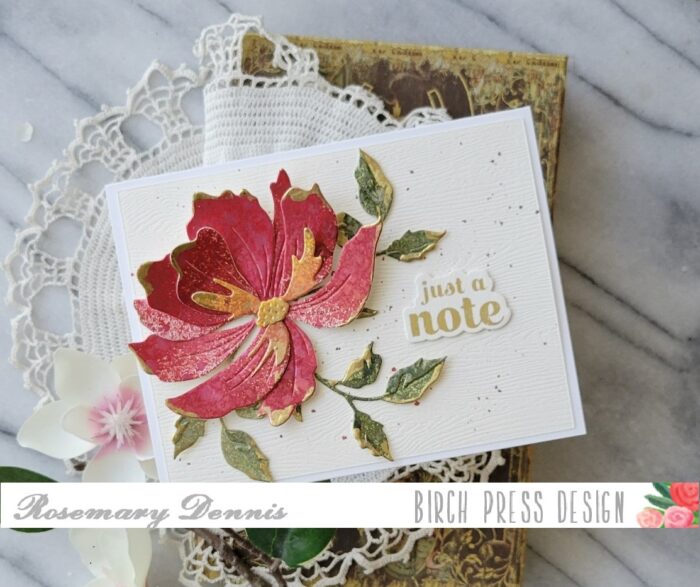
Once I had the gilding done, I created my background panel. I die cut cream Memory Box woodgrain cardstock and then splattered it with distress mica spray in Tart Cranberry. I had previously foiled the sentiment, so I simply had to die cut a few more blanks and then adhere them to the sentiment. I arranged the flower, leaves and sentiment to the panel with liquid adhesive. I then added my panel to an off-white cardstock base.
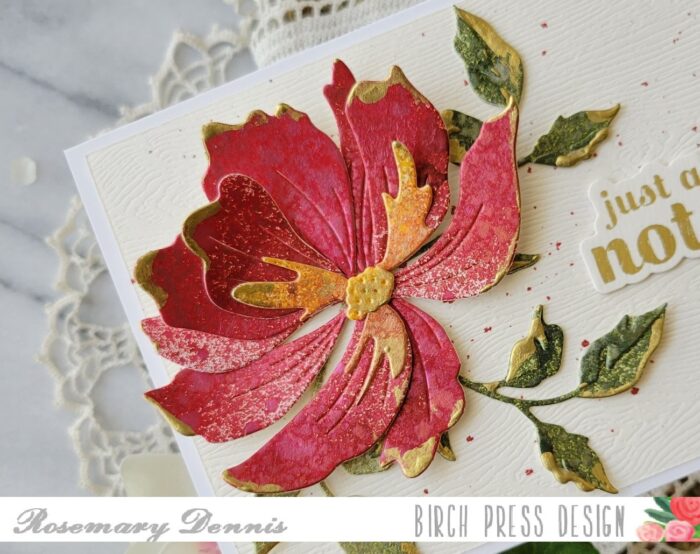
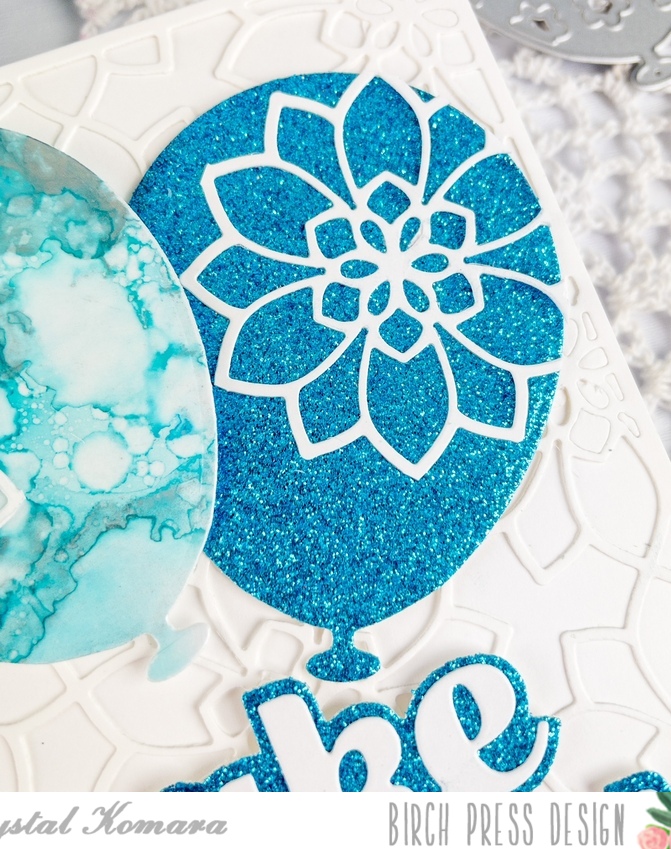
Here is a close up of the flower and leaves showing all that pretty gilding and some of the mica that provides alot of shine in real life.
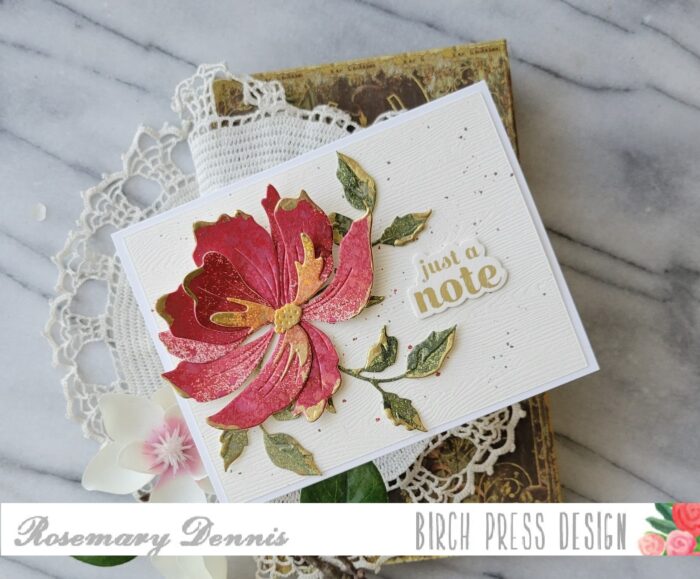
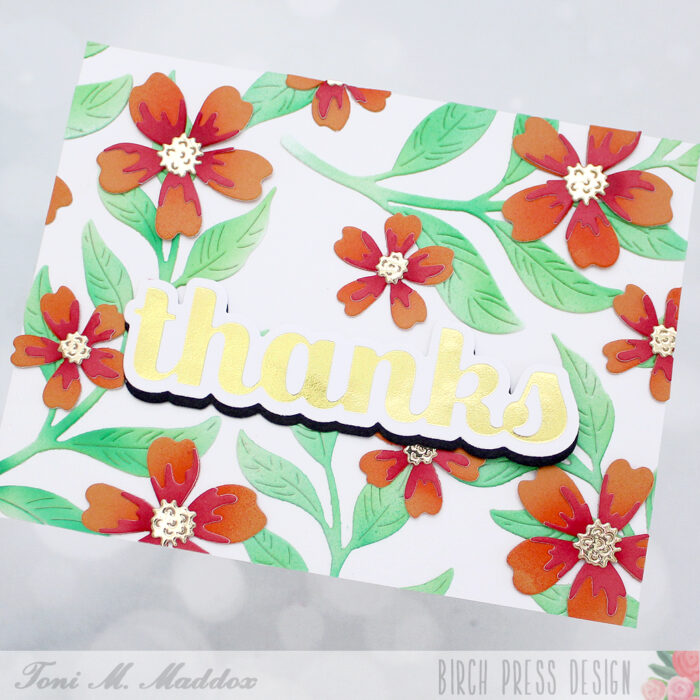
I hope my card inspires you to try mixed media in a more clean and simple way. Thanks for stopping by and have a lovely day!

Supplies