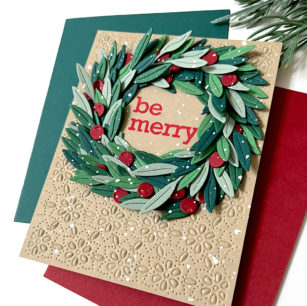
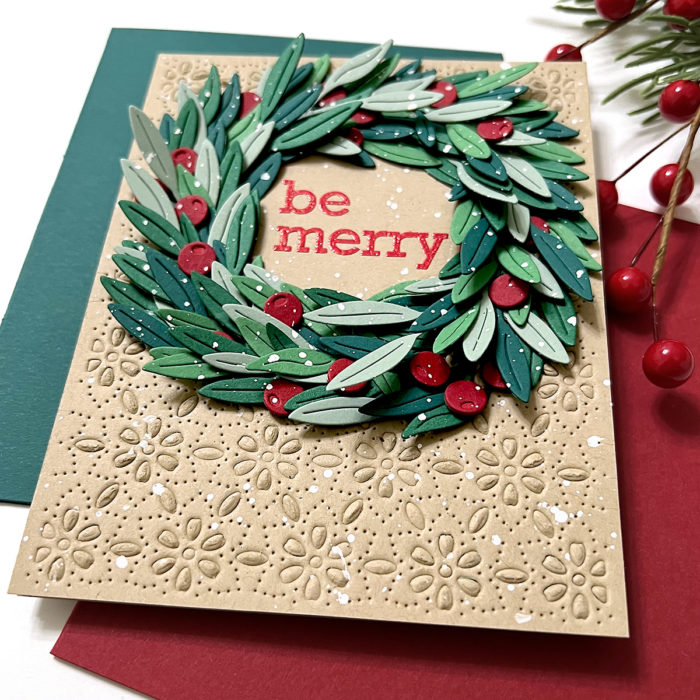
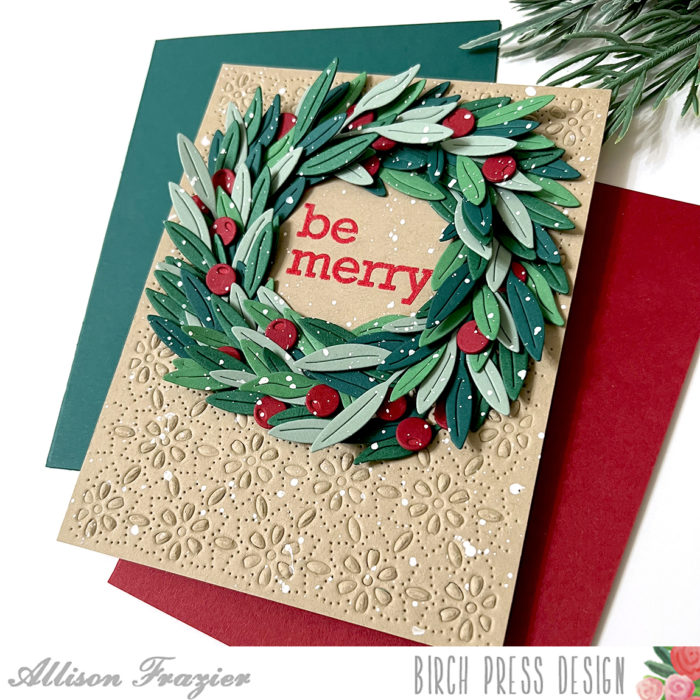
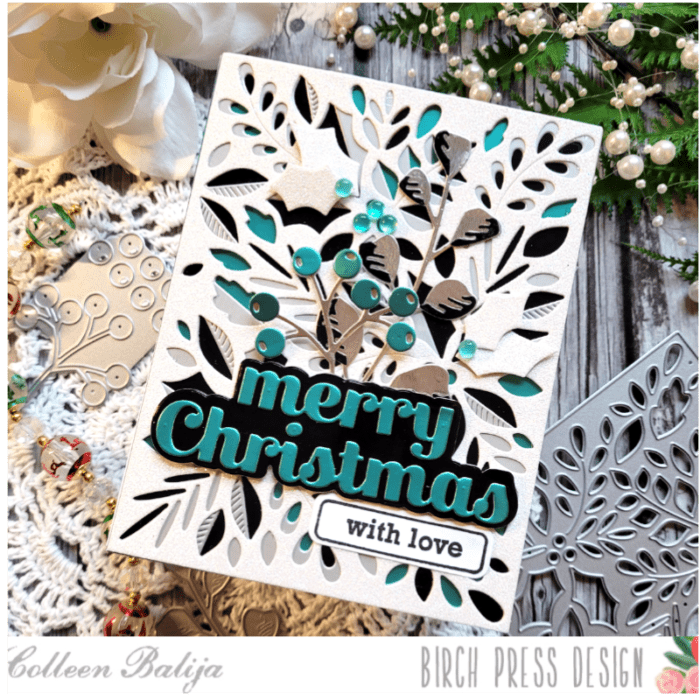
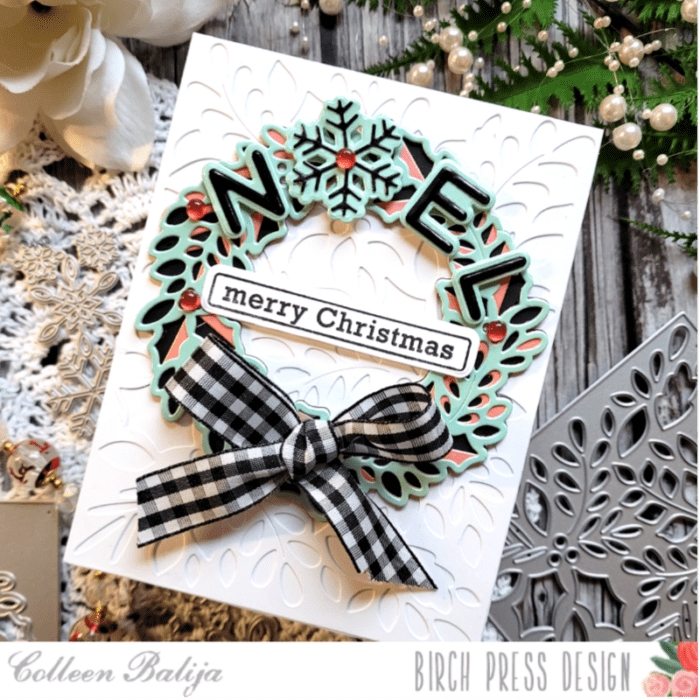
Hi Birch Press Friends, it is Natasha here and I am excited to be back on the blog today. Today I am sharing a rustic inspired holiday card featuring the beautiful Holly Wreath Layering die set.

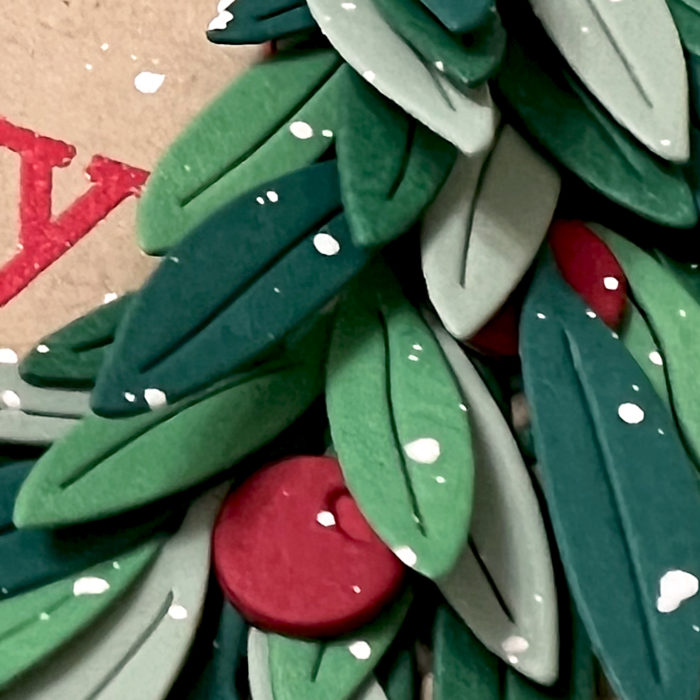
I started by die cutting all the layers from the Holly Wreath layering die set. I die cut layer C using a gold glitter card stock from the Festive Glitter Paper pad from Memory Box. I then die cut layer B and A using the Lush Green paper pad collection from Memory Box. I used 2 different shades of green from the paper pad. Next I added a bit of distressing to both layer B and A using my oxide inks. I then adhered all the layers together using liquid glue. I then splattered my wreath using metallic gold watercolor and white acrylic paint. I set the wreath aside.

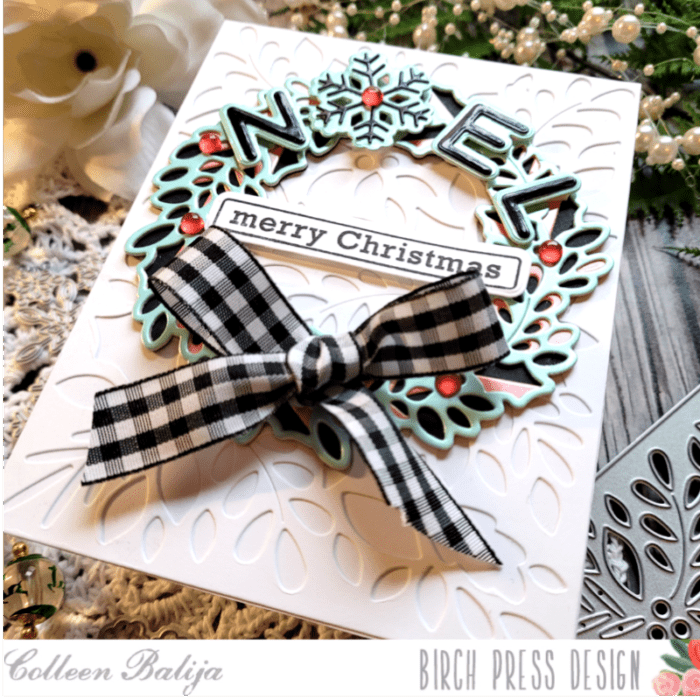
Next I worked on my background with a piece of wood grain paper from Wood Grain White paper pack. I added a bit of distressing to the panel using oxide inks. Once this was complete, I used my distress tool to add texture to the panel edges and then added distress ink to darken the edges.

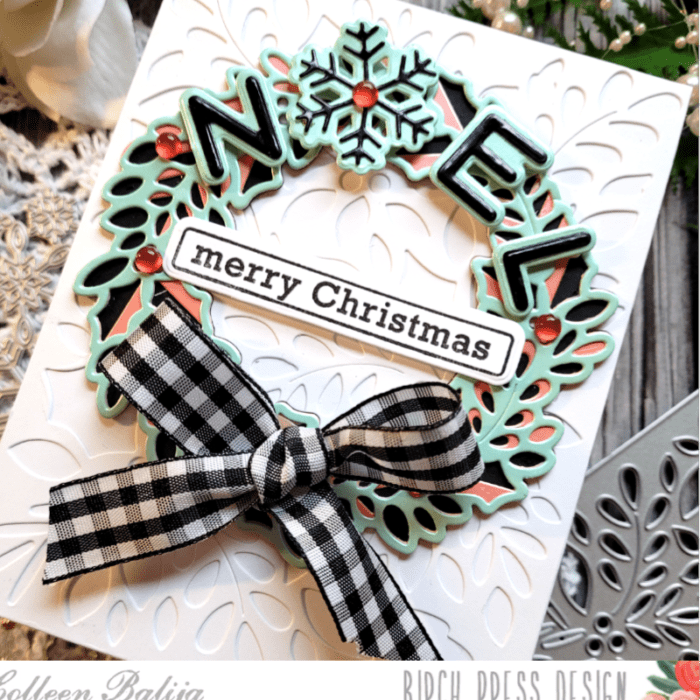
Next I die cut a few leaves using the Adornment Dove die set. I added distress oxide inks to the leaves and then embossing powder to the leaves for added texture. I cut a few berries using the Eucalyptus Stem and Berries Contour Layers die set. I used the festive Glitter Pad and die cut the berries in red. To create the look of snow on the berries, I added a bit of embossing ink and sprinkled a white glitter powder on each berry, then heat set the powder with my heat tool.

To complete my card I chose the Find Joy and Outline die. I die cut the sentiment 3 times and adhered it together with liquid glue. I embossed the sentiment using the same white powder as I used on the berries. I added a twine bow around the distress wood panel, tied the bow and adhered this to my card base.

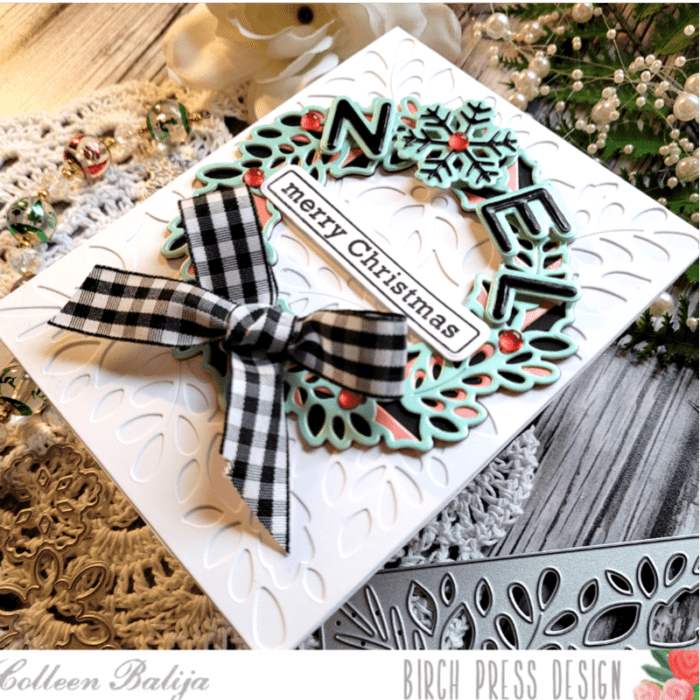
I adhered the wreath using foam tape and adhered the sentiment, berries, and leaves using liquid glue. I added a button from my stash on the bottom right corner. I had a lot of fun creating today’s rustic holiday card! The Holly Wreath layering set is truly beautiful!
Thanks so much for stopping by, I will be back soon!

Supplies