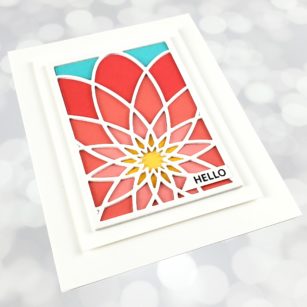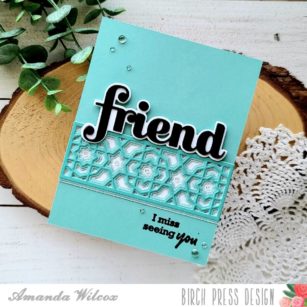
Happy weekend everyone! It’s Amanda from Twiddler’s Nook with a simple missing you card that I made for a friend that I haven’t seen since before the pandemic. I hope you like it!

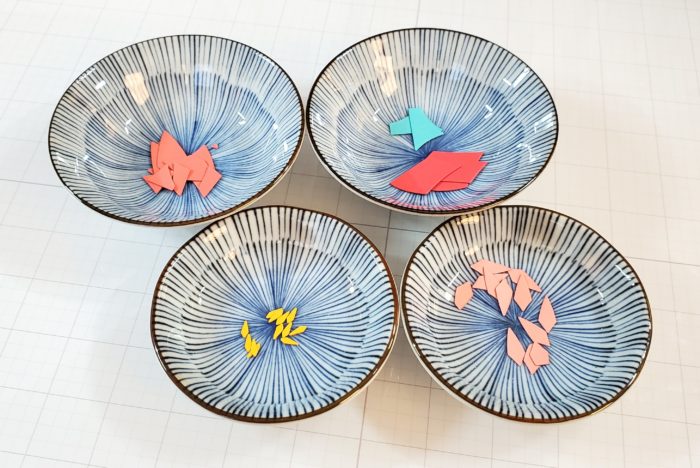
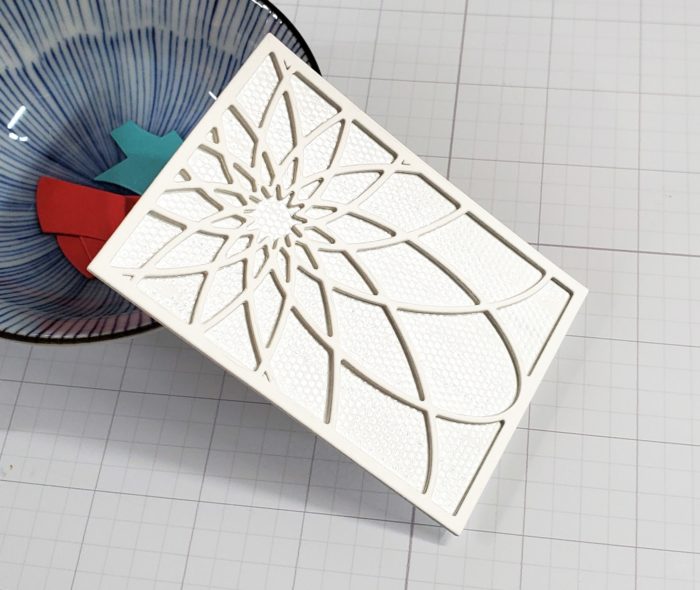
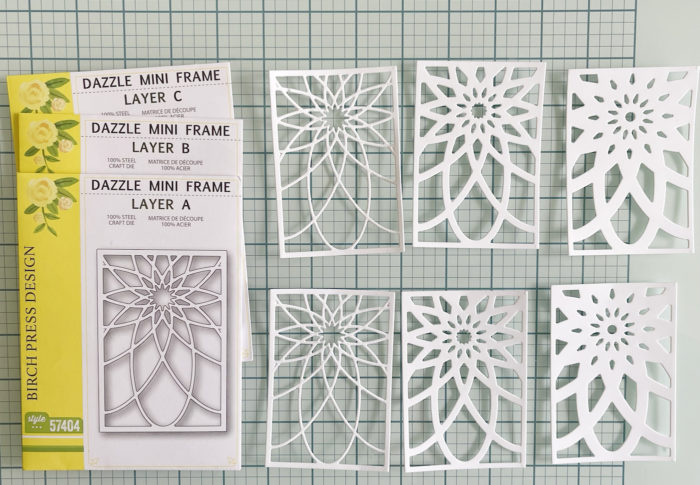
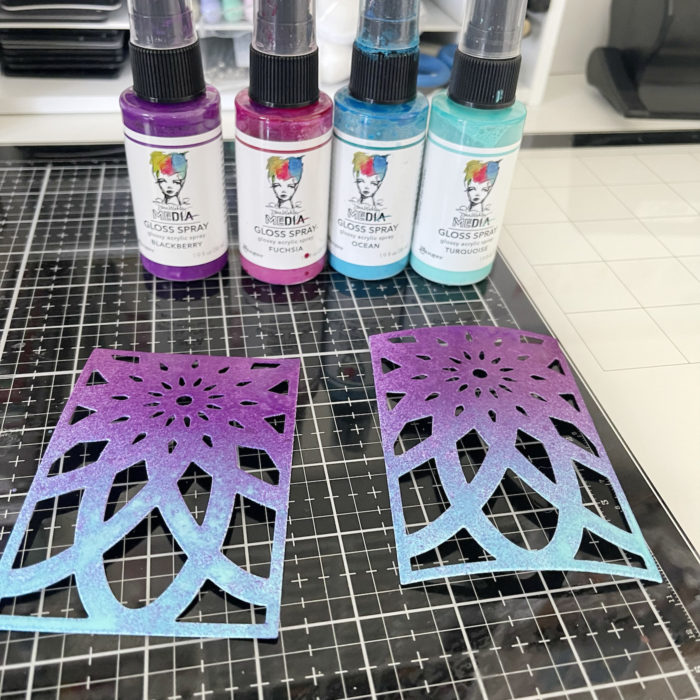
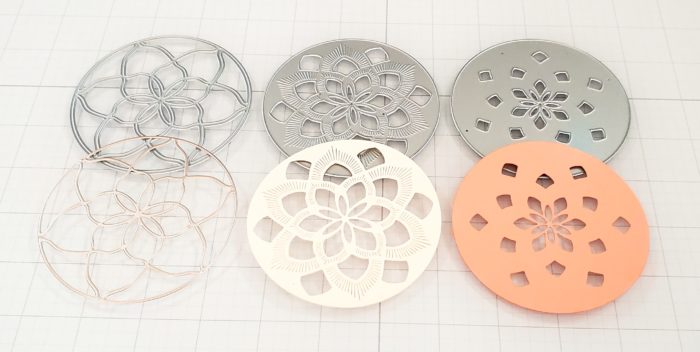
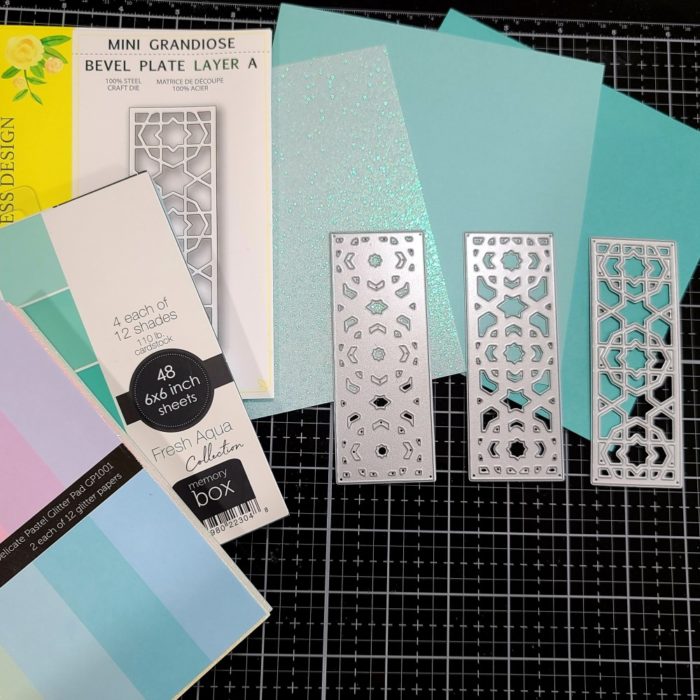
I started today’s card by choosing cardstock and cutting the layers for the Mini Grandiose Bevel layers.
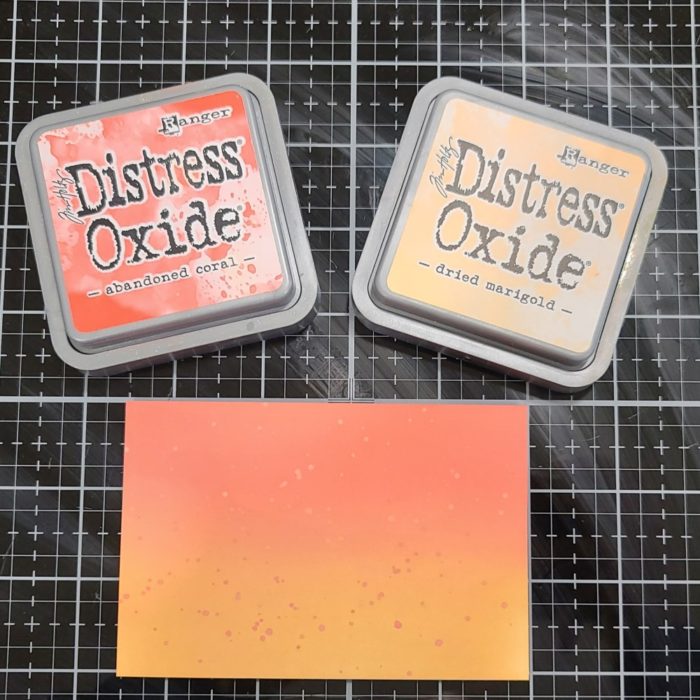
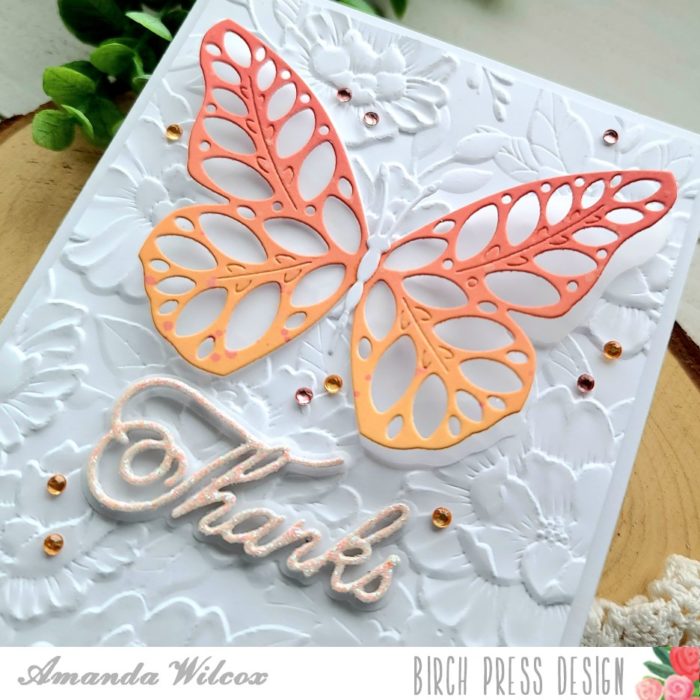
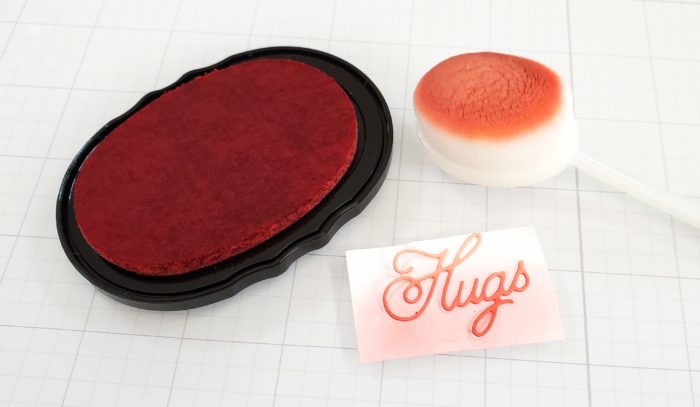
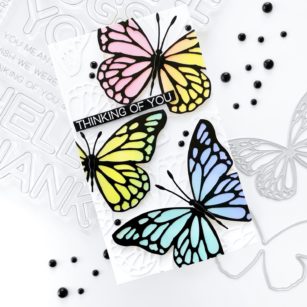
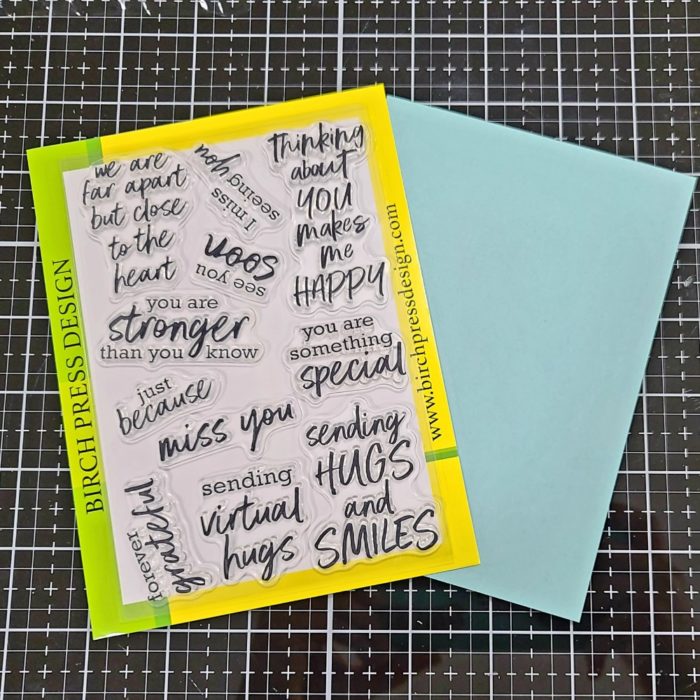
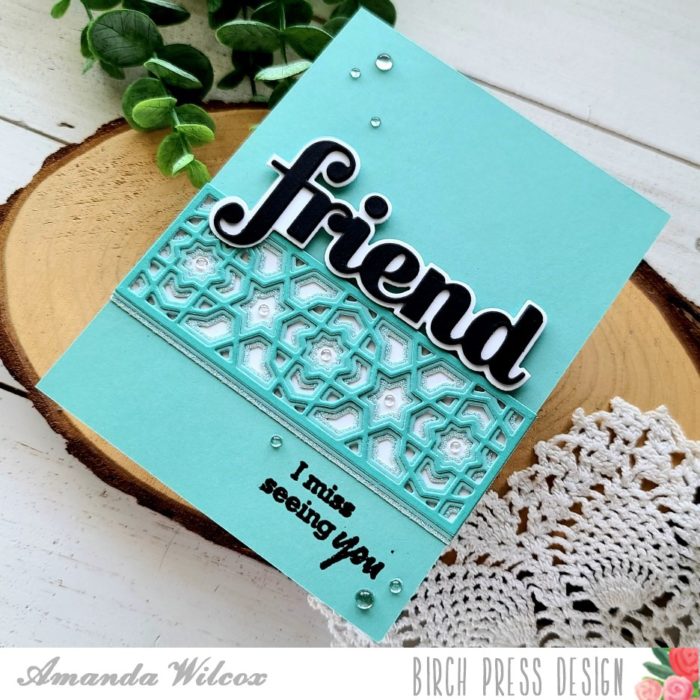
Then I took the mid-tone cardstock color and trimmed it down to A2 size. I stamped and heat embossed a sentiment from the Brushed Sentiments stamp set in black.
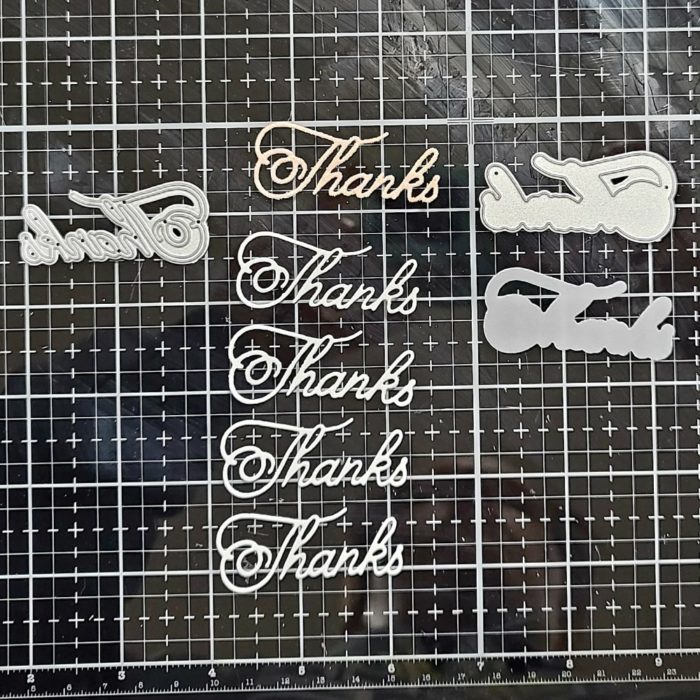
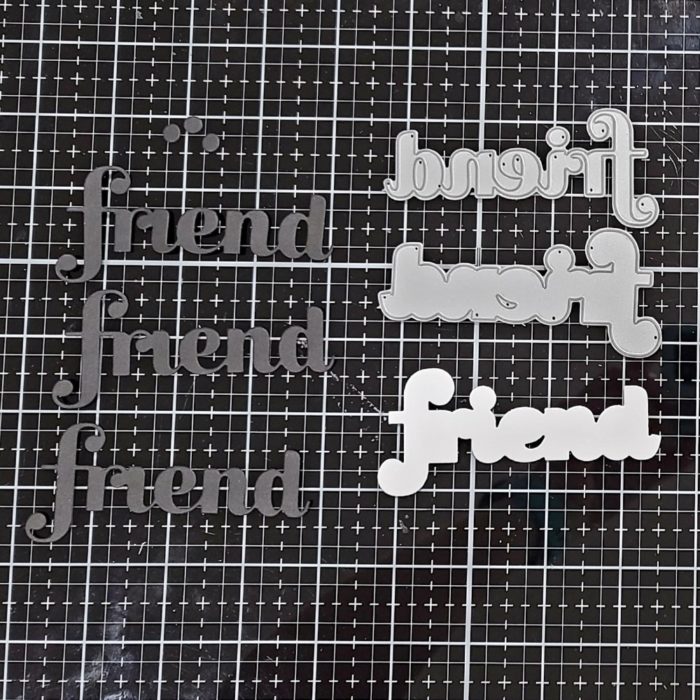
Next, I die cut the Big Friend Sugar Script word from black cardstock 3 times and the shadow from white cardstock once. I used liquid glue to adhere all the layers together and put an acrylic block on top while it dried.
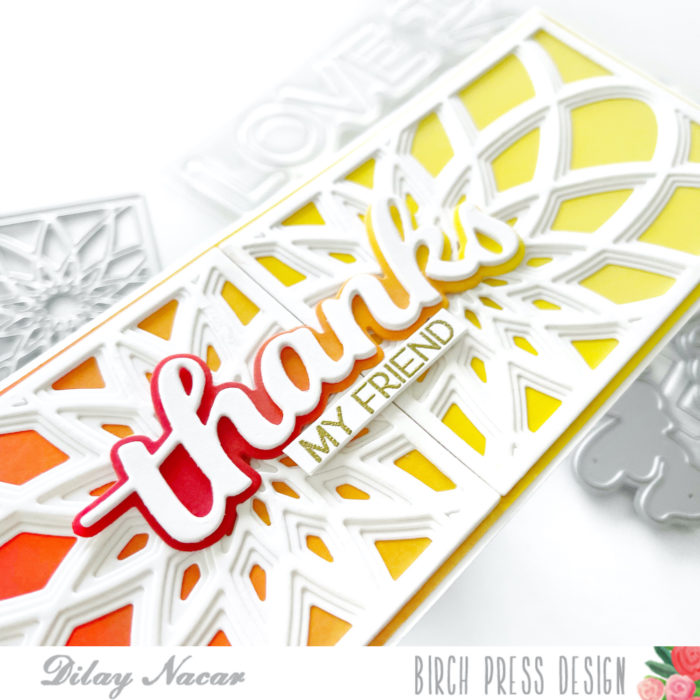
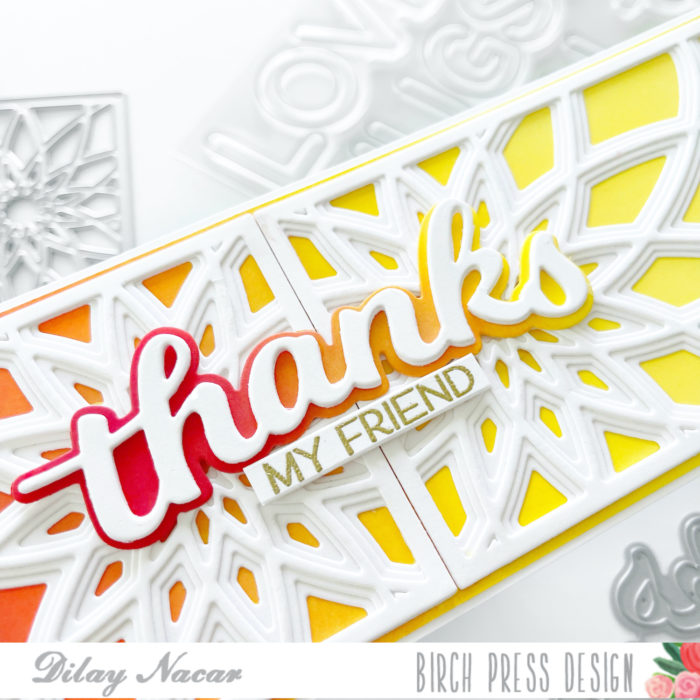
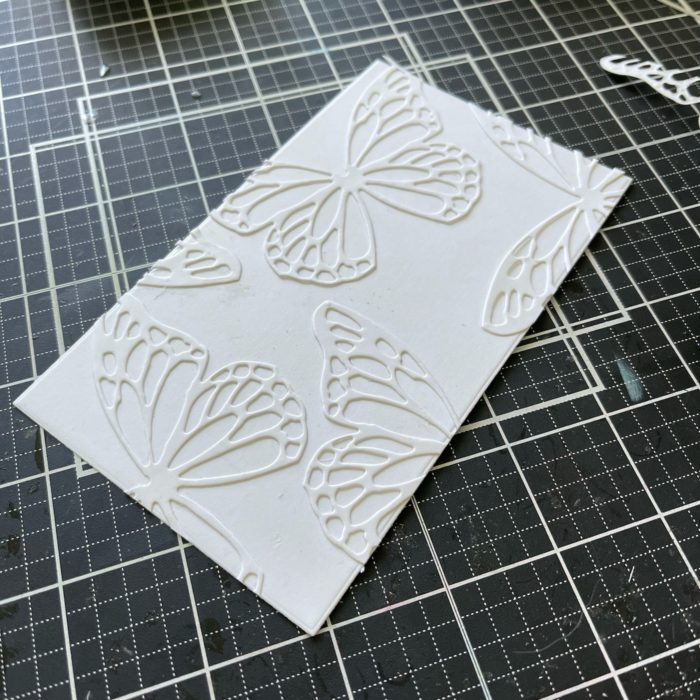
I took the heat embossed panel and actually decided to trim it down to strips and adhere them to a white card base with the Mini Grandiose Bevel layers.
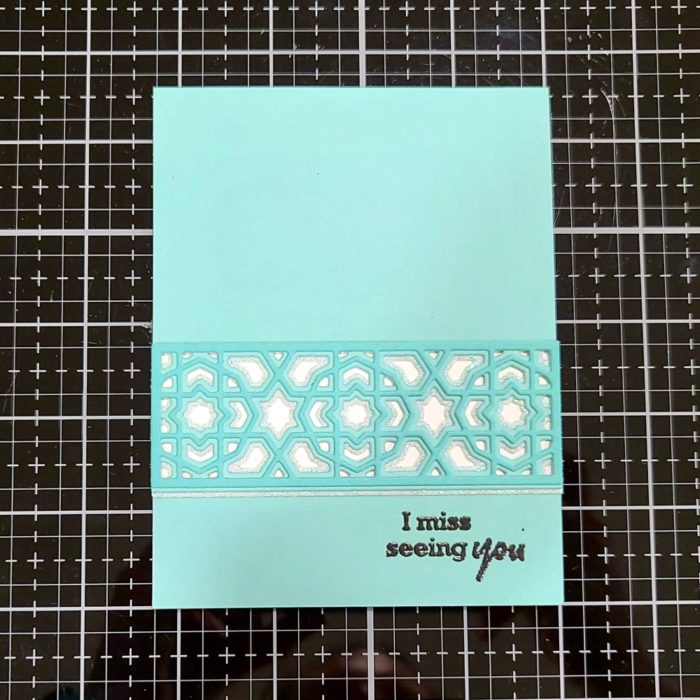
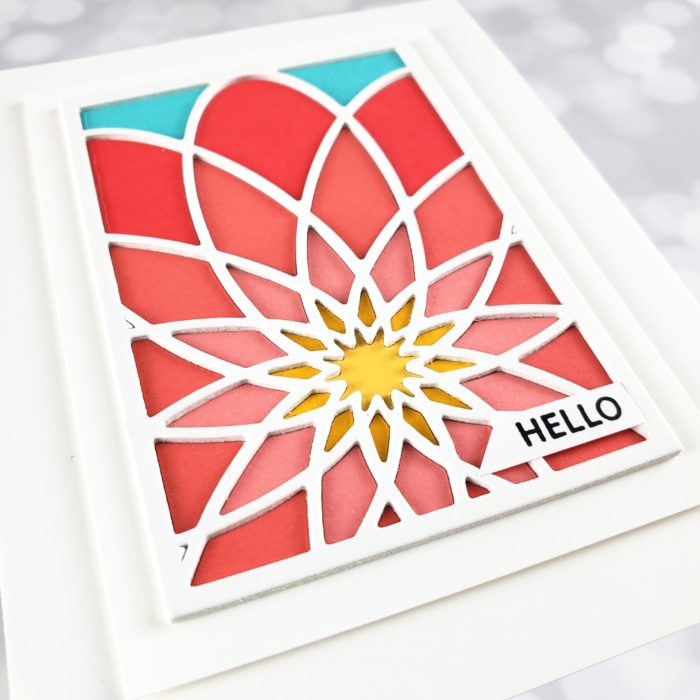
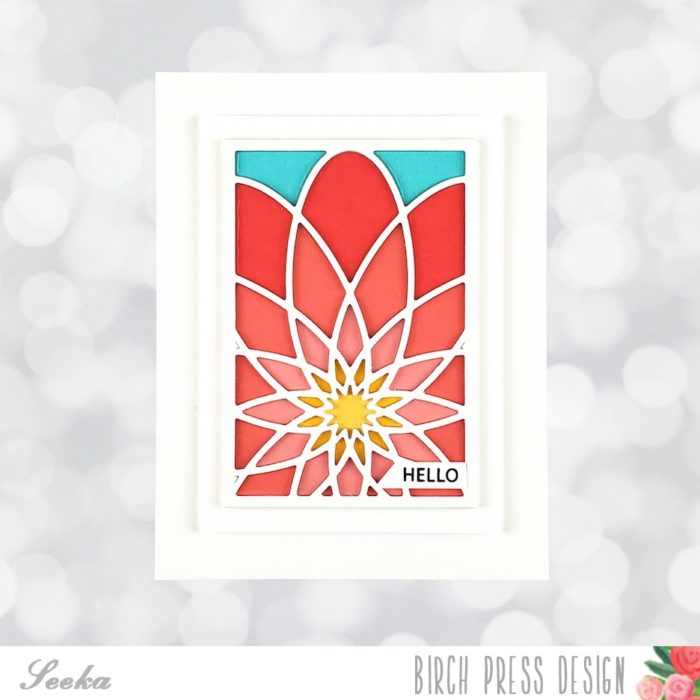
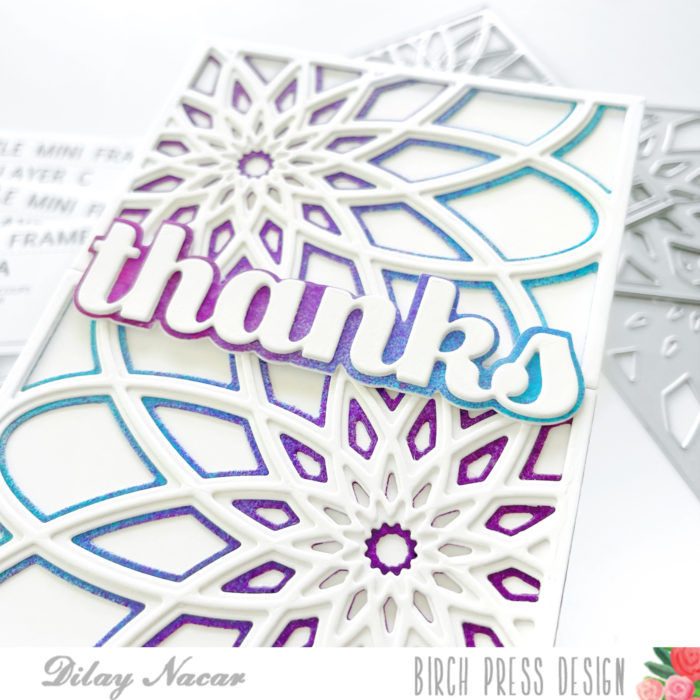
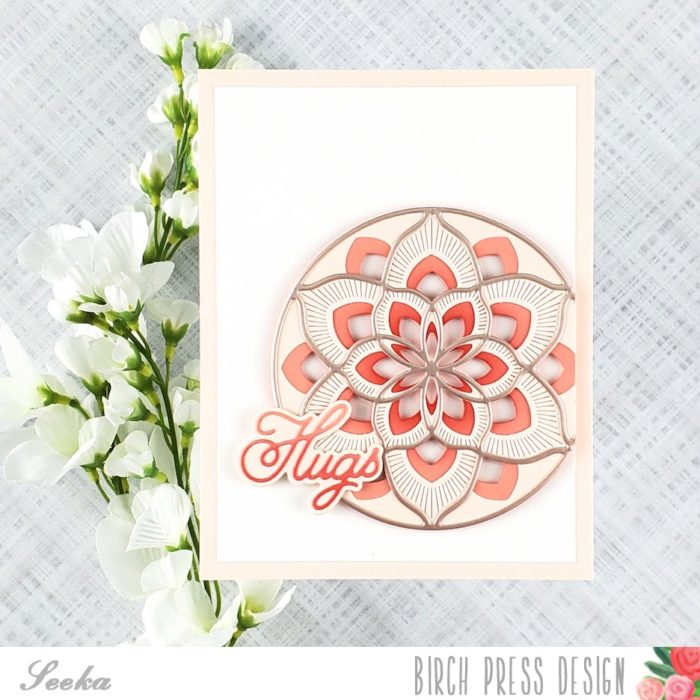
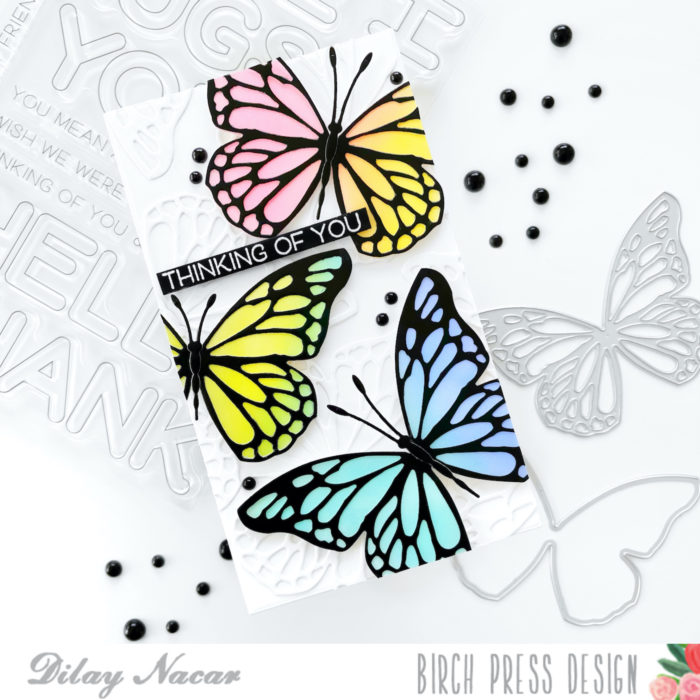
I trimmed the heat embossed sentiment into a 1 1/4 inch strip and then also cut another strip of that teal to 2 3/4 inches. I used liquid glue to adhere these to a white card base and then adhere the layered strip in the opening.
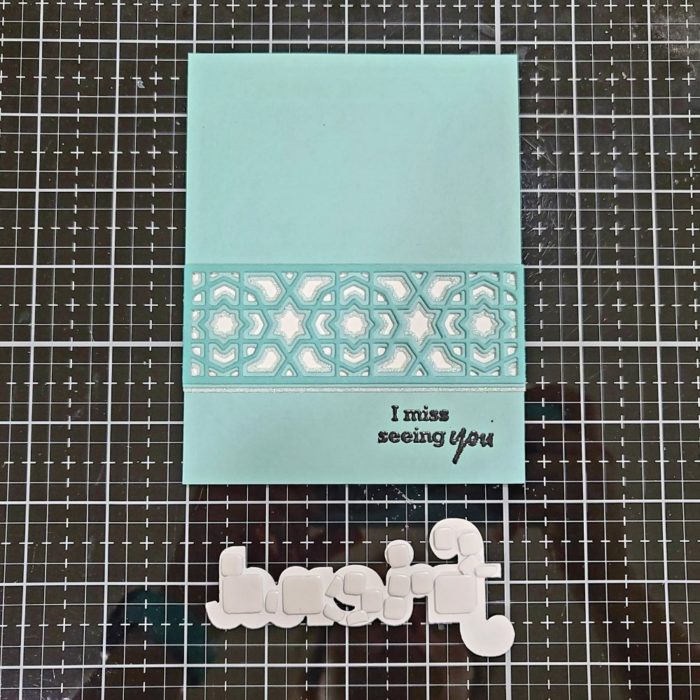
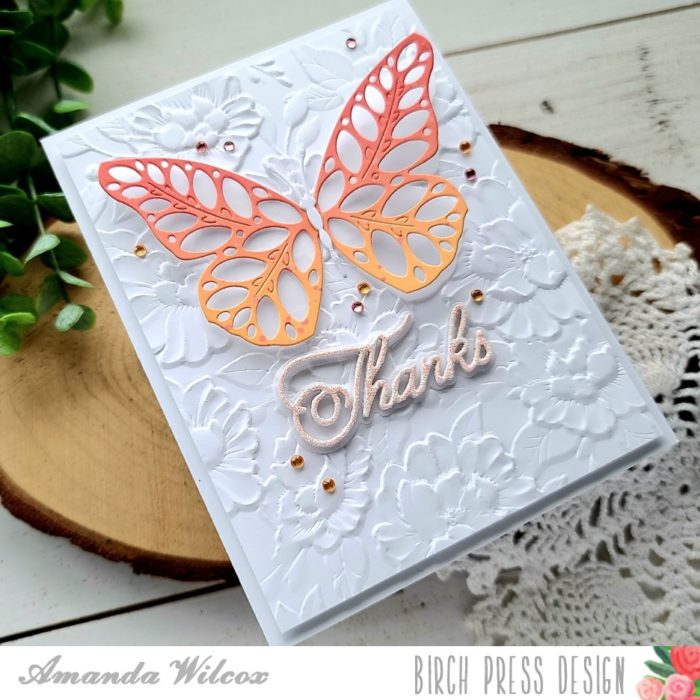
Next, I added foam squares to the back of the friend die cut with the exception of the bottom of the “f” because it overlaps the layers and doesn’t need the extra lift to lay flat. I removed the release paper and placed it above the layered strip.
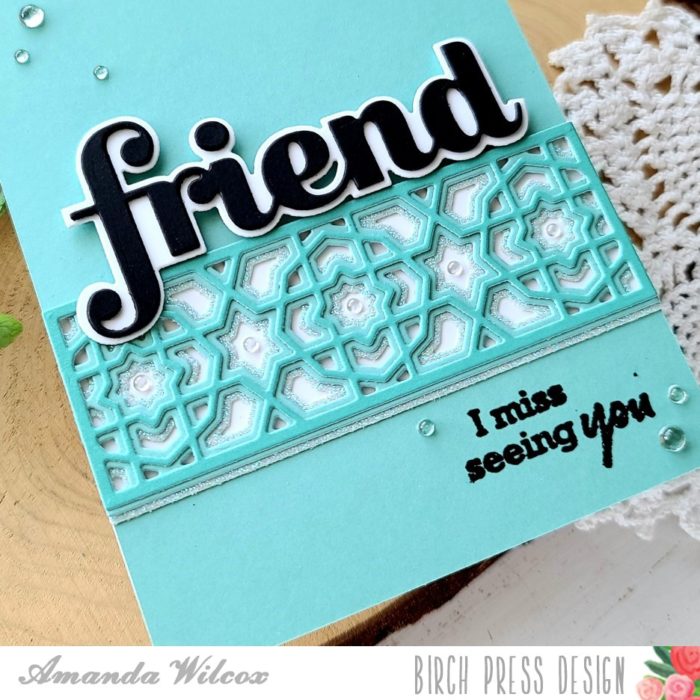
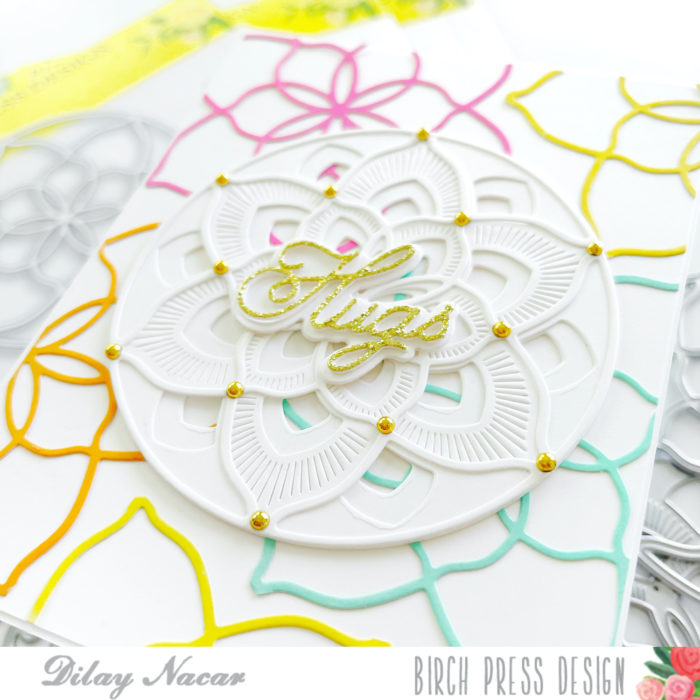
To finish things off I added the smallest size of fairy drops to the center points of the layered strip and then a scattering of various sizes across the design for a little extra interest.
I hope you enjoyed today’s project and found inspiration to create something wonderful and share it with someone!
I appreciate you sharing your time with me. Have a fabulous day!

Supplies