
Hello Everyone!
I am here today die cutting all day! Sometimes when see pull out our layering dies sets we see all colors – rainbows, blends and so one, but what if we just used minimal card stocks to create our cards! I set up my production line and started creating. Let see what this would look like!

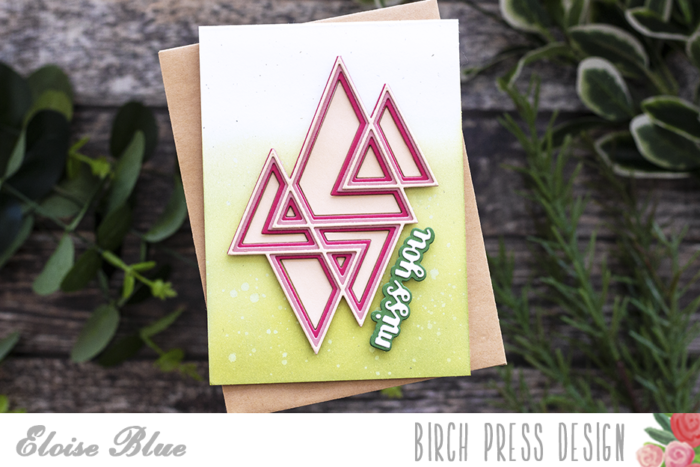
I started by creating my layered bases. I cut pieces of white card stock into 4 1/8 in x 5 3/8 in rectangles and also kraft card stock into 4 in x 5 1/4 in rectangles and layered these two pieces together. This will be our base for the focal point, simple and basic.

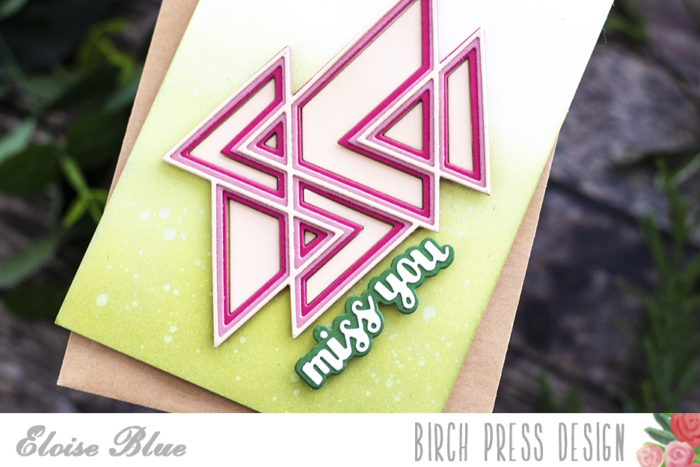
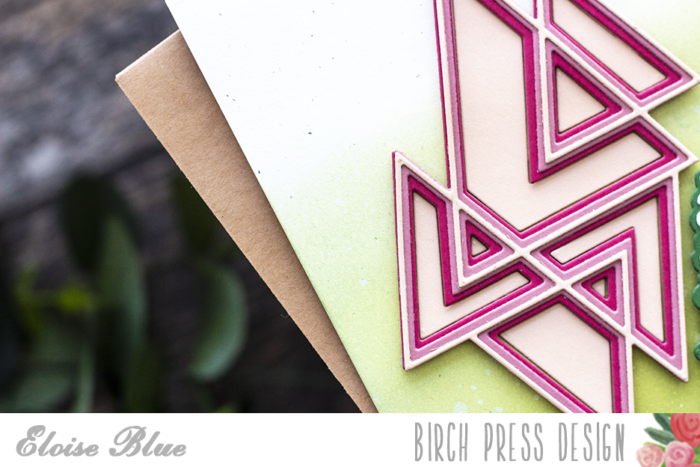
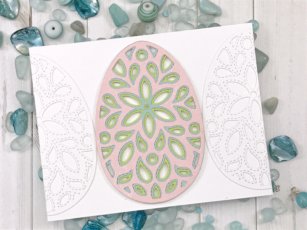
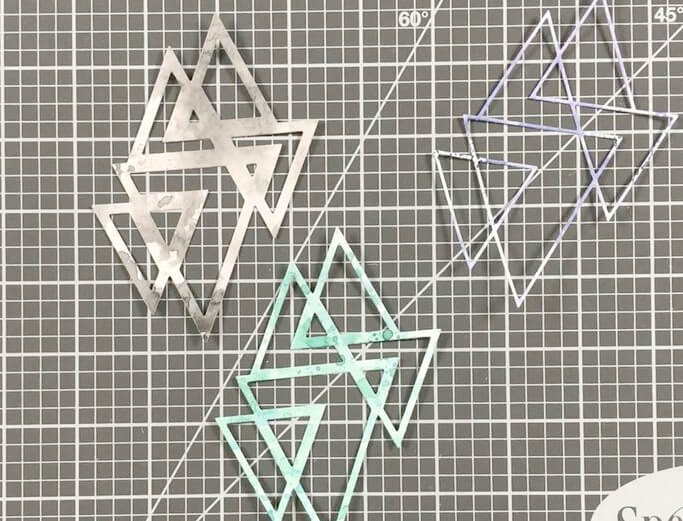
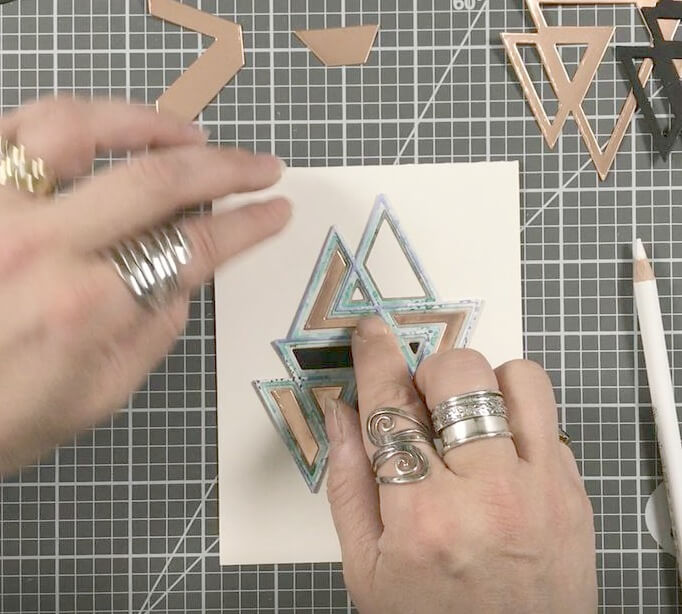
Next, I started pulling out my layering dies and die cut away using only a thick white card stock. Using a 110- or 120-pound card stock I feel give a better result. This is also a great way to dig into those bigger scraps that we just cannot seem to throw away.

Once all my images were die cut I then group them together while weeding out the bits and pieces.
Let’s get to gluing all these layers together. Now you could use double sided adhesive to save time, but again I find all of this relaxing and I can sit in front of the TV and still be creative!
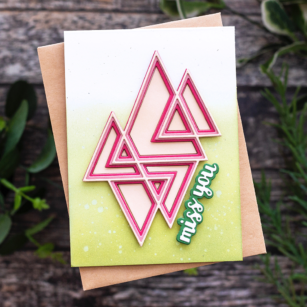
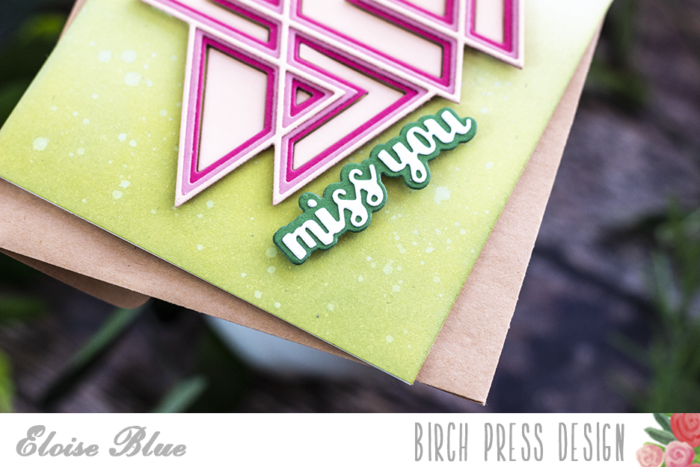
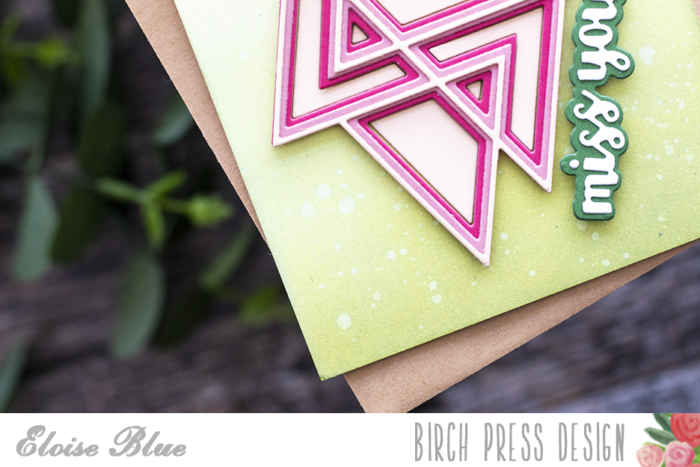
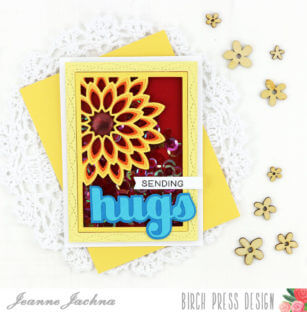
After all my focal points were dry, I grabbed my layered bases and started placing my focal points in place, making sure I had room for my sentiment but also not just placing them in the center of our card.

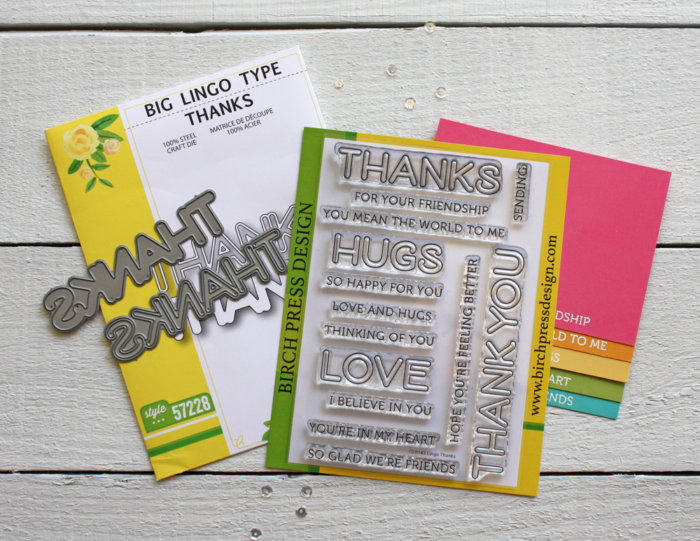
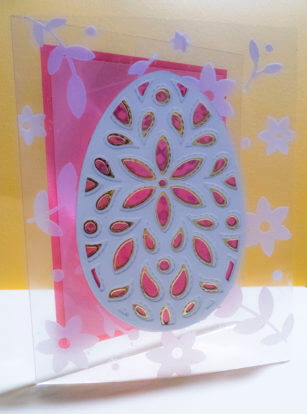
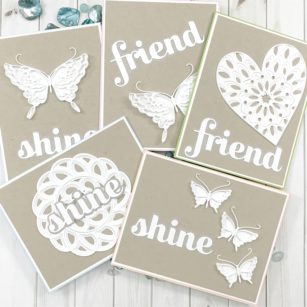
For my sentiments I used the Big Script ‘friend’ and ‘shine’ die sets. I was die cutting any way right?, LOL… I also cut a piece of vellum for the background to my sentiments. This kept the simple but elegant look of our cards!

Set my sentiments in place and we now have six cards ready for any occasion that just pops up!
As always, I hope you enjoyed today’s project… and if you want to see more details just click on the video below and see how these projects come together step by step!
Make sure you stay tuned for more wonderful projects coming soon! Have a great day and always remember… Be Creative!

Supplies