 Welcome back for another day of Birch Press Inspiration. As the countdown to Christmas has already begun I still have a few cards to make. The Tall Triangle Set craft dies are just perfect to make a simple Christmas tree and so easy to mass produce.
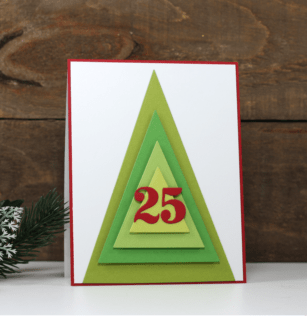
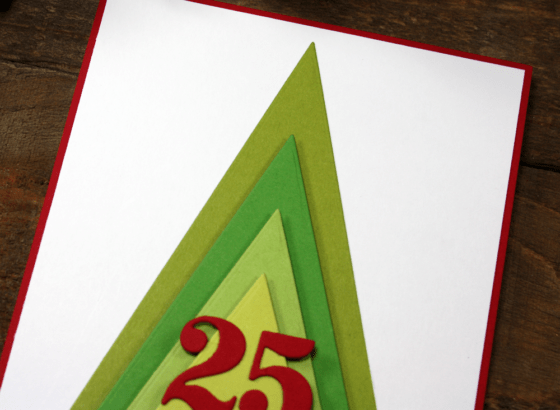
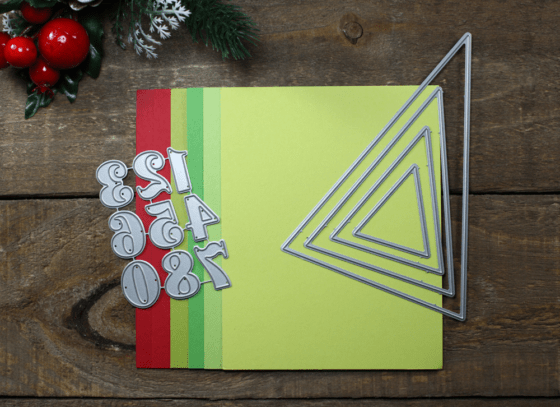 I simply chose three shades of green cardstock and cut them with the Tall Tree dies. I think I spent more time choosing which layer would be which colour than it took to actually create the tree!
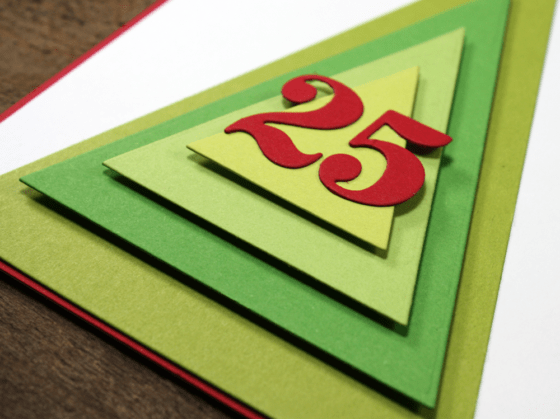
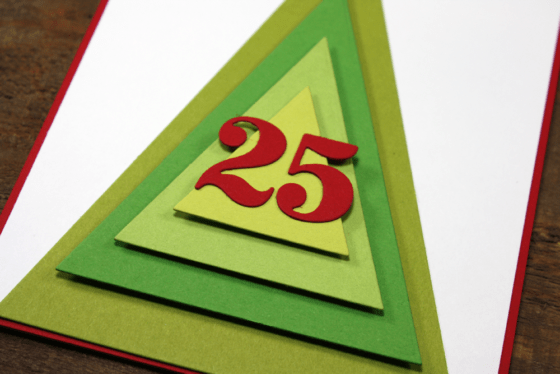
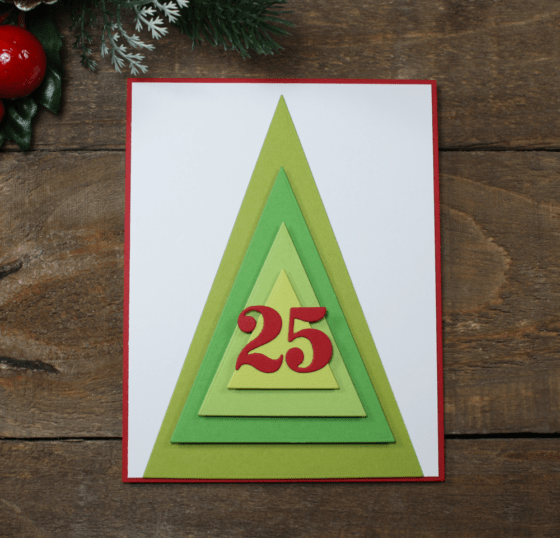
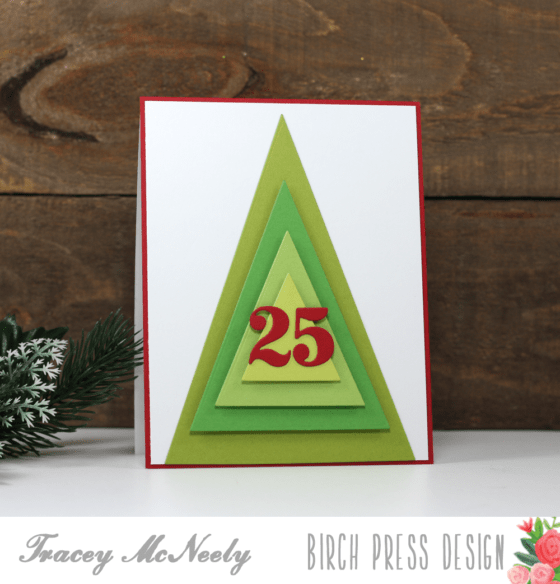 I created a red front for my card base and then added a white panel over it for my tree. The base was the largest die cut triangle, I adhered that to the card front directly. Then I adhered the remaining three layers using foam tape to give the completed tree dimension. The numbers were from the new Sugar Script Numbers craft dies from red cardstock to make the letters pop!A really simple design and in no time you can make multiple cards!
 With the layers you can make multiple cards in no time.
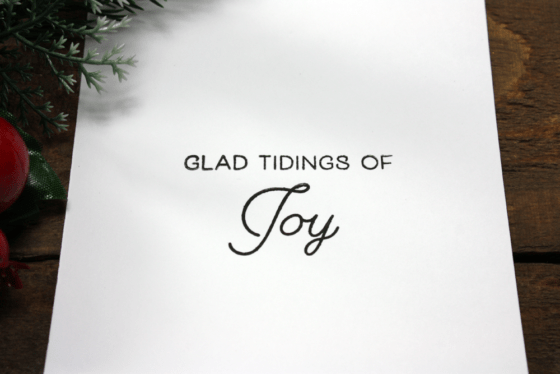
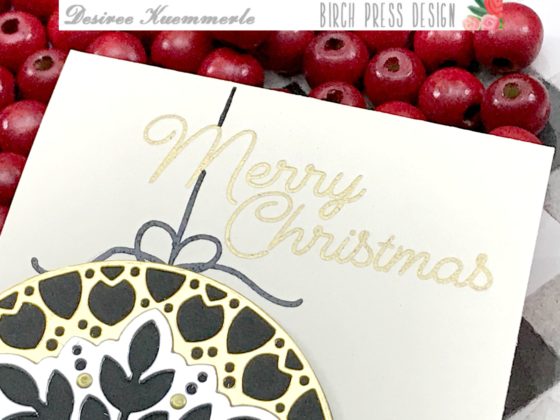
 I stamped two sentiments from the Joy and Peace Clear Stamp Set on the inside of the card. One of the things about the sentiment sets from Birch Press Design is that you have the ability to mix and match the phrases and say exactly what you want to say.
 Just two craft die sets I as able to create today’s card. You can get creative with so many colours.
 Thanks for stopping by today and I hope that I have inspired you to make some cards using just a couple set of craft dies! Have a wonderful day getting creative.

Supplies


 Have you checked out the new releases in the store? You’re going to love all the new products including dies, stamps and STENCILS! Today I’m sharing a card made with the new Stargazer die!
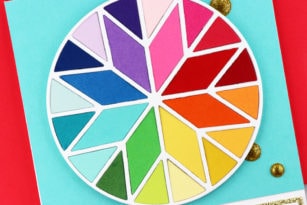
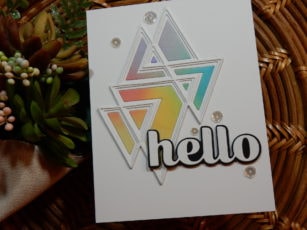
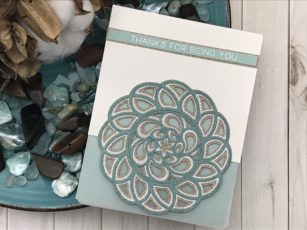
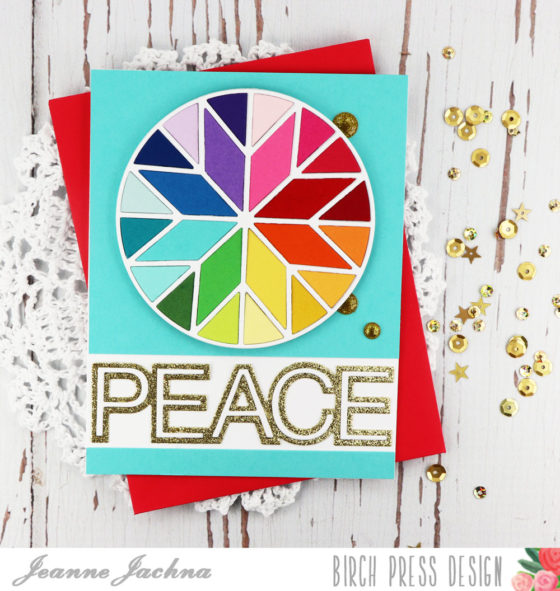 When I saw it for the first time I kept seeing a color wheel! I couldn’t wait to start playing with it so add lots of beautiful colors!
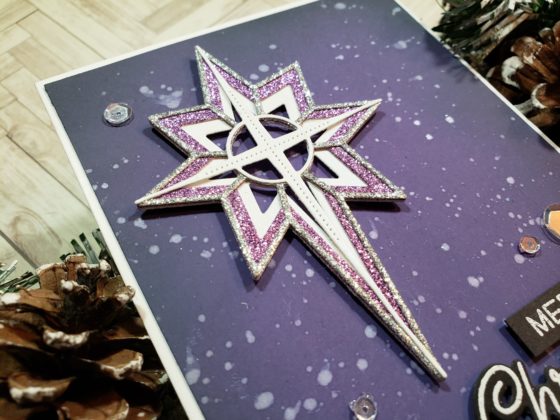
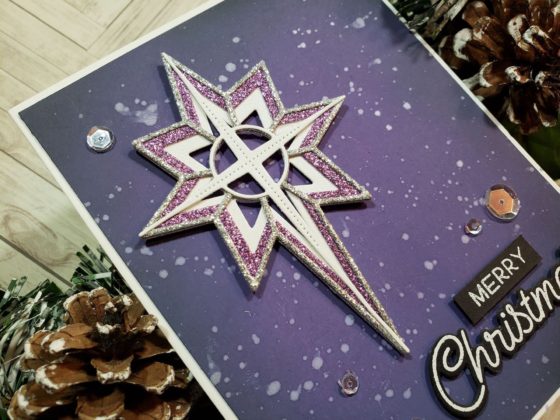
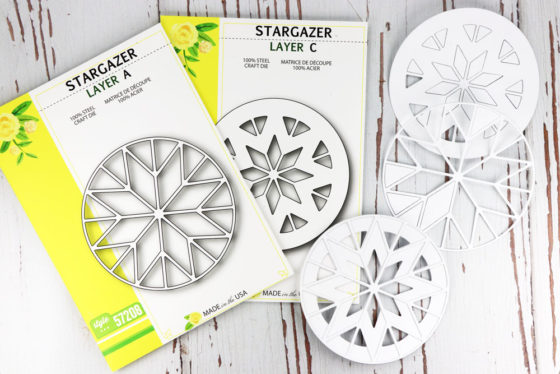 I started by cutting the Stargazer Layer A from white card stock and adhering it to the Stargazer Layer C die cut.
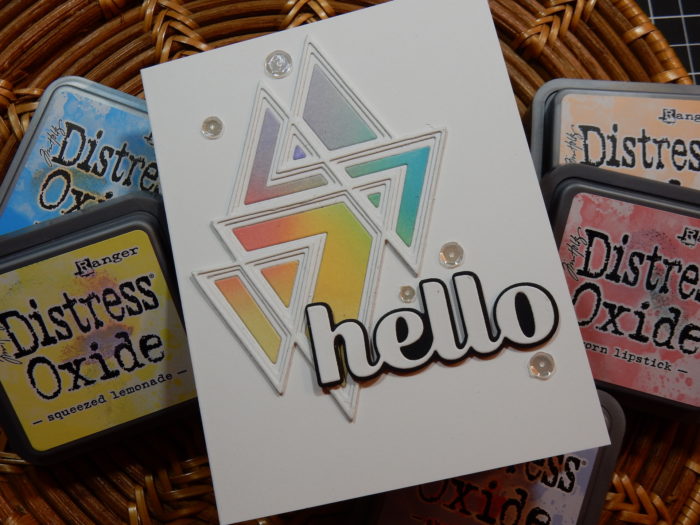
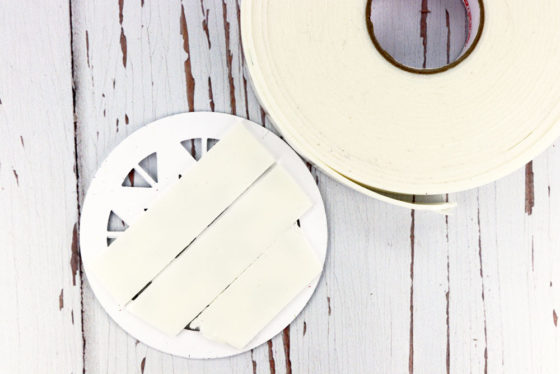 Next I flipped it over and added double sided adhesive foam tape to the back.
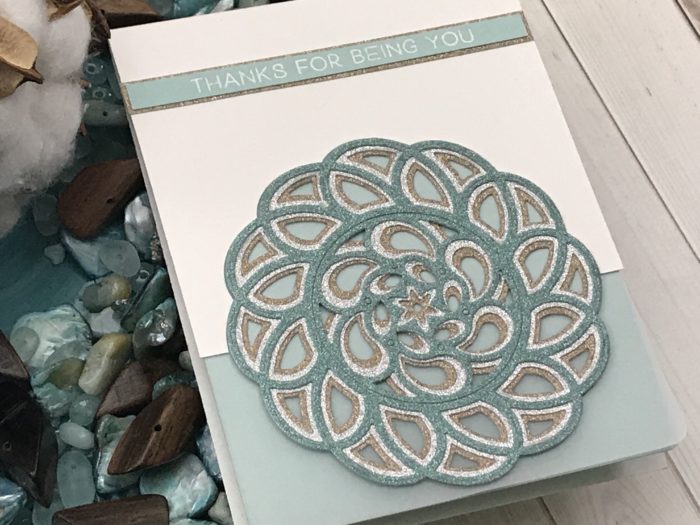
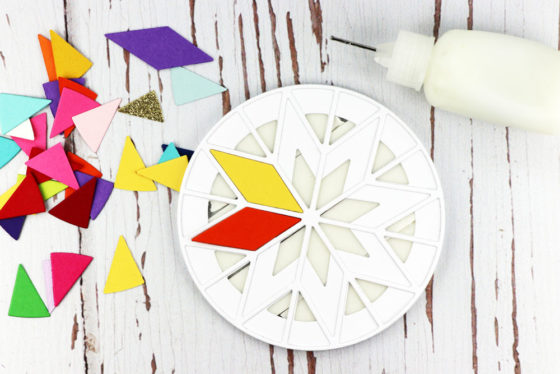 Next I inserted colorful die cut card stock pieces inside the openings. The adhesive foam tape provides some hold but you will still need to add glue over the white card stock to hold the cuts in place. The tape gives you a steady surface to adhere to and allows you to stick the finished Stargazer to your card base.
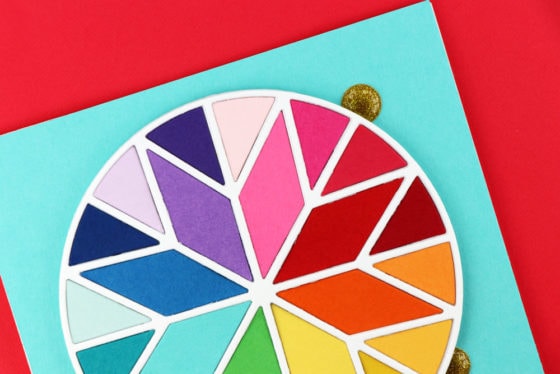 I embellished my card with enamel dots so you can see the added dimension from the foam. The dots are slid under the raised Stargazer die cut.
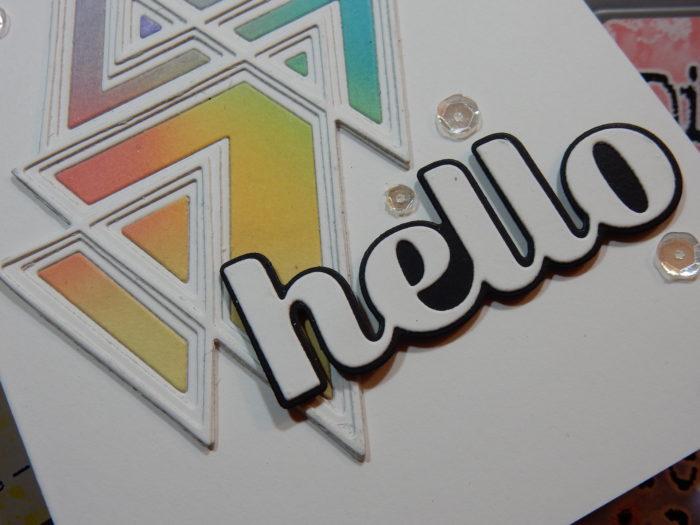
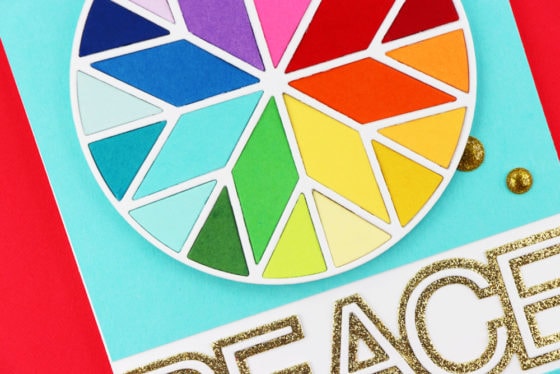 The center star cuts are in rainbow order with the outer circle filled with variations (lighter and darker shades) of the center colors.
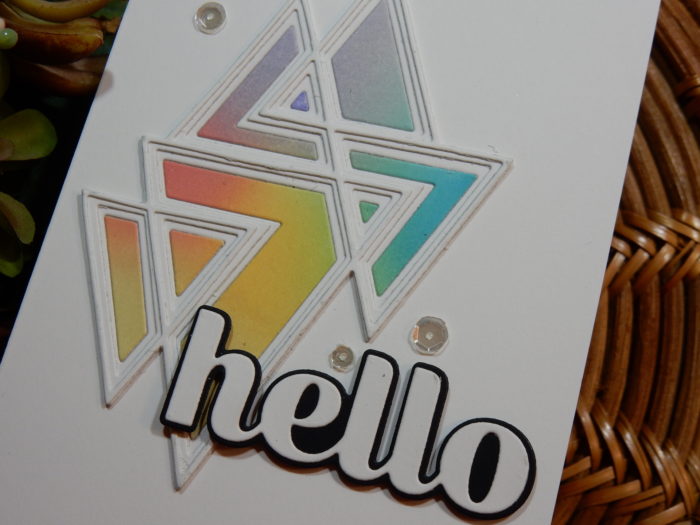
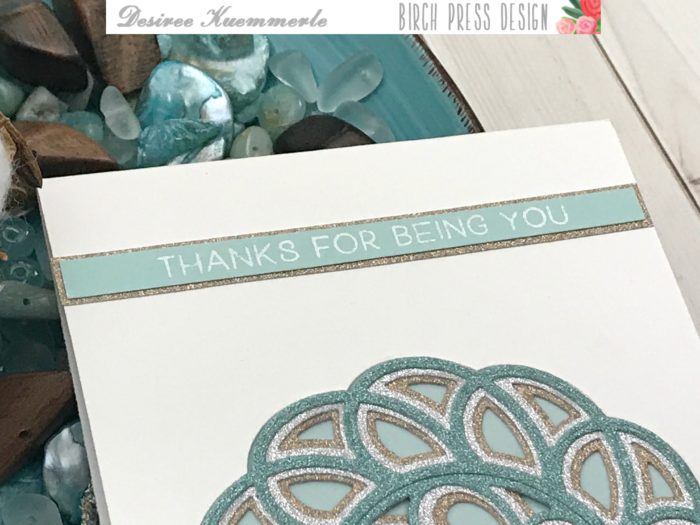
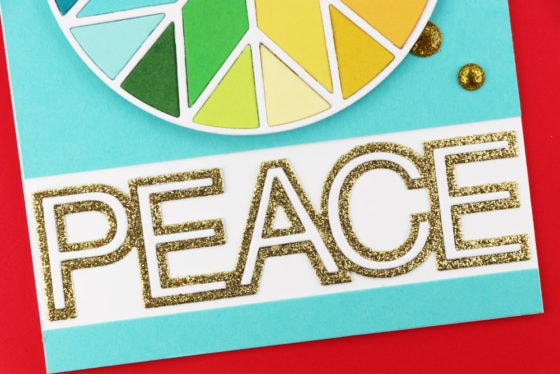 The Simple Peace word die comes with an outline (cut from gold here) and a detailed (cut from white) word die cut. I love that I can stack the die cuts or just use the letters if I like.
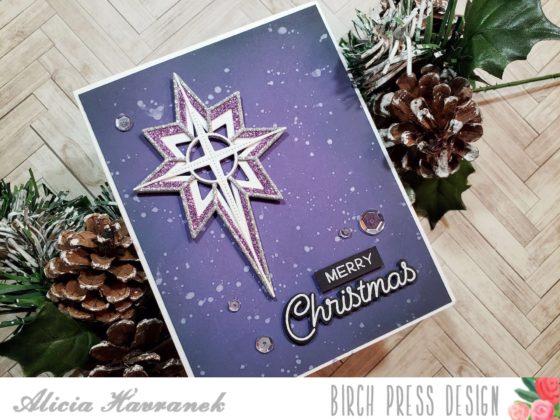
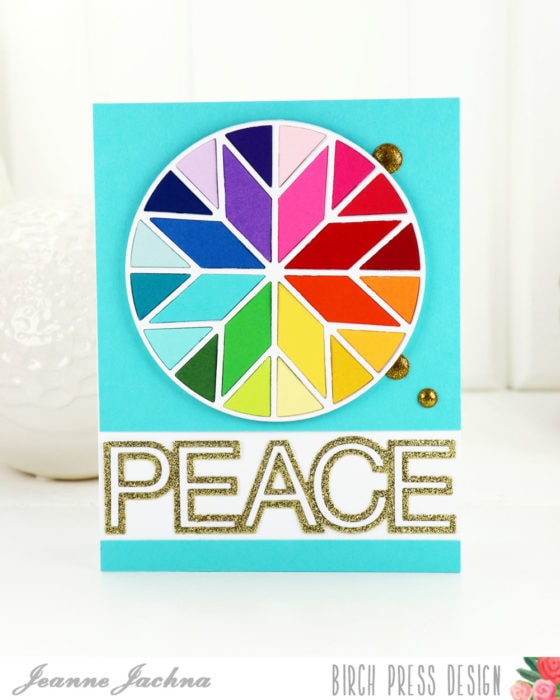 Would you like a chance to win the Stargazer Layer A die cut?
  Finished Size 4.25 x 5.5″


 Are you a Coffee Lover? Then you need to check out
 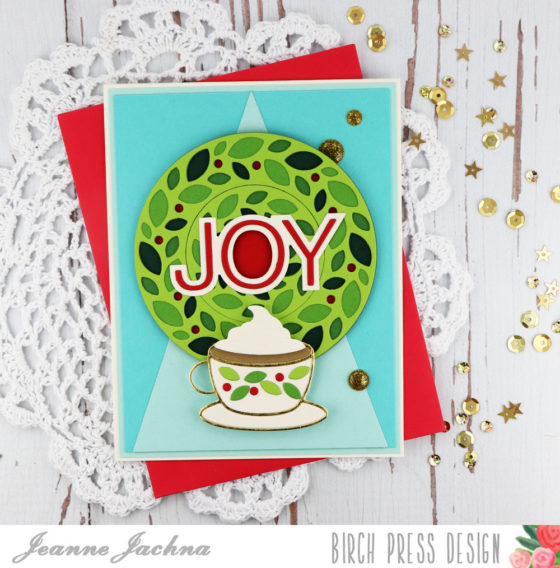 I’m playing along with this pretty card! And of course there is a prize on this blog post too!
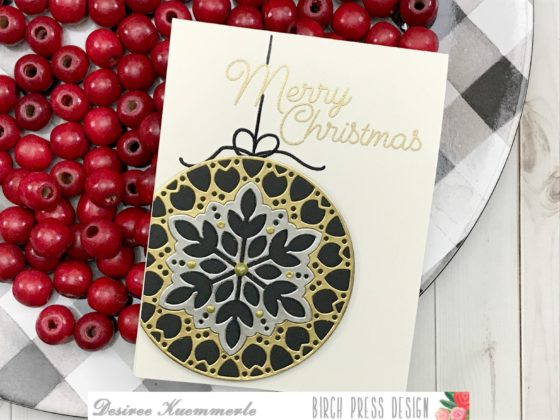
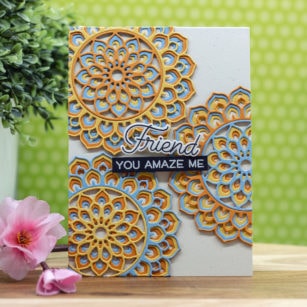
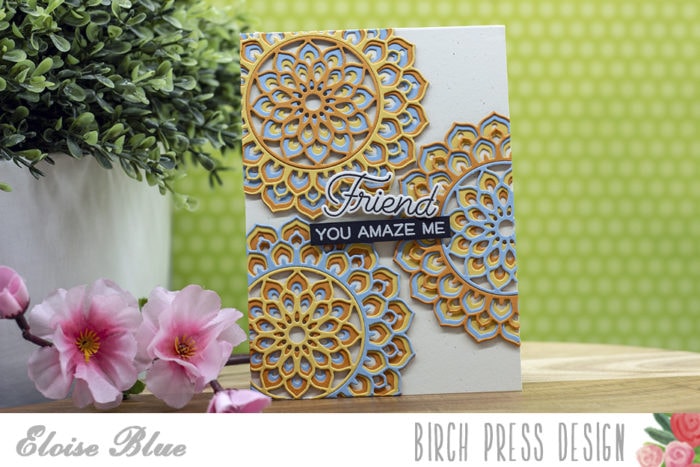
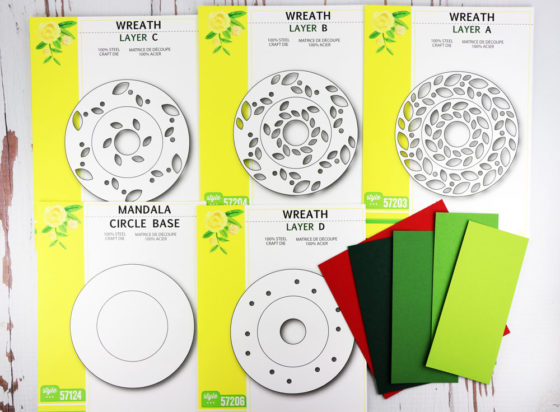 Birch Press Design makes the most beautiful, innovative dies on the market. They’re layering dies make elegance easy. The focal point of my design – that gorgeous wreath – is actually five layers of colorful card stock. I cut the Layers A through D with ombre shades of green card stock. The base that the wreath sits on – the Mandala Circle Base – is cut from red card stock adding a pop of red to the green layers.
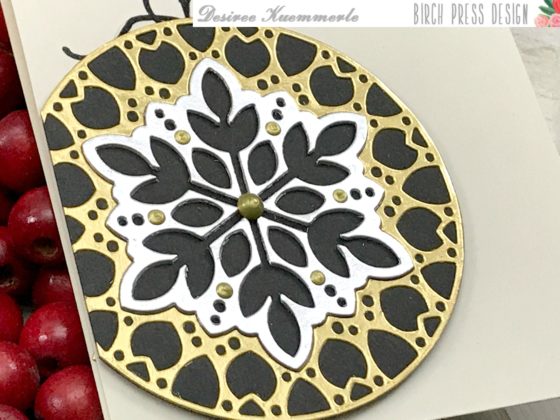
 The Morning Cup die from Poppystamps is cut from gold foil and layered over ivory card stock. I decorated the cup with leaves left behind from cutting the wreaths. It reminds me of the Lenox Holiday Collection china. Don’ you just love that big dollop of whipped cream over the coffee/cocoa?
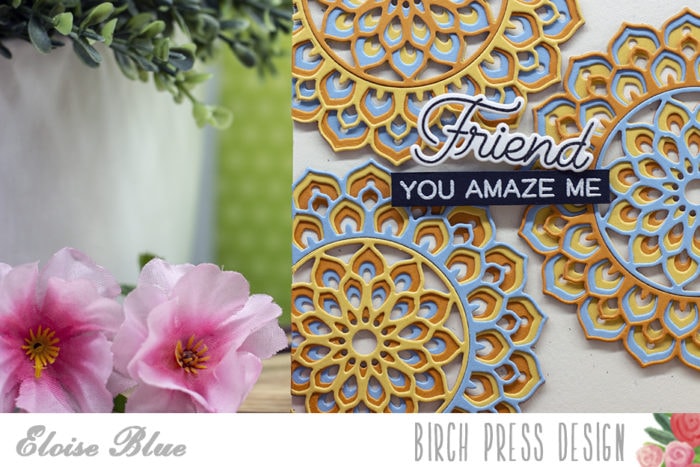
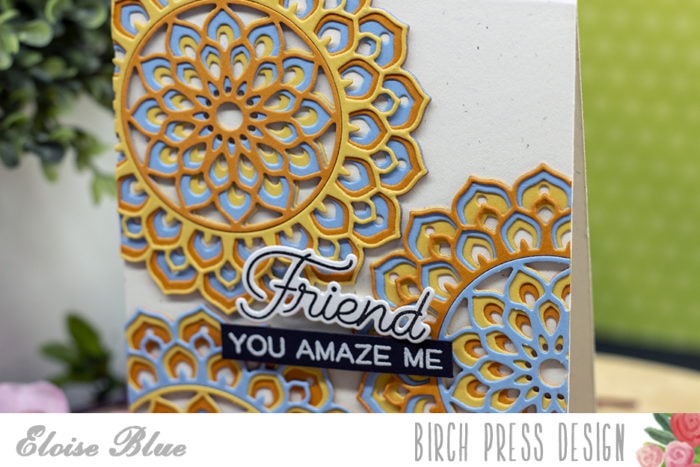
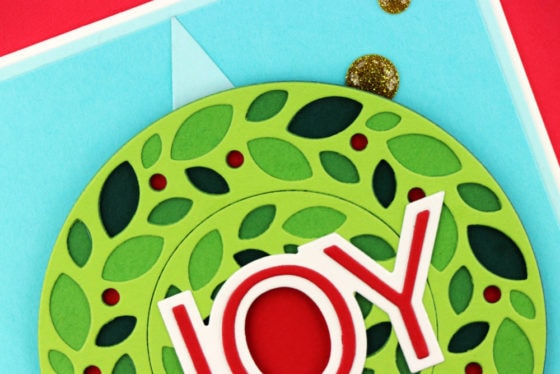 I love the different shades of green revealed through each layer of the die cut openings.
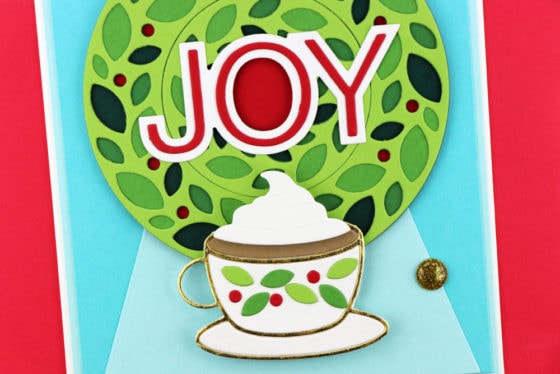 The background is a panel of aqua card stock topped with the largest Tall Triangle die cut from a lighter shade of aqua card stock. The Simple Joy word die includes a background die (cut from white) and the clean outline letters (cut from red). The background die is embossed so placing the skinny detailed letters is easy.
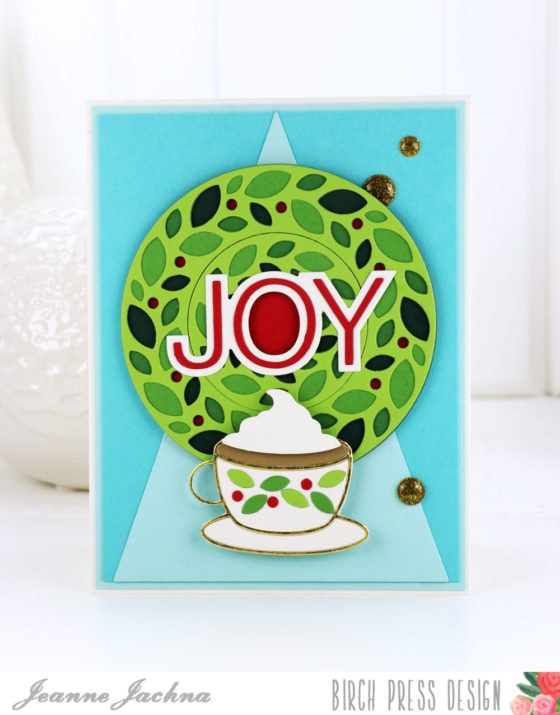 Want a chance to win a $20 gift certificate for the store? All you need to do is leave a comment by midnight US EST on December 7. The winner will be announced on December 11 here on the blog!


 Hi there, it’s Tracey and welcome back for another inspiration post. Today I have the pleasure of introducing the brand new Birch Press Design
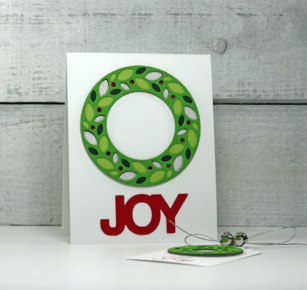
 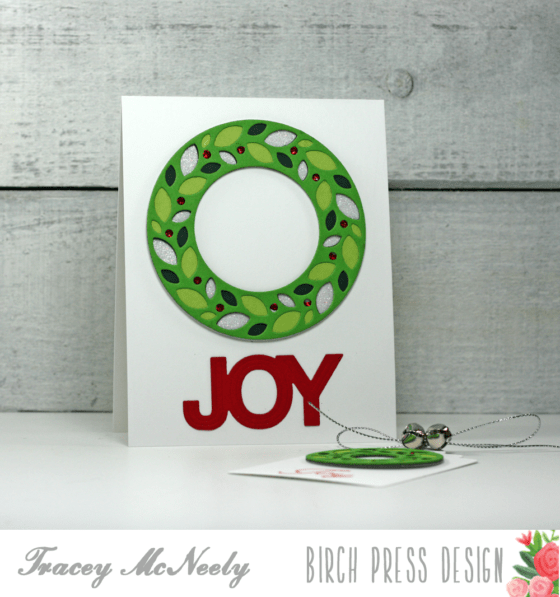 I created the beautiful wreath mandala using three shades of green cardstock and one sheet of sparkle cardstock. Once I die cut all the pieces I separated the inside from the wreath to use to make a second project. These are the supplies that I used…
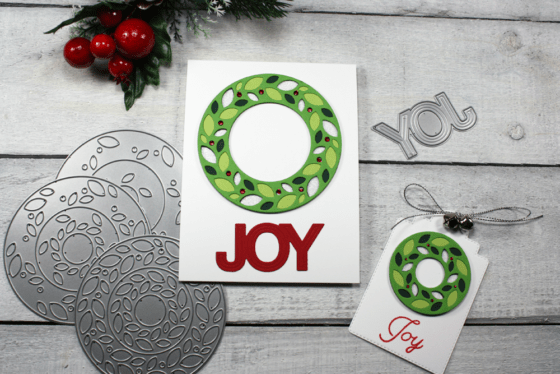 The wreath craft die set comes with four Layers (
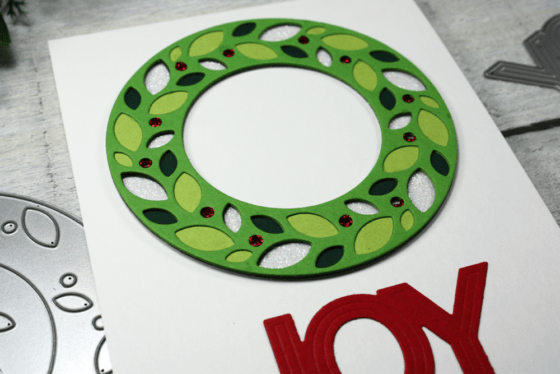 I die cut the joy sentiment from the new Simple Joy craft die set using red cardstock. Classic Christmas colours that really pop off the clean white cardbase.
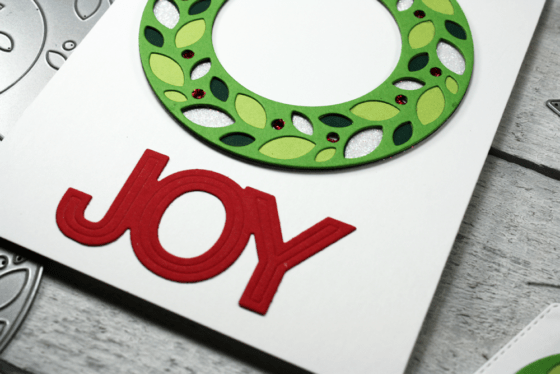 I set the assembled card aside and I glued the centers from layers A through D together, once again with liquid adhesive. I die cut a tag from the Poppystamps Stitched Main Street Tags and I adhered the tiny wreath on to the tag. Then I stamped Joy from the
 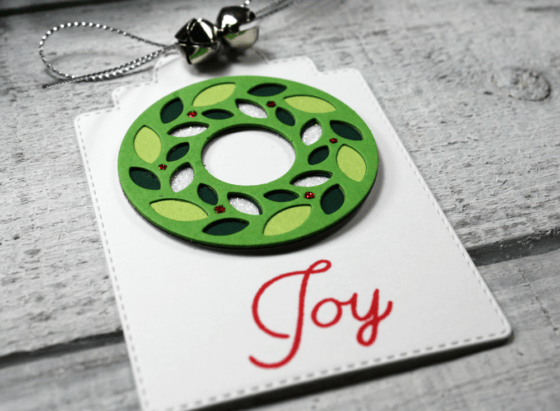 It is always fun to stretch your supplies and it was easy to create two projects at the same time. This would be a lovely duo for a Christmas present. A tag for the package and a card inside.
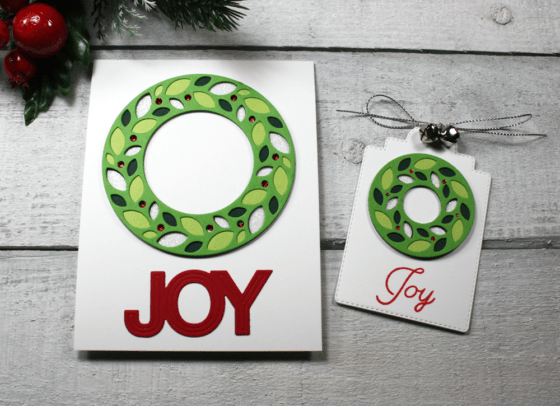 Thank you so much for joining me today! I am excited to share with you that I have a PRIZE for one lucky person on the
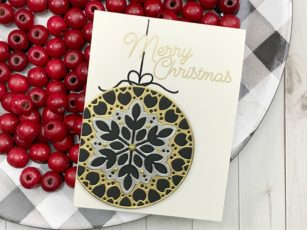


 Hello Everyone!
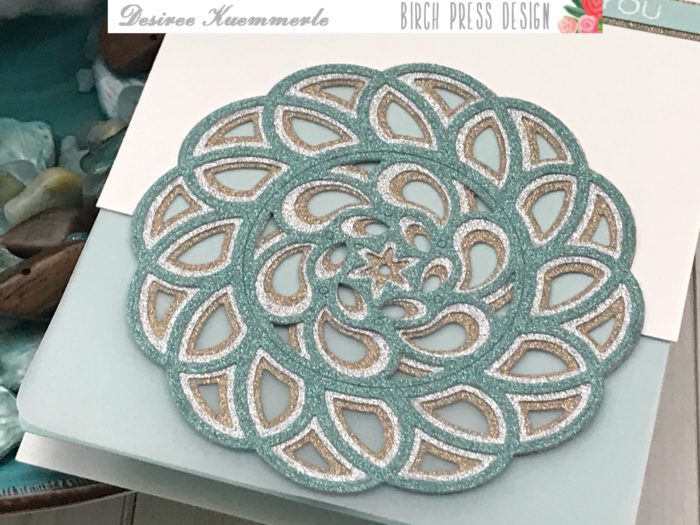


LisaBzibziak
November 30, 2018 — 9:12 pm