Hi friends, Eloise here and today I have a quick and easy Christmas card to share with you all. Birch Press Designs Dies I feel are some of the best dies to create quick and easy cards with, so for Christmas time – this is perfect for mass producing.

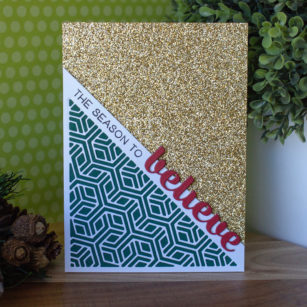
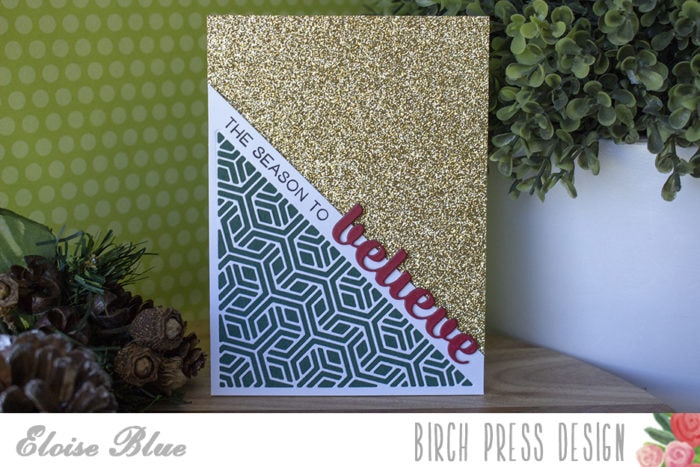
To start off my project today I pulled a piece of gold glitter paper and cut it at an angle (if you were to mass produce this design, you could easily use gold foil paper, or create your own glitter cardstock using embossing powder). I also cut a piece of white cardstock to the same angle as well.
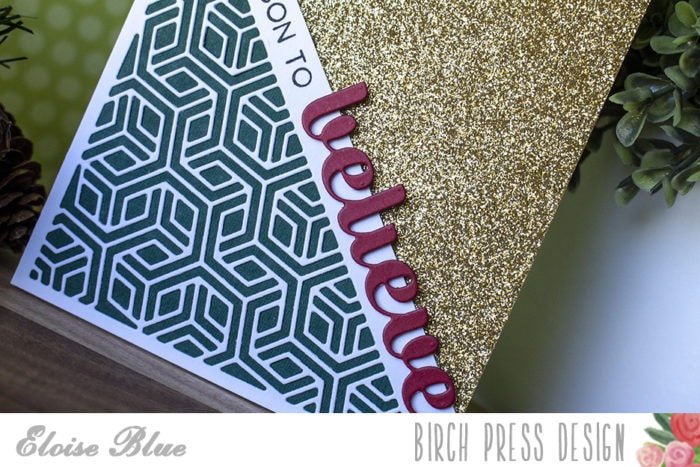
Next I used the Metro Triangle Collage dies and ran it through my Big Shot Machine with the white cardstock piece. While I had my die cutting machine out, I also die cut the ‘Believe‘ word from red cardstock. I then glued the white die cut panel onto some dark green cardstock.
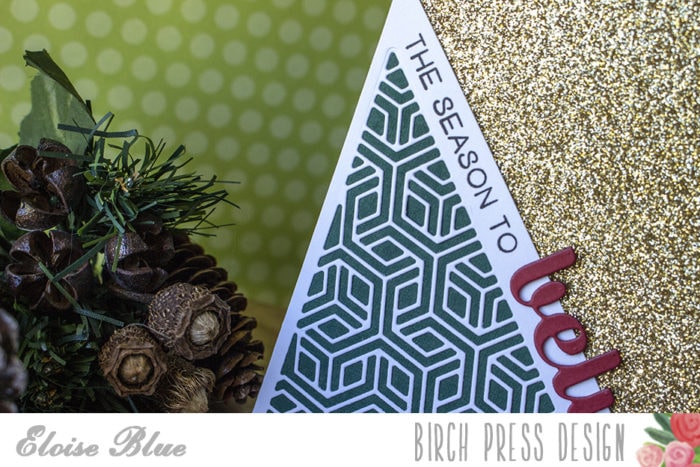
Lastly, I used the Joy and Peace stamp set and stamped the ‘The Season to’ sentiment onto the white strip and adhered the ‘Believe’ word next to it using foam tape. I added adhesive onto the backs of both the white and gold pieces and adhered them to a card base.
Thank you so much for stopping by today, I hope you enjoyed, got inspired and I’ll see you next time.

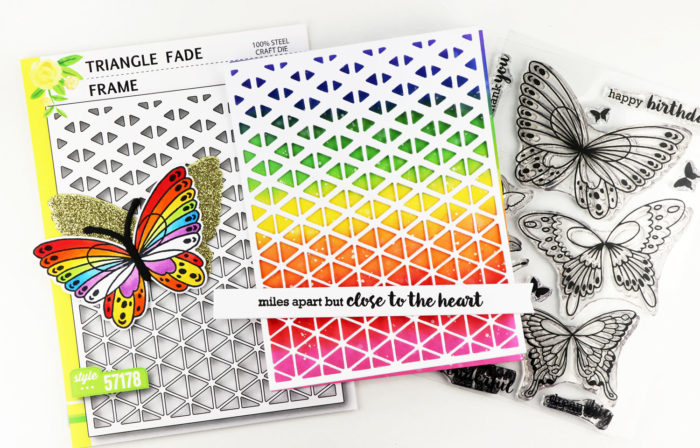
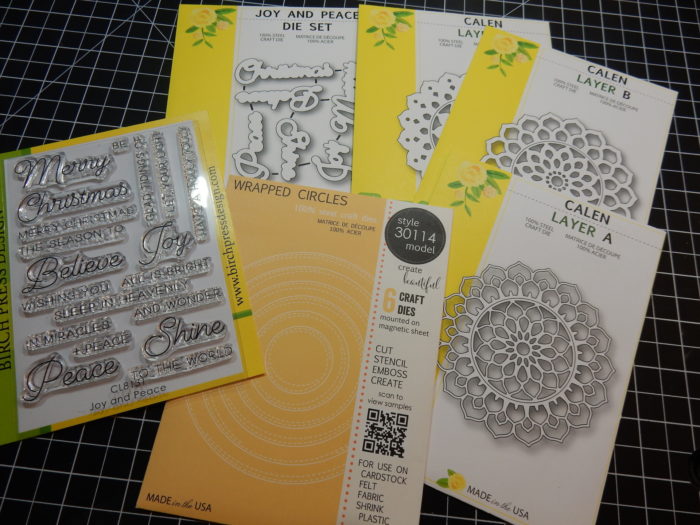
Supplies


 Thank you for coming by today for a little more Birch Press inspiration! Birch Press Design is participating in my
 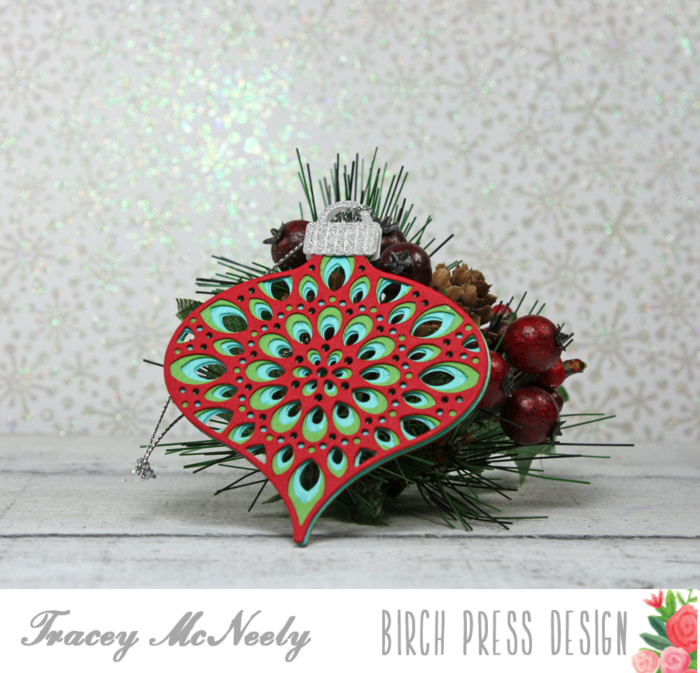 I have a short showing you how I created the ornament.
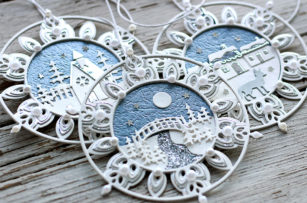
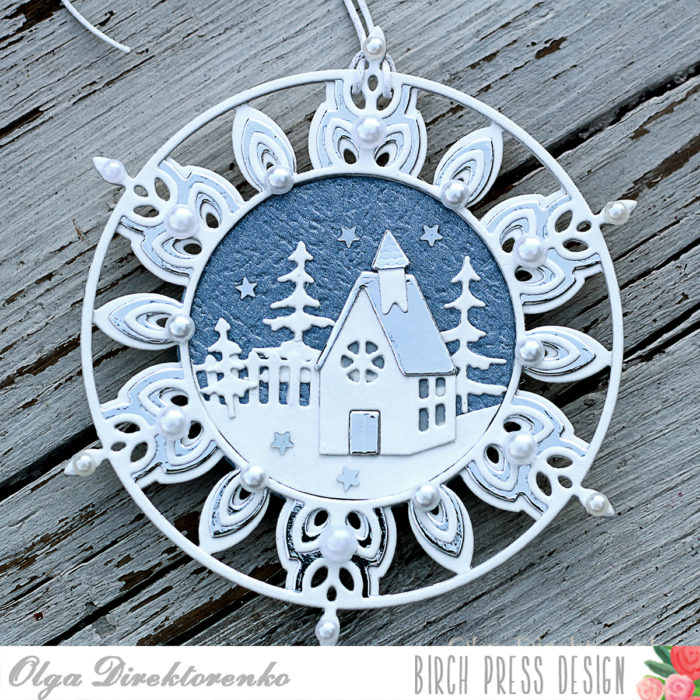
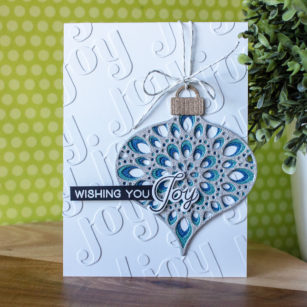
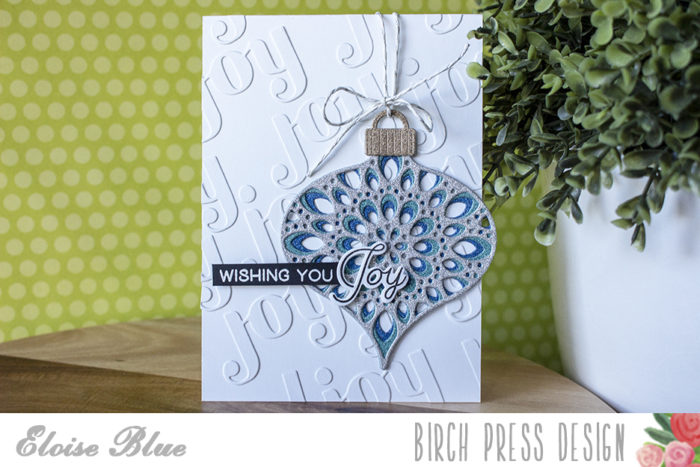
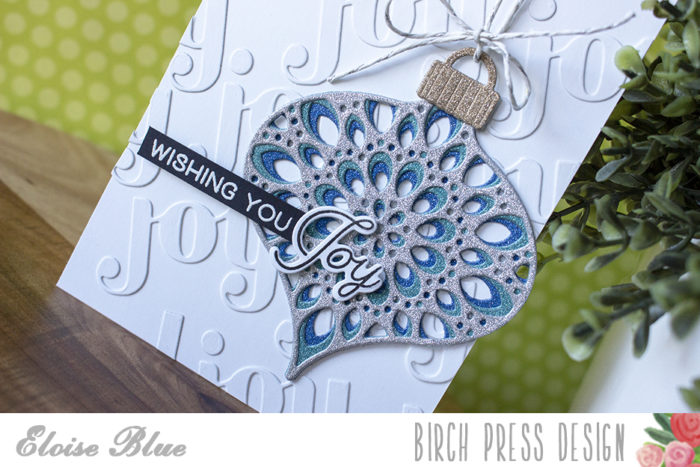
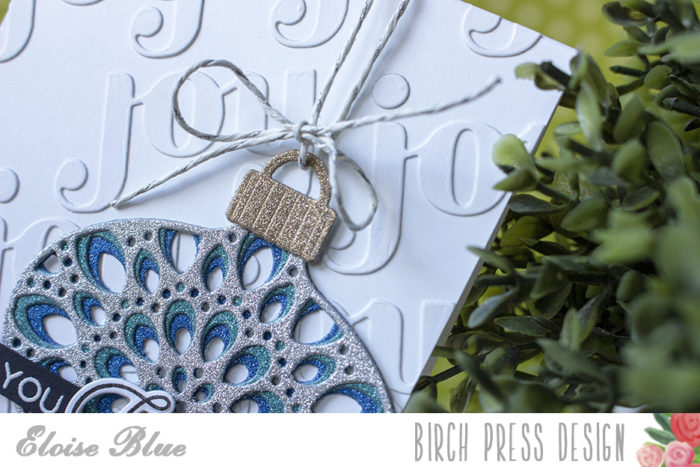
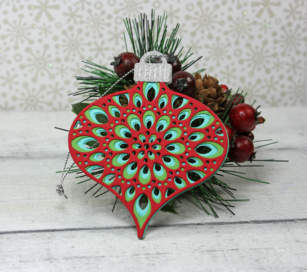
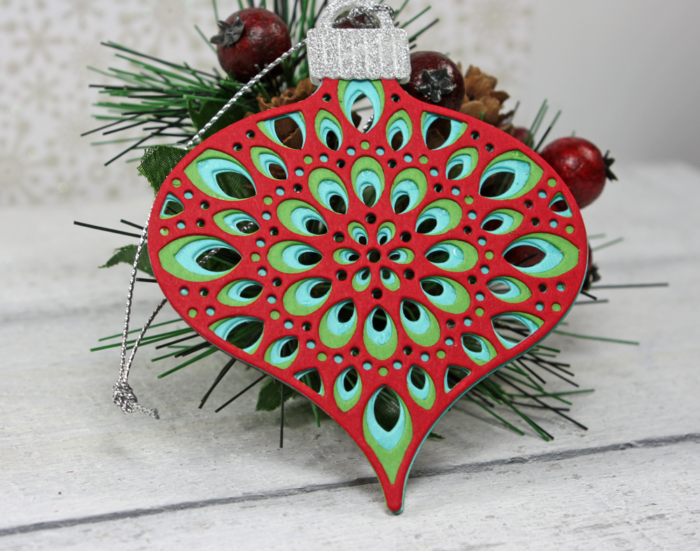
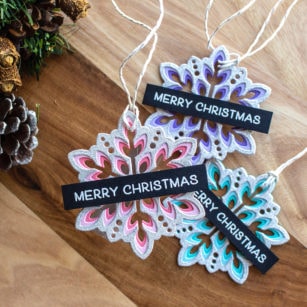
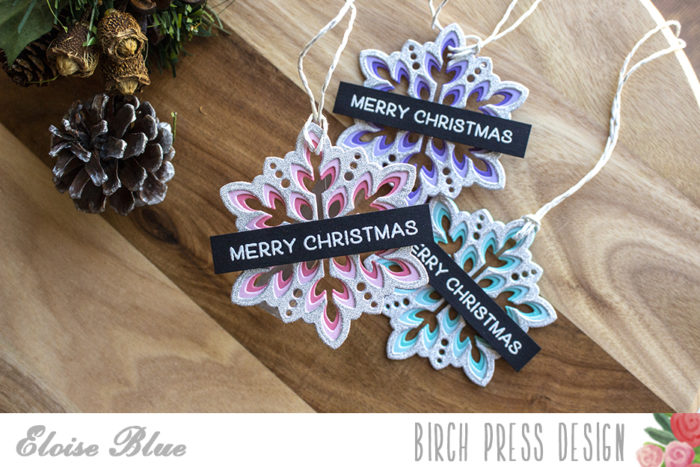
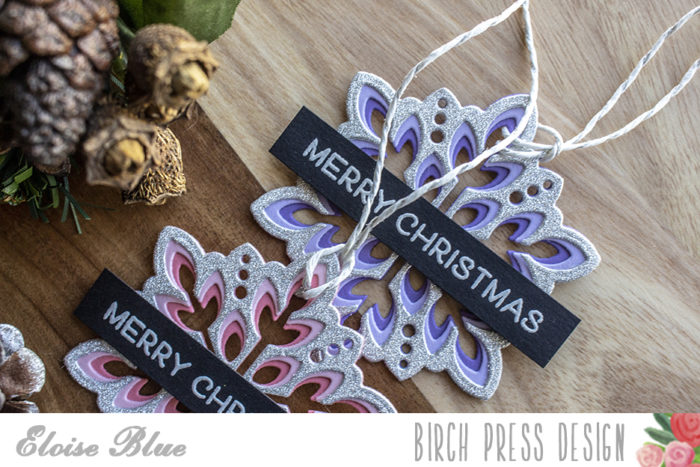
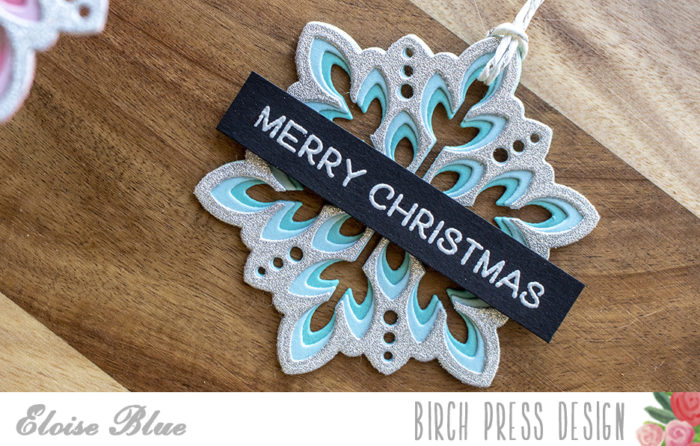
 To make the double sided ornament you want to glue the back of one ornament to the back of the other ornament so that it mirrors the front and the back is identical to the front. Next the two ornament holders that were cut from silver sparkle paper were glued to the top of the ornament, both front and back making sure they lined up with one another. Again the beauty of using liquid adhesive.
 A few of the Birch Press Design team members have created tags for Day 7 of my
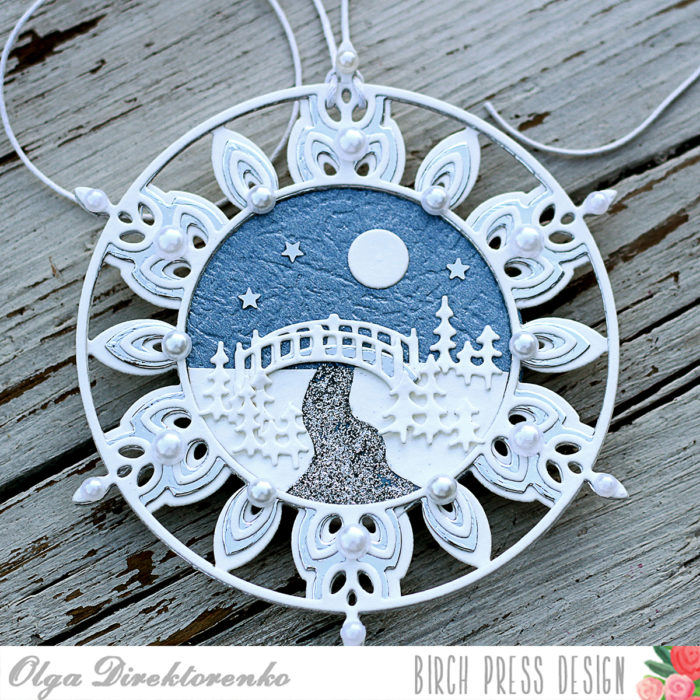
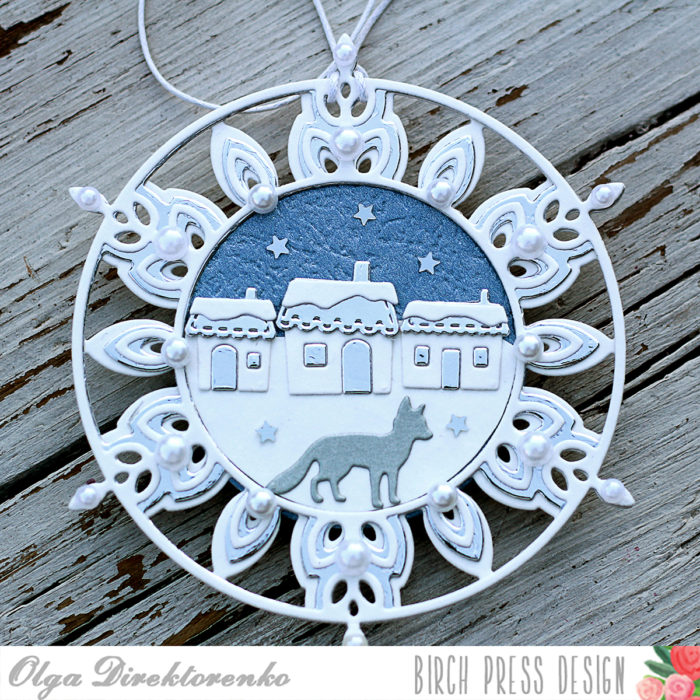
  Your double-sided Christmas tree tag can be taken off the parcel and added right to the tree. Thank you so much for stopping in today and creating with me today!


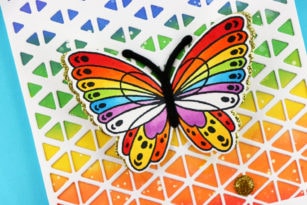

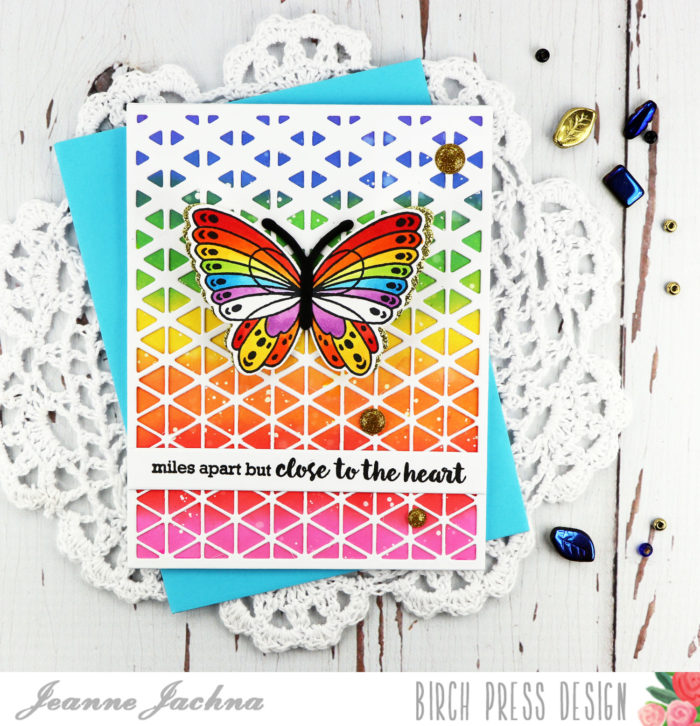

 I topped the panel with the Triangle Fade Frame cut from white card stock. I love the fresh triangles and the gradient pattern.
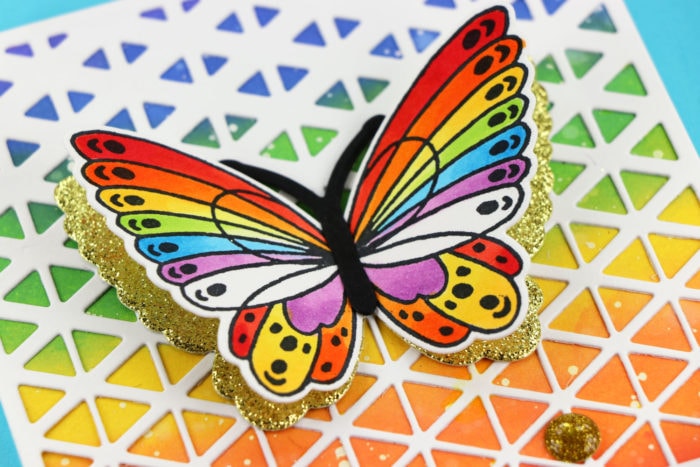
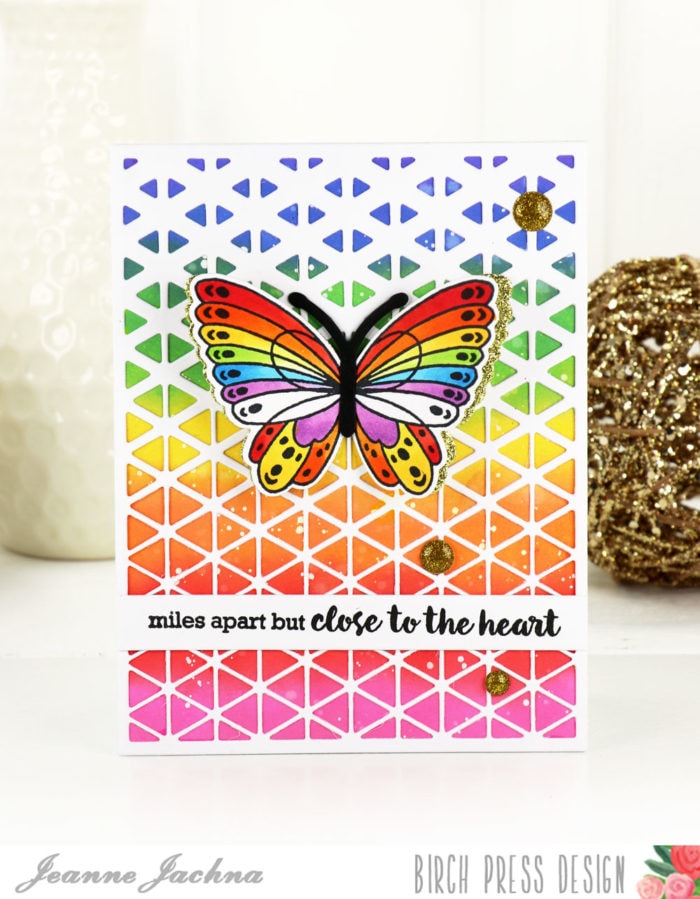 Wishing you a bright beautiful day!
 Finished Size 4.25 x 5.5″


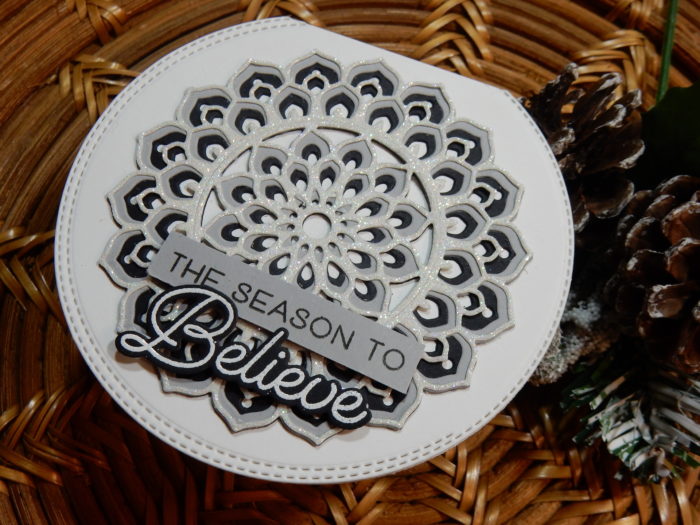
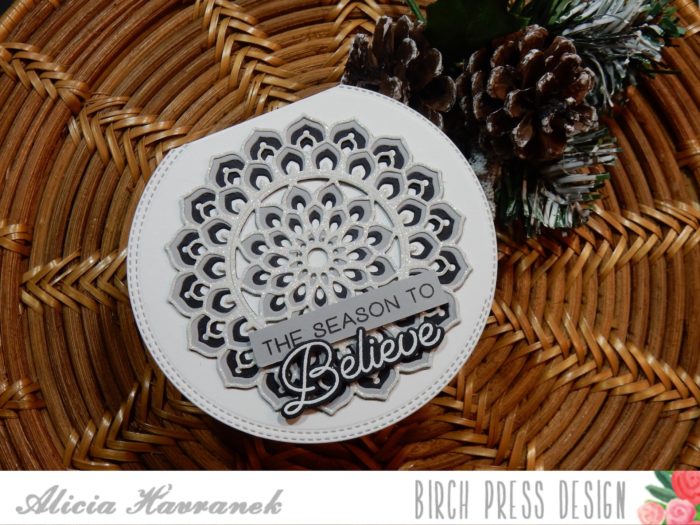


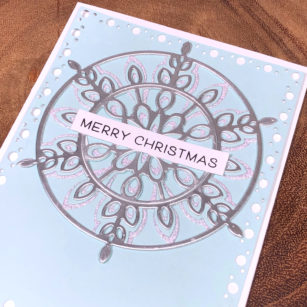
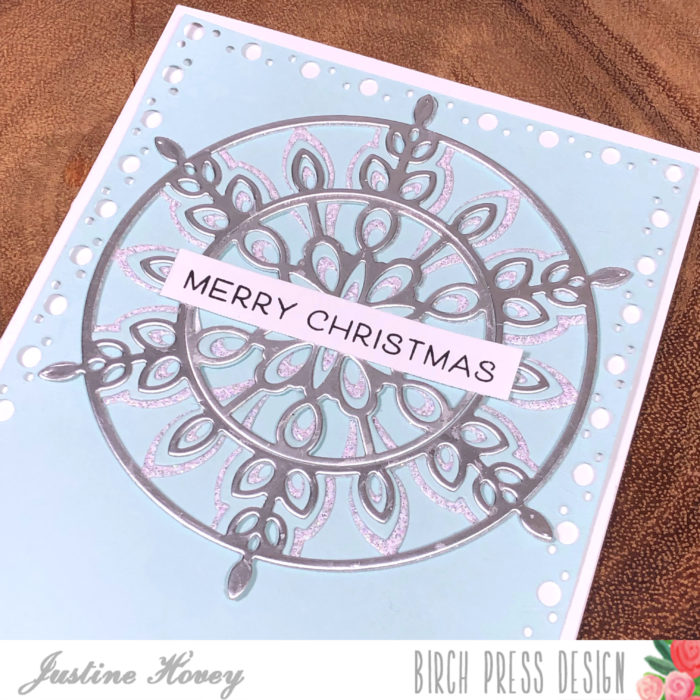
 I wish you could see this beauty in person! It looks fussy but was really easy to make!
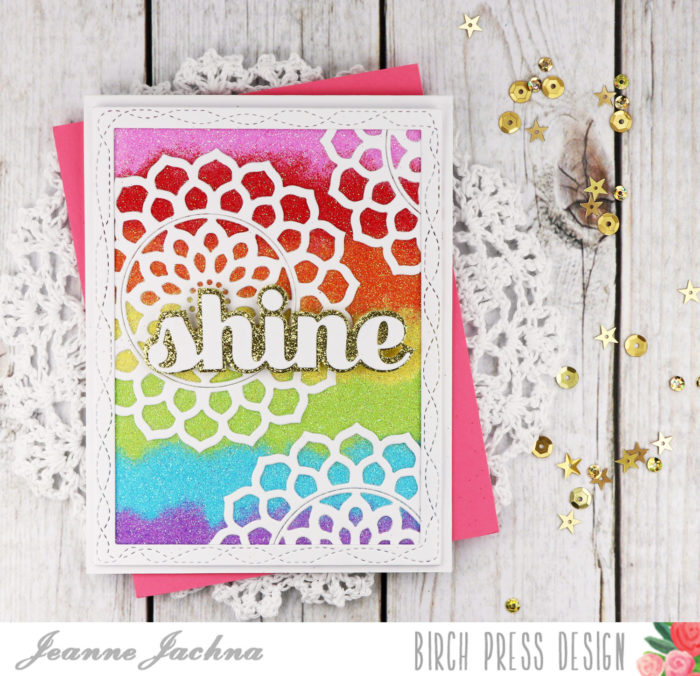
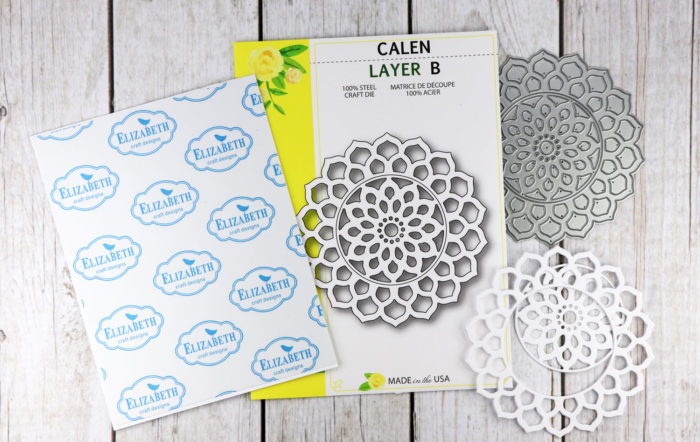 I started by covering a white card stock panel that was slightly smaller than my card base with double sided adhesive from Elizabeth Craft. Next I cut the Calen Layer B die several times and adhered them to the sticky card front.
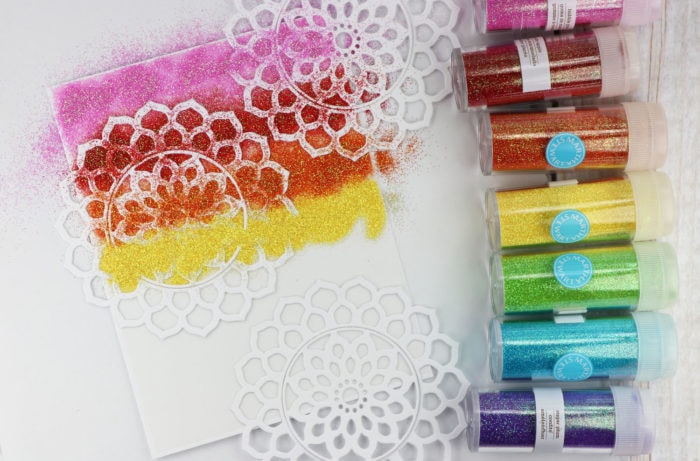
 Next I trimmed off the Calen mandala die cuts that were hanging off the edges of the card stock panel and added a Wrapped Stitch Frame die to give the edges a clean finished look.
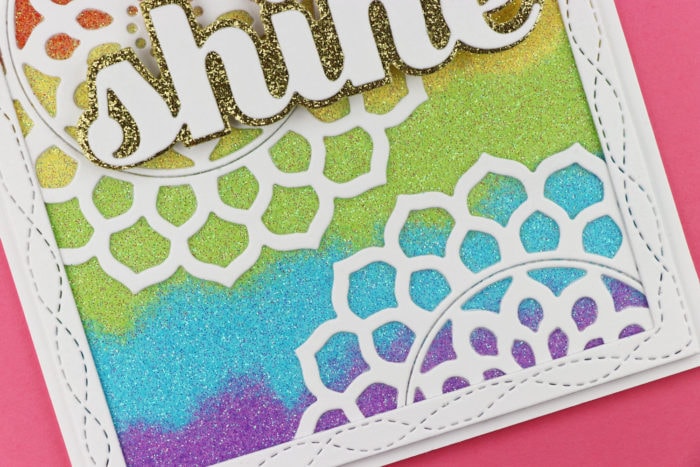 The blended glitter has a funky look that is so fun!
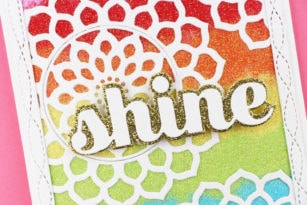
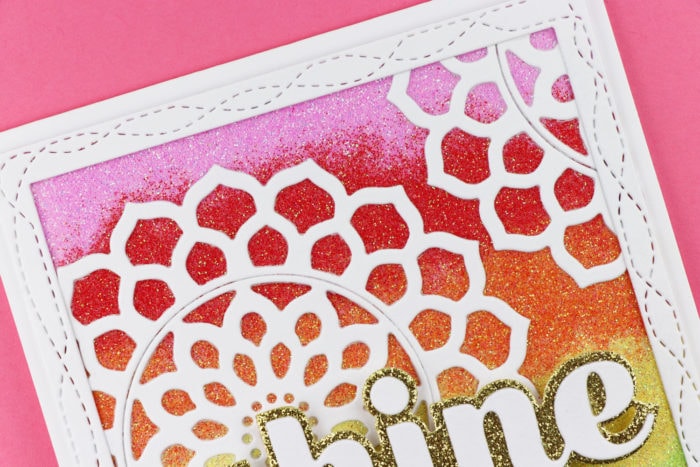 The finishing touch was the Shine Sugar Script sentiment. I cut the base from gold glitter paper and the detailed letters from white card stock.
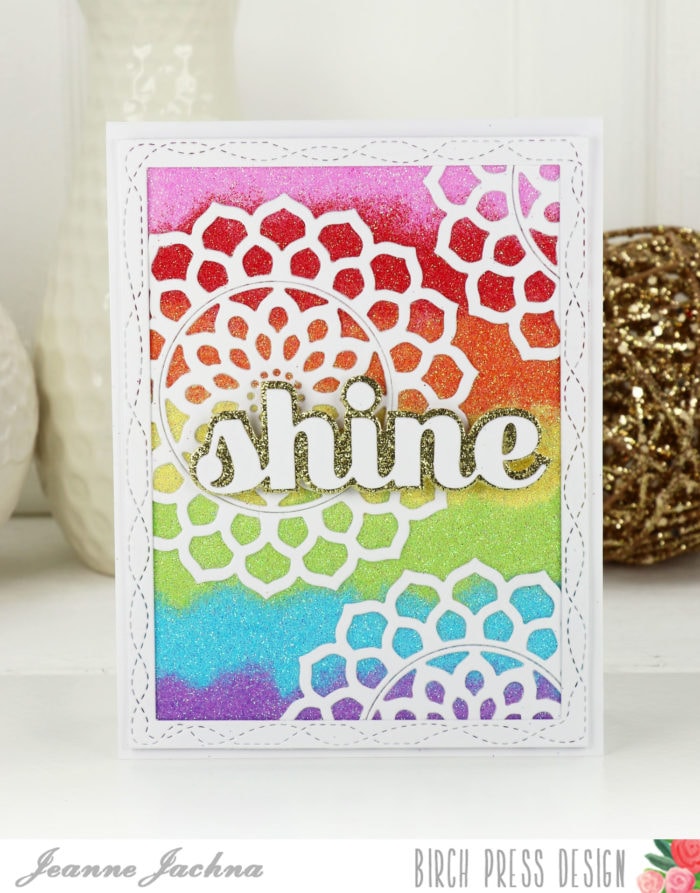 I’m sending this card to my daughter to remind her that she’s always a star to me! And what do stars do? They shine of course!