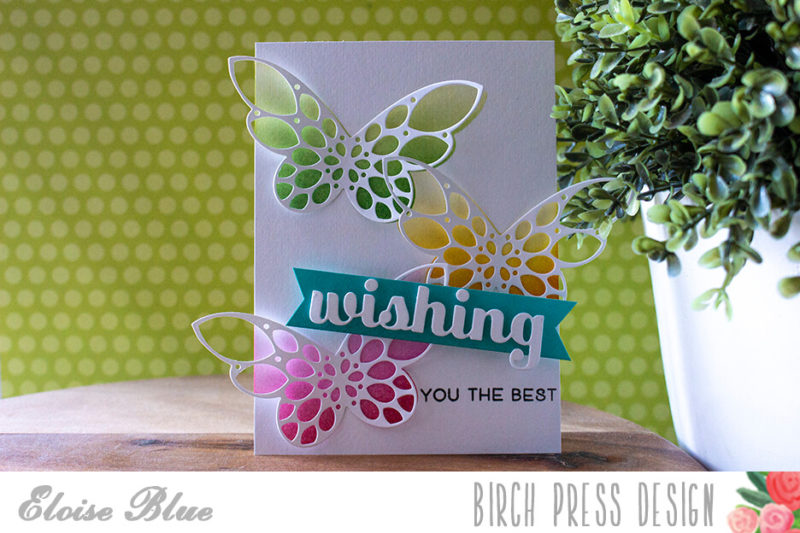
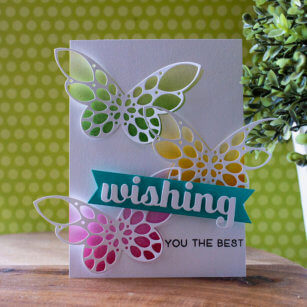
Hi everyone, Eloise back again today with another card. Today I’ll be making a simple encouragement card using the Sparkler Butterfly Dies both A and D to create a background using some Distress Inks. I’ll also be pulling in the Wishing Sugar Script Dies as well as the Wishing You The Best Stamp Set for my sentiments today.
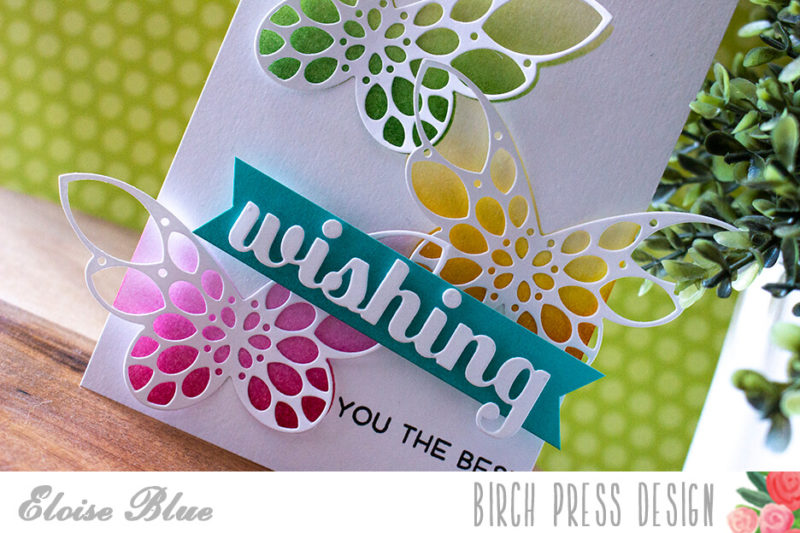
To begin my card I started off with die cutting the Sparkler Butterfly D Dies from some acetate so I could it as a stencil. I then placed it over some watercolour paper and began ink blending. I’m using a yellow, pink, green and aqua colour scheme today and each of my butterflies are blended ombre using various colours of Distress Inks.
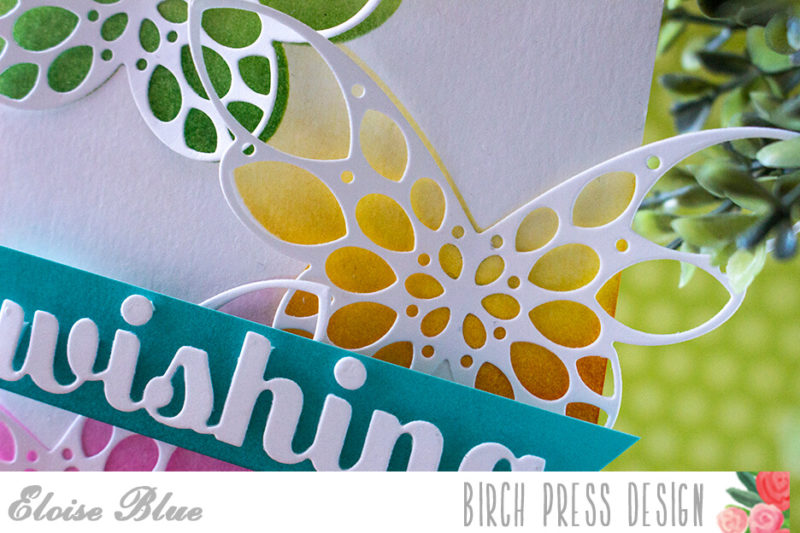
I started off with blending a pink butterfly at the bottom, using Spun Sugar, Picked Raspberry and Abandoned Coral. Then I moved the stencil to the right hand side and ink blended a yellow butterfly, for this I used Squeezed Lemonade, Mustard Seed and Spiced Marmalade and for the third butterfly, I made him green and used Twisted Citron, Mowed Lawn and Evergreen Bough.
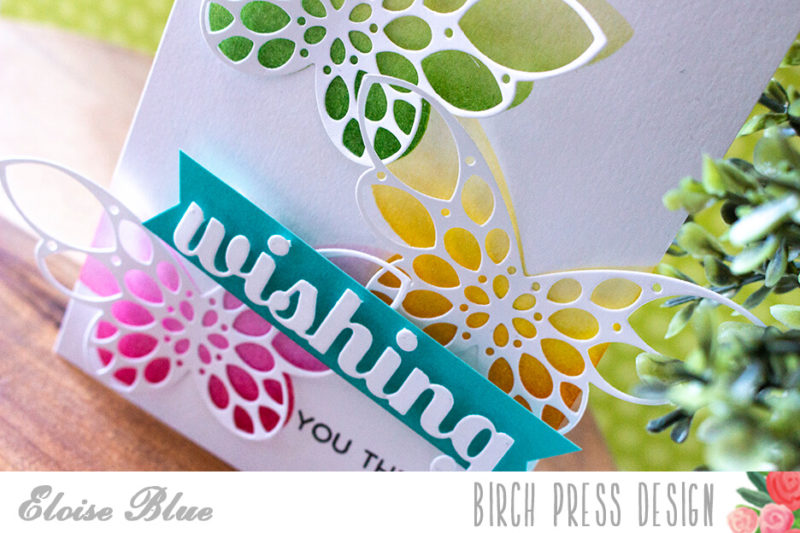
Now that my background was complete, I used the Sparkler Butterfly A Dies to cut three times from some white cardstock for the top layers. I added adhesive in the middle of the butterfly, pushed the wings up on either side and adhered them down in the centre. This way the wings aren’t adhered down fully and it gives it a nice dimensional effect. Next up, I took a piece of aqua cardstock and ink blended some Peacock Feathers onto the bottom of it. I cut the piece into a strip and added my own flag ends using scissors.
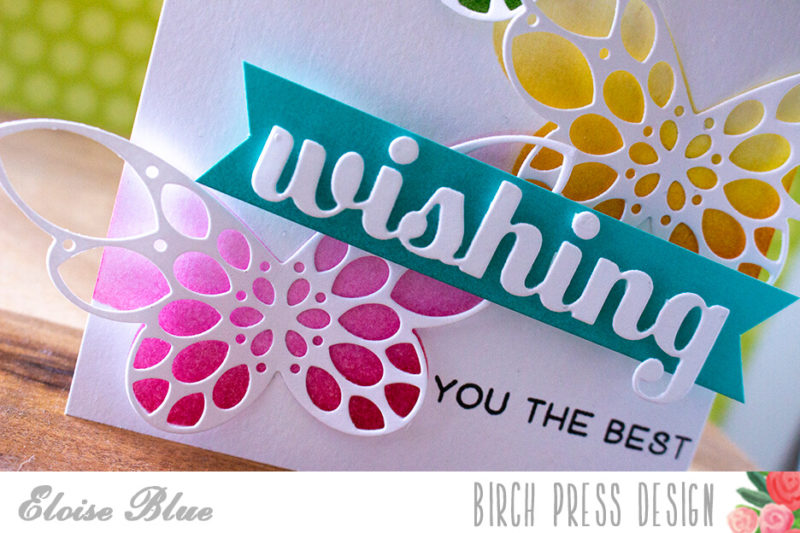
I then die cut the word ‘Wishing‘ out of more white cardstock, added foam tape to the back and adhered it onto the banner. I then adhered the banner at an angle to the centre of my panel and then stamped the additional ‘You The Best’ from Wishing You The Best Stamp Set in black into the white area of my card.
The video is linked down below if you would like to watch.
Thanks so much for stopping by today, I hope you enjoyed and got inspired to make your own stencils from your dies. See you next time!
Supplies














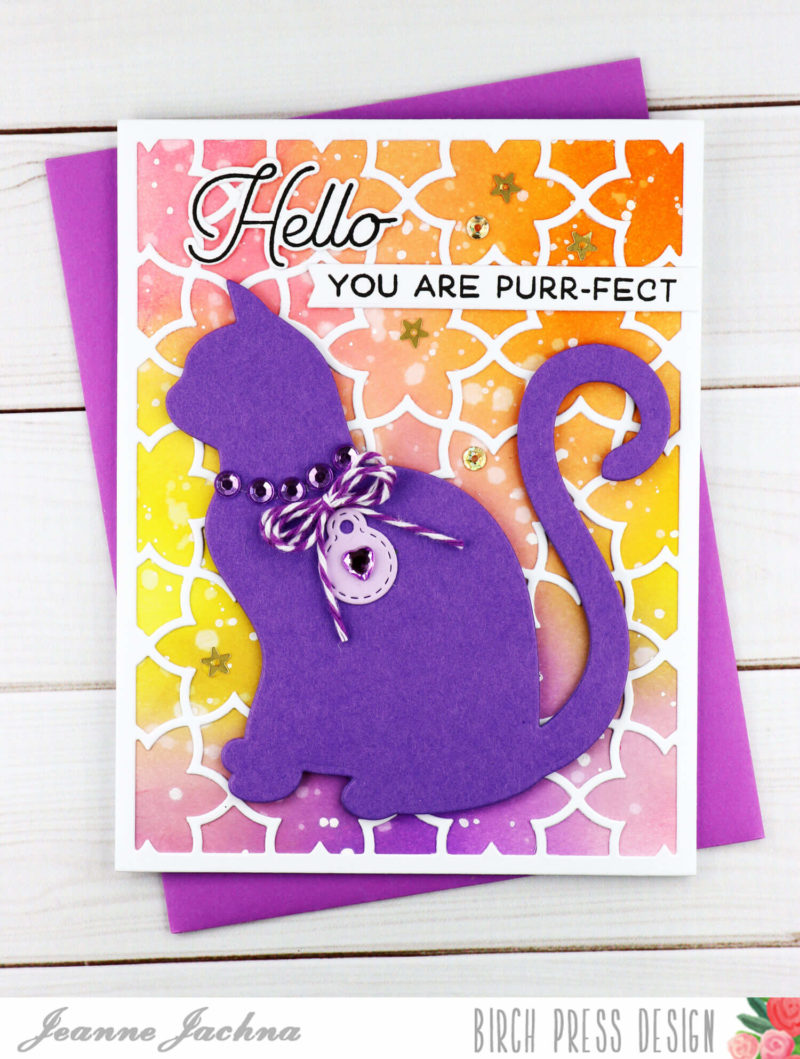
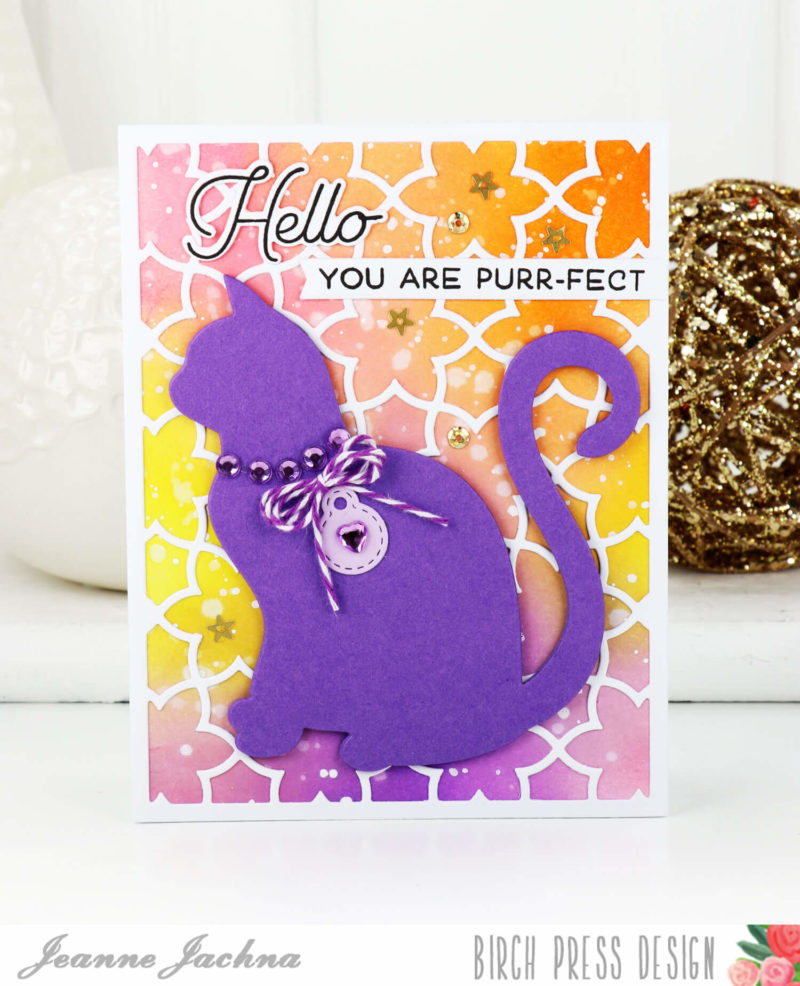
 Do you love animals? For most of my life I’ve been surrounded by different pets. I’ve had dogs and cats and lots of more interesting things my children have brought home for some TLC… baby bunnies and birds, toads and turtles. My card today features the Purrfect Cats die cut.
 I love the intricate layered dies from Birch Press Design but I confess that I am always hesitant to cover them up. The backgrounds are so beautiful I always think they should take center stage. Sometimes I worry that if I add die cuts and embellishments that my card will look too busy or cluttered.
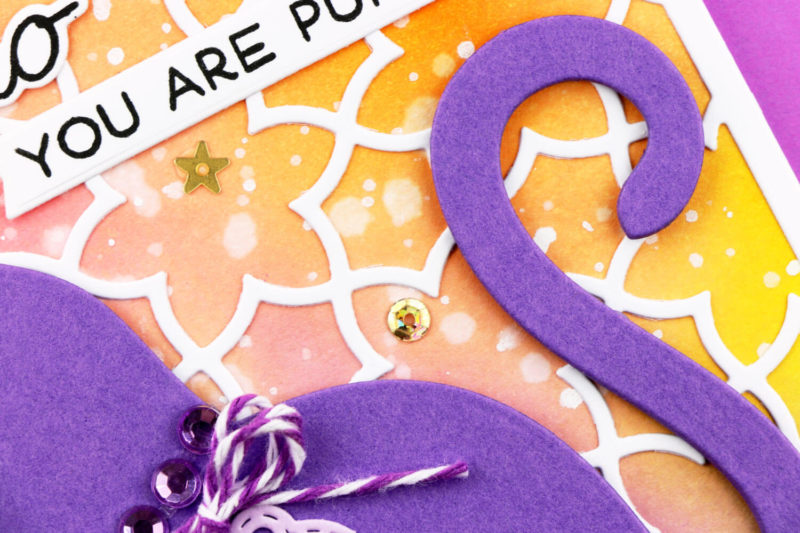 I started my card with a distress ink background in Squeezed Lemonade, Mustard Seed, Dried Marigold, Worn Lipstick and Wilted Violet. The panel was splattered with water and white ink before I topped it with a Sevilla Layer A die cut. The Purrfect Cats die cut works well with the busy background because it is a large solid die cut in contrast with the detailed colorful background.
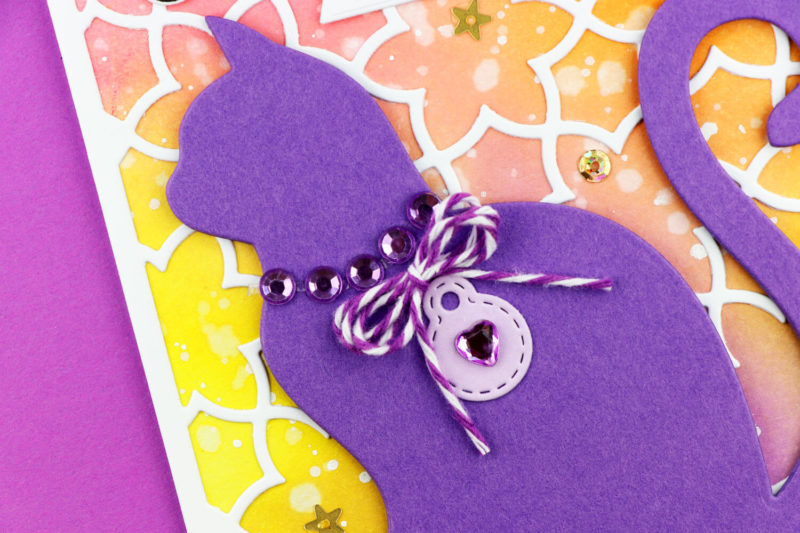
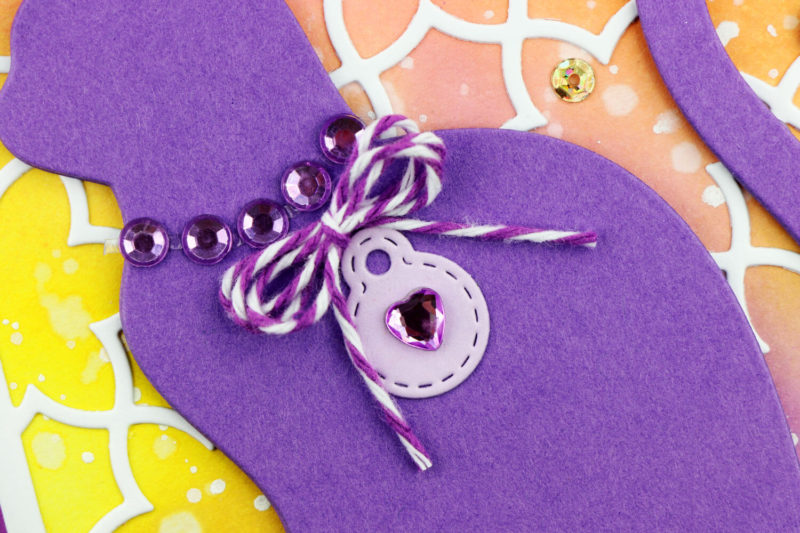 I triple cut the cat and glued the die cuts together to make one thick die cut. I embellished the cat with some rhinestones, a twine bow and a bitty die cut tag. The background is embellished with gold sequins from the Not So Heavy Metal tin from the store.
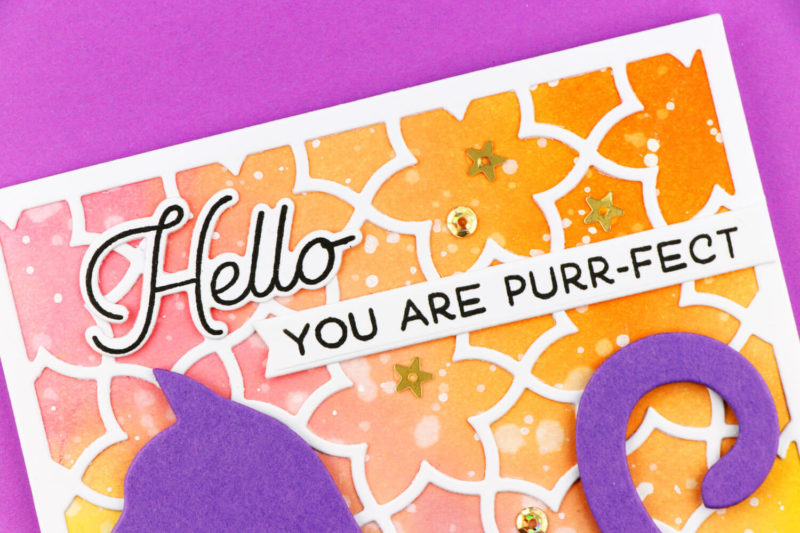 The sentiment is from the Love and Miss You stamp set. The coordinating die set cuts the large word sentiments from the stamp set.







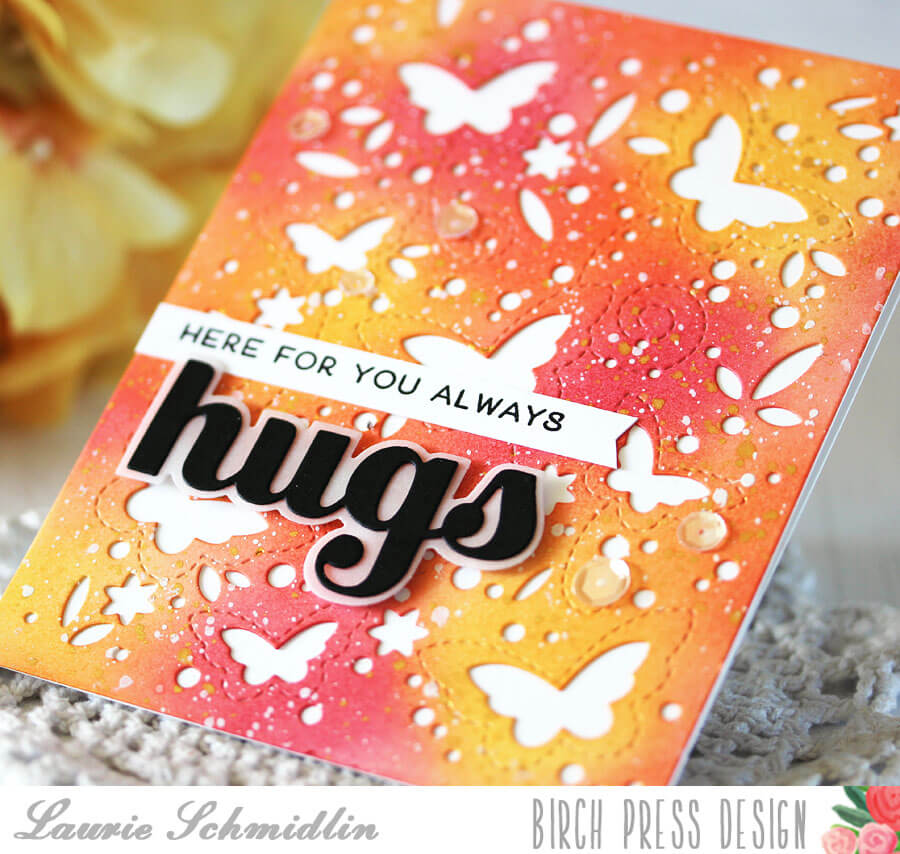
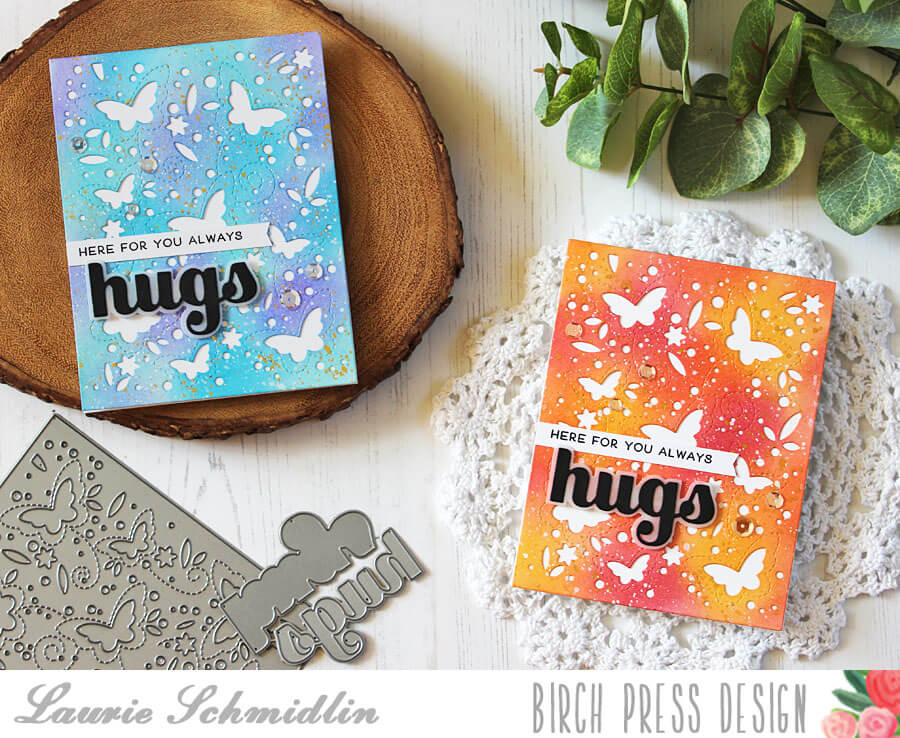
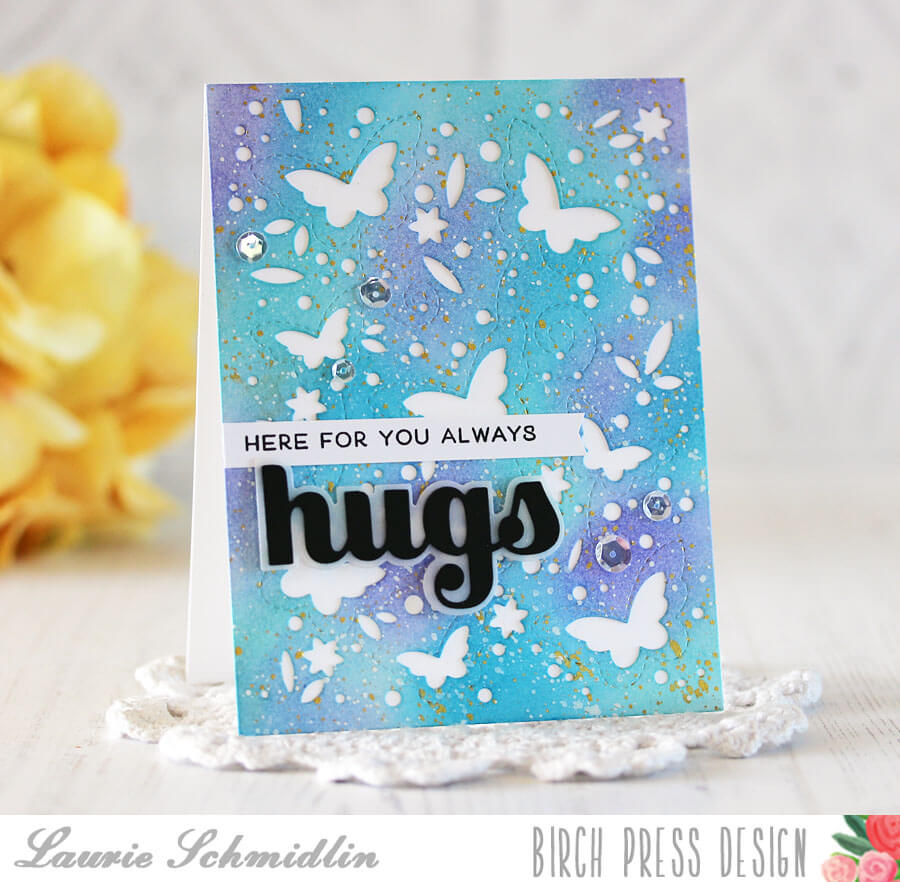
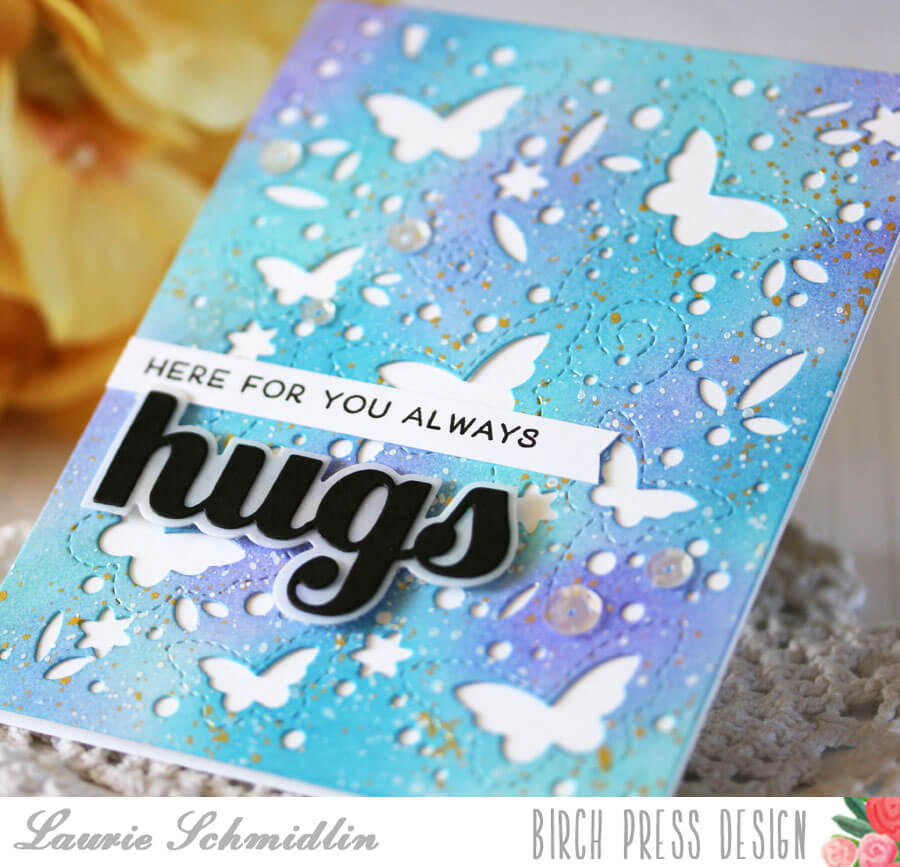


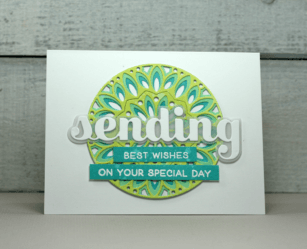
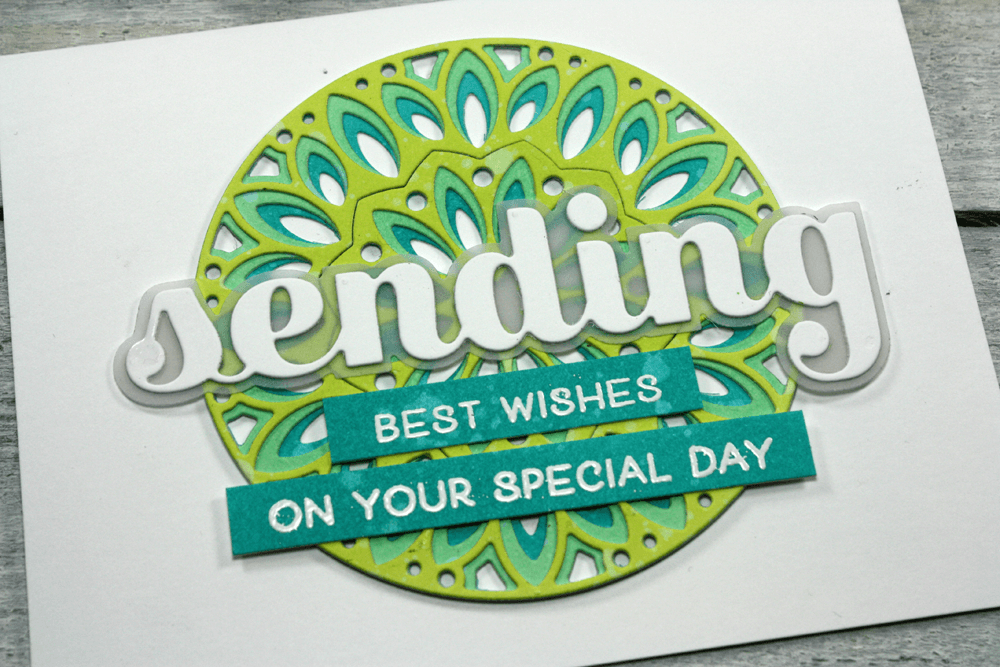
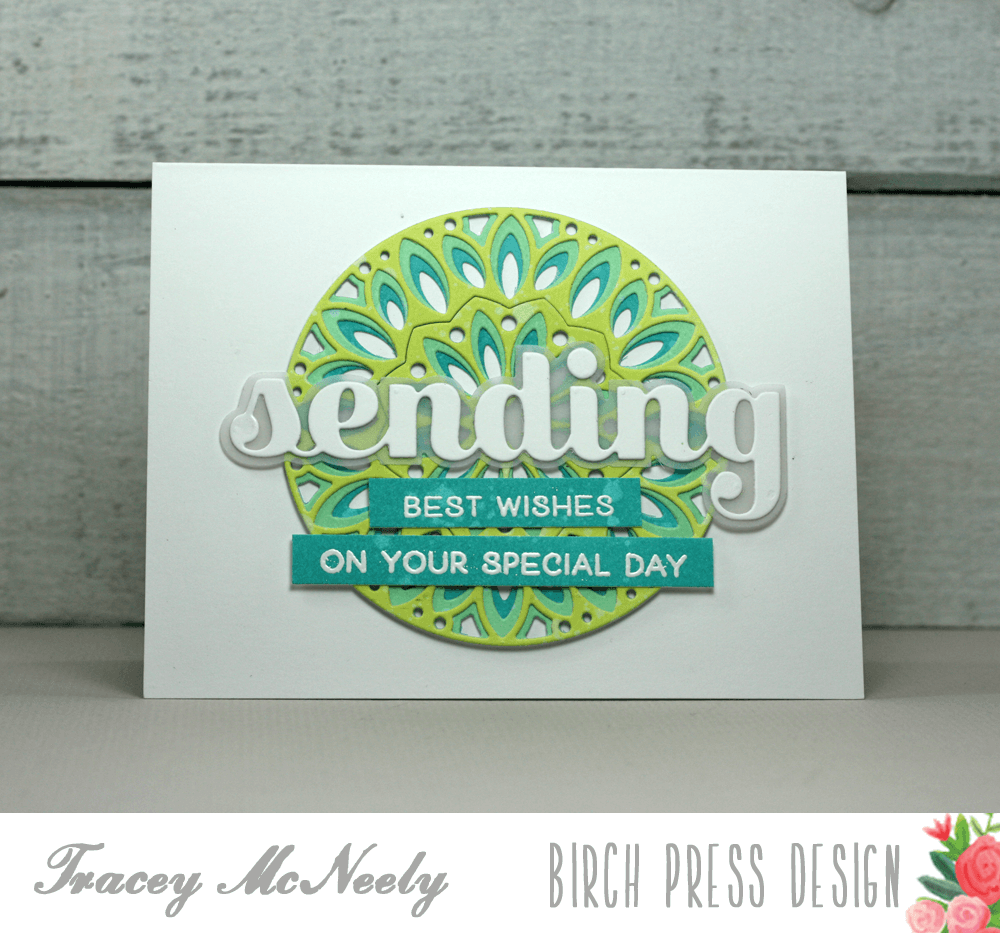
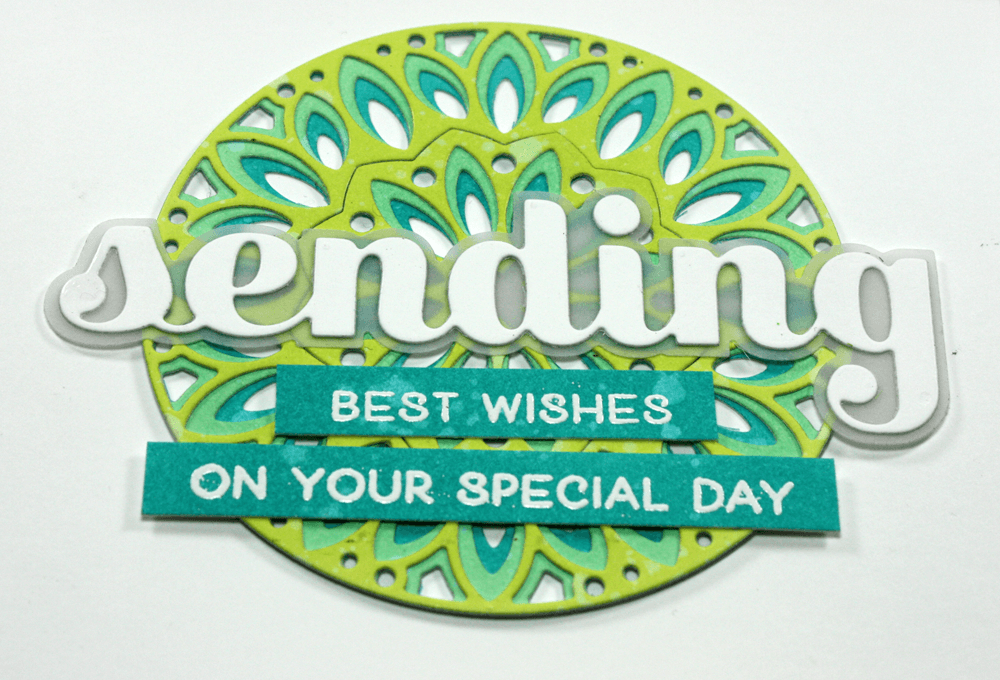 Welcome to another inspiration post here at Birch Press Design. I just can seem to get enough of the new Mandala dies and today I have a video tutorial to create a pretty wedding card. I am using the
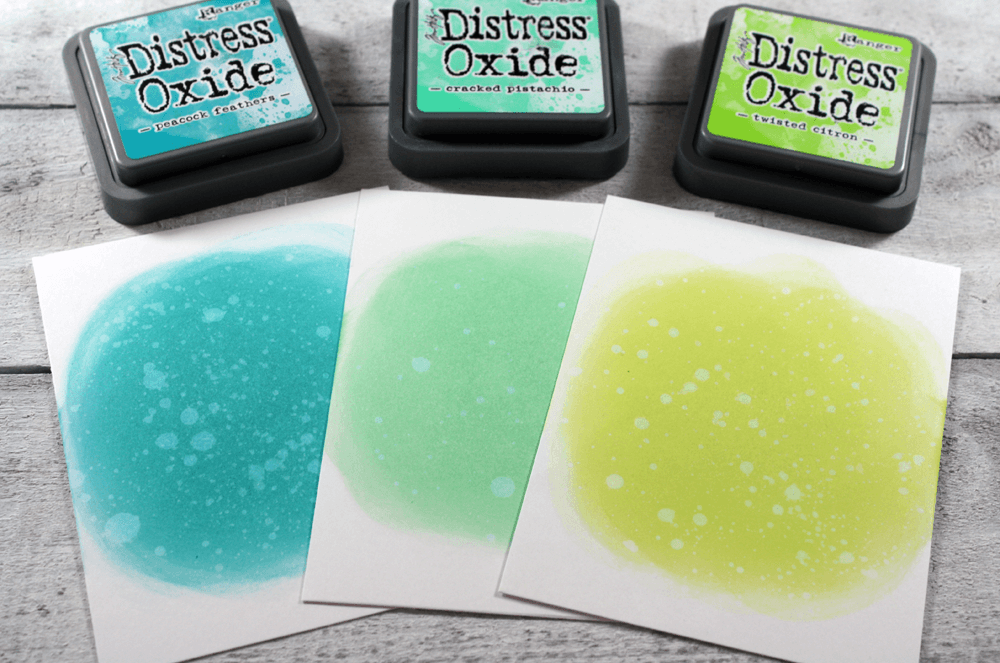
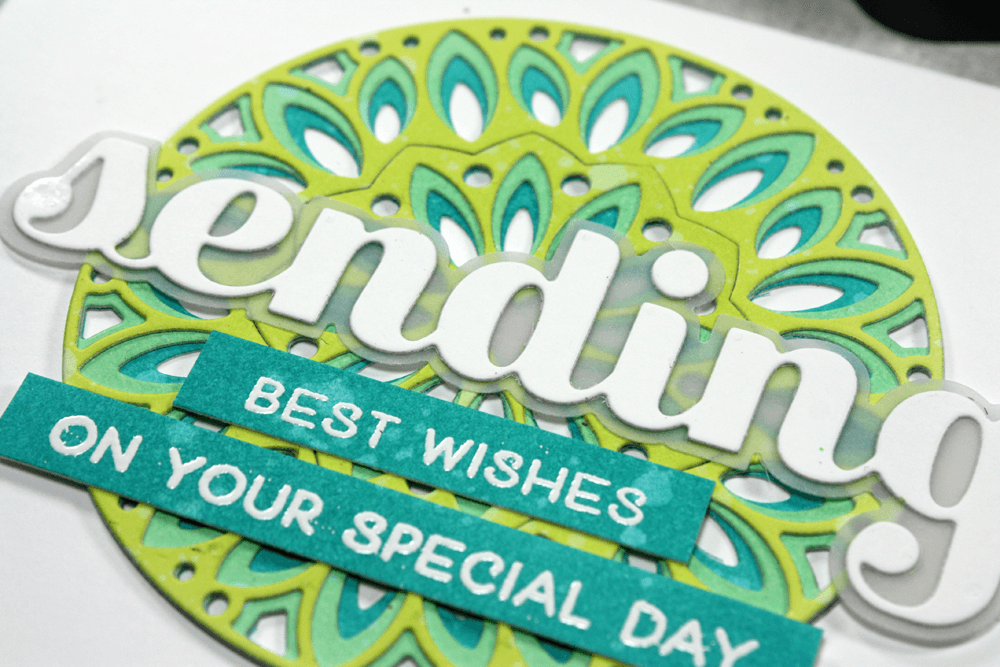
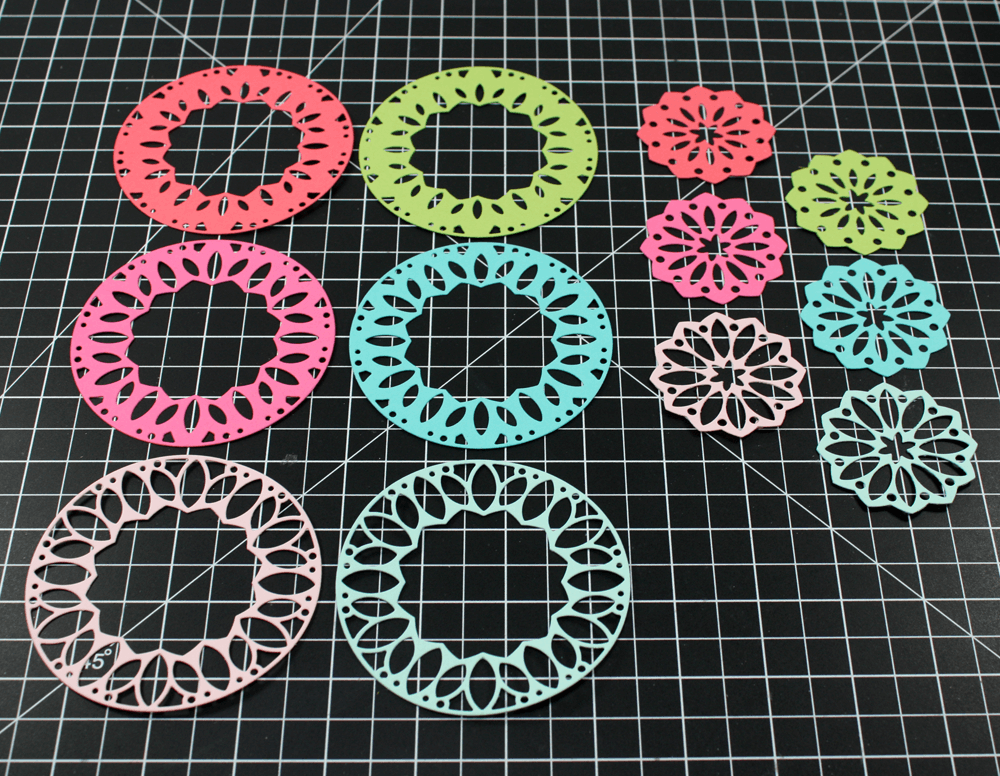
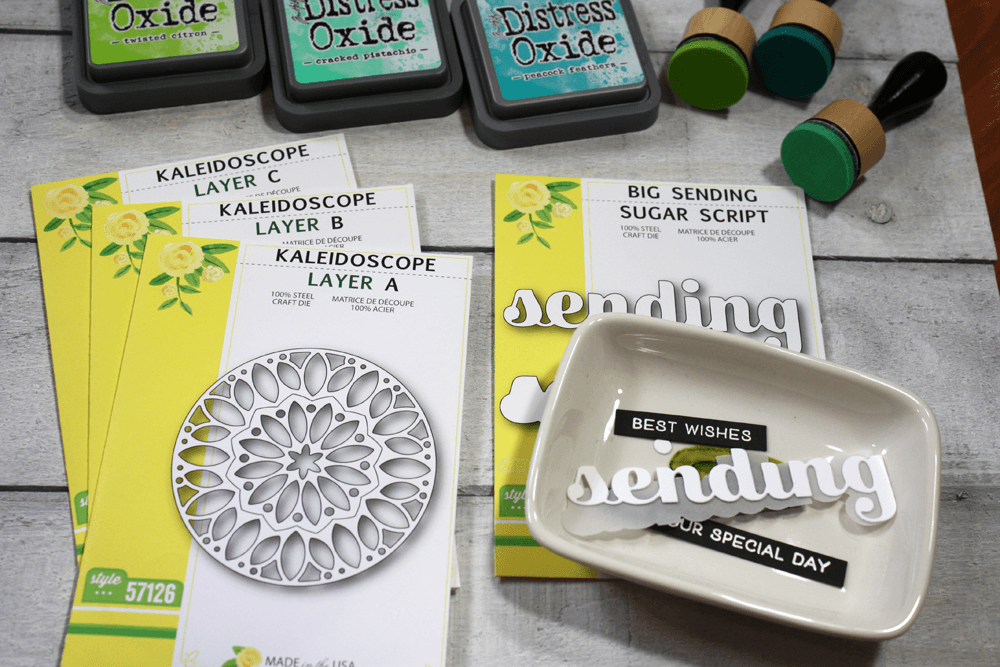 The video below will show you how I created all the elements for my cards using Distress Oxide inks and Bristol Smooth cardstock to create my own custom coloured cardstock to use with the dies.