Hello and Welcome to Day 2 of our Blog Blitz! What’s a blog blitz? Well, we’ve set aside a few days on the blog to show you projects created with the new release and have a prize for you on each post. Let’s get started!
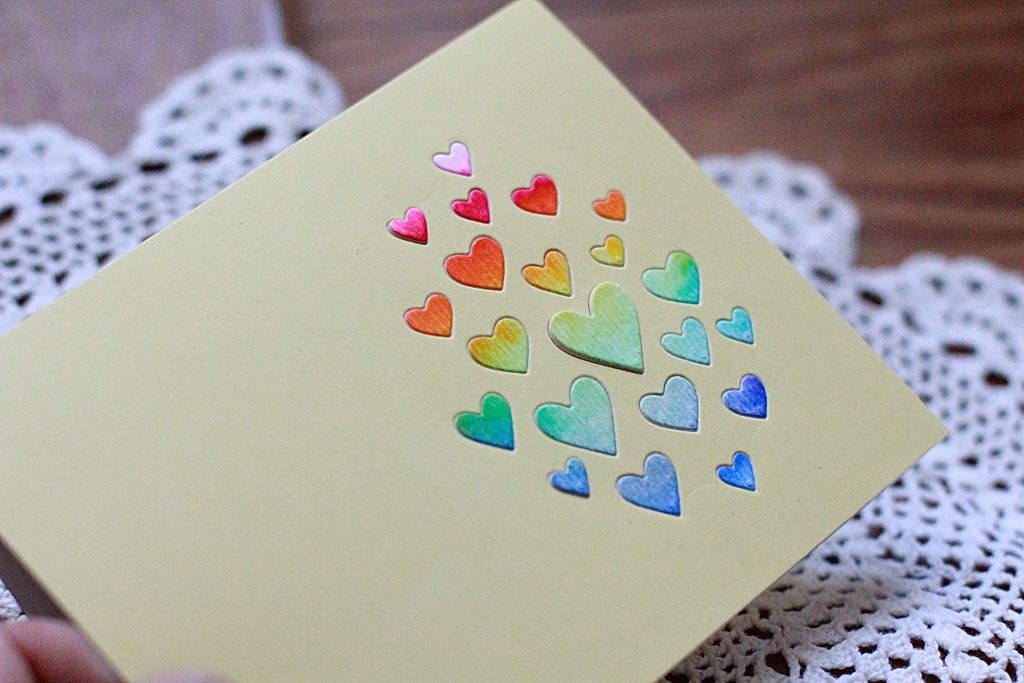
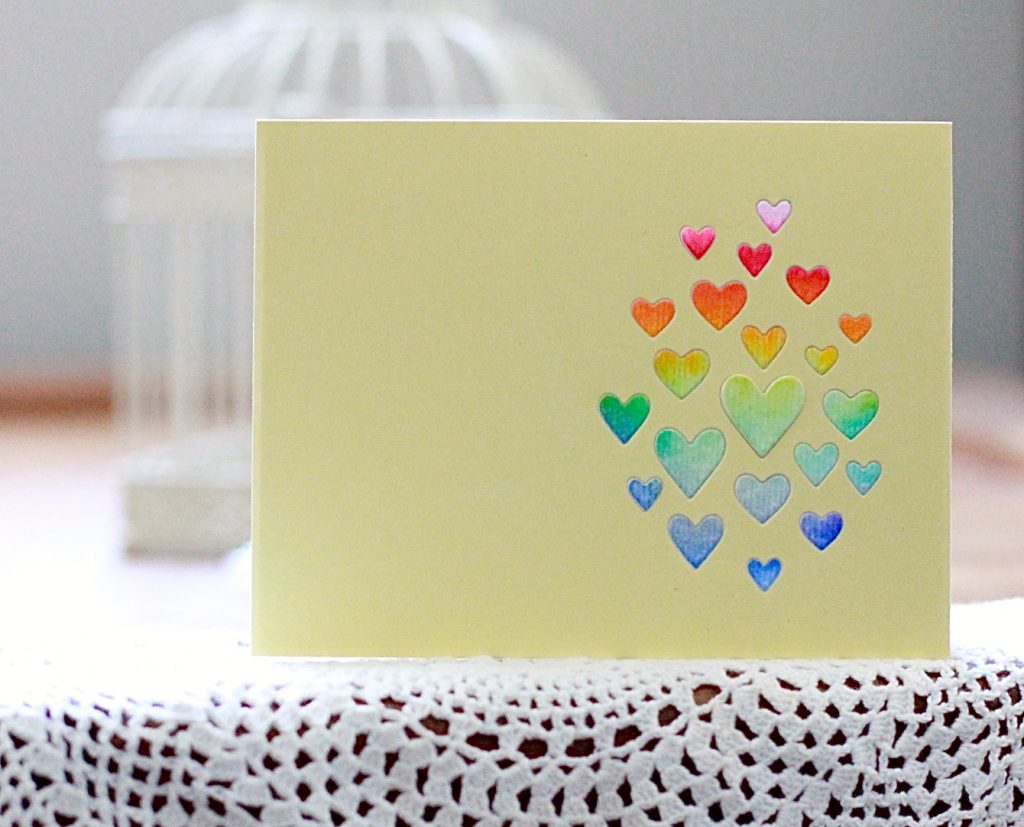
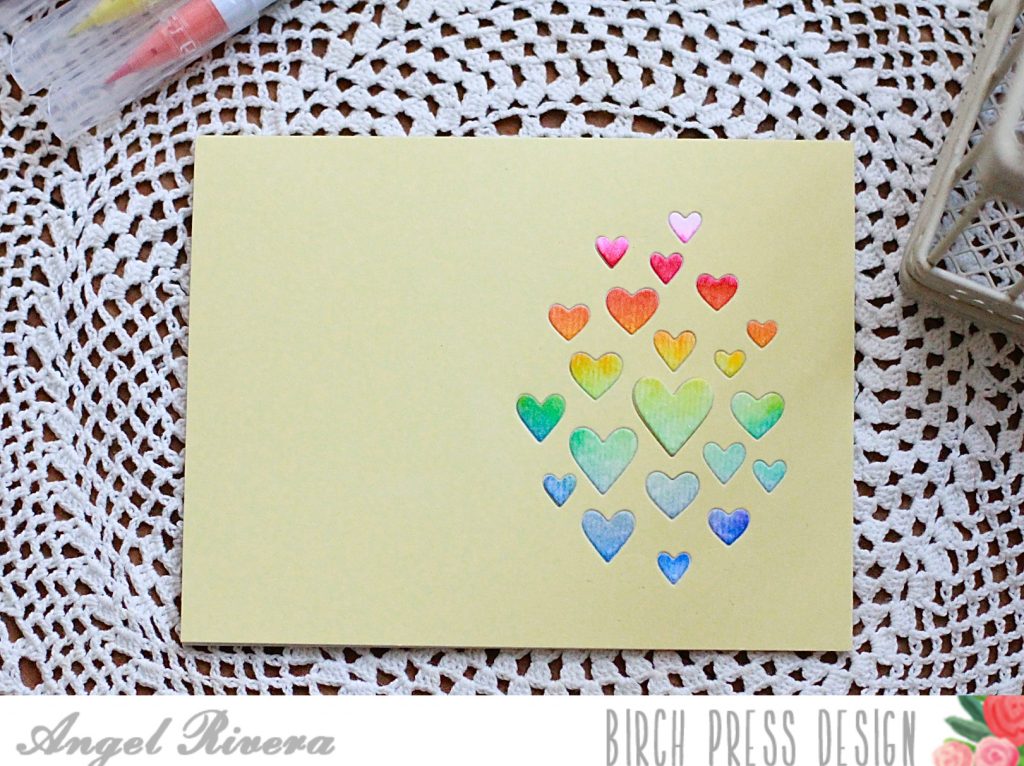
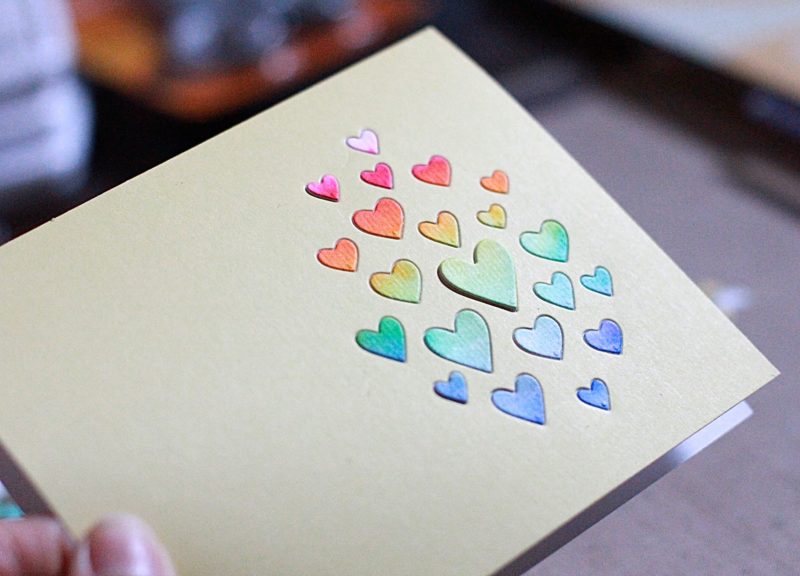
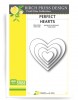
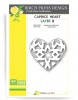
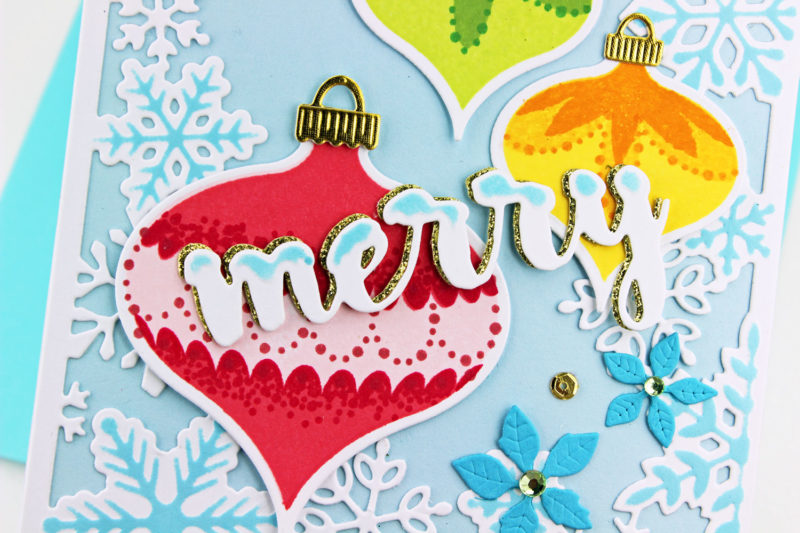
My card features the Hearts Aglow die. Here’s a close up for you.
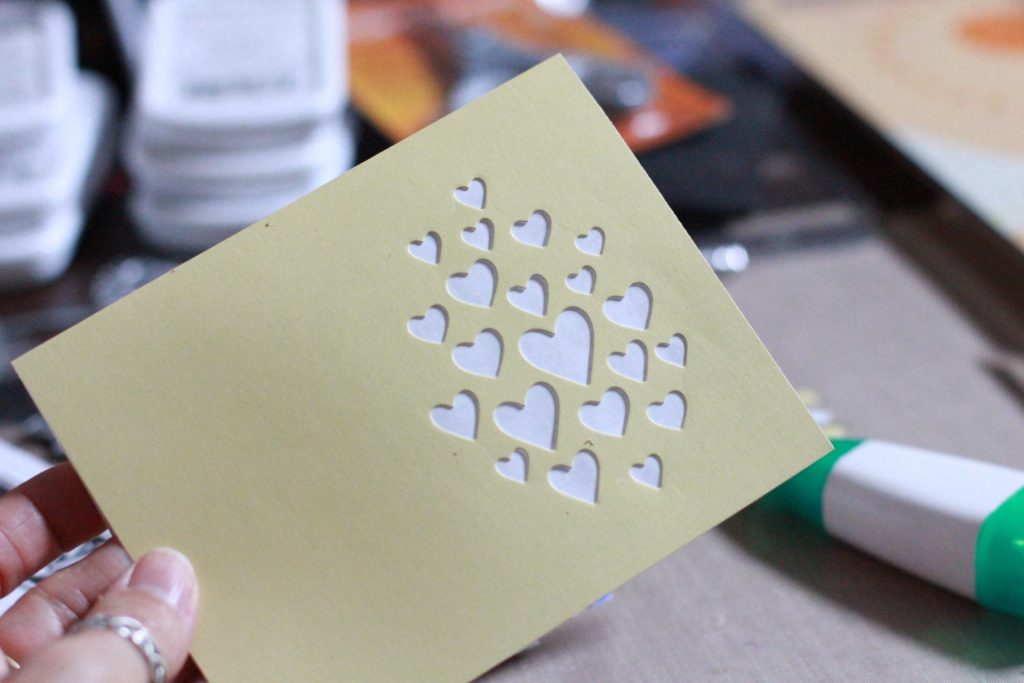
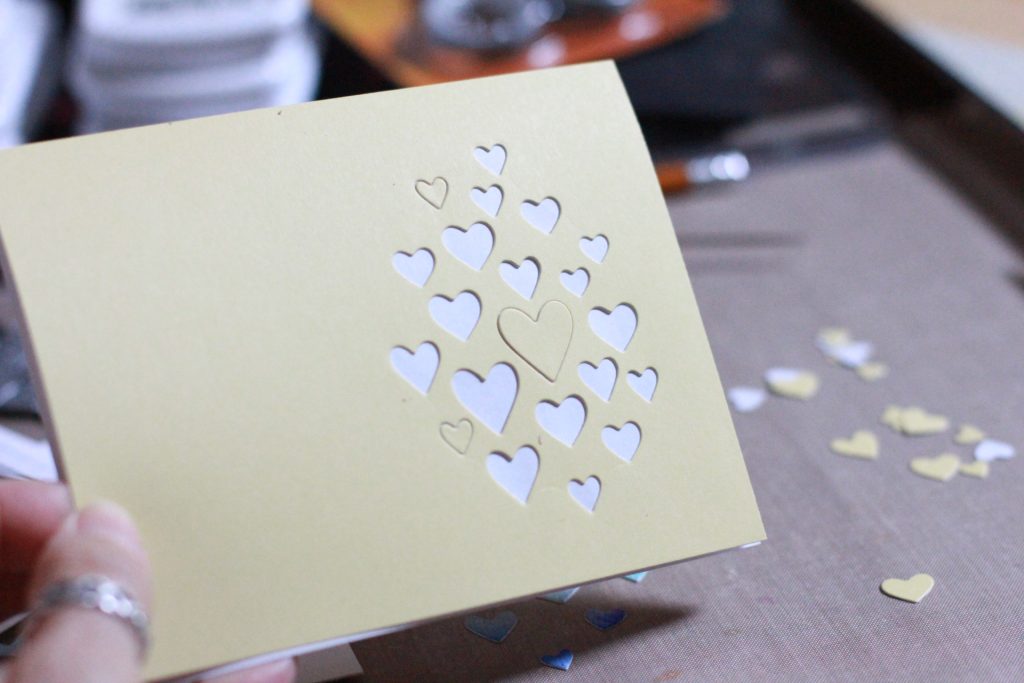
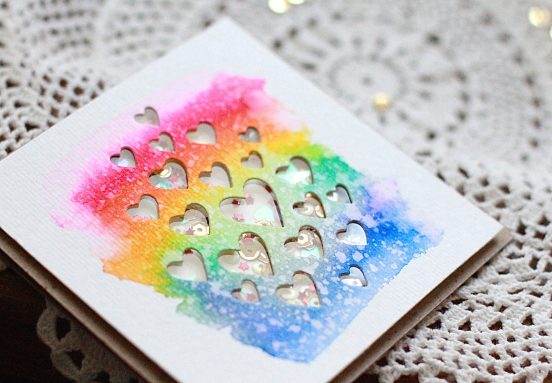
Here’s where I started. I used some water-based markers and an aqua brush to create a rainbow background, shown here. Once I had lightly blended the colors, I cut out the hearts. {I’ll be using the negative space of the die in a future card, so stay tuned!}

I then cut used the same Hearts Aglow die on a card base {available in the Birch Press Design store!}. I then adhered some card stock to the inside of the card so that I had something to adhere the hearts to.
I decided that I wanted some of the hearts to stick out rather than just sit inside the die flat, so I used a few of the hearts from the card base and adhered those first, before adding the rainbow hearts.
And voila! I love that a few of the hearts are raised, just gives it that little extra bit of dimension.

I chose to not add a sentiment because I feel this card could be used for a few occasions. 🙂
So how would you like a chance to win the HEARTS AGLOW die?? Just leave a comment here and YOU could be the lucky winner! Here are the details of the blog blitz…
Our blog blitz will run from January 10-13, 2017. We’ll be giving away a prize on every post during this time. To enter to win, you need to leave a comment on EACH of the posts that you wish to enter. One person will be chosen at random from each of the blog blitz posts.
Only one prize per person per blog blitz. You have until midnight US EST 15 January to leave a comment on each and every post that you want to enter. Winners will be announced on this blog on January 16. Visit our sister company Poppystamps who is also having a Blog Blitz!
Thanks for stopping by and Good Luck!


