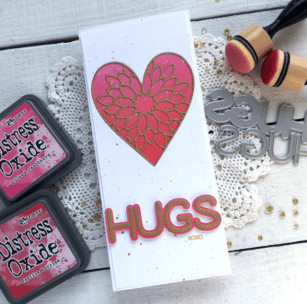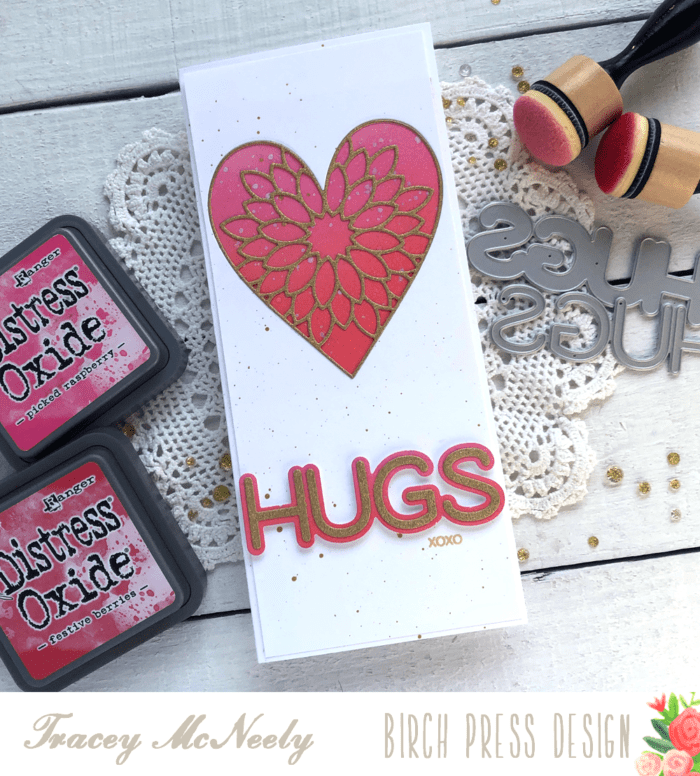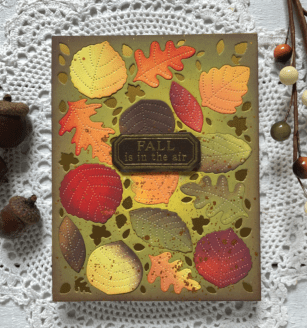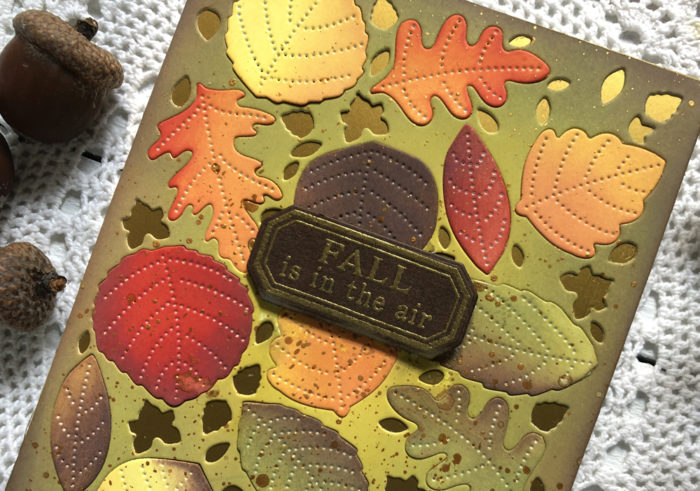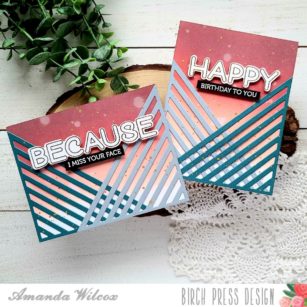
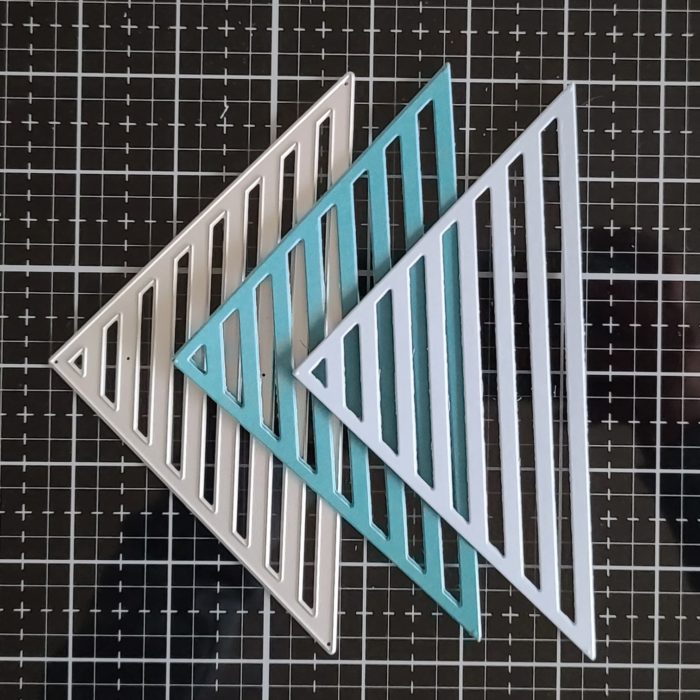
Hi again! It’s Amanda from Twiddler’s Nook today featuring a couple of new products available in the shop. I was very interested in this new linear triangle die so I cut a couple out and started playing around, which is how I figured out today’s fun design. I hope you like it.

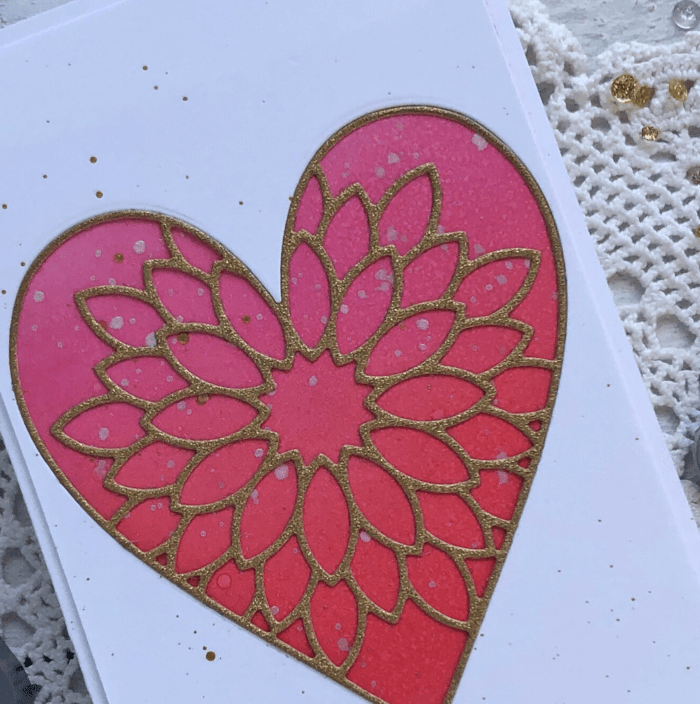
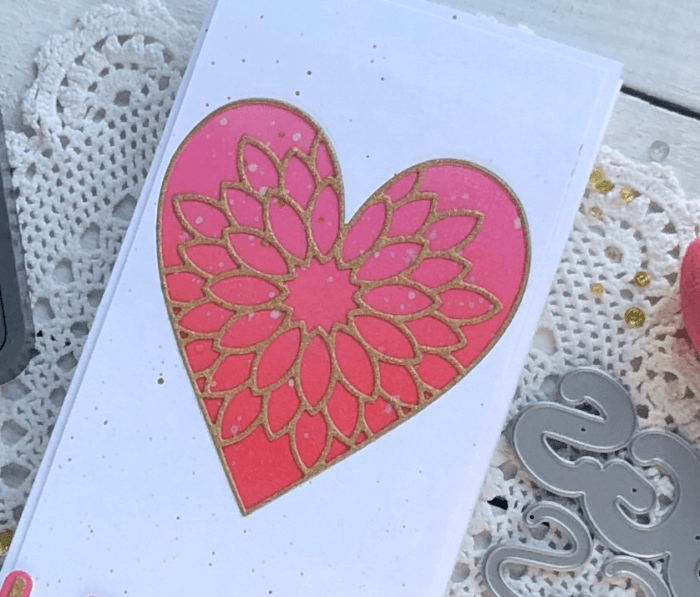
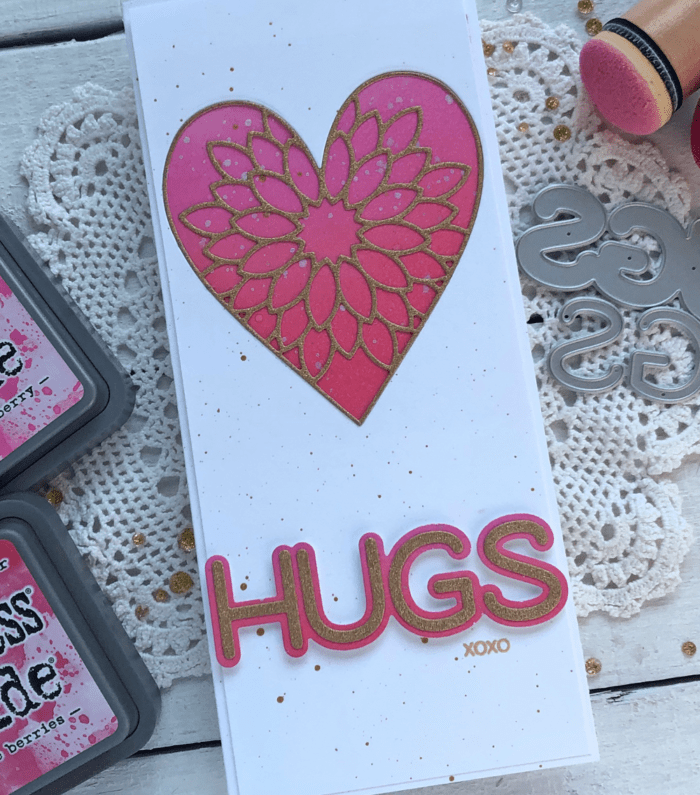
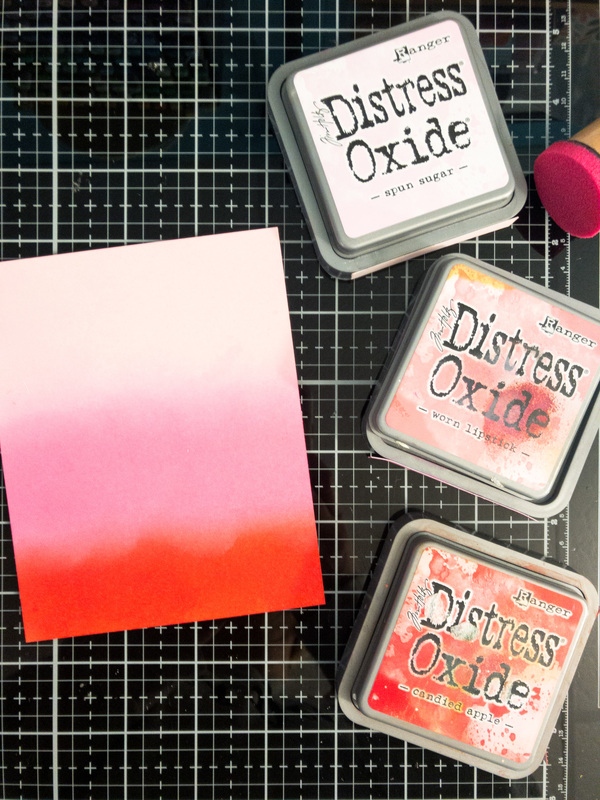
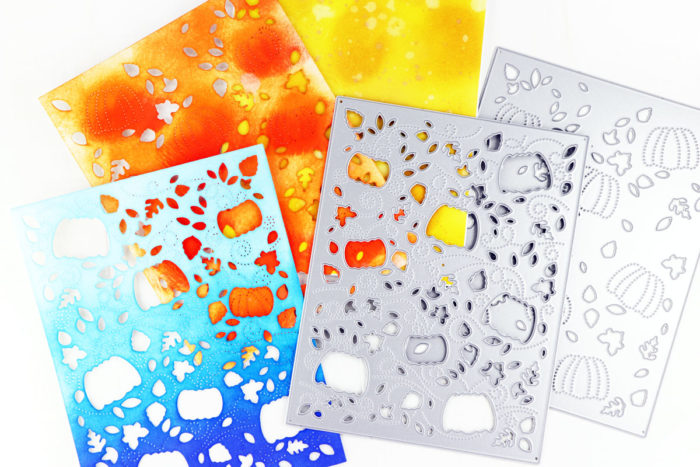
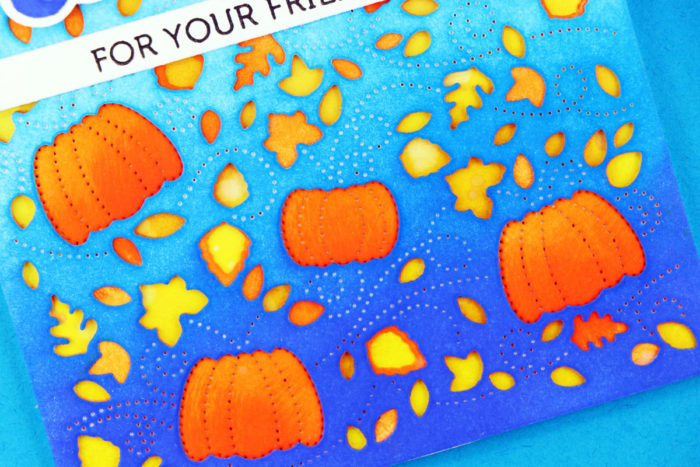
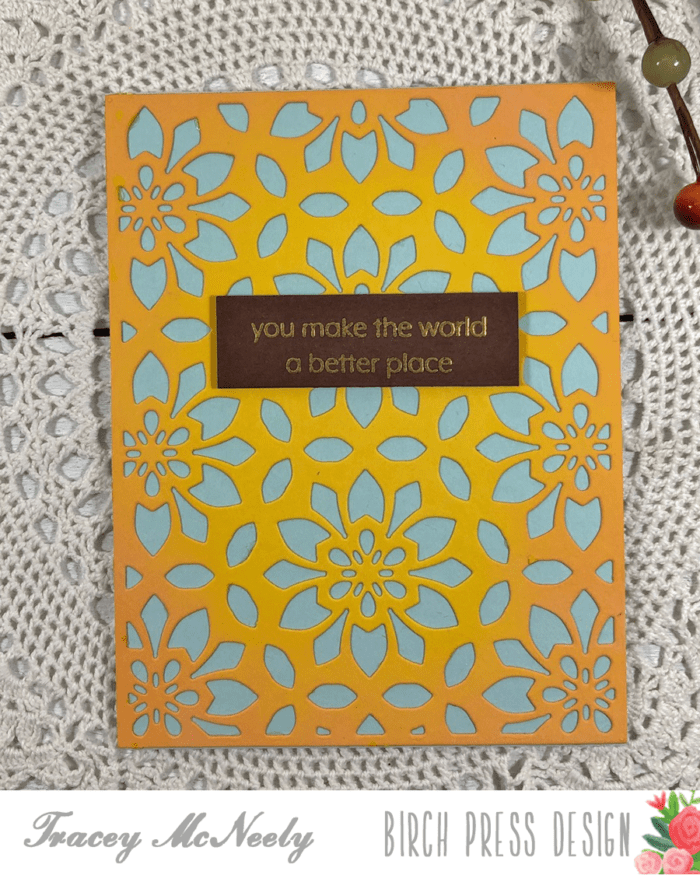
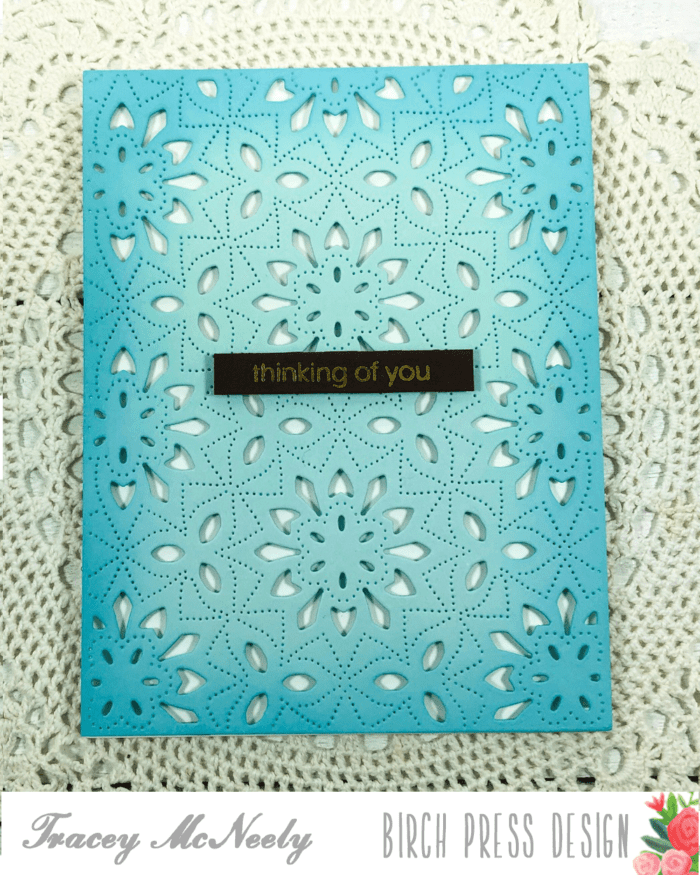
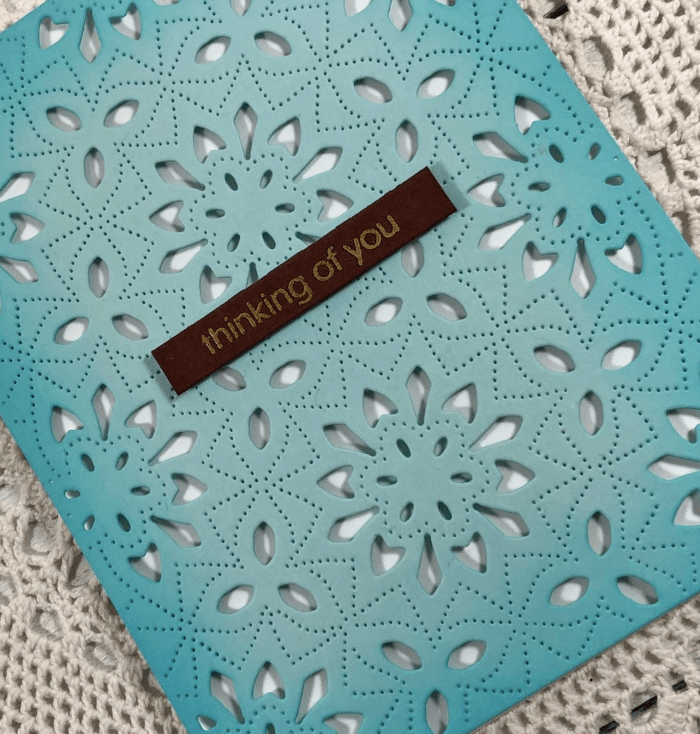
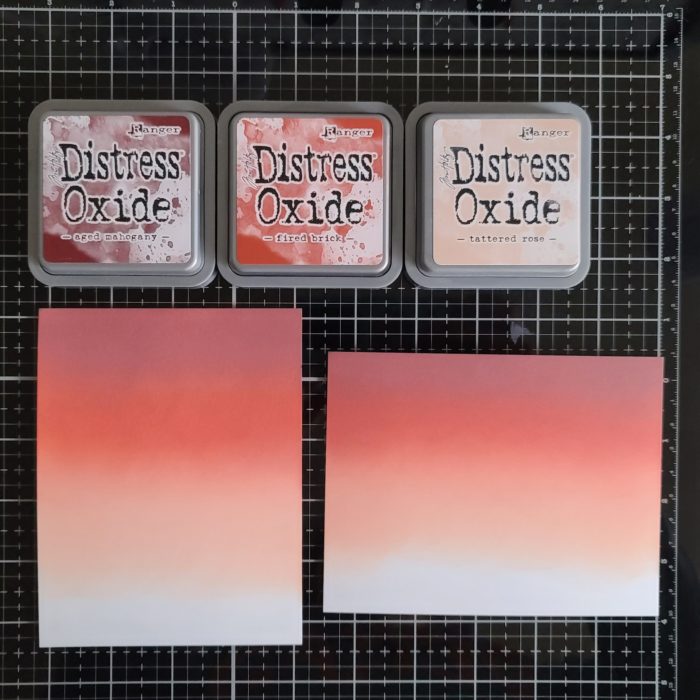
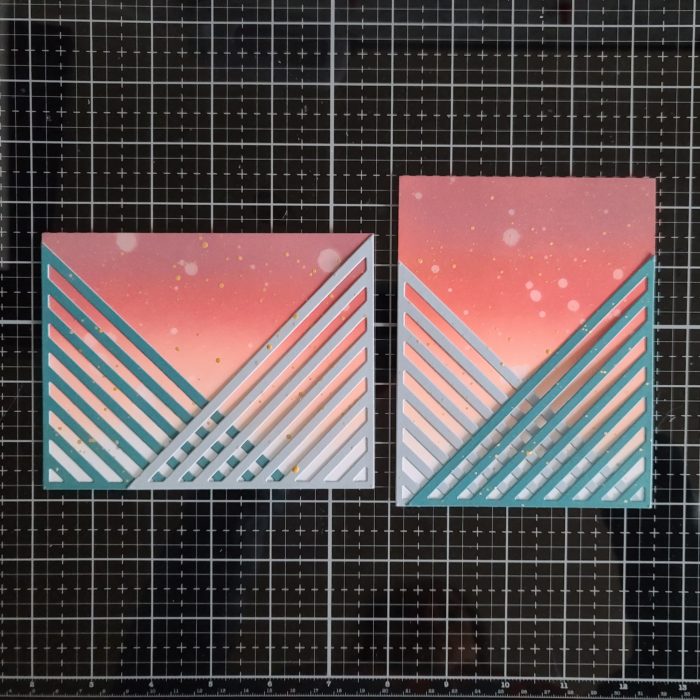
I started by blending distress oxide inks in aged mahogany, fired brick and tattered rose on 4×25.5.5 inch panels.
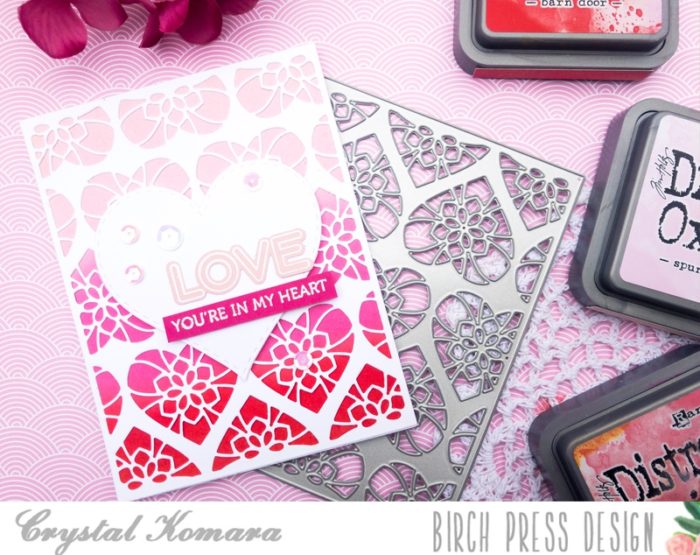
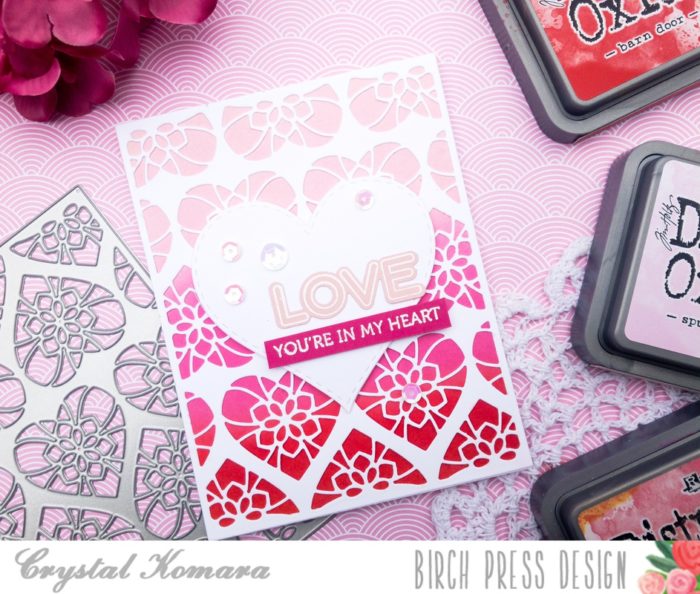
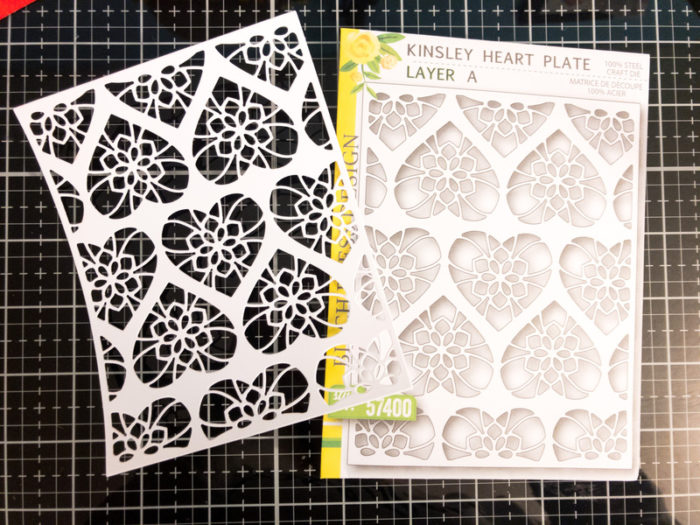
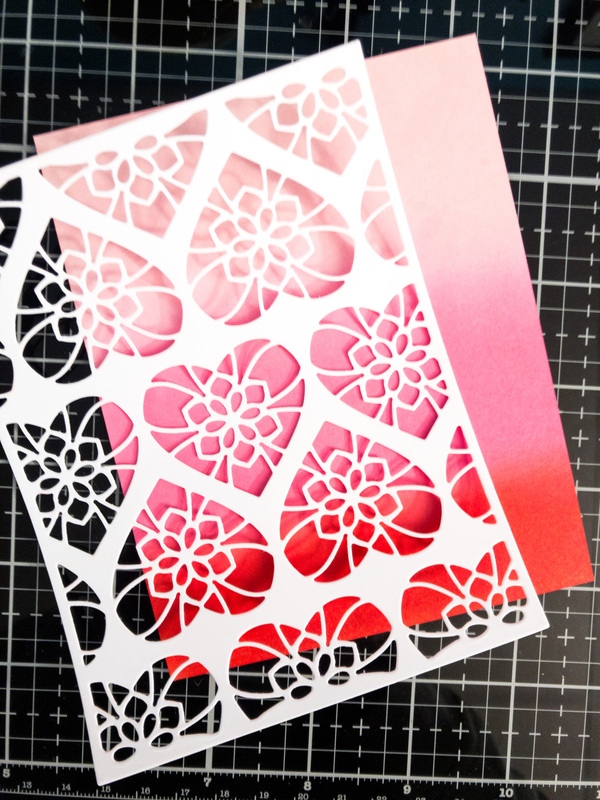
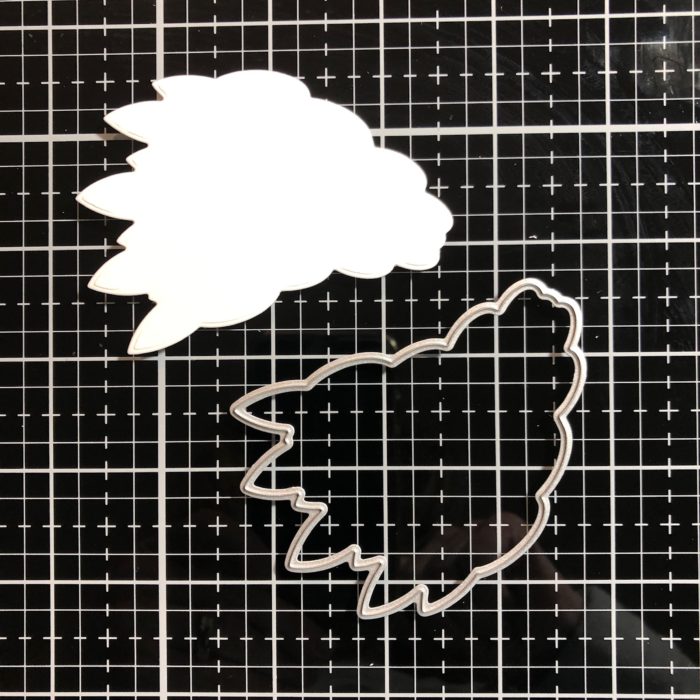
Then I die cut the linear triangle from 2 shades of teal cardstock – twice each so I could make both cards at the same time.
I spritzed the inked panels with water, glued down the linear triangles with liquid glue and splattered them both with gold watercolor.
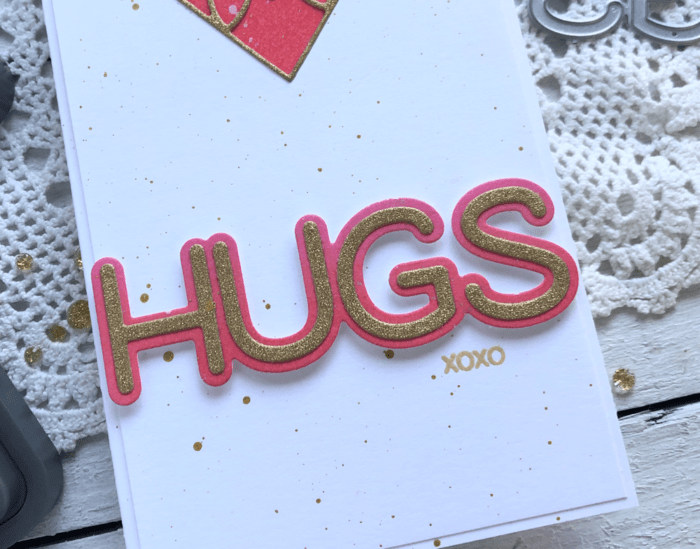
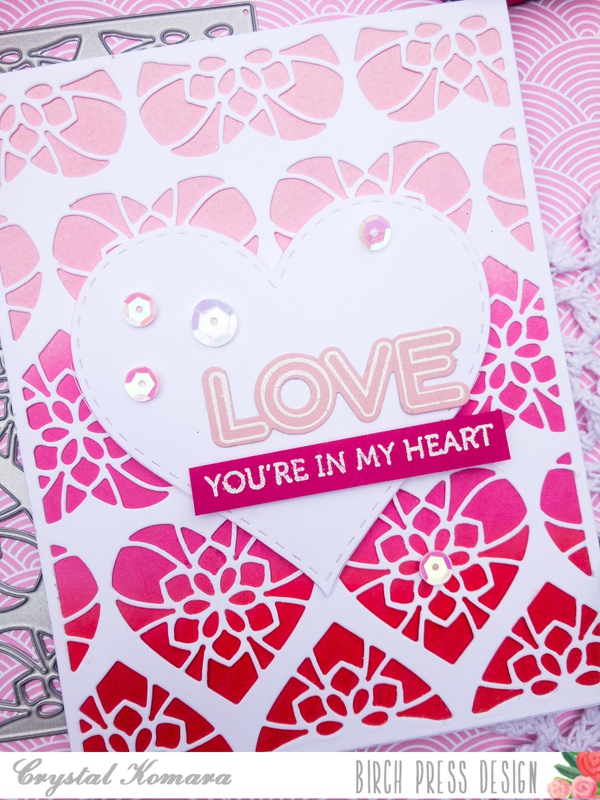
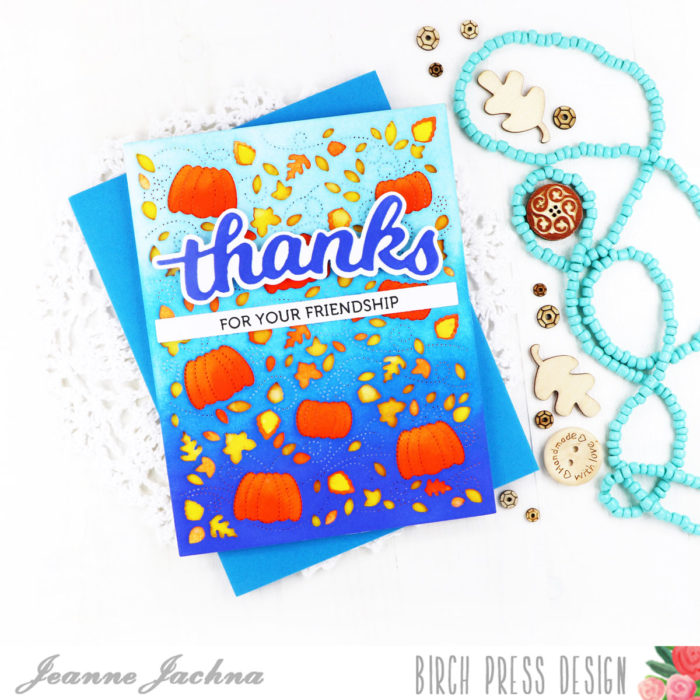
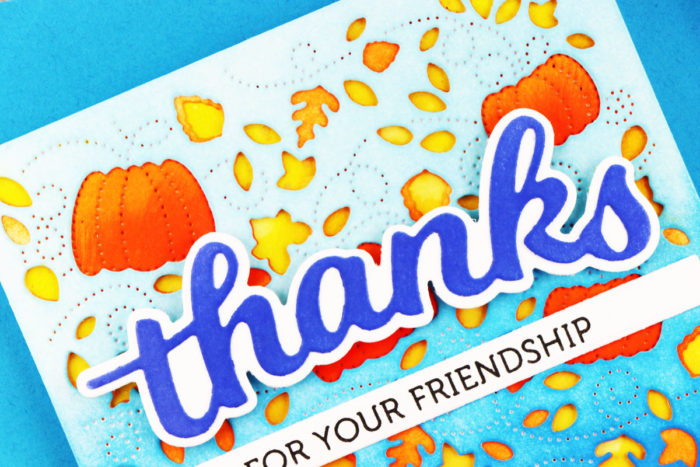
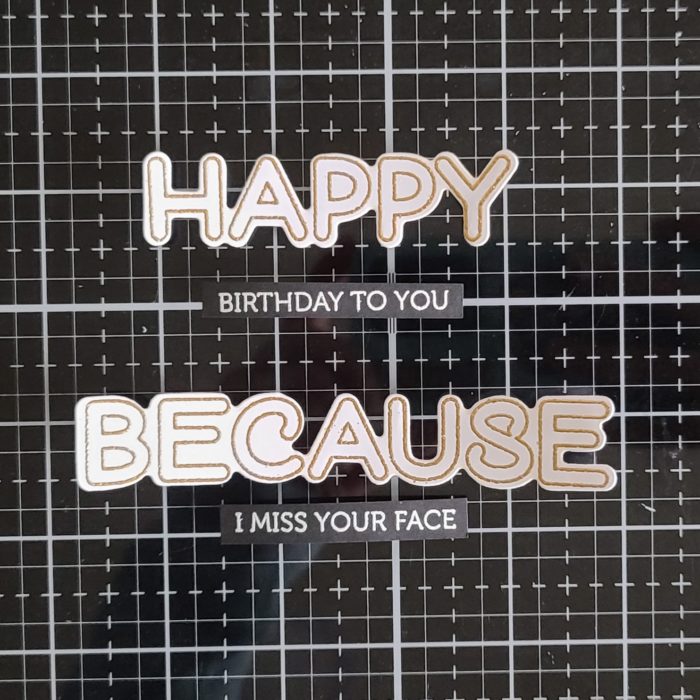
While the watercolor was drying, I stamped sentiments from the new Crystal Lingo set and heat embossed them. The big words are in gold on white paper and the smaller sentiments are in white on black paper. I die cut the large words, cut strips from the small ones and lined the backs with foam squares.
Last, I just removed the release paper and attached my sentiments to the card fronts. Here is the portrait version.

And my favorite part about this design is the linear triangle die is how well it works both ways. Here is a landscape one so you can see how the panels fit the card fronts.
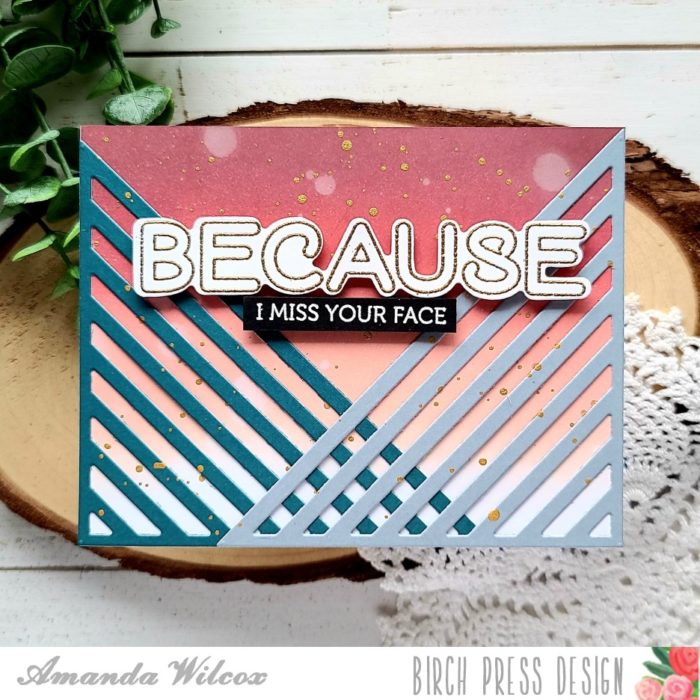
Such a fun combo to make. Also, very easy to swap out sentiments and colors for different occasions and needs. I love cards like that. Don’t you?
I appreciate you sharing your time with me. Have a fabulous day!

Supplies