Category: Fall

  • Adornment Oak Leaf | by Crystal Komara

    Adornment Oak Leaf | by Crystal Komara

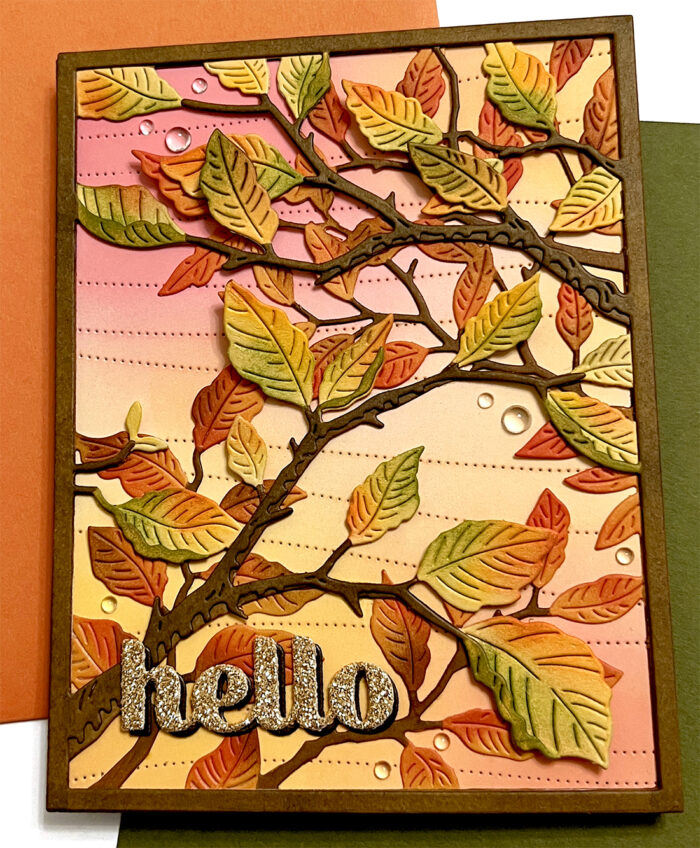
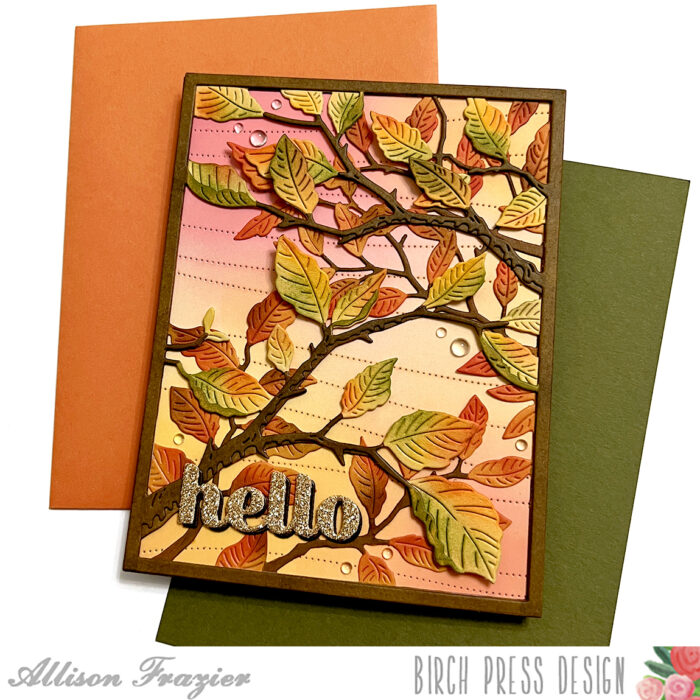
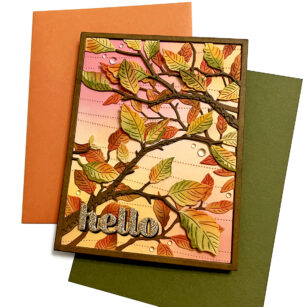
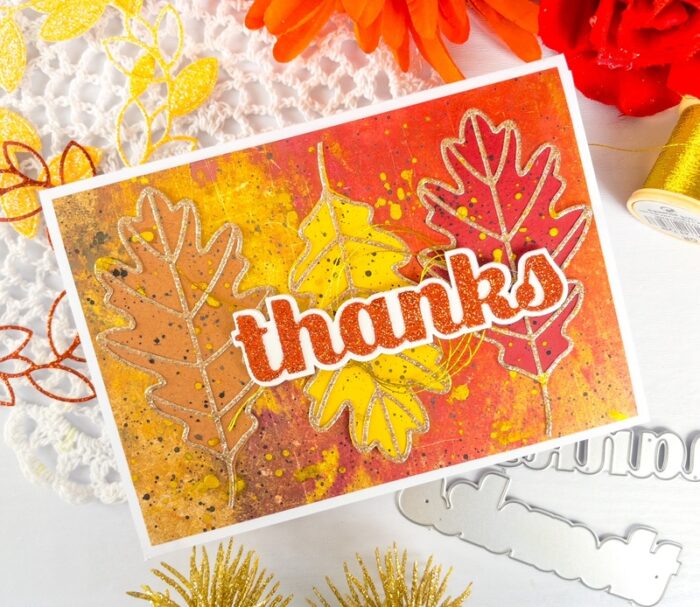
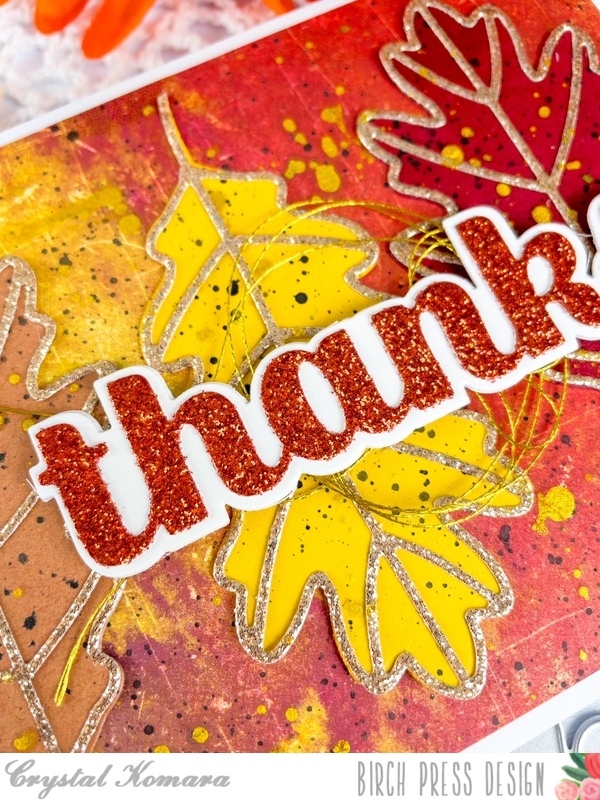
    Hello friends! Welcome back from the long weekend, I hope you all enjoyed your holiday weekend celebrating the official end to summer. I’m so ready for fall, my favorite season of the year here in New England. This is Design Team member Crystal Komara here today sharing a card that I made using the new Adornment Oak Leaf. This card also marks my first foray into the mixed media world and honestly, I’m still not sure what I think! I mean I like (kinda sorta) how this card came out, but I wouldn’t say I love the process of how I got there. One very messy step at a time and a lot of self doubt. So, I’ll preserve judgement until I play around a little bit more to see if mixed media will “be my thing.”

    Card details:

    The base of this A6 (6 1/4″ x 4 1/2″) is made from 80 lb. Neenah Solar White Smooth cardstock. The background paper was leftover in my scrap bin, but it had the perfect fall colors I wanted, so I cut it to 6″ x 4 1/4″ and then splattered black ink and gold metallic spray all over the paper before adhering it directly to the card base.

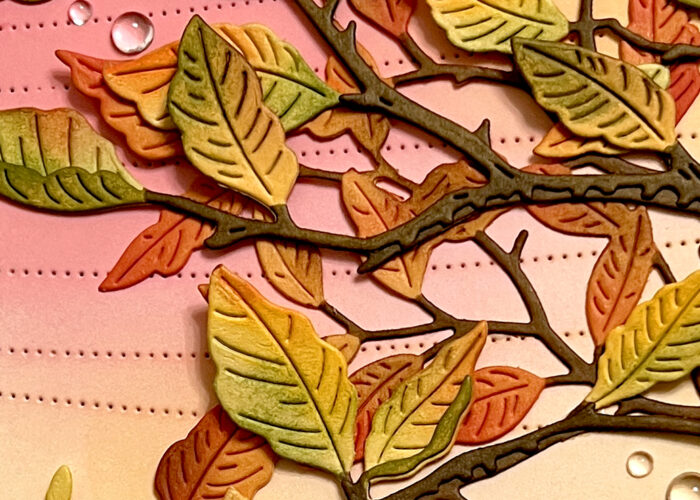
    Using the Adornment Oak Leaf die, I die cut three different colored leaves in a rust colored cardstock, a yellow cardstock and a cherry red cardstock. I then cut the overlapping detail element from gold glitter paper. I adhered the gold glitter paper over each leaf and then splattered the leaves with black ink and gold metallic spray. I adhered the leaves to the card using 3M foam adhesive for added dimension.

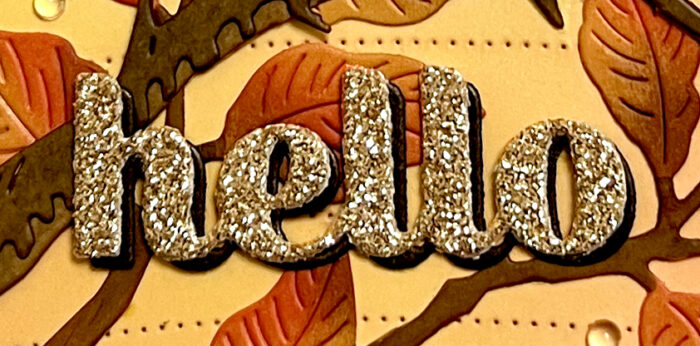
    Using the Big Sugar Script Thanks Die, I die cut the shadow layer from white cardstock and the thinner layer from rust colored glitter cardstock. I adhered both layers together with a fine-tip liquid glue and then I adhered the entire sentiment to the card with 3M foam adhesive.

    I love the colors of this card, but will I try mixed media again? Yes, in small doses, when I am fully prepared to be splattered by my own ink flicking!

    Thanks for visiting and have a wonderfully creative day!


    Supplies


  • forever grateful | by Rosemary Dennis

    forever grateful | by Rosemary Dennis

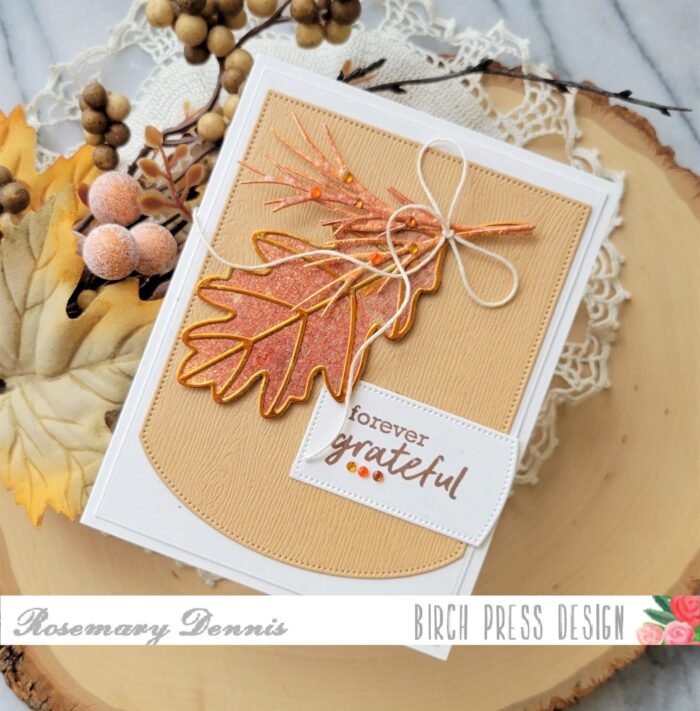
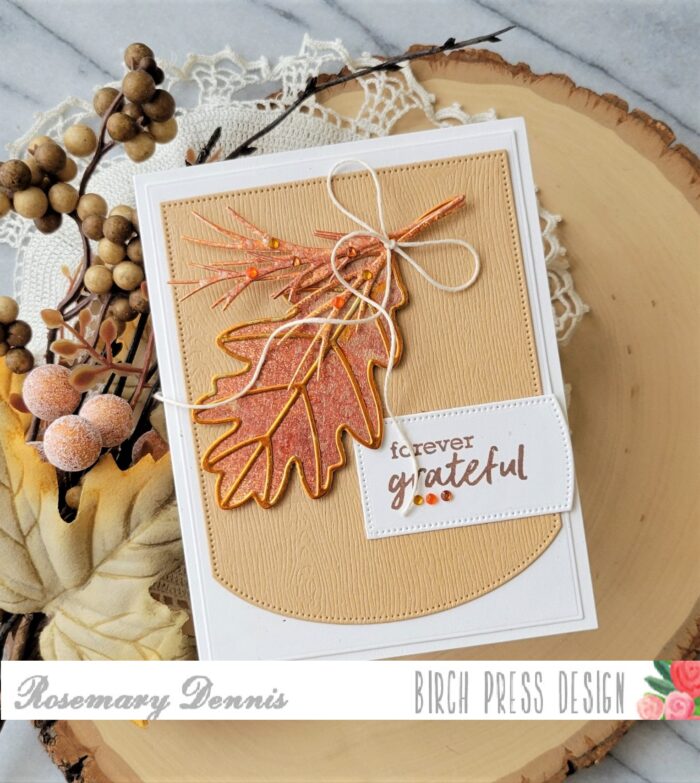
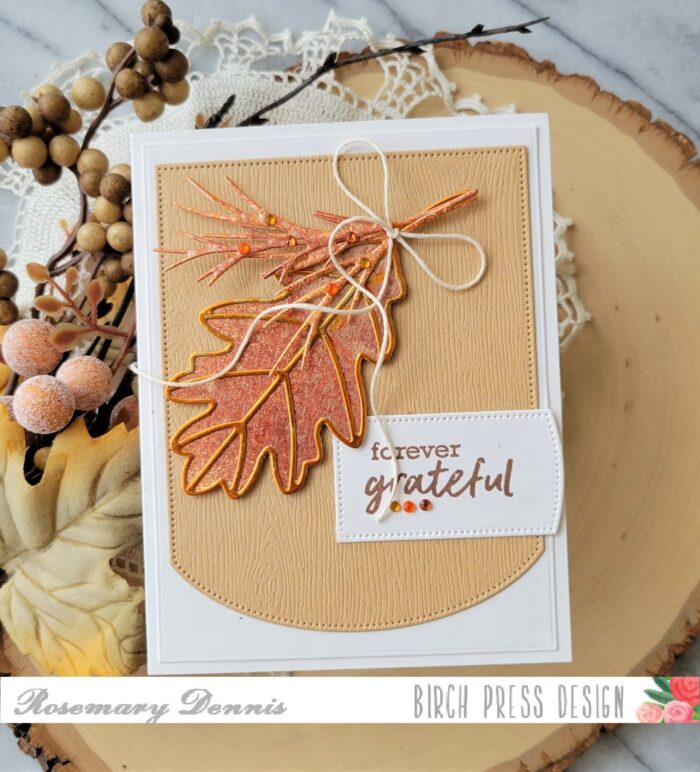
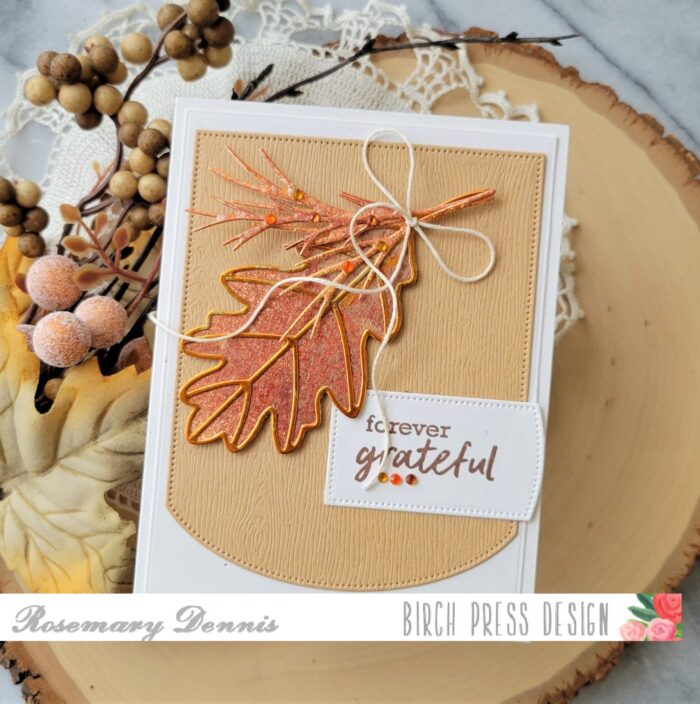
    Hi everyone! Rosemary here on the blog today. August is almost gone and that means that fall is right around the corner! I love fall in the Pacific Northwest. We can have beautiful clear blue-sky days that are slightly crisp, soggy wet ones and things in-between! Today I’m sharing a card that invokes the beautiful fall colors of oak leaves that are so fun to walk through on a crisp fall morning. Take a look.

    If you don’t know yet, Birch Press has a new release in the shop and it is full of beautiful dies that will help you create lovely fall and Christmas inspired projects. Today I’m using the new Adornment Oak Leaf and Hillside Branch and Bramble Contour Layers dies from the release along with a sentiment from the Brushed Sentiments set. A few weeks ago I created a few mixed media type panels using Memory Box mirror cardstock and alcohol inks. One of the panels I created used a piece of orange mirror cardstock from the Rainbow Reflections 6×6 pad. The resulting panel had a very subtle look to it. I was able to die cut something else from it and then used what was left over to die cut the outline of the Adornment Oak Leaf.

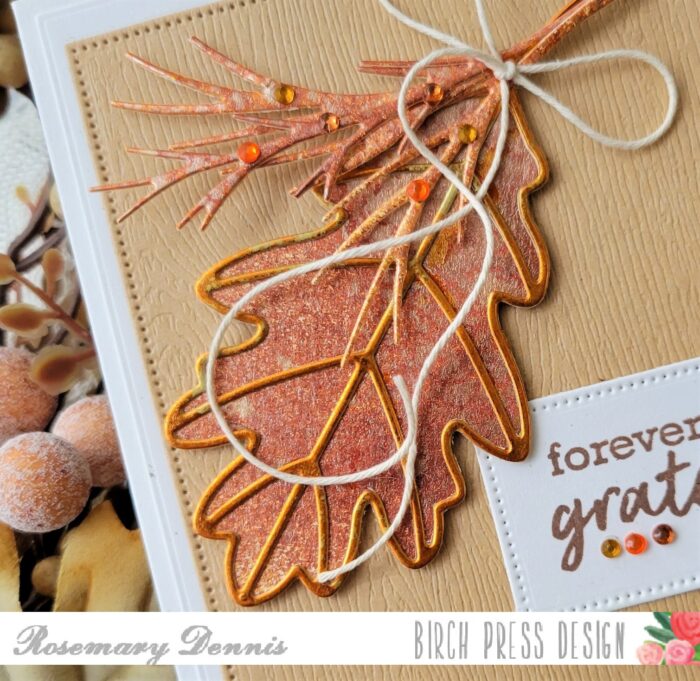
    The solid oak leaf was die cut from a piece of watercolor cardstock I had sprayed with several different distress mica sprays in fall colors. I also die cut the bare branches from the Hillside Branch and Bramble Contour Layers die set from the same piece. I adhered the outline leaf to the solid leaf and then arranged and adhered the bare branches. The photo below shows some of the shine and layering of colors from the distress sprays and the alcohol inks.

    I used Memory Box woodgrain cardstock in kraft for the background and die cut it with the second largest die from the Memory Box Curved Cap Pinpoint layers die set. A piece of off white cardstock was die cut with a rectangle die, adhered to my card base and then I layered on the woodgrain panel. I adhered the oak leaf with thin foam squares and added the little twine bow.

    I stamped the sentiment from Brushed Sentiments using a brown ink on off white cardstock, die cut it with the smallest Curved Cap Pinpoint die and adhered it to the panel. I finished off the card with some fall colored fairy jewels from the Autumn pack. I placed three under the sentiment and then scattered a few on the bare branches.

    I hope my card inspired you to get out your fall themed Birch Press Design dies and get going on those fall themed cards! Thanks for stopping by and have a lovely day!

    Supplies

  • Autumn Leaves Bouquet | by Toni M Maddox

    Autumn Leaves Bouquet | by Toni M Maddox

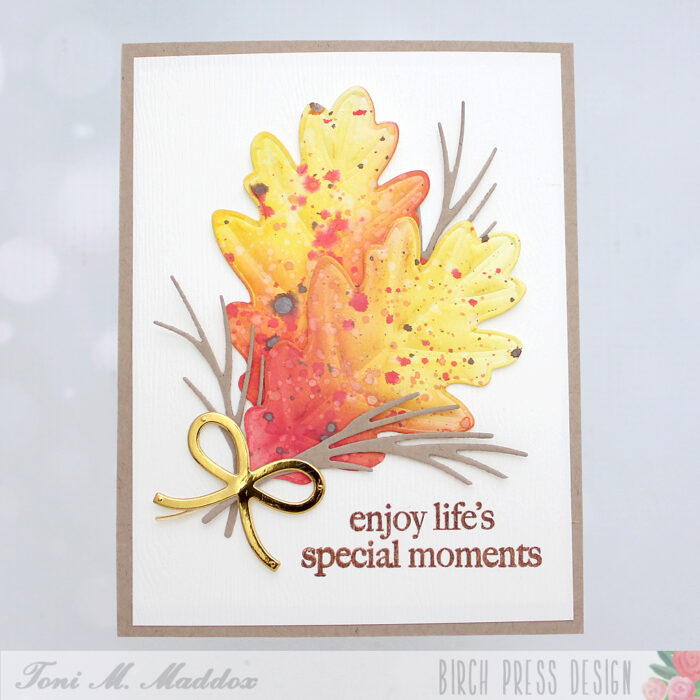
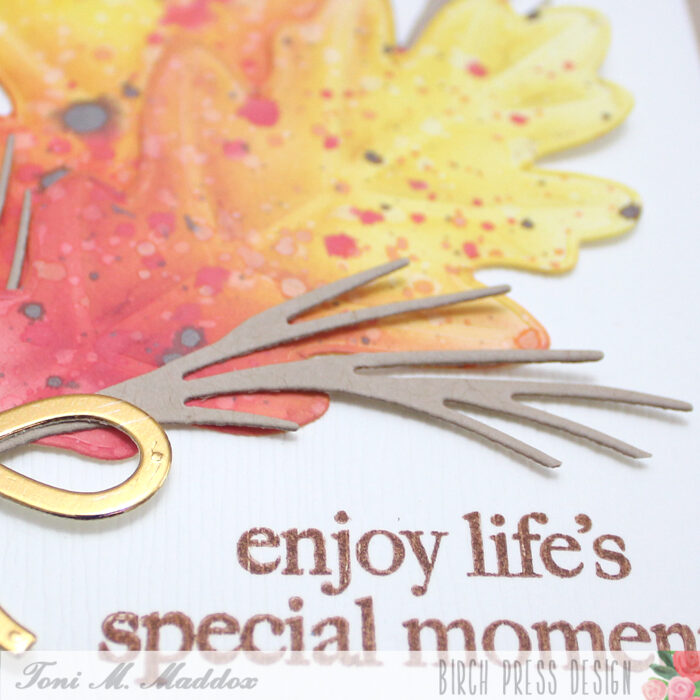
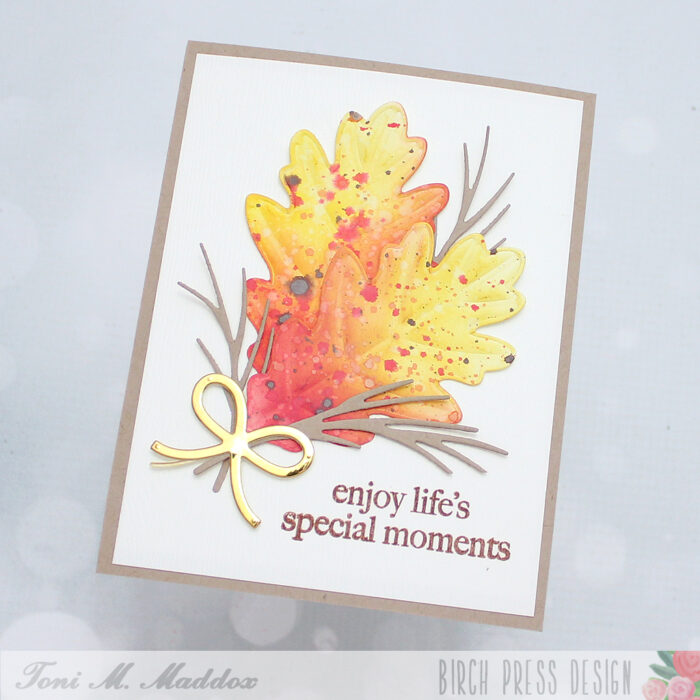
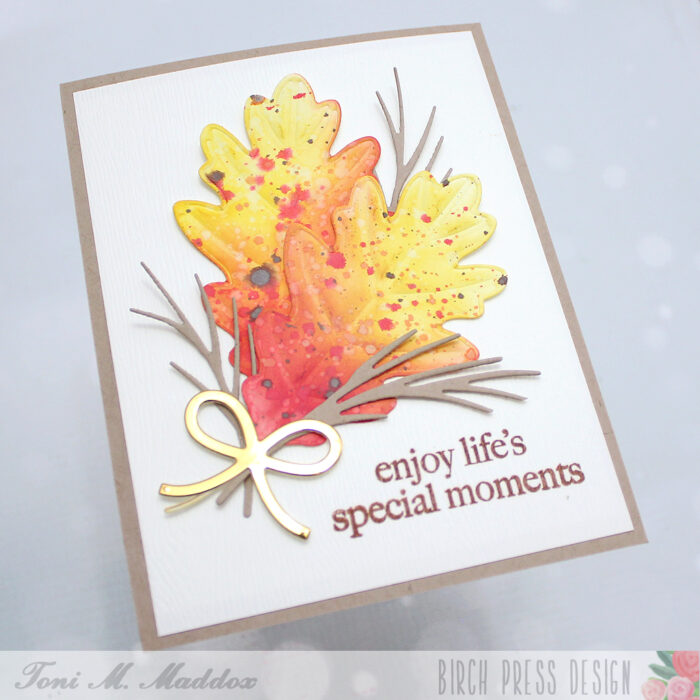
    Hello, Birch Press fans! Toni here with you today all geared up for fall, my favorite season when the nights are cool, the days warm and the leaves are changing.

    I cut out and impressed the new Adornment Oak Leaf from a sturdy white cardstock which I sponged with Distress Oxide Mustard Seed and Lumberjack Plaid. Check out the detail on those leaves–just amazing!

    I spattered the leaves with water and Distress Oxide Festive Berries, Vintage Photo and Carved Pumpkin sprays.

    I arranged the leaves on the Memory Box Cream Woodgrain card front, tucking in a few Hillside Branches. I used a bow leftover from last year’s holiday cards (look at me using up leftovers!).

    The sentiment is from the Memory Box Gracious Floral set stamped in Versafine Vintage Sepia.

    I hope you enjoyed today’s card and have a great rest of your week!

    Supplies

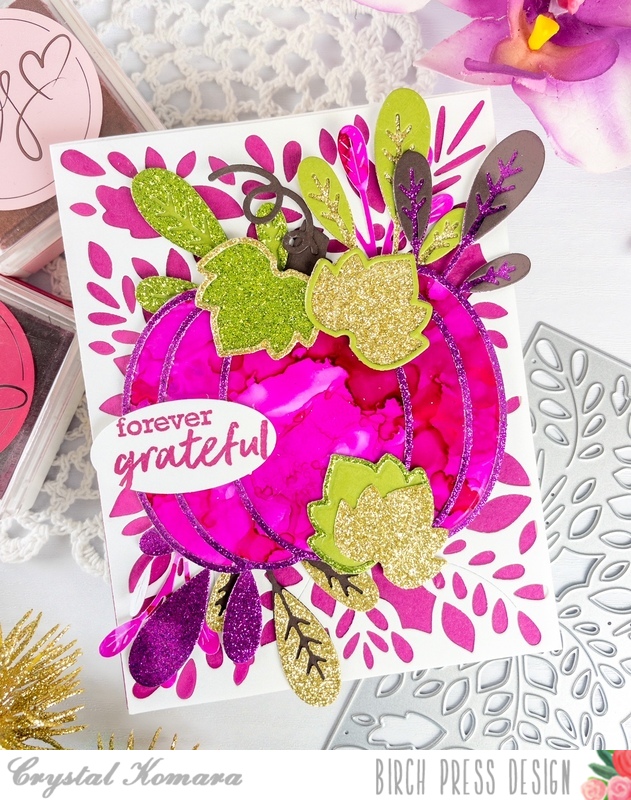
  • Pink Adornment Pumpkin | by Crystal Komara

    Pink Adornment Pumpkin | by Crystal Komara

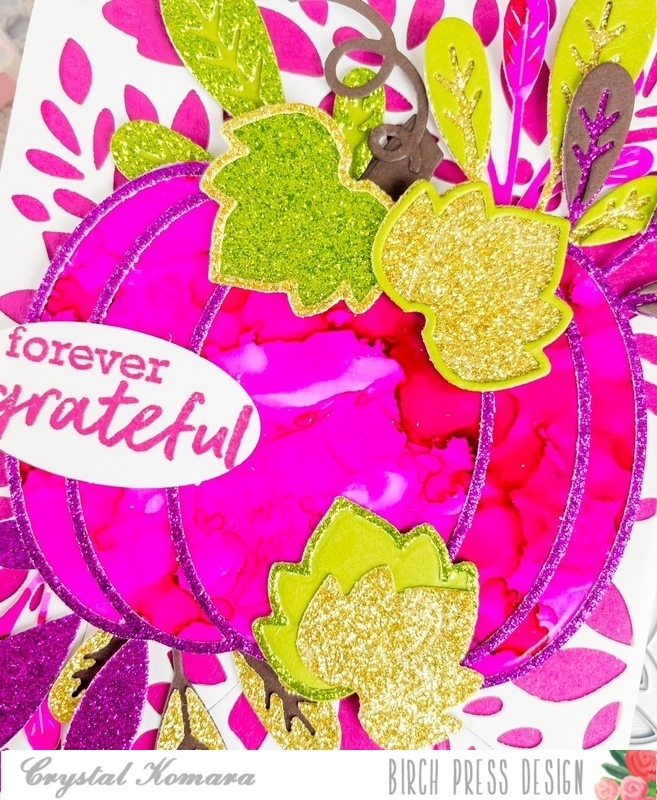
    Hello friends and happy Friday! I hope you have fun things planned for the weekend ahead! This is Design Team member Crystal Komara here with you today sharing a card made using the new Adornment Pumpkin dies.

    I looooooove how this card came out, if I do say so myself! While the pink alcohol ink pumpkin is a little more vibrant than I had initially intended, it works. That’s the thing with alcohol ink, you never quite know what you’re going to get and they can be a bit unpredictable in how they move and dry as you blow them around.

    Card details:

    *Please note, a full list of supplies is located at the end of this post.

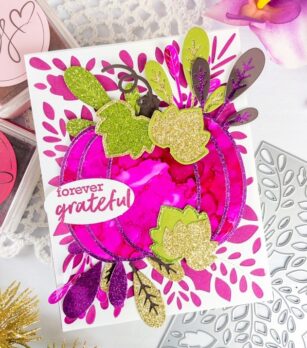
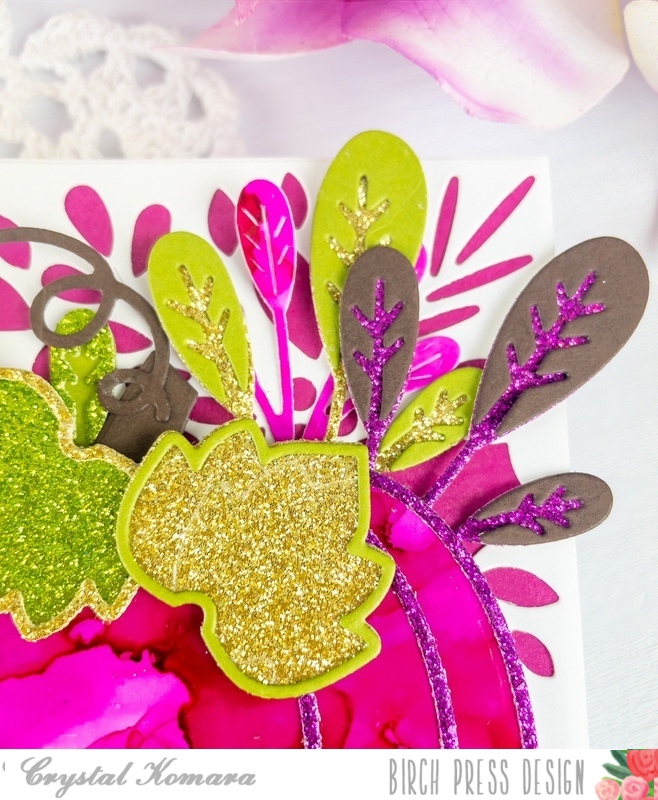
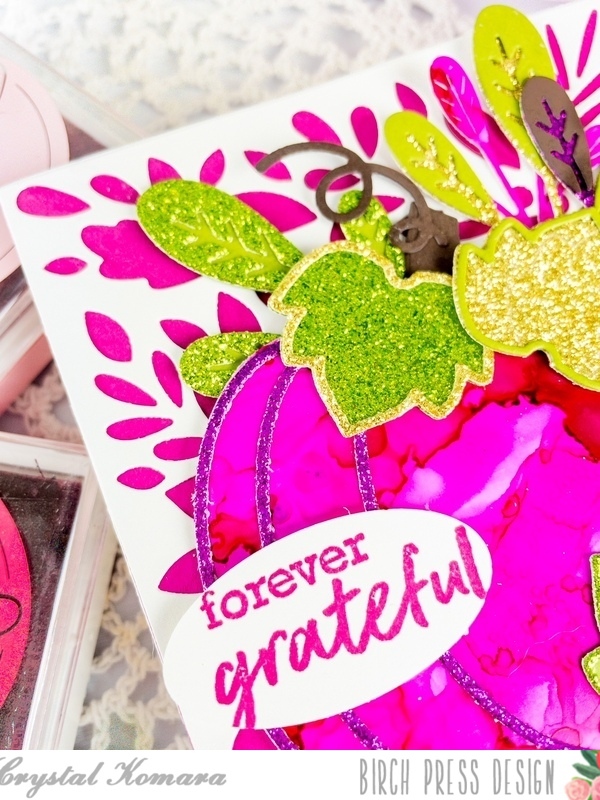
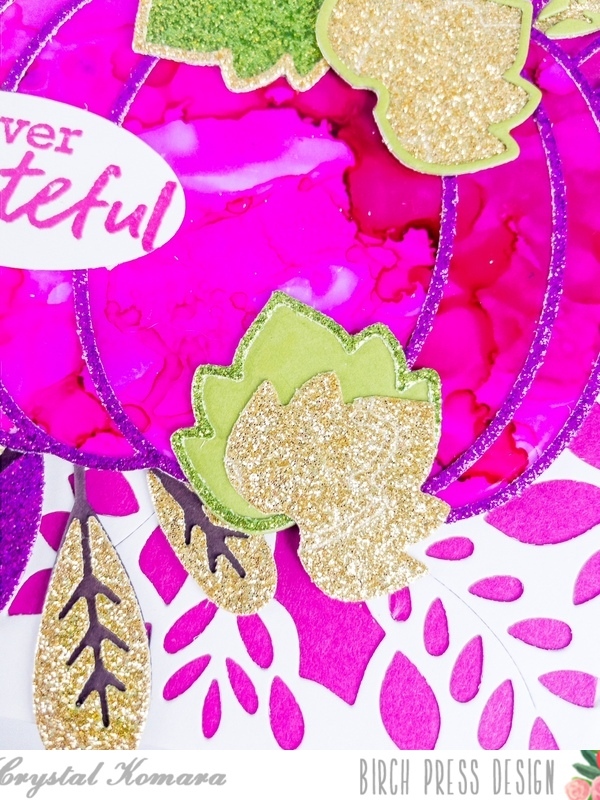
    The base of this A2 sized card was made from 80 lb. Neenah Solar White Smooth alcohol ink. Using Layer Plate A (the top layer) of the Herbarium Plate Layering Set, I die cut this from white cardstock and then mounted a sheet of magneta cardstock behind it before adhering it directly to the card base. I die cut the solid pumpkin from a scrap piece of an alcohol ink background I had in my craft bin and then die cut the frame using pink glitter cardstock from the 6″ x 6″ Glitzy Glitter paper pack. I adhered the two layers together with a fine tip liquid glue.

    I created a pumpkin stem from espresso brown cardstock and leaves from both green cardstock and green glitter cardstock. There was a lot of piece work here using these smaller contour dies. Next, using the new Oval Leaf Branches Contour Layers, I die cut leaves from pink glitter cardstock, espresso brown carsdstock and the same green and green glitter cardstock used on the leaves. Then I pieces all the layers of the leaves together (again, a little bit time consuming here to do all these small details, but SO worth it in the end). Then it was just a matter of adhering all the small branches and leaves into a pattern that was pleasing to the eye.

    I stamped the sentiment “forever grateful” in magenta ink on white cardstock and used oval punch to punch it over before adhering it to the pumpkin with 3M foam adhesive. This sentiment is from the Brush Sentiments clear stamp set.

    I love using non-traditional colors to create holiday or seasonal cards. Pink is perfect in lieu of traditional orange pumpkins.

    Thanks for visiting and have a wonderfully creative day!

    Supplies

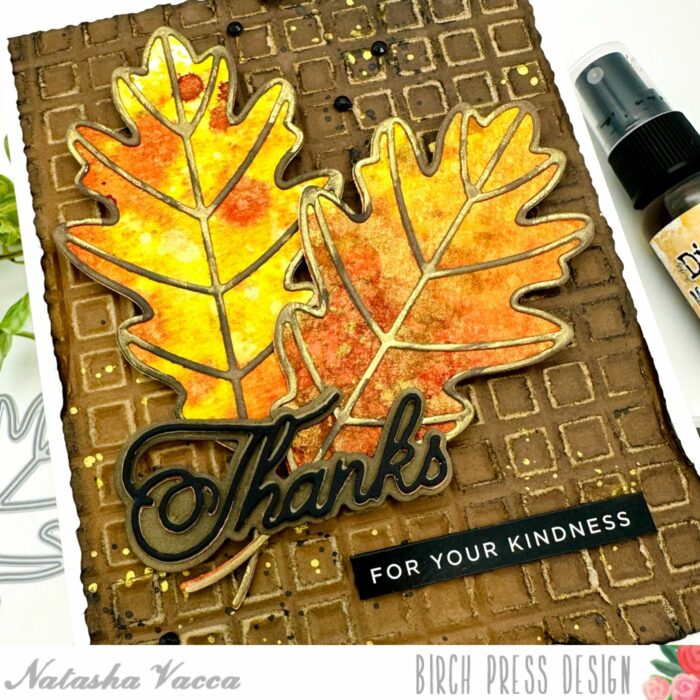
  • A Fall Thank You | By Natasha Vacca

    A Fall Thank You | By Natasha Vacca

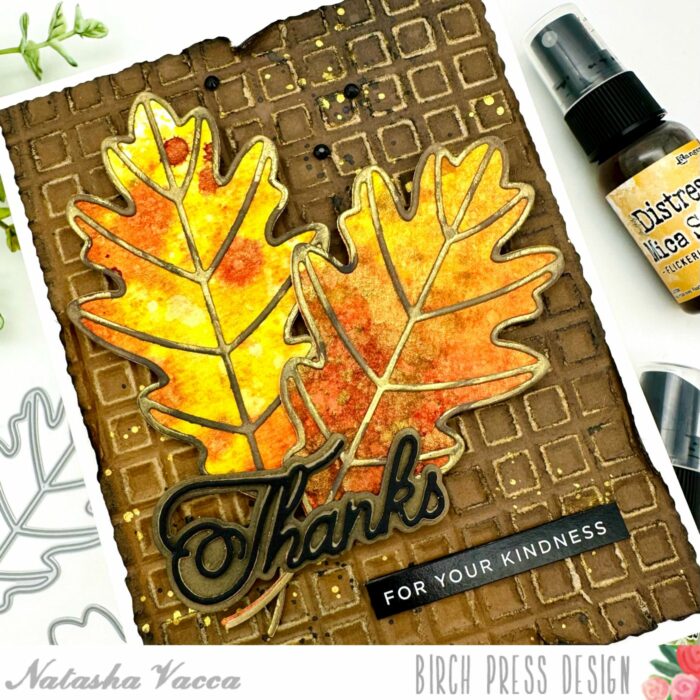
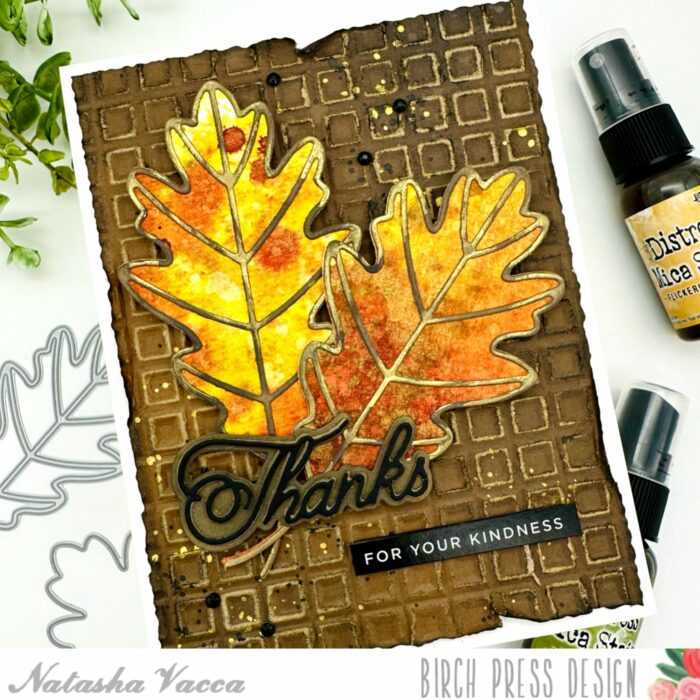
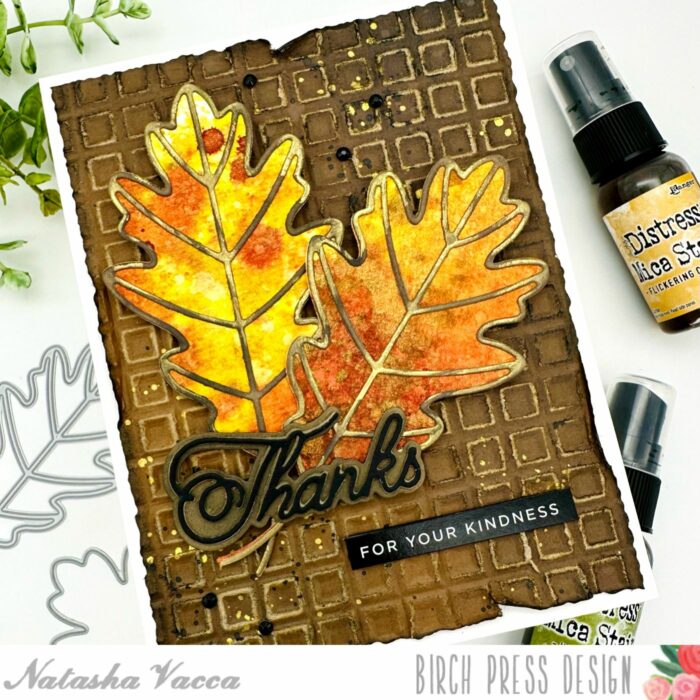
    Hello Birch Press friends, it is Natasha here and I am excited to be back with you today! Today I created a fall thank you card using the new Oak Leaf die set. I am a summer girl at heart, however I do love the colors of Fall! So let’s get started!

    I started by creating 2 panels using mixed media paper and my Distress Mica Stains. I chose 3 colors to use today to create the panels. The panels will be used to die cut my leaves. I spritzed the colors onto my paper one at a time, heat set them with my heat tool, added water droplets, and picked up the color with a paper towel. I continued this process until I had the colors and texture I was looking for. I set the panels aside to completely dry as I worked on my background.

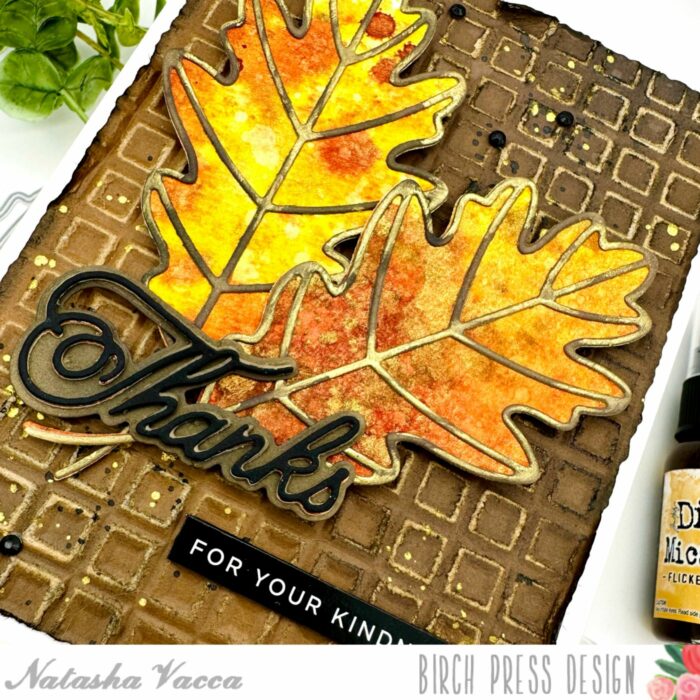
    Next I chose a piece of kraft paper from my stash and dry embossed the panel using the Memory Box Geometric Crystals embossing folder. I then used a sanding tool to distress the dry embossed panel in various sections. To add a bit more texture and dimension to the panel I applied Distress Oxide inks to the panel in 3 of the corners.

    Next I trimmed the panel using my Deckle Trimmer and distressed the edges using Distress Ink. I added splatters to the panel using black and gold splatter. I set the panel aside to completely dry.

    Next I took my 2 panels I created using the Distress Mica Stains and die cut 2 leaves using the new Oak Leaf Die set. I also die cut the top layer using white card stock. I then ink blended the top layer of the leaves using oxides and once dry added Foundry Wax for added shine. I then adhered both layers of the leaves together using liquid adhesive.

    To complete my card, I adhered the dry embossed panel onto an A2 card base using liquid adhesive. I adhered the leaves with foam tape. I chose the sentiment from Handwritten Thanks and Outline die set. I die cut the script Thanks 3 times, using black card stock, as well as from the Rainbow Reflections Mirror Pad. I adhered the layers together using liquid glue and added this to my card front. I chose a sub sentiment from my stash and completed the card with a few gems from Autumn Fairy Jewels. Thanks so much for stopping by today! I will be back soon!


    Supplies


    Supplies

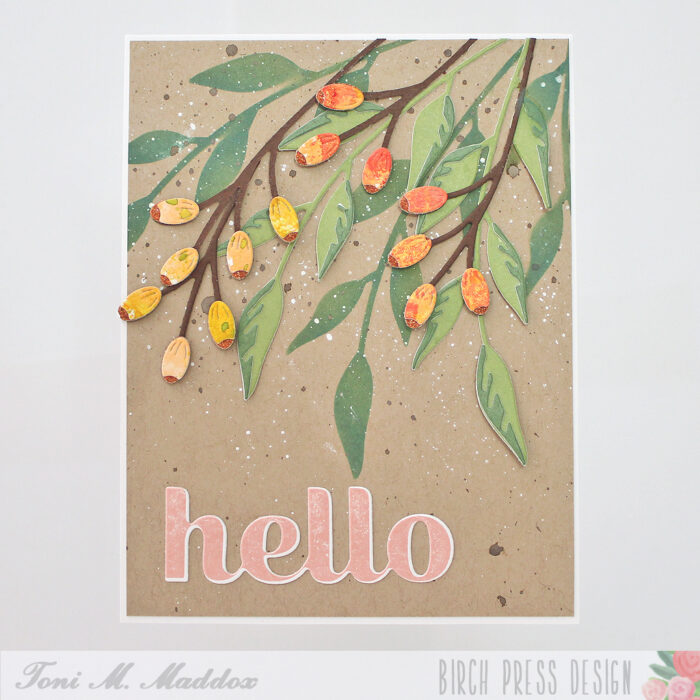
  • Cotoneaster Greetings | by Toni M Maddox

    Cotoneaster Greetings | by Toni M Maddox

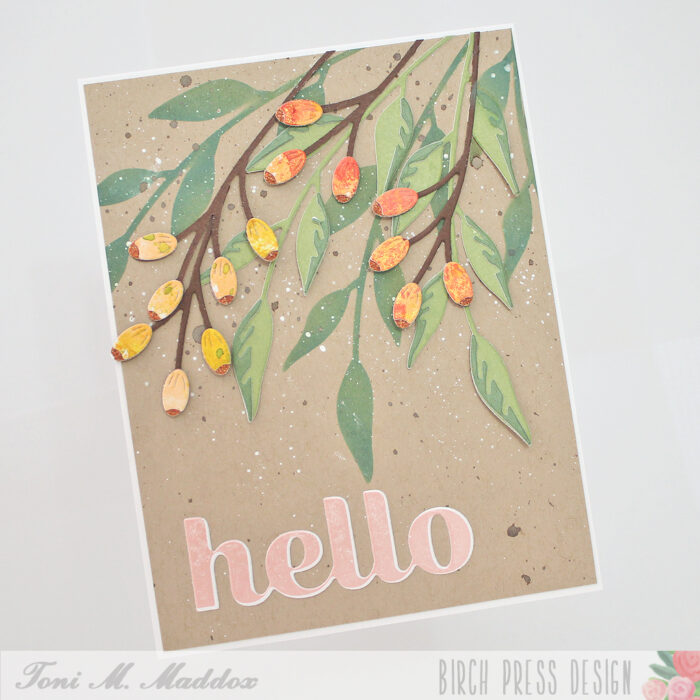
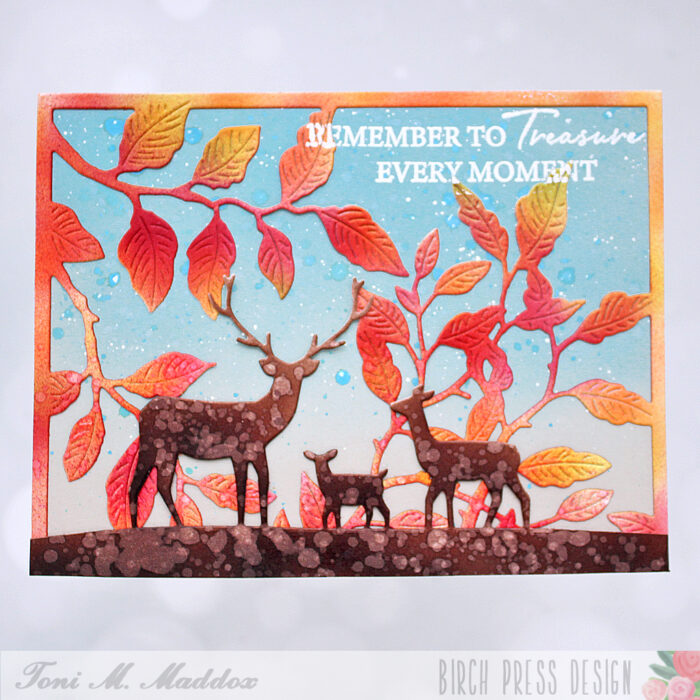
    Hello, Birch Press fans! Toni here with you today sharing a floral card that reminds me of my cotoneaster bush.

    The blooms of my cotoneaster aren’t very exciting but the resulting berries are prolific and gorgeous.

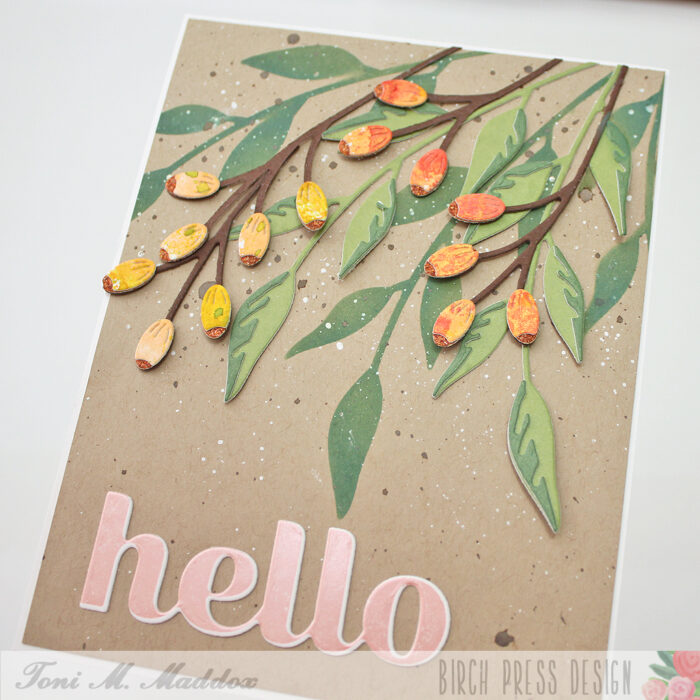
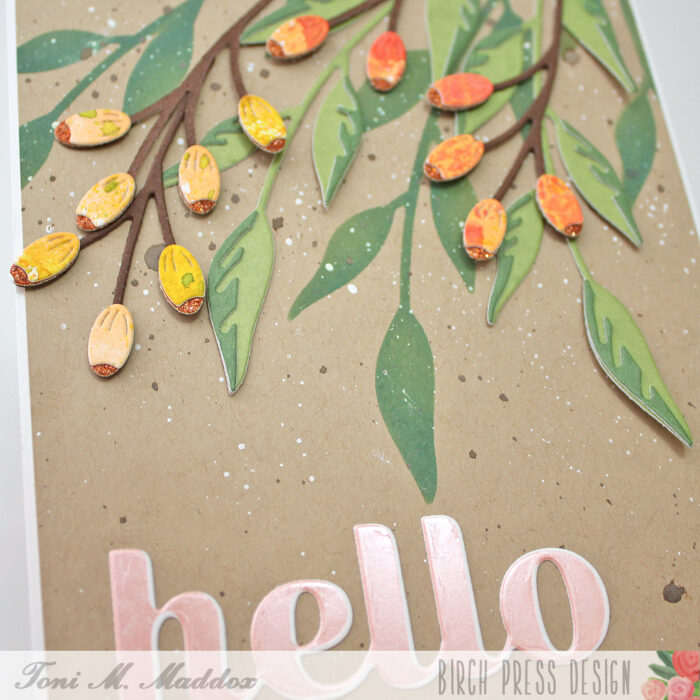
    I cut the Sylvan Berries Contour Layers from Memory Box Glitzy Glitter 6×6 cardstock and leftover cardstock I had used Brushos on once upon a time. I cut the Sylvan Leaves from Memory Box Lush Green 6×6 cardstock.

    I used the negative of the leaves diecut as a stencil with Distress Oxide Rustic Wilderness. What an easy way to add additional depth!

    I spattered a bit of Copics Opaque White and Distress Oxide Spray Vintage Photo before adding the sentiment.

    For that I used one of the Spellbinders Glimmer Satin Pastel hot foils with the Hugs Sugar Script Hot Foil Plate & Die. I wanted a smaller outline so cut the sentiment with the Sugar Script Big Hugs die. Cool shadow, right?!

    I hope you enjoyed today’s card and have a great rest of your week!

    Supplies
  • Prime Peony Happy Birthday | By Natasha Vacca

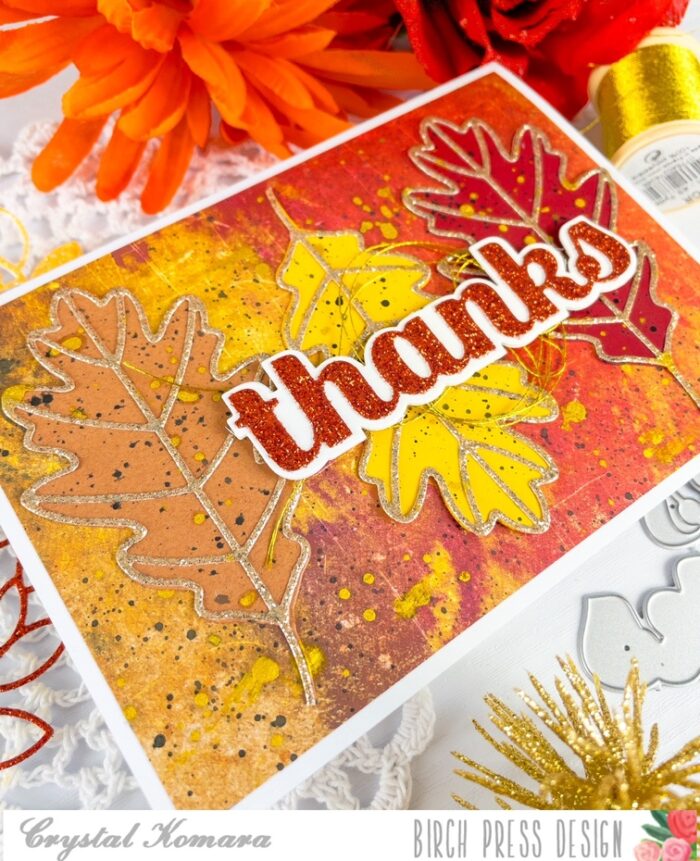
    Hello Birch Press friends! I am excited to be back today to share a birthday card using the beautiful Prime Peony Duo Contour Layers dies! I had a lot of fun and enjoyed using fall colors for my card today! So let’s get started!

    For today’s card I started with the Prime Peony Duo layers dies and the Sunny Orange paper pad collection from Memory Box. I chose 3 shades of orange from the pad (dark, medium, and lighter shade). Prior to die cutting I added some distress oxide ink in similar shades to add a bit more contrast to my paper. I added water droplets to the paper for added texture as well. I die cut the larger peony, as well as the smaller peony from each color. This allowed me to create 6 Peony flowers in total. Once the floral images were die cut, I worked to arrange each flower. Using 3 different shades of card stock allowed me to create contrast within each floral bud.

    Next I adhered the floral die cuts together using liquid glue. To add a bit more interest and depth to the flowers I used dye inks with a sponge dauber to add more texture and depth to each flower.

    Next I die cut the stem and leaf for each flower using the Lush Green paper pad collection from Memory Box. On the stem I also added some ink blending using oxide ink, as well as dye inks for more depth. I then adhered the leaf die cuts together using liquid glue.

    Next I trimmed a piece of wood grain white card stock to an A2 panel. I then adhered this to an A2 card base. I then adhered a coordinating strip of paper on the left side of the card front. I then adhered my flowers, stems, and leaf images to the front card panel. I added foam tape to each flower. To add a bit more texture I added a twine bow to the card panel and completed the birthday card with a sentiment from my stash.

    Thank you so much for stopping by today! I had a lot of fun and I will be back soon!


    Supplies

  • Fall Classic Sentimental Wreath | by Crystal Komara

    Fall Classic Sentimental Wreath | by Crystal Komara

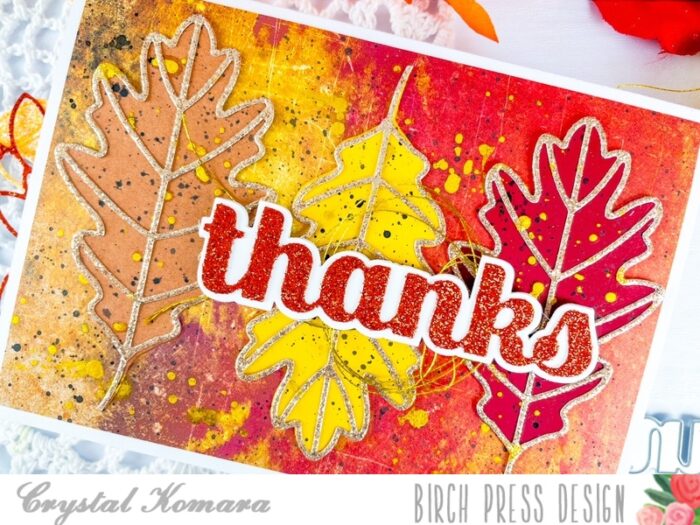
    Hello Birch Press Design fans! This is DT member Crystal Komara here with you today sharing some fall themed cards using the Classic Sentimental Wreath stamp set and coordinating dies.

    I created all three of these A2 sized cards the exact same way, I simply alternated some of the background papers and ink colors. All of the beautiful plaid background papers are from the Madras Plaid Coral 6″ x 6″ paper pack from Memory Box Co, a sister-organization of Birch Press Design.

    The base of each A2 sized card was made from 80 lb. Neenah Solar White Smooth cardstock. I then cut a 5 1/4″ x 4″ piece of the plaid paper and adhered it directly to the card base. I die cut a rectangular piece of white cardstock and stamped my sentiment at the bottom in orange, brown or olive ink. All of the sentiments came from the same Classic Sentimental Wreath stamp set.

    I heat embossed the leaves of the wreath with gold embossing powder and then used the coordinating die to cut the wreath out. I adhered the wreath to the card using Scotch 3M adhesive for added dimension. I tied a little bit of gold baker’s twine to the corner of each wreath for added texture. Lastly, I added a couple clear rhinestones for sparkle.

    I hope you have enjoyed these cards and are inspired to create some of your own using this Classic Sentimental Wreath stamp set, or any of the other wonderful products from Birch Press Design!

    Thanks for visiting and have a wonderfully creative day!

    Supplies

  • Autumn Breeze Twist | by Crystal Komara

    Autumn Breeze Twist | by Crystal Komara

    Hello Birch Press Design readers! Happy September, and welcome to the beginning of fall, my favorite time of the year. This is Design Team member Crystal Komara here with you today sharing a unique way to use the Autumn Breeze Layer Plate.

    The base of this A2 sized card is made from 80 lb. Neenah Solar White Smooth cardstock. I cut a 5 1/4″ x 4″ piece of the same white cardstock and ran it through my Big Shot using the Memory Box Blooming 3D embossing folder. I adhered this to the card base. I cut a 5 1/2″ x 1″ strip of decorative Madras Plaid coral paper for the bottom of the card. I cut a 5 1/2″ x 1/2″ strip of gold glitter paper above the plaid paper for contrast.

    Using Layer Plate B of the Autumn Breeze Layering Plates, I ran the plate through my Big Shot multiple using white cardstock, burgundy cardstock, rust cardstock and the same Madras Coral plaid cardstock. Using the stitched leaf cutout pieces only, I adhered them in a line across the center of the card.

    I stamped the sentiment “you inspire kindness” in cherry ink on white cardstock. This stamp is from the Awesome Ticker Tape clear stamp set. I adhered the sentiment to the card using 3M foam adhesive for added dimension.

    Ooh, I just can’t wait to create more fall themed cards. I’m here for all the cozy sweater vibes and yes, even the PSL (pumpkin spiced lattes) too! ; )

    Thanks for visiting and have a wonderfully creative day!

    Supplies

  • Pumpkins in Every Color | by Crystal Komara

    Pumpkins in Every Color | by Crystal Komara

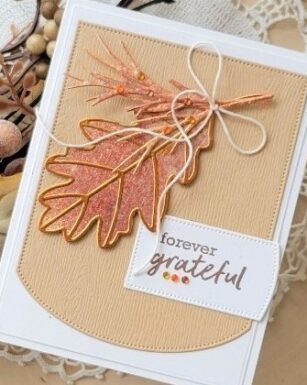
    Hello crafty readers! This is Design Team member Crystal Komara here with you today sharing a couple cards made using the beautiful Pumpkin Lacework stamp set and coordinating dies. This is probably my favorite stamp set from Birch Press Design, so just like the old expression “if the shoe fits, buy it in every color”, I decided to stamp it in every color! Now the question is, do YOU prefer the more traditional orange/brown pumpkin, or do you like the blues and purples?

    So, let’s take a look at the most conventional card first. It’s beautiful and elegant heat embossed with gold embossing powder and then colored using Copic markers in brown, oranges and yellows. It is very traditional, warm and earthy.

    But, now let’s step outside-of-the-box and try the same exact card simply using a different color pattern. Does it still emit fall vibes? I think so!

    Card details:

    Each of these A2 cards were made using all the same dimensions and products, I simply alternated some colors. The base of each card is made from 80 lb. Neenah Solar White Smooth cardstock. I matted a 5″ x 3 3/” piece of white woodgrain cardstock with a coordinating piece of blue, purple or brown cardstock from the Ocean Blue, Vibrant Violet and Earth Neutral 6 x 6″ paper packs. I cut 5″ x 1/4″ strips of ombre colors from these same paper packs and diagonally lined them up along the card alternating with 1/4″ strips of gold glitter cardstock from the Twinkling Jewel Glitter 6 x 6″ pad.

    I stamped the pumpkins and stems using the Pumpkin Lacework stamp set. I stamped the image in Versamark ink on white cardstock and heat embossed it with gold embossing powder. I used the coordinating dies to cut the pumpkin and stem out. I colored the pumpkins with Copic markers and then adhered the colored pumpkins to the card with 3M foam adhesive. I stamped the tag in coordinating colored cardstock in Versamark ink and heat embossed it with white embossing powder. I adhered the tag to each pumpkin and added linen thread for extra dimension. Lastly, I cut the sentiment “thanks” and “hello” from white cardstock using the Thanks Sugar Script and Hello Sugar Script.
    I hope you have enjoyed seeing these cards in a variety of colors and that you’ll feel encouraged to try adding more color to your fall cards. Thank you for visiting and have a wonderfully creative day!