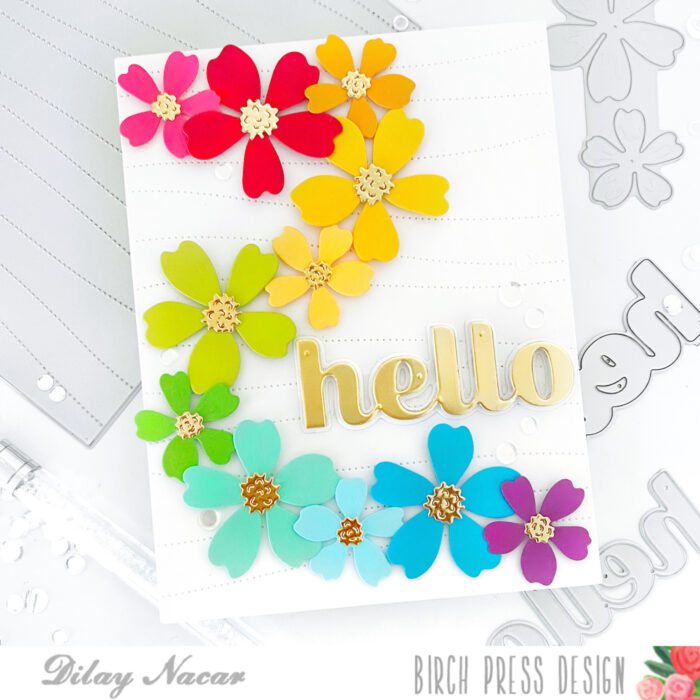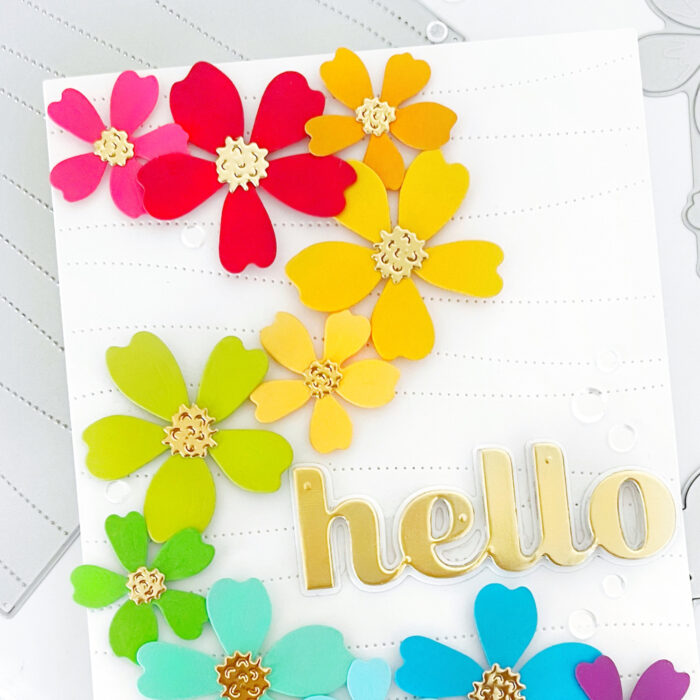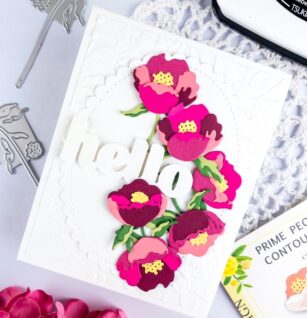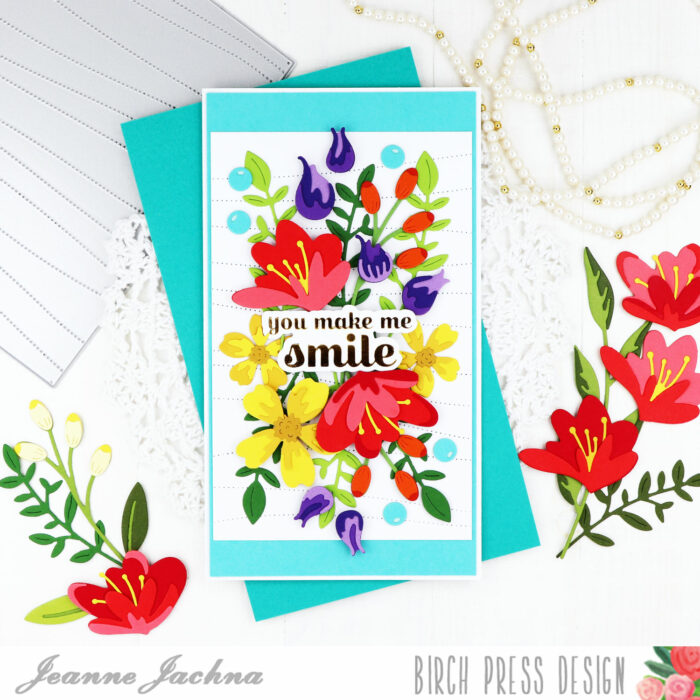
Hello, Birch Press friends! Today, I am sharing this card featuring a cluster of layered florals. There are so many amazing floral dies in the Birch Press collection, and I used a lot of them today! I love using a dark background – I think it provides a really dramatic pop.

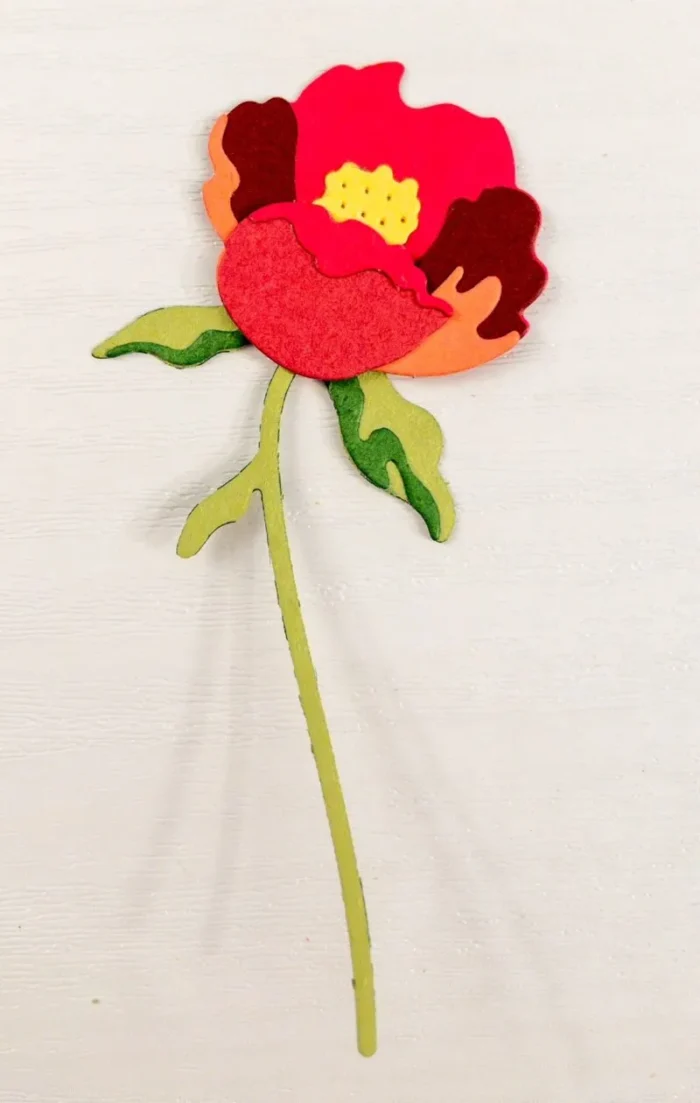
I started my card by creating the layered roses first. For each of the roses, I chose three different shades of card stock for the layers. I used the Dainty Rose and Leaves Contour Layers set to create the yellow and orange roses. I used the Morning Rose and Triple Buds Contour Layers set to create the large pink rose. I used this same set and two shades of pink card stock for the buds and one shade of green card stock for the stems.

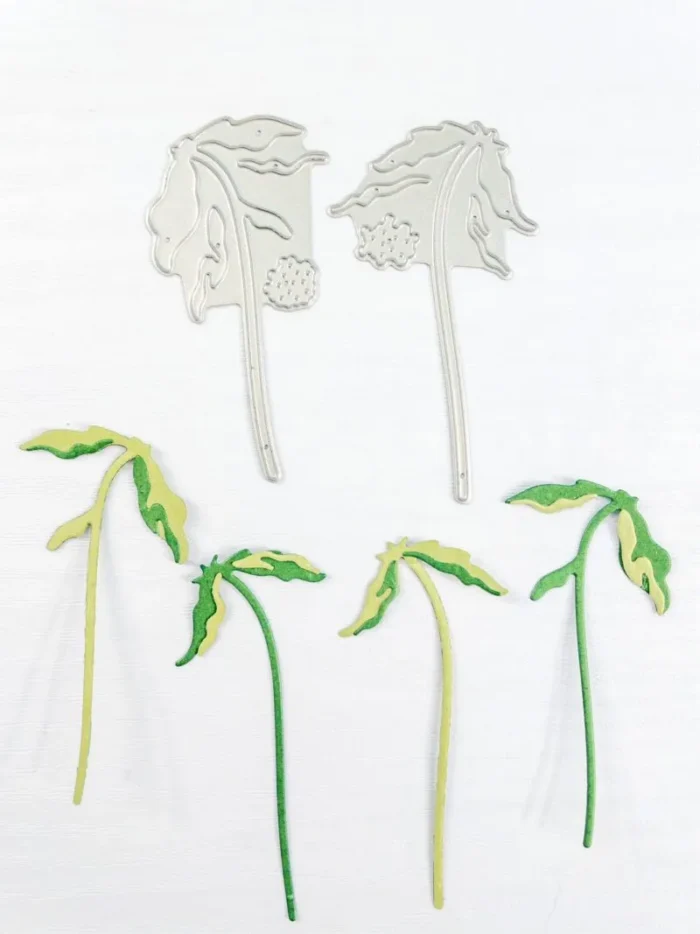
For the orange flowers, I used the Star Flowers Contour Layers set. I used two shades of orange card stock, as well as yellow for the center of the flowers. For all of the leaves, I used two die sets – the Jovial Blooms and Leaves Contour Layers and the Tiny Tuft Flowers and Leaves Contour Layers. Once I had all of my dies cut, I assembled the layers with liquid glue and then started arranging everything onto a dark brown A2 card base.

Once I was happy with the arrangement, I started glueing elements down, starting with the leaves and any other elements that were going to go behind something else, such as the smaller orange flowers and the pink buds. Once I got to the top elements, I used a couple different thicknesses of foam tape to adhere the orange and yellow roses. I heat embossed my sentiment with gold embossing powder. This sentiment comes from the Lingo Thanks Stamp Set. Before adhering my sentiment to the card, I splattered the whole thing with white acrylic paint.
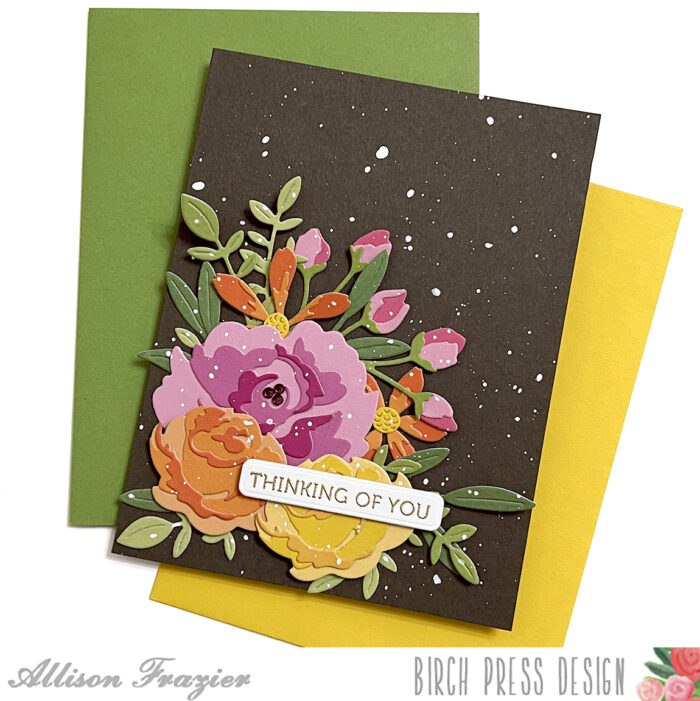
For a final touch, I added some fairy jewels to the center of the large, pink rose. I love how it all turned out! Thank you so much for joining us today. I hope this card inspires you and brings a smile to your face.
Wishing you a crafty day,
Allison

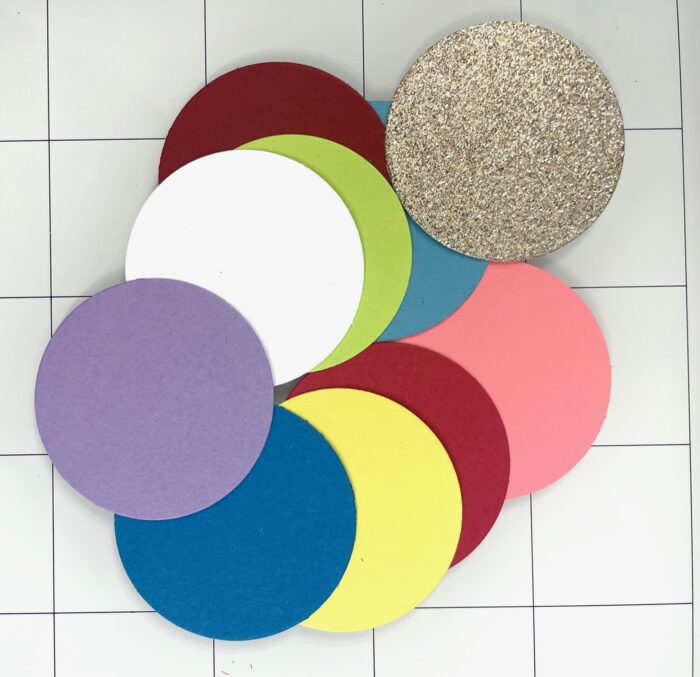
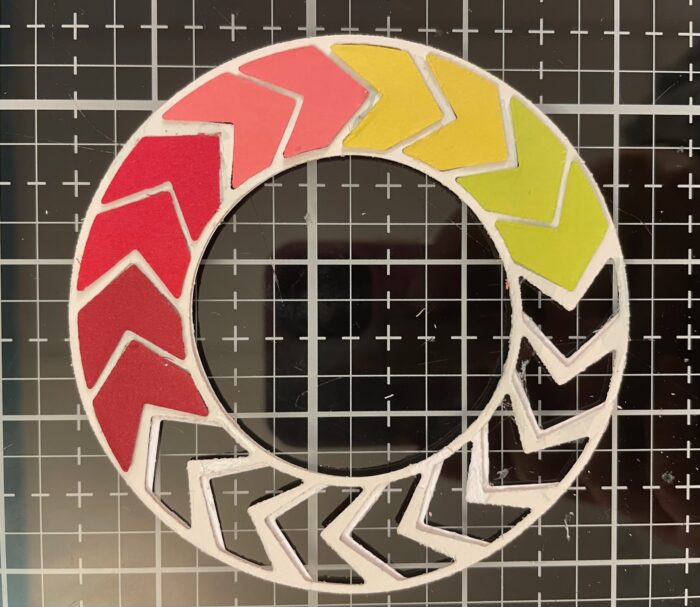
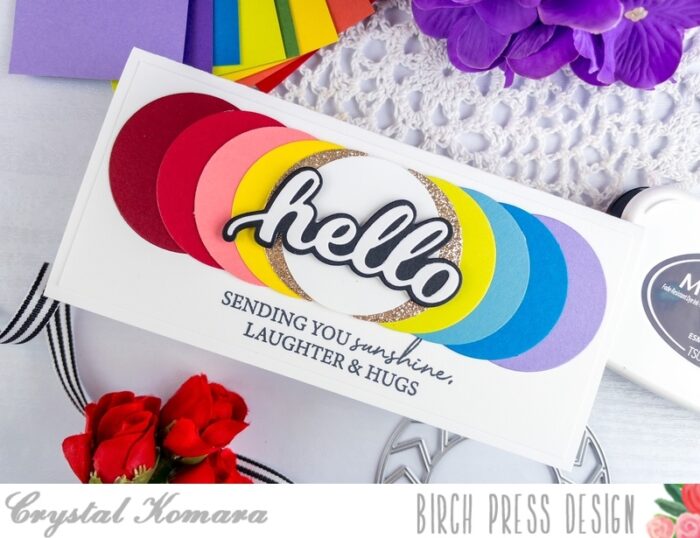
Supplies


Supplies