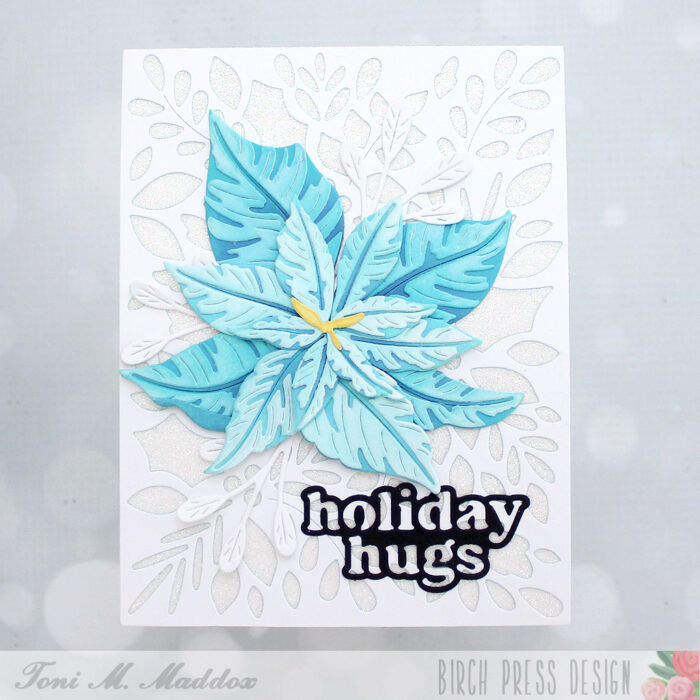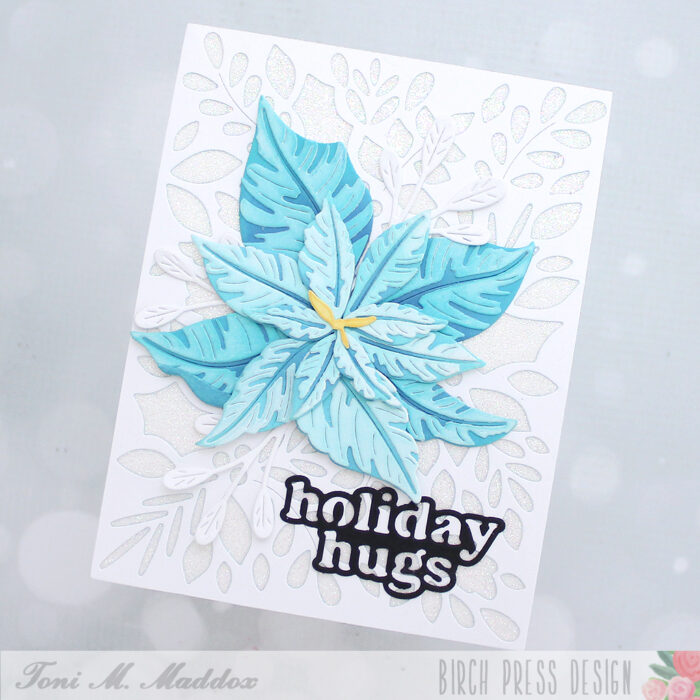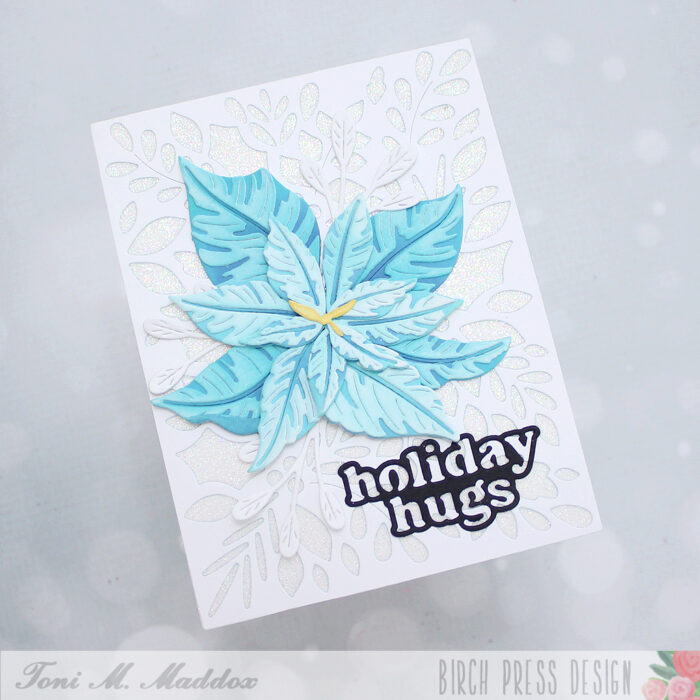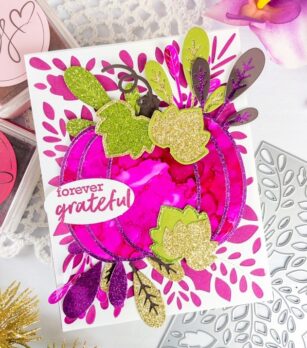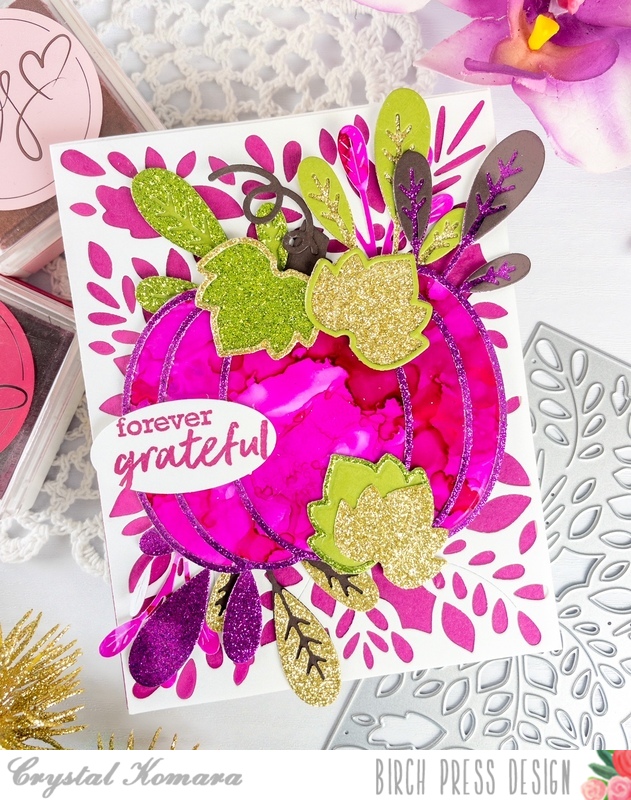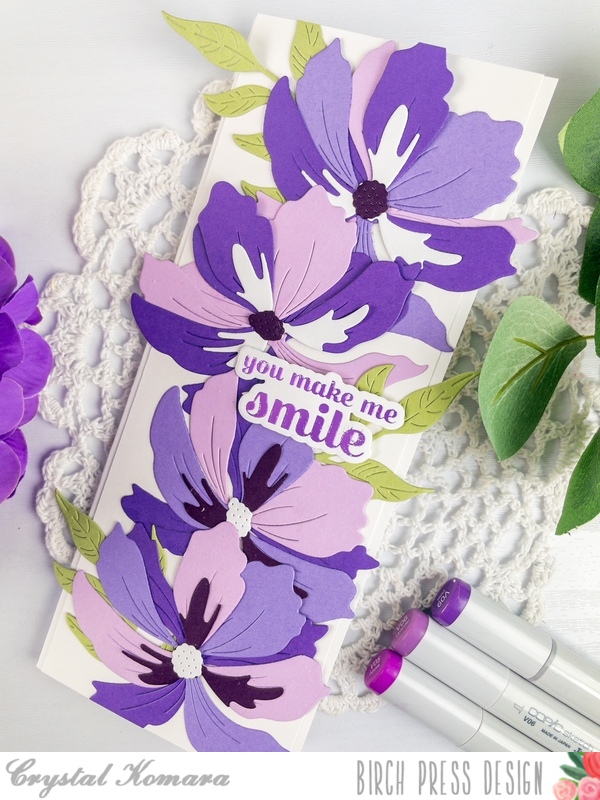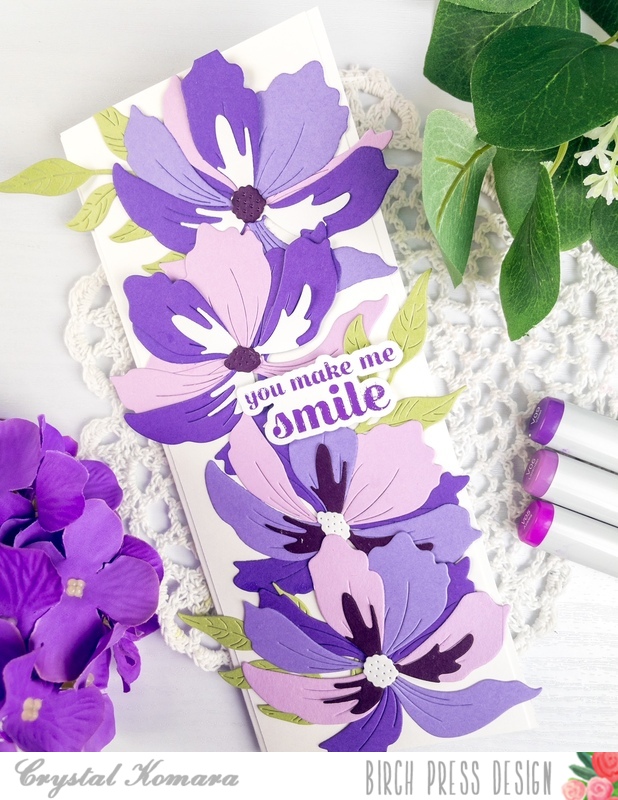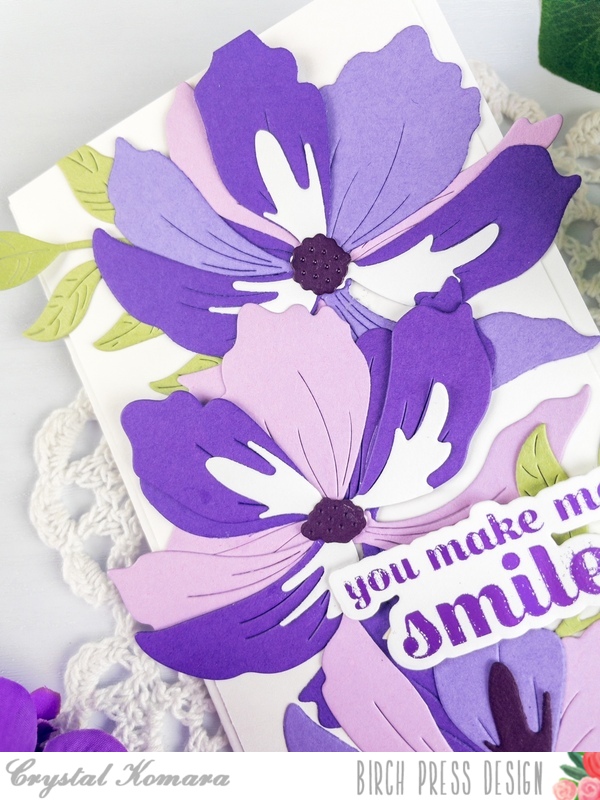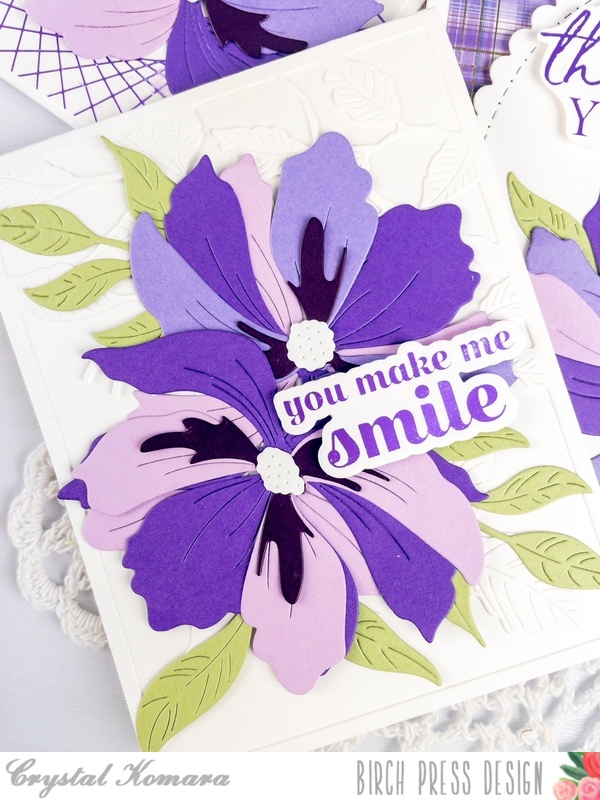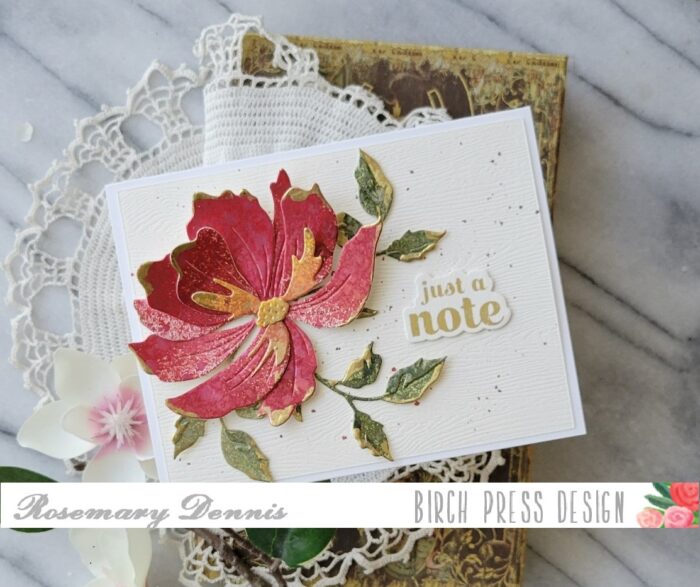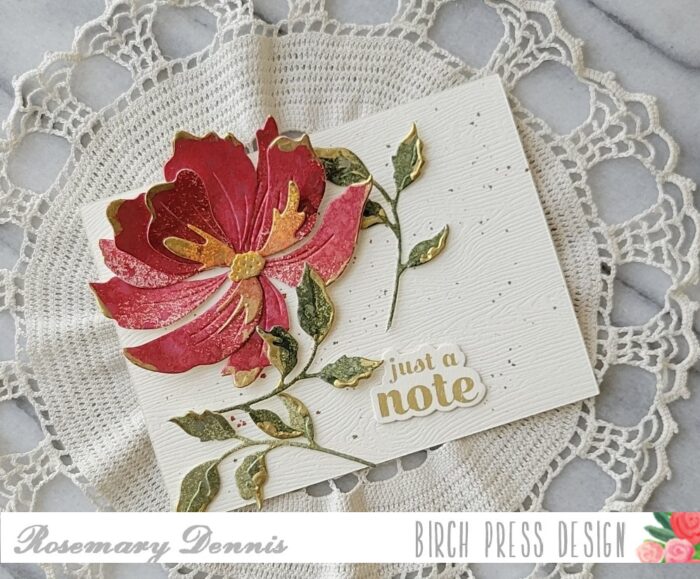
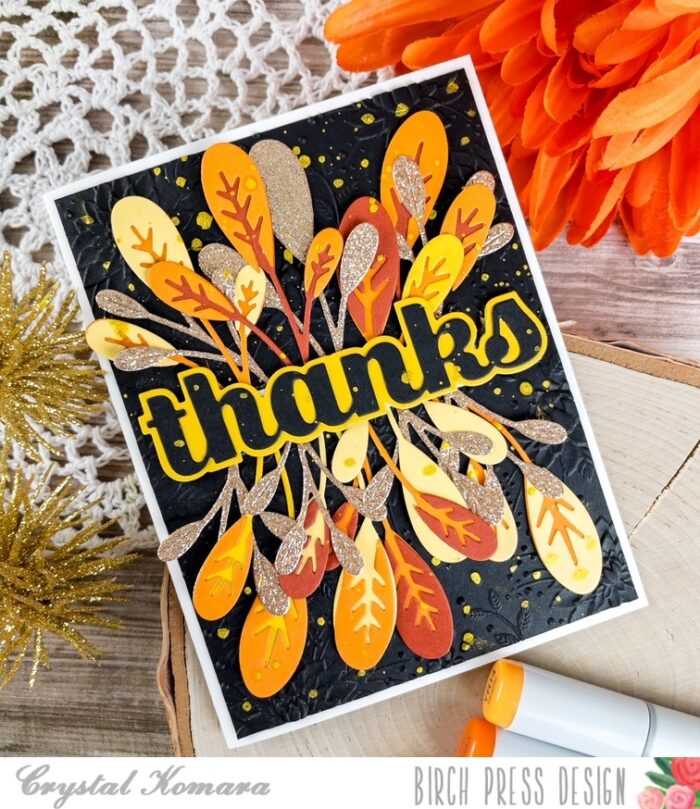
Hello friends! This is DT member Crystal Komara here with you today with what just might be my new favorite card ever that I’ve designed for Birch Press Design. Now, I’ll admit, I was initially hesitant to use the contour dies, becuase oh-so-much die cutting, but I promise, the end result is always SOOooo worth the work!!
Card details:
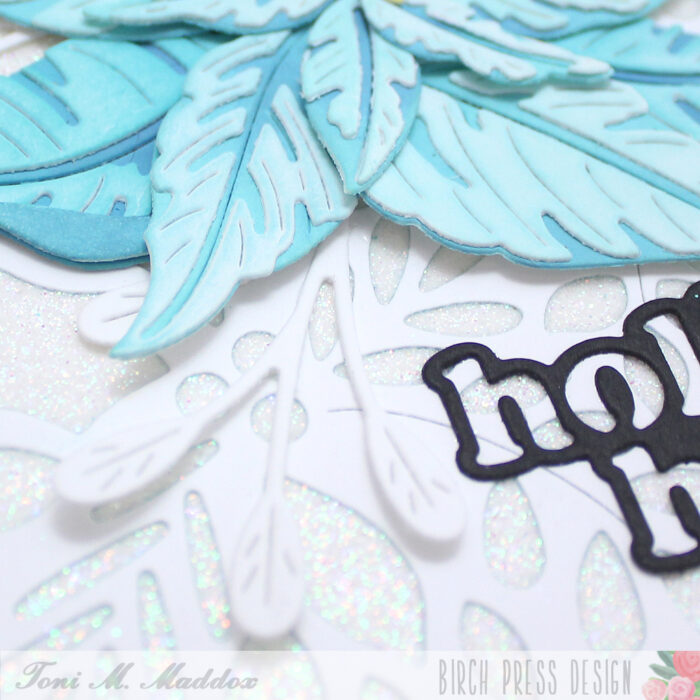
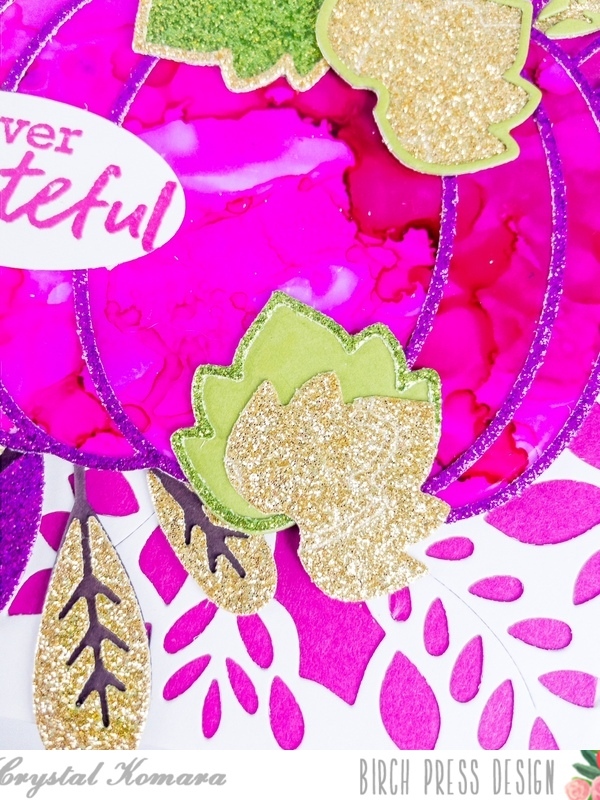
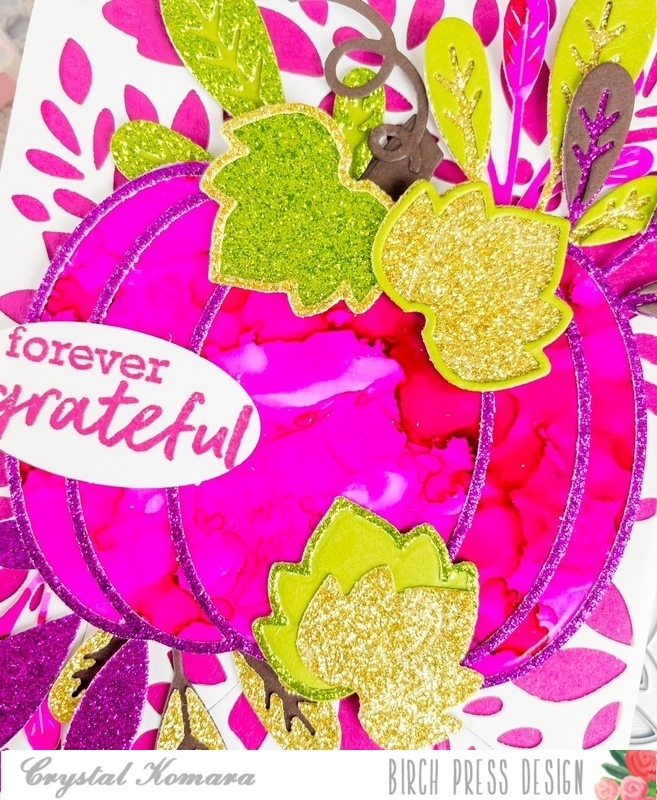
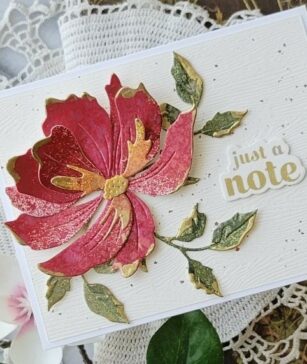
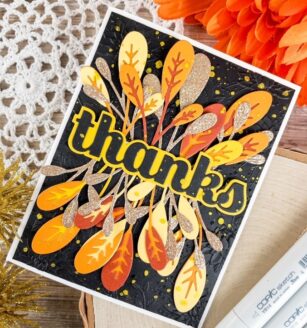
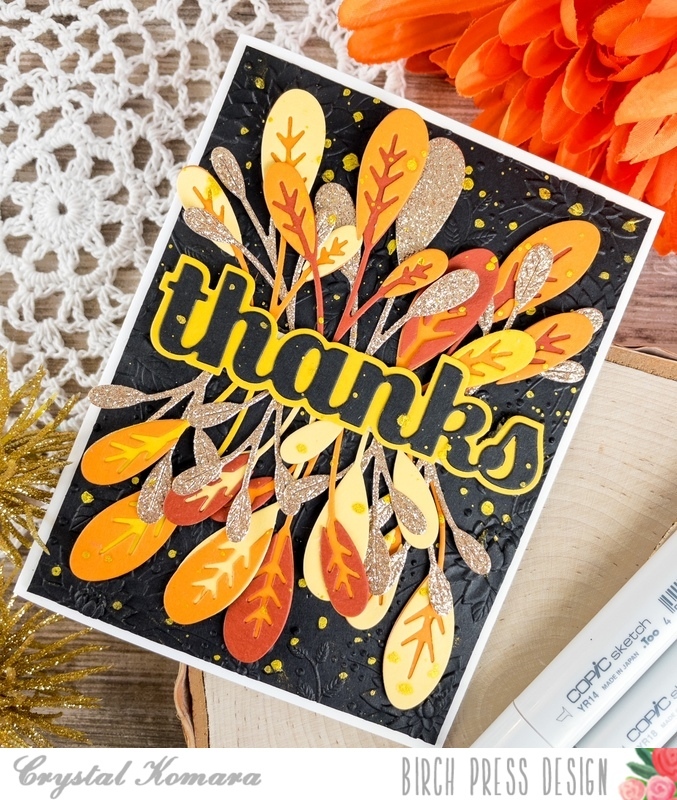
The base of this A2 sized card is made from 80 lb. Neenah Solar White Smooth cardstock. I cu ta 5 1/4″ x 4″ piece of black cardstock and dry embossed it using the Blooming 3D Embossing Folder from Memory Box Co, a sister company of Birch Press Design. This is my go-to floral embossing folder, it’s so elegant.
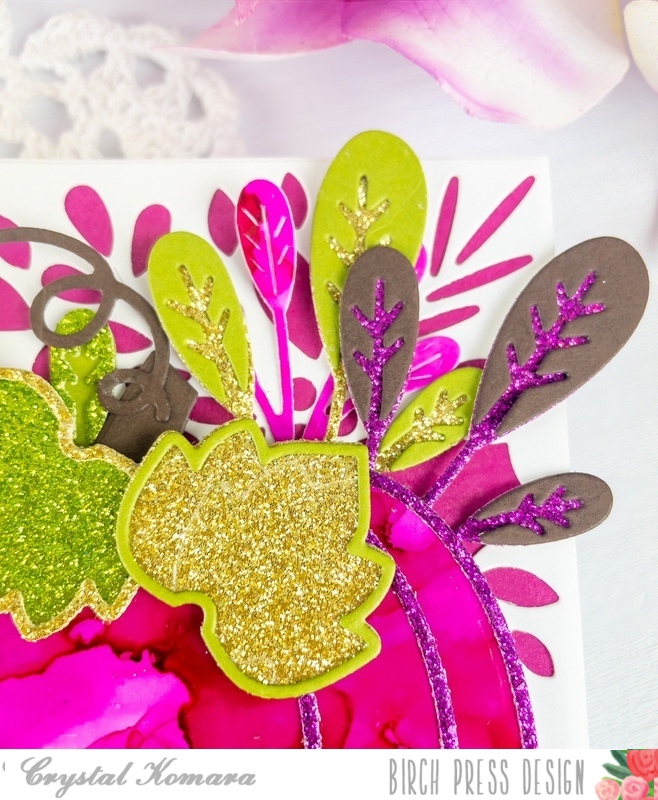
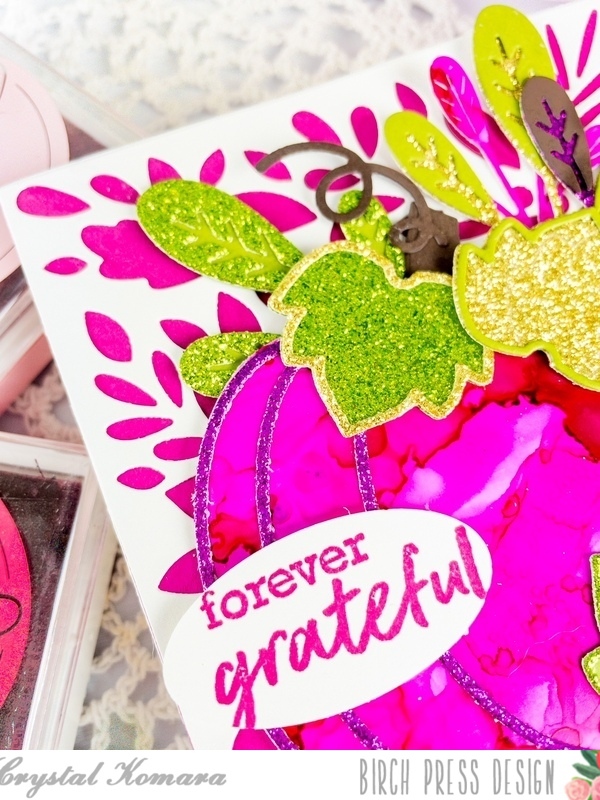
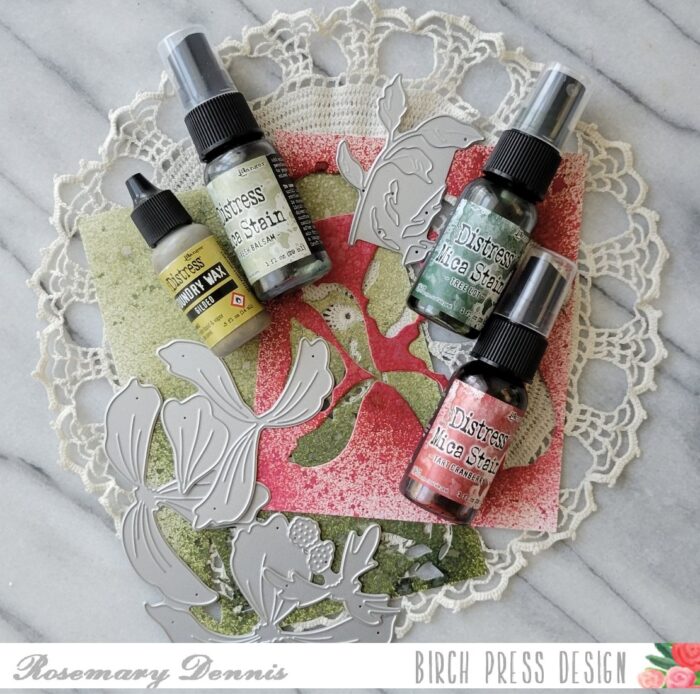
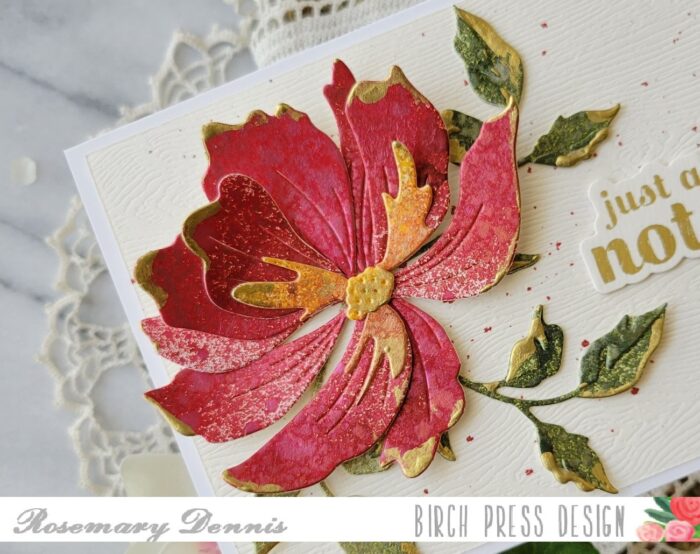
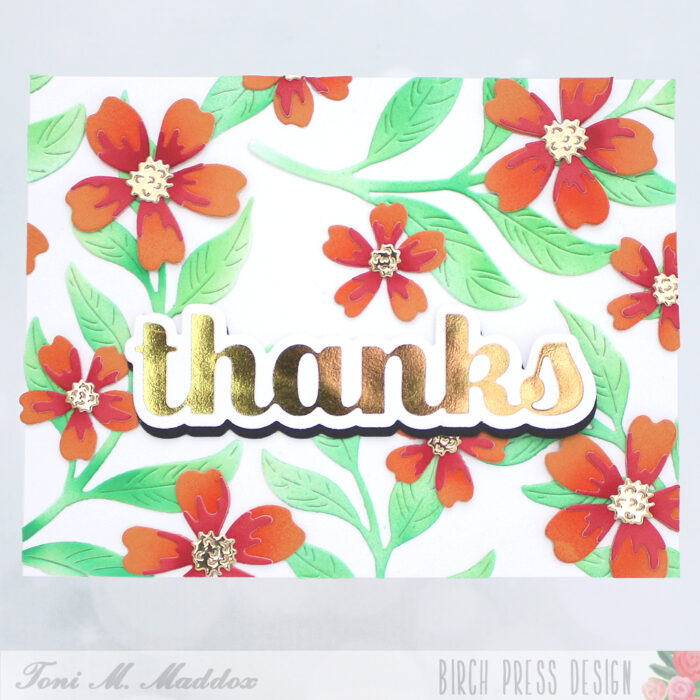
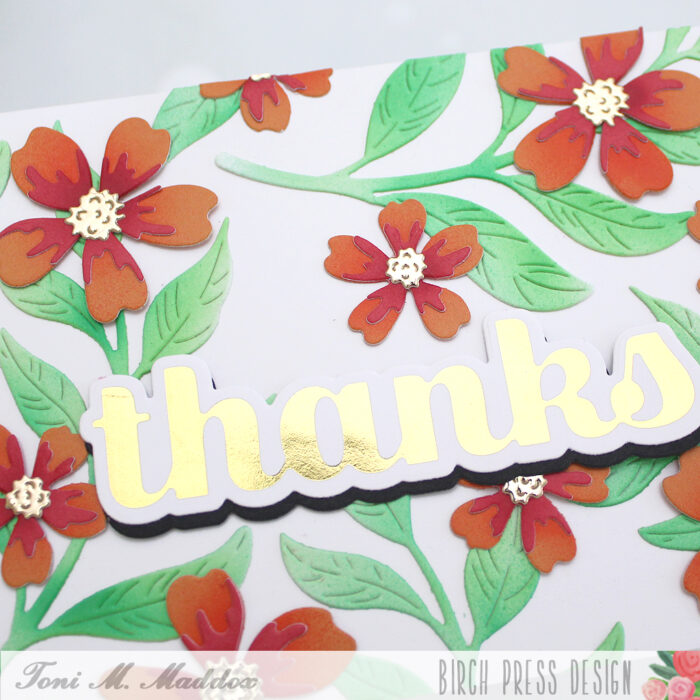
Then I just began die cutting lots and lots of the Oval Leaves contour dies in yellow, orange and gold cardstock. I mismatched up the layers, so that I layered yellow with orange and rust with gold. There was no method to this matching up madness.
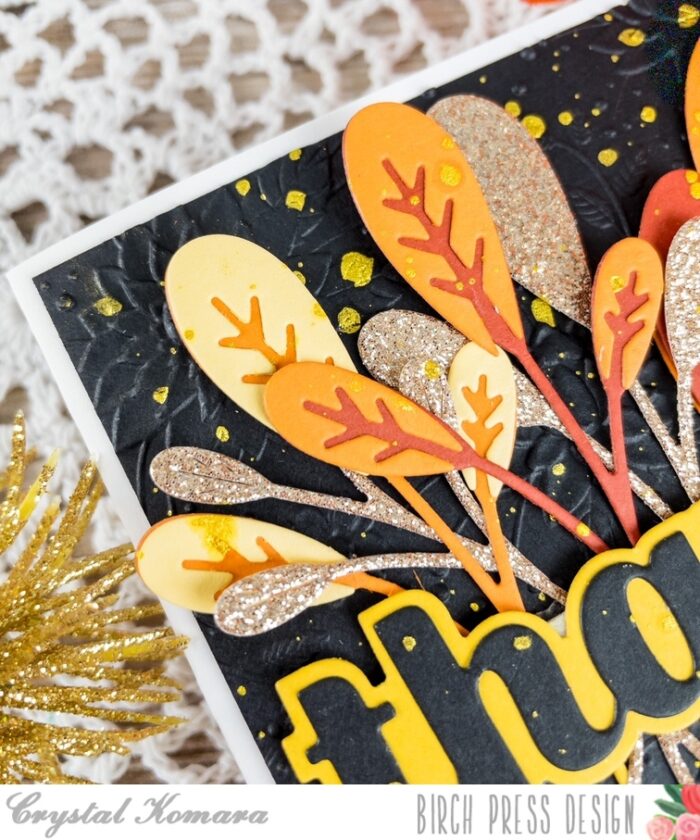
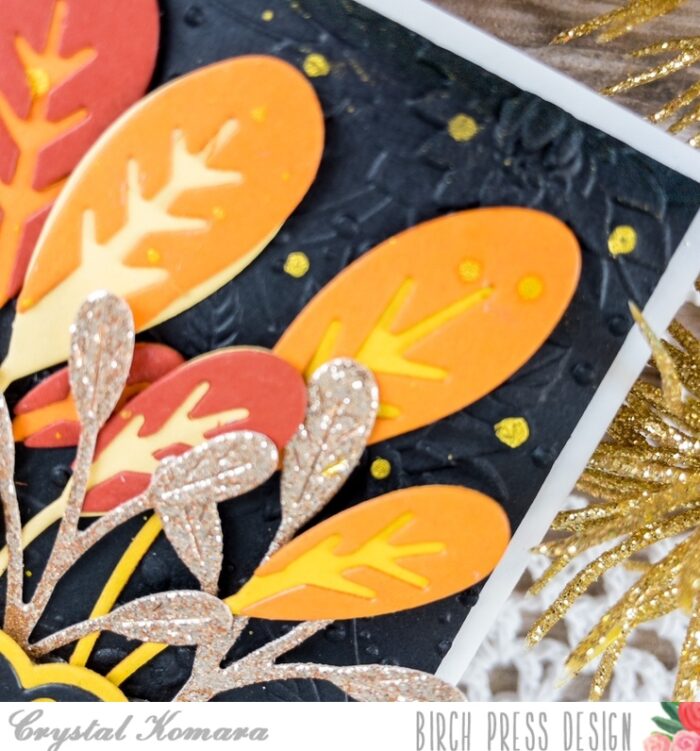
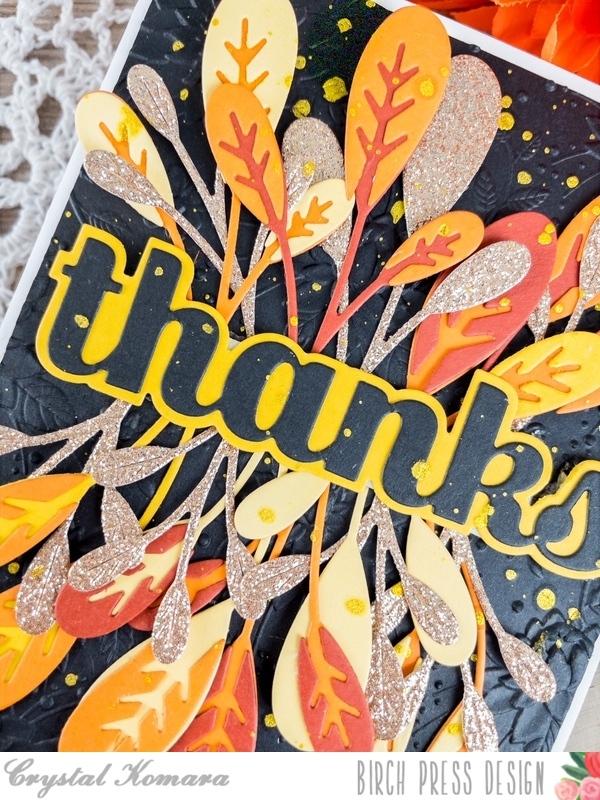
Lastly, I flicked some gold acrylic paint onto the entire image and I love how this effect came out! It added a bit of grunge, but also a bit of sparkle!
I love this card so much that I want to try re-creating it in other color palettes too, so be sure to check back in regularly to see what myself and the rest of the Design Team are creating to inspire you!

Supplies