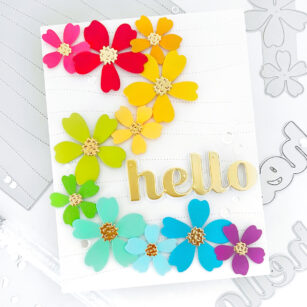
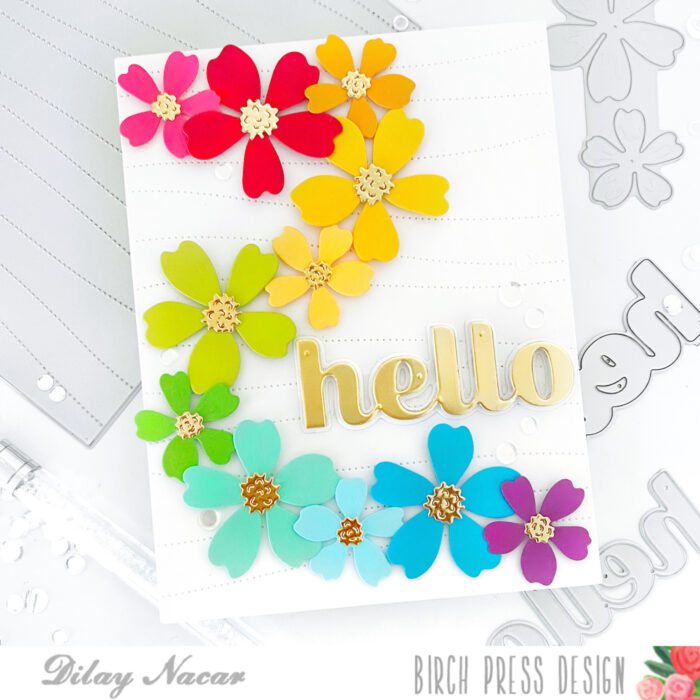
Hello and welcome, friends! Dee here with you today! A few weeks ago, I shared a mini slimline card similar this card design, but this version is a bit cleaner and easier to recreate.
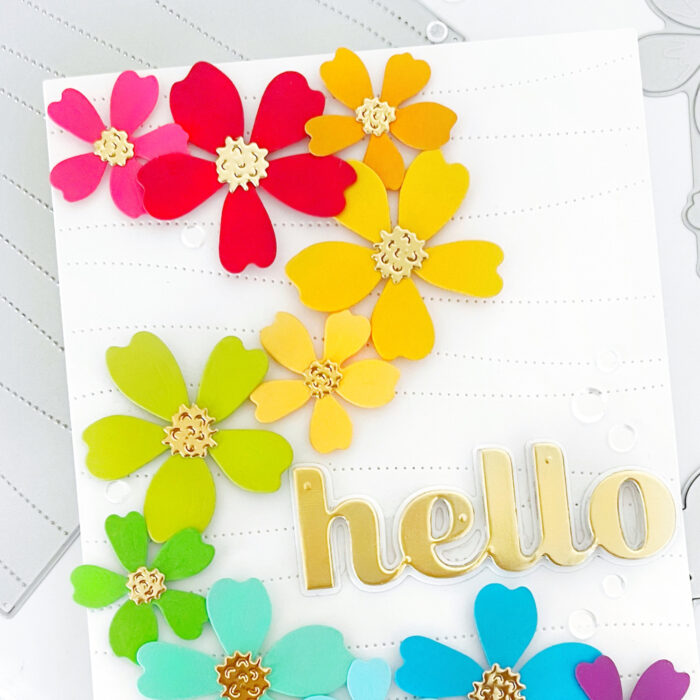
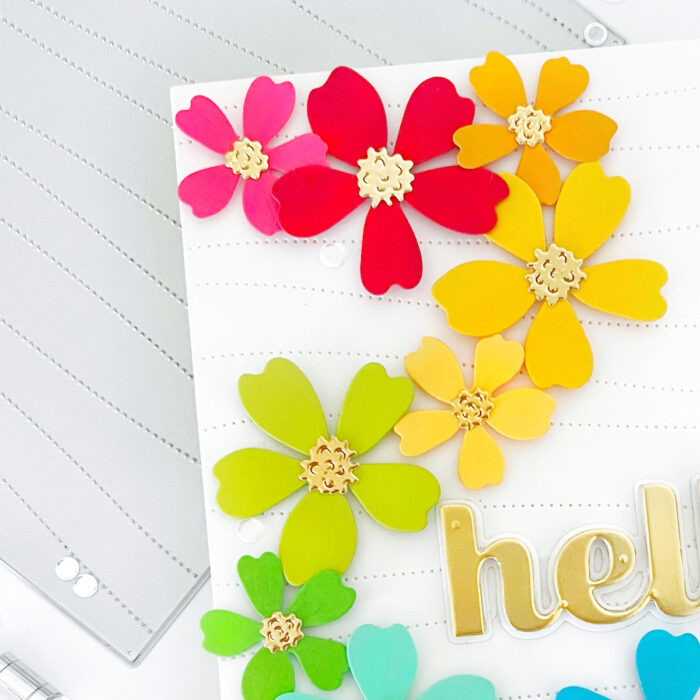
To start, I die-cut each of the Phlox Blooms Lovely Layers Dies in various colors. Next, I die-cut the Pinpoint Contour Plate in white, then adhered each of the flowers with foam tape, cascading from the top in rainbow order.
Next, I die-cut Big Hello Sugar Script in mirror gold cardstock and adhered it to the top. To finish, I added a few clear sequins in between the flowers.
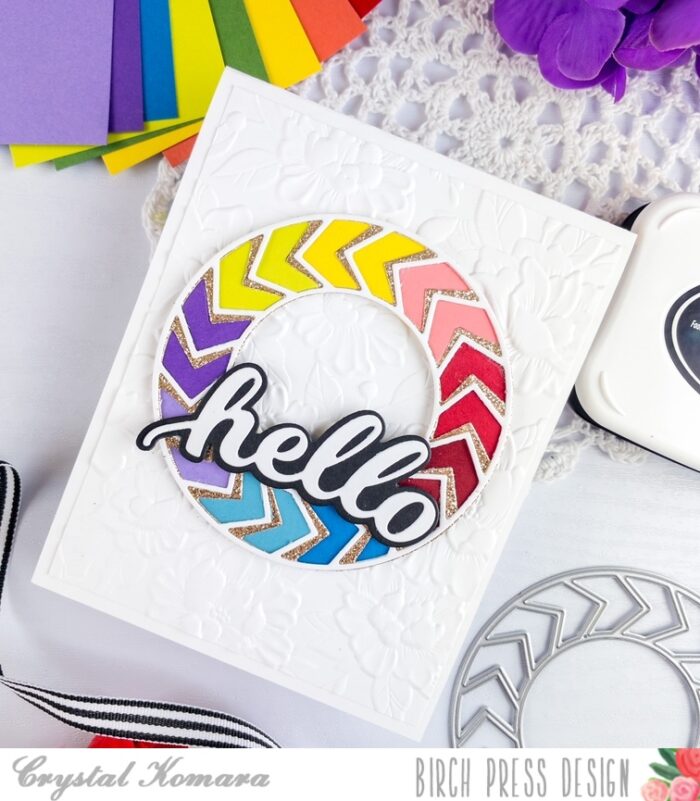
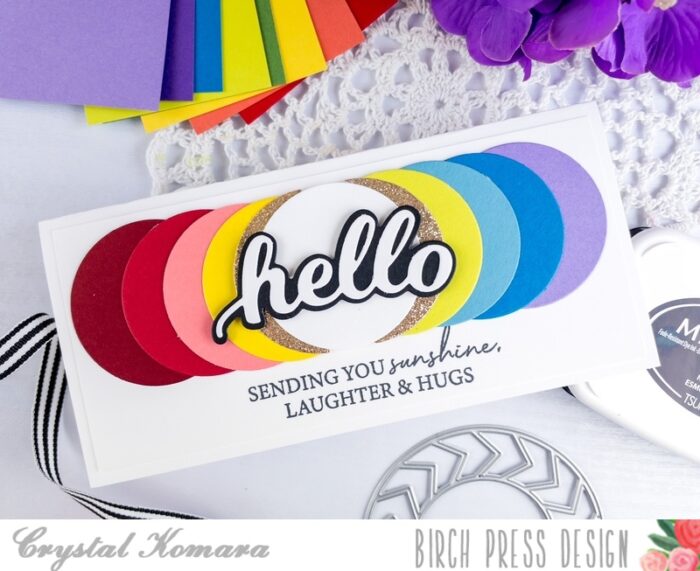
Hello readers! This is Birch Press Design Team member Crystal Komara here with you today sharing some rainbow inspiration using the Roundabout Layer Set. I love creating rainbow colored cards, I just find them so cheerful and uplifting!
Card details:
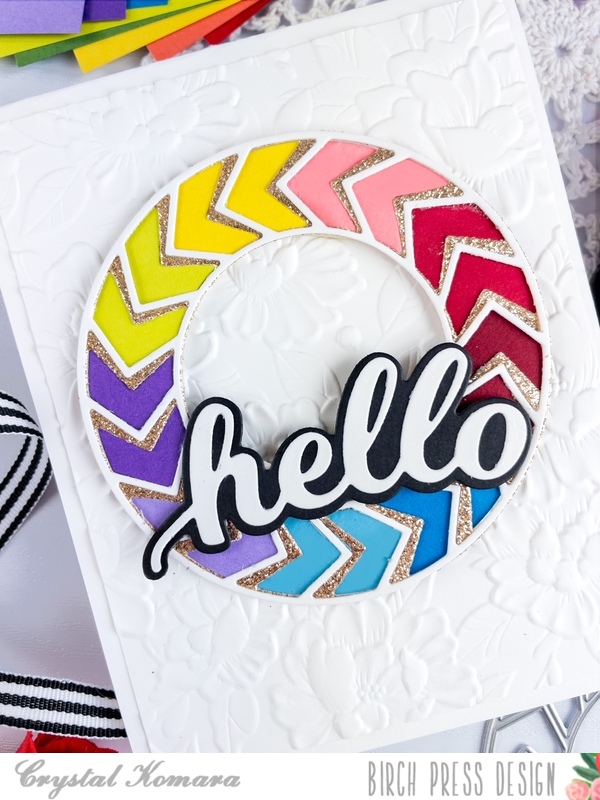
The base of this A2 sized card is made from 80 lb. Neenah White Solar Smooth cardstock. Using the same Neenah white cardstock, I cut a 5 1/4″ x 4″ piece and ran it through my Big Shot using the Blooming 3D embossing folder from Memory Box Co. (a sister company of Birch Press Design).
Continue reading below to see how I created and assembled the rainbow roundabout itself, it was a little bit tricky!
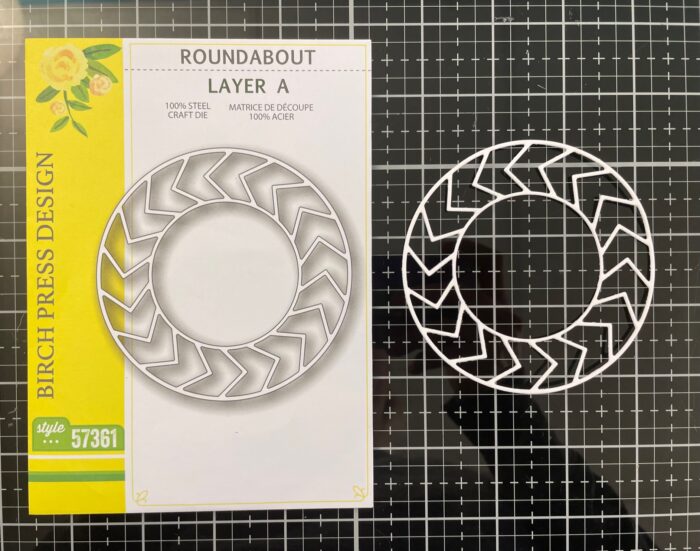
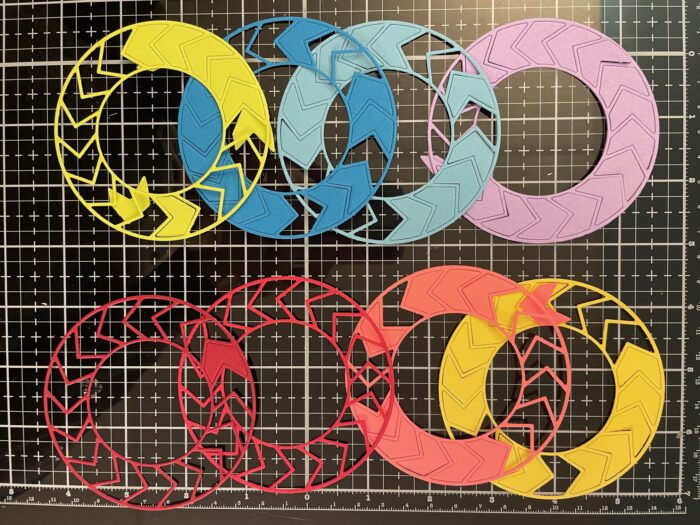
Step 1: Die cut Layer A of the Roundabout Layer Set from white cardstock.
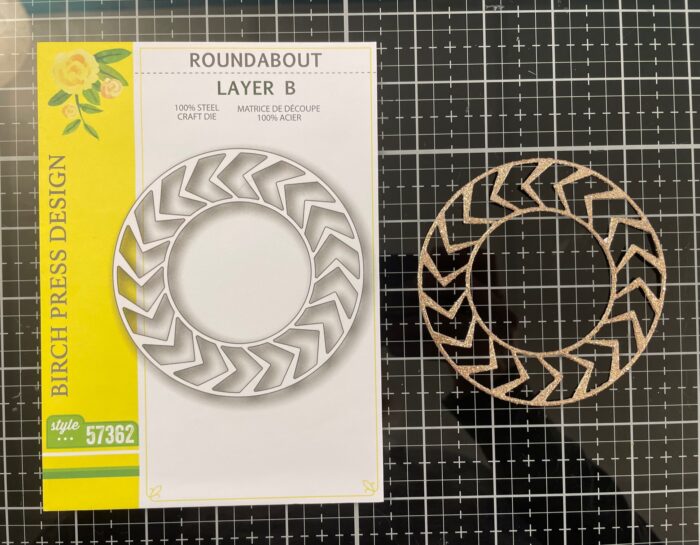
Step 2: Die cut Layer B of the Roundabout Layer Set from gold glitter cardstock.
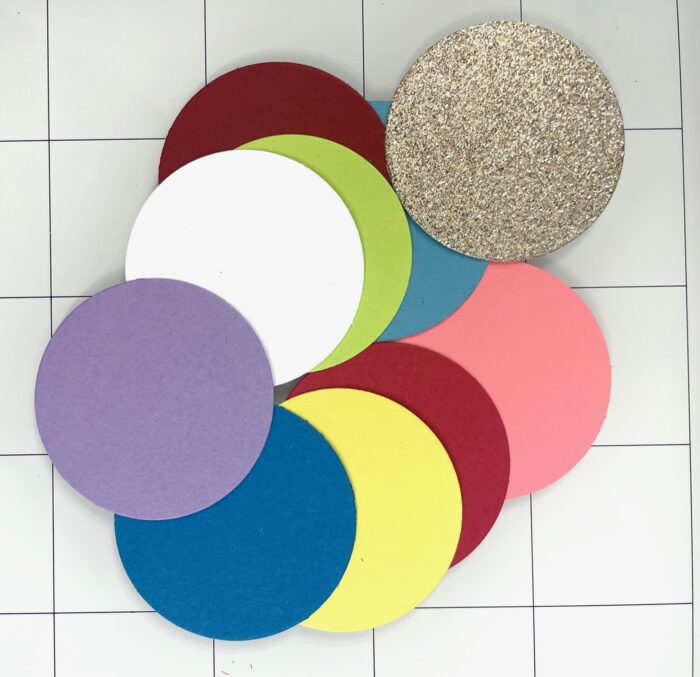
Step 3: Die Cut Layer A from the Roundabout Layer Set from all the colors of the rainbow – ROYGBIV. Red, orange, yellow, green, blue, indigo and violet.
Step 4: Save the large solid circles for another card!
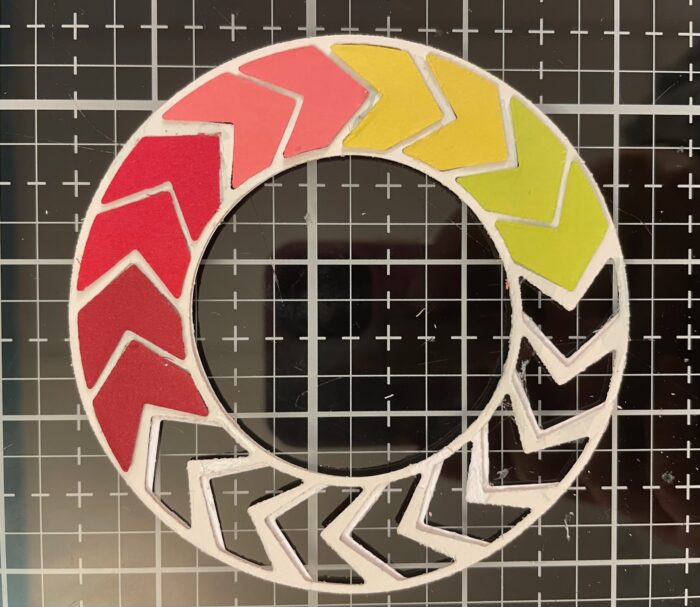
Step 5: Adhere Layer A (white cardstock) over Layer B (gold glitter cardstock) using a fine-tip liquid glue.
Step 6: Piece all the little shapes back into the die in a rainbow array.
I then adhered 3M foam adhesive to the back of the roundabout and adhered it to the center of the card.
Using the Hello Honey Script word die, I die cut the back shadow layer from black cardstock and the thinner top outline from white cardstock. I adhered both layers together with a fine-tip liquid glue and then adhered the entire sentiment to the card using 3M foam adhesive for added dimension.
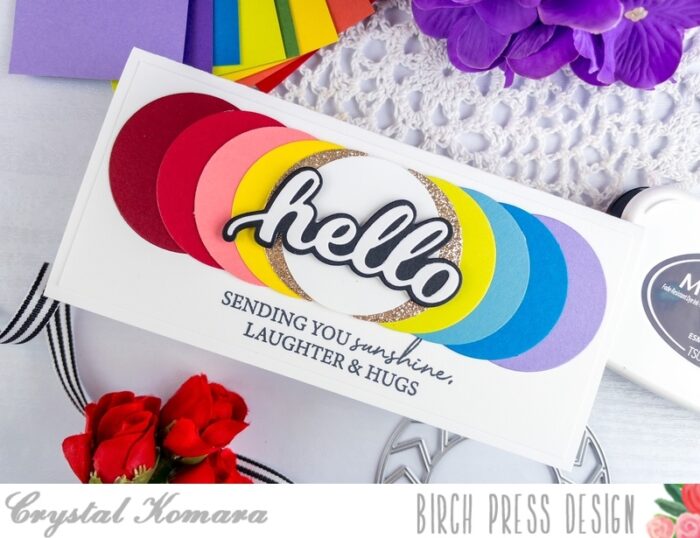
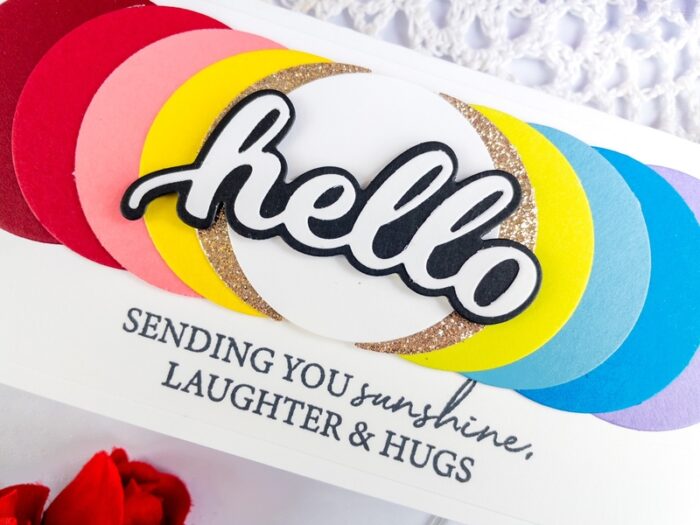
I also created a second card using the leftover solid circles that were die cut from the Roundabout Layer Set.
This mini slimline card measures 6 1’2″ x 3″. Honestly, I made up my own dimensions on this card, so don’t take these measurements as being any sort of a “professional” size! I placed all the die cut circles leftover from the Roundabout Layer Set in a rainbow array horizontally across the card. I stamped the sentiment “sending you sunshine, laughter and hugs” in Memento Tuxedo Black ink. This sentiment is from the Kind Hearts clear stamp set.
Using the same Hello Honey Script word die, I die cut the back shadow layer from black cardstock and the thinner top outline from white cardstock. I adhered both layers together with a fine-tip liquid glue and then adhered the entire sentiment to the card using 3M foam adhesive for added dimension.
I hope you have enjoyed these two very colorful ways to use the Roundabout Layer Set. Thanks for visiting and have a wonderfully creative day!
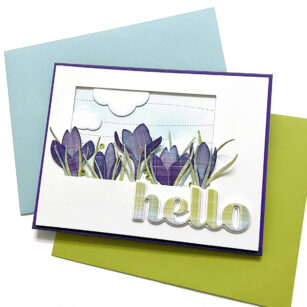
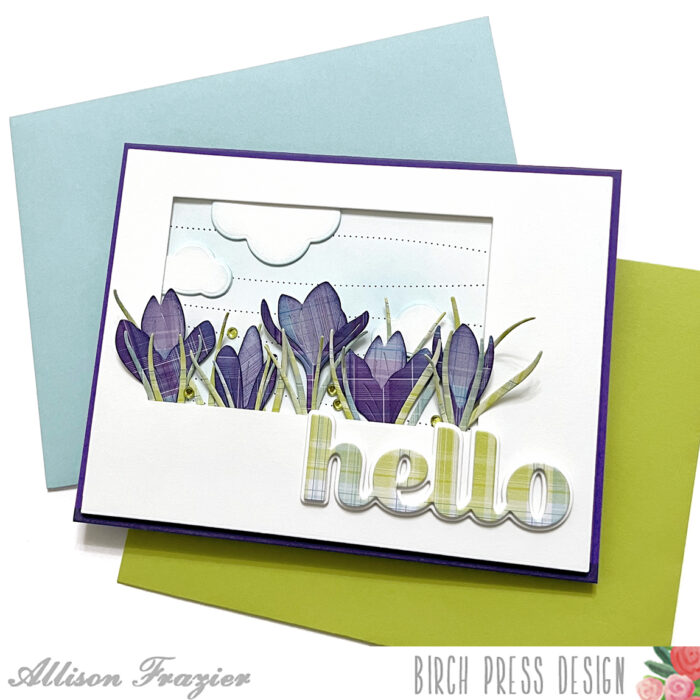
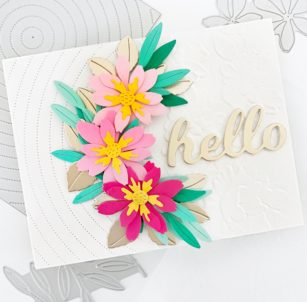
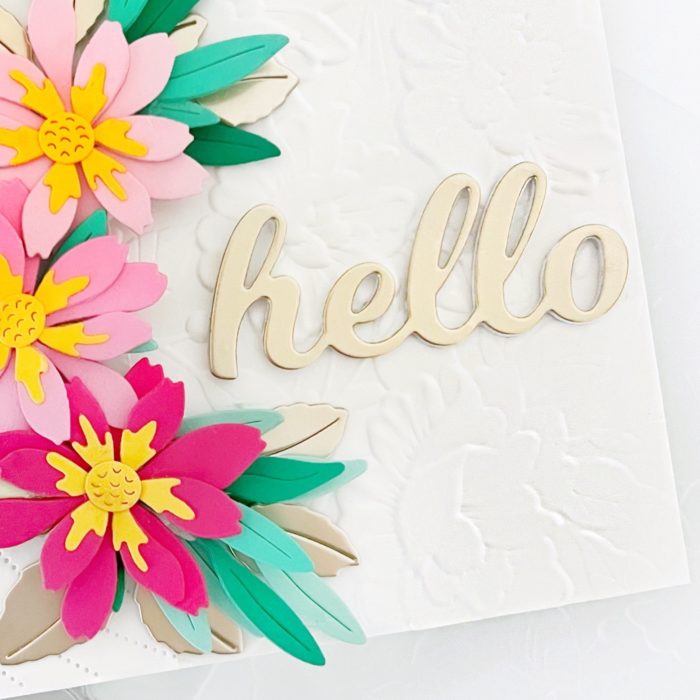
Hello, Birch Press friends! Today, I am sharing a card featuring the new Sprouting Crocus Contour Layers set. But, I did something unconventional. I used patterned paper for all of my die cuts! It’s a really fun way to add texture and color variation.
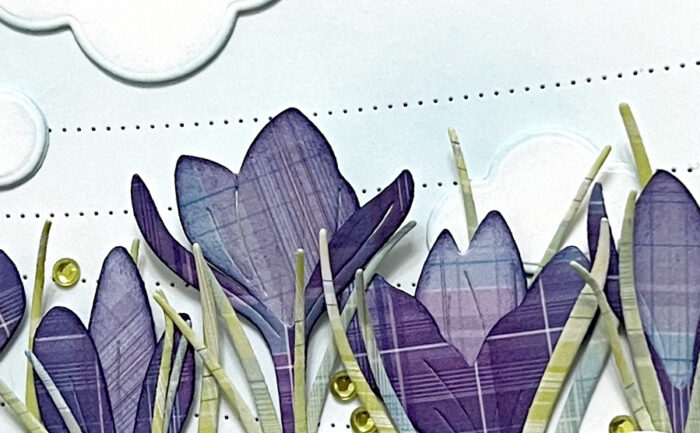
I started by cutting my flowers. I used the Madras Plaid Blue and Violet paper pad from Memory Box, which I believe is now retired. I chose a darker plaid pattern for the layers that go in front and a lighter pattern for the layers in back. I blended all the edges of each layer with a dark purple ink. I adhered all of the layers of my flowers together with glue.
I then took a similar pad of paper, the Madras Plaid Coral and Green pad, and I cut the stems from two different green plaid patterns. I only adhered one stem to each of my flowers, but I kept some extra ones to fill in later.
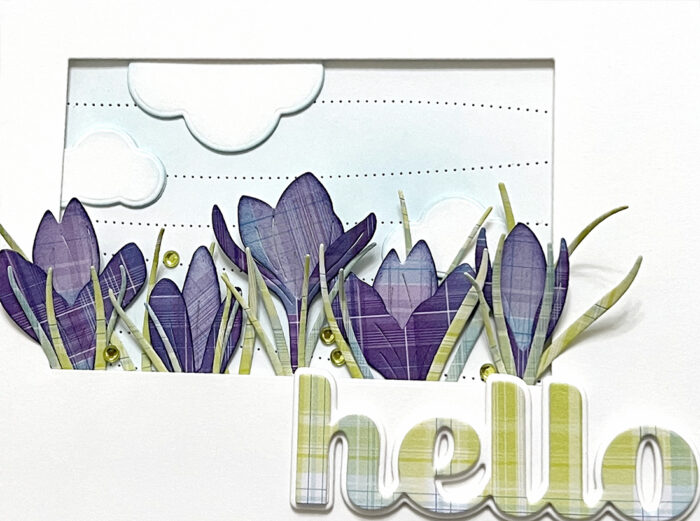
After completing my flowers, it was time to set the scene. First, I took a panel of white card stock and cut it with the Pinpoint Contour Plate. I blended some light blue ink onto the panel. I then used a rectangle die to cut an opening into a second panel of white card stock, slightly offsetting it into the upper left corner. I added foam tape to the back of this panel and attached it to the ink blended panel. Before attaching them together, I made sure that I had cut them both down to be slightly smaller than an A2 card base.
I cut a few clouds from white card stock using dies from the Rainbow Days Lingo Notes set. I inked up the edges of the clouds with light blue ink, and then I added them to the sky background. I tucked two of them under the edges of the framed opening. I then took my five flowers and tucked those into the bottom edges of the frame. I had left enough room between the edge of the framed opening and my foam tape so that I could achieve this look for the clouds and flowers. I used the extra stems/leaves that I had cut and filled in some of the gaps. I adhered this card panel to a dark purple A2 card base.
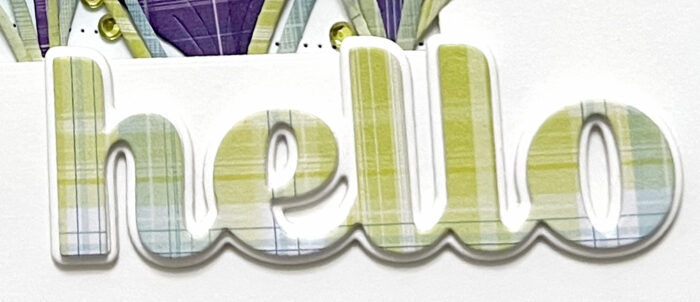
I used some more of the green plaid paper to cut the main layer of the Big Hello Sugar Script Die. I adhered this to two layers that I had cut from plain white card stock. I then adhered that stack to the shadow layer, which I also made from three layers of white card stock. I adhered that to the card, and then I finished everything off with a few green fairy jewels.
Thank you so much for joining us today. I hope this card inspires you and brings a smile to your face!
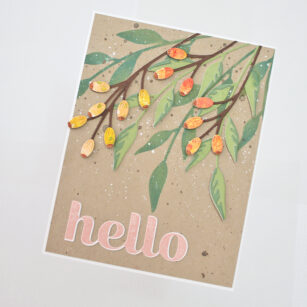
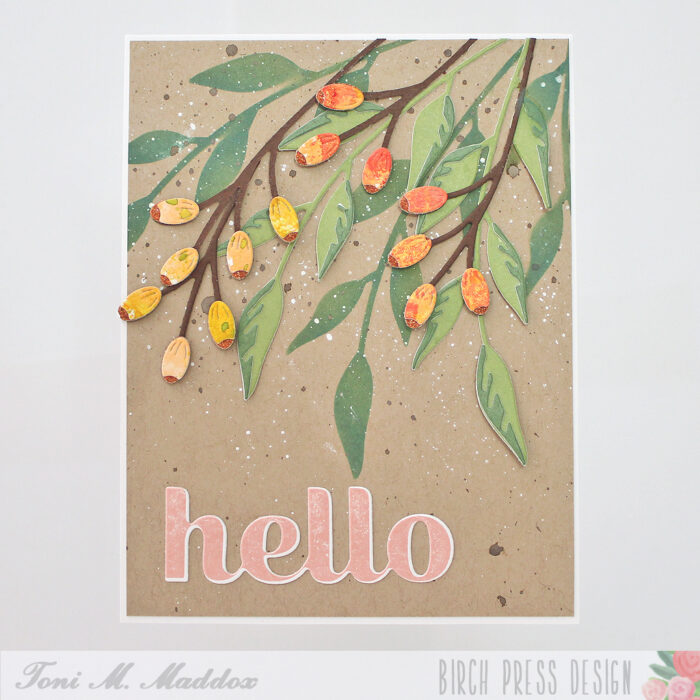
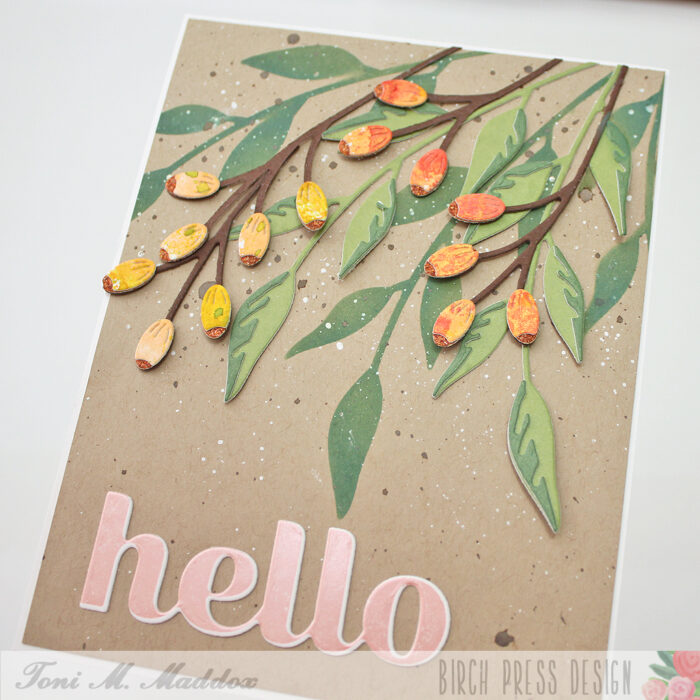
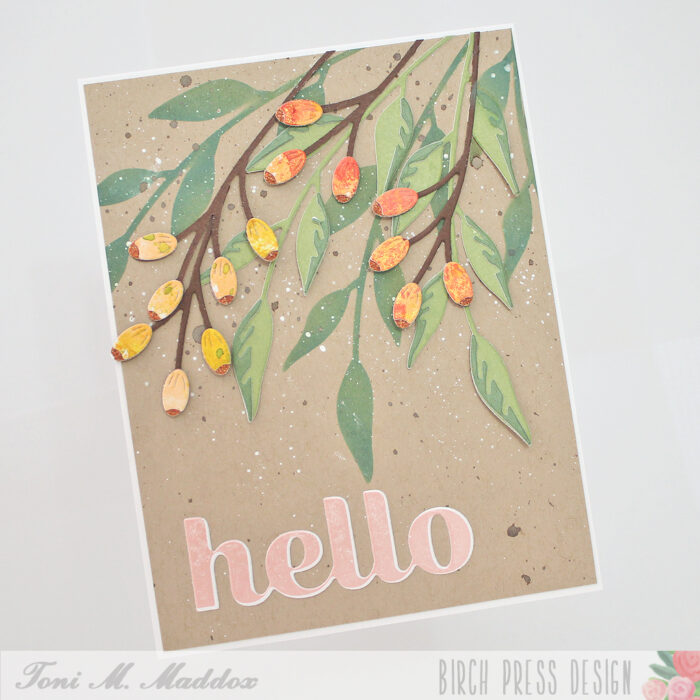
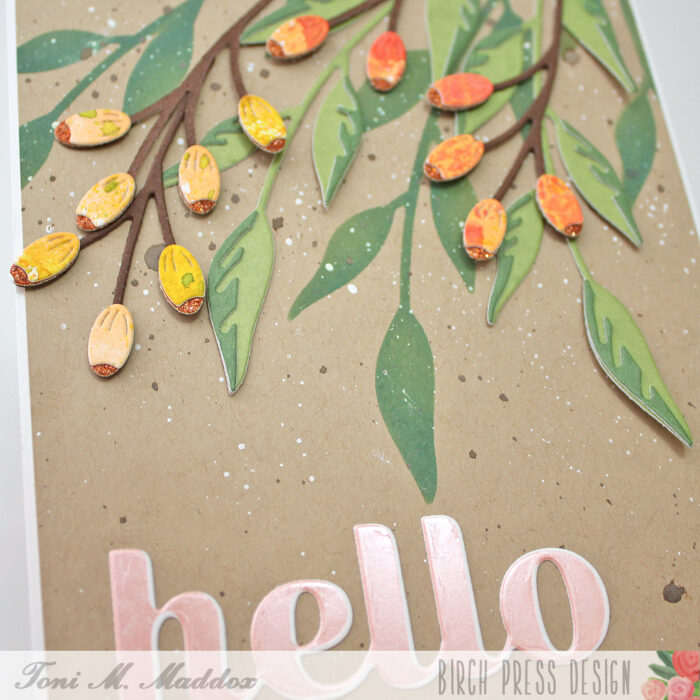
Hello, Birch Press fans! Toni here with you today sharing a floral card that reminds me of my cotoneaster bush.
The blooms of my cotoneaster aren’t very exciting but the resulting berries are prolific and gorgeous.
I cut the Sylvan Berries Contour Layers from Memory Box Glitzy Glitter 6×6 cardstock and leftover cardstock I had used Brushos on once upon a time. I cut the Sylvan Leaves from Memory Box Lush Green 6×6 cardstock.
I used the negative of the leaves diecut as a stencil with Distress Oxide Rustic Wilderness. What an easy way to add additional depth!
I spattered a bit of Copics Opaque White and Distress Oxide Spray Vintage Photo before adding the sentiment.
For that I used one of the Spellbinders Glimmer Satin Pastel hot foils with the Hugs Sugar Script Hot Foil Plate & Die. I wanted a smaller outline so cut the sentiment with the Sugar Script Big Hugs die. Cool shadow, right?!
I hope you enjoyed today’s card and have a great rest of your week!
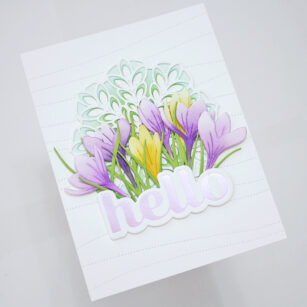
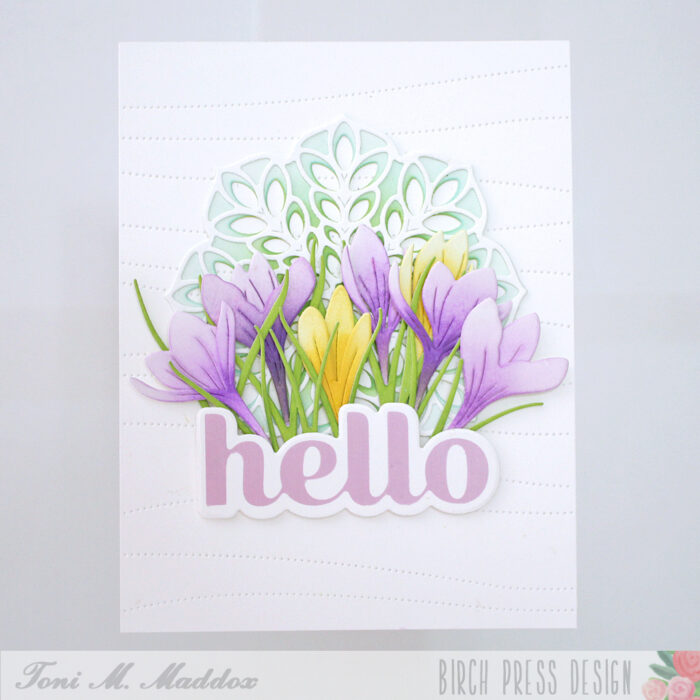
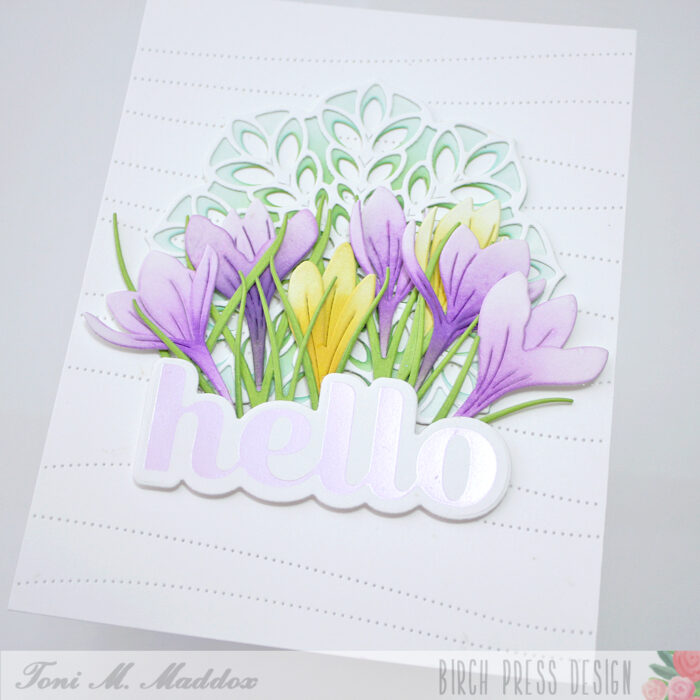
Hello, Birch Press fans! Toni here with you today sharing a spring-themed hello card using the new Sprouting Crocus Contour Layers.
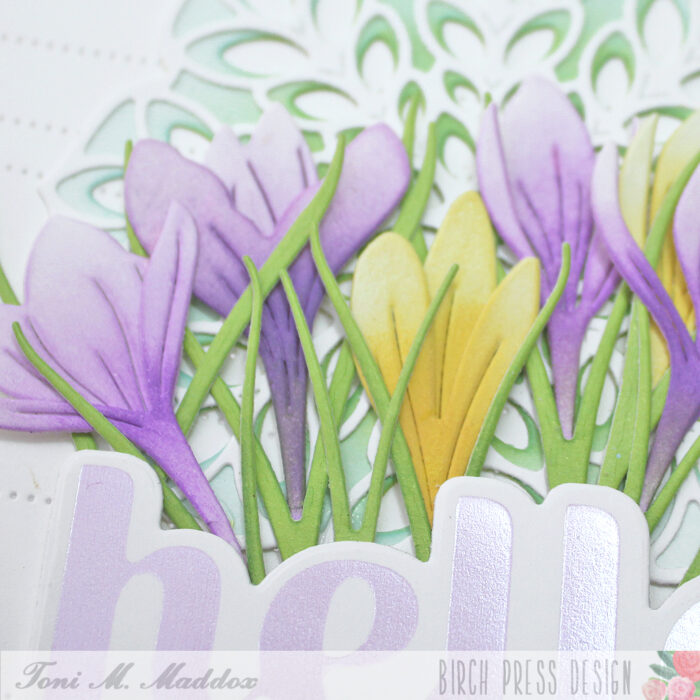
I sponged the crocuses (crocus? croci?) with Distress Oxide Mustard Seed, Wilted Violet and Villainous Potion. I also used a touch of Mowed Lawn on the leaves which I had cut from Memory Box Lush Green 6×6 Cardstock.
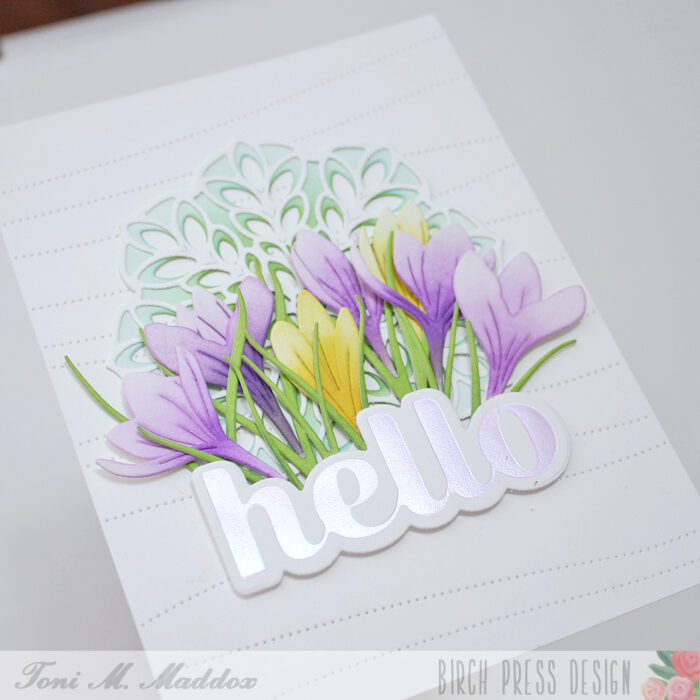
On top of the Pinpoint Contour Plate I used the Delight Layer A and B sponged with Distress Oxide Peacock Feathers and Mustard Seed as a backdrop for the blossoms.
I hot foiled the Hello Sugar Script Hot Foil Plate & Die with Spellbinders Satin Pastel Glimmer Hot Foil which is transparent so it is a lovely soft color that went perfectly with the purples used. That bit of shine is a fabulous touch as well.
I hope you enjoyed today’s card and have a great rest of your week!
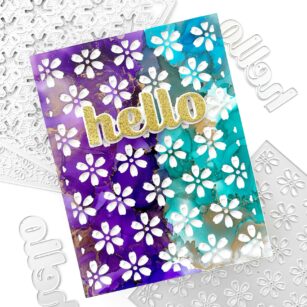
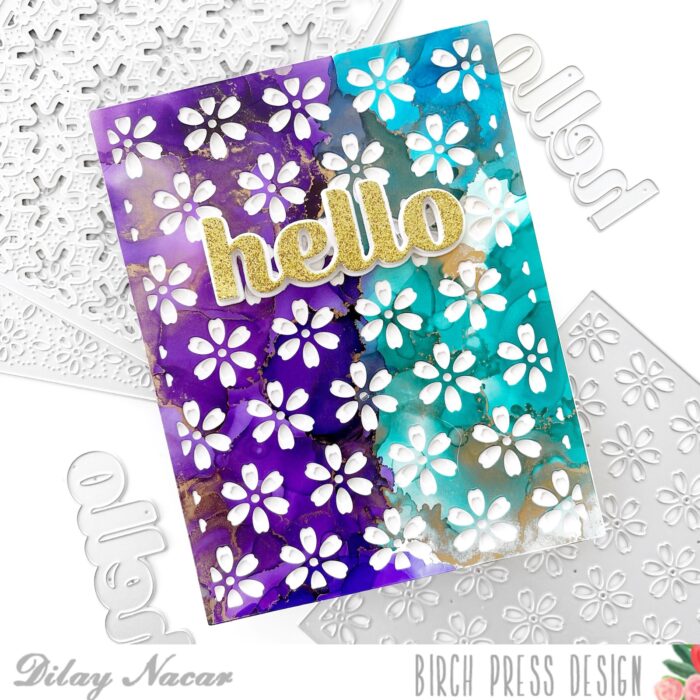
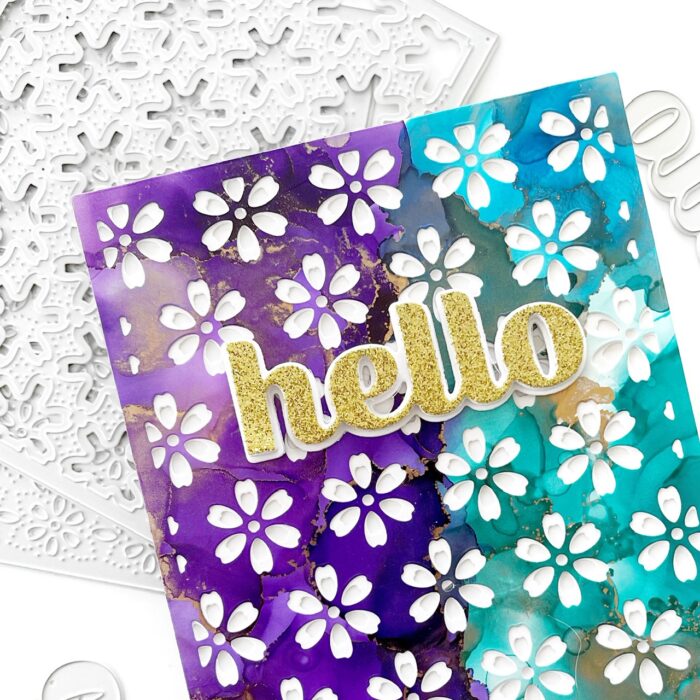
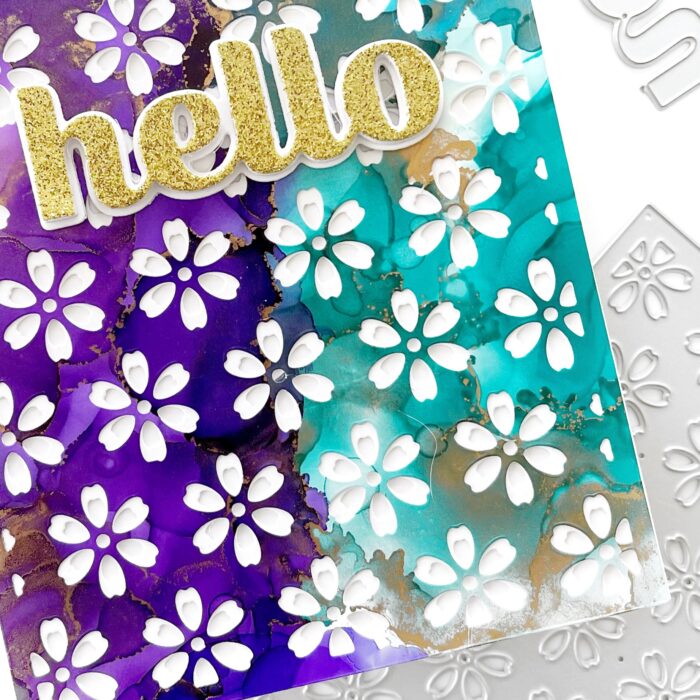
Hello and welcome back, friends! Dee here today sharing this bold and vibrant card featuring the Flora Layer Plate and Big Sugar Script Hello dies!
To begin, I cut the Flora Layer Plate dies (layers A and B only) in white, then layer A once more from a background I created with alcohol inks in purple, turquoise, and metallic. I then stacked and adhered them together and onto an A2-sized top folding card base.
I die cut the sentiment from the Big Sugar Script Hello in gold glitter cardstock and and the coordinating shadow layer in white, adhered them together then onto the center of the card!
I hope you enjoyed this card and are inspired to create! Thank you so much for joining me today!
Happy Friday, crafty friends! Dee here today sharing this fresh floral card featuring the Star Flowers Contour Layers dies combined with a few other favorites!
First, I created the background by die cutting the Pinpoint Radial Plate die and cutting it in half. Next, I embossed an A2-sized card base with the Memory Box Blooming 3D Embossing Folder, then adhered the partial Pinpoint background on top.
Next, I cut the Star Flower Contour Layer dies twice in three shades of pink cardstock and die cut the centers in yellow cardstock, then adhered them together. I die cut leaves from the Dainty Rose and Leaves and Tiny Tuft Flowers and Leaves die sets in different shades of teal, and metallic cardstock, then adhered them, tucked in, behind the flowers.
To finish, I cut the hello from the Hello Topper in the same metallic cardstock and adhered it over the top. Thanks so much for joining me today!
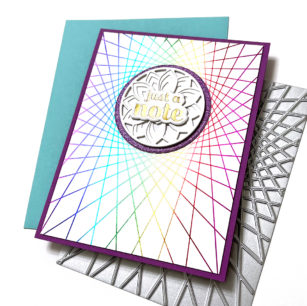
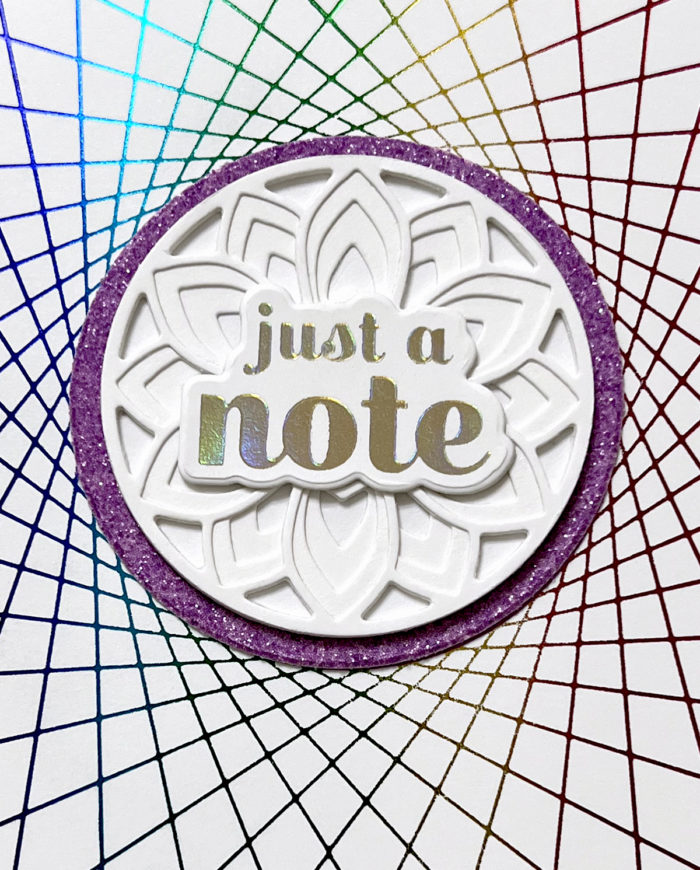
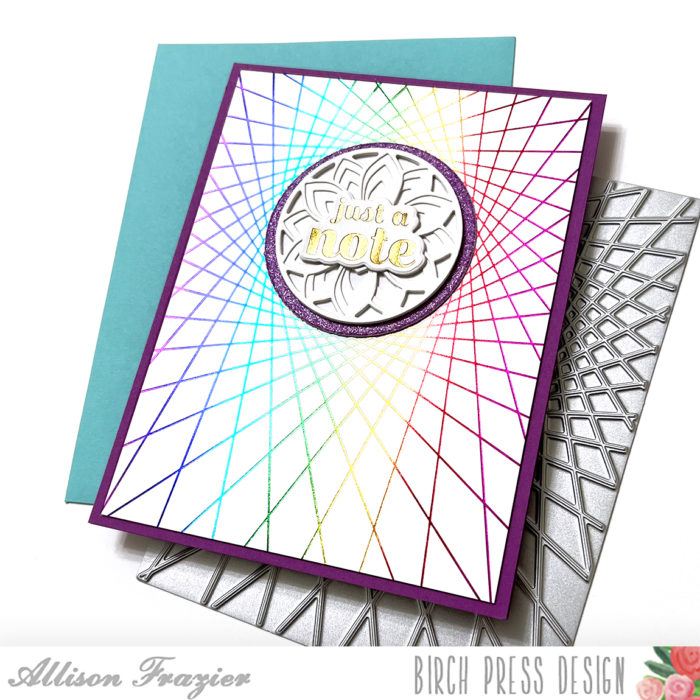
Hello, Birch Press friends! Today I have just a note for you. But this is not just your average note – this one is hot foiled! I love all of the new hot foil plates, and when you pair them with rainbow foil, you can create some instant and simple magic.
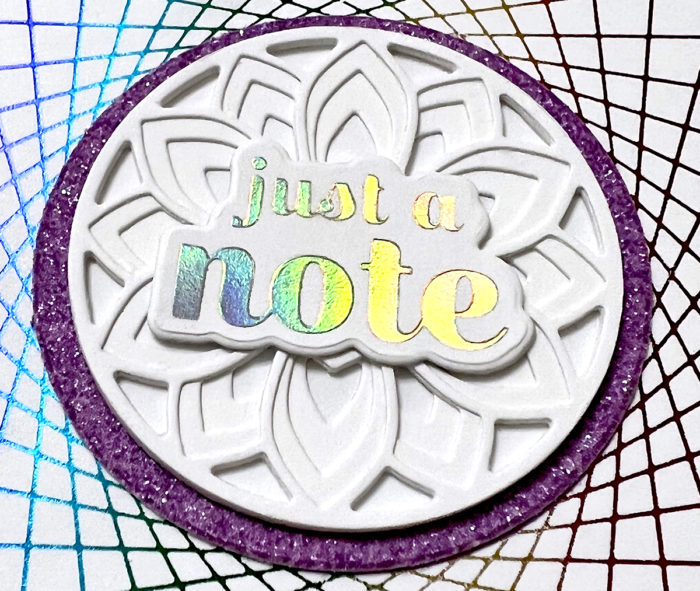
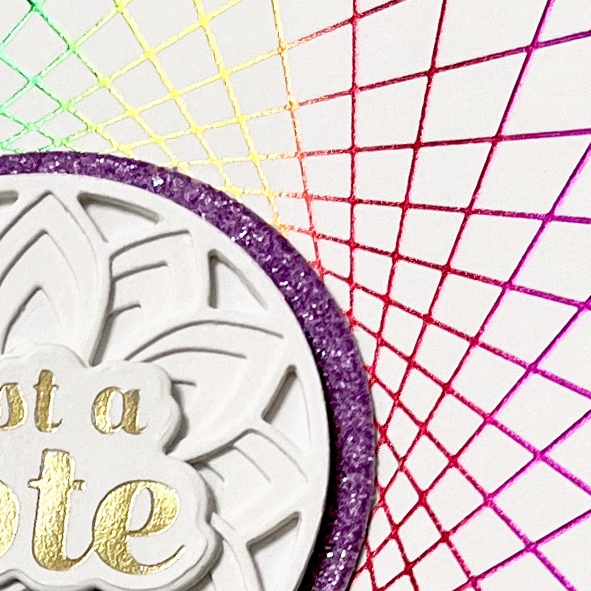
I started my card with an A2 sized panel of smooth white card stock. I hot foiled it using the String Art Frame plate and rainbow foil. So easy and so amazing! When you turn the panel around in the light, it catches all of the different colors of the rainbow. While I had my hot foil machine on, I also hot foiled the “just a note” sentiment using Aura hot foil. This hot foil color is also magical because it looks gold from straight on, but when it catches the light, it brings out the colors that are around it. I love that this sentiment has a matching die. I cut out a couple extra layers of white card stock with the die, so that I could stack the sentiment for dimension.
There is a center circle in the String Art Frame design where you can place the focal point of your card. This allows for so many different design options. I chose to use the interior circle of the Epiphany Plate Layer Set, and I cut each of the three layers out of white card stock. I also cut a plain circle out of white card stock that I placed behind the layers.
I cut the hot foiled panel down to 4″x5.25″ and adhered it to a purple A2 card base. To ground my central element, I cut a larger circle out of purple glitter card stock and then mounted the Epiphany layers and the sentiment on top of that.
Thank you so much for joining us today. I hope this card inspires you and brings a smile to your face!
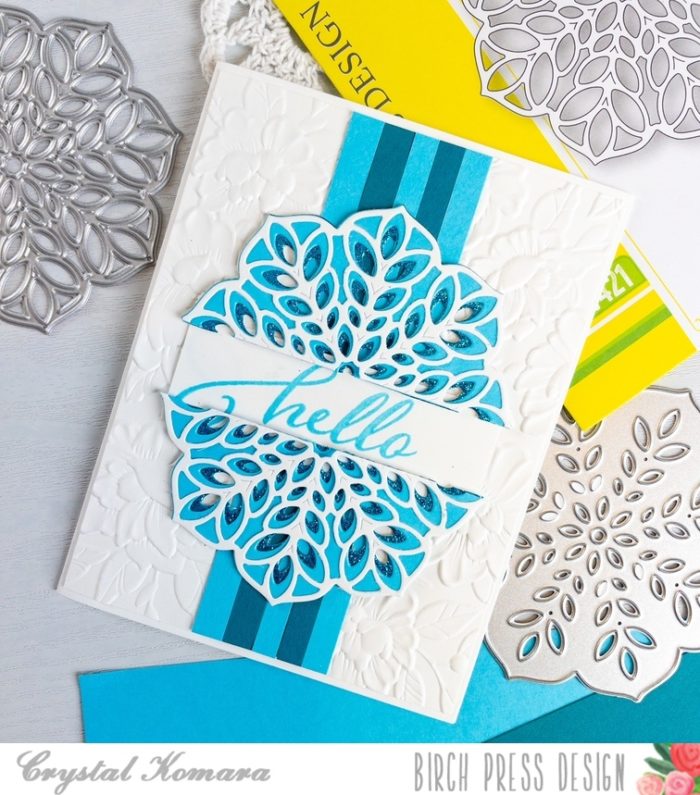
What’s great about working with monochrome colors is that if blue isn’t your color, try recreating it in red, or purple or green. The options are endless!
Card details:
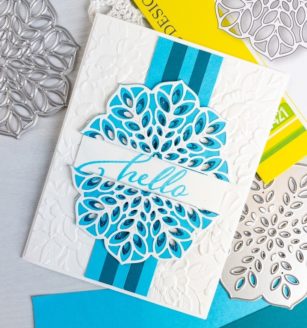
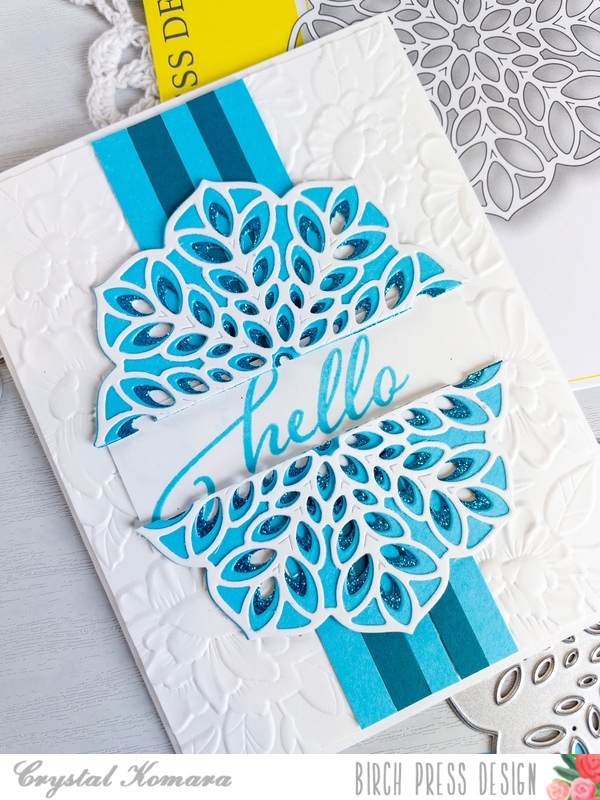
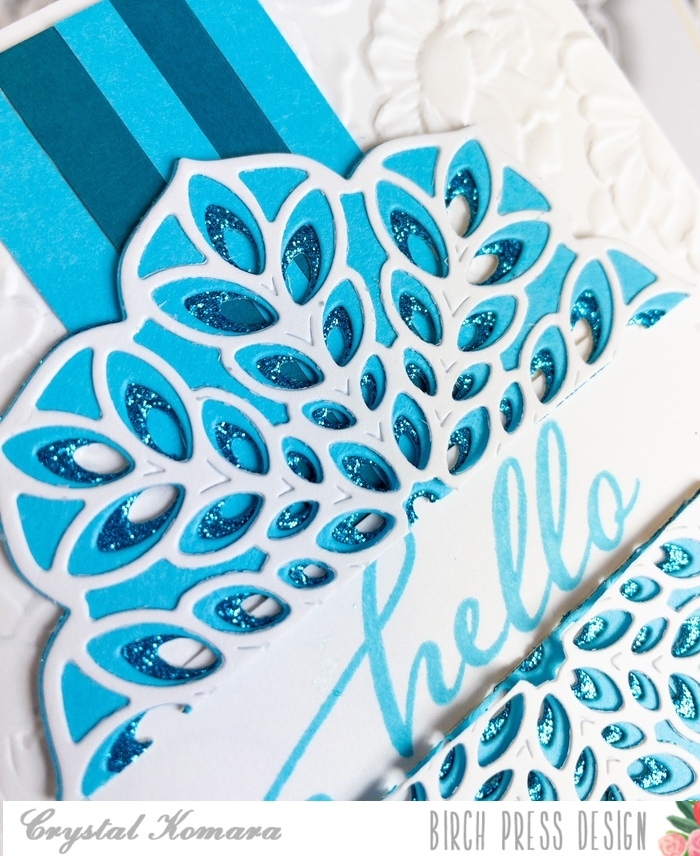
The base of this A2 sized card is made from 80 lb. Neenah Solar White smooth cardstock. I cut a 5 1/4″ x 4″ piece of the same white cardstock and ran it through my Big Shot using the Blooming 3D embossing folder from Memory Box. This embossed cardstock is the first layer of the card. I then used alternating pieces of cardstock from the 6″ x 6″ Ocean Blue paper pack. These strips measure 5 1/2″ x 1/4″. I used the same color cardstock to create the three layer Floral Star. I also added in a piece of glitter cardstock from the Twinkling Jewel Paper pack. I die cut Layer B from this glitter cardstock. I adhered all three layers of the Floral Star layering dies together with liquid glue.
I took a chance and cut the finished Floral Star in half hoping to make it the focal point of the card. I stamped “hello” in turquoise ink on a thin white strip of cardstock and placed it between the two halves of the Floral Star. I think it pulled the two halves together more cohesively.
I really like how this card came out, in fact, I think I’ll try it in a few other colors too!
Thanks for visiting and have a wonderfully creative day!
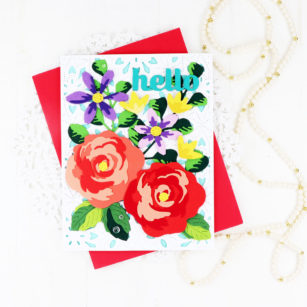
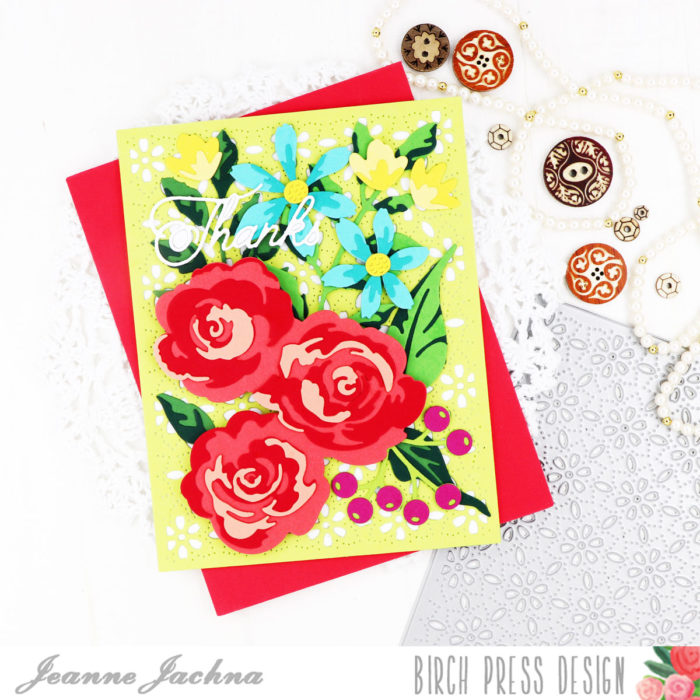
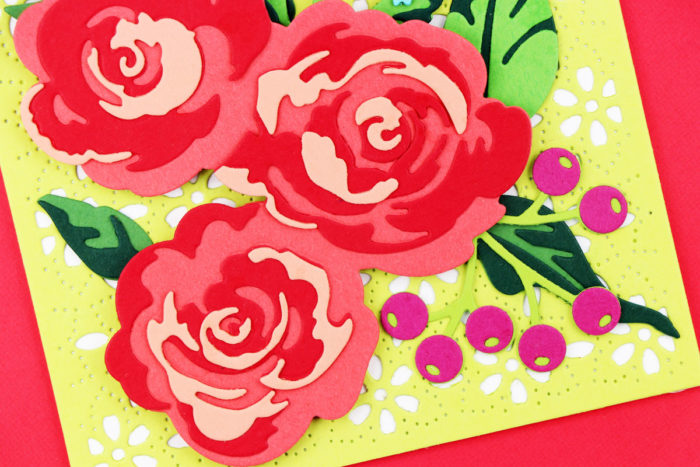
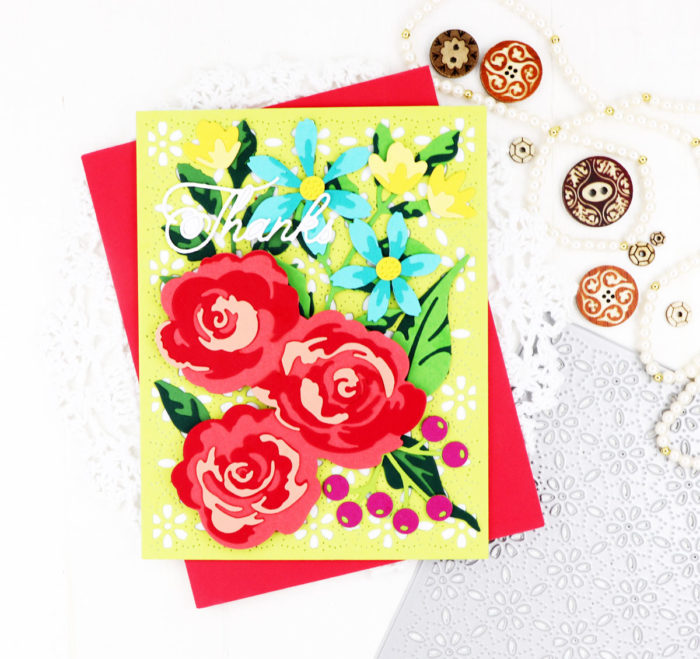
I’m smitten with flowers so I adore the last floral release from Birch Press Design. The flowers are generally all three layer and look great in any color combination. Each layer has embossed lines to help guide you in assembling them.
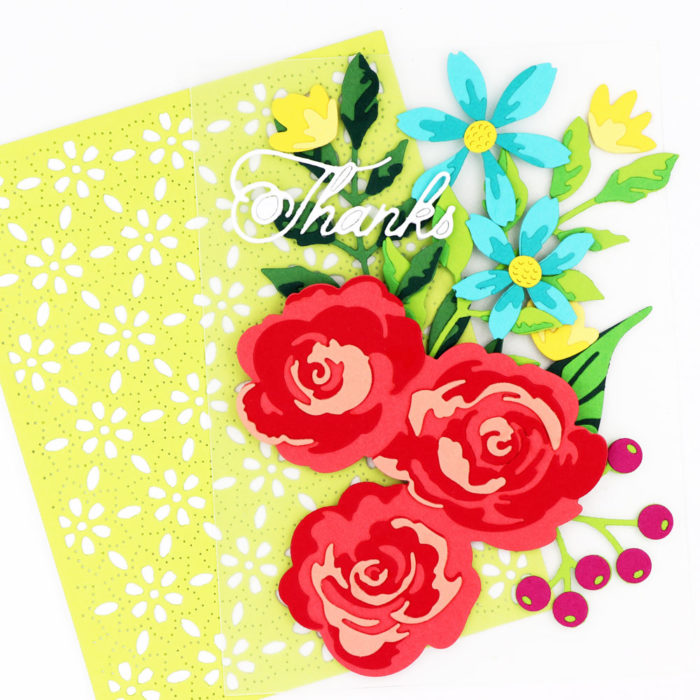
To get started I always cut and arrange several flowers in different shades so that later when I decide to make I have lots of assembled flowers to choose from.
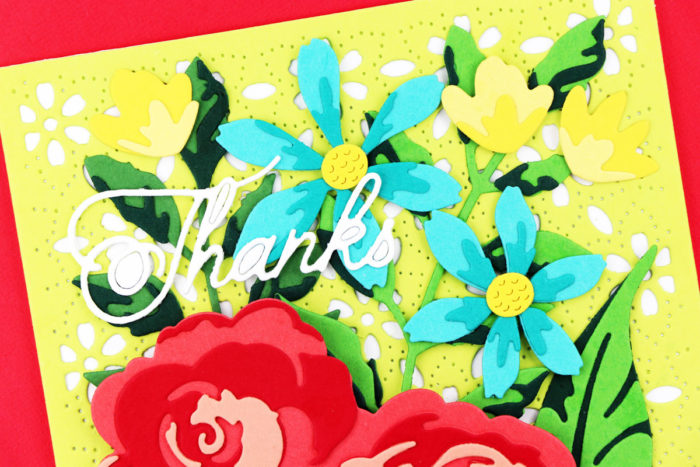
I like to assemble the images on a piece of plastic the size of my card front. The clear plastic makes it easy to pick up the entire arrangement and layer it over different backgrounds to help me decide which one I like best.
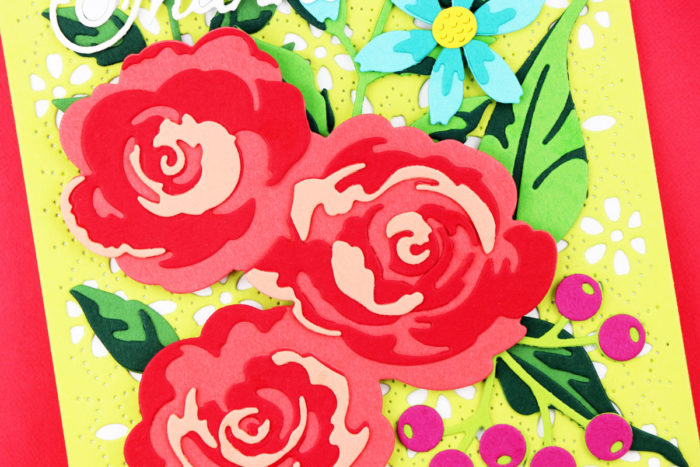
Because I cut the flowers ahead of time, before I make my cards, I find that I choose colors I might not have originally selected. Just as an example.. I wouldn’t normally think the plum colored berries would compliment the red roses, but they do, and I think they’re perfect!
If you look close you’ll notice I changed one of the Fuddled Leaf branches in the background. The color was too similar to the lime Flora cover plate so I selected a different shade for more contrast.
Enjoy creating your own floral bouquets with beautiful layered blooms from Birch Press Design!