Category: Hugs

  • Colorful Spring Hugs | by Colleen Balija

    Colorful Spring Hugs | by Colleen Balija

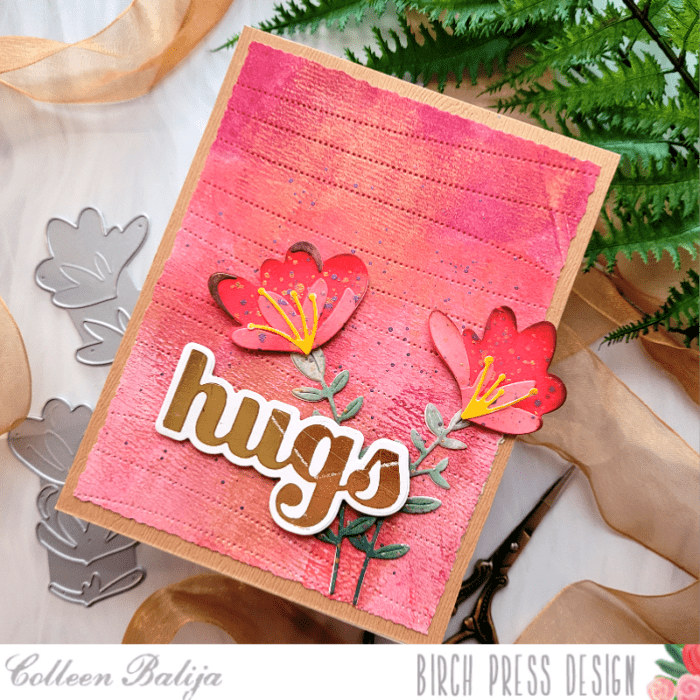
    Hi friends! With spring in full swing, I want to share a colorful and simple floral card to celebrate the bounty of beautiful color that’s about to descend upon us! I can’t wait!

    I will be using Jovial Blooms & Leaves, Pinpoint Contour Plate, and the Hugs Sugar Script die. Oh yes, and LOTS of bold color! All the supply links will be provided to you below at the end of my post.

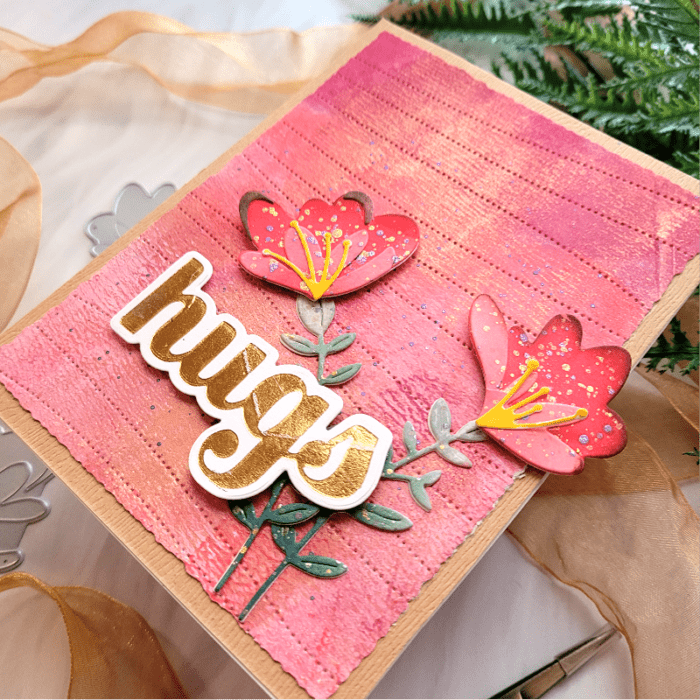
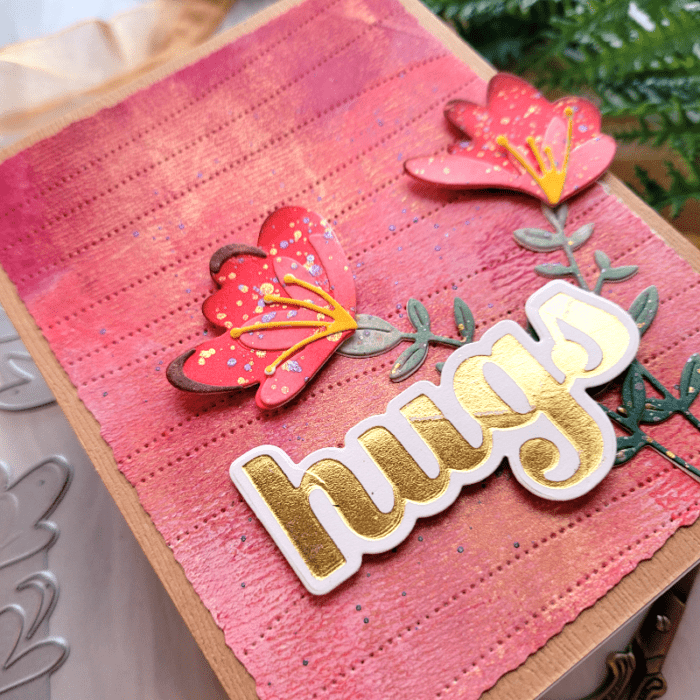
    First step for me is always to choose the colors for my card. Choosing the colors helps my creative process! I had a gelli plate card panel set aside that was in shades of coral, pink, and gold, so I decided to use that color palette and build my card from there. I took the colored card panel and die cut it with the Pinpoint Contour Plate to add texture and interest to the background. Then I trimmed it down using my deckled paper trimmer and placed it over kraft cardstock. Background finished! Now it was time to focus on the flowers and sentiment!

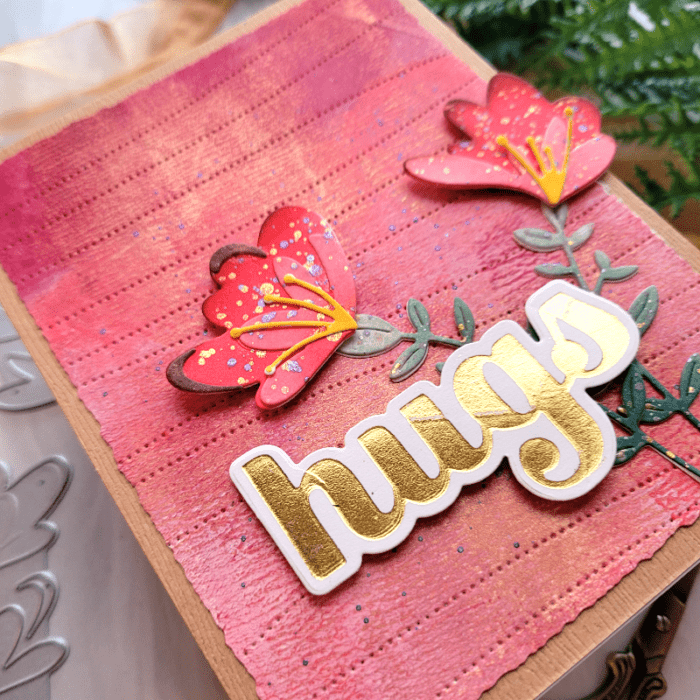
    I decided to go with a monochromatic look, meaning that the flowers would be the same color as my background. I die cut Jovial Blooms & Leaves onto white cardstock, and then ink blended each layer in shades of coral and the leaves in shades of green. I created an ombre effect by going from lighter to darker with my ink blending tool. I added brown ink to the tips of the flowers to help them stand out from the background color. Then I adhered the layers together and finished with gold and purple splatter using metallic paint, a paintbrush, and water. The splatter adds another level of detail and interest to the flowers. I added splatters to the background as well for a cohesive look. You can see the detailed ink blending and splatters in the photo below! These little extra details can take your flowers from average to outstanding!

    Once the flowers were dry, I placed them over the background card panel where I wanted them, and then adhered everything down. I finished with a Hugs Sugar Script die that was hot foiled with gold. The sentiment and flowers were popped up using foam tape. And the gold from the sentiment brought balance to the gold in the background and in the flowers! Can you see what I mean in the photo below?

    You could use any color palette to create a similar monochromatic look to your card. Just remember to add those little details to your flowers to help them stand out from the background! Thanks for stopping by!

    Supplies


  • Glittering Hugs | by Crystal Komara

    Glittering Hugs | by Crystal Komara

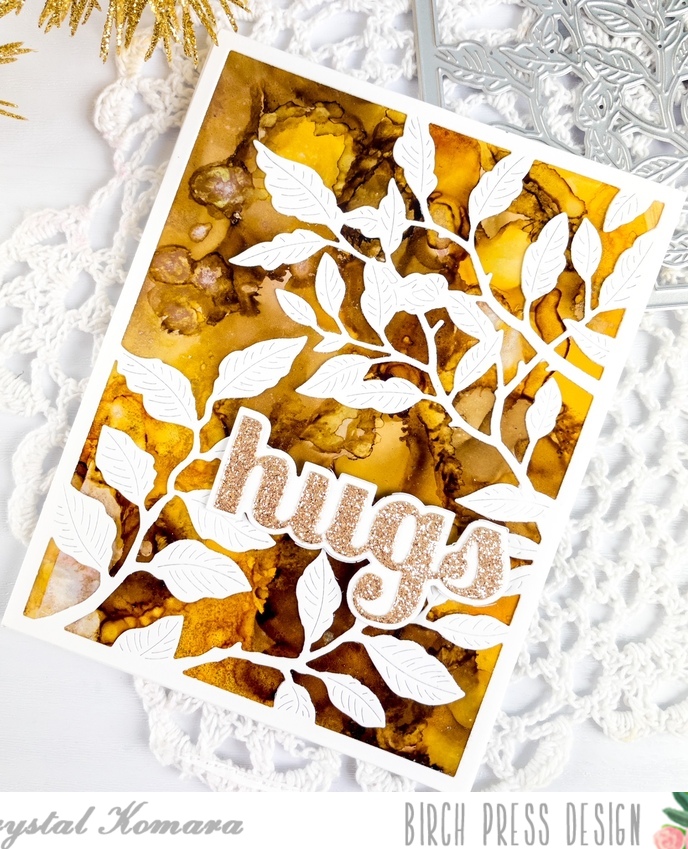
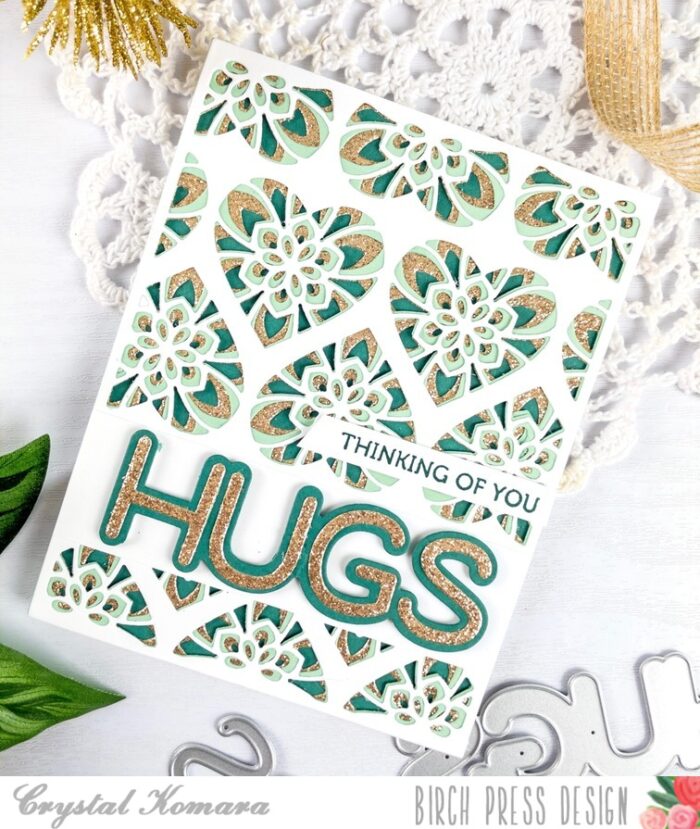
    Hello crafty friends and happy Wednesday! This is Design Team member Crystal Komara here with you today sharing some Valentine’s Day themed inspiration, but in non-traditional colors. I’m all for the lovey-dovey, over-the-top, red and pink hearts everything, but what if you want to tone it down just a bit and tell your friends you’re thinking of them? Well, keep reading because here’s my version of sending some love and hugs that isn’t so mushy-gushy romantic.

    First, I LOVE this color combination of mint green, teal green, gold and white. It’s classic and it’s elegant. You can also see what it looks like here with a Christmas themed card. Or here, where I added just a touch of baby pink color too! Clearly, it’s a combination I love as I have used it frequently.

    Card details:

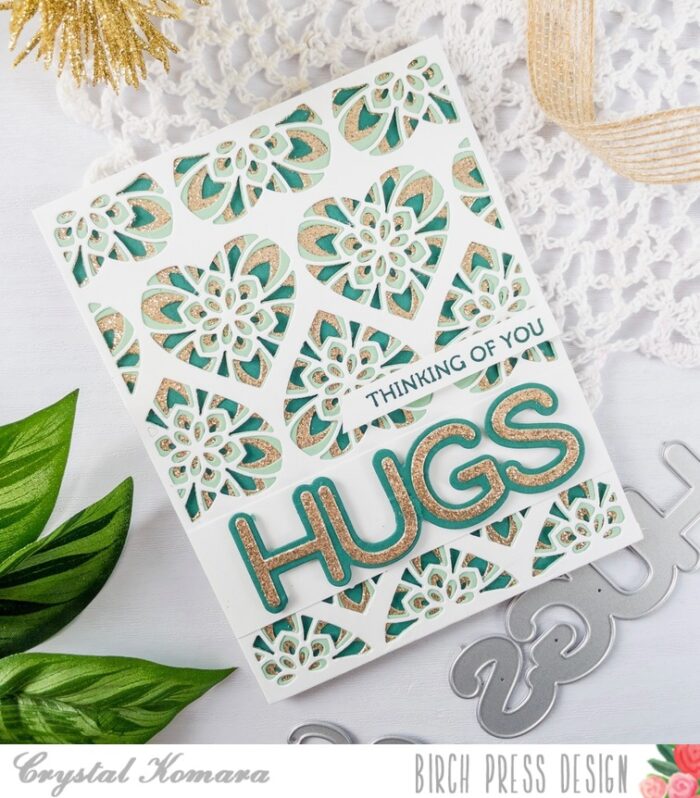
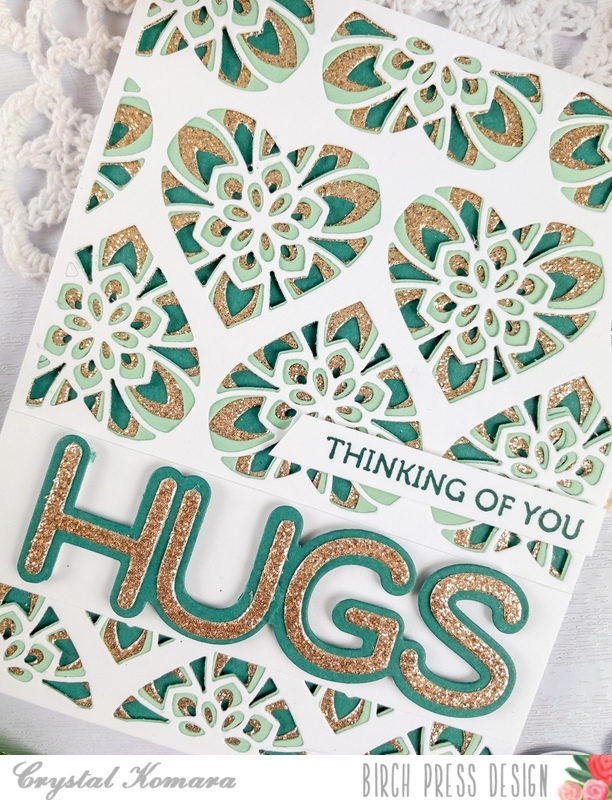
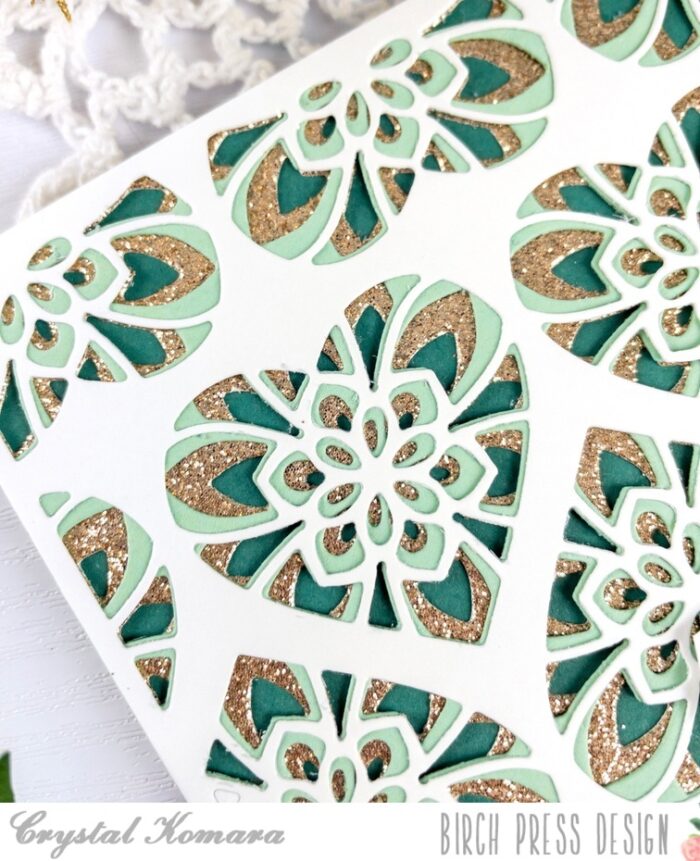
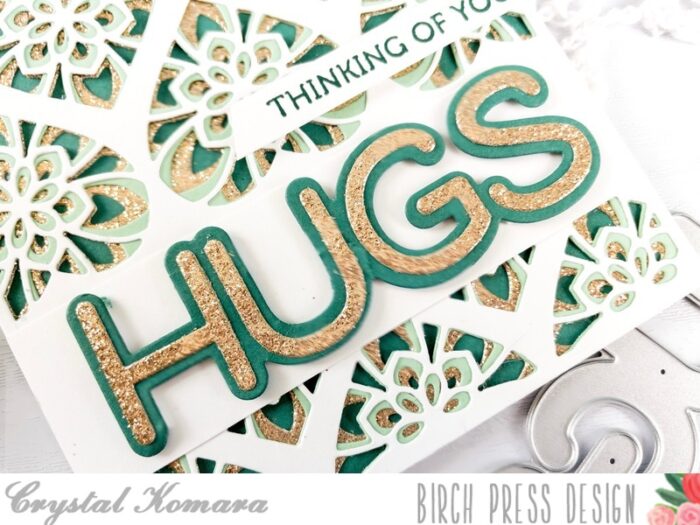
    The base of this A2 sized card is made from Neenah Solar White Smooth cardstock. This is my go-to white cardstock for e-v-e-r-y-t-h-i-n-g! It’s great for card bases, layering, die cutting, distress oxide blending and Copic coloring For the very first base layer I cut a piece of teal green cardstock to measure 5 1/4″ x 4″ from the Lush Green 6″ x 6″ paper pack. Using the Kinsley Heart Layering Plates, I cut Layer C (the bottom layer) from gold glitter cardstock. Next I cut Layer B (the middle layer) from mint green cardstock, also found in the Lush Green 6″ x 6″ paper pack.

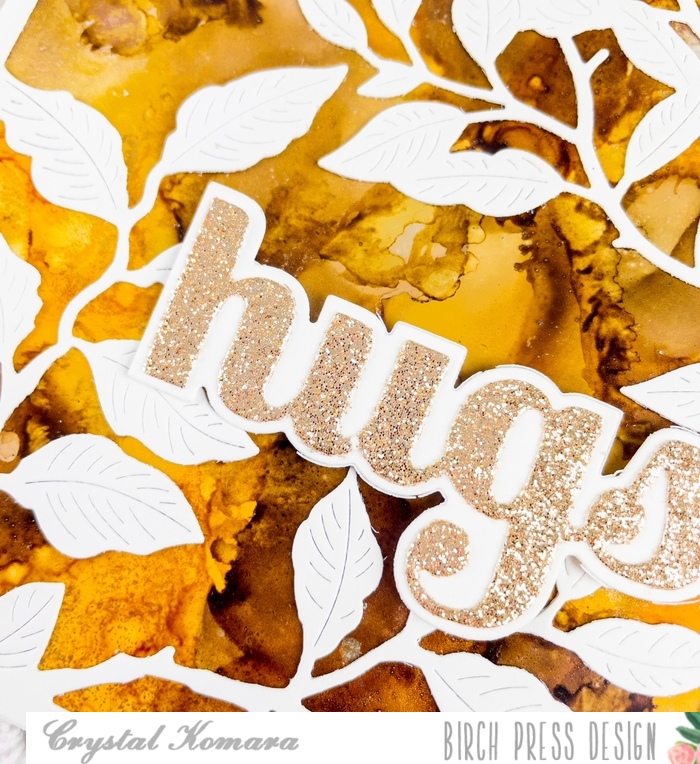
    I cut Layer A (the top layer) from white cardstock. I adhered all three layers together with a fine-tip liquid adhesive before adhering them all to the card base. I then cut a 5 1/2″ x x 1 1/2″ strip of white cardstock and adhere it to the bottom third of the card. This allowed me to place the words “hugs” onto a white background in order for it to stand out against the detailed die. I used the Big Lingo Type Hugs die here. I cut the bottom thicker layer from teal green cardstock and the top thinner layer from gold glitter cardstock. Lastly, I stamped the sentiment “thinking of you” from the Lingo Thanks Clear stamp set in teal ink on white cardstock. I adhered the sentiment strip to the card using 3M foam adhesive for added dimension.

    Gosh, I just looooooove this color combination so much. I hope you have enjoyed today’s card as well. Thank you for visiting and have a wonderfully creative day!

    Supplies

  • Hello Sweet Friend | By Natasha Vacca

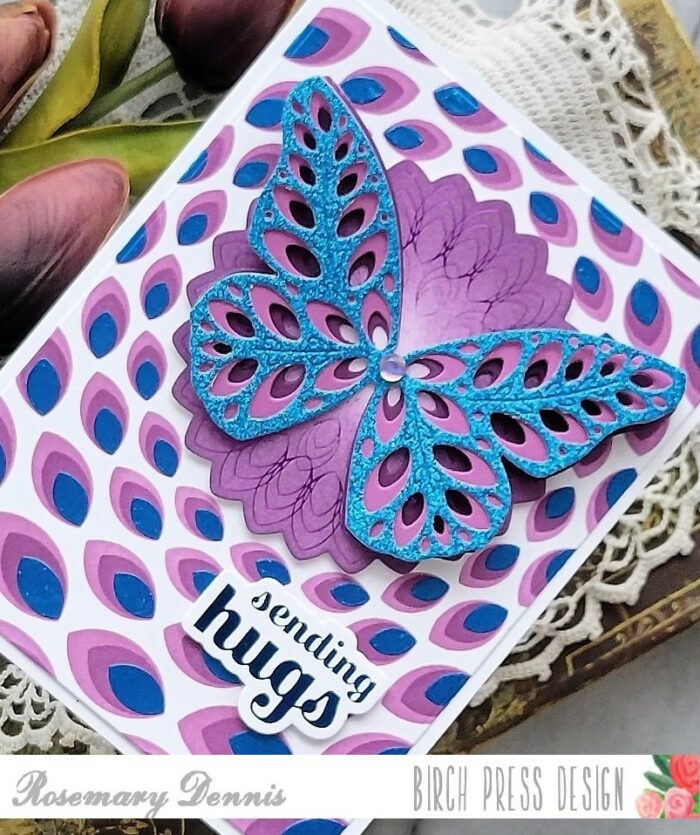
    Hello Birch Press Friends! I am excited to be up on the blog today sharing the gorgeous Eloquent Butterfly layering die set! I absolutely love this set and decided to use this set today with a mixed media vibe! I hope you enjoy it, let’s get started!

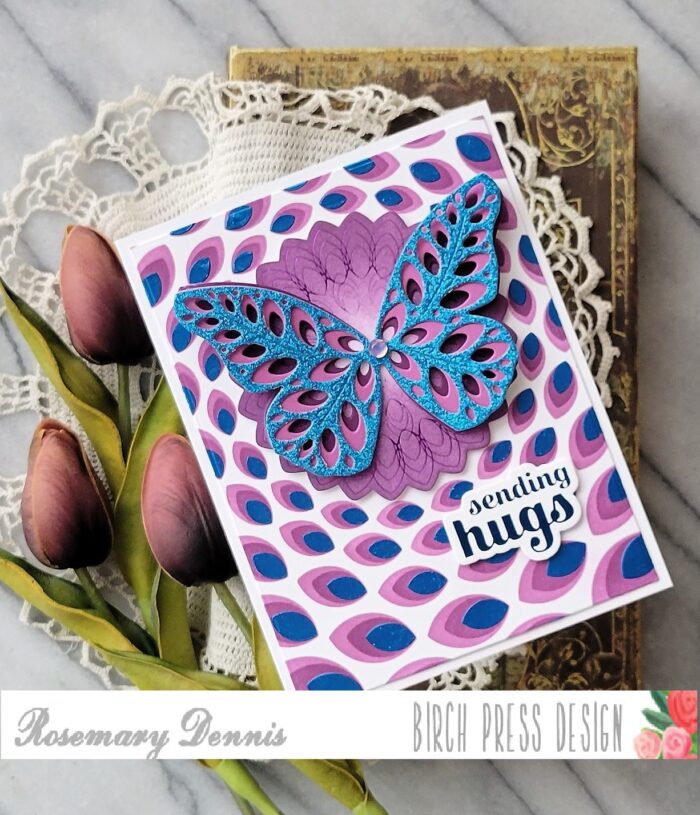
    I started with the beautiful Eloquent Butterfly layering die set. I die cut all 3 layers. First I die cut layer C using white card stock, layer B using white and an inked background from my stash, and then layer A using an inked background from my stash. The inked backgrounds were made using sprays. Once all the layers were die cut, I added dye ink to layer B and layer A. I feel this adds a bit more texture and definition to the layer. On layer A I also added a bit of embossing glaze for added texture. I then adhered all layers together and added foam tape. I then die cut the antennae for the butterfly from the Butterfly Basics die set using a piece of card stock from the Vintage Pastel Mirror pad and adhered this with liquid glue to the butterfly.

    Next I chose a gelli print from my stash and embossed the panel using the Flora Plate die set. I used Layer C from the set and followed the instructions in my die cutting machine to emboss the panel onto my gelli print. Next I distressed the edges of the panel using a paper trimmer, distress tool, and then inked up the edges with distress ink.

    I then added a bit more texture to the panel using metallic paint by adding splatters with my paintbrush. Next I added a bit more distress ink to the raised areas of my background panel using a blending tool.

    To complete my card I adhered the panel to an A2 card base. Next I added two strips of paper, one from an old book and another piece of gelli print. Both pieces were distressed using a combination of distress inks and embossing glaze. I added the Hugs Honey Script sentiment to my card. I die cut the shadow layer using white card stock and ink blended the shadow with distress oxide. I die cut the hugs sentiment 3 times using kraft card stock and adhered them together with liquid glue. I then ink blended the sentiment with distress inks. I added a sub sentiment from my stash. Both sentiments were adhered using liquid glue.

    Thanks so much for stopping by today! I had so much fun creating today’s card! I will be back soon!


    Supplies


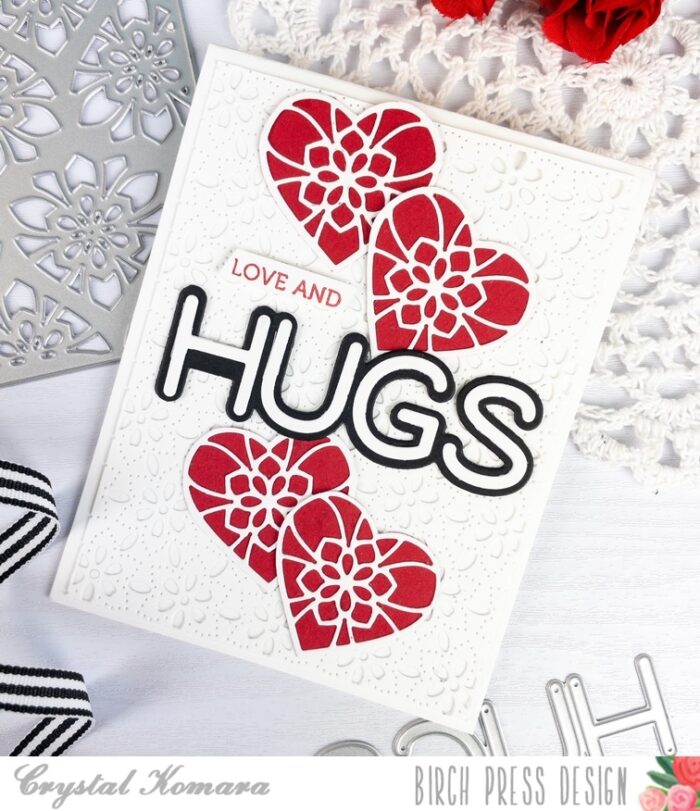
  • Love and Hugs | by Crystal Komara

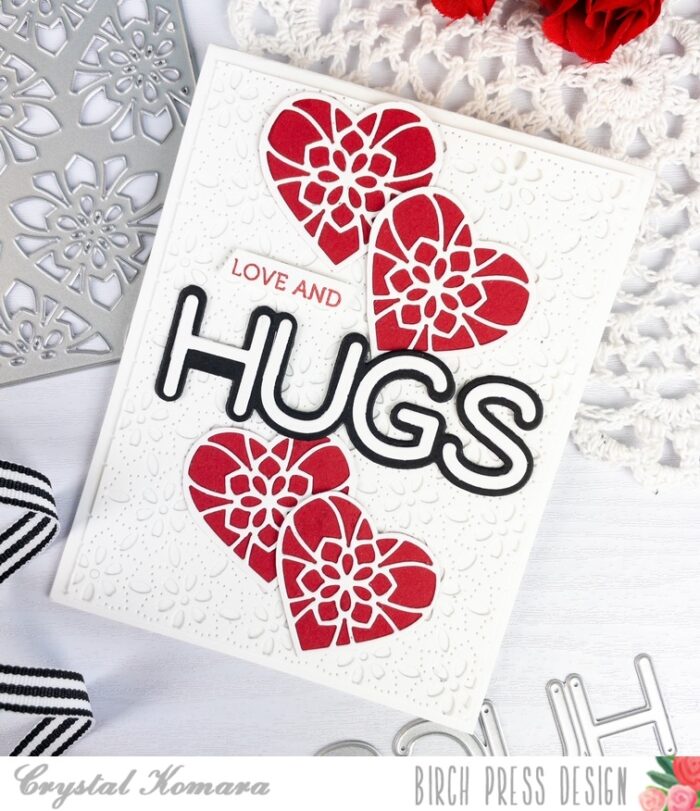
    Love and Hugs | by Crystal Komara

    Hello friends! This is Design Team member Crystal Komara here with you today sharing some inspiration for Valentine’s Day which will be coming up soon in February.

    Details:

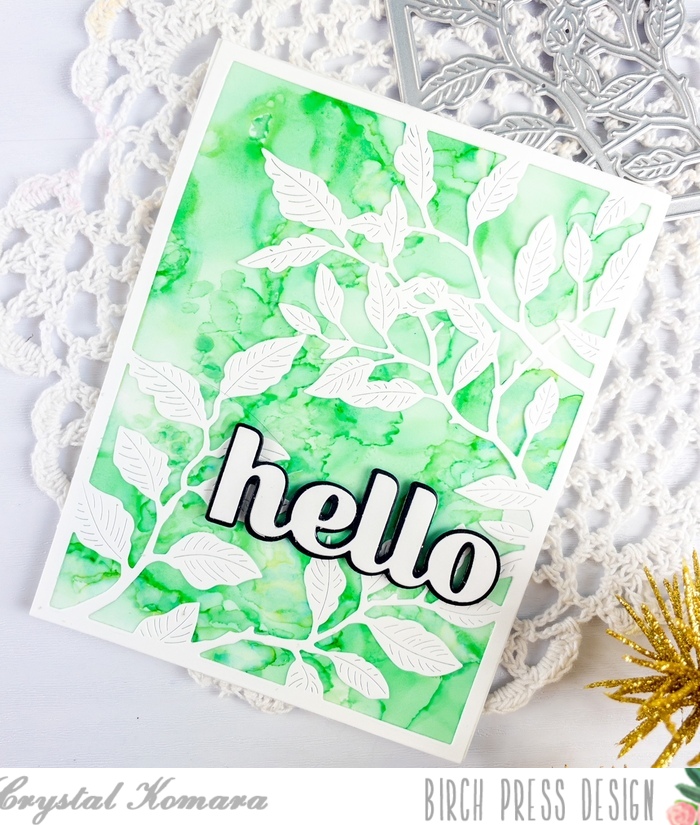
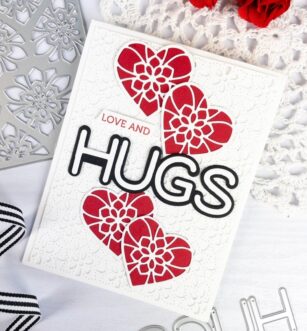
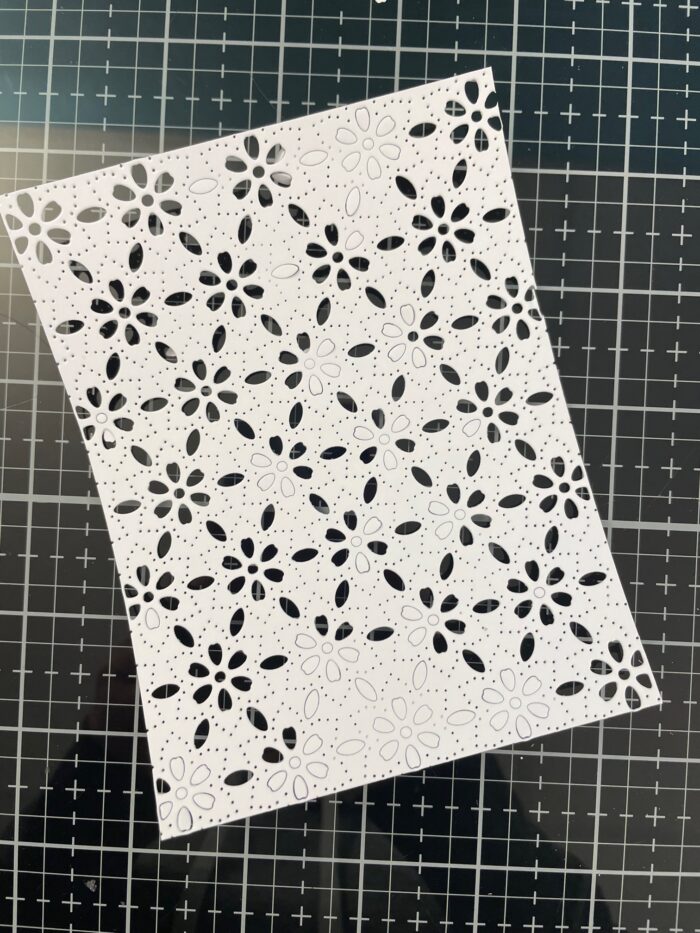
    The base of this A2 sized card is made from 80 lb. Neenah Solar White Smooth cardstock. Using the Flora Player Layer A, I die cut the first layer from white cardstock . As you can see from the image below, I had to do a fair amount of “poking” to get all the little pieces out! I adhered this piece directly onto my card base.

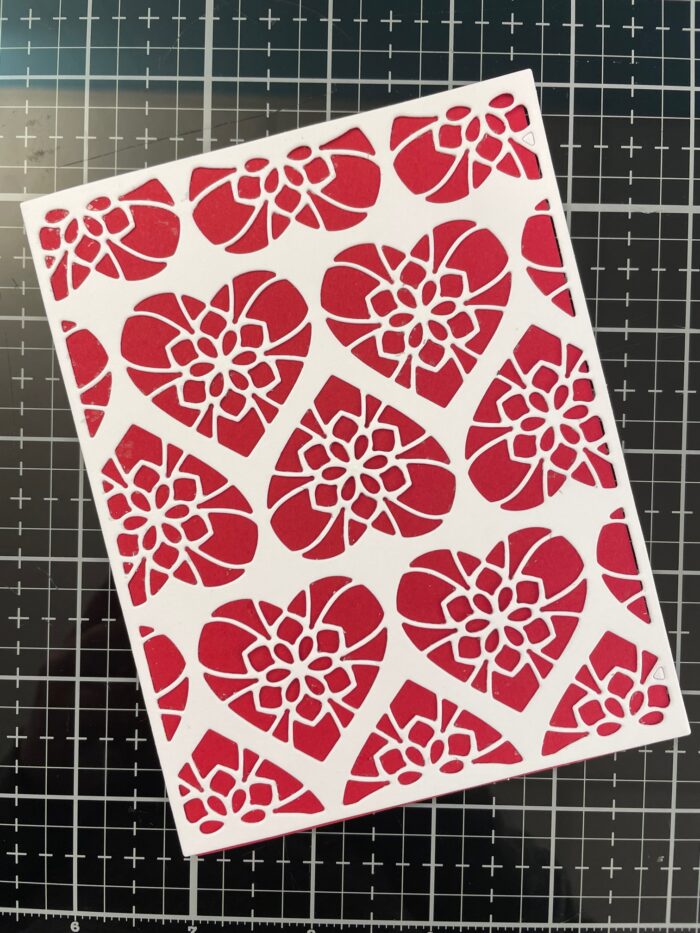
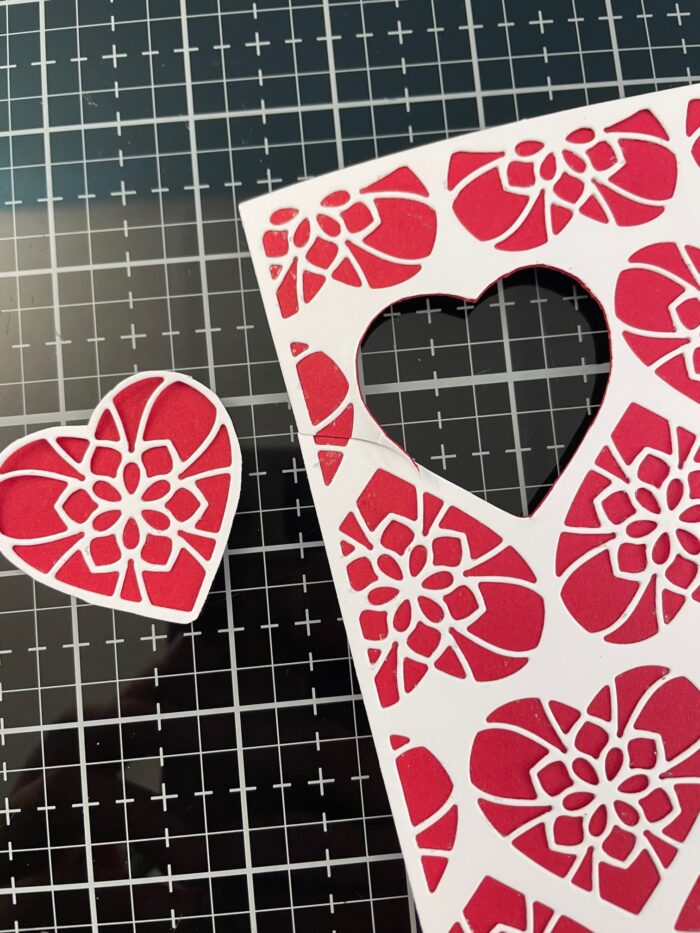
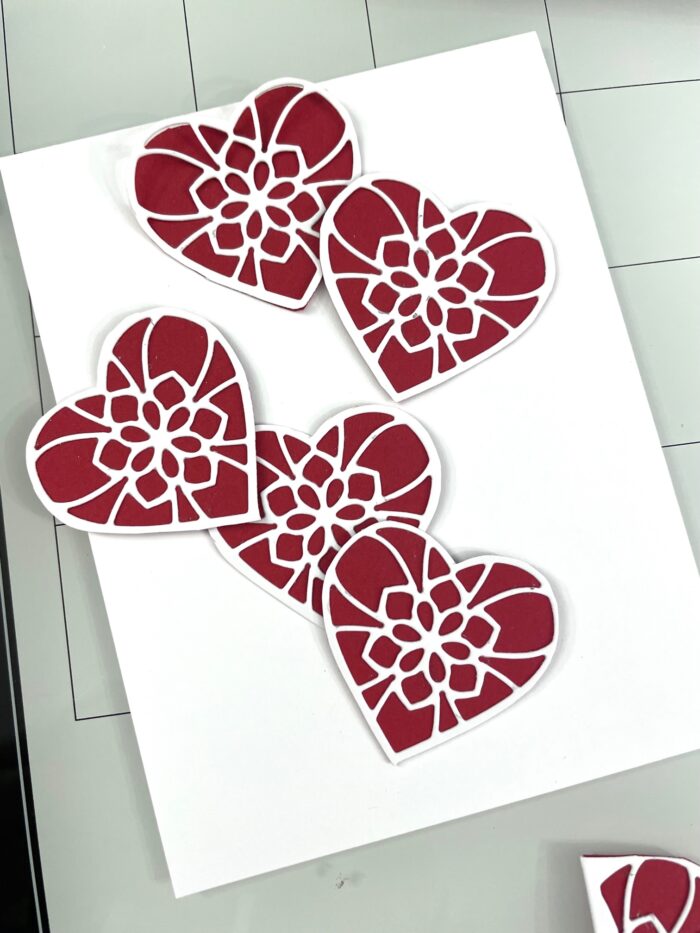
    Next I die cut Layer A of the Kinsley Heart Layering Plate from white cardstock. I adhered this over a sheet of red cardstock. Then I fussy cut the little hearts out.

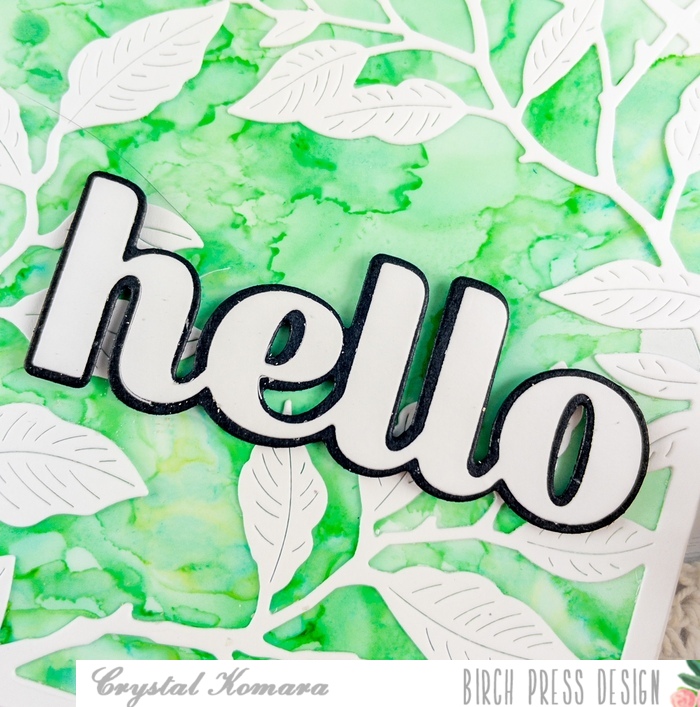
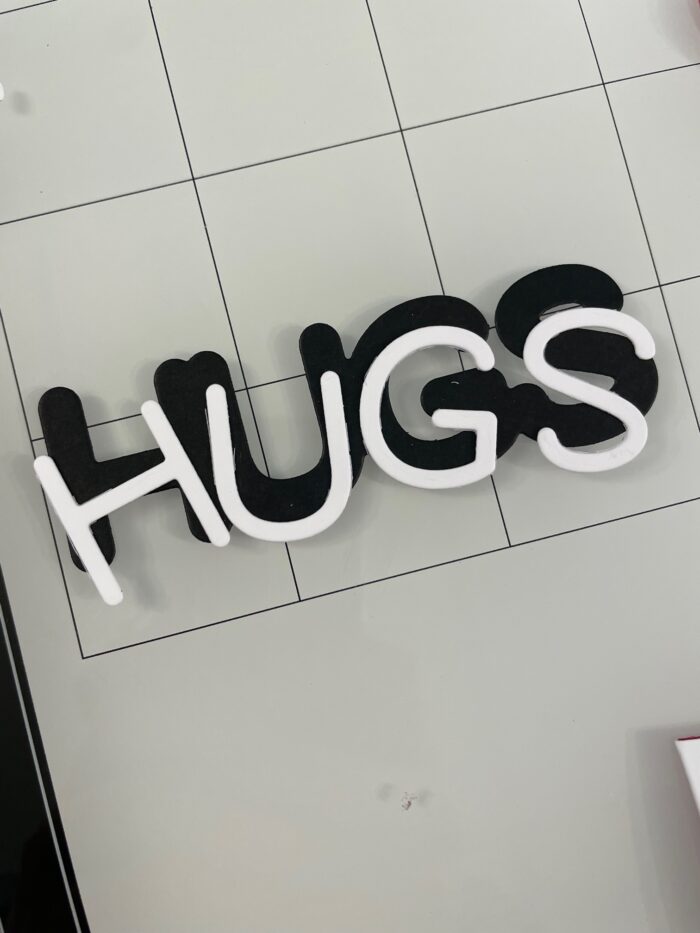
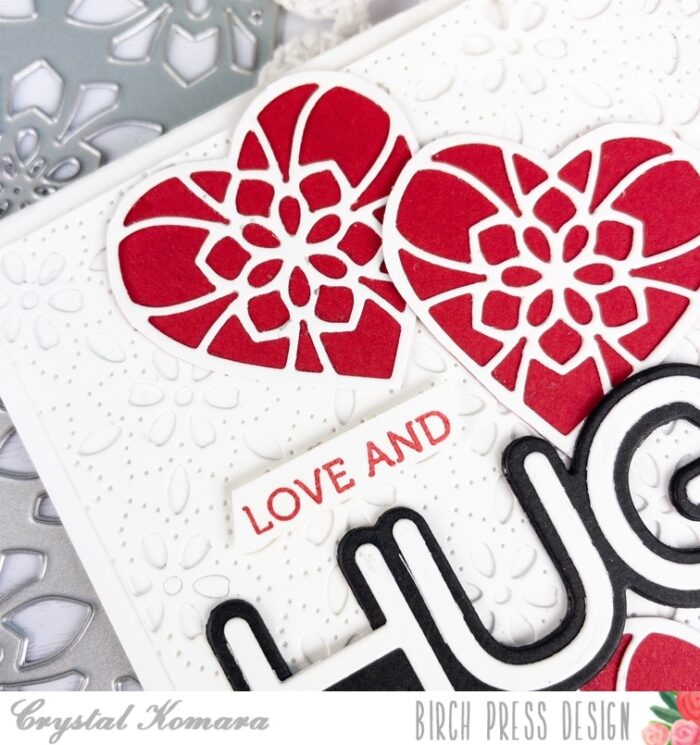
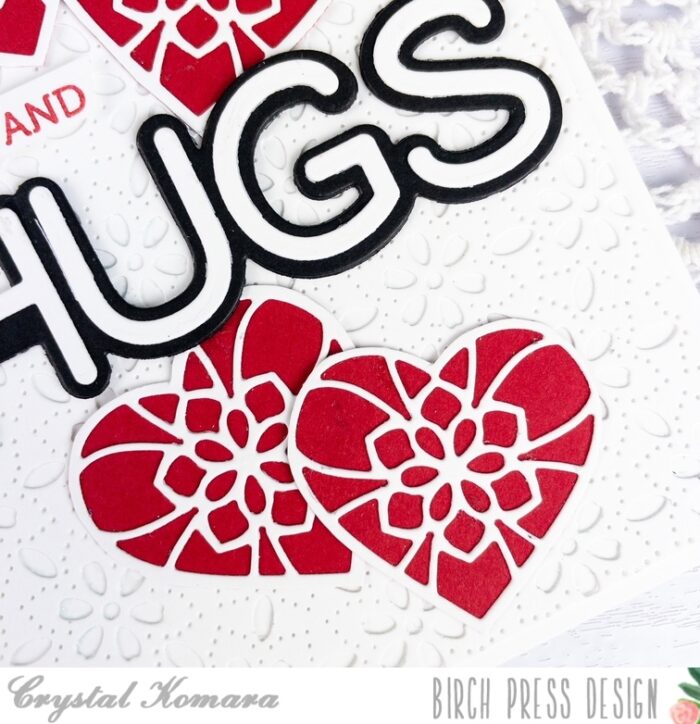
    I adhered the small hearts down the center of the card, only using four of the five I had cut out. Then, using the Big Lingo Type Hugs, I die cut the shadow background from black cardstock and the thin outline layer from white cardstock.

    I adhered the two layers together with a fine tip liquid adhesive. Then I stamped the sentiment “love and” in red ink on white cardstock. This sentiment is from the Lingo Thanks Sentiment stamp set. I adhered the sentiment to the card with 3M foam adhesive for added dimension.

    I wish you all love and hugs! Thanks for visiting and have a wonderfully creative day!

    Supplies

  • Hugs | By Rosemary Dennis

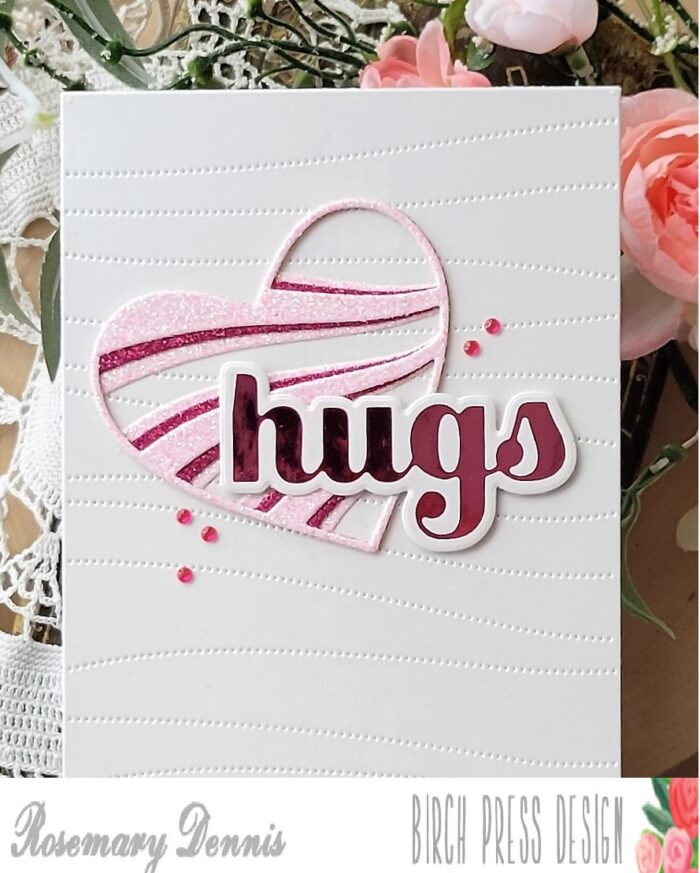
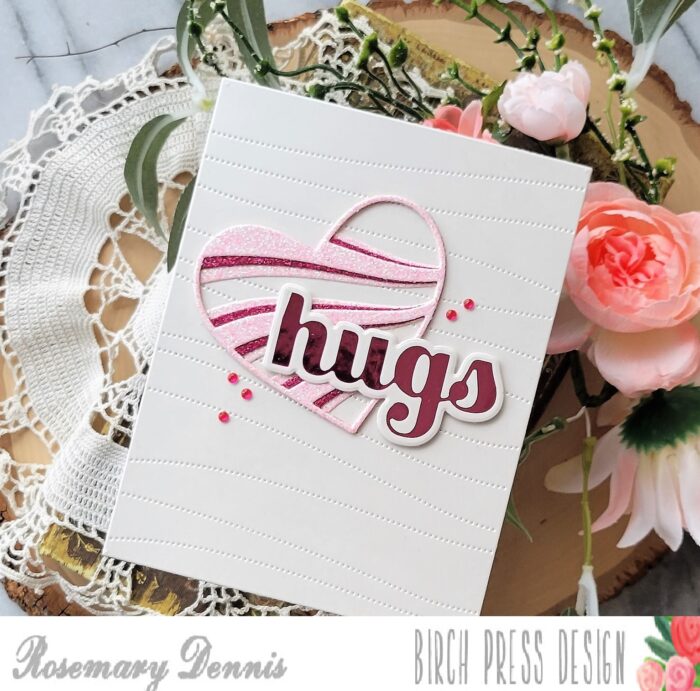
    Hugs | By Rosemary Dennis

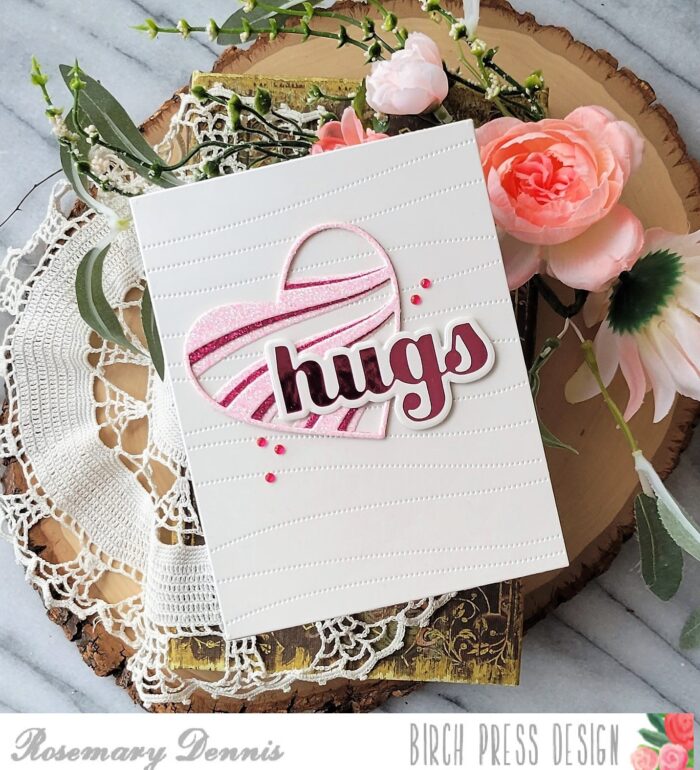
    Hello everyone! Rosemary here with my first post as a member of the Birch Press Design team. I’m so excited to be a part of this talented team. My style tends to lean towards clean and simple, but I like to mix it up and create in other styles as well. Today’s project is a clean and simple Valentine.

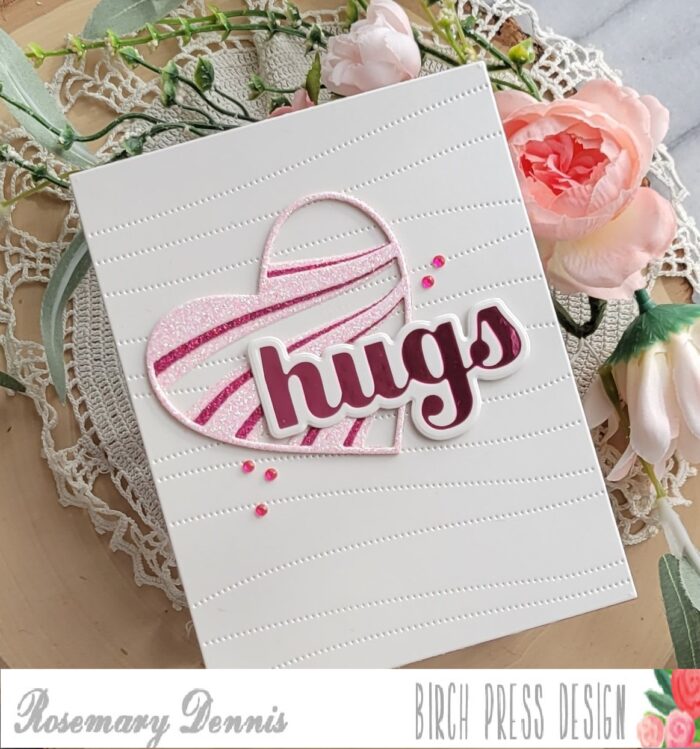
    For my card I used the sweet Banner Heart layering die set. I die cut layers A and C from pink glitter paper from the Delicate Pastel Glitter pad and layer B from the Glitzy Glitter pad from Memory Box. I saved all the fall out pieces and will be sharing the cards that I made with them in another post. I adhered all the layers with liquid adhesive and set the heart aside to dry. I took a piece of off white paper from the Vintage Pastel Mirror pad by Memory Box and die cut it with the Pinpoint Contour Plate.

    I adhered the Pinpoint Contour panel to a cardstock base using a strong tape adhesive. The Pinpoint Contour panel covers the entire card front and a little tip I have to making sure it goes on straight is to use something like a MISTI tool (I use a scoring board) to help with alignment. Simply place your card base in to one corner of your MISTI or scoring board so that it is securely up against two sides of the tool. Then take your Pinpoint Contour panel and carefully place it on top using the corner to help you keep things aligned. Once your panel is secured add the banner heart using liquid adhesive. Now it was time to decide on a sentiment. I decided to go with the Hugs Sugar Script hot foil plate and die set. I just love foiling. I used a scrap of the off white mirror cardstock and dark pink foil for the sentiment. I just love how well the foiling worked with the mirror cardstock. Definitely will be doing that in the future.

    I die cut the foiled sentiment and then adhered it to the card front. I used a combination of liquid adhesive and foam adhesive. The liquid adhesive was placed behind the part of the sentiment that rests on the heart and the foam adhesive on the other half. I decided to add a few dark pink Fairy Jewels as a little finishing touch.

    I hope you enjoyed my project today and that you are inspired to make a clean and simple Valentine for someone you love!

    Supplies

  • Rainbow Gilded Grace

    Rainbow Gilded Grace

    Hello, Birch Press Friends! I am thrilled to be back with you today sharing a few of Birch Press Design’s new products. Are you ready for some sparkle and shine?

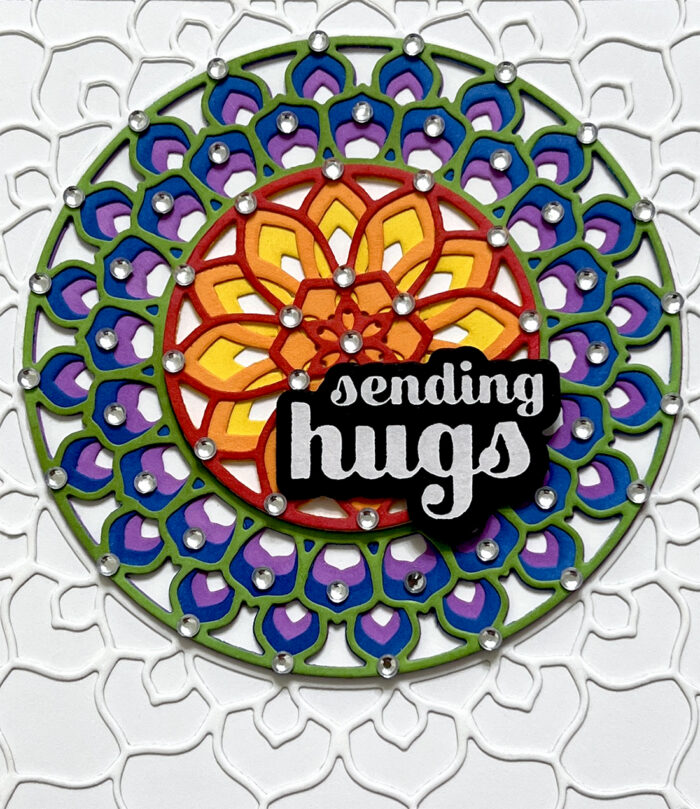
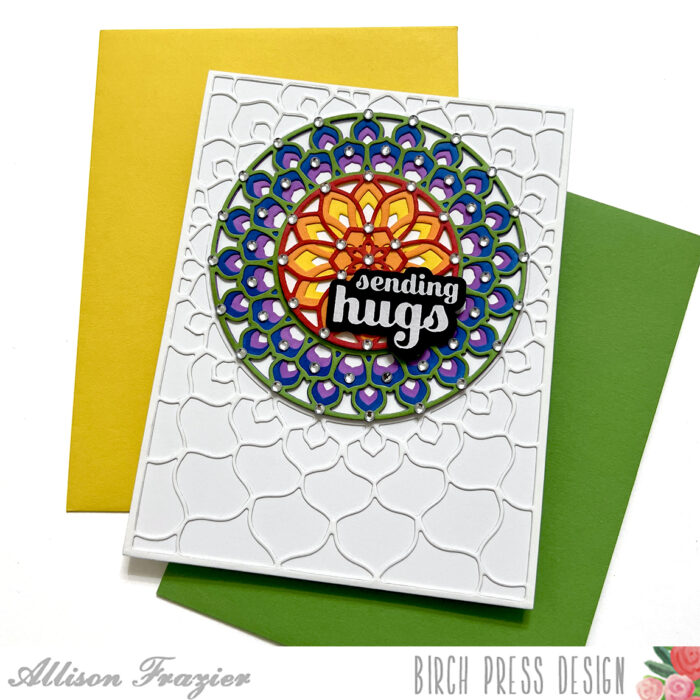
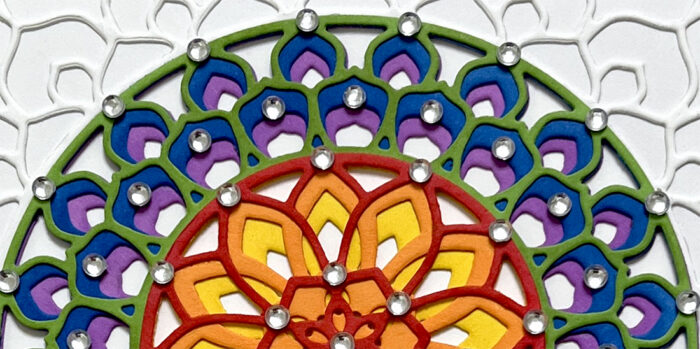
    I started with the gorgeous Gilded Grace Hot Foil Plate set. There are actually two plates in this set, along with a die that cuts the bigger circle. I foiled both plates onto smooth white card stock with gold foil using my hot foil machine. The results, even before coloring, are just gorgeous! But, there are matching stencil sets that help you color the design. There is one set of stencils for the “outside” design (what you see in blue and green on my card) and another set of stencils for the “inside” design (what you see in yellow and pink on my card). These stencils line up with the two different hot plates that come in the set. I used both for my card.

    I started by planning which colors would go where. I wanted a rainbow design, so working my way out, I determined that green and blue would be the “outside” colors. So, I used that stencil set to color the main panel. I did have to be a little careful towards the bottom when I was working on the two different colors, but it was fairly easy to keep them separate by using small blending brushes. I used three different shades of each color, as there are three layering stencils in each set.

    Before coloring the “inside” colors on the panel that I foiled the big circle on, I used a circle die to cut out the inner circle (where you see pink on my card). This made it easier to keep the pinks and yellows separate while ink blending. When I was finished ink blending the yellow piece, I also cut that out with a circle die. I was then able to give dimension to both of these circles by stacking additional circle dies behind them before glueing them onto the main panel. I just love the results of adding that dimension!

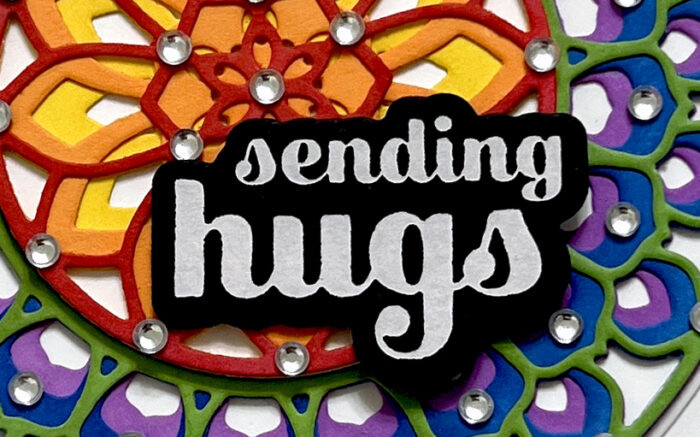
    I used some pink paper from the Vintage Pastel Mirror Pad to gold heat emboss the sentiment, which comes from the Rainbow Days Lingo Notes stamp set. I then cut it out with a small circle die and glued it to the center of the pink blended design. I finished the card by adding some fairy jewels in matching colors to tiny circles in the foiled design.

    Thank you so much for joining us today. I hope this card inspires you and brings a smile to your face!

    Wishing you a crafty day,
    Allison


    Supplies


    Supplies

  • Colorful Eucalyptus Stem & Berries | By Natasha Vacca

    Hello Birch Press friends – it is Natasha here and I am excited to be up on the blog today! Today I am using the beautiful Eucalyptus Stem and Berries Contour Layers die set! I love this set and had so much fun creating colorful leaves and berries on today’s card! So let’s get started!

    I started by creating colorful backgrounds using dye based pigment powders. You can create a similar look by using powders, inks, watercolors, whatever you have in your stash! I always work in layers to create texture within my backgrounds! Once I had my backgrounds created, it was time to do the die cutting! I love the Eucalyptus Stem and Berries set and this set was perfect to create some colorful leaves/berries! I die cut 4 leaf stems and 3 berry stems! On the berries I also die cut the “add on” berry layer. I love the added texture this provided! I adhered these to my berry stems using liquid adhesive! I set my leaves and berries aside to work on the background panel of my card!

    Next I looked through my gel print stash! I found a light colored gel print, as well as a page from a book. I used both of these to create a background. I tore the section of the book panel gel print and adhered this to the other gel print. Next I die cut a piece of white card stock using the Viola Plate die set. I chose to use Layer A. I love these layered sets, as you can use all 3, as well as choose only 1 layer for a beautiful look as well! They are truly versatile!

    I glued Layer A of the Viola Plate (White card stock) on top of my gel print backgrounds! I love the subtle touch of texture this provides, as well as the softness of the beautiful die cut!

    Next I adhered the background panel onto an A2 card base. I then decided on the placement of the leaves and berries. Then I adhered them to the card front using both liquid glue and foam tape. I love the added dimension on the leaves and berries!

    To complete my card I chose the Hugs Sugar Script Hot Foil Plate and die set. I foiled the hugs sentiment using a pink foil from my stash and then die cut the sentiment using the included die in the set! I added a few Fairy Drops to complete my card!

    Thanks so much for stopping by today! I had a lot of fun! I hope today’s card inspires you to create! I will be back soon!


    Supplies

  • Dragonfly Hugs

    Dragonfly Hugs

    Hello, Birch Press friends! Allison here, and today I’m sharing a card featuring some of my favorite products from the latest release.

    I started by embossing a navy panel of card stock with the Ringadings 3D embossing folder. I love the texture this embossing folder gives! I then die cut a bunch of kelly green leaves from the Tiny Tuft Flowers and Leaves Contour Layers set. I also cut the same leaves from a darker green card stock. I layered those by glueing only the thinnest part of the leaves together, while also slightly offsetting them. I glued the bottom, darker leaf to the card panel. The top layer lifts up off the card and gives great dimension.

    Next, I used white and dark pink card stock to cut the wings from the new Simple Dragonfly Contour Layers set. I am in love with these dragonflies! I cut the bodies from gold metallic card stock. I adhered the layers together, only glueing them in the centers. I glued only the body to the card panel. This allows the wings to lift up off of the card, similar to the leaves.

    I added some gems to the dragonflies to give them a bit more detail. I also added some gold gems around the panel. The small, white die-cut embellishments are the centers of the flowers from the Pimpernel Contour Layers die set.

    The sentiment is the Hugs Sugar Script Hot Foil Plate. I foiled it with a brassy gold color and then cut it out with the matching die.

    Thank you so much for joining us today. I hope this card inspires you and brings a smile to your face!

    Wishing you a crafty day,
    Allison


    Supplies

  • Hot Foiled Hugs | By Allison Frazier

    Hot Foiled Hugs | By Allison Frazier

    Hello, Everyone! Look who has hot foil plates now! We are very excited to be able to show off these gorgeous plates and how hot foiling can complement the rest of the beautiful Birch Press Design products.

    Not only are there sugar script hot plates, but one of my favorite background dies is now available as a hot foil plate, too. And that is what I started this card with. I took a piece of smooth white card stock and hot foiled the String Art Frame plate with copper foil. This foil looks gold in the pictures, but that’s the wonderful thing about foil – it changes color and luminosity as the light hits it. The hot foiled image came out crisp and beautiful on the first try, so I set that aside.

    Next, I foiled the hugs hot foil plate with the same copper foil onto the same white card stock. I cut it out with the matching die that comes with the plate. It came out gorgeous! The hugs sugar script die has always been one of the most used sentiments in my stash, and I know that this hugs hot foil plate will get just as much use.

    To ground my sentiment in the center of the string art frame, I cut two circles from yellow and orange card stock. On the smaller yellow circle, I stamped a partial sentiment from the Kind Hearts stamp set. The full sentiment is “Sending you sunshine, laughter & hugs.” In order to stamp just the “Sending you,” I masked off the rest of the stamp with washi tape, inked the stamp with VersaMark ink, removed the washi tape, and then stamped it onto the yellow circle. I then heat embossed it with white embossing powder. I assembled the two circles together, glued the hugs sentiment below the stamped sentiment, and adhered it onto my foiled panel. I then adhered the panel onto a hot pink A2 card base.

    To embellish the card, I die cut three butterflies using the Simple Butterfly Contour Layers die set. I cut the larger layers from vellum and the top layers from white card stock. The bodies of the butterflies were actually cut from the same copper hot foil that I used on the rest of the card. If you have a solid hot foil plate in your stash, you can easily create solid foiled pieces of card stock. As a final embellishment, I added colorful fairy jewels to the butterfly bodies.

    In this last photo, you can see the copper color of that foil. Again, it just depends on the lighting – the foil gives the card such a dynamic feel. I hope you’re all as excited as we are about these new hot foil plates. Thank you so much for joining us today. I hope this card brings a smile to your face!

    Wishing you a crafty day,
    Allison


    Supplies

  • Fresh Floral Wreath | By Dilay Nacar

    Fresh Floral Wreath | By Dilay Nacar

    Happy Monday, crafty friends! Dee here today sharing this fresh floral card featuring the Star Flowers dies from the latest Floral Contour Layers collection! 

    I started by cutting Layer A, B, and C of the Petal Triangle dies twice, then adhered them (mirrored) onto a piece of white cardstock that I cut down to 5.5” x 4.25”.

    Next, I cut layers A, B, and C of the Tranquility Layer die (saving the center circle for a future project, then adhered it to the center of the two triangles. 

    I cut the Star Flowers Contour Layer dies twice in yellow cardstock and once in coral. I layered each flower then adhered them together and onto the Tranquility frame. Next, I die-cut leaves from the Dainty Rose and Leaves dies set in shades of teal then adhered them tucked behind the flowers. 

    For the sentiment, I die cut the Handwritten Hugs in gold glitter cardstock and adhered it to the card with foam tape. As a finishing touch, I added embellishments in coordinating colors to the center of each flower! 

    Thanks so much for joining me today!