Category: Layered Background Die

  • Mixed Media Tag | by Rosemary Dennis

    Mixed Media Tag | by Rosemary Dennis

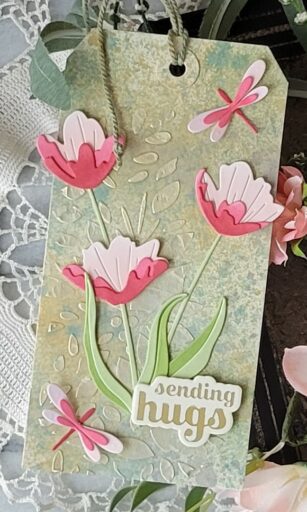
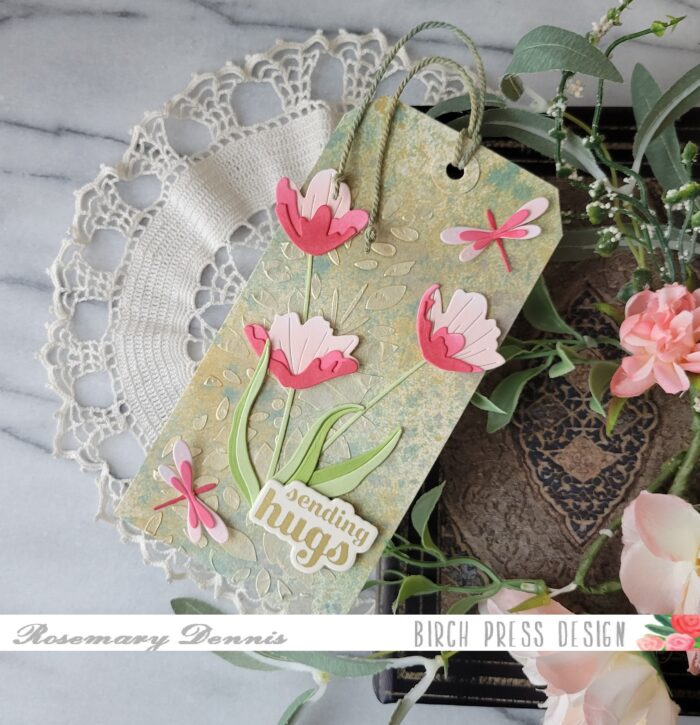
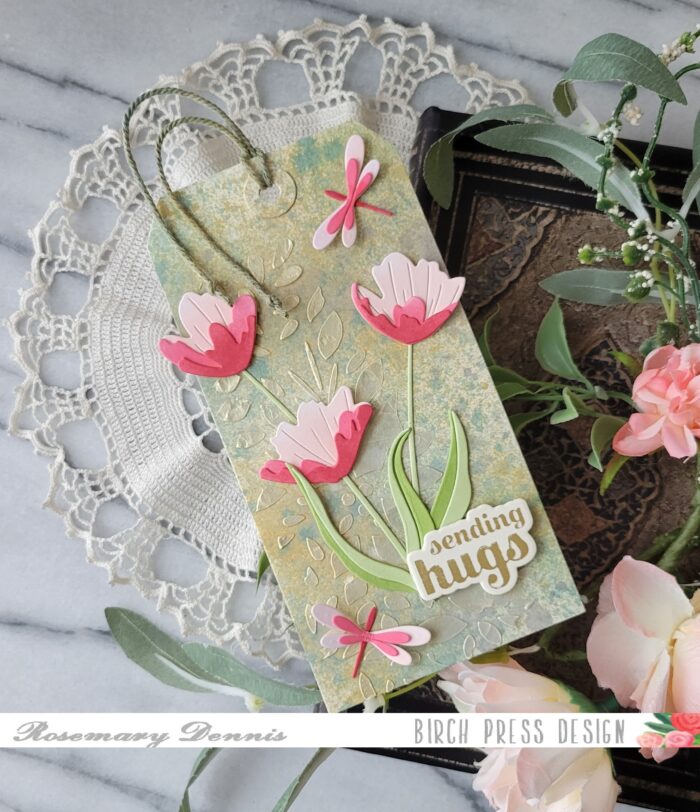
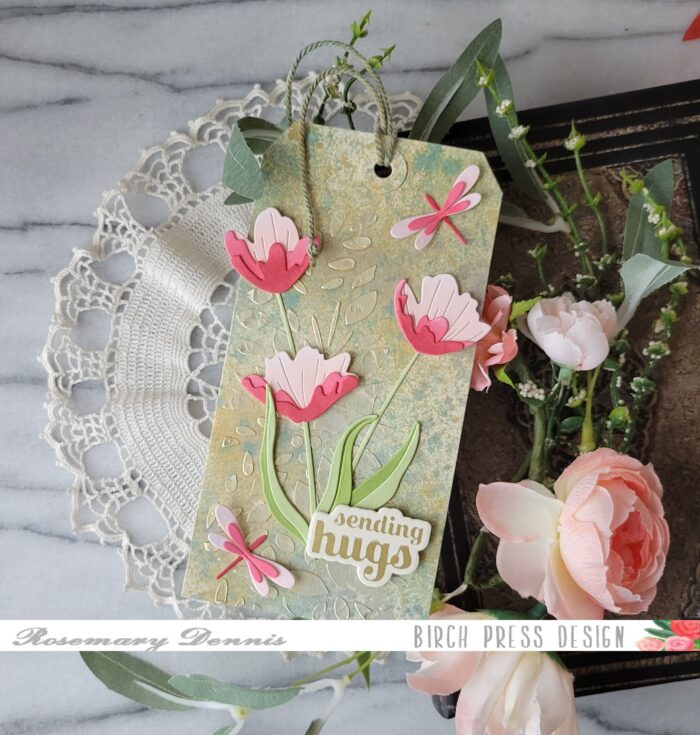
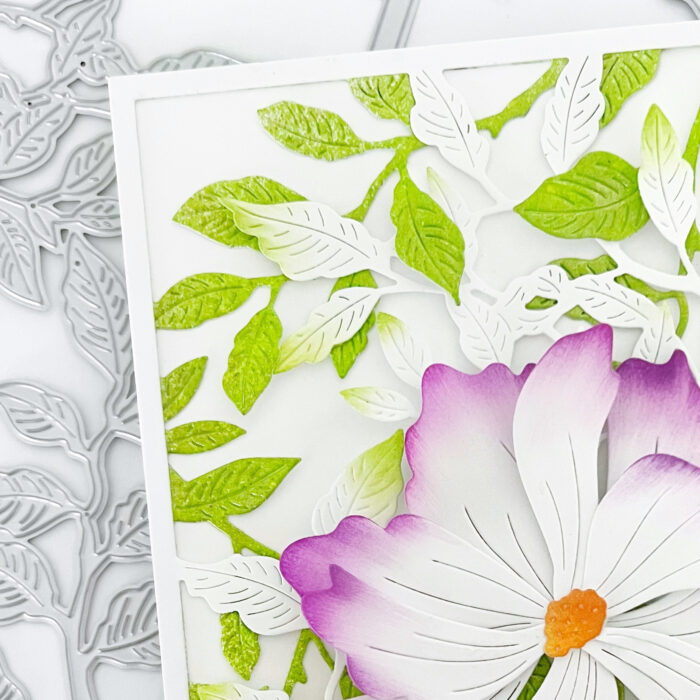
    Hello everyone! Rosemary here on the blog today. Hope everyone had a lovely Valentine’s day. I did as I got several things that I love! Today I’m sharing a tag that I created using several different techinques. I used the new Early Blossom Contour Layers dies, as well as the Simple Dragonfly Contour Layers dies and the layer A of the Herbarium layering die set. I had a lot of fun creating this tag!

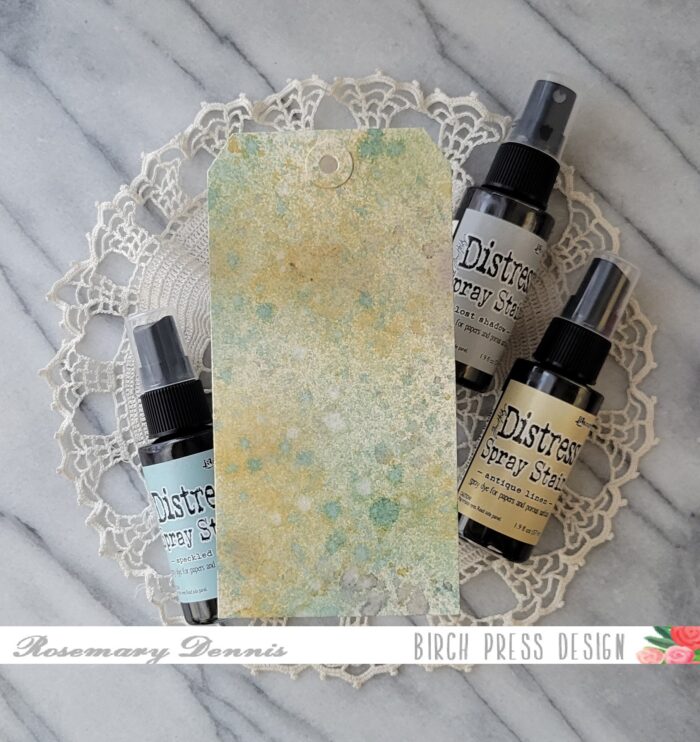
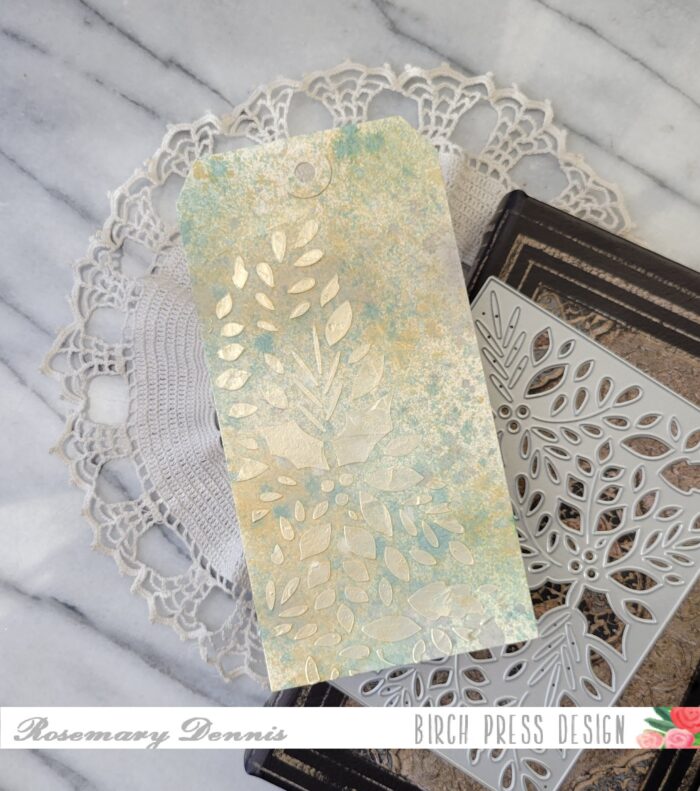
    I started off by spraying my premade cream colored tag with the spray stains that you see in the photo: Speckled Egg, Antique Linen and Lost Shadow. I sprayed on each stain individually and then spritzed the tag with a little bit of water. I didn’t want too much movement of the colors. I did dry the tag a bit with my heat tool in between each layer of color. Once I had the background to my liking I set it aside to fully dry.

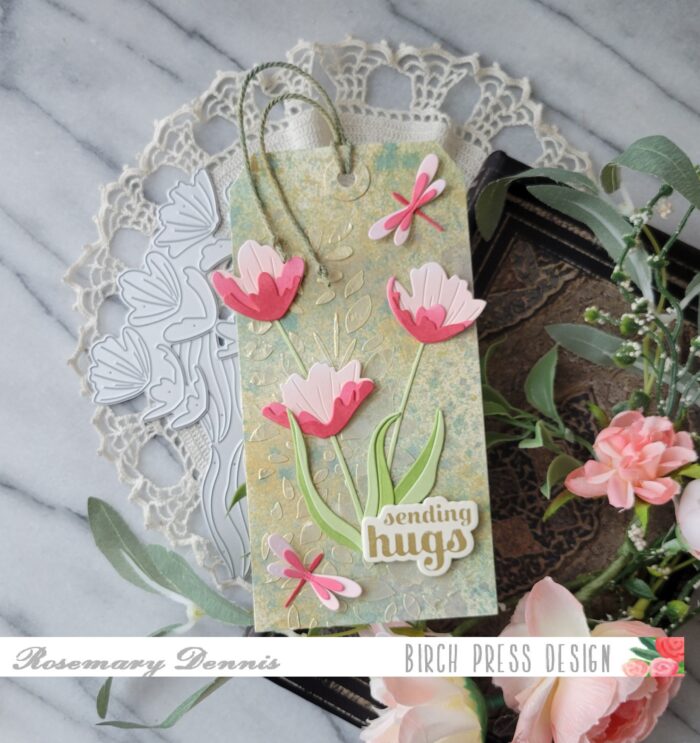
    As the tag dried I got to work on my flowers and dragonflies. I die cut them from white cardstock and used a grip mat to hold all the pieces in place while I blended on the inks in a color family that moves from the light pink to a more reddish color for the flowers and dragonflies. The leaves were inked in two shades of green. I used liquid glue to adhere all the pieces together. While they were drying I moved onto the next layer for the tag.

    I have a small jar of Solar Paste in the color Golden Hour and I thought it would look perfect with the background on the tag. I used the A plate from the Herbarium set to create a stencil and then added the embossing paste. I was right that the embossing paste would look nice with the background. I just love how it turned out. As the tag was drying I decided to custom color some chunky white twine I had using two of the spray stains. I used Speckled Egg and Antique Linen for the twine.

    Once the paste was dry I began adding all my elements to the tag. I must admit that I was a little worried that the pinks in the flowers wouldn’t play well with the background colors. But as I added the flowers to the tag I realized that the colors worked perfectly! I finished off the tag with the sentiment the Sugar Script Sentiments 1 set and the twine. I had previously hot foiled it on cream woodgrain cardstock and so it worked perfectly with the tag. The tag is large enough that in the future I can turn it into a card!

    I hope you enjoyed learning how I made my mixed media tag. Thank you for stopping by and have a wonderful day!

    Supplies

  • Forest Canopy Shaker | by Allison Frazier

    Forest Canopy Shaker | by Allison Frazier

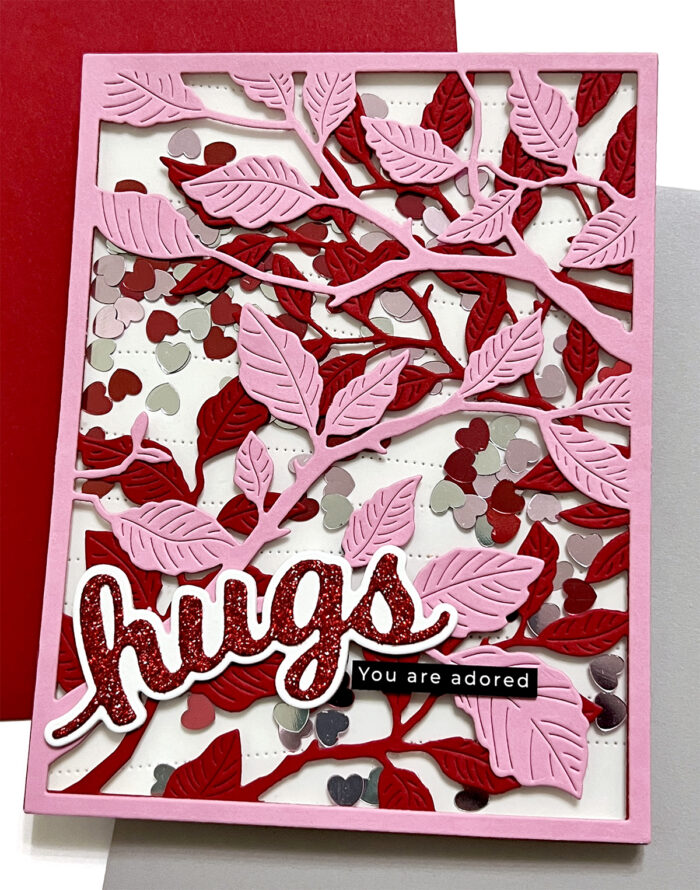
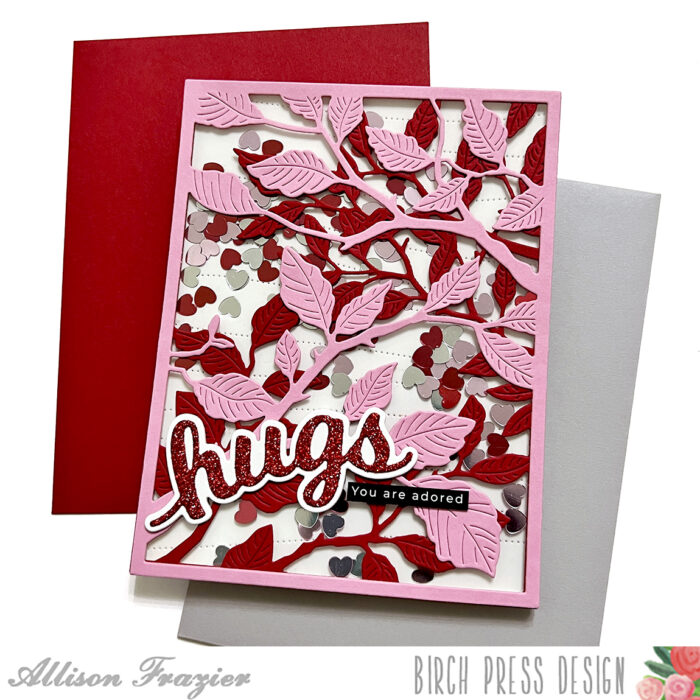
    Hello, Birch Press friends. I am excited to be on the blog today sharing this fun shaker card. I have been wanting to make a shaker card with the Forest Canopy Layer Set for awhile. When I ran across this heart-shaped confetti in my stash recently, I knew that it was finally time!

    This shaker card was really quite easy to put together. I started by die cutting my back panel with the Pinpoint Contour Plate. I set that aside and proceeded to die cut my two Forest Canopy layers. I cut a piece of pink card stock with Layer B, and I cut a piece of red card stock with Layer C. I did not use Layer A.

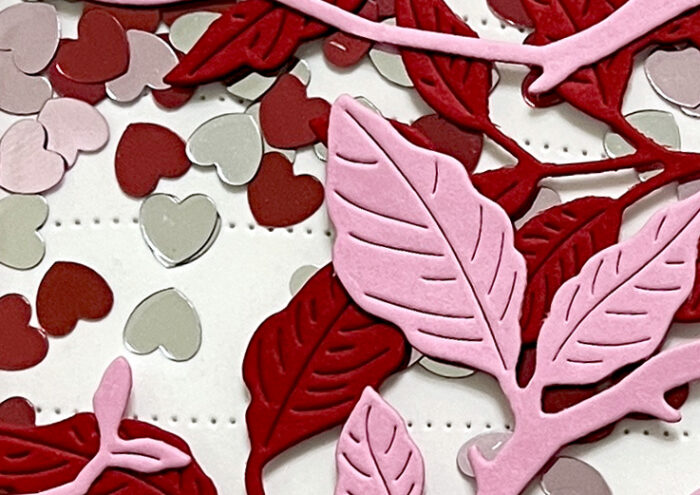
    I cut a piece of acetate to 4.25″x5.5″ and glued that to the back of the red layer. I trimmed the pieces off of the branches on the pink layer that hold berries, since I did not want to include berries on this card. I then glued the pink layer on top of the red layer.

    I trimmed foam tape into thin strips so that I could hide them under the thin frame that is created by the Forest Canopy layers. The one piece of advice that I have for cutting your foam tape into thin strips is to have a good pair of scissors that have a non-stick coating. I placed these foam tape strips directly onto the acetate layer. I then put my heart shaped confetti into the “well” that is created by the foam tape. Since this confetti is completely flat, I did not need to double up my foam tape. Once my confetti was in, I peeled off the release tape and added my white back panel to seal up the shaker. I then glued this onto an A2 card base.

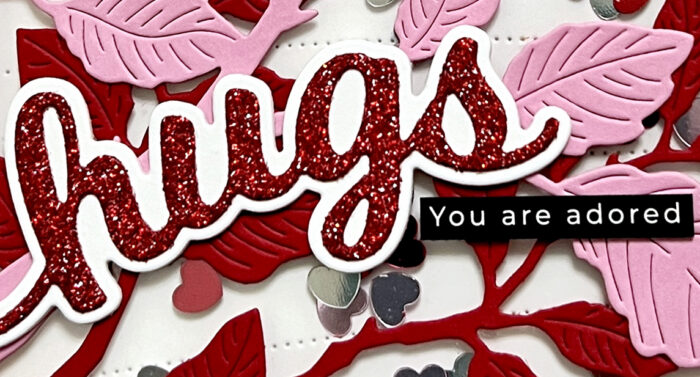
    I used the Hugs Honey Script die set for my main sentiment. I cut the detail layer from red glitter card stock. To finish the card, I added a simple sub-sentiment strip from my stash. That’s it for my card today. I hope it brings a smile to your face. Take a look in your stash for dies to make a non-traditional shaker! Thank you so much for joining us today.


    Supplies


  • Sending Hugs | Dilay Nacar

    Sending Hugs | Dilay Nacar

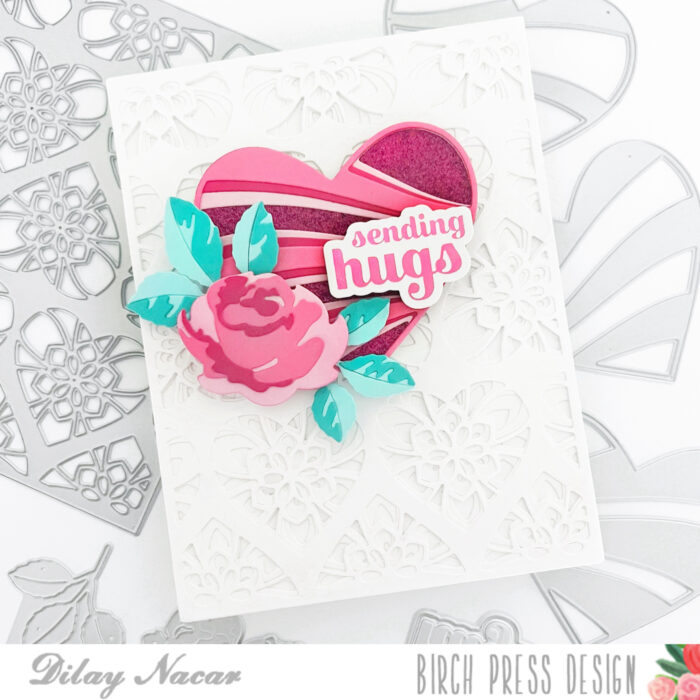
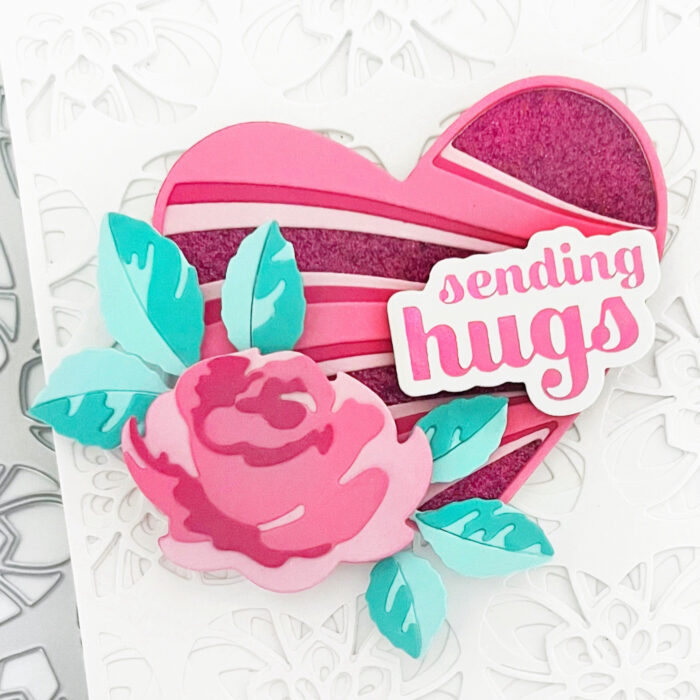
    Hello and Happy Valentine’s Day, friends! Dilay here with you today, sharing a clean and simple yet intricate ‘sending hugs’ card. This card showcases the beautiful Banner Heart Layer Set, Kinsley Heart Layer Set, and Rose Bunch Contour Layer dies!

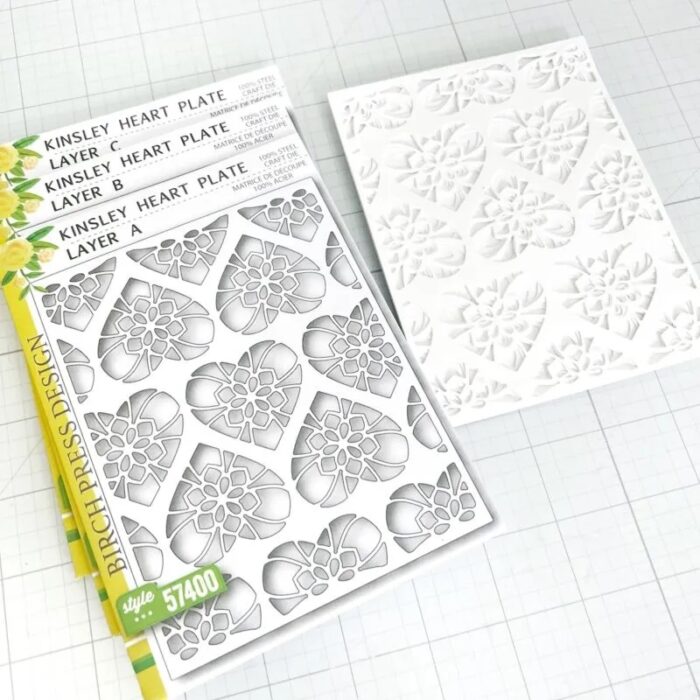
    To begin, I created the background by die-cutting each piece of the Kinsley Heart Plate Layer Set (A, B, and C), adhering them together, and then onto a top-folding card base.

    Following that, I cut the Banner Heart Layer Set from various shades of pink cardstock and pink glitter cardstock, then adhered the heart on top of the Kinsley Heart Layers.

    Afterwards, I fashioned a single rose using the Rose Bunch Contour Layers in various pink and teal cardstock colors. I assembled the layers and placed the rose on top of the heart. To complete the look, I added a pink foiled sentiment from the Sugar Script Sentiments 1 Hot Foil Plate and Die Sets.


    Supplies

  • White on White | by Rosemary Dennis

    White on White | by Rosemary Dennis

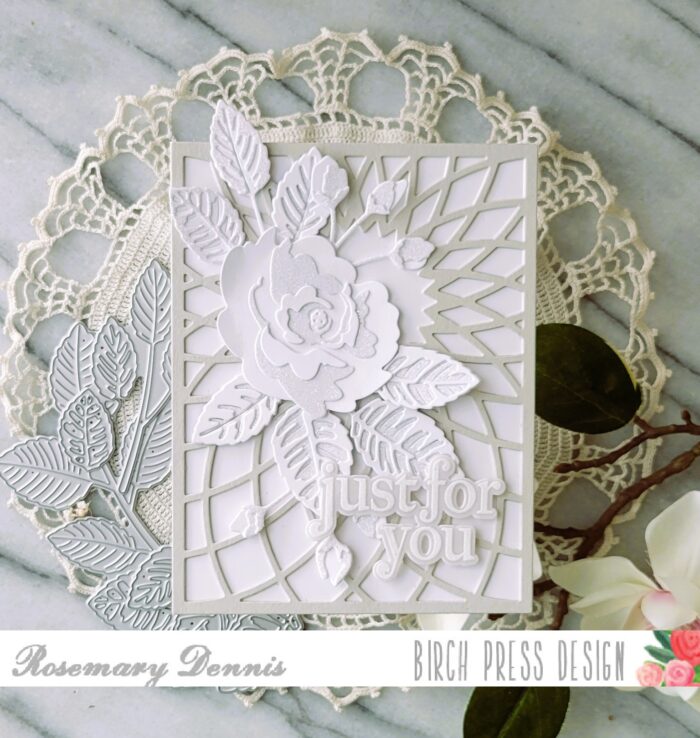
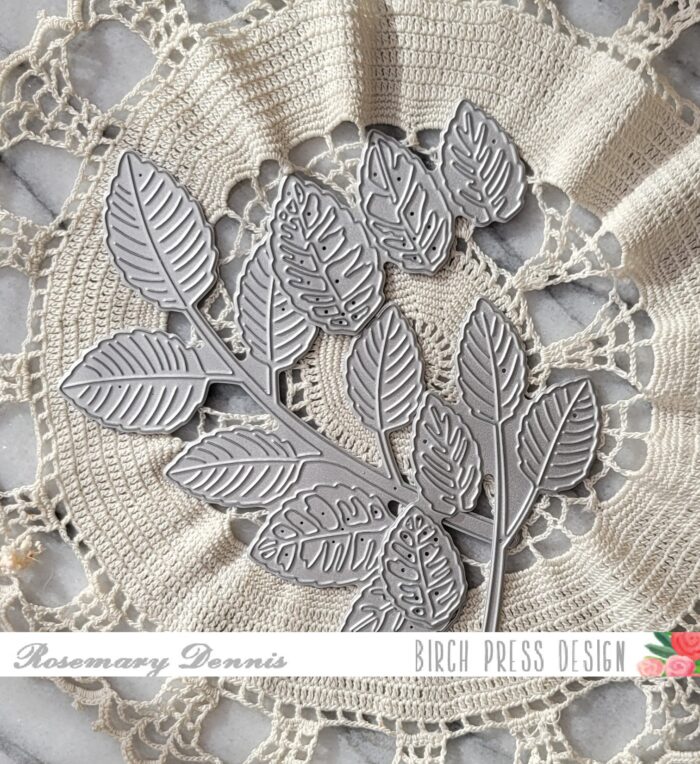
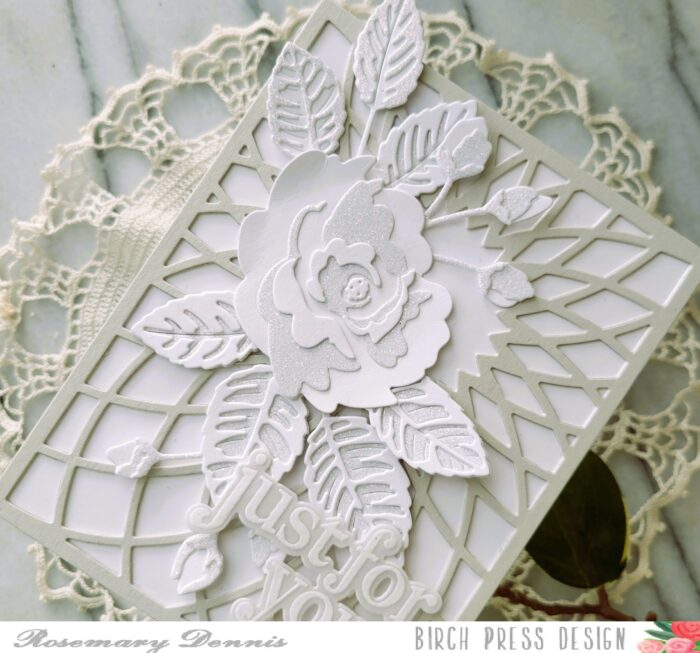
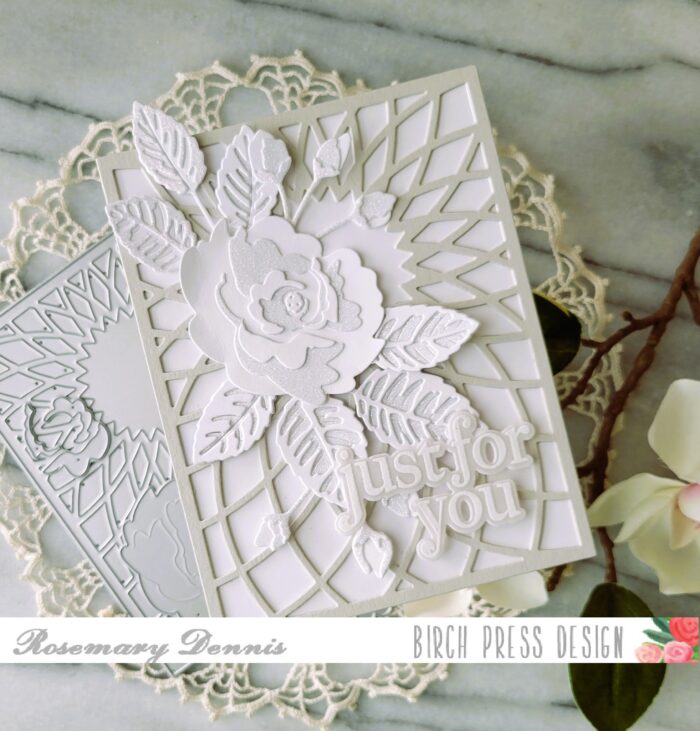
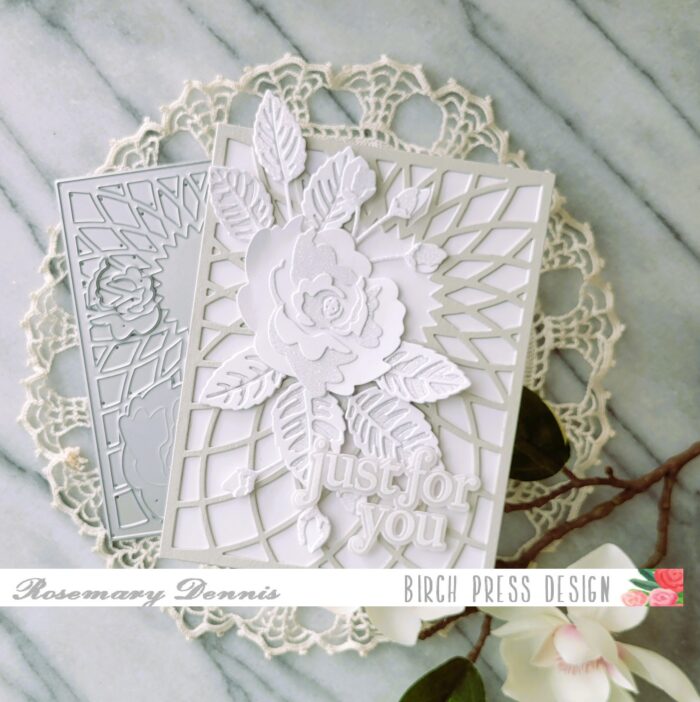
    Hello everyone! Rosemary here on the blog today sharing a white on white (with a little bit of gray) design using one of the January release dies, Rose Leaves Contour Layers. I paired the new die set up with the older Morning Rose and Triple Buds Contour Layers dies and layer A from the Dazzle layering dies. White one white always creates a clean and classic look.

    As you can see that Rose Leaves Contour dies are fairly large and I felt they needed a larger floral design to compliment them. That is why I went with the Morning Rose and Triple Buds Contour Layers die set.

    The bottom layer of the larger leaves die was cut from the glitter cardstock and the top layer from white cardstock. For the smaller leaf cluster I die cut the bottom from white cardstock and the top layer from the glitter cardstock. Since the large rose has four layers I die cut two from white cardstock and two from glitter cardstock. Two layers of the buds were cut from the glitter cardstock and one layer from the white cardstock. I used liquid adhesive to secure all the layers together.

    I die cut the Dazzle layer A from a light gray cardstock and a piece of thicker white cardstock. The two layers were secured with liquid adhesive, added to a white cardstock base using more liquid adhesive and then allowed to dry for a bit before I added the rose, buds and leaves with more liquid adhesive. I trimmed some of the leaves off the larger leaf cluster to better fit the flow of the design.

    I finished off the card with a sentiment from the Open Studio Gracious Floral stamp set. I heat embossed the sentiment with white embossing powder on vellum. The sentiment was secured with rolled up glue dot hidden behind the letters and liquid adhesive.

    I hope you enjoyed today’s card. Thanks for stopping by and have a wonderful day!

    Supplies
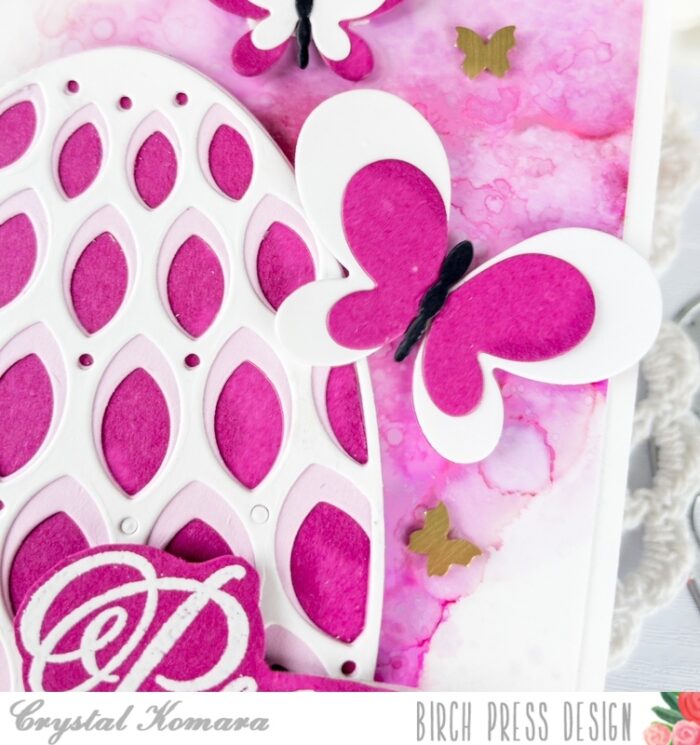
  • You’re in My Heart | by Crystal Komara

    You’re in My Heart | by Crystal Komara

    Hello crafty readers! This is Design Team member Crystal Komara here today and I’m excited to start making some Valentine’s Day cards. It seemed like this holiday season I had started Christmas cards back in October, so I’m really for a change! And who doesn’t love love themed cards?

    Card details:

    The base of this A2 sized card is made from 80 lb. Neenah Solar White smooth cardstock. I cut a 5 1/4″ x 4″ piece of magenta cardstock to use as the base layer, adhering it directly to the white card base. Using the Viola Layering Plates, I die cut Layer B from white cardstock. I layered this over the magenta pink cardstock, so the pink shows through the die cut layer.

    Next using the Banner Heart Layering dies, I die cut three hearts from dark pink, light pink and white cardstock. I only die cut Layer A from the Banner Heart dies and layered it onto a solid piece of the corresponding cardstock. I adhered the three hearts to the card using foam adhesive for added dimension.

    Lastly, I stamped the sentiment “you’re in my heart” in pink ink on a thin strip of white cardstock. I notched the left side of this sentiment strip before adhering it to the top right of the card using 3M foam adhesive. This sentiment is from the Lingo Thanks stamp set.

    I wish you all a season filled with love and happiness! Thanks for visiting and have a wonderfully creative day!

    Supplies
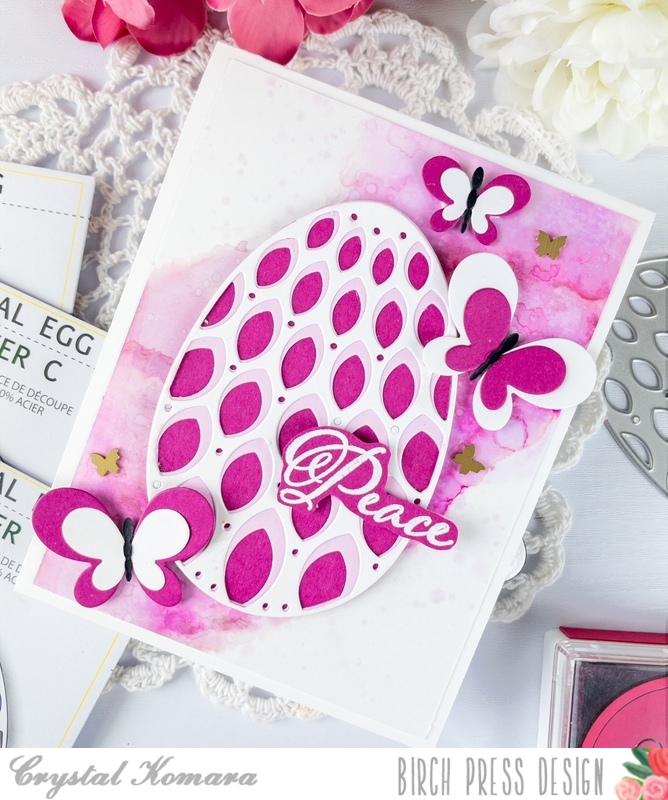
  • Black Tie Holiday | by Toni M Maddox

    Black Tie Holiday | by Toni M Maddox

    Hello, Birch Press fans! Toni here with you today sharing an elegant and rather unexpected holiday card.

    I used a variety of Neenah metallic shimmery papers to cut out the Splendid Poinsettia Contour Layers. So so pretty.

    I used the same shimmer paper for the bottom layer of the Herbarium Plate with the second layer in an iridescent foil and black for the top.

    I tucked a few Oval Leaf Branches in white for a pop of contrasting color. To finish the card I cut out Holiday Hugs in shimmer paper and layered that on top of a black layer for oomph.

    Talk about a statement card. Modern. Elegant. Fabulous!

    I hope you enjoyed today’s card and have a great rest of your week! Happy holidays!

    Supplies

  • Holiday Kisses | by Toni M Maddox

    Holiday Kisses | by Toni M Maddox

    Hello, Birch Press fans! Toni here with you today sharing another holiday card–my favorite!

    As I was working with the Oval Leaf Branches dies for another card, I realized they reminded me of mistletoe so I ran with it. 

    I prepared the card base by cutting out the Epiphany Plate Layer A and adhering two of the three sections to it.

    Then I cut out a few sprigs of the Oval Leaf Branches out of a pale green and sponged the darker parts with Distress Oxide Mowed Lawn.

    I cut out the Forest Leaf branch out of kraft cardstock but used the individual berries from Forest Canopy Layer A sponged in Distress Oxide Lumberjack Plaid. I topped off the mistletoe bundle with a peppermint twine bow.

    I finished off the card using a Glad Tidings sentiment on a simple banner.

    I hope you enjoyed today’s card and have a great rest of your week!

    Supplies

  • A Card and a Tag | by Rosemary Dennis

    A Card and a Tag | by Rosemary Dennis

    Hello friends! Hope everyone here in the United States had a wonderful Thanksgiving with family and friends! Christmas will soon be upon us and I am here for it. I love Christmas! As my blog title indicates, I am sharing a card and a tag. Let’s have a look.

    You can just see the tag tucked down in the right corner of this photo. When I originally started my card I wasn’t going to make a tag, but decided to create one with the center pieces that were left over when I die cut the Tranquility Layer dies for my wreath.

    I wanted a wreath to layer the Forest Leaf and Berries Contour Layers die cuts on, but thought it would be fun to use something other than one of the stem and berry die sets. I settled on the Tranquility set because the center piece is separate from the outer more wreath like piece. My color scheme came from the patterned paper that I pulled from the Memory Box Jolly Christmas 6×6 pad. I die cut the plaid piece with a rectangle die and adhered it to the card front. The wreath was die cut from burgundy, dark green and gold metallic cardstocks and adhered together with liquid glue. I used the dark green and the burgundy to die cut the leaves and berries for the little swag I added to the wreath. Some distress collage medium was added to parts of the leaves and berries and then I added distress rock candy glitter. Everything was set aside to dry.

    Initially I hadn’t intended to use the center pieces that resulted when I die cut the Tranquility layers, but decided I couldn’t let them go to waste. I created my little tag using a small arched rectangle die and cut the same plaid paper. I also die cut a piece of the burgundy cardstock with the same die and then adhered it to the back of the patterned paper one with liquid glue. A whole was die cut in the top to add the ribbon and gold twine. I used the Holiday Hugs Vintage die set to die cut the sentiment from the patterned paper and gold metallic cardstock. They were adhered together and attached to the tag along with the center medallion. I finished with a red fairy jewel to the center of the medallion and the dark green ribbon/twine combo.

    For the card I die cut the Merry Christmas Vintage die set from the patterned paper and gold metallic cardstock and layered them together with liquid glue. All the other pieces were dry so it was time to layer everything on the card front. Everything was adhered in place with liquid glue. Because of where I placed the sentiment I did have to use some small foam squares on the back of the sentiment so everything would be the same height. Before adding the sentiment I did create a bow from the gold twine and adhered that with a dot a glue.

    I hope you enjoyed today’s projects and that I gave you some inspiration to use your Birch Press Design Layering dies in a new or different way. Thanks for stopping by and have a wonderful day!

    Supplies

  • Smooshed Ornament | by Toni M Maddox

    Smooshed Ornament | by Toni M Maddox

    Hello, Birch Press fans! Toni here with you today with a holiday card featuring the Revello Ornament Layering Dies. I’m a huge fan of Birch Press ornament dies and was thrilled to work with this one.

    This set is the 3 layering dies only. If you want a solid base for the ornament you can pair it with the Ornament Basics die set like I did or fussy cut one for yourself. Ornament hangers are also included or you can find a fancy scored one in the Radiant Ornament set.

    The ink-smooshed panel was made using Distress Oxide Picked Raspberry, Mustard Seed, Cracked Pistaschio, and Peacock Feathers. I used two of the three layers (A and C) so that more of my smooshed panel would show.

    I used a glitter cardstock from my stash for the bottom layer of the ornament as well as for the Merry Christmas letters. I then adhered the lot onto Epiphany Layer A mounted on the card base.

    I hope you enjoyed today’s card and have a great rest of your week!

    Supplies

  • Elegant Pumpkin | by Crystal Komara

    Elegant Pumpkin | by Crystal Komara

    Hello Birch Press Design readers! This is DT member Crystal Komara here with you today and I can’t believe it’s November already! I have been loving the new Adornment Pumpkin dies and since I love creating with alcohol ink backgrounds so much, I decided to put the two together for this elegant card:
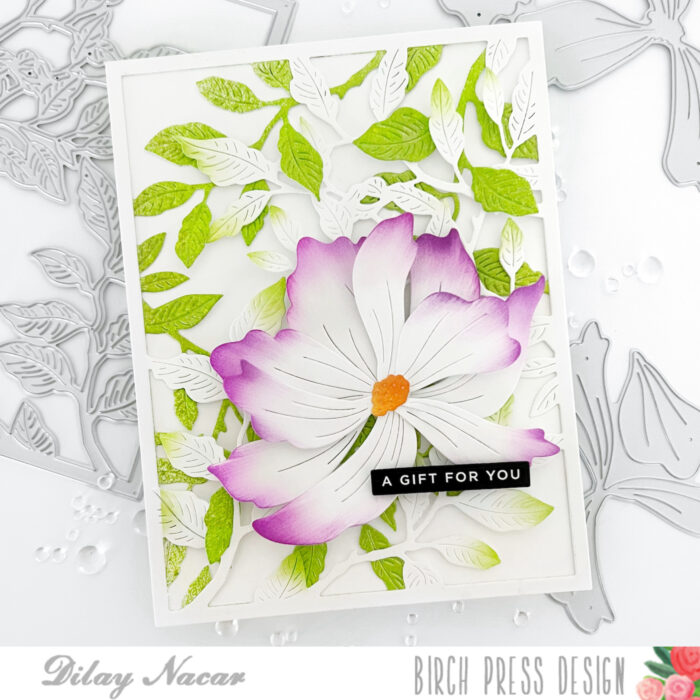
    Card details:

    The base of this A2 sized card was made from 80 lb. Neenah Solar White Smooth cardstock. To create the background, I die cut all three layers of the Viola Layering Plates from the same Neenah white cardstock and adhered them together with a fine-tip liquid glue.
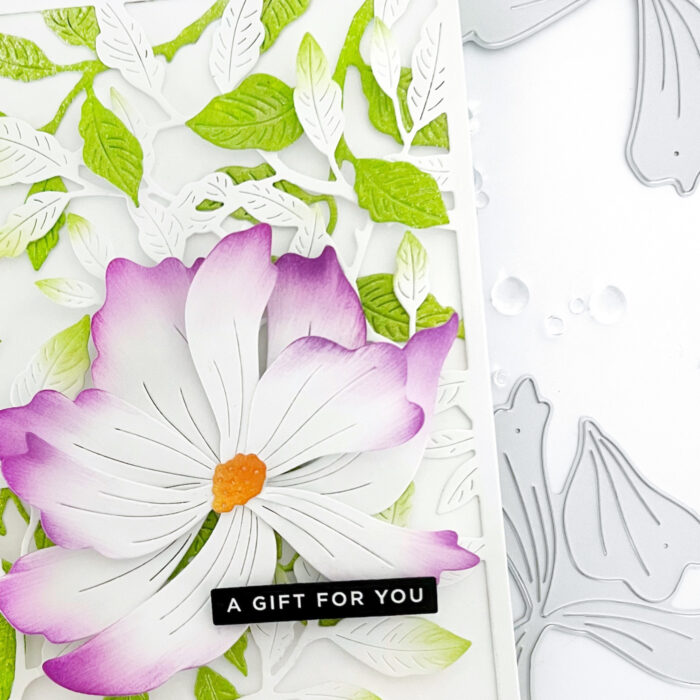
    Using the Adornment Pumpkin 2-piece die set, I die cut the pumpkin shadow from white cardstock and I die cut the intricate layer pieces from an orange pre-made alcohol ink background. I simply used Valencia orange alcohol ink on Yupo paper to create the alcohol ink piece. Just one color! I adhered the pumpkin together and die cut the stem from brown cardstock and the leaves from olive green cardstock. I adhered the assembled pumpkin to the center of the card using 3M foam adhesive for dimension.
    On a thin white strip of cardstock, I stamped the sentiment “forever grateful” from the Brush Sentiments stamp set. I notched the left end of the sentiment strip before adhering it to the card.

    Thanks for visiting and have a wonderfully creative day!

    Supplies