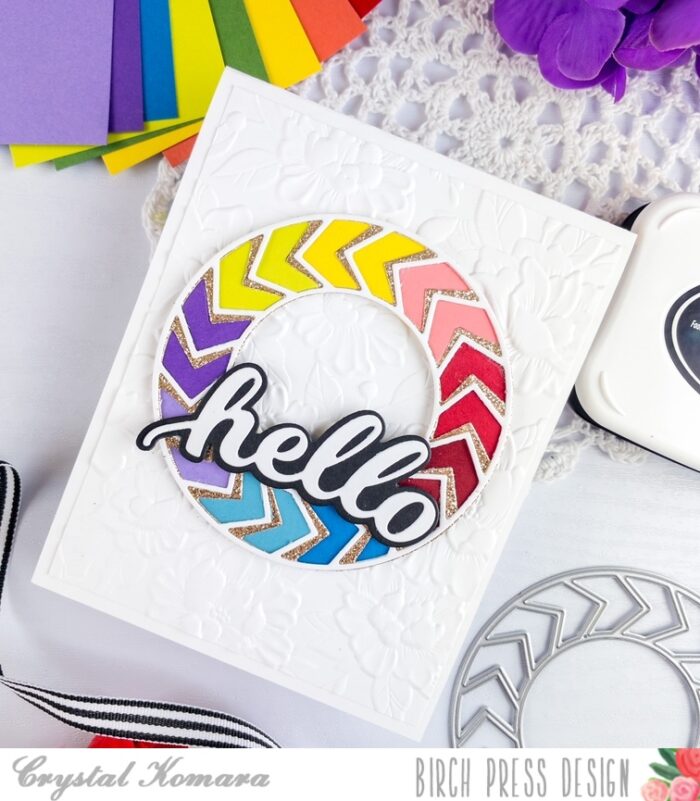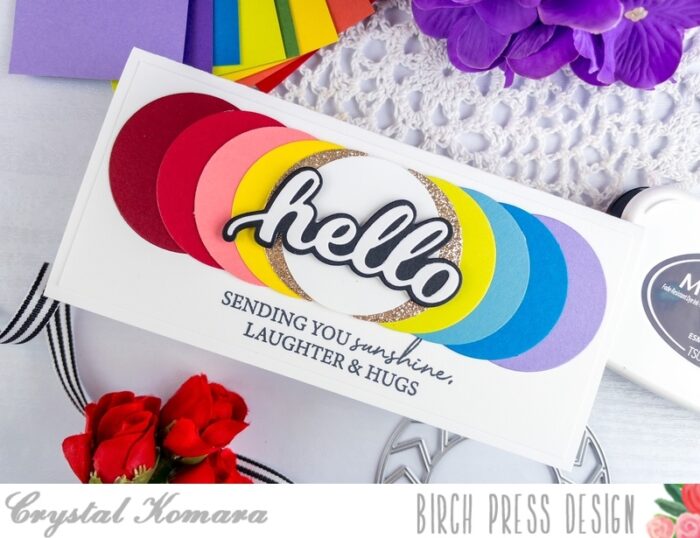
Hello friends and happy May! I feel like May is the unofficial start to summer, which also means that wedding season is upon us. This is Design Team member Crystal Komara here today to inspire you with a wedding/love themed card using a variety of product from Birch Press Design.

Card details:
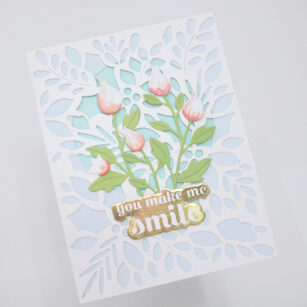
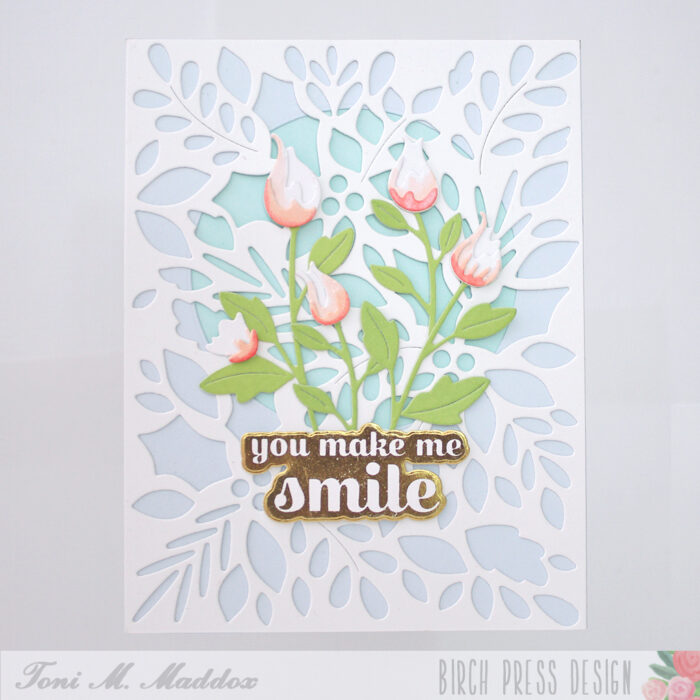
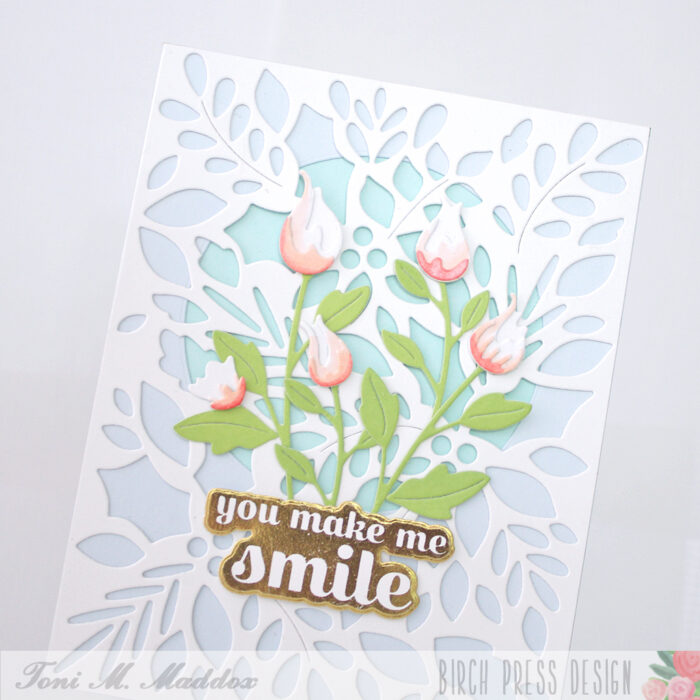
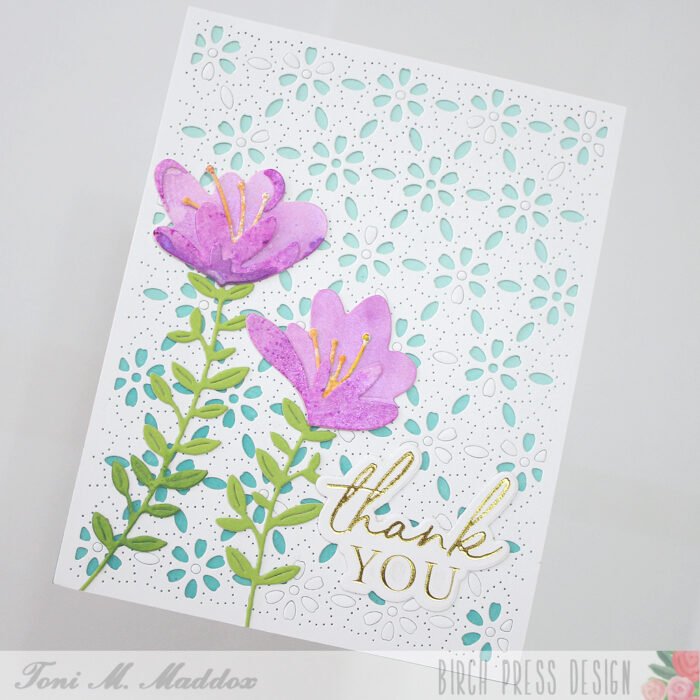
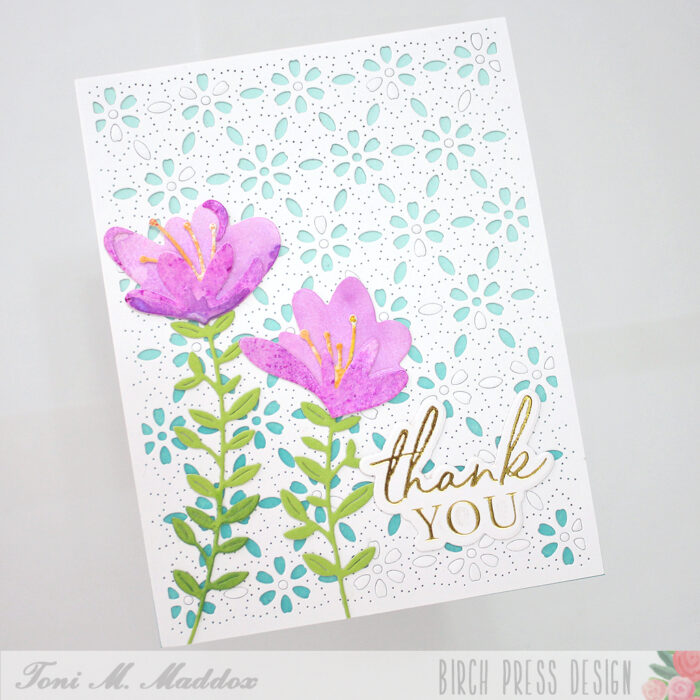
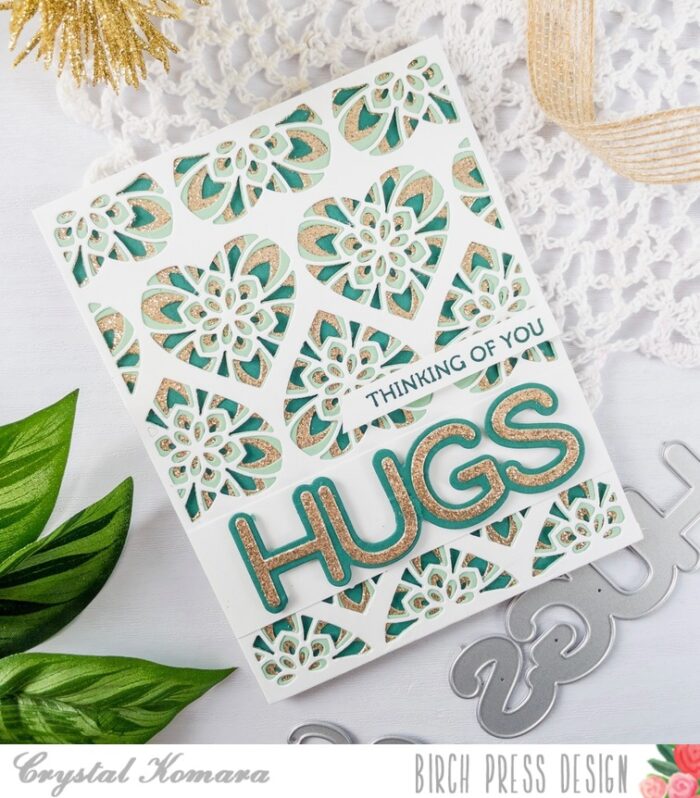
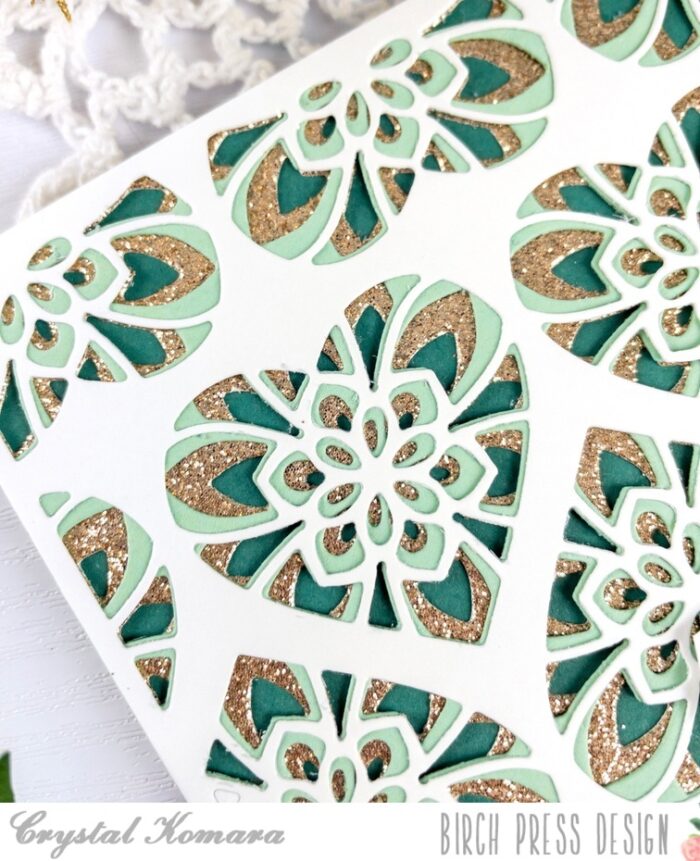
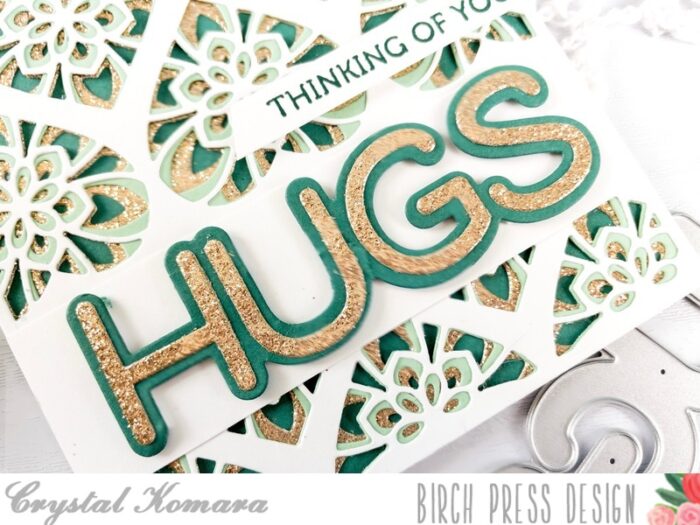
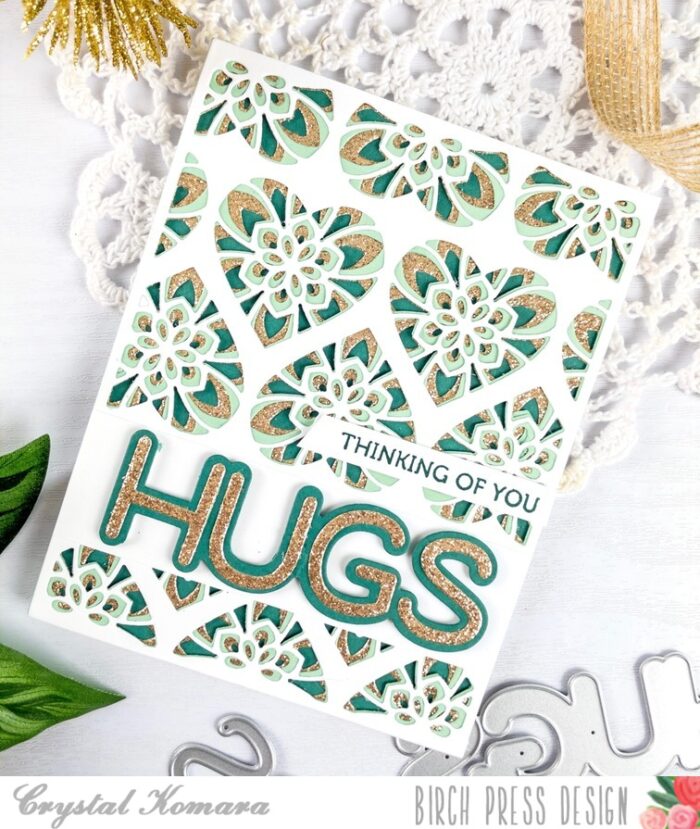
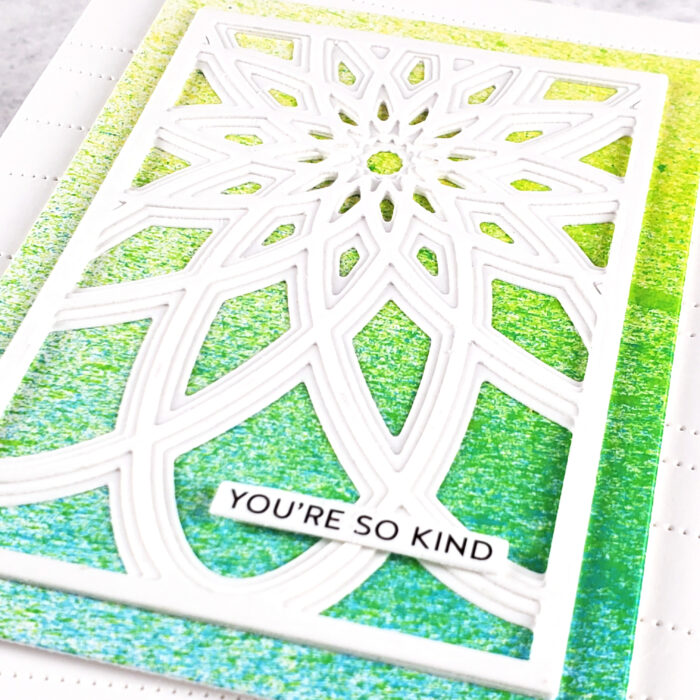
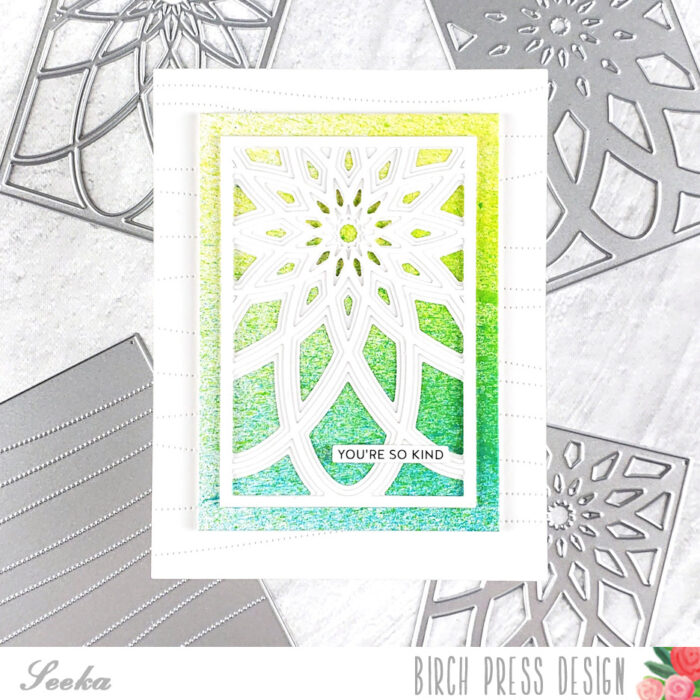
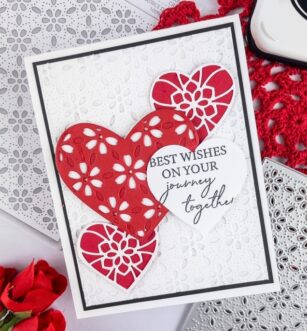
The base of this A2 sized card is made from 80 lb. Neenah Solar White smooth cardstock. This is my go-to white cardstock for e-v-e-r-y-t-h-i-n-g! To create the background of this card I used Layer Plate C of the Flora Plate Layer set, and I die cut it from white cardstock. I mounted that die cut piece onto a piece of white cardstock for a white-on-white look and then mounted both pieces onto black cardstock before adhering it to the card base.
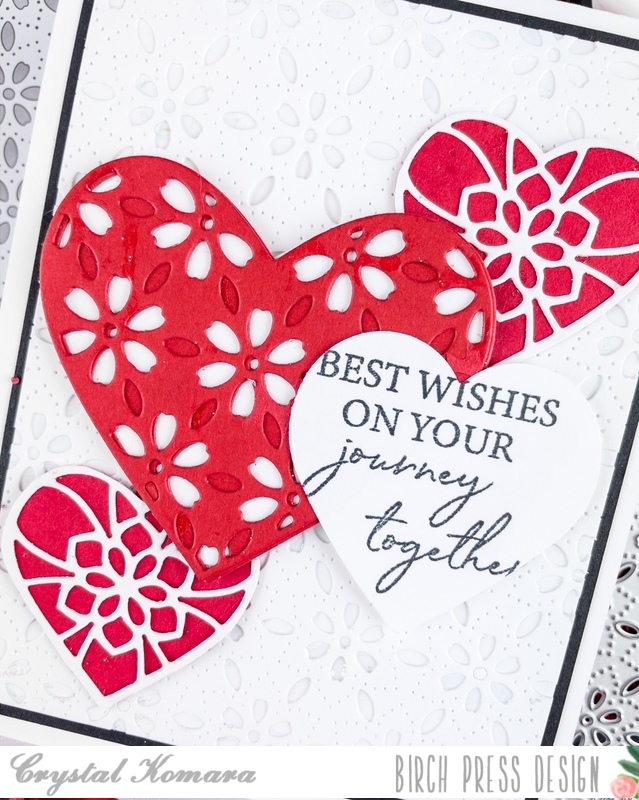
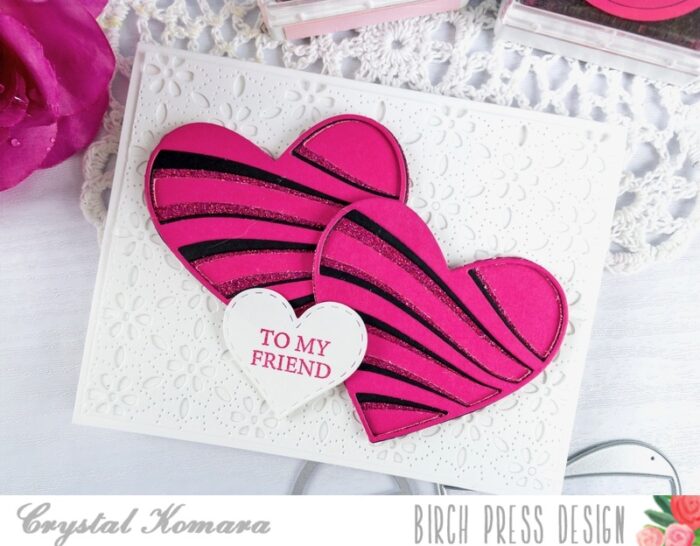
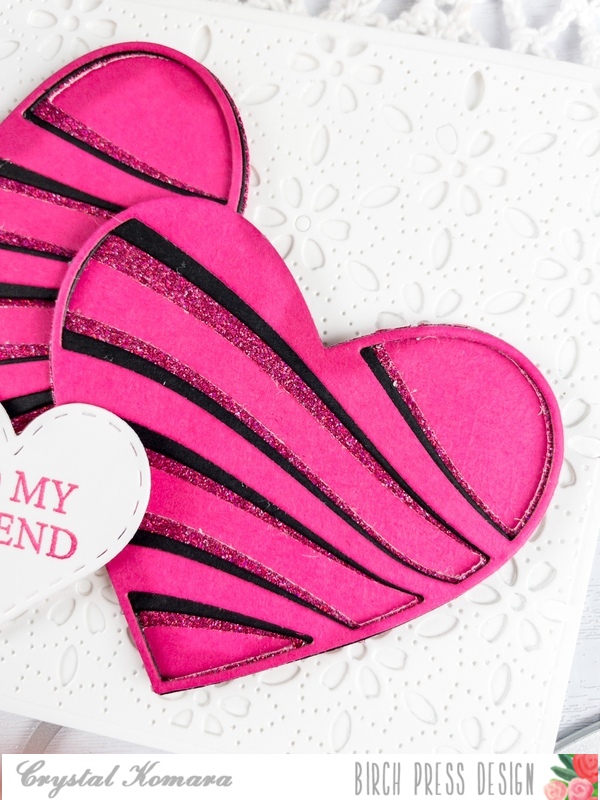
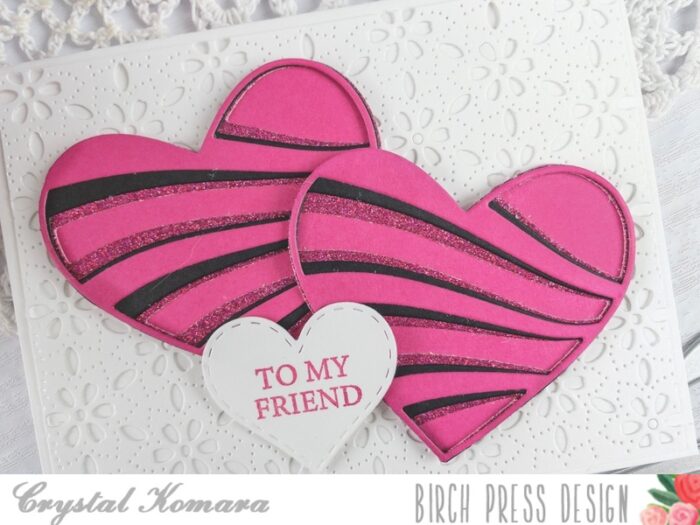
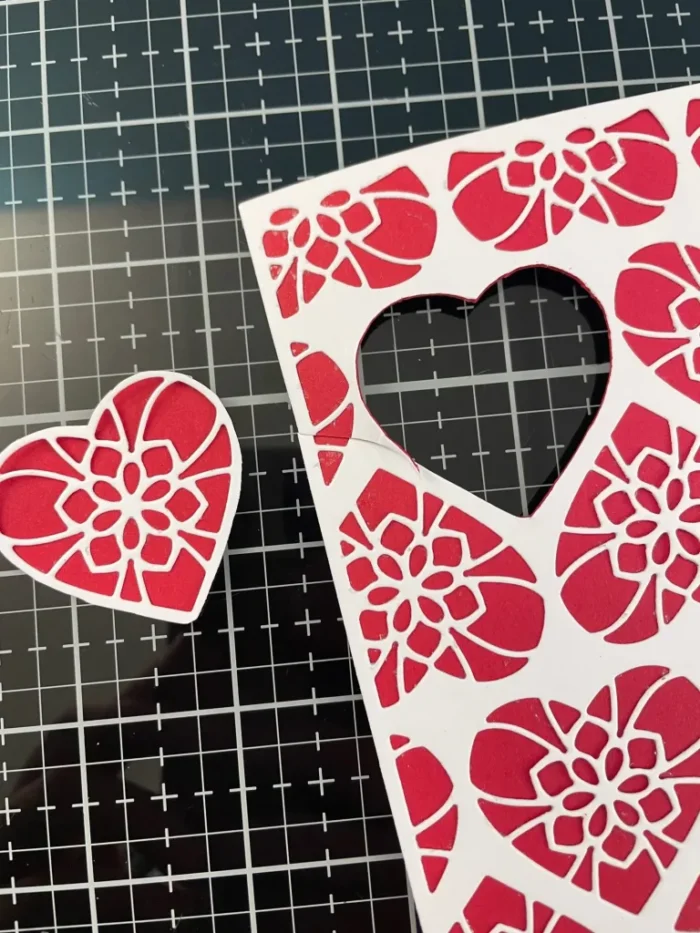
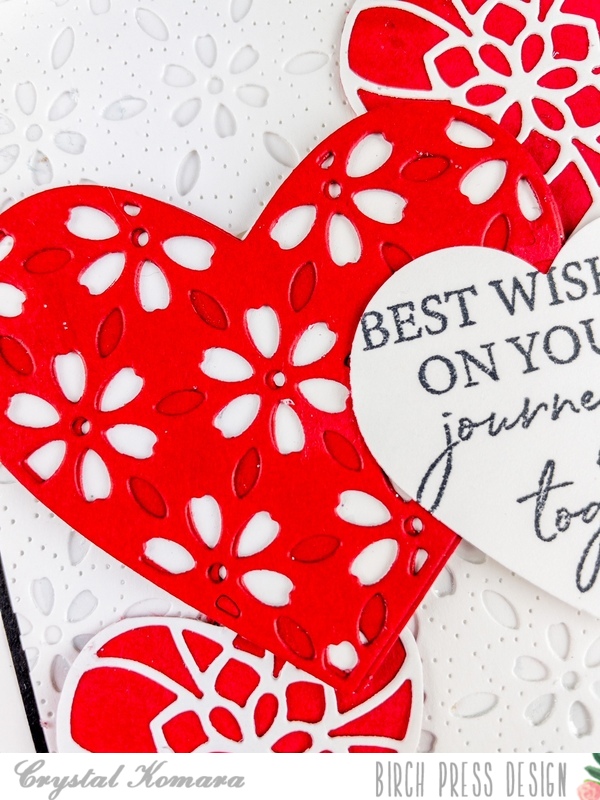
For the largest heart I used the Flora Heart Layer C. I die cut Layer A and Layer B from red cardstock. I adhered the two layers together with a fine-tip liquid glue. Then I adhered those of a piece of white cardstock and fussy cut a heart shape background. I adhered this heart to the card using 3M foam adhesive for added dimension.

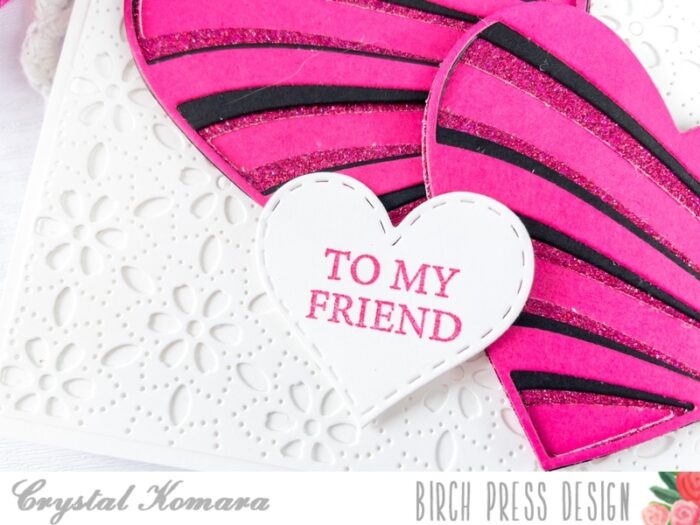
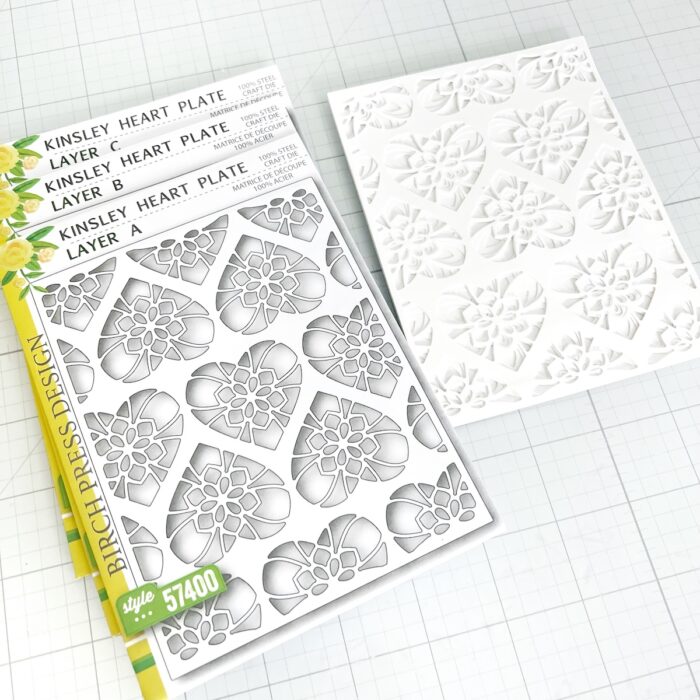
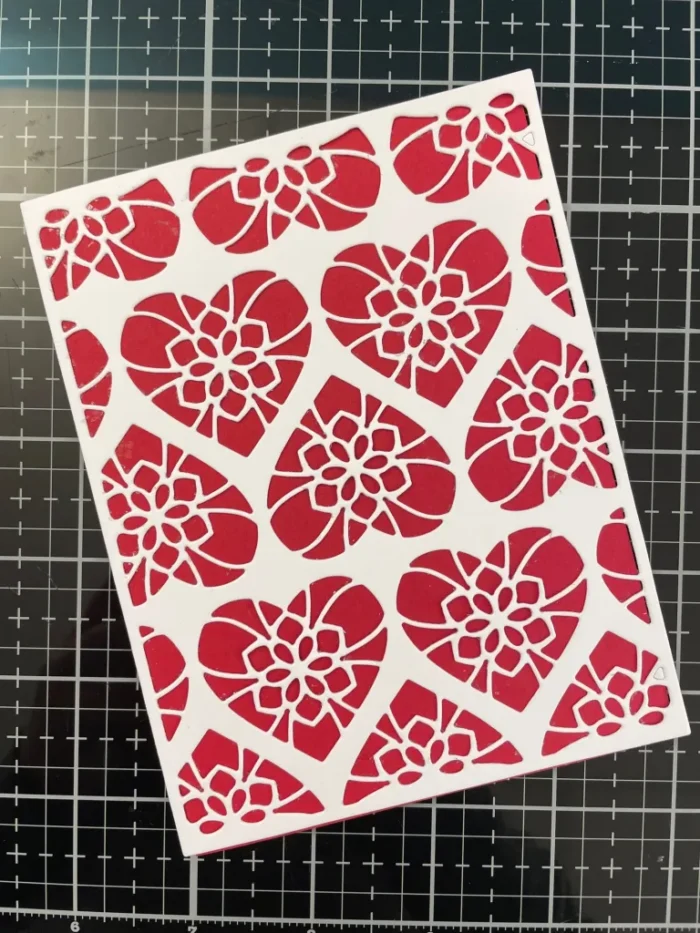
To create the two smaller hearts, I die cut Layer A of the Kinsley Heart Layer Set from white cardstock. I adhered this over a sheet of red cardstock and then fussy cut the individual hearts out.
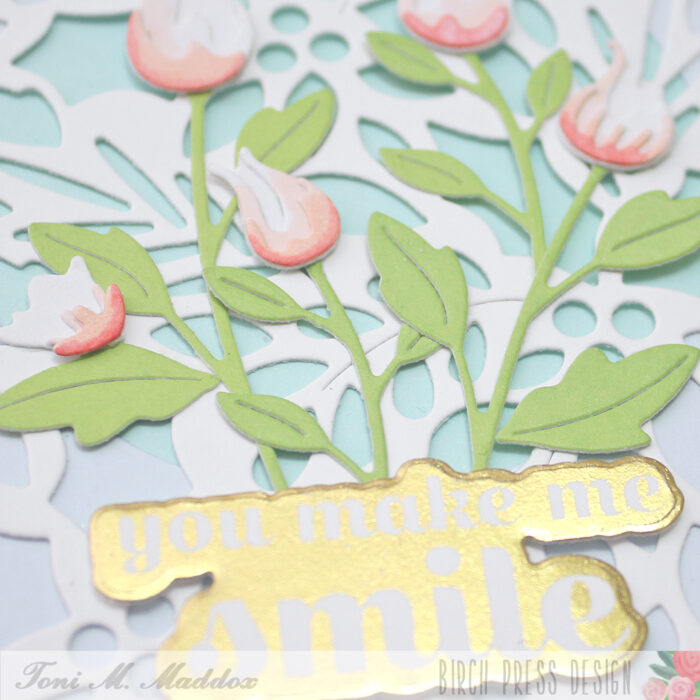
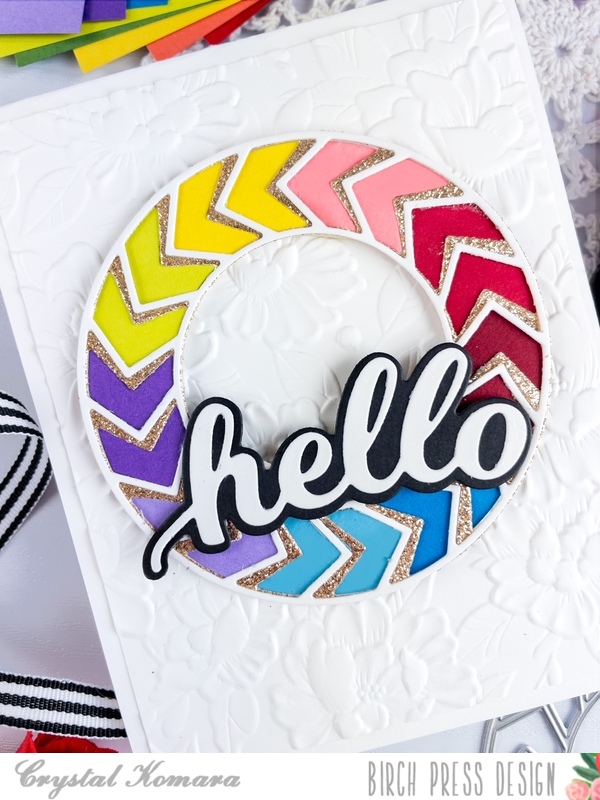
For the sentiment, I stamped the font in black ink on white cardstock. This sentiment is from the Kind Hearts clear stamp set. I then used a heart punch to punch the sentiment out. I adhered the sentiment too the card using 3M foam adhesive.
I hope you have enjoyed today’s card. Thank you for visiting and have a wonderfully creative day!

Supplies