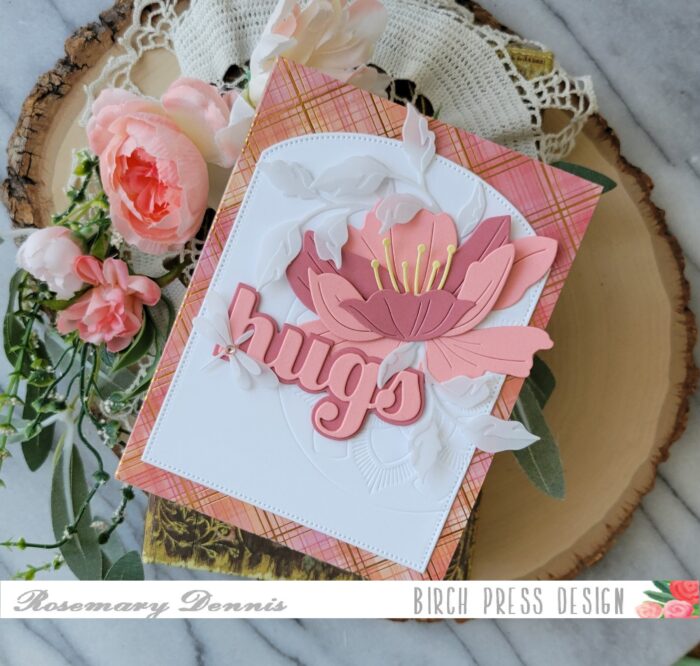
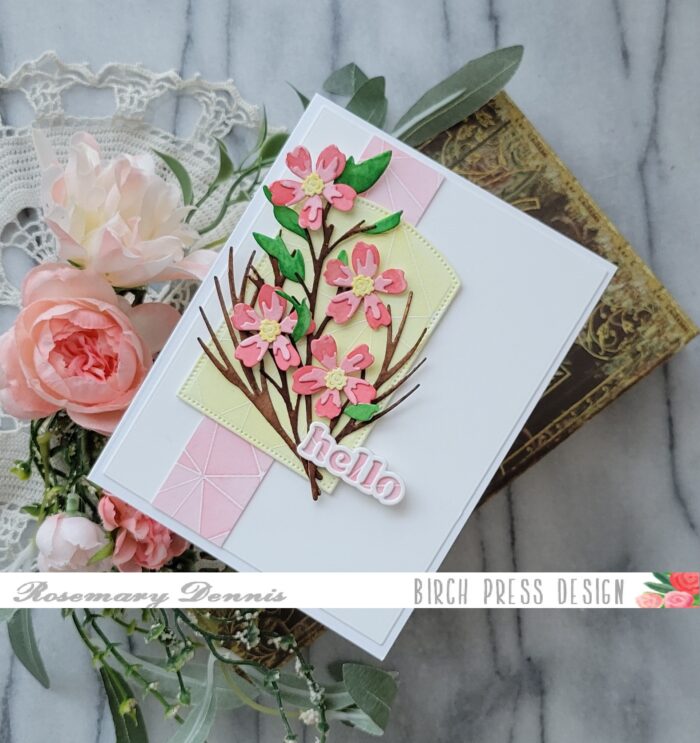
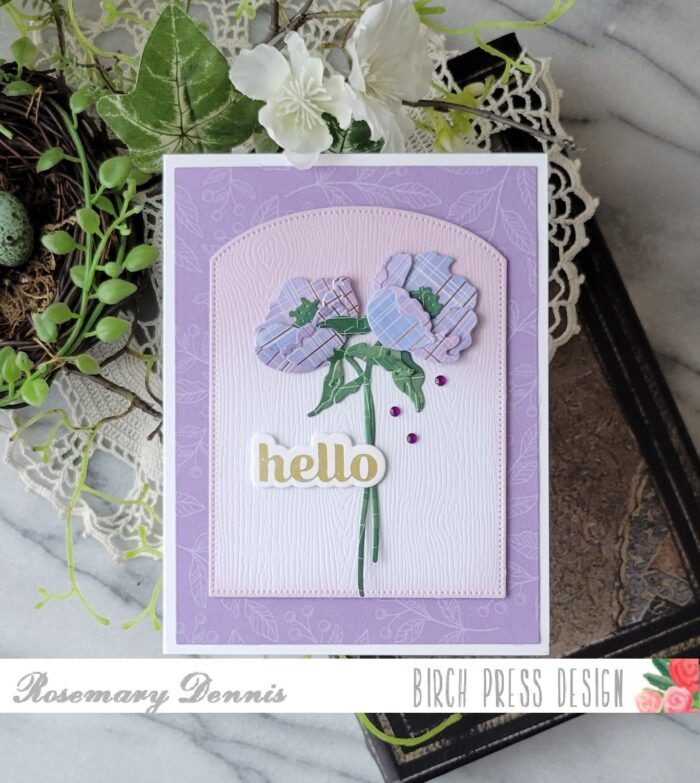
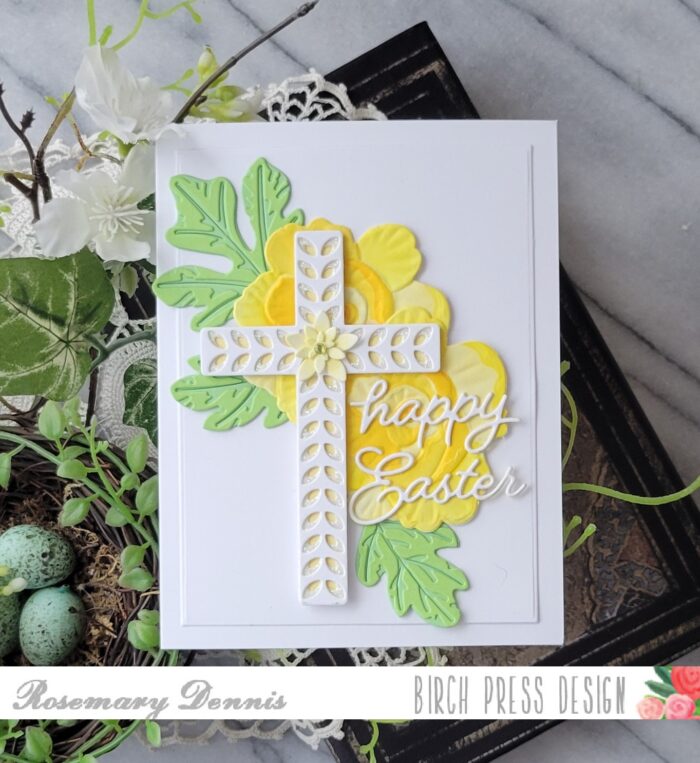
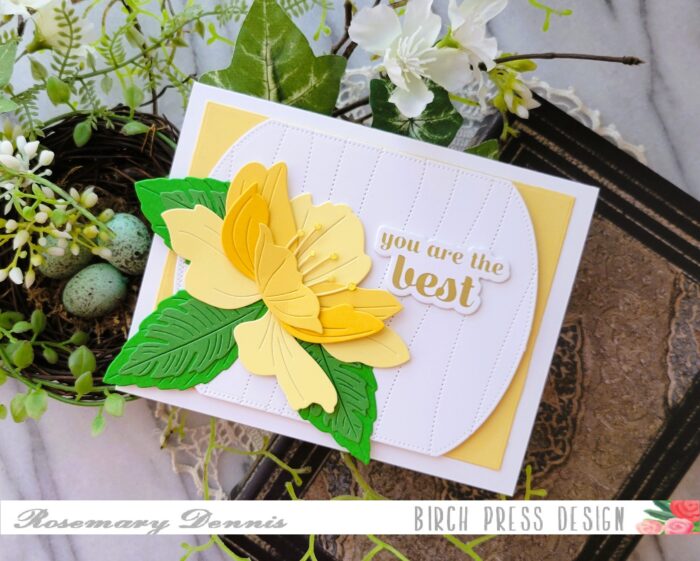
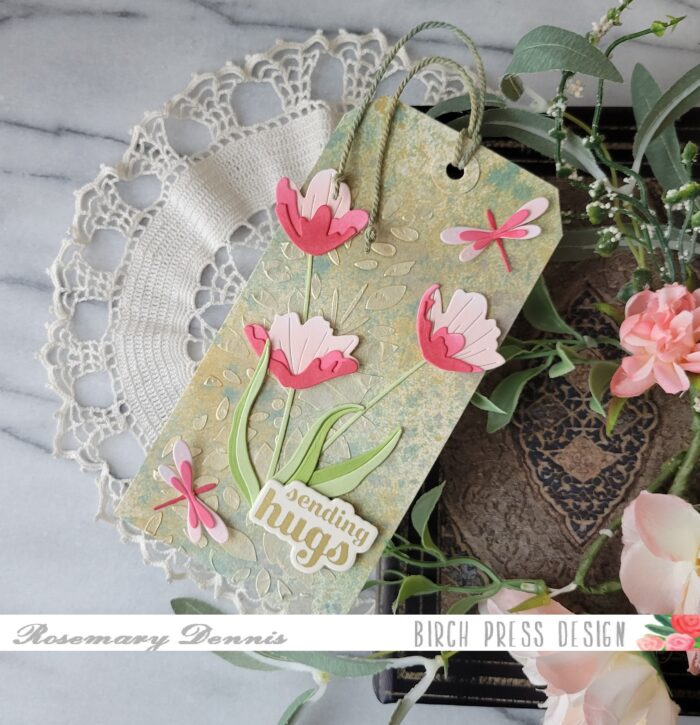
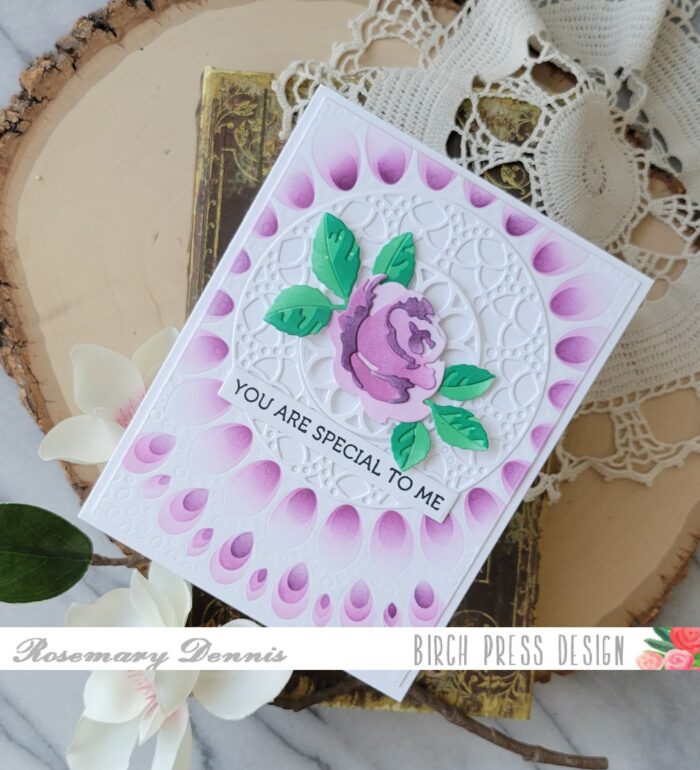
Hello everyone! Rosemary here on the blog today with a card that was a bit of an experiment for me, lol! Let’s have a look at what I made.
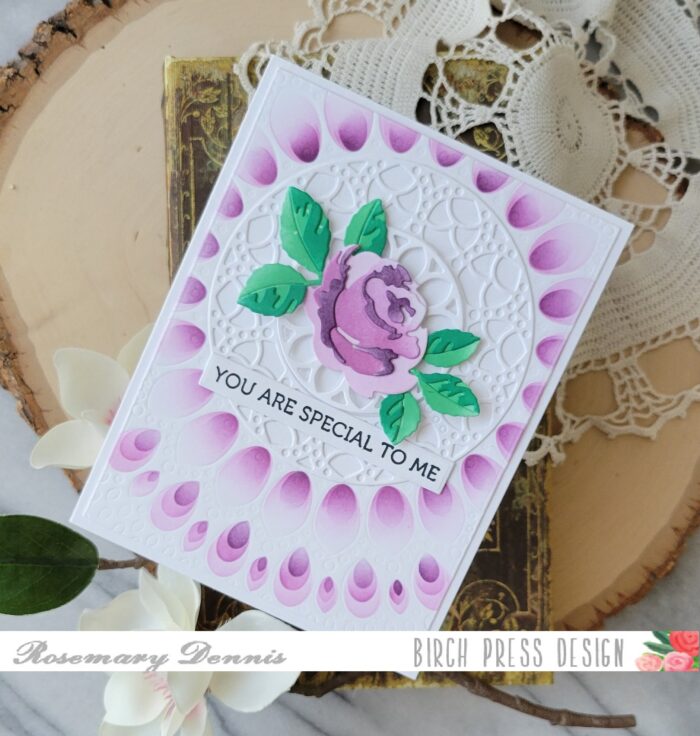
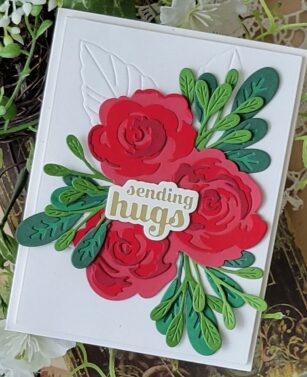
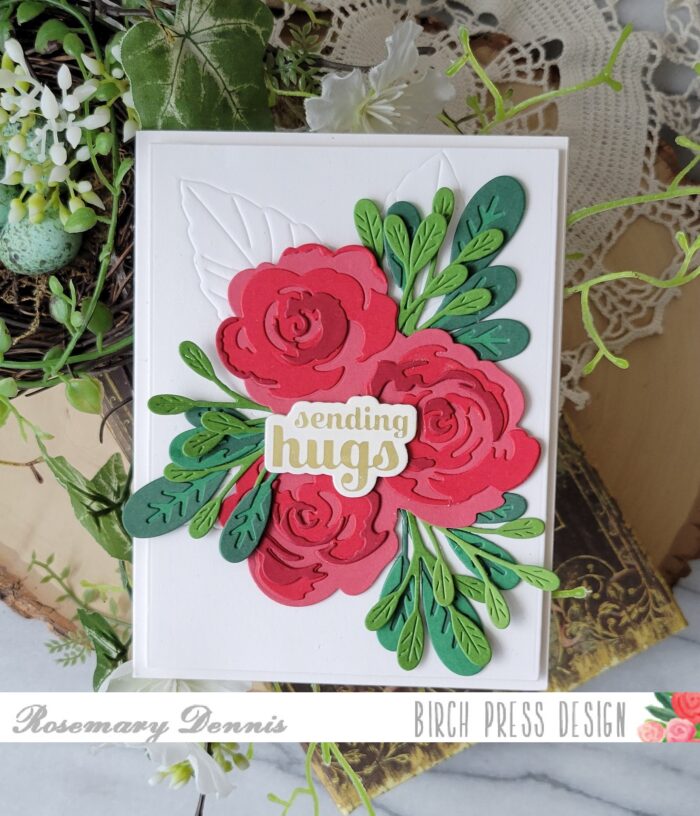
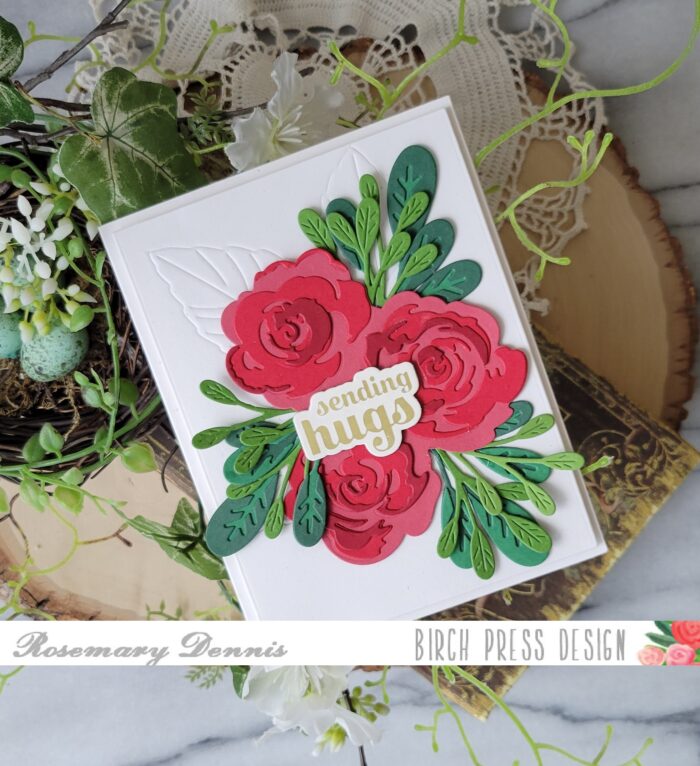
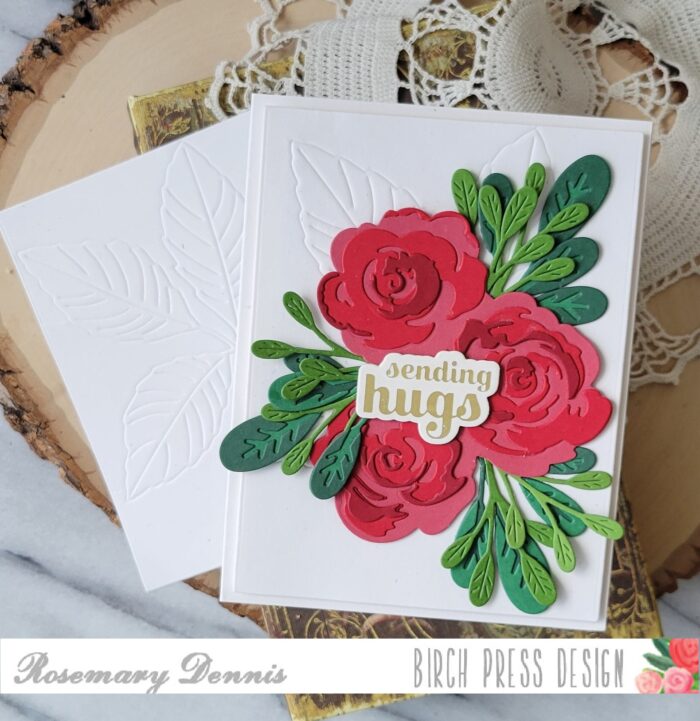
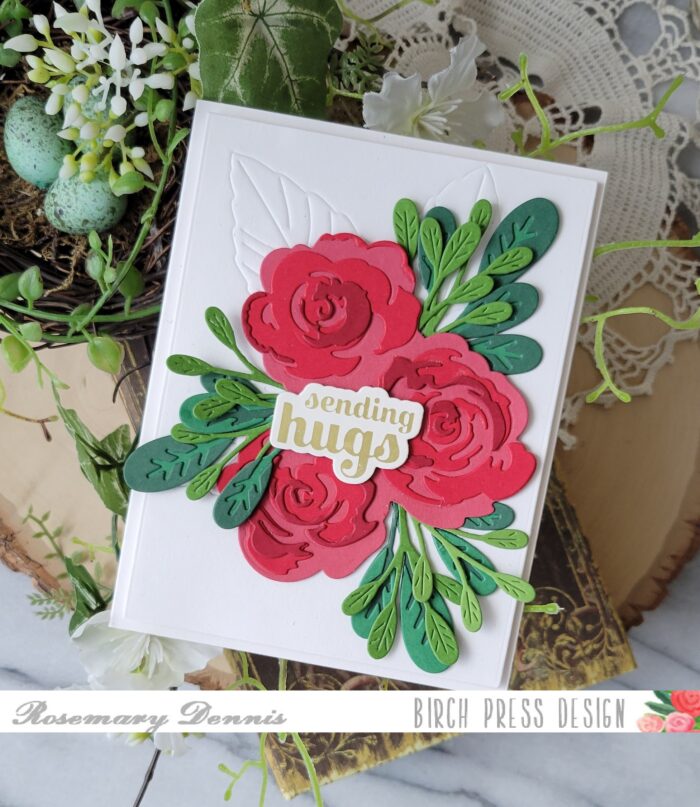
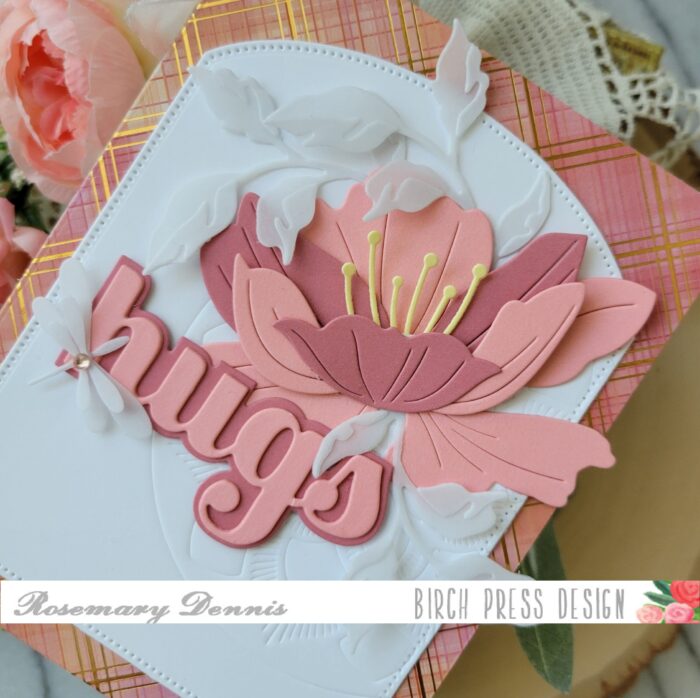
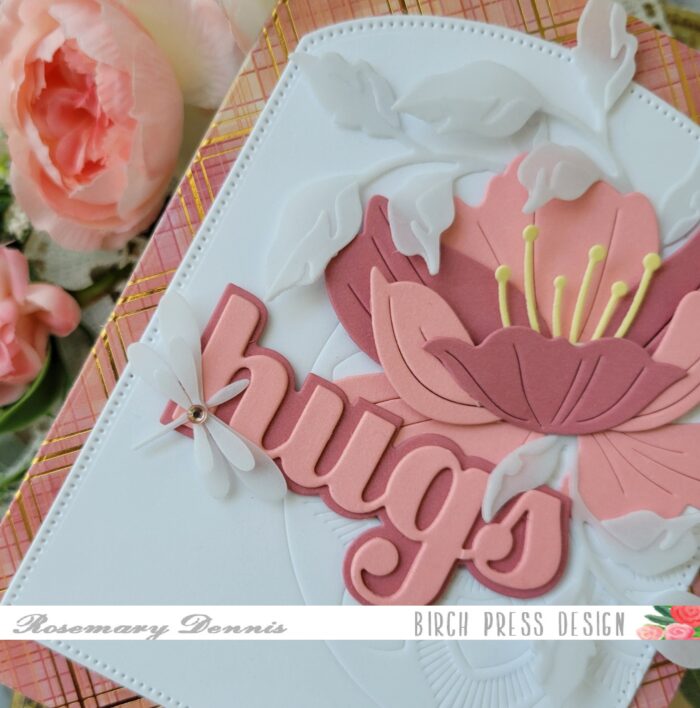
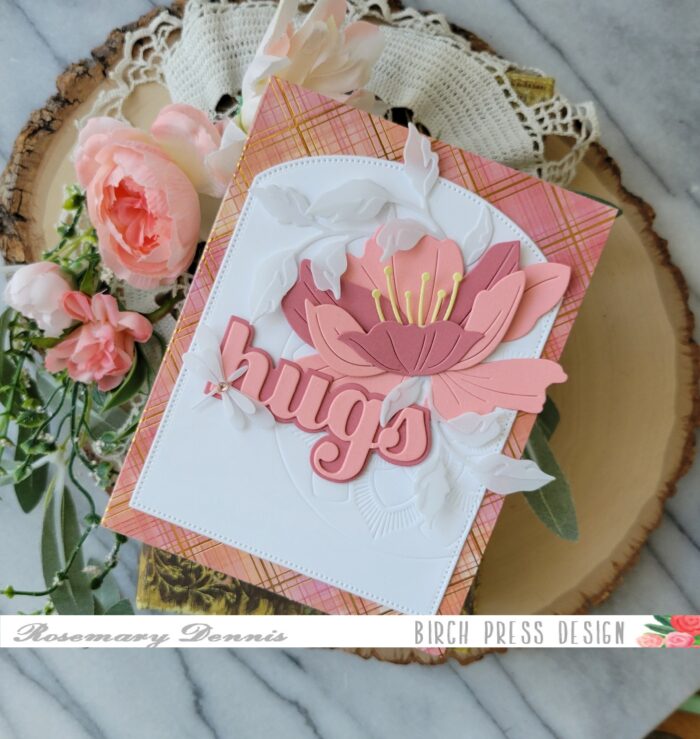
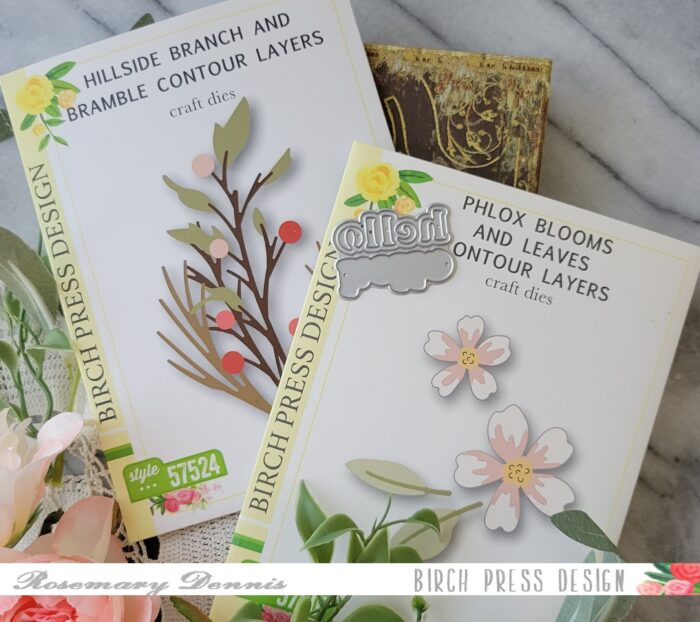
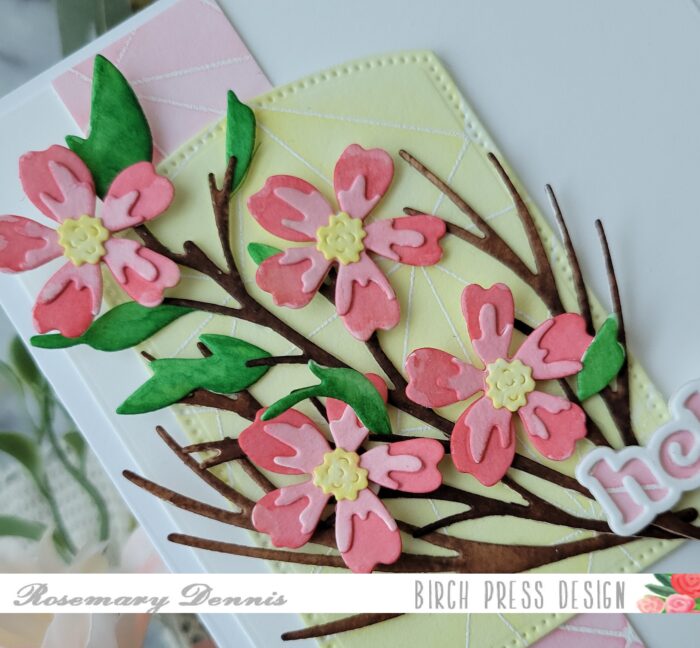
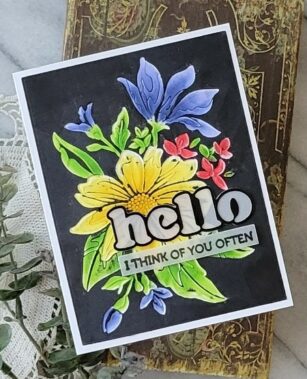
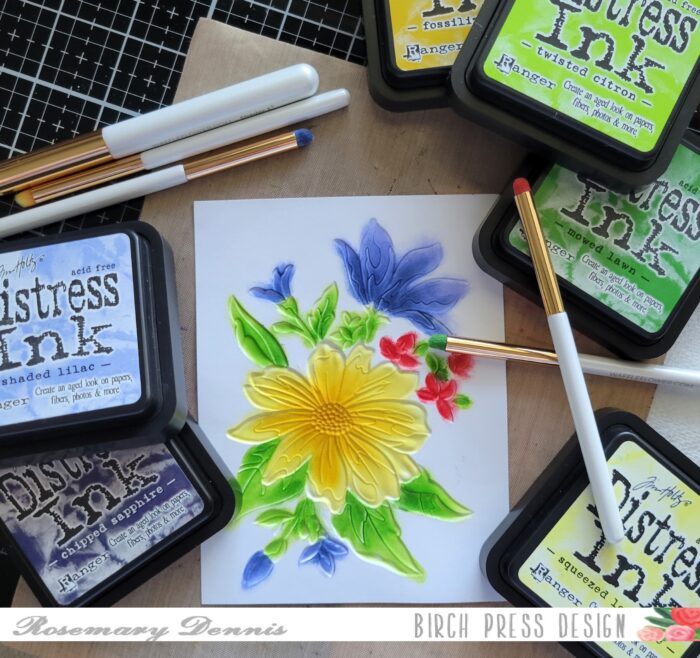
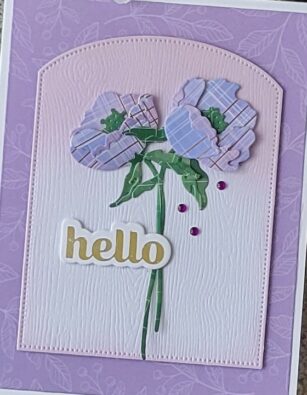
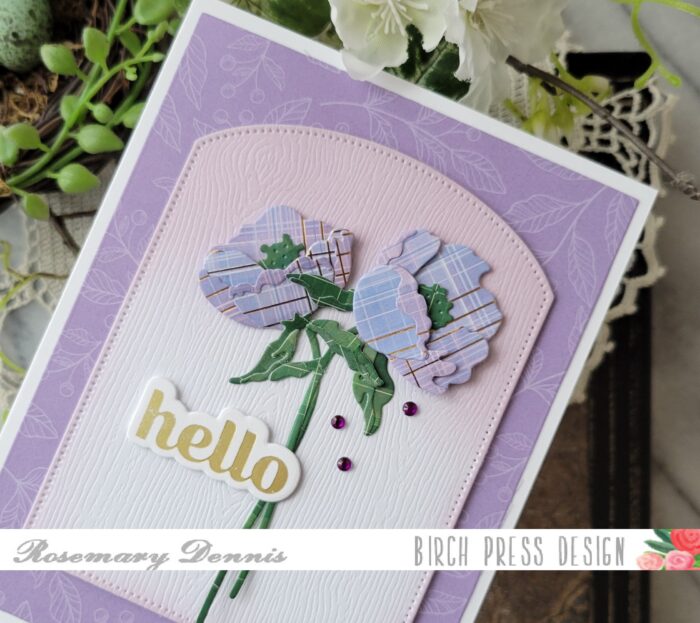
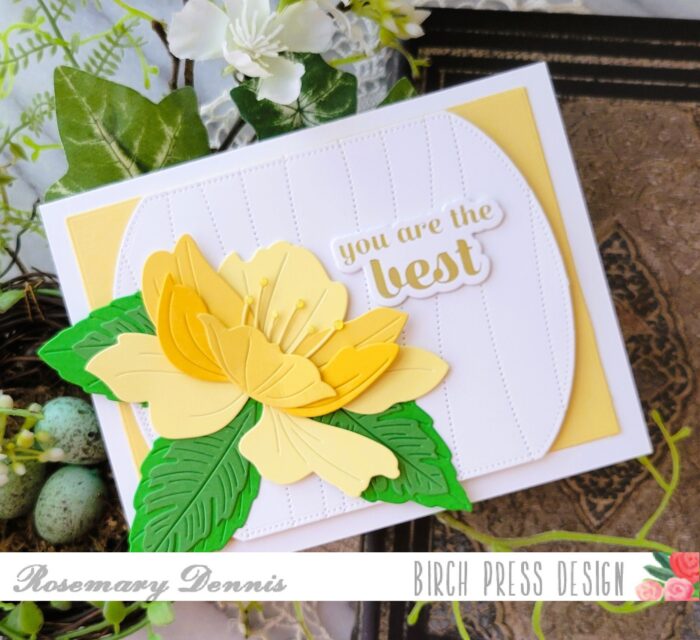
I started my card by going through the stack of contour layering dies I have pulled out in order to use to make cards and settled on the Dainty Rose and Leaves set. I have had this set for awhile, but I don’t think I have used it yet. I die cut all the pieces from white cardstock and then decided what ink colors I wanted to use. I don’t often use purple so I settled on that and pulled out coordinating purple inks to ink up all the layers of the rose. Two shades of green were used for the leaves. The I assembled all the pieces.
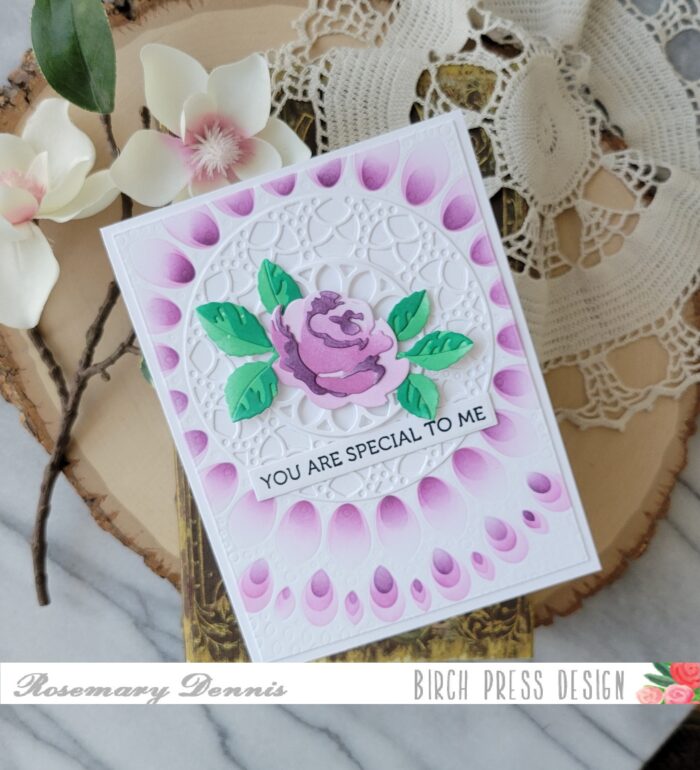
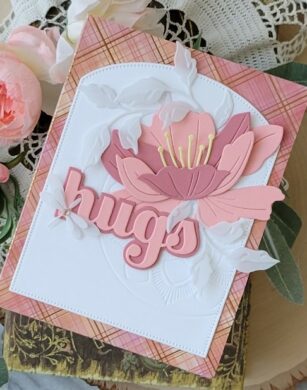
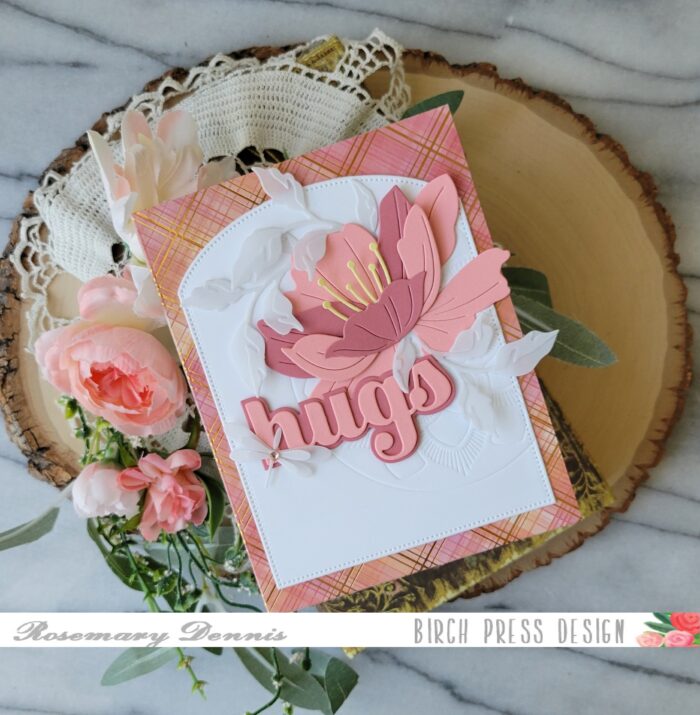
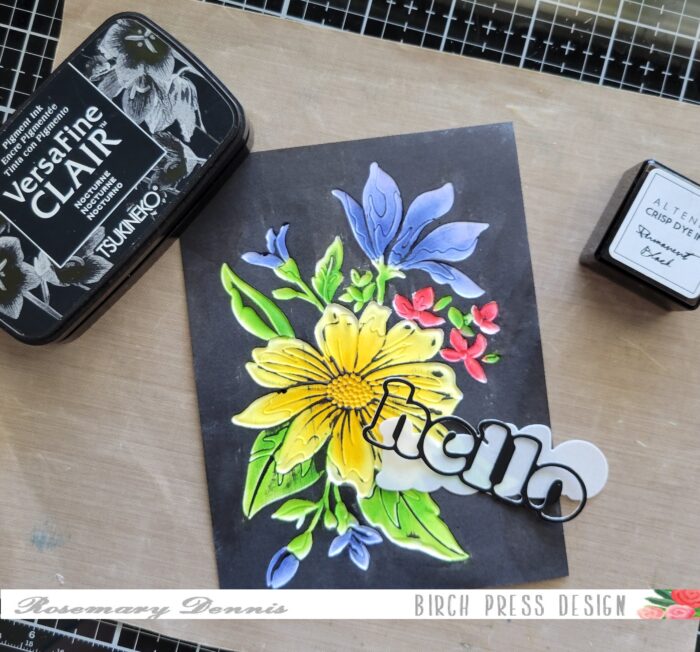
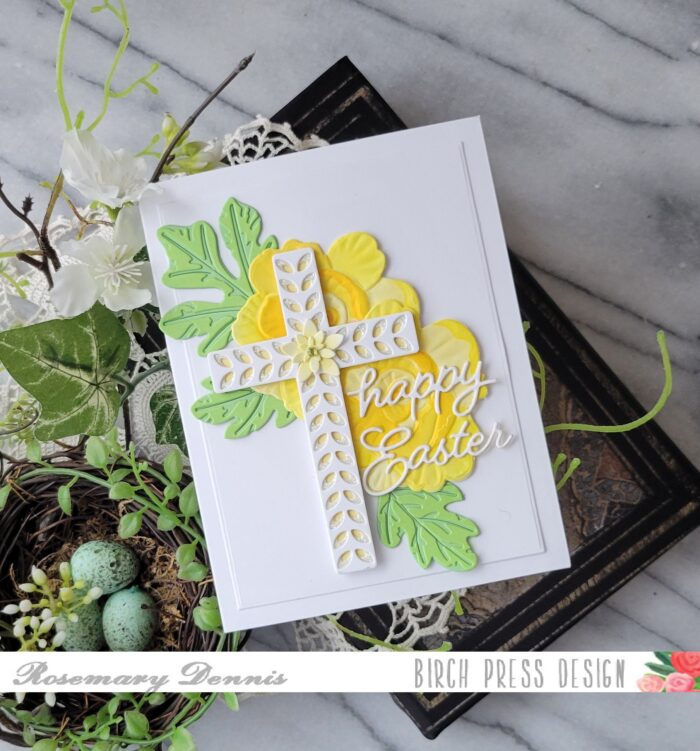
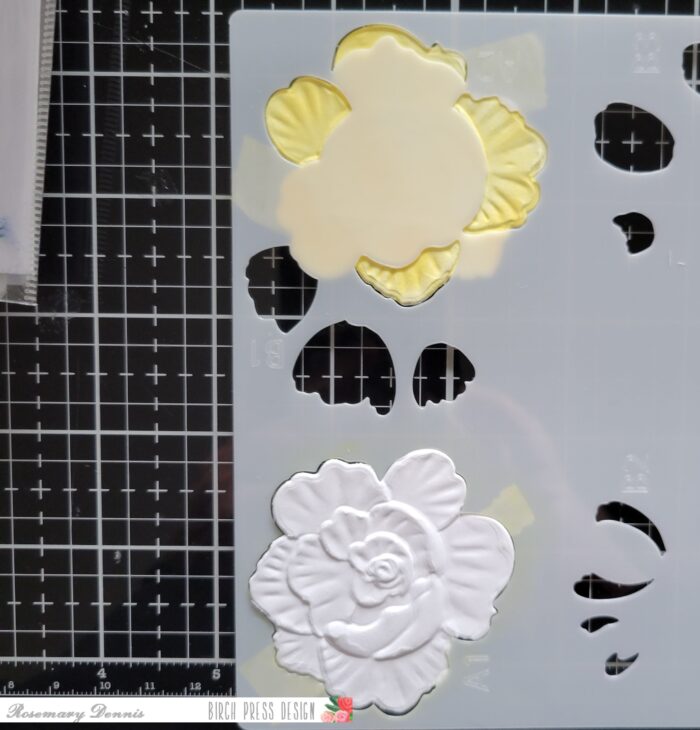
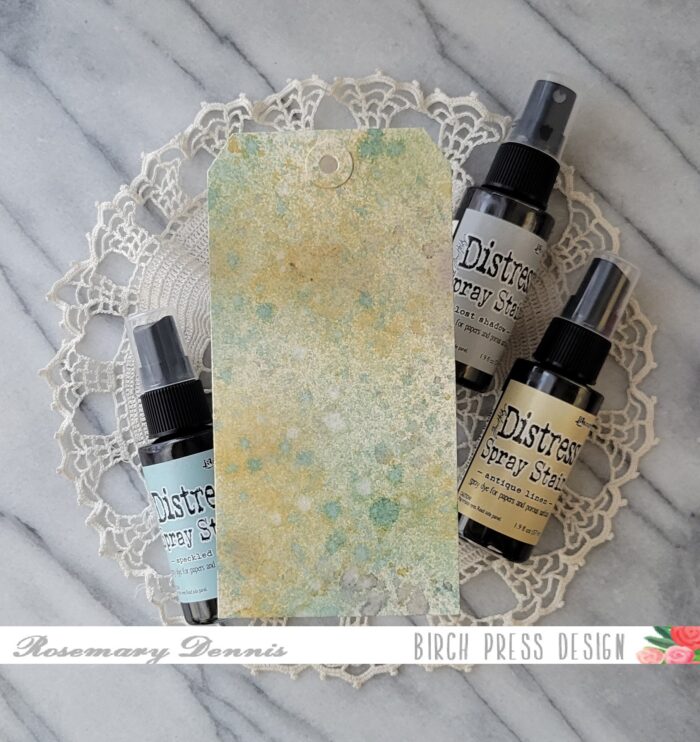
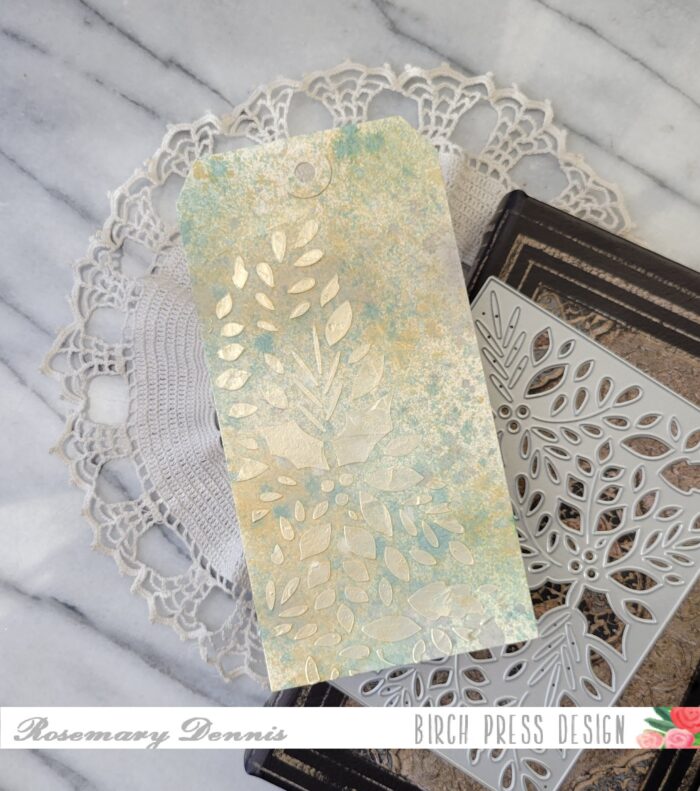
Since I have been into adding texture the background of my cards I pulled out the Grace Layer A plate and embossed a rectangle of white cardstock I had die cut with the die. I wanted to try something a little different so I pulled out the Gilded Grace Outside Stencil set. This set of stencils was designed to coordinate with the Gilded Grace hot foil plate, but it also works with the Grace Layer A plate.
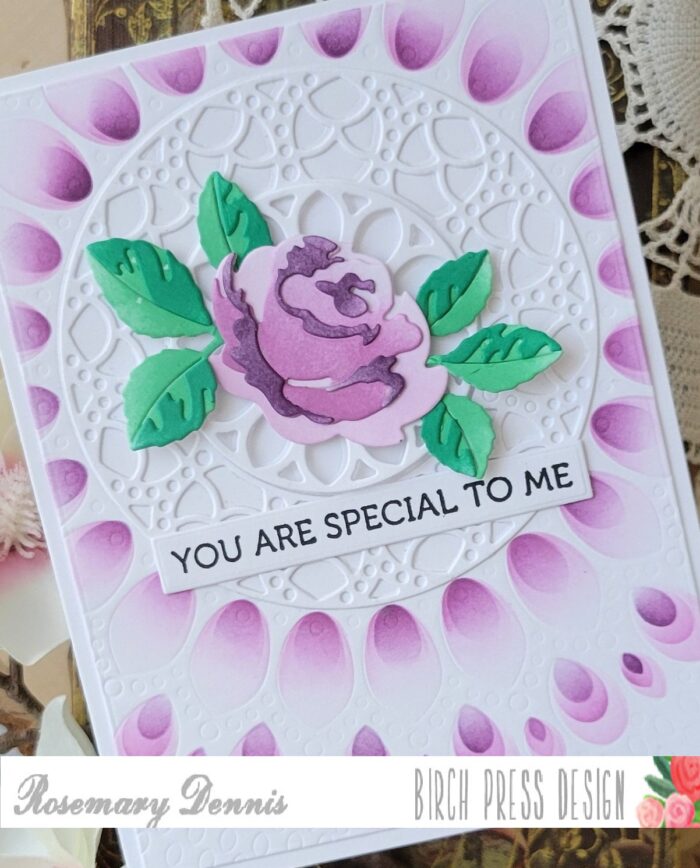
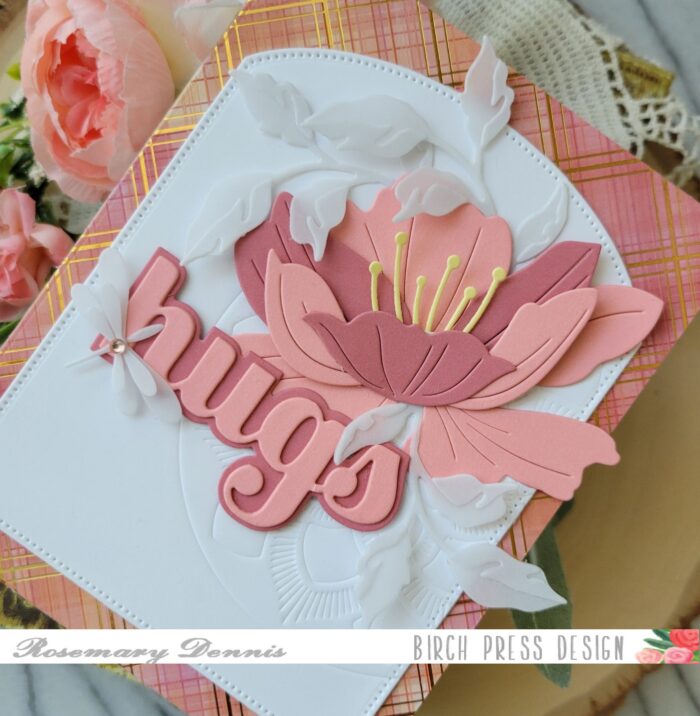
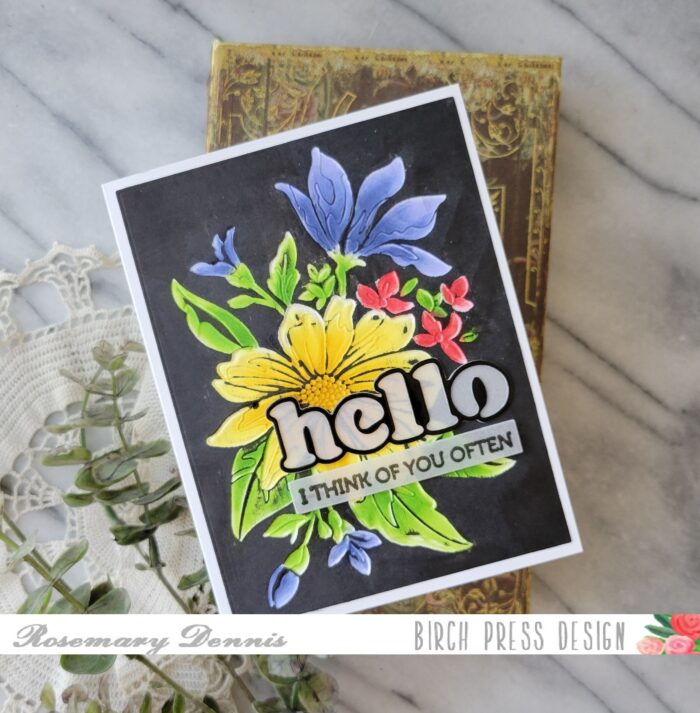
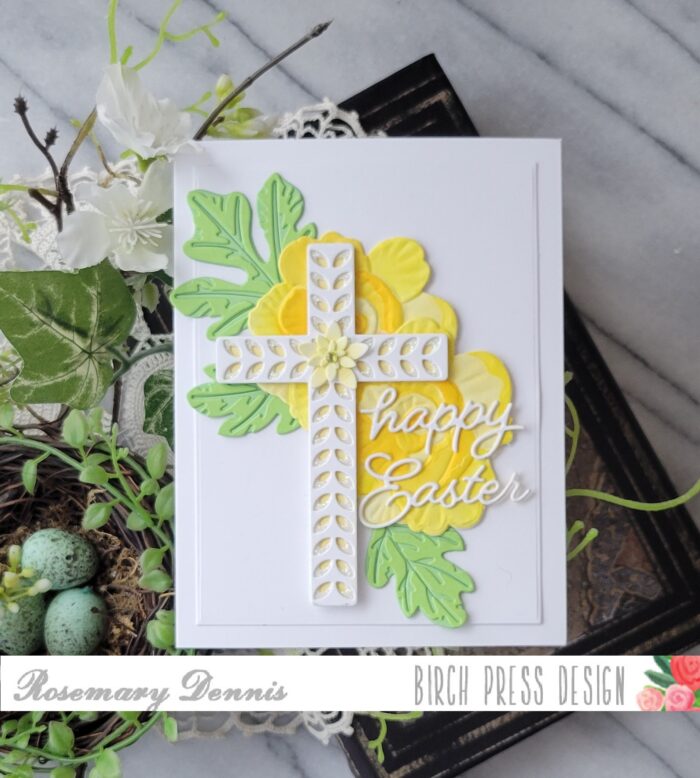
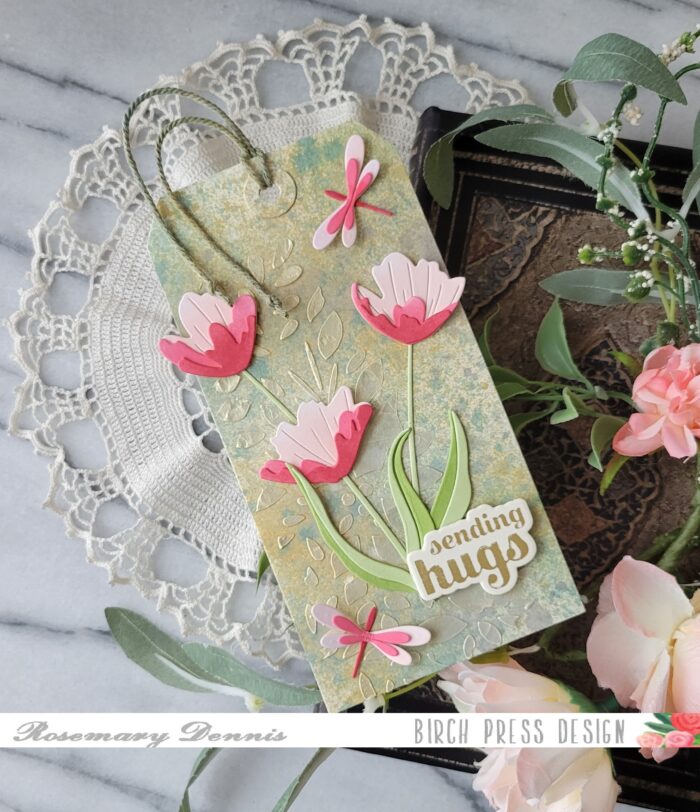
I used a grip mat to hold the stencils and cardstock in place as I did the stenciling. I only stenciled a portion of the background as I wasn’t sure how things would turn out. I’m actually pretty pleased with the end result. The interesting and unique thing about the Grace Layering dies is that the centers of each die cut out allowing three different looks. I decided to die cut the center portion of the layer A die and layer the larger circle on top of the embossing. I adhered flower to the center of the smaller circle and popped it up in the center using thin foam squares.
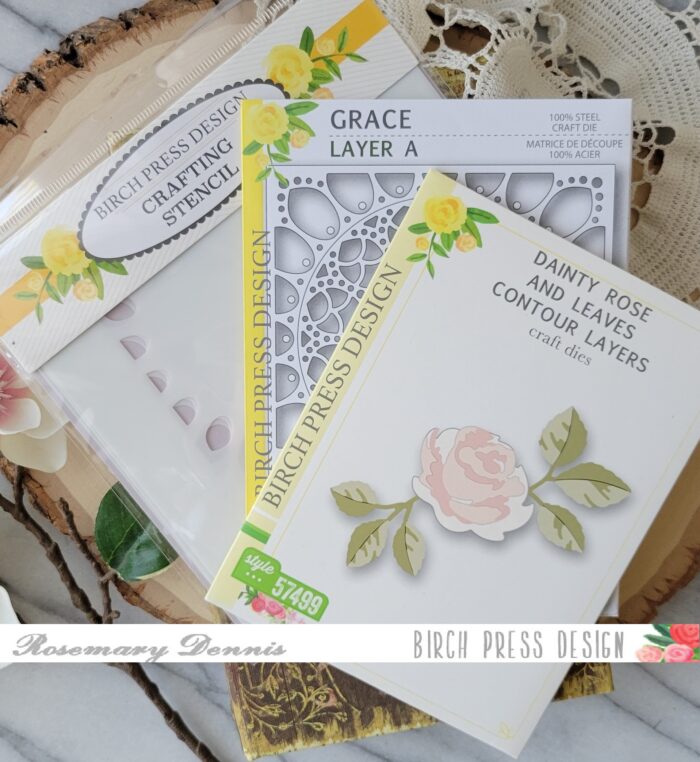
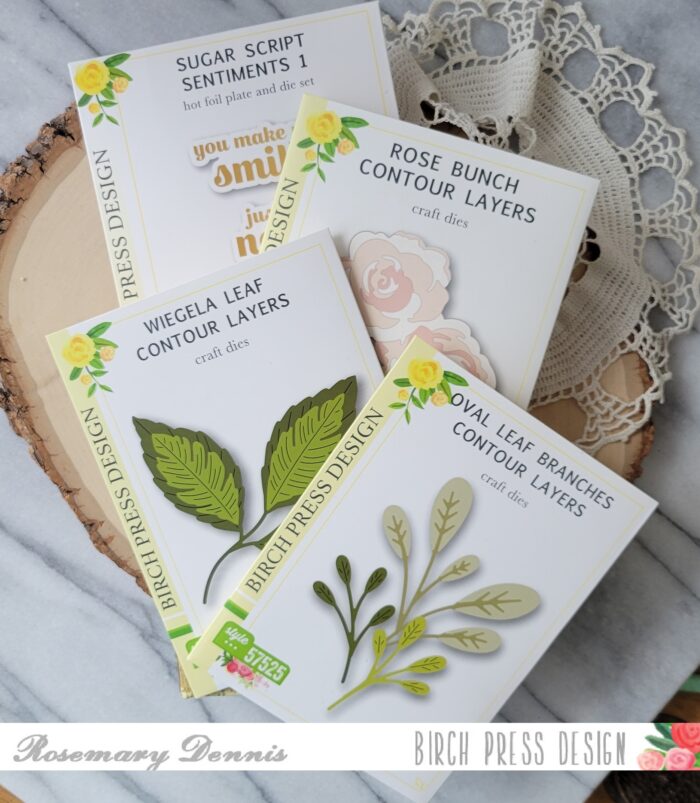
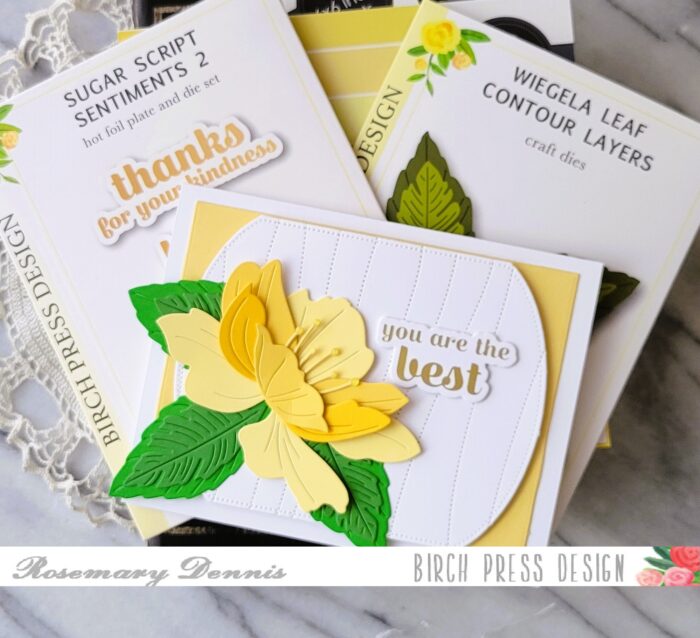
Here are the different products I used to make the card. I finished things off with a sentiment from the Crystal Lingo stamp set.
I hope you enjoyed today’s experimental project! Thanks for stopping by and have a wonderful day!

Supplies