Category: Seeka

  • Birthday Butterfly | By Seeka

    Birthday Butterfly | By Seeka

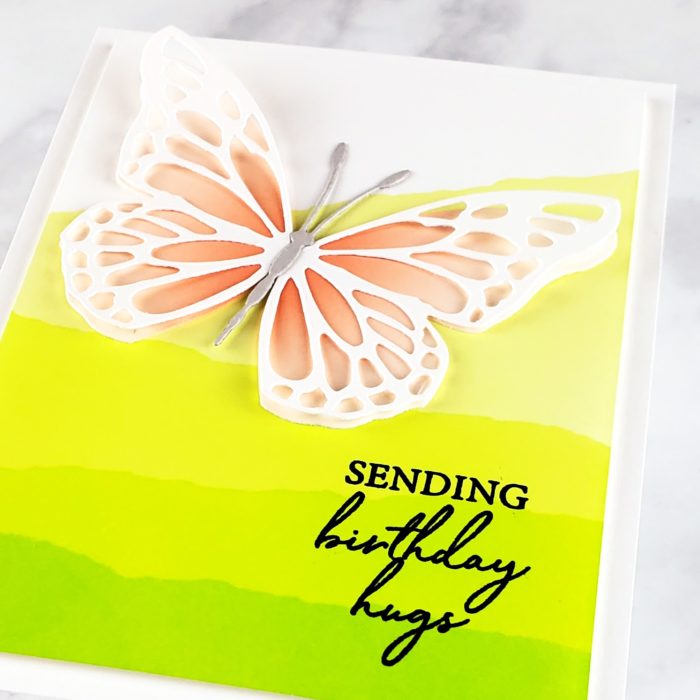
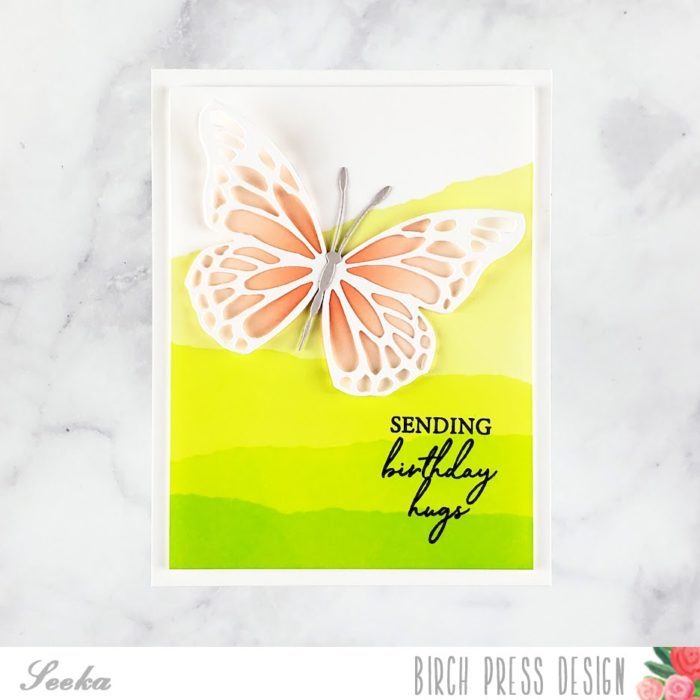
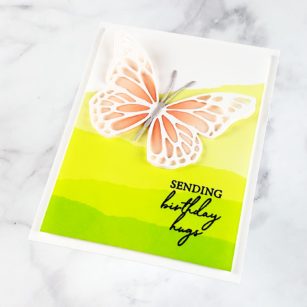
    Hello and welcome! Seeka here and today I’m sharing a card featuring a butterfly created with the Butterfly Basics die set.

    I started by using a blending brush to blend a peach-colored ink onto a piece of white cardstock. I blended a rough circle and concentrated the color at the center.
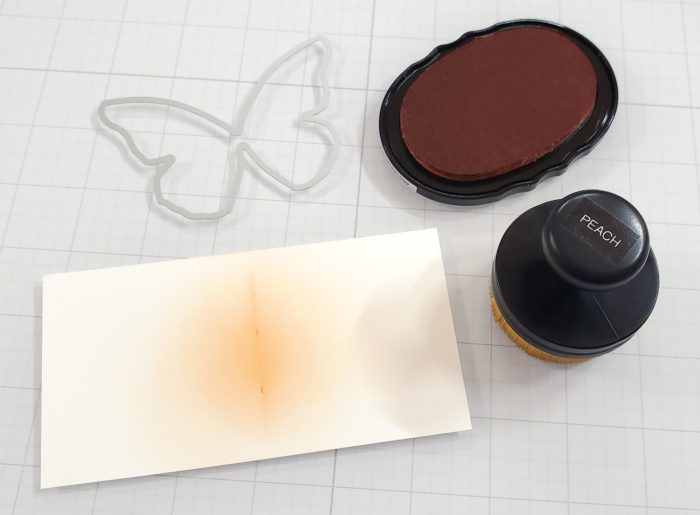
    Then I centered the solid butterfly die over the ink-blending and cut out a peachy butterfly. I cut the butterfly’s detail layer from white cardstock and then adhered the two pieces together, using just a bit of glue at the center of the butterfly and leaving the wings free to separate from each other. Then I cut the butterfly’s body from gray cardstock and adhered it at the center of the wings.

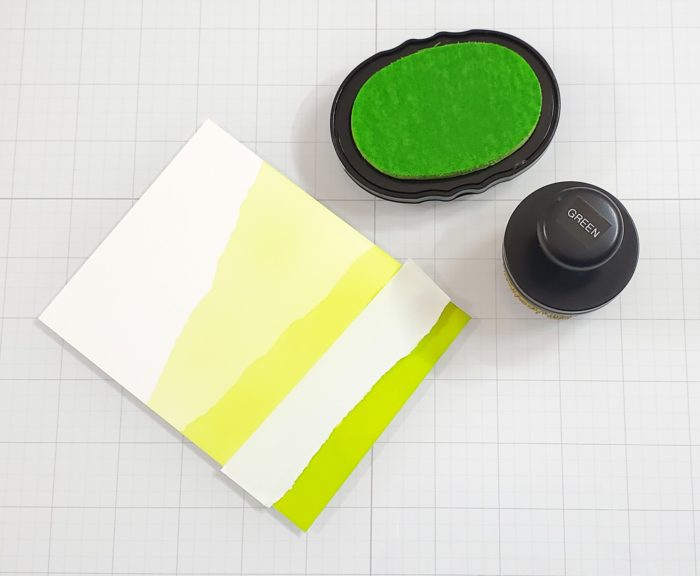
    Next, I created the faux dip-dyed background using Post-it Tape, green dye inks in a light-to-medium range, and a blending brush. I tore a length of 2″-wide Post-it Tape down the middle, lengthwise, and then masked off a portion of a 4.25″ x 5.5″ panel of white cardstock. I blended a very light green ink over the exposed area of the panel, and then removed the mask. I positioned the other half of the strip of Post-it tape and repeated the process, using the next darker shade of green. I repeated two more times until I completed the background.
    Next, I trimmed 3/8″ off the length and the width of the background and then I stamped the sentiment, from the Classic Sentimental Wreath stamp set, in black ink. To finish, I adhered the butterfly with glue dots and then used foam tape to adhere the card front to an A2-sized card base.

    Thank you so much for visiting!


    Supplies


  • Layered Delight | By Seeka

    Layered Delight | By Seeka

    Hello! Seeka here and I’m so glad you stopped by!

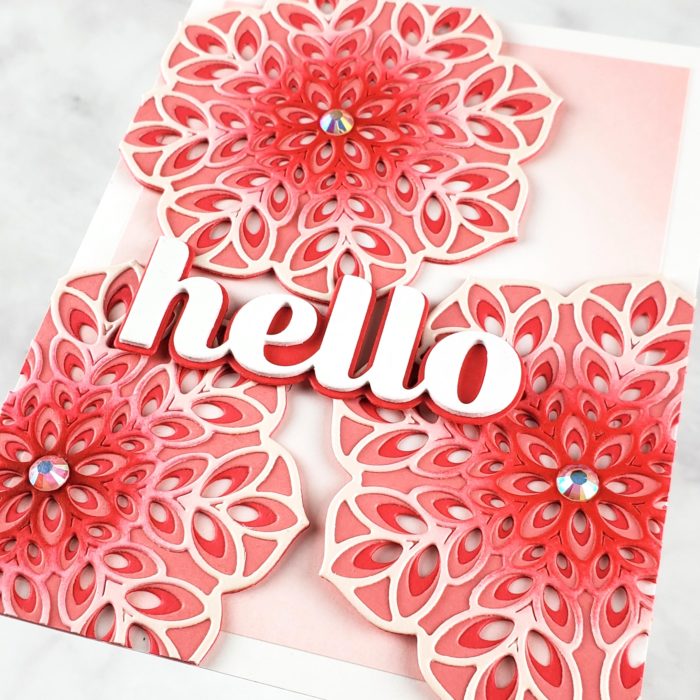
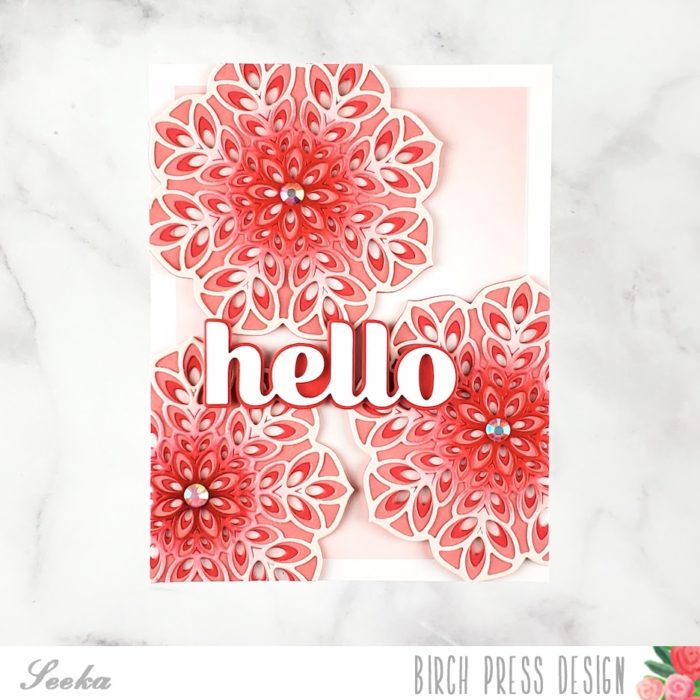
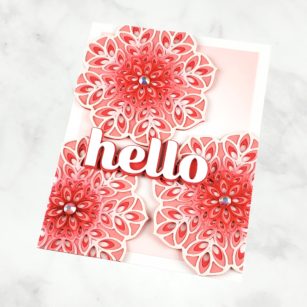
    Today I’m sharing a card featuring the Delight Layer Die Set in pretty coral pink colors.

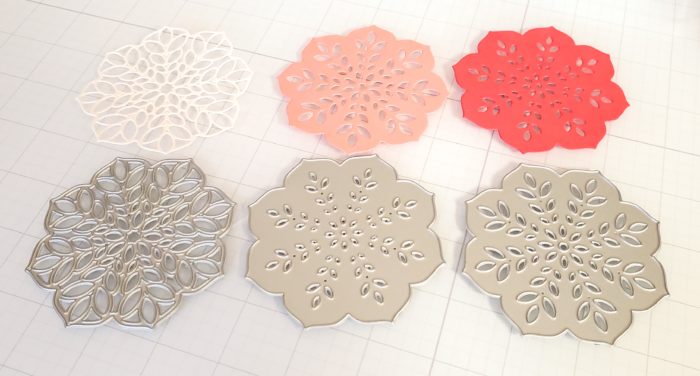
    I started off by selecting three coordinating colors of cardstock and cutting three sets of layers, using the lightest color of cardstock for the topmost intricate layer.

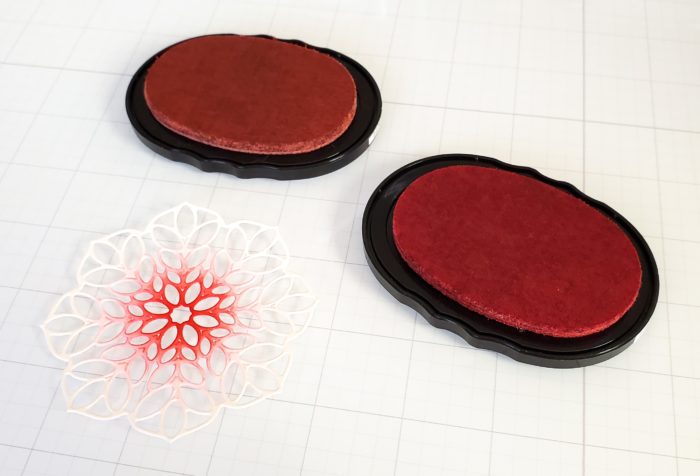
    Next, I used a blending brush to blend a light red dye ink into the center of the lightest layer. Then, I deepened the color at the very center of the die cut with a darker red.

    I repeated this three times and then stacked and adhered each set of three layers together.

    Next, I used the Big Hello Sugar Script die to cut the sentiment from white cardstock four times. I stacked and adhered these layers together, for dimension, and then adhered the piece to the shadow layer which I cut from coral cardstock.

    For the background, I blended some of the light red ink around the border of a 3.75″ x 5″ panel of white cardstock. Then, I adhered that panel to a 4.25″ x 5.5″ panel of white cardstock.

    To assemble the card, I adhered the three layered Delight die cuts to the background and then trimmed off anything hanging off the edge of the panel. I added the sentiment and jewel embellishments and then finished by adhering the card front to a card base.

    Thank you so much for coming by!


    Supplies


  • Dazzle Die Cut Inlay | By Seeka

    Dazzle Die Cut Inlay | By Seeka

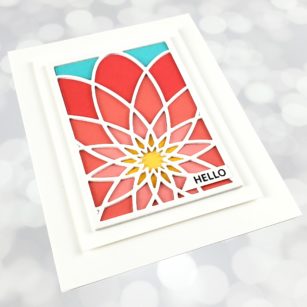
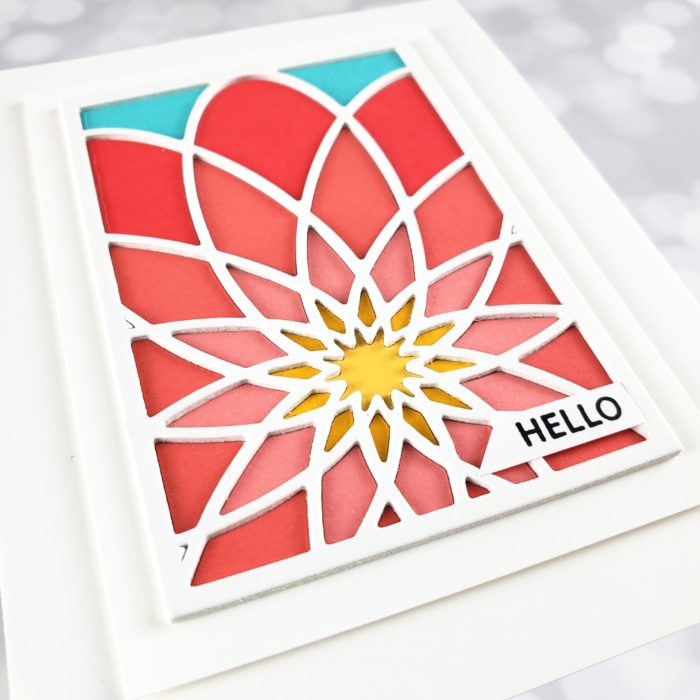
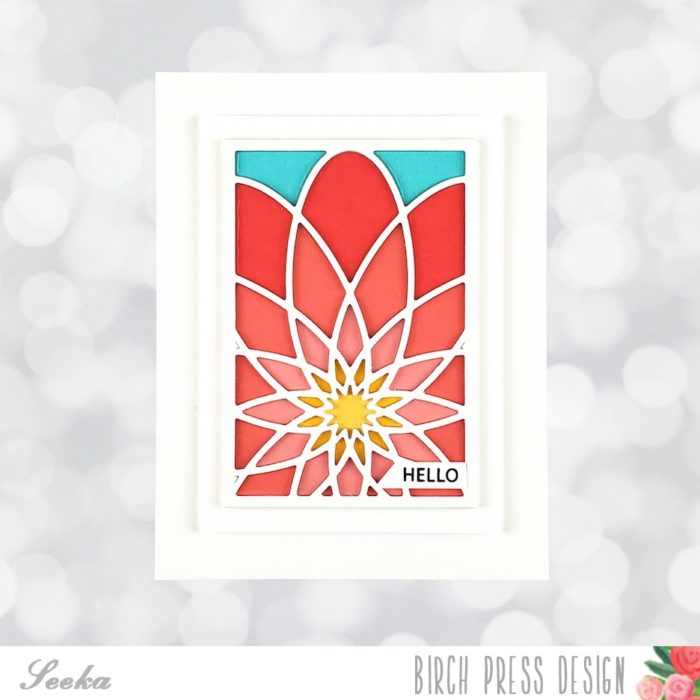
    Hello there! It’s Seeka here today sharing a card featuring the Dazzle Mini Frame dies and a die cut inlay technique. When I chose colors for this card, I had a sunrise in mind but in hindsight, I see a pink flower. What do you see?

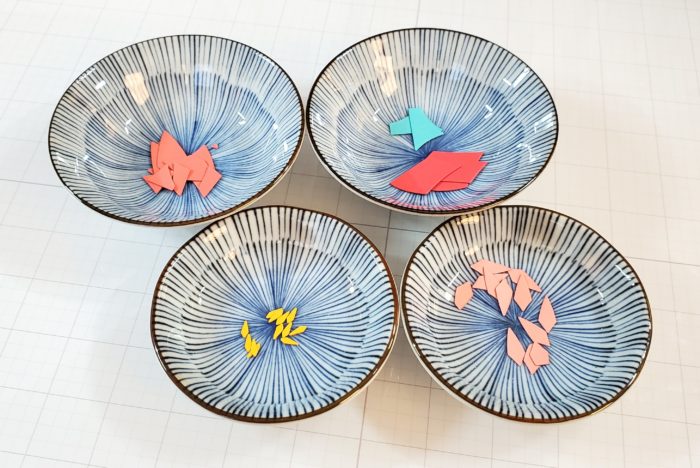
    I started off by using the Dazzle Mini Frame Layer A die to cut six different colors of cardstock: two yellows, three peachy corals, and a blue. Because I didn’t need the entire frame in every color, I was able to use some small scraps of cardstock to get the pieces I needed.

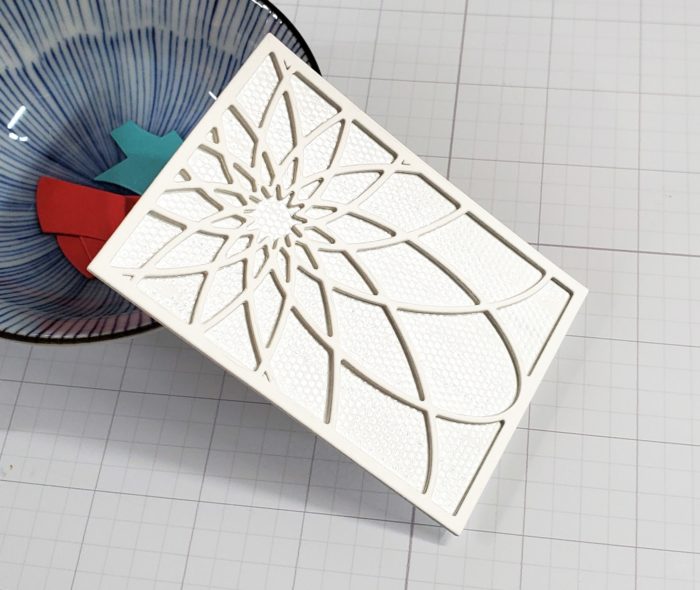
    Next, I used the same die to cut four pieces of white cardstock; then I stacked and adhered the four frames together. Next, I created a backing for the frame by cutting a rectangle of scrap cardstock, just a smidge smaller than the frame. I covered the rectangle with adhesive from a tape runner and then adhered the stacked Dazzle frame to it.

    Then, I pieced in the small die cut pieces into the frame. When I finished, I added a stamped sentiment, using a stamp from the Rainbow Days Lingo Notes stamp set.

    To finish, I adhered the Dazzle frame to a larger piece of cardstock which I in turn adhered to an A2-sized card base.

    Thank you so much for coming by!


    Supplies


  • Arista Layers | By Seeka

    Arista Layers | By Seeka

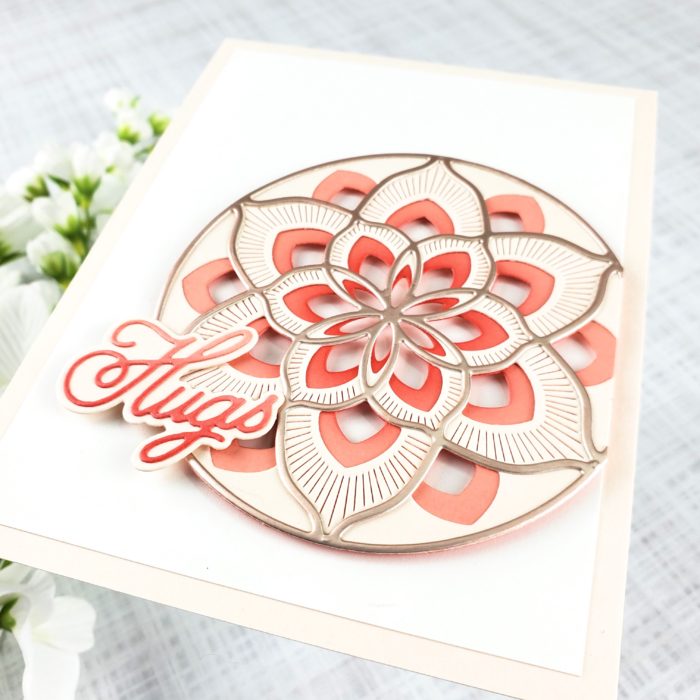
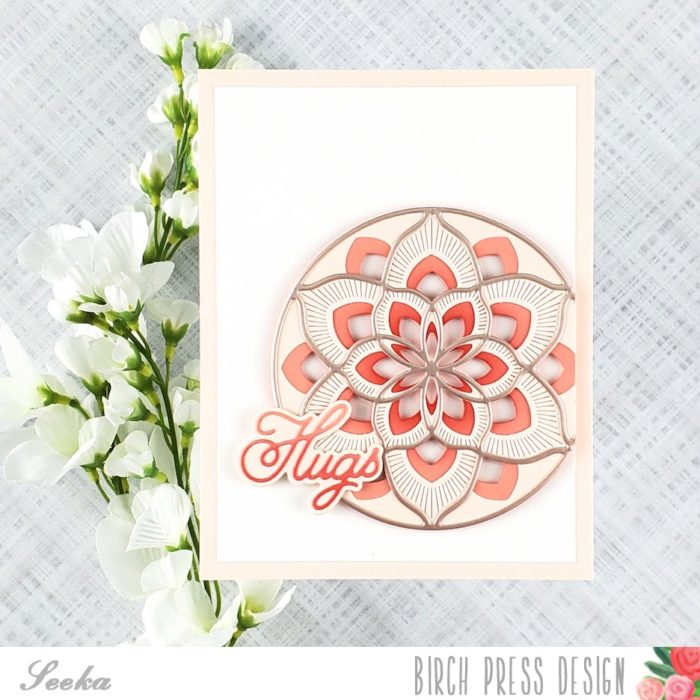
    Hello and welcome! Seeka here and today I’m sharing a card featuring the Arista Layer Die set. I really like the detail in the middle layer of this set!

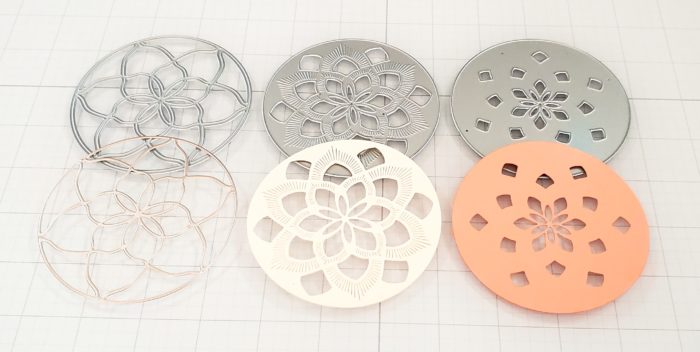
    I began by cutting out the three layers of the medallion. The top layer is from a metallic rose cardstock, the middle layer is from a very soft pink cardstock, and the bottom layer is from a grapefruit pink cardstock.

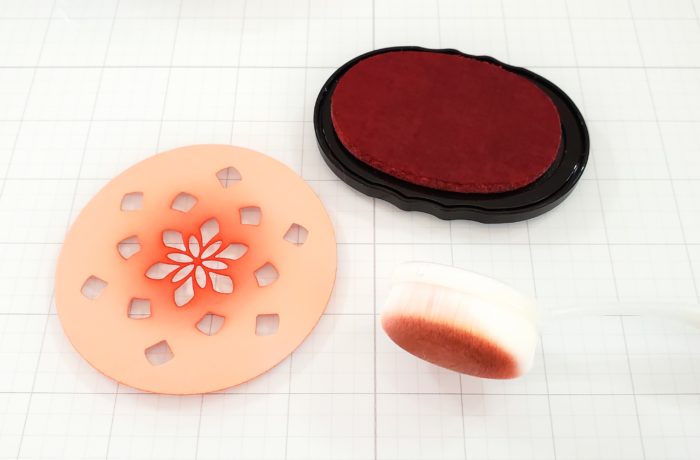
    Using a blending brush, I blended a peach colored ink into the middle of the bottom layer. Then I adhered the three layers together.

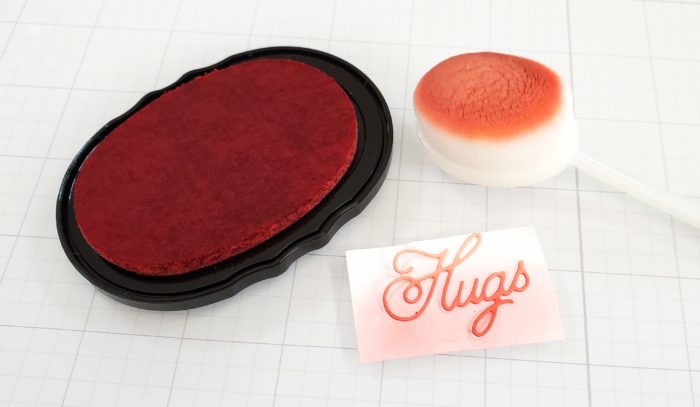
    Next, I used the Handwritten Hugs And Outline die to cut the sentiment from the grapefruit cardstock. I placed the sentiment onto the sticky side of a piece of Post-It tape to hold it in place while I blended some of the same peach ink onto the bottom half of the sentiment. Then, I cut the sentiment’s shadow layer from the light pink cardstock and adhered the two pieces together.

    To assemble the card, I cut an A2-sized piece of white cardstock and an A2-sized piece of the light pink cardstock. I trimmed 3/8″ off the length and width of the white cardstock and adhered it to the light pink cardstock. Then I trimmed off a little bit of the medallion, backed it with foam tape, and adhered it to the white cardstock. Next, I adhered the sentiment with a bit of foam tape and glue. To finish, I adhered the card front to a card base.

    Thank you so much for visiting today!


    Supplies


  • Eloquent Butterflies | By Seeka

    Eloquent Butterflies | By Seeka

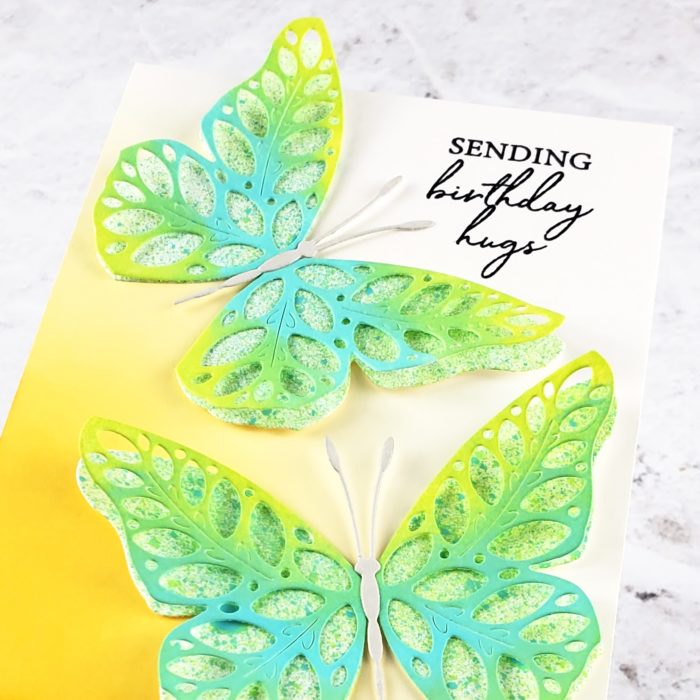
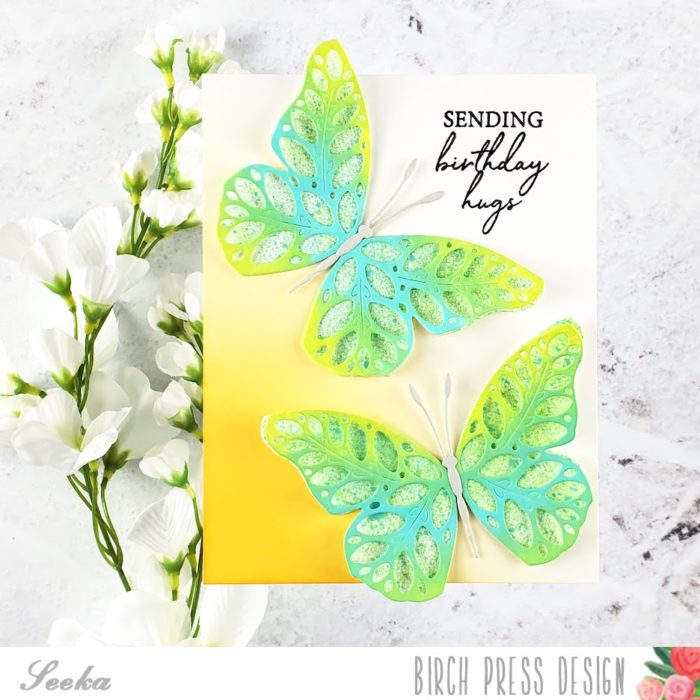
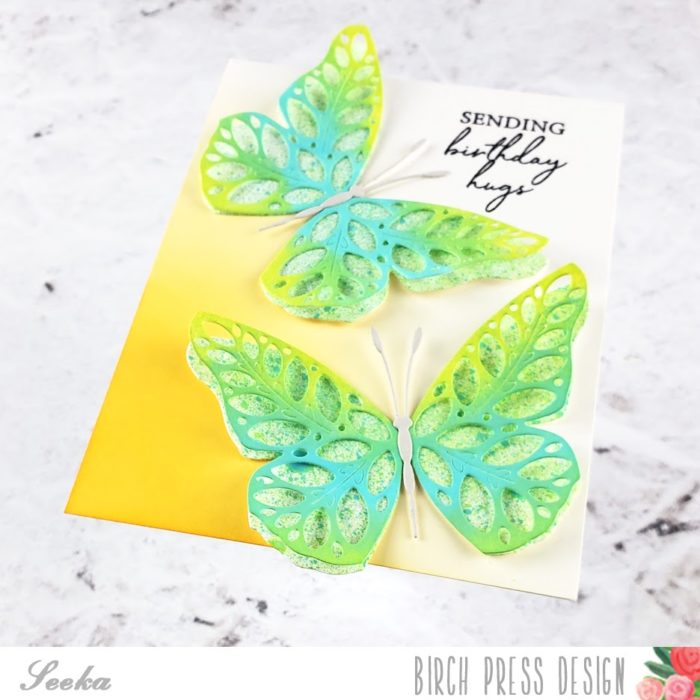
    Hello! Seeka here and today I’m sharing a bright and summery birthday card featuring the new Eloquent Butterfly layer die.

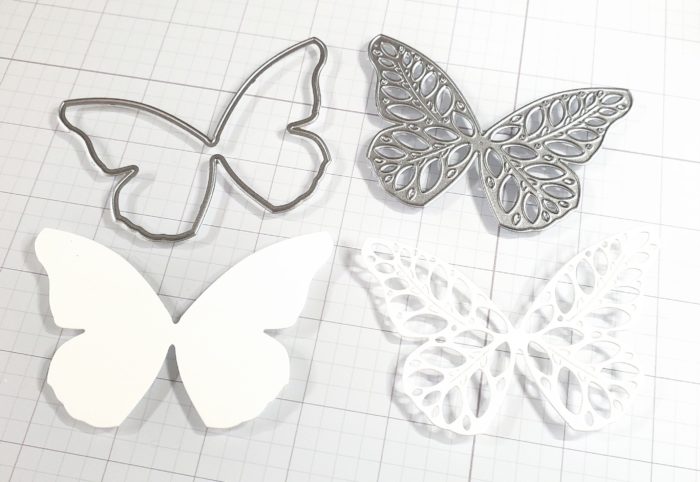
    I started off by using the Eloquent Butterfly Layer A die and the base butterfly layer from the Butterfly Basics die set to cut a set of wings for each of two butterflies.

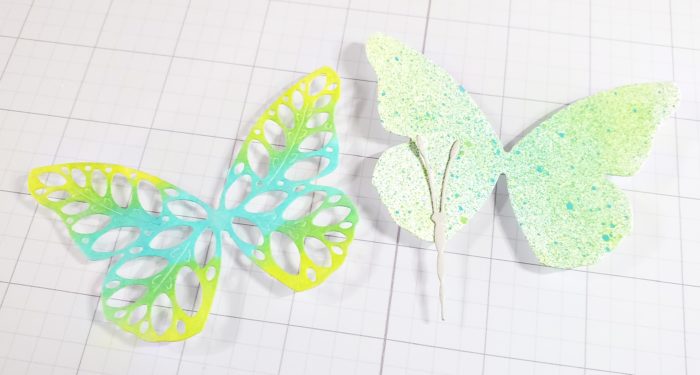
    Next, I sprayed the two base layers with Salvaged Patina and Twisted Citron Distress Oxide Sprays. Using foam blending tools, I sponged on color from the coordinating ink pads onto the the two detail layers.

    Then, I cut two butterfly bodies from light gray cardstock using a die from the same Butterfly Basics die set.

    I assembled each of the butterflies using glue dots to adhere the wing layers together (this allows the layers to separate from each other, for dimension), and liquid glue to adhere the body.

    For the background, I used a blending brush to blend a yellow/orange dye ink onto a 4.25″ x 5.5″ panel of white cardstock. I concentrated the color at the bottom left of the panel and let it fade to white as I neared the top right. At the top right, I stamped a sentiment from the Classic Sentimental Wreath stamp set.

    To assemble the card, I adhered the butterflies with just a couple of glue dots and then adhered the card front to a card base.

    Thank you so much for visiting!

    Supplies

  • You’re In My Heart | By Seeka

    You’re In My Heart | By Seeka

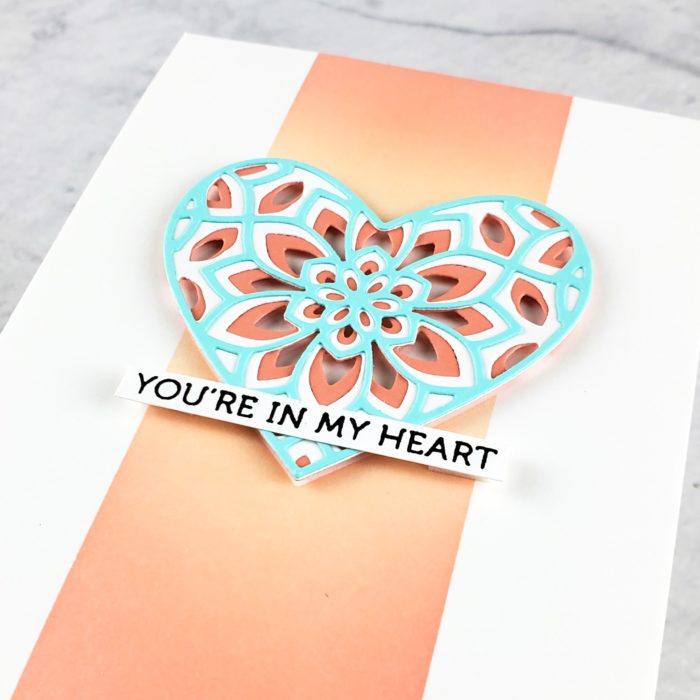
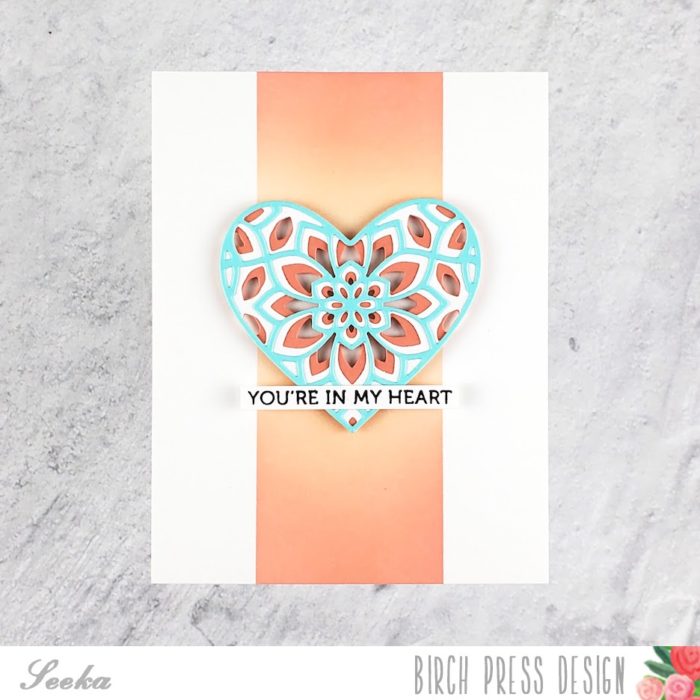
    Hello, it’s Seeka here and I hope you’re having a nice day! Today I have a card featuring the Kinsley Heart Layer dies and a terracotta and turquoise color palette that reminds me of the Southwest.

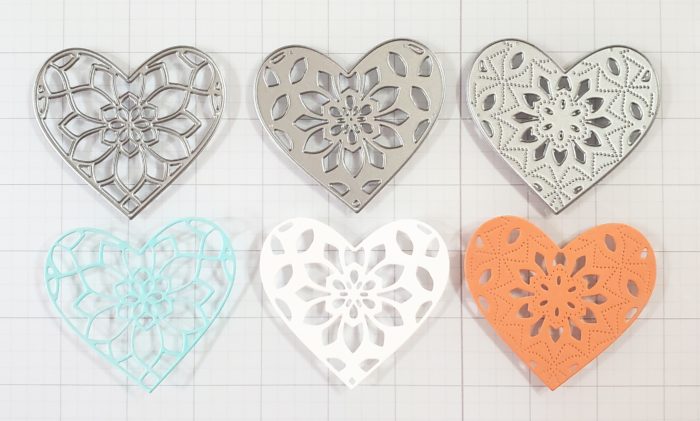
    I started off by die cutting the three layers of the heart from peach, white, and light aqua cardstock. I stacked adhered the hearts together and then set the piece aside.

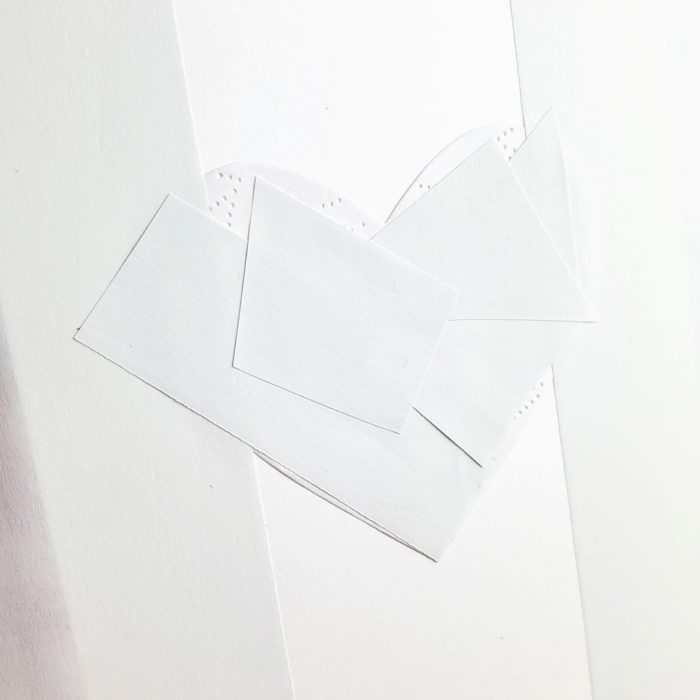
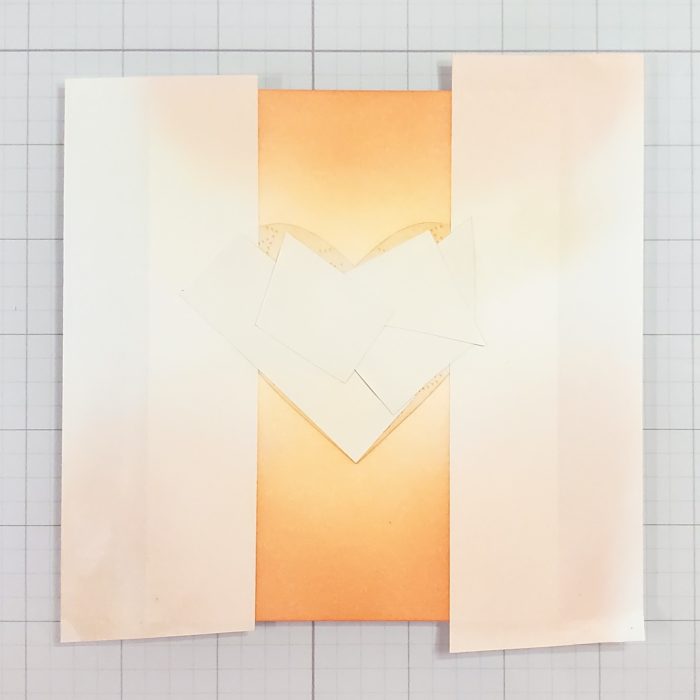
    Next, I used the bottom heart layer die to cut a piece of masking paper. I adhered the heart mask onto a 4.25″ x 5.5″ piece of white cardstock and then masked off the left and right borders of the cardstock using Post-it Tape. I also masked off the small die cut holes in the heart with smaller pieces of Post-it Tape.

    Using ink blending tools, I blended on a light peach dye ink over all of the exposed area. Then, I added a darker peach along the top and the bottom of the panel, blending the darker color towards, and following the contours of, the heart.

    Next, I removed the masks and used foam tape to adhere the heart. The effort I took to mask the heart before blending left the area under, and peeking through, the heart white.

    I stamped the sentiment, which is from the Lingo Thanks stamp set, onto a piece of white cardstock and then trimmed it into a strip. I used little pieces of foam tape at the left and right ends of the strip to adhere the sentiment over the heart and onto the panel.

    To finish, I adhered the card front to a card base.

    Thank you so much for visiting!

  • Spring Floral Star | By Seeka

    Spring Floral Star | By Seeka

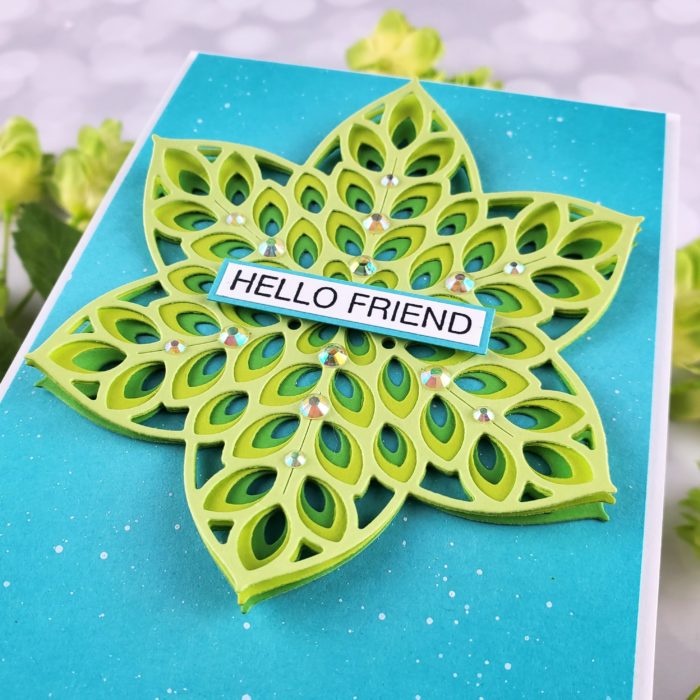
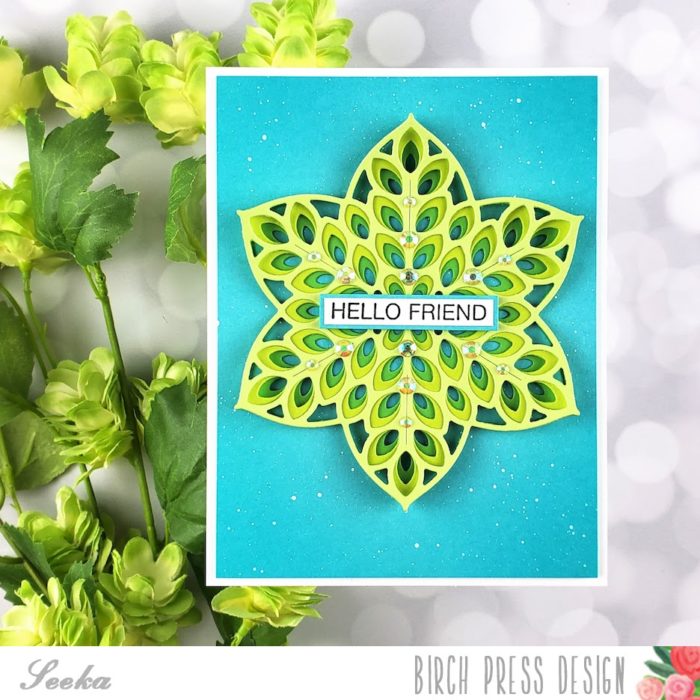
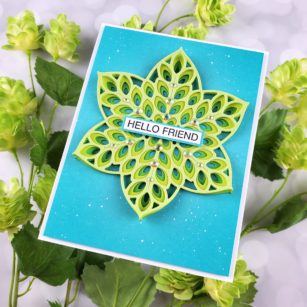
    Hello, crafty friends! Seeka here, and today I’m sharing a card featuring the Floral Star Layer die set. In my city, spring is the greenest time of year. The winter rain has refreshed the grasses and everything is bright green ahead of a long and dry summer.

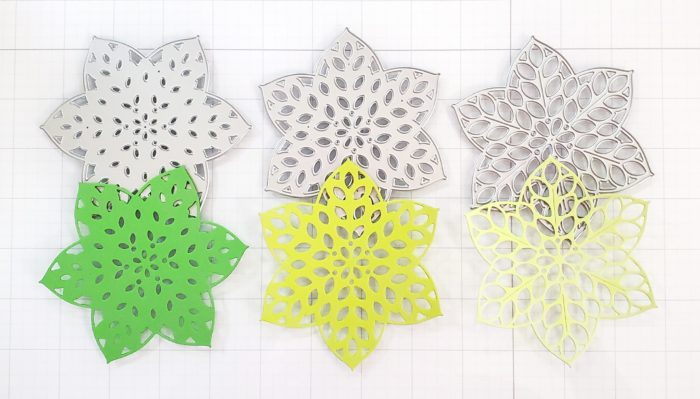
    I started my card today by cutting the three layers of the Floral Star in shades of green.

    I used small adhesive dots to adhere the layers together, placing the dots towards the center of the star and leaving the edge of the “petals” free.

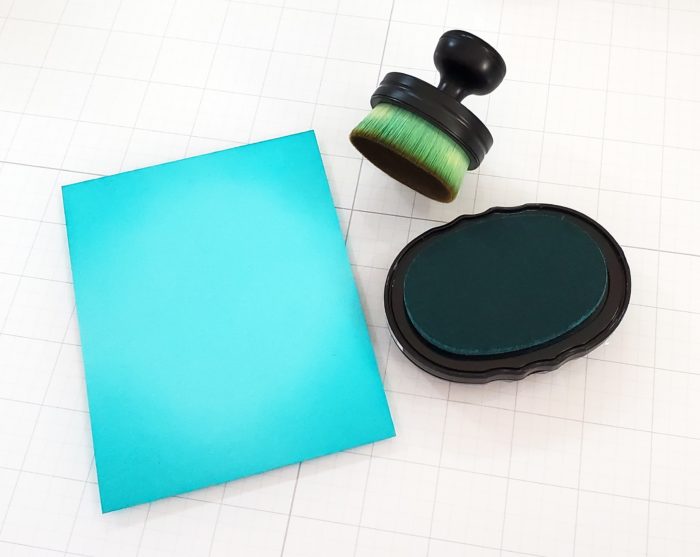
    Next, I prepared a background using a 4″ x 5.25″ panel of blue cardstock. To create a bit of depth, I used a blending brush to blend a bit of teal blue ink onto the corners of the panel.

    I also used a small paint brush, dipped in white Dina Wakley Media Gloss Spray, to add white splatter to the panel.

    Next, I stamped a sentiment from the Awesome Ticker Tape stamp set in black ink onto white cardstock. The stamps in this set include an outline which I trimmed away before adhering the sentiment to a frame of the same blue cardstock.

    To assemble the card, I adhered the Floral Star to the blue panel, and then used foam tape to adhere the card front to an A2-sized card base. As a final touch, I adhered jewel embellishments to the star.

    Thank you so much for visiting!


    Supplies


  • Thanks For Your Friendship | By Seeka

    Thanks For Your Friendship | By Seeka

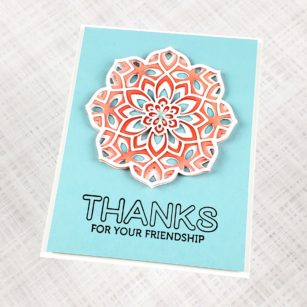
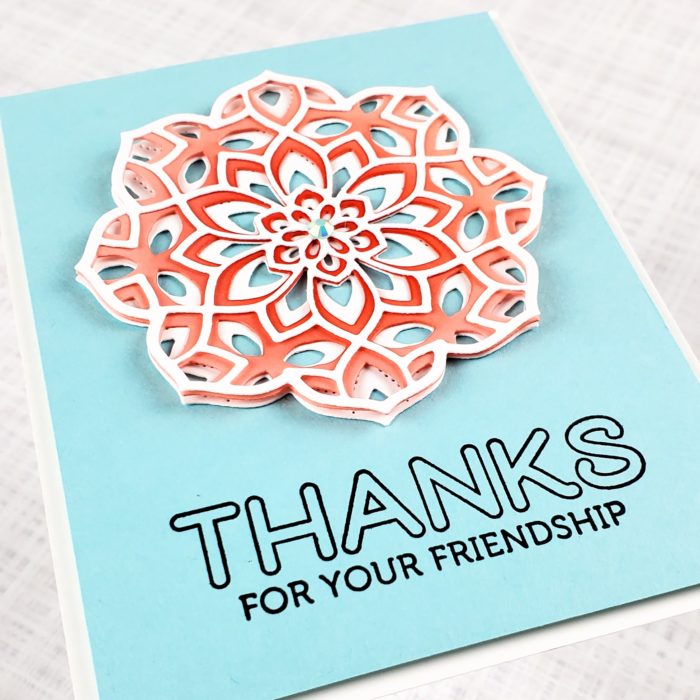
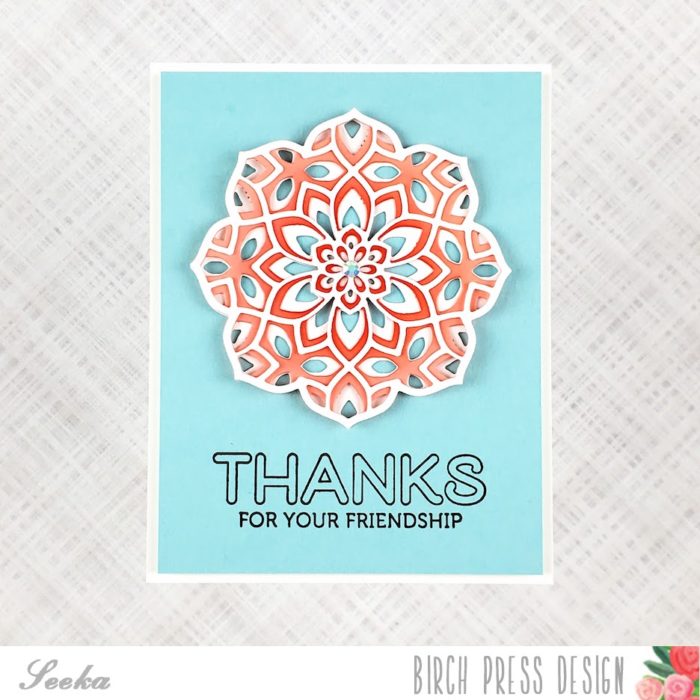
    Hello there, crafty friends, I hope you’re having a nice day! Seeka here and today I have a quick and easy card featuring the Kinsley Layer die set.

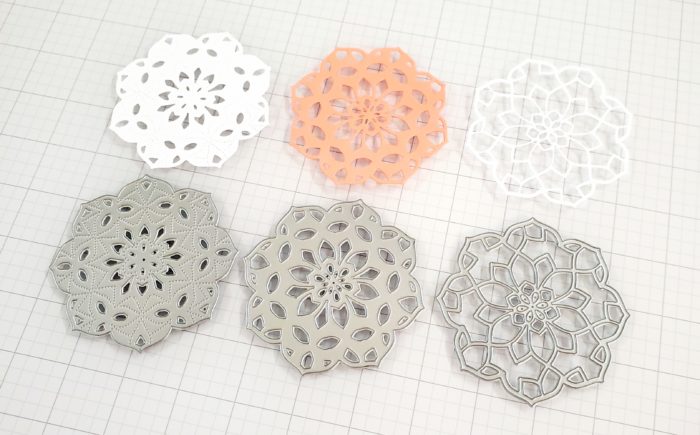
    I started by die cutting the top and bottom layers from white cardstock, and the middle layer from peach cardstock.

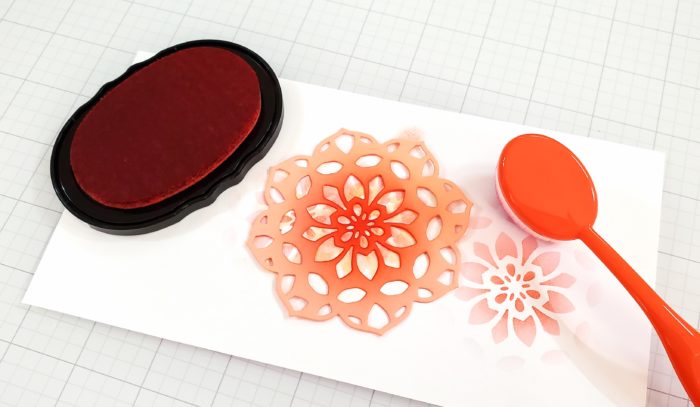
    Next, I used a blending brush to blend a peach-colored ink onto the center of the middle layer in order to create a bit of color variation and depth.

    Then I adhered the three die cut layers together using adhesive dots placed towards the center of the floral shape. I left the outer edges un-adhered, so they could lift away from each other like flower petals.

    Next, I stamped sentiments from the Lingo Thanks stamp set near the bottom of a 4″ x 5.25″ inch panel of light blue cardstock.

    To assemble the card, I adhered the die cut to the center of the blue panel, and then used foam tape to adhere the panel to white 4.25″ x 5.5″ card base. As a final touch, I glued a little blue gem to the center of the die cut.

    Thank you so much for visiting!


    Supplies


  • Easter Petal Egg | By Seeka

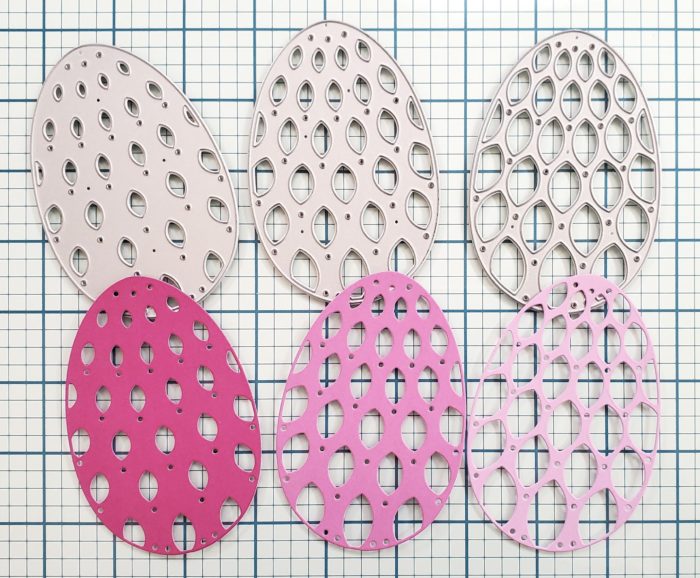
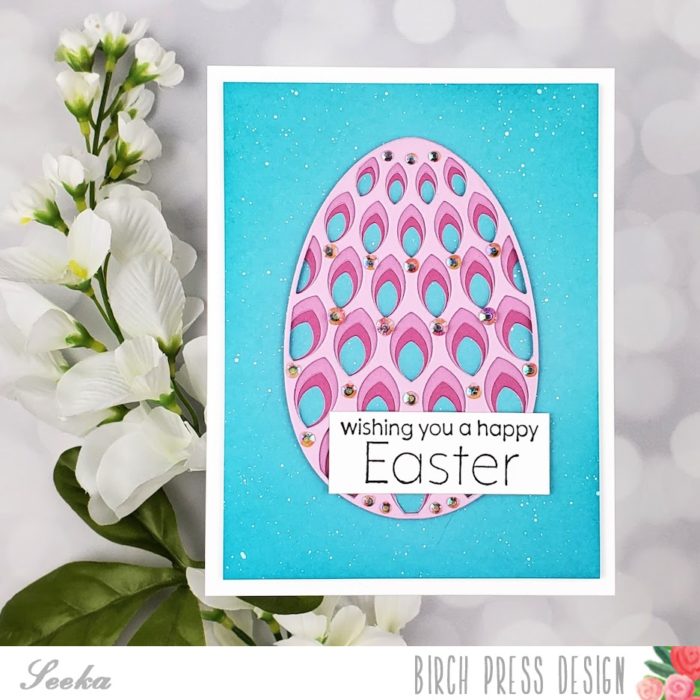
    Hello! It’s Seeka here and today I’m sharing an Easter card featuring the Petal Egg Layer Die set.

    I started off by cutting the three layers of the egg in shades of violet cardstock from the Memory Box Vibrant Violet 6×6 paper pack.

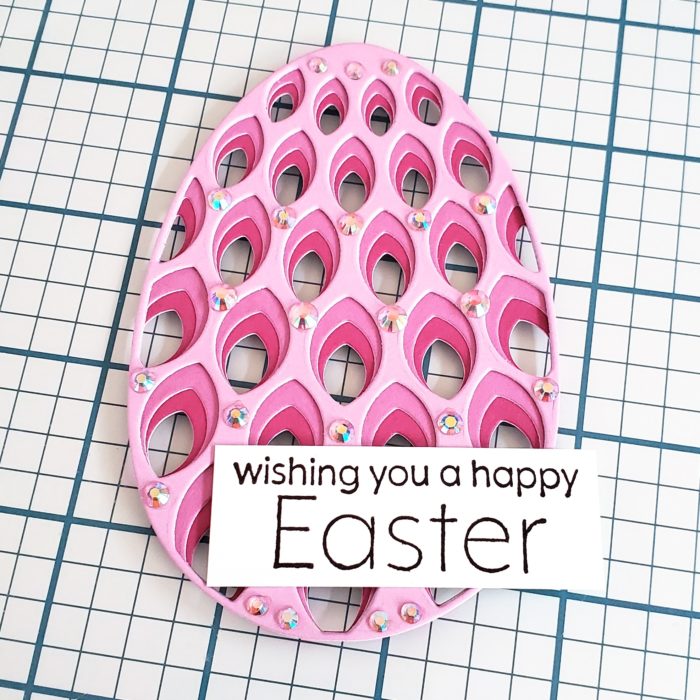
    Next, I adhered the layers together and then adhered jewel embellishments over the pattern of small dots in the die-cut pattern. I also stamped sentiments from the Blooming Spring stamp set onto a strip of white cardstock and adhered it over the bottom right of the egg.

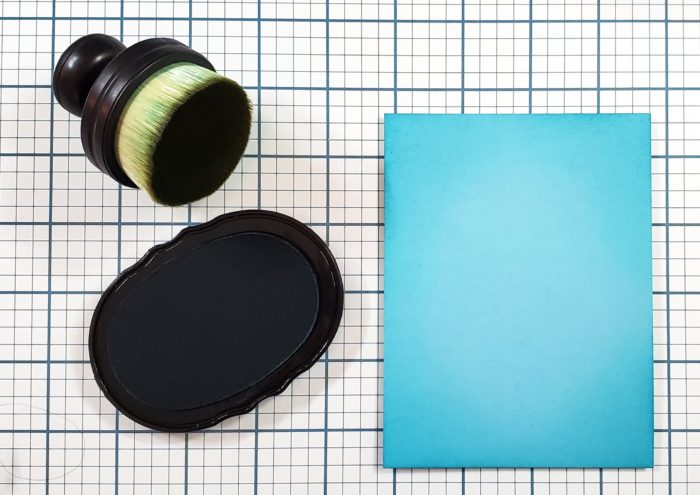
    For the background, I trimmed a piece of teal cardstock from the Memory Box Fresh Aqua paper pack to about 4″ x 5.25″ inch. To add a bit of interest, I used a blending brush to blend on a bit of teal dye ink at the corners of the panel.

    Next, I used a small round paint brush to splatter a bit of white Dina Wakley Media Gloss Spray over the panel.

    To assemble the card, I adhered the egg and sentiment to the teal panel and then used foam tape to adhere the card front to an 4.25″ x 5.5″ card base.

    Thank you so much for visiting!


    Supplies

  • Field Of Blooms | By Seeka
    Field Of Blooms | By Seeka

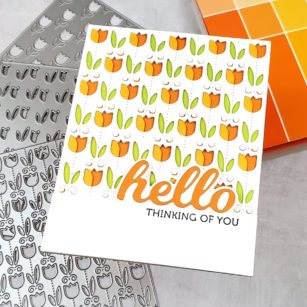
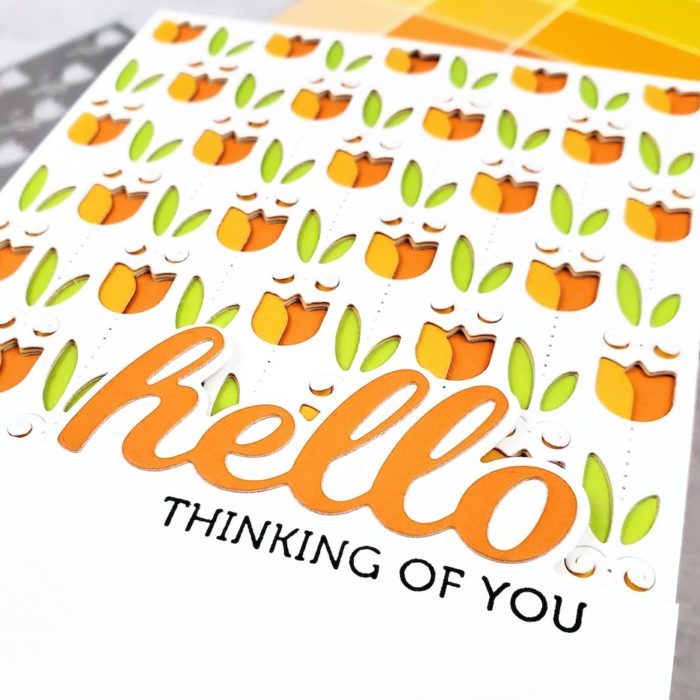
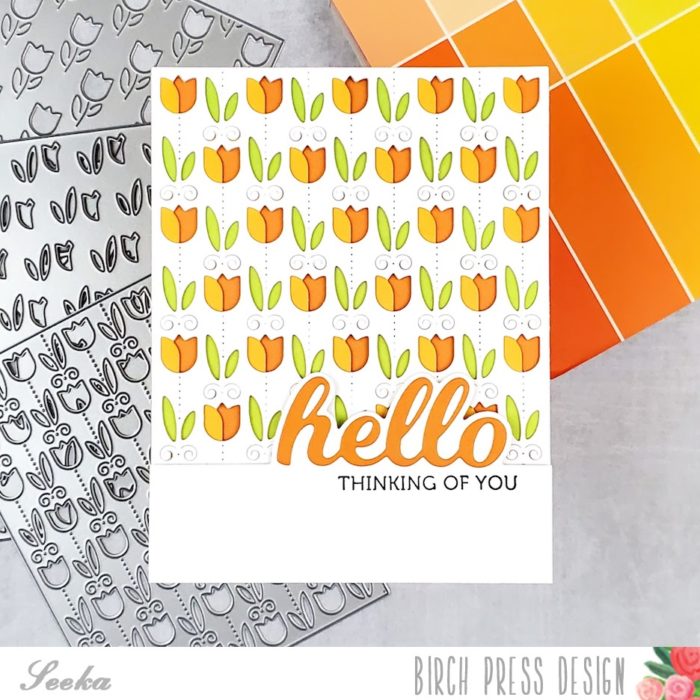
    Hi there, Seeka here and I hope you’re having a lovely day! Today I have an easy card featuring the Field Of Bloom Plate Layer set and new paper from Memory Box, Birch Press Designs’ parent company.

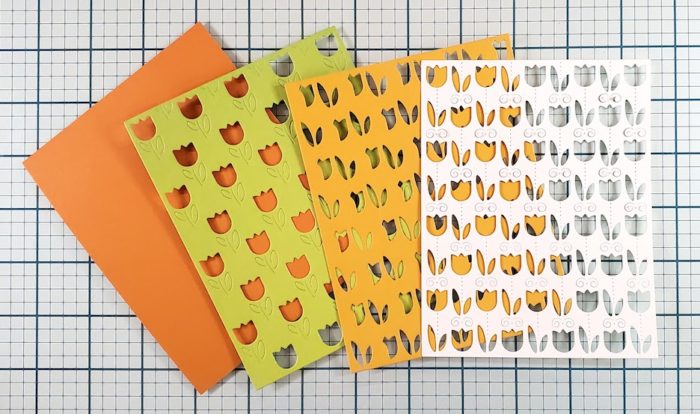
    I started off by cutting the three layers of the Field Of Blooms set. The top layer is from white cardstock, the second layer is from a light orange cardstock, and the third layer is from green cardstock. I also cut a 4.25″ x 5.5″ panel from a piece of darker orange cardstock. The orange cardstocks are from the Sunny Orange 6×6 paper pack and the green is from the Lush Green pack.

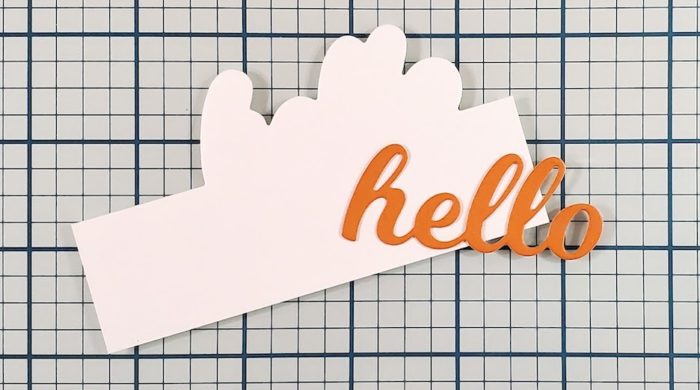
    I adhered these four layers together and then I used the Hello Topper Die to cut the “hello” sentiment from the same dark orange cardstock. I used the outline die to cut a piece of 4.25″ wide white cardstock, and then I adhered the two together. Next, I stamped the “thinking of you” sentiment from the Lingo Thanks stamp set in black ink.

    I backed the sentiment piece with foam tape and then adhered it to the bottom of the field of flowers. To finish, I adhered the card front to a card base.

    Thanks so much for visiting!


    Supplies