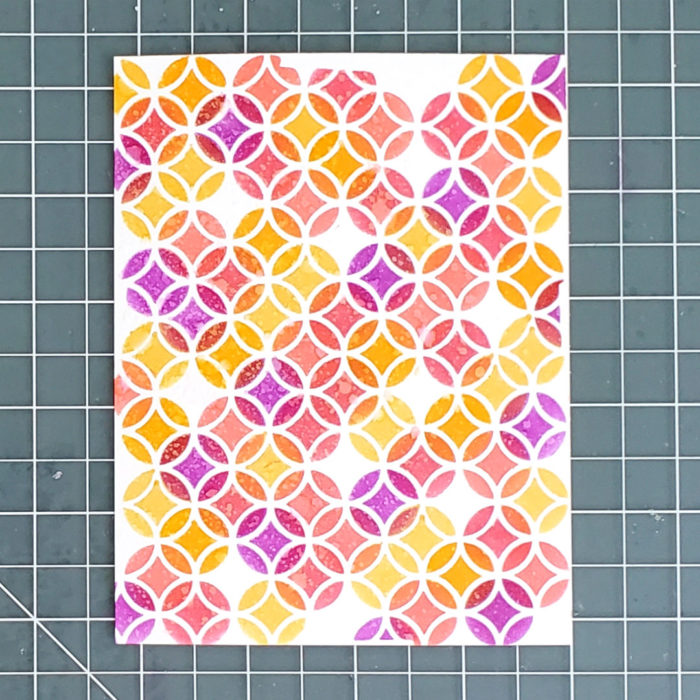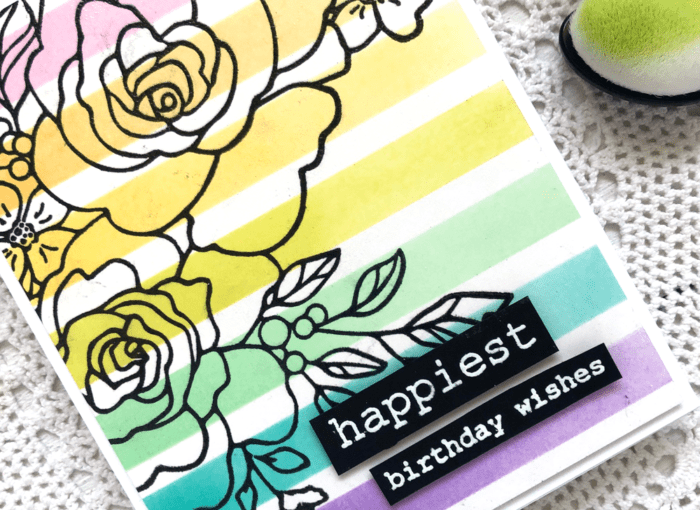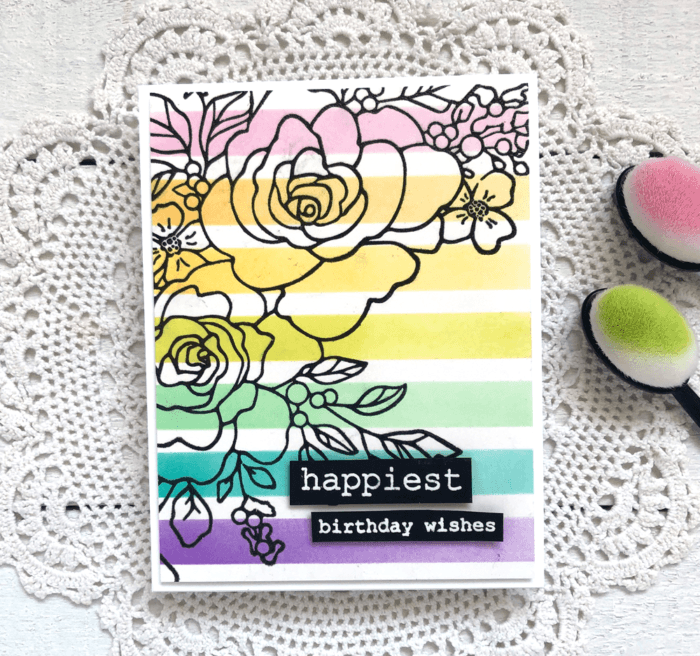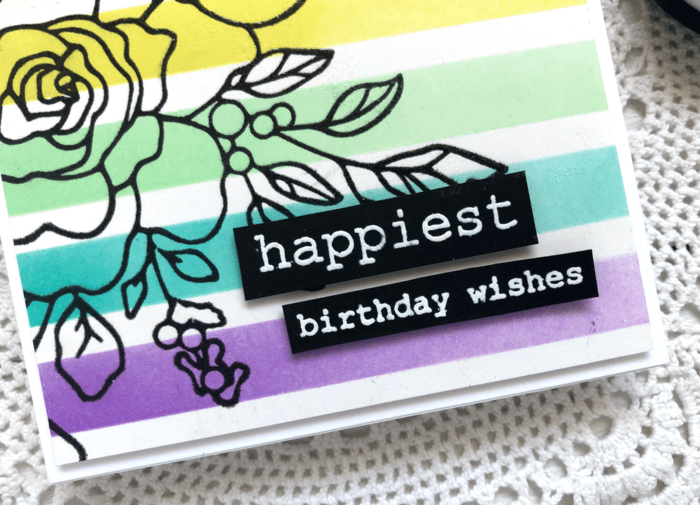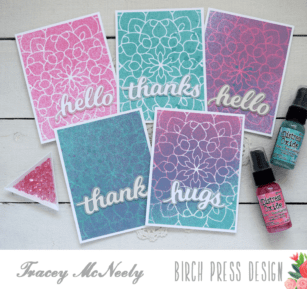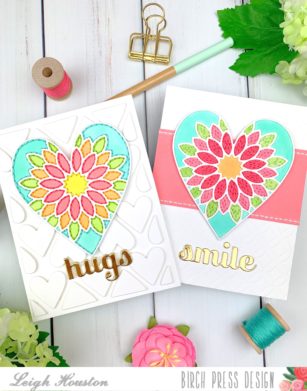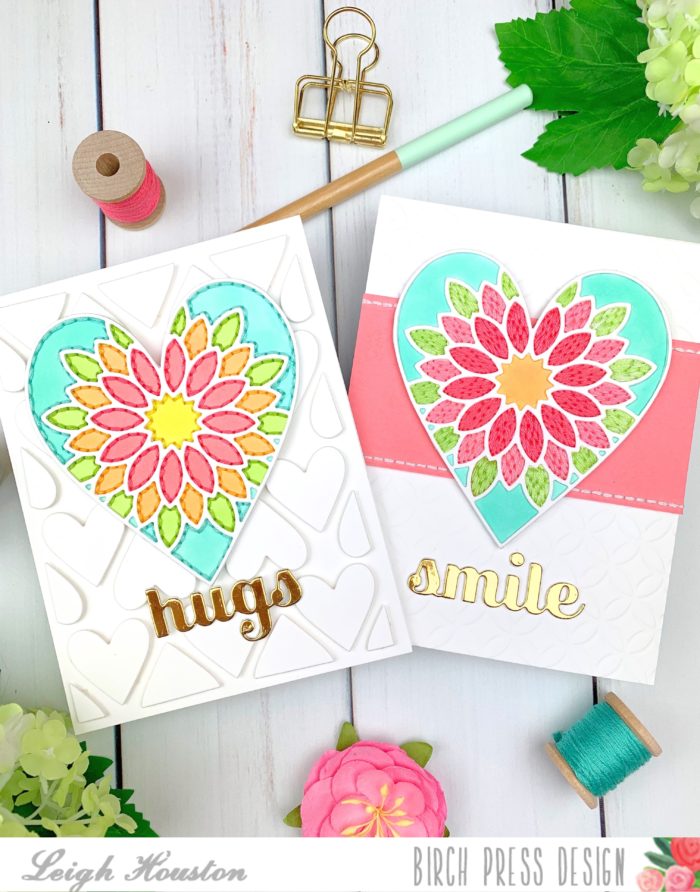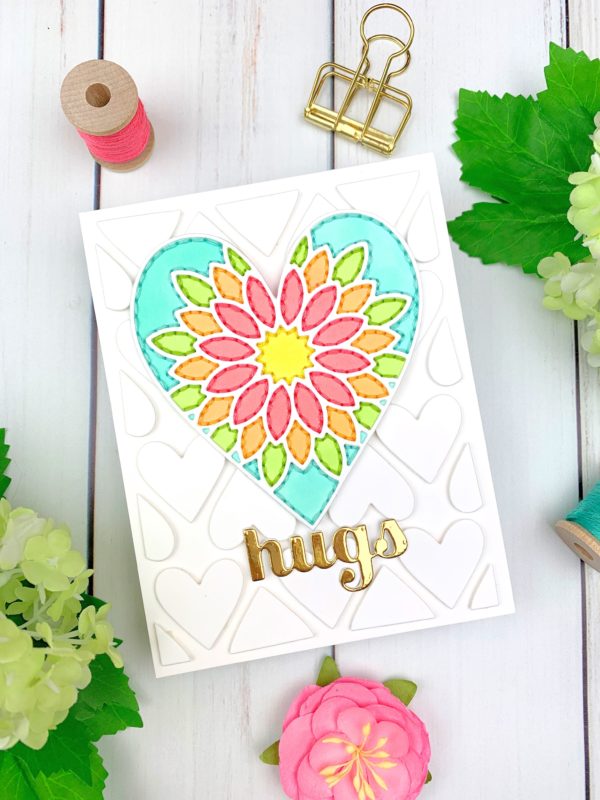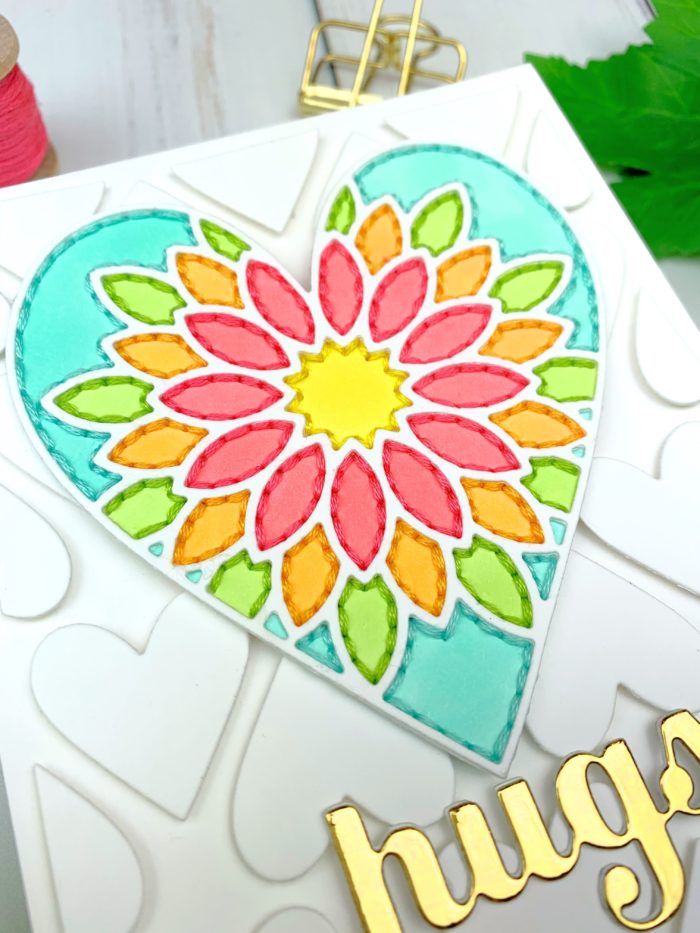

Hello, friends! I’m so thrilled you’ve joined me today for this cheery, summery card. I added some texture and dimension to the gorgeous Birch Press Designs Viola die set and I’m excited to share the process with you!
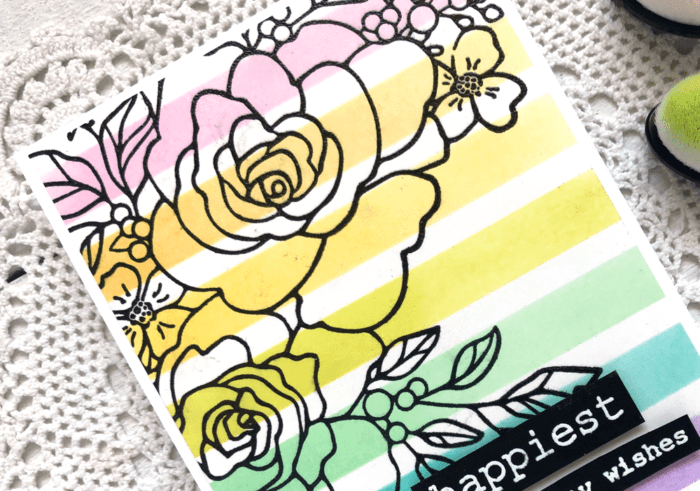
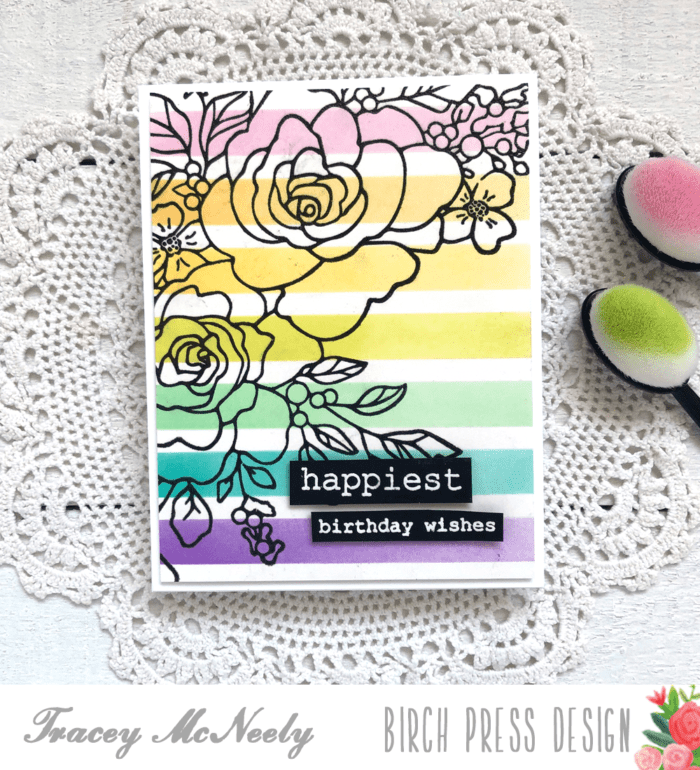
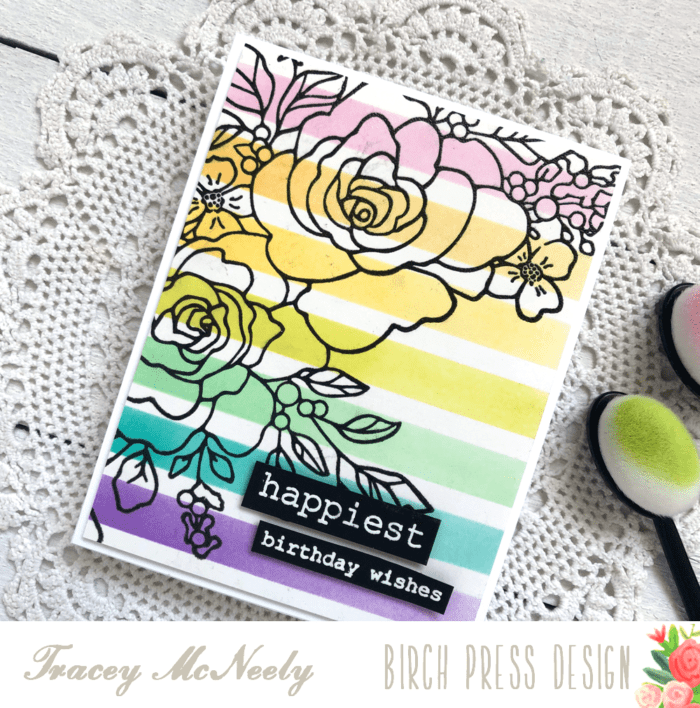
I started my card by die cutting Layer A from the Viola Layering Die Set twice: once from inexpensive cardstock, and once from Neenah Classic Crest Solar White #110 cardstock. I used my inexpensive die cut panel as a stencil, using alcohol markers to color in the negative spaces. When I was finished, I discarded the stencil and adhered the clean 110# layer on top of my colored card base using a strong liquid adhesive.
After the adhesive had dried, it was time for the stitching. I used a paper piercer to poke holes inside the die cut lines. I then used coordinating embroidery floss (I used 4 strands) and a simple backstitch to stitch inside these spaces. This went surprisingly quickly… a couple of episodes of bad TV and I was finished!

To finish my card, I die cut my sentiments from the Sending and Hugs Sugar Script dies from gold mirror cardstock. A few sparkly gold sequins and this card was finished!
I hope you enjoyed this project! Links to the products I used are below. Thanks again for stopping by today, and I’ll see you again soon with another card project!
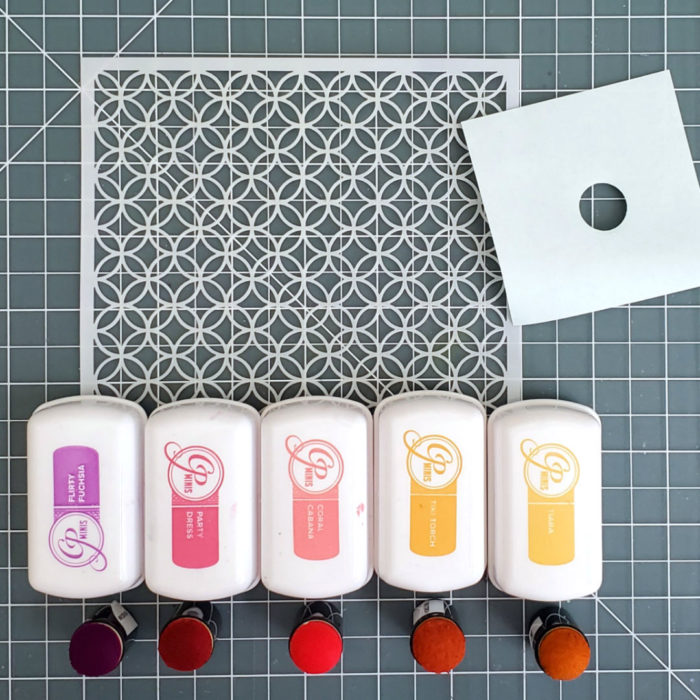
Supplies