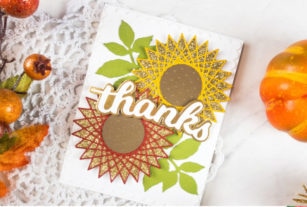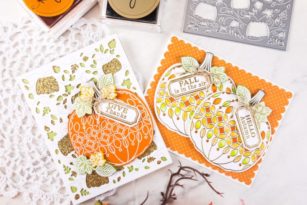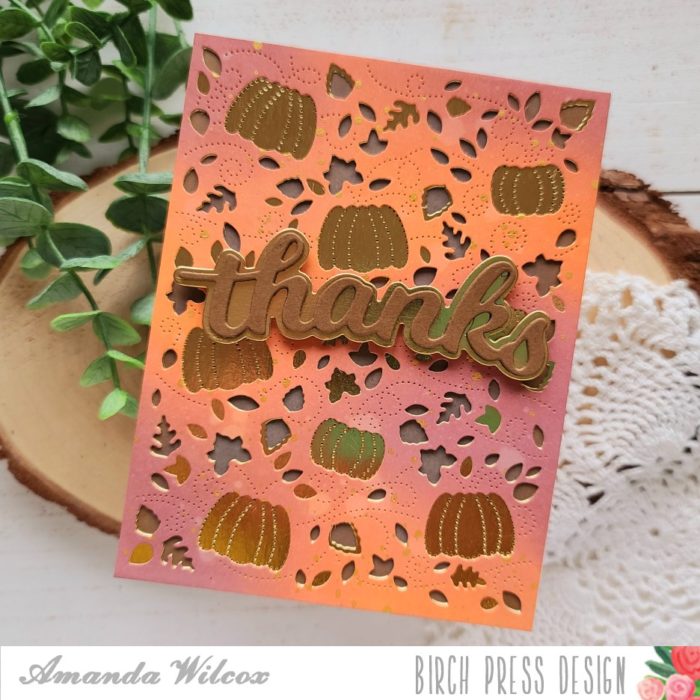
Hello everyone! It’s Amanda from Twiddler’s Nook and I appreciate you stopping by today. I’ve got a really pretty fall themed thanks card to share with you today. Let’s get crafting!
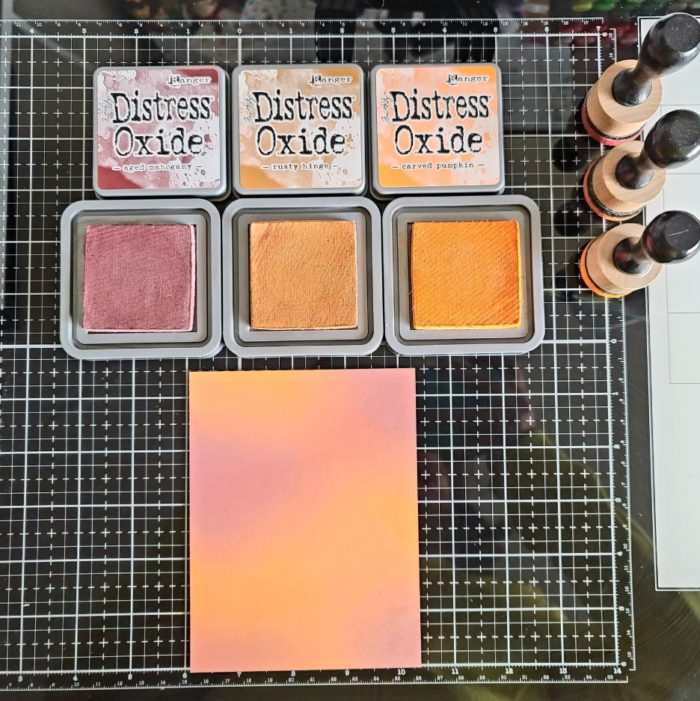
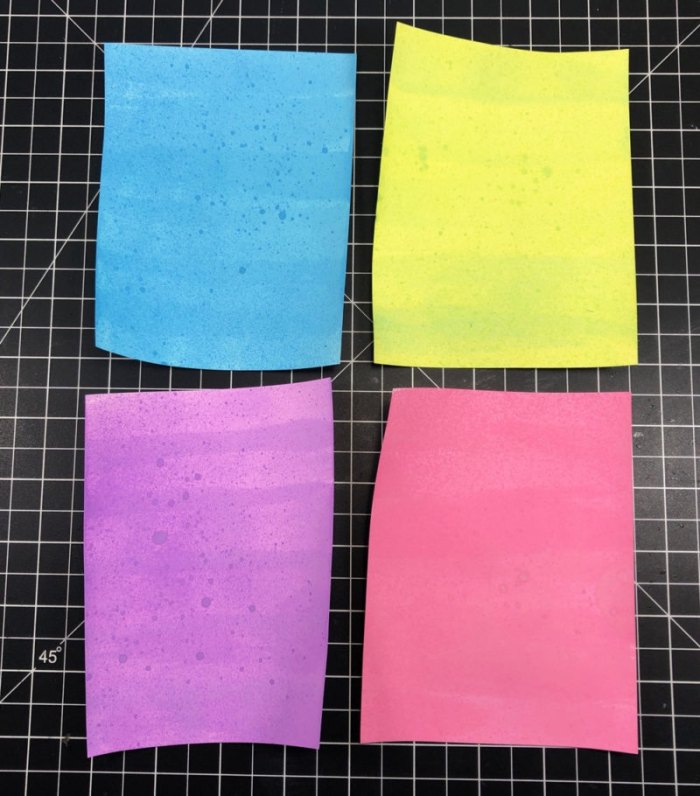
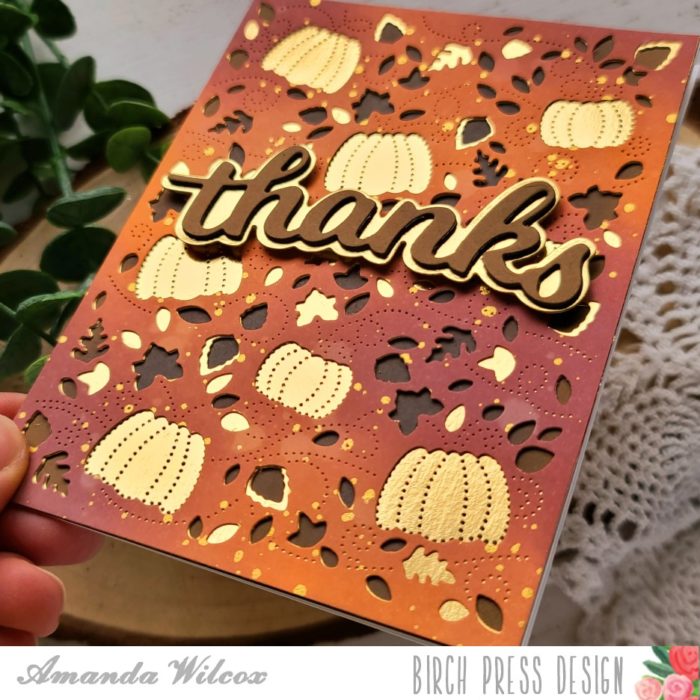
I blending distress oxide inks on an A2 panel using Aged Mahogany, Rusty Hinge and Carved Pumpkin.
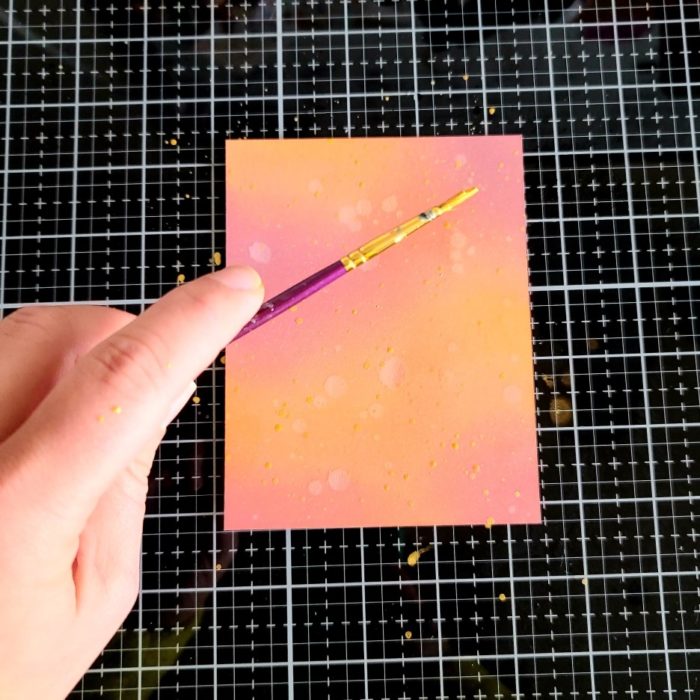
I spritzed it with water and flicked a bunch of gold watercolor on the panel. Then, because I’m impatient, I hit it with my heat tool to speed up the drying process.
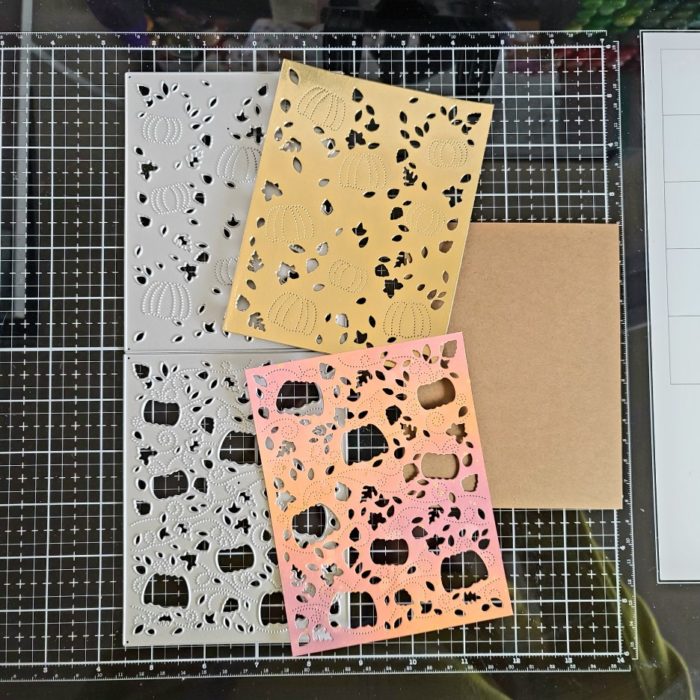
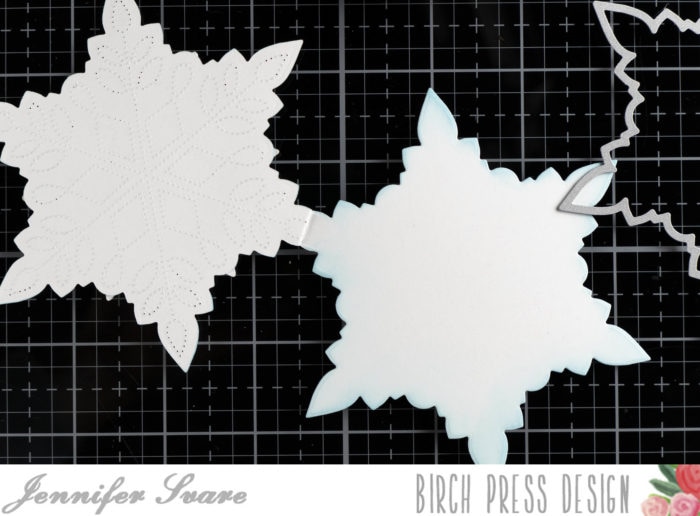
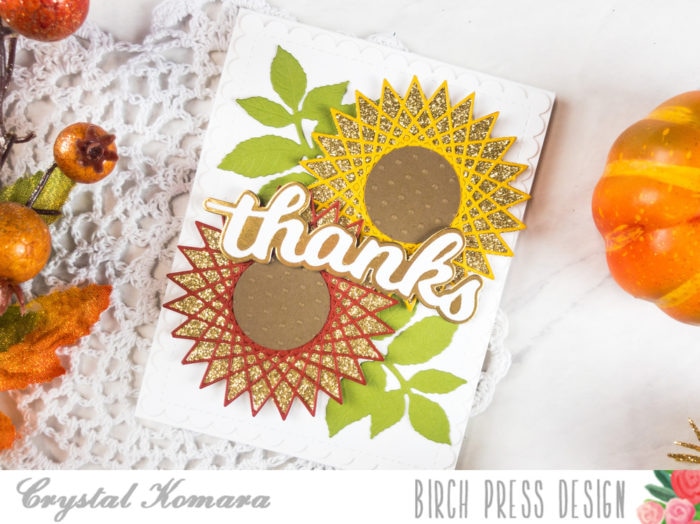
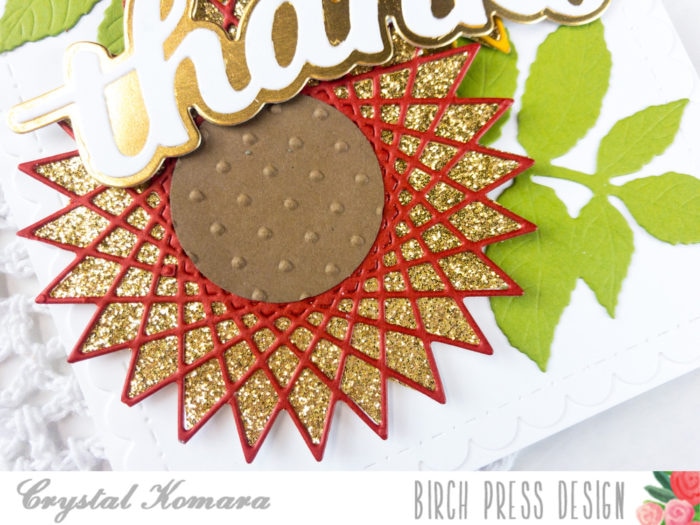
Next, I die cut the inked panel with Autumn Breeze Plate A and a gold mirrored panel with Plate C. I also cut a brown piece of cardstock down to A2 size.
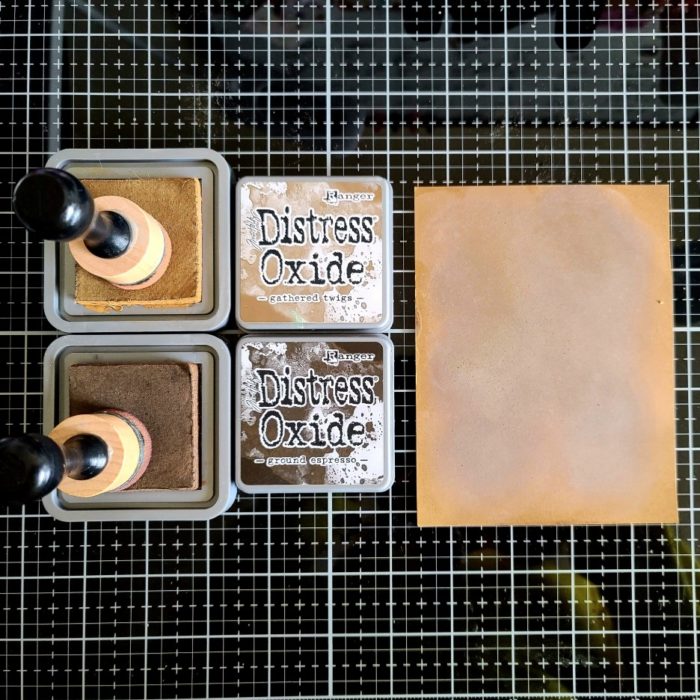
When I layered them all together the brown looked really flat showing through so I decided to try inking up the colored cardstock. I used Ground Espresso and Gathered Twigs distress oxides. I spritzed it with water and didn’t like the look so I inked up over the top of it. I love the versatility of this!
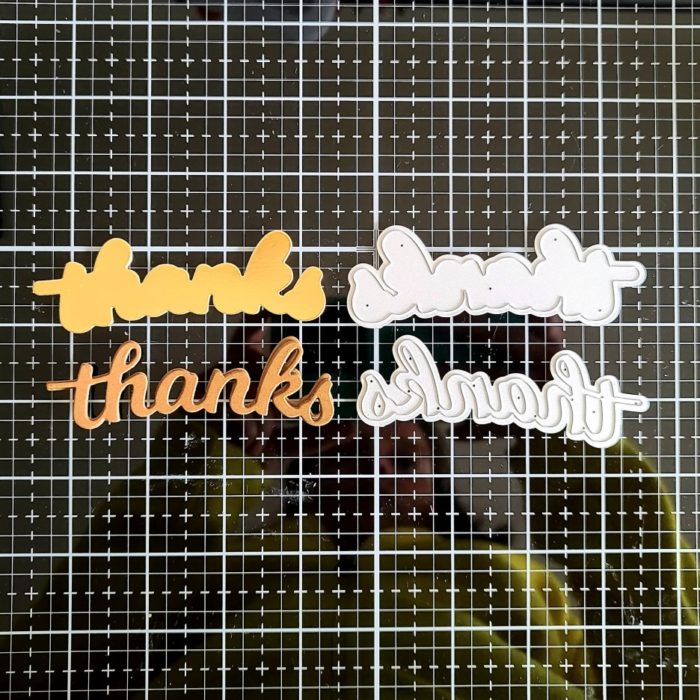
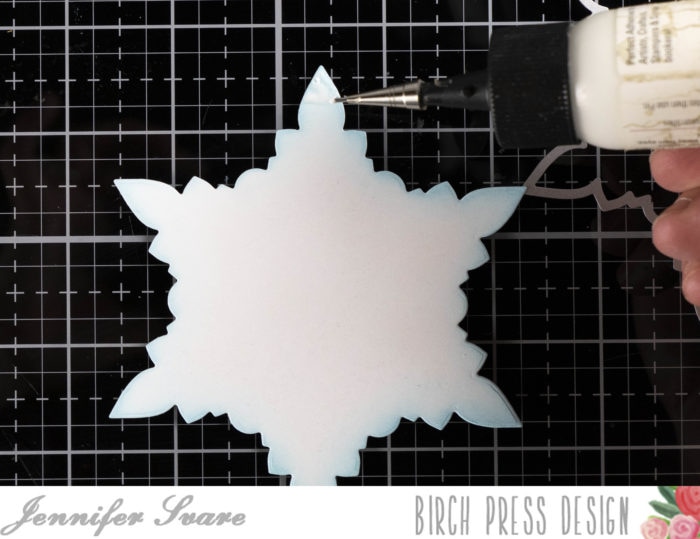
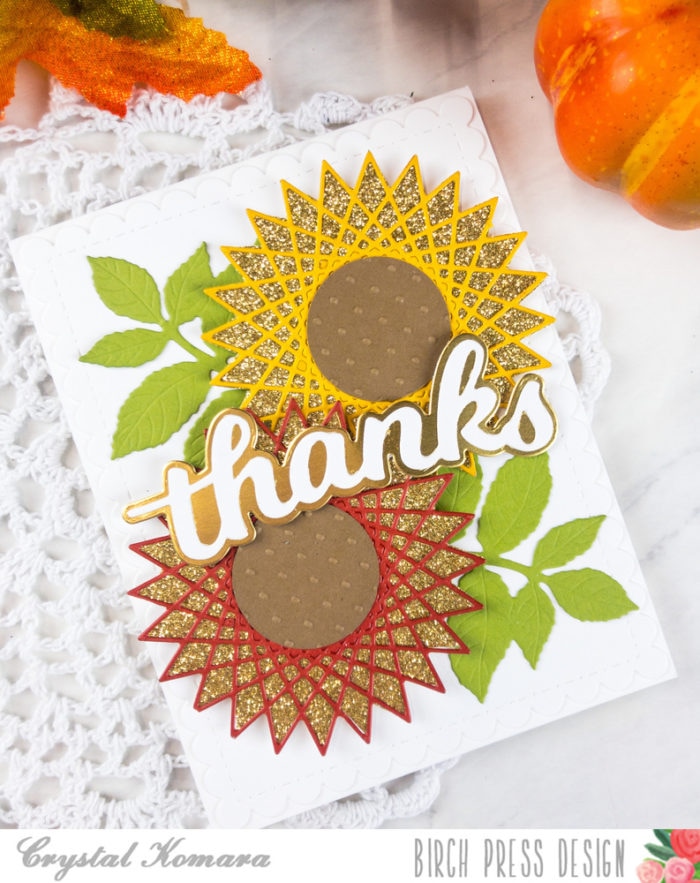
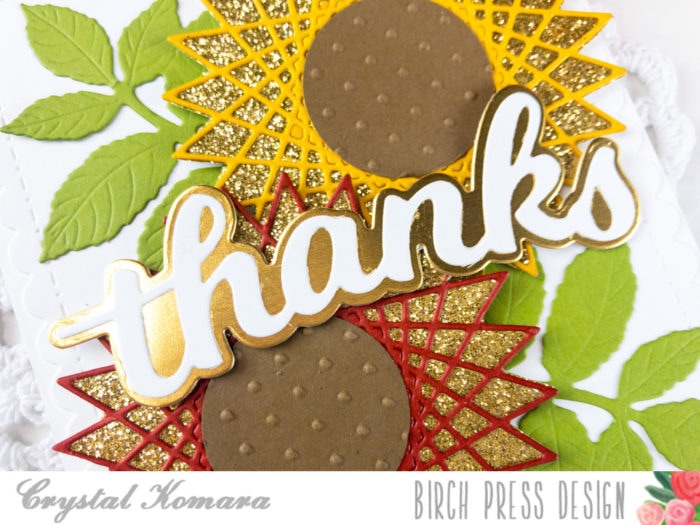
I used liquid glue to adhere my layers together and put clear blocks on top to help them dry flat. While they were drying I die cut the Thanks Honey Script from the same gold mirror and brown as the rest of the card. The words are cut 4 times and glued together with liquid glue.
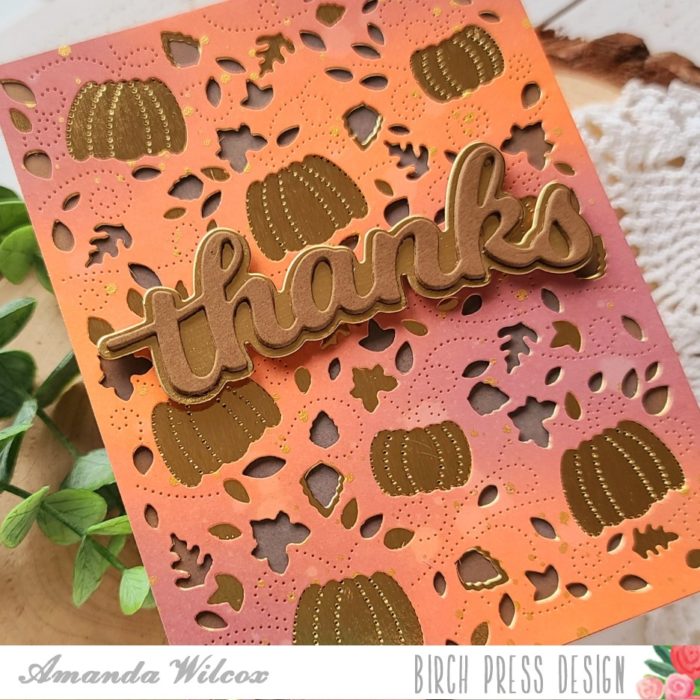
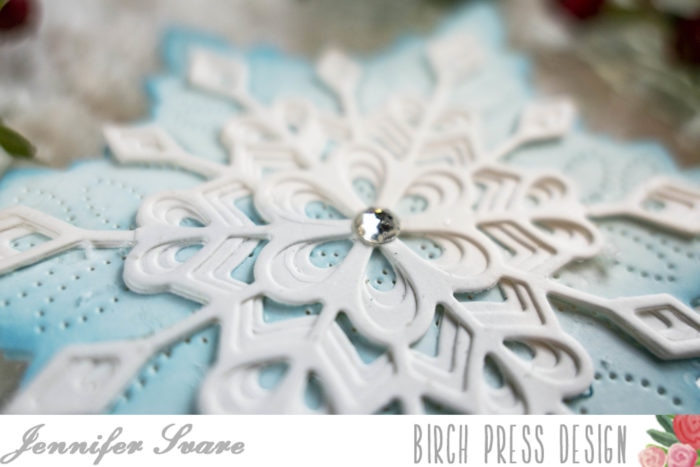
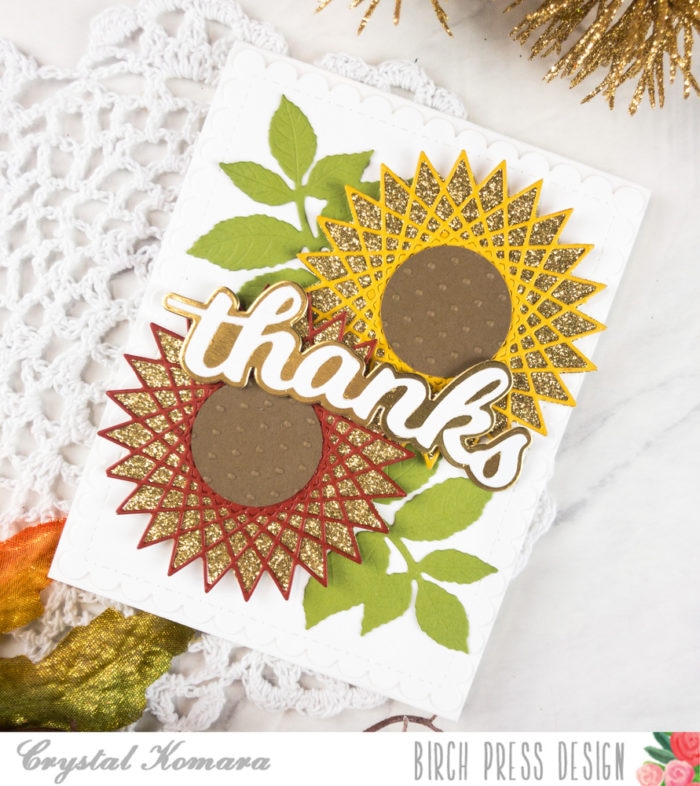
For a little dimension and interest I popped the sentiment up with foam squares and adhered the whole panel to a white card base.
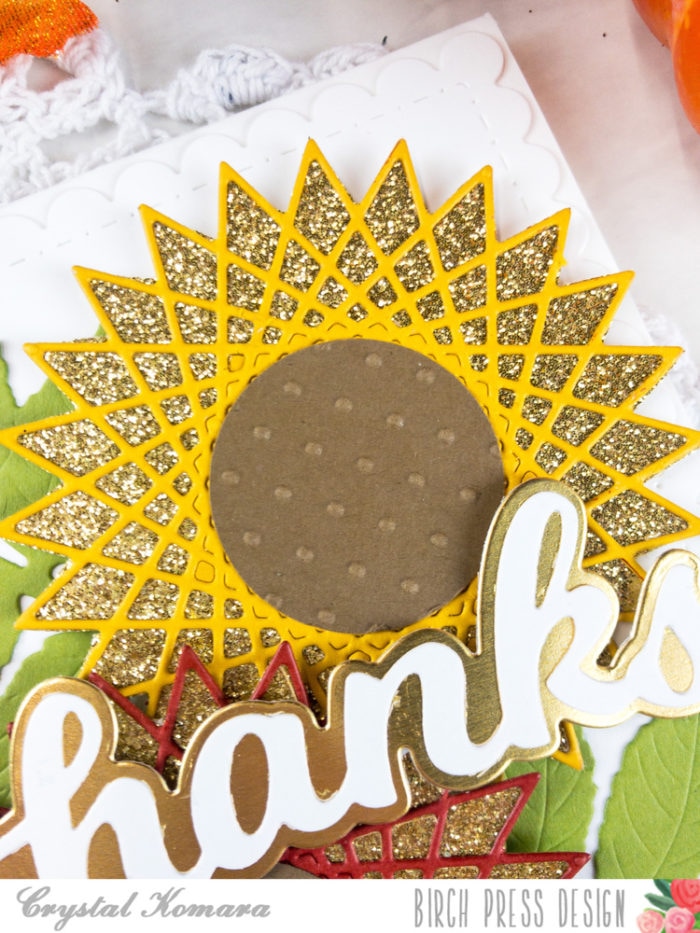
Here’s a different look at all that gold in the light. I just love the shimmer and shine from the mirrored cardstock and the metallic watercolor. They are beautiful together!
I appreciate you sharing your time with me. Have a fabulous day!

Supplies