Category: Triangle Die

  • Linear Triangle Duo | By Amanda Wilcox

    Linear Triangle Duo | By Amanda Wilcox

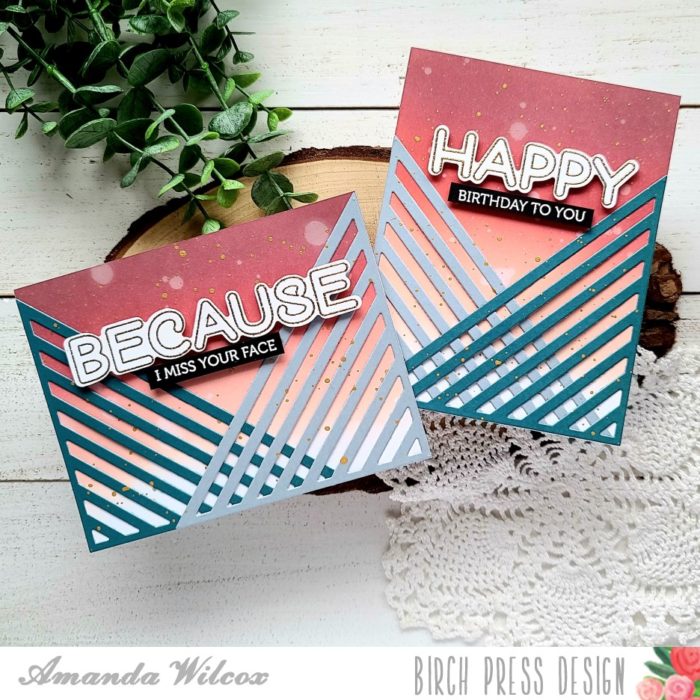
    Hi again! It’s Amanda from Twiddler’s Nook today featuring a couple of new products available in the shop. I was very interested in this new linear triangle die so I cut a couple out and started playing around, which is how I figured out today’s fun design. I hope you like it.
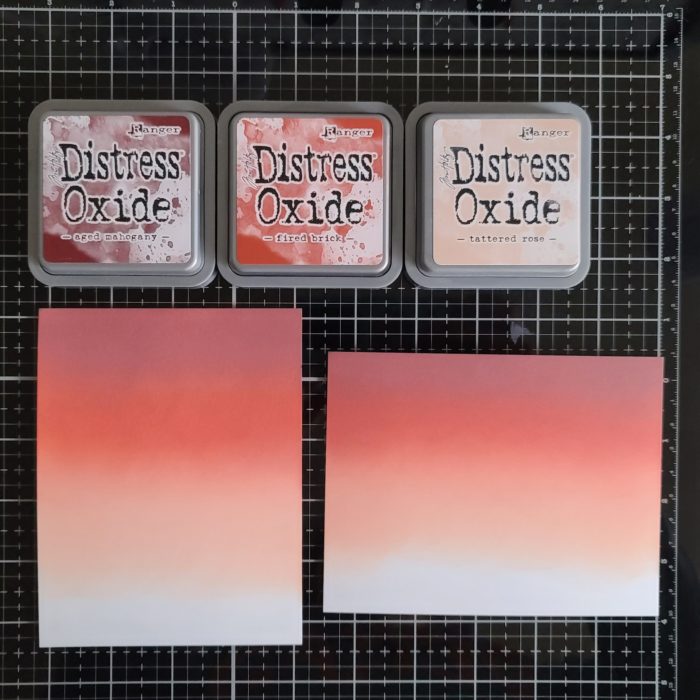
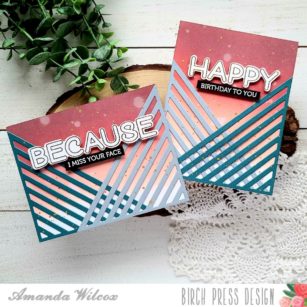
    I started by blending distress oxide inks in aged mahogany, fired brick and tattered rose on 4×25.5.5 inch panels.
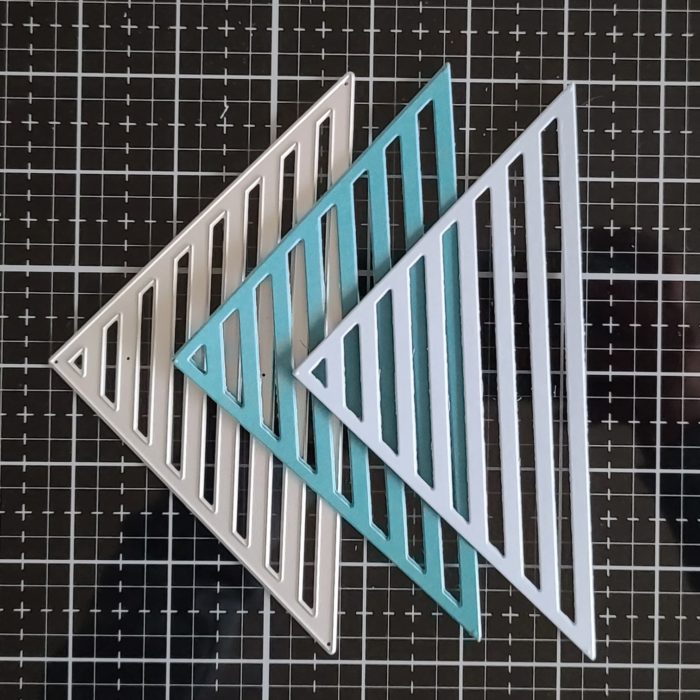
    Then I die cut the linear triangle from 2 shades of teal cardstock – twice each so I could make both cards at the same time.
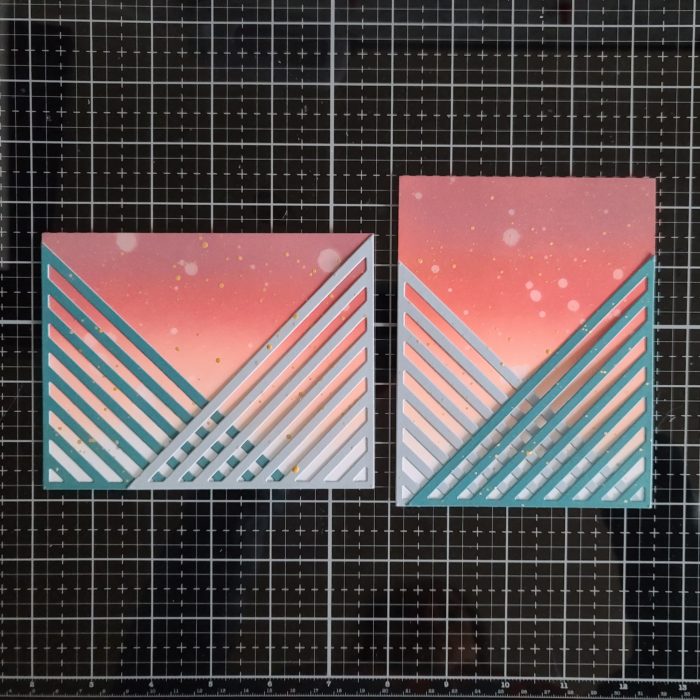
    I spritzed the inked panels with water, glued down the linear triangles with liquid glue and splattered them both with gold watercolor.
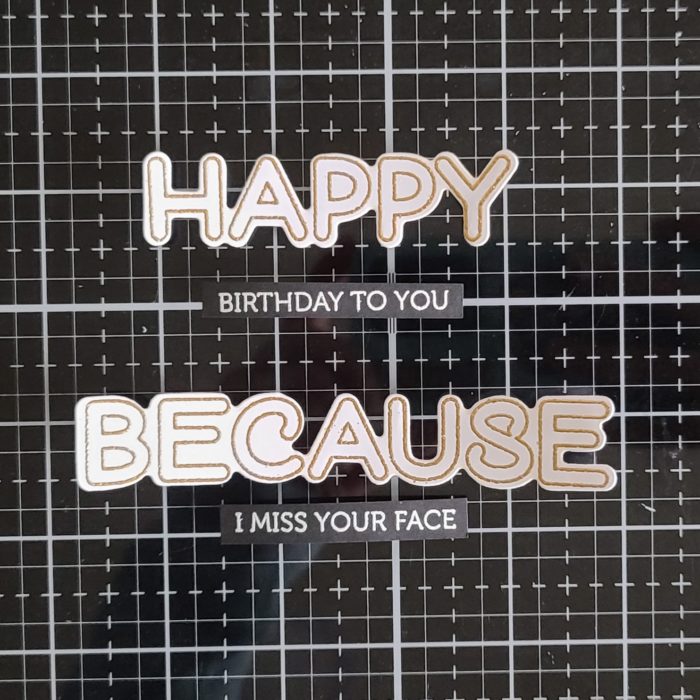
    While the watercolor was drying, I stamped sentiments from the new Crystal Lingo set and heat embossed them. The big words are in gold on white paper and the smaller sentiments are in white on black paper. I die cut the large words, cut strips from the small ones and lined the backs with foam squares.
    Last, I just removed the release paper and attached my sentiments to the card fronts. Here is the portrait version.

    And my favorite part about this design is the linear triangle die is how well it works both ways. Here is a landscape one so you can see how the panels fit the card fronts.
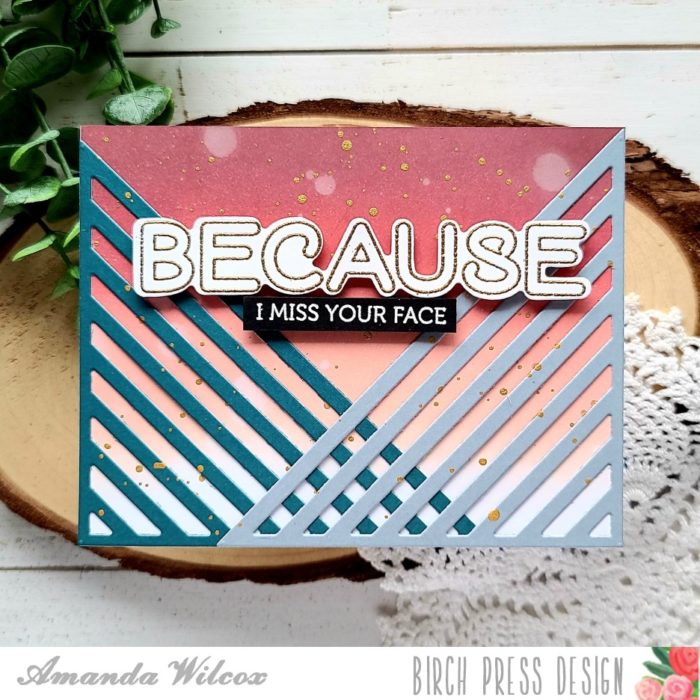
    Such a fun combo to make. Also, very easy to swap out sentiments and colors for different occasions and needs. I love cards like that. Don’t you?

    I appreciate you sharing your time with me. Have a fabulous day!

    Supplies
  • Pumpkin Lacework | By Dilay Nacar

    Pumpkin Lacework | By Dilay Nacar

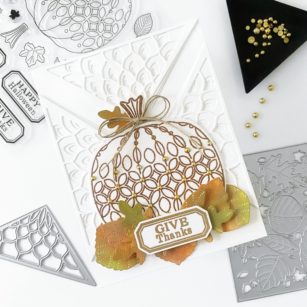
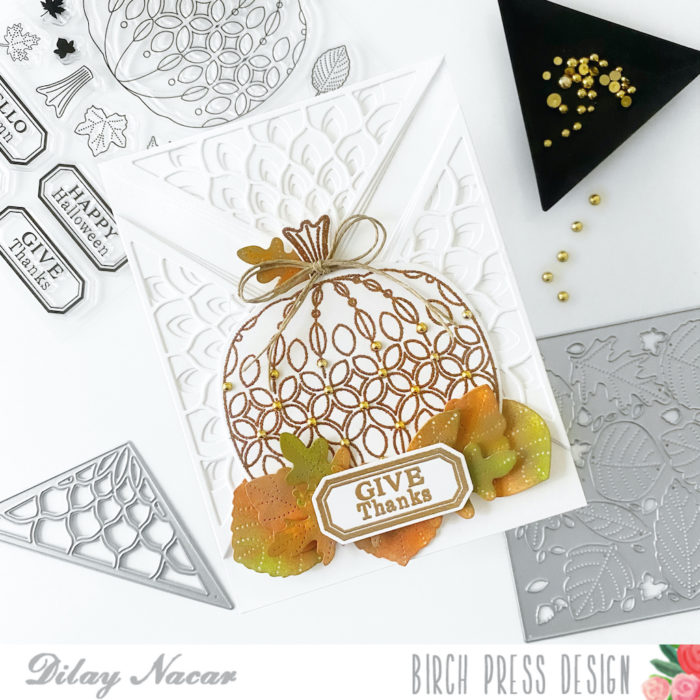
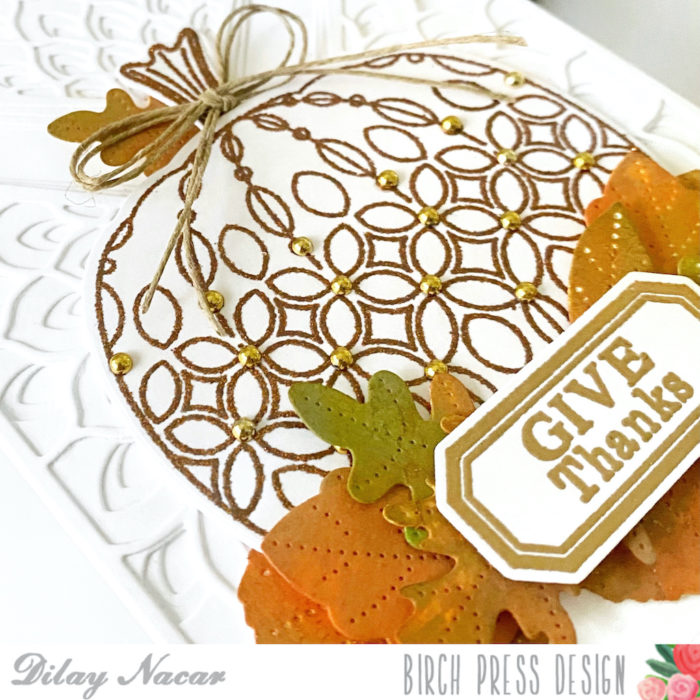
    Hi, crafty friends! Dilay Nacar here from JustCallMeDee.com and I am so excited to be sharing my first card as a member of the Birch Press Design Team! It’s truly an honor to be sharing my creations and today, I’ll be going over a fall themed ‘Give Thanks’ card that I created using some of my favorite dies and stamps!

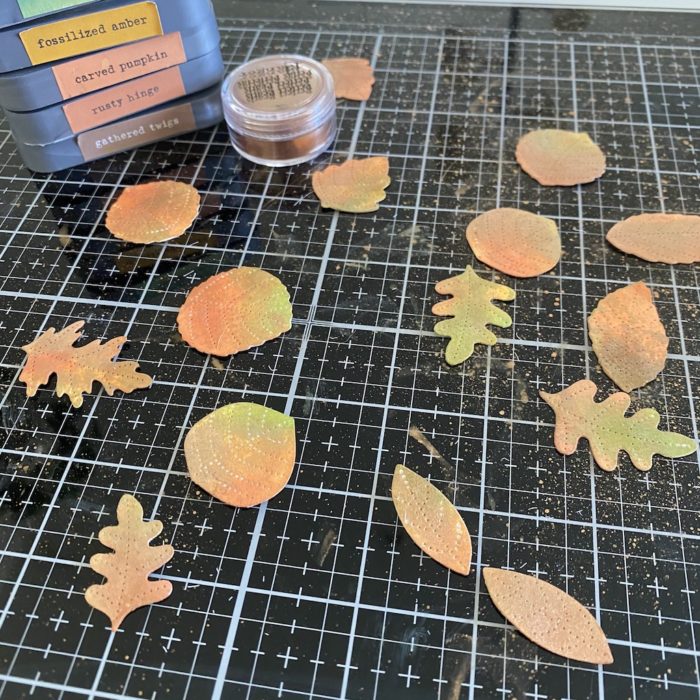
    To begin, I made the leaves using Layer B from ‘Autumn Breeze Plate Layer Set’ die and Bristol Smooth cardstock, then colored them various fall colors using the ‘smooshing’ technique with Distress Oxide inks. I set these aside to dry while I worked on the background.

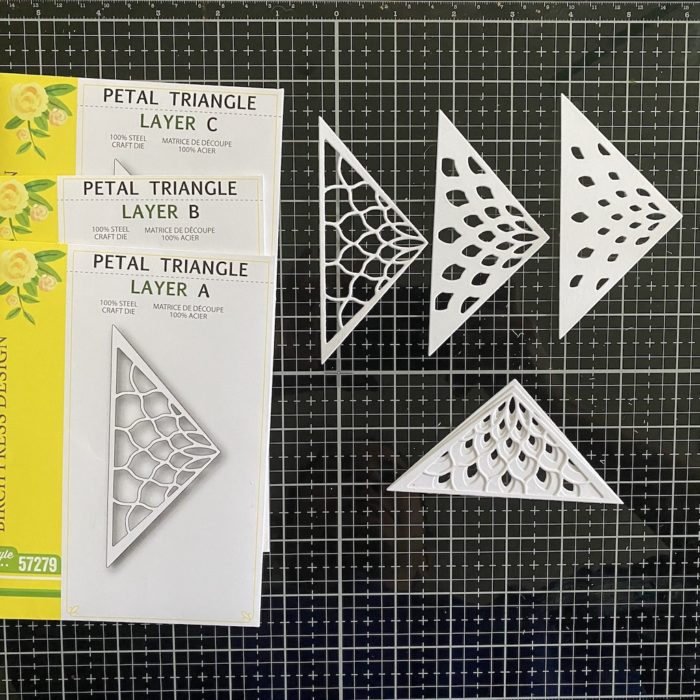
    For this layer, I wanted a clean white background with layered detail, so I used the ‘Petal Triangle Layer Set’. I die cut each layer (A, B, and C) in white heavyweight cardstock then adhered them together using liquid adhesive. I prepared 3 sets of these triangles – one for each of the sides and one for the top of the card – then used liquid adhesive to adhere them onto an A2 sized, white 100 lb cardstock base.

    Next, I used the ‘Pumpkin Lacework’ stamp and die to make the main image. I heat embossed the pumpkin stamp and stem stamp using a copper embossing powder. I cut out the image using the coordinating die and adhered it onto the background.

    Once leaves were dry, I placed them along the bottom of the pumpkin image (and one on the stem) then made a bow using a piece of twine and adhered it onto the stem.

    For the sentiment, I used the same ‘Pumpkin Lacework’ stamp and die set and heat embossed it using a fine gold embossing powder. I used foam tape to adhere it along the bottom of the pumpkin.

    Finally, to complete my card, I used off-brand gold flat back bobbles and placed them throughout the pumpkin pattern.

    I hope you enjoyed my card today and found some inspiration for your next creation!

  • Frilly Triangles | by Crystal Komara

    Frilly Triangles | by Crystal Komara

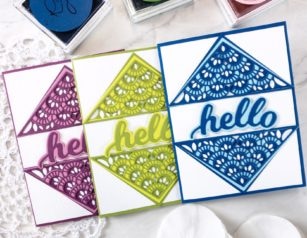
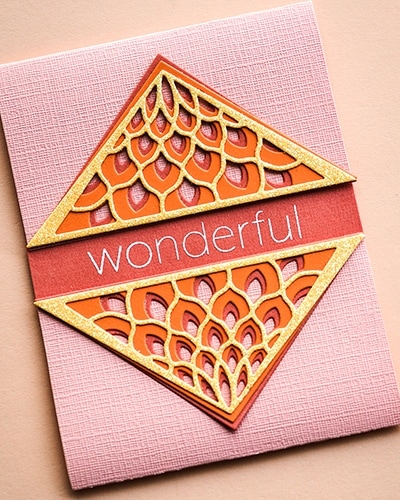
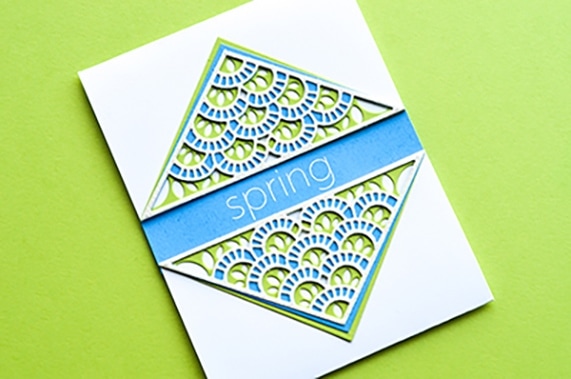
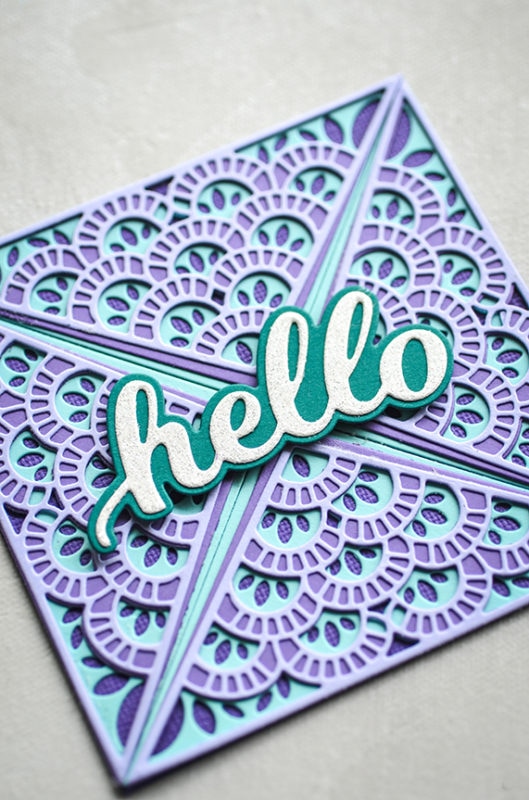
    Hello friends! This is Crystal here with you today and I have made a few cards to share using the Frilly Triangle Layering dies. I love to make my cards in multiple colors, because every card truly does look different, yet perhaps one color is more appealing to your eye than another.

    The first A2 sized card was made using a rich blueberry blue and a light baby blue cardstock. To keep things simple, I stayed with a monochromatic color palette for each of these cards. And, surprisingly for me, I did not use any glitter cardstock when creating any of these cards. That’s a first for me. I’m a glitter girl!

    The second card uses an earthy moss green cardstock paired with a lime green cardstock. I’ll be the first to admit, I don’t love this color combo, but I bet someone else will!

    For the last card today, my color palette is a rich raspberry cardstock and a sweet sugarplum (pinkish) cardstock. This one is my favorite!

    I hope you have enjoyed seeing a variety of ways to use the Layering Triangle dies. Thanks for visiting and have a wonderfully creative day!

  • Elegant Clip | by Jennifer Svare

    Elegant Clip | by Jennifer Svare

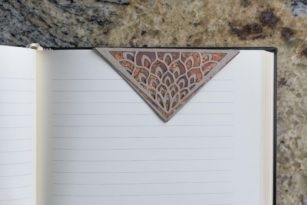
    Hello! Today I’m sharing how I made a magnetized clip or book mark using the gorgeous Frilly Triangle Layer Set.

    I started off with a 3-1/8″ x 3-1/8″ square piece of kraft card stock, and scored it down the middle. The extra 1/8″ accounts for the 1/8″ score line.

    I then used the die set to cut each layer. The middle layer and solid base layer (cut from outlining the triangle) was made using distress oxide inks.

    I then adhered the assembled triangle to one of the kraft base halves. Next, I put the magnets on the other side, leaving enough room to comfortably glue the magnets in, so they were not placed directly at the top. It’s easy to line up the magnets by placing them back-to-back before adhering. This way, the magnets are stuck together and so placement is perfect alignment.

    The next step was to place a blank piece of kraft triangle over the backing to hide the magnet. I cut a 3″ x 3″ piece of kraft card stock and cut it down the middle. I didn’t need the extra eighth of an inch here because I didn’t need to fold anything.

    I then flipped the clip over to reveal the inside. The magnet showing in the photo below is on the backside of the decorated piece. The magnets I have are very thin, which is what I wanted for a bookmark-type clip. Because of this, the strength of the magnet would not work through all the layers. The magnet will be shown from the inside when opened up so I was careful to only glue the center to adhere it. Once I glued it, I closed the clip to let it all dry in place. The second magnet is hidden in the plain kraft layer and both magnets are stuck to each other through the sheet of paper in the photo below.

    I made sure to let the glue dry completely before opening the clip. This is such an easy, beautiful gift that would be great for Father’s Day! Have a wonderful day and thank you for stopping by the blog today!


    Supplies


  • Sun Ray Triangle | by Jeanne Jachna

    Sun Ray Triangle | by Jeanne Jachna

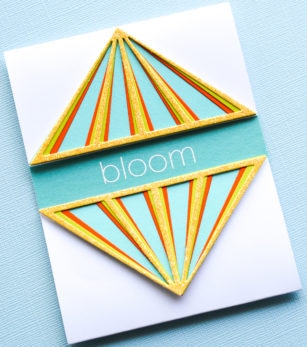
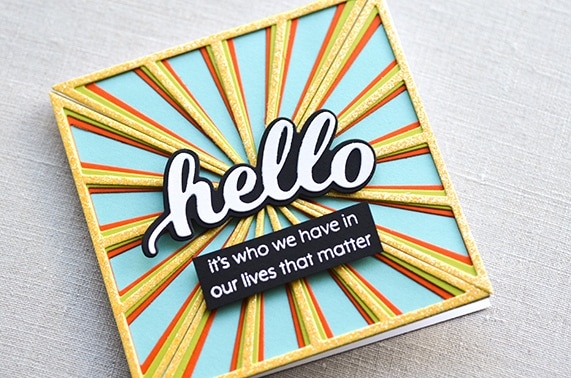
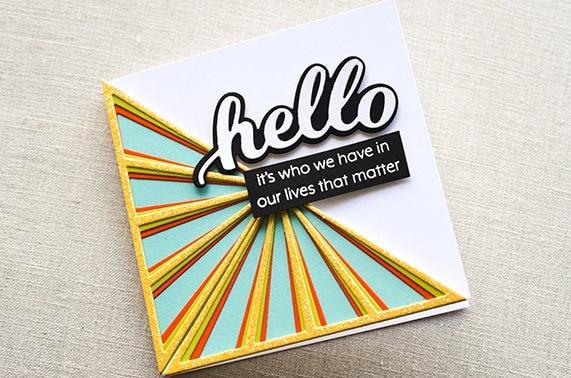
    Hi and thanks for stopping by! It’s Jeanne here today! You know I can’t resist a rainbow of color! Today I’m playing with the Sun Ray Triangle layering die set.

    Birch Press Design has three new layering triangle sets that this technique would work well with.

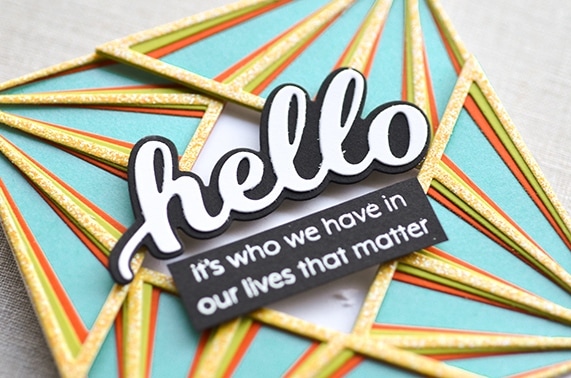
    I started by cutting the top and bottom layers from white card stock. I die cut the center layers from colored card stock. Once the layers were assembled I adhered a slightly lighter shade of card stock behind them.

    After the panels are assembled I noticed some weren’t completely smooth on the edges. I used an inexpensive nail file to make them flat so they would fit together tighter.

    I topped the panel with a sentiment from Awesome Ticker Tape Messages inked in shades of blue Versafine Claire ink.

    I love the candy stripe look of the colorful stripes!

    Supplies