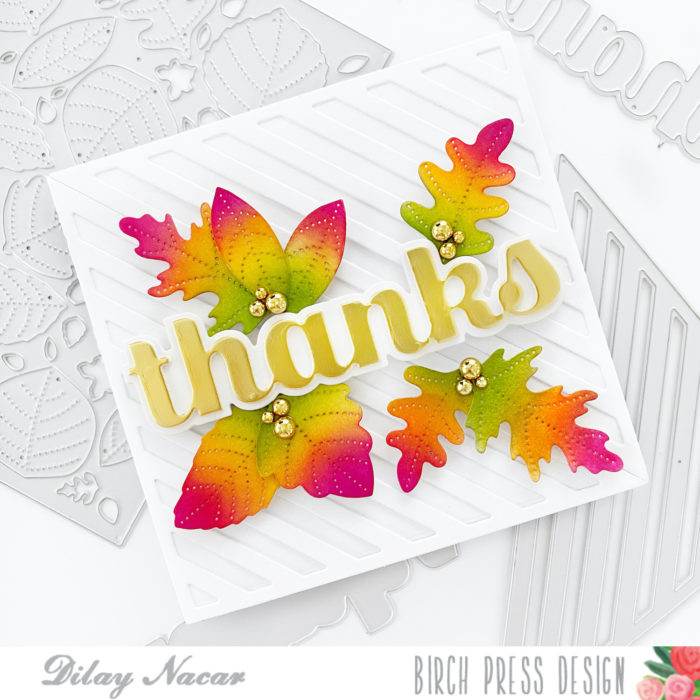
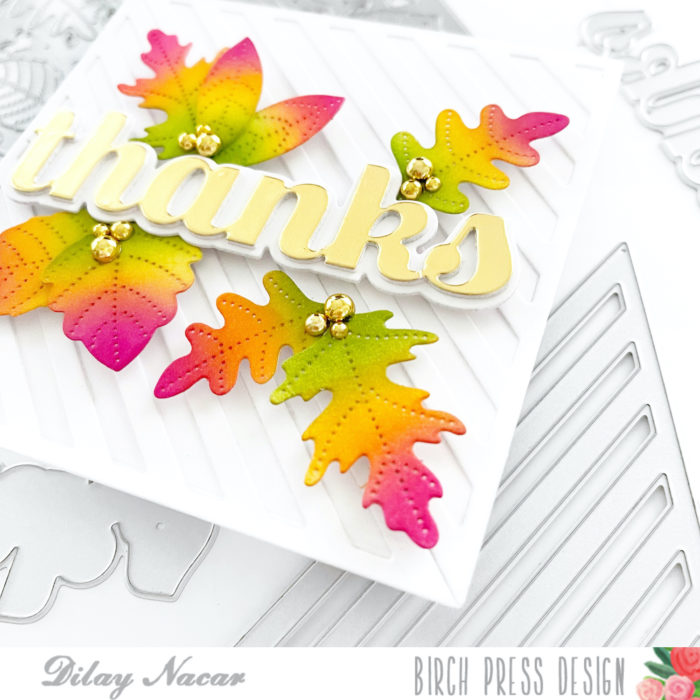
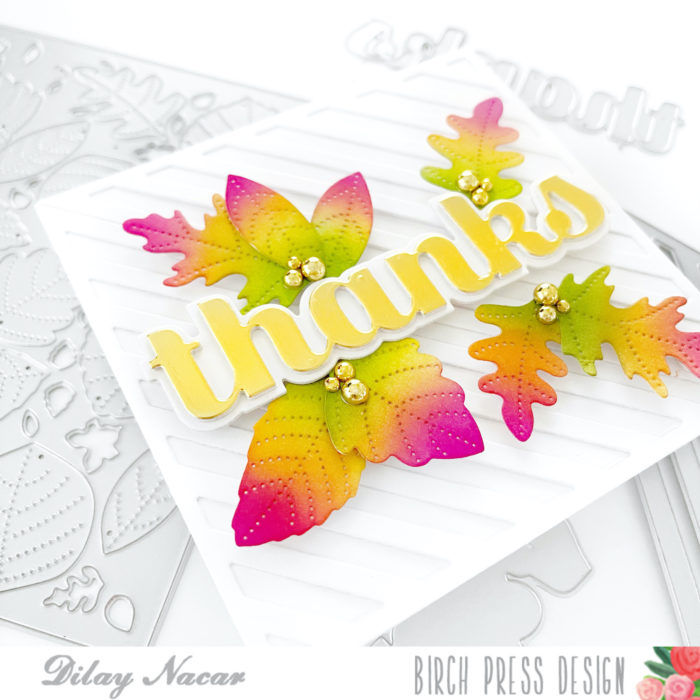
Dee (justcallmedee.com) here, and I am back today with another fall-themed card using some of my favorite dies! This square card features the Linear Triangle and Autumn Breeze Plate dies! Let’s dive right in!
First, I trimmed down a piece of white cardstock down to a 4.25” x 4.25” size. Next, I die cut two of the Linear Triangle’s and adhered one to each corner, covering the entire panel.
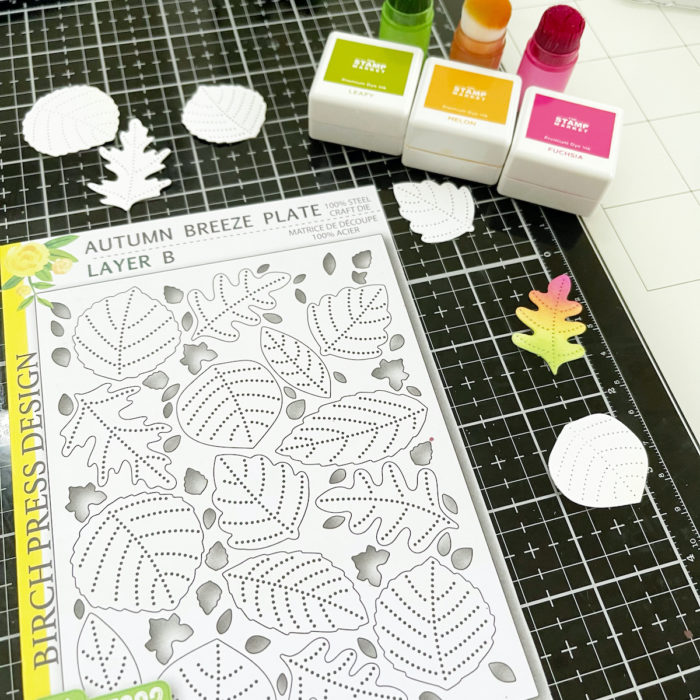
For the leaves, I die cut layer B from Autumn Breeze Layer die set and used only the negative pieces (in this case, the leaves) to ink blend! I blended each pink, orange, and green with small ink dangers and then set them aside to dry.
Before assembling the leaves, I first die cut the Big Thanks Sugar Script die and shadow in white, then stacked and adhered them together. I die cut it once more in gold and adhered that over the top.
To begin assembling, I adhered the ‘thanks’ to the center then added the leaves with foam adhesive. Finally, I added gold metallic pearls and mounted the card onto a 4.25” x 4.25” top folding card base.
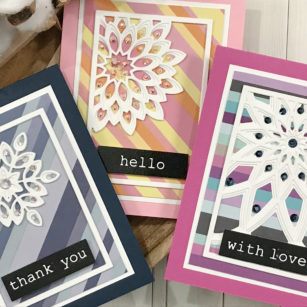
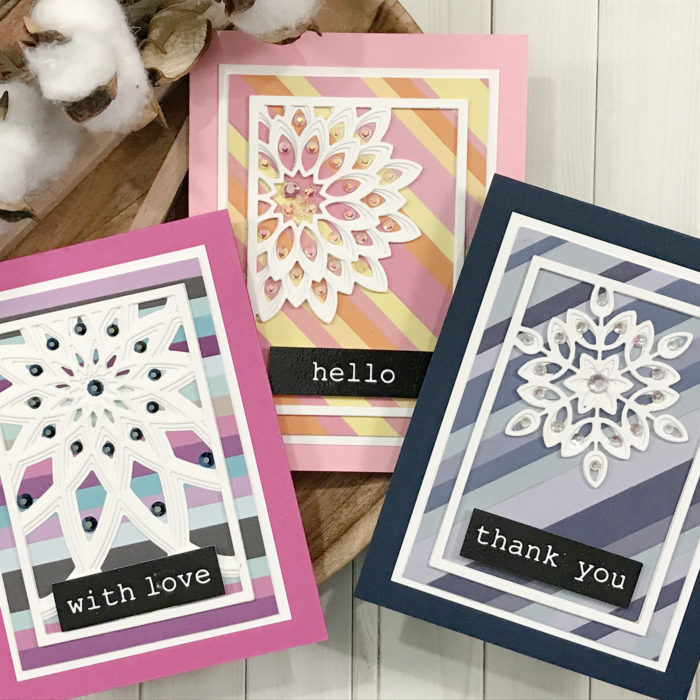
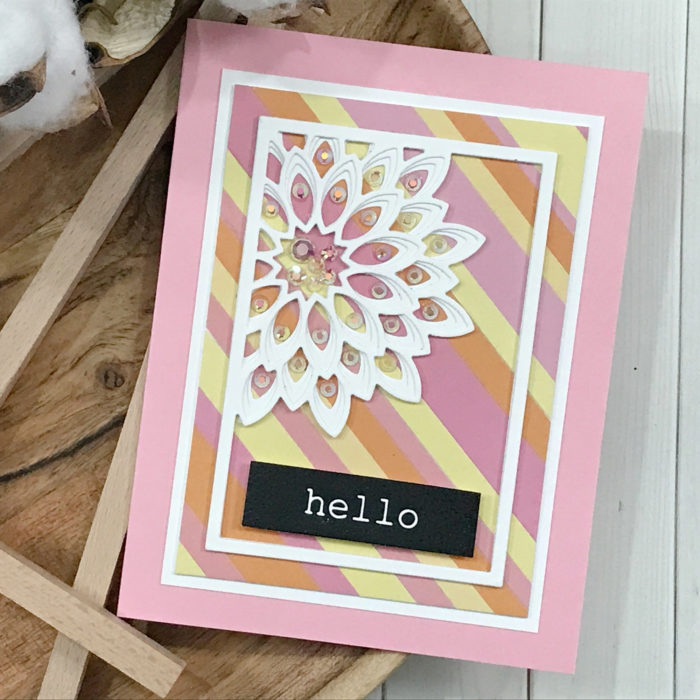
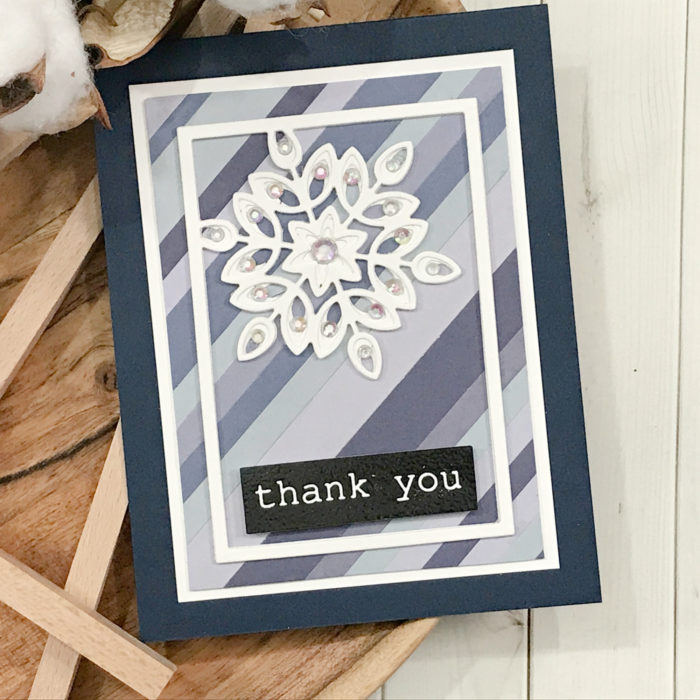
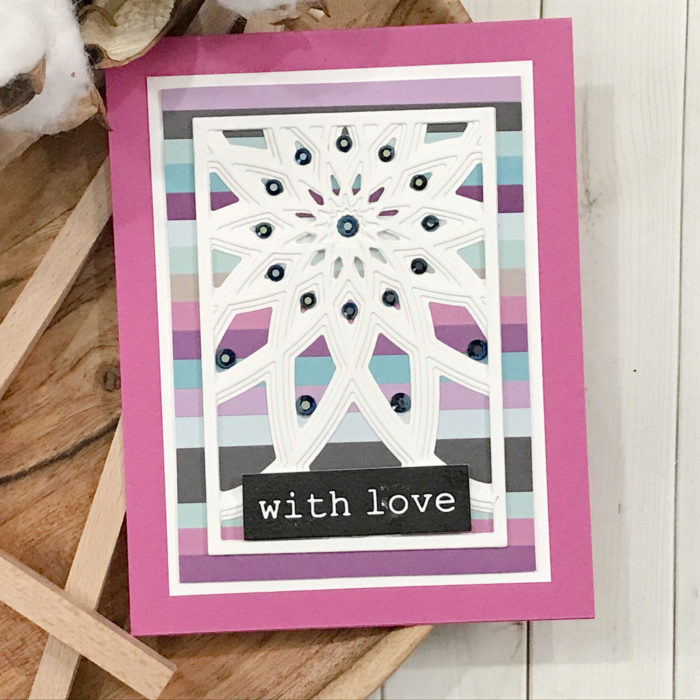
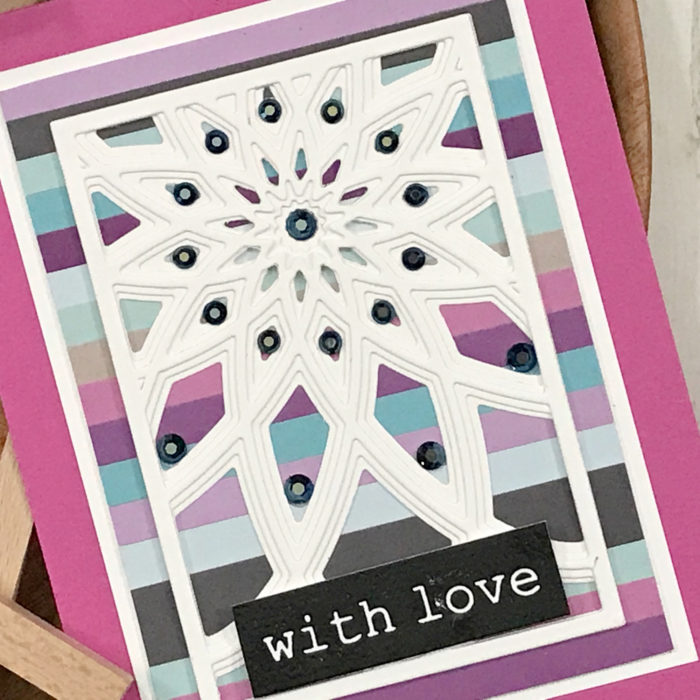
Today’s project uses up some of those scraps that we just cannot seem to part with! By cutting them in different widths and creating our background it is the perfect backdrop for our Mini Frame Layer Dies!
I pulled out my bag of scraps from the Memory Box 6×6 card stock paper pads and had a great time cutting them into strips of different widths and also matched them up into color themes!
Once completed I started on my die cutting of the mini frames and only used white card stock. These will easily become our focal point! I used my liquid adhesive to layer my dies cuts and matched them up to the colors mixed together for each background.
I cut my striped panels down to 3 ¼ in x 4 ½ in and added a white matt measuring 3 ½ in x 4 ½ in to each one. These were then placed onto of a standard A2 size top folding card base measuring 4 ¼ in x 5 ½ in.
I added my layered panels to each striped panel making sure they were centered. This actually creates an illusion to the eye that your striped panels were inlayed into the die cut image!
I heat embossed my sentiments and popped up using double sided foam squares placing them down towards the bottom of each image.
The bling came to town and added jewels to each image accenting the colors used for the card stock strips.
As always, I hope you enjoyed today’s project… and if you want to see more details just click on the video below and see how these projects come together step by step!
Make sure you stay tuned for more wonderful projects coming soon! Have a great day and always remember… Be Creative!
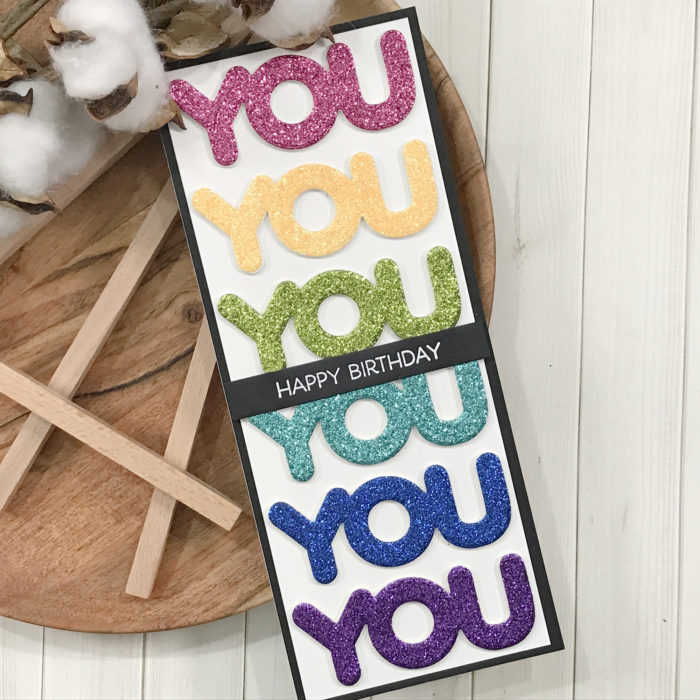
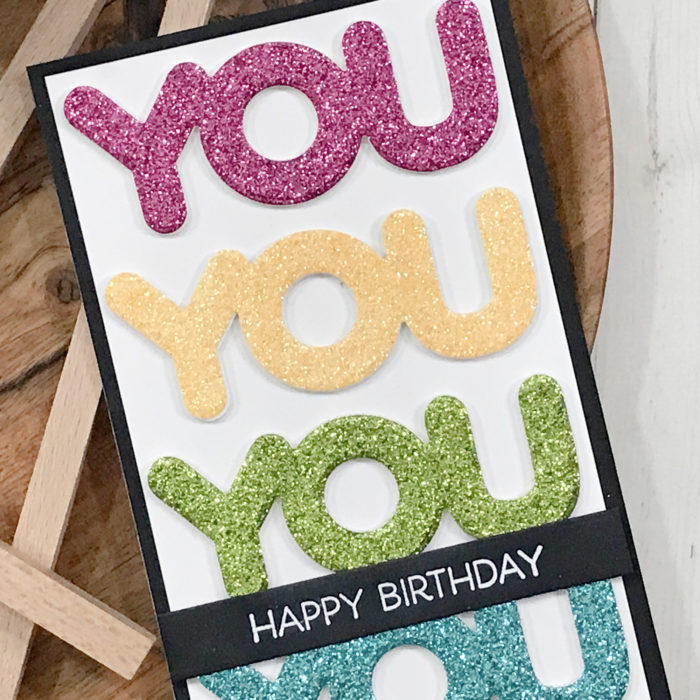
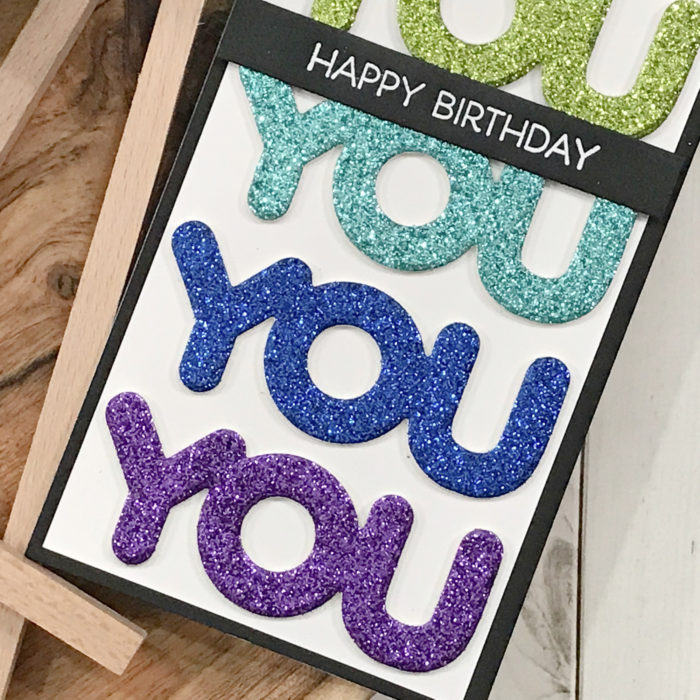
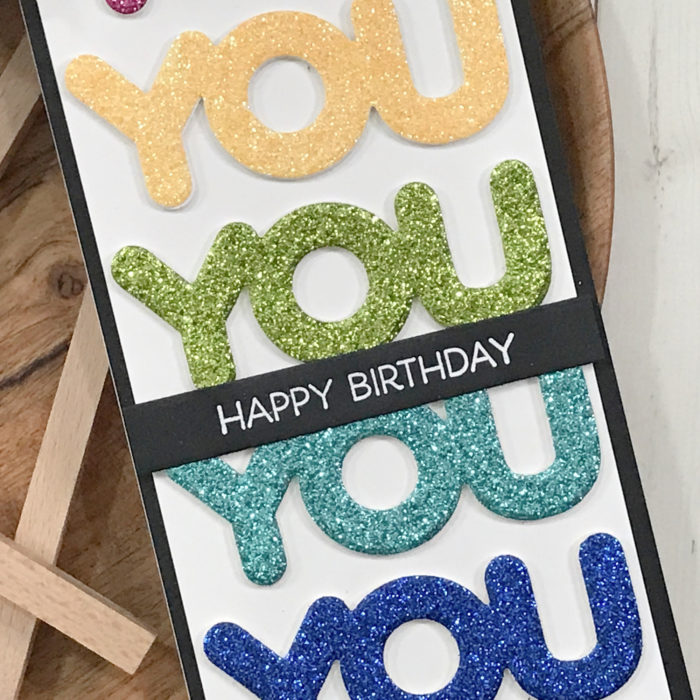
For today’s project I am focusing on the die, a sentiment die and making it our focal point of our slimline card design!
I chose the YOU die from the Happy Lingo die set, later we will add a stamped sentiment from the same named set.
I wanted a lot of sparkle for this card but also keep it clean and simple. I used the Memory Box 6 x 6 Jeweled Glitter Cardstock pad and plain white card stock.
I die cut from each of the colors a chose from the rainbow and then die cut four more layers using white card stock from my scraps! Best way to clean up that bin!
Using my liquid adhesive and layered all my die cuts together. While they were drying, I grabbed my slimline card base measuring 3 1/2 in x 8 1/5 in.
On my panel (measures 3 1/4 in x 8 1/4 in) I marked the center and made sure I set my sentiments along that mark and then went to each end. This helped when making sure they were equally spaced across the front panel, and yes you guessed it, I do not like to use a ruler! LOL…
Once they were set in place, I cut another panel that measures 3 ½ in x 8 1/5 in using black card stock. Stamped and embossed my sentiment and layered that over two of the die cuts, while making sure not to block any of them!
As always, I hope you enjoyed today’s project… and if you want to see more details just click on the video below and see how these projects come together step by step!
Make sure you stay tuned for more wonderful projects coming soon! Have a great day and always remember… Be Creative!
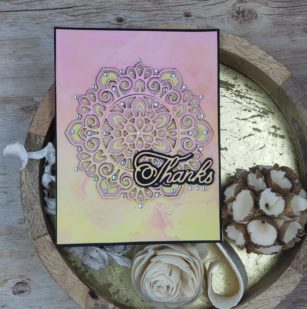
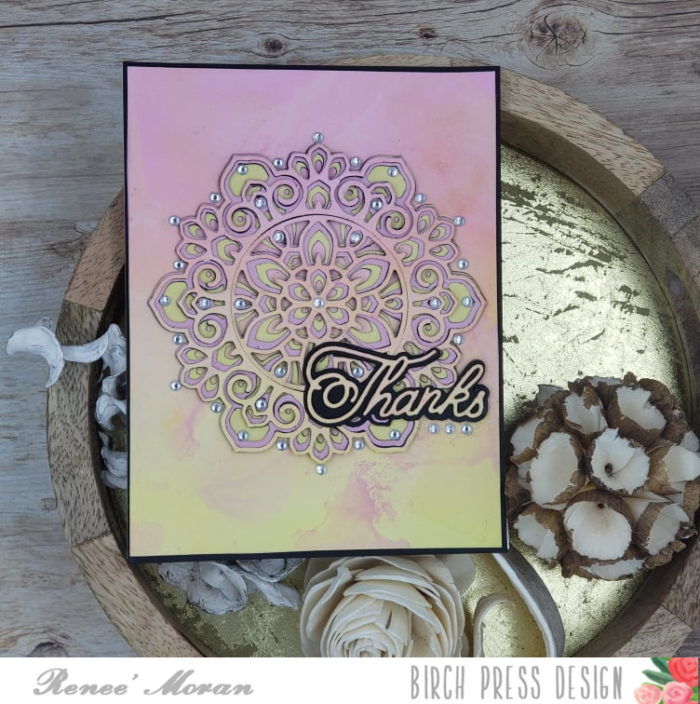
Hi Everyone, It’s Renee’ from Delaney Jane Cards here with a different take on the eclipse technique. Many times we see it done with words but I thought I could achieve something similar with the beautiful Tranquility Layering Dies and Handwritten Thanks. When I’m feeling stuck I often try to use a favorite technique or product in a new way.
Today that technique was similar to the Eclipse technique but could also qualify as Inlay. These layering dies, they create so much opportunity for experimenting and stretching not only your supplies but skills as well!
For this card I ink blended an 8 1/2″ x 5 1/2″ piece of cardstock using the Kitch Flamingo and Squeezed Lemonade Distress Oxide Colors. Then I trimmed this into two separate panels.
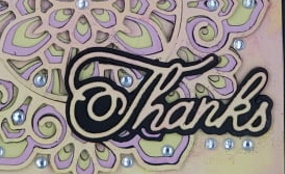
I die cut the Handwritten Thanks die from the panel where I wanted it to be on the finished card.
I removed the die cut and placed the tranquility Layer A from the same piece of cardstock where the final piece will be on that card panel.
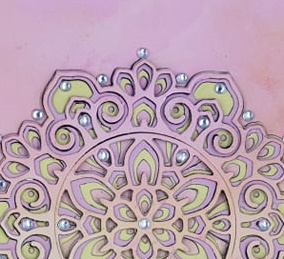
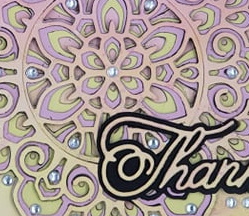
This cut the place holder for the finished layered tranquility layered die set. I die cut each of the layers from both black and a coordinating cardstock. Layer C from yellow and Layer B from Pink.
I die cut the shadow layer from the Handwritten Thanks from black cardstock when I did all my die cutting. After I had all my layers, I adhered each layer to a coordinating black piece of cardstock. This will create additional drama in the final die cut design. These layers will not only add additional depth but by using black it will add a visual outline for each layer as it is viewed from the side.
By cutting the top layer, Layer A, from that initial panel, this creates the basic eclipse pattern. If I had simply stacked black die cuts under the top layer and then put it back exactly where I die cut it from, I’d have created an eclipse design. By putting the entire stack of die cuts in this layer die set together, I also achieve the inlay die cut technique, the eclipse technique and I create additional depth in the design.
I finished this card off by layering that thanks onto the edge of the tranquility medallion and added sparkle and shine with the fairy jewels in clear by Open Studio.
I’d love to know what you think of my design and of this super fun attempt at adding a twist to the eclipse technique. Please let me know in the comments.
Also, if you’d like to see how my card came together, you can click on the video below.
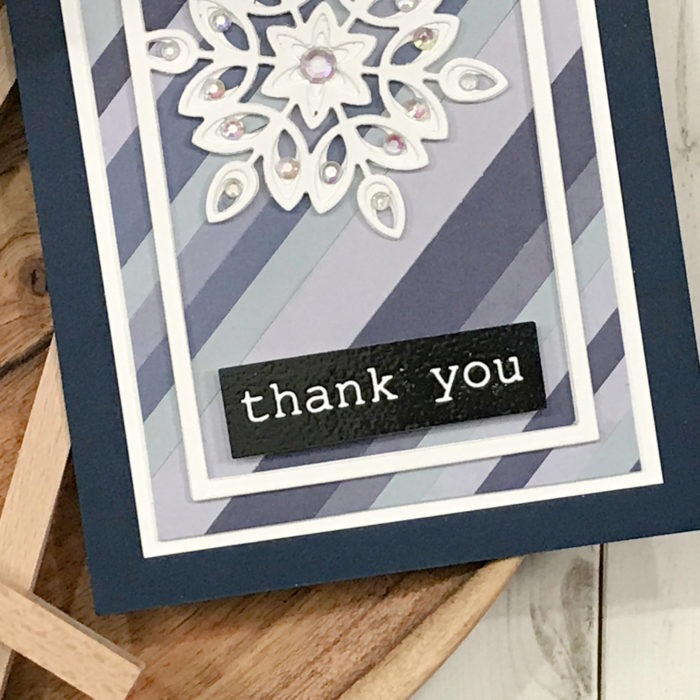
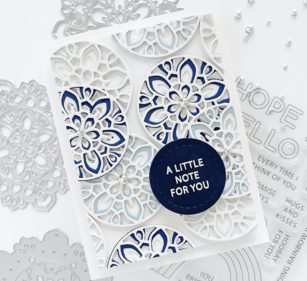
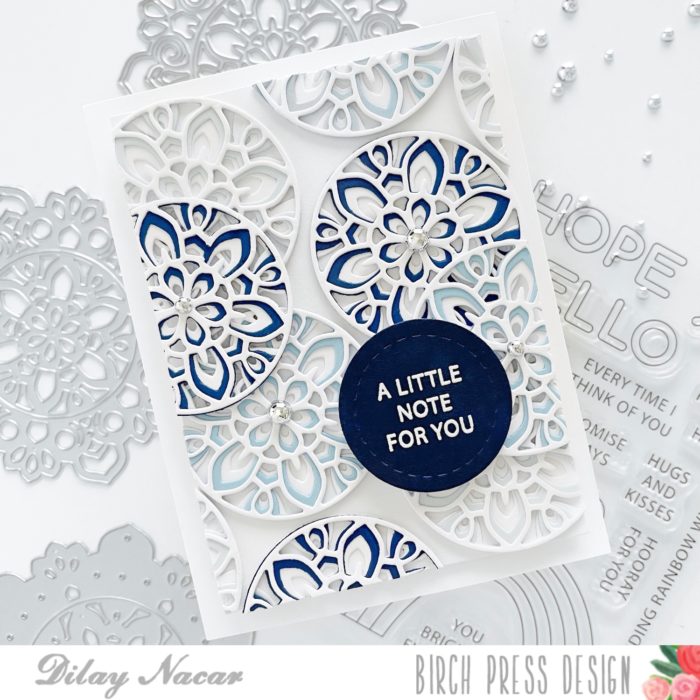
Hello friends, and welcome back! Dee here and today, I am sharing this intricate card that I created with the Tranquility layer die set! For this card, I decided to use a single color in three different shades for an elegant and sophisticated feel. I hope that you like what I came up with! Let’s begin!
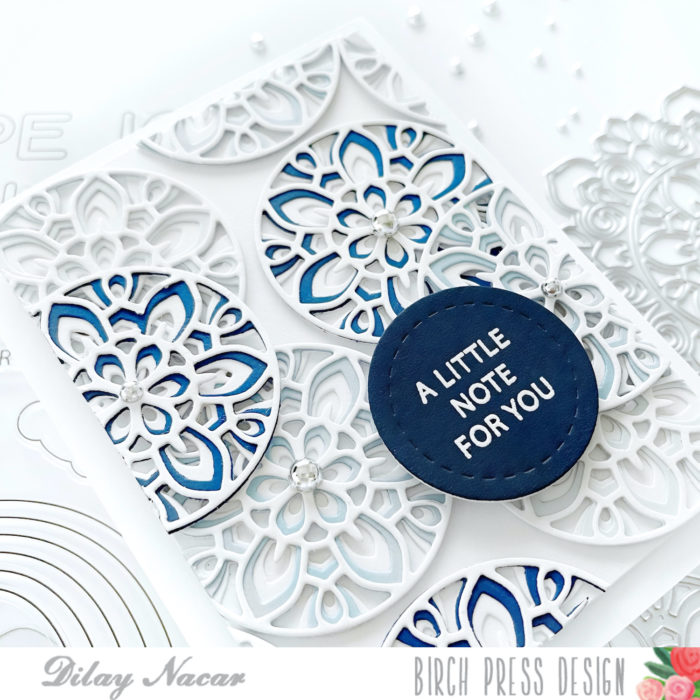
First, I die cut the center circle of the Tranquility die (saving the outer layers for a future project), cutting layers A and C in white and layer B in all three shades of blue. I then adhered the layers together with each combination containing a blue middle layer.
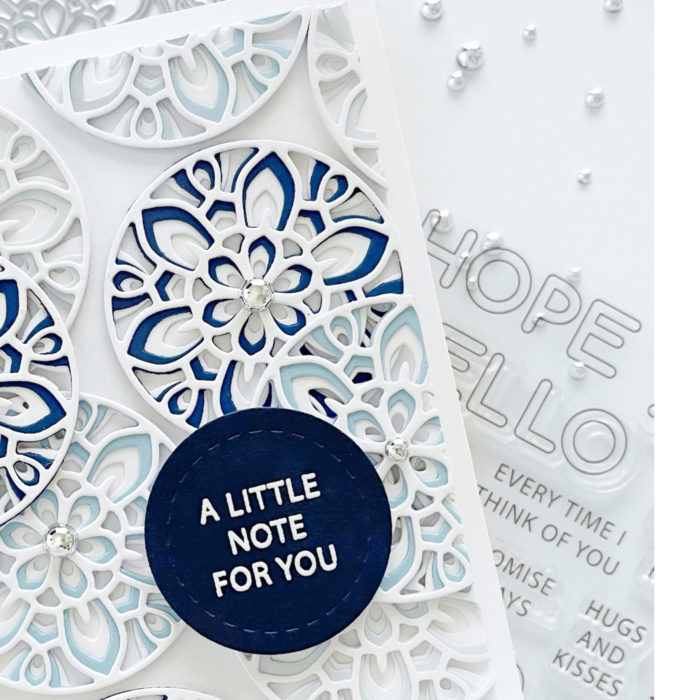
Next, I cut a piece of white cardstock down to 3.75” x 4” and adhered the circles to it in a random pattern, and trimmed off the excess, using those pieces to fill in any gaps. I heat embossed a sentiment from the Rainbow Days stamp set and die cut it with a circle die (from my stash), and adhered it to the card with foam tape.
To finish, I added silver metallic pearls to the center of each of the circles for some extra shine and mounted the card onto an A2-sized top-folding base.
Thank you so much for stopping by, crafty friends!
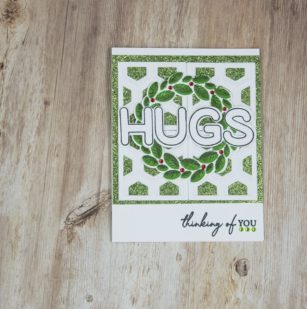
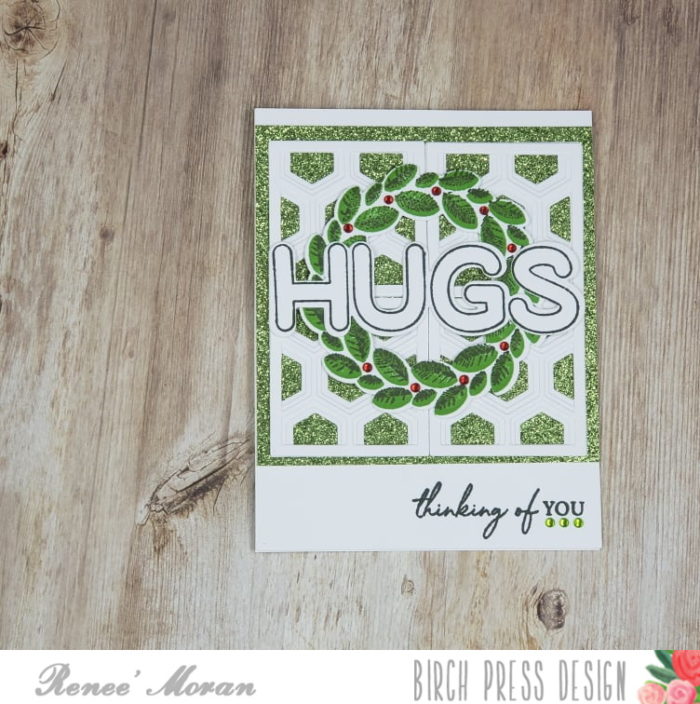
Hi Everyone, It’s Renee’ from Delaney Jane Cards here with a Dimensional card using small layering dies.I wanted to create something that could feel a little Christmas but could be used any time of year. I also enjoyed the challenge of using these small dies to make an entire card. Sometimes it is about stretching your dies to make them really worth owning.
I keep reaching for this small square layering die set called Honeycomb Mini Tile Layer Set. I often pull this out and then set it aside thinking, This can’t make that much impact on a card, can it? It can!
I die cut the three pieces of this honeycomb mini tile layer set from white cardstock, four times. I layered those all together to create four individual layered tiles.
I used the Happy Lingo Stamp and Die set to create the Hugs sentiment. I die cut it from white cardstock and stamped in some deep green ink. I chose to stay away from black in this card design because I felt it was a softer look.
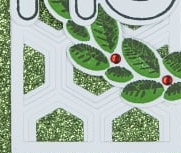
I also used the Classic Sentimental Wreath Stamp and Die set to create a wreath with the layer stamping stamps. And I cut the wreath out with the coordinating die. I stamped the sentiment from the same Classic Sentimental Wreath Stamp set in that deep green to finish my design.
I added shine with some glitter cardstock from the Memory Box 6×6 Graceful Garden Glitter Pad and green and red jewels from the Open Studio Fairy Jewels Bright Jewels Pack.
I’d love to know what you think of my design and of this super fun attempt at creating an entire card using a small die and layered die cuts. And if you have any ideas on creative ways to use the Honeycomb Mini Tile Layer Set. Please let me know in the comments below.
Also, if you’d like to see how my card came together, you can click on the video below.
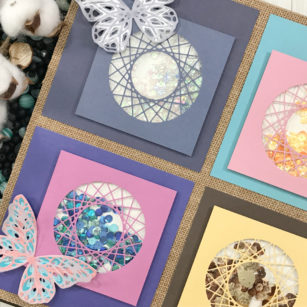
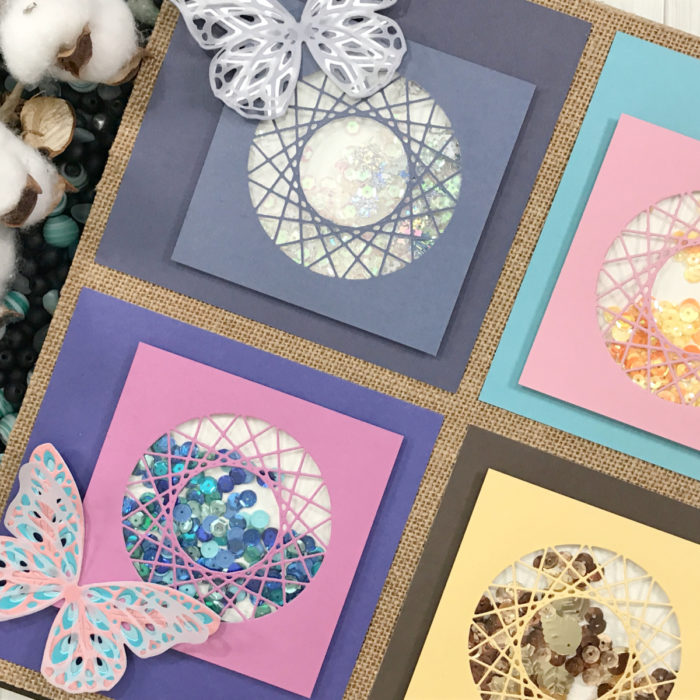
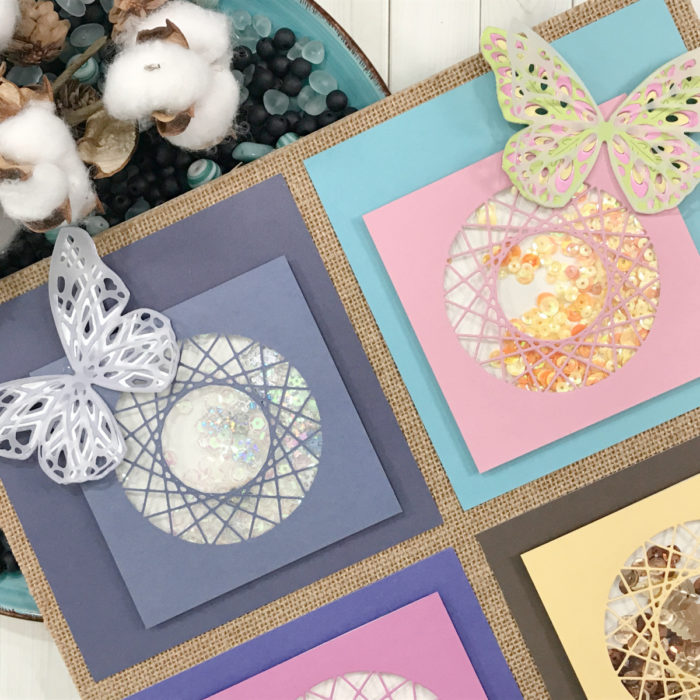
Today’s project is well out of the box! We have all these beautiful stamps and dies in our stash. Let’s put them on our wall and create a beautiful home decoration! So for this project I created a Shaker Wall Hanging! It’s going to be tough to shake it though, LOL…
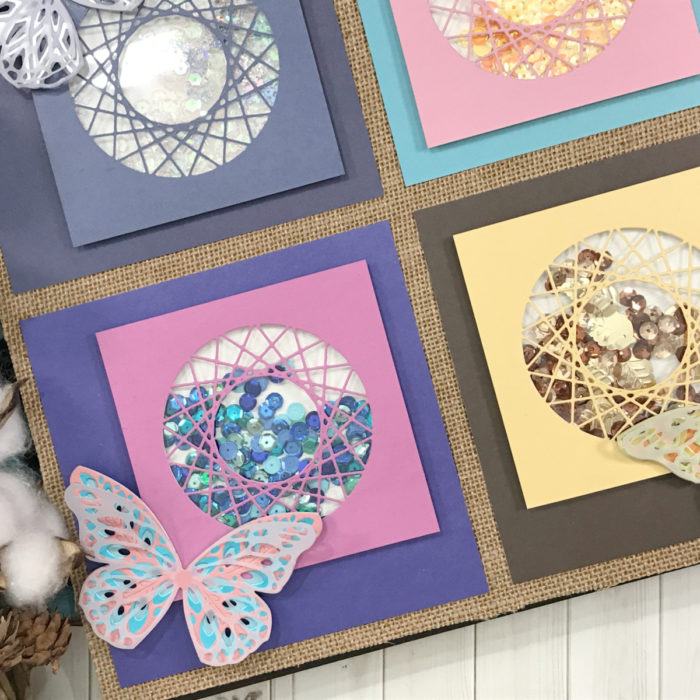
I decided to use a 12 x 12 piece of chip board and immediately saw the four seasons of the year!
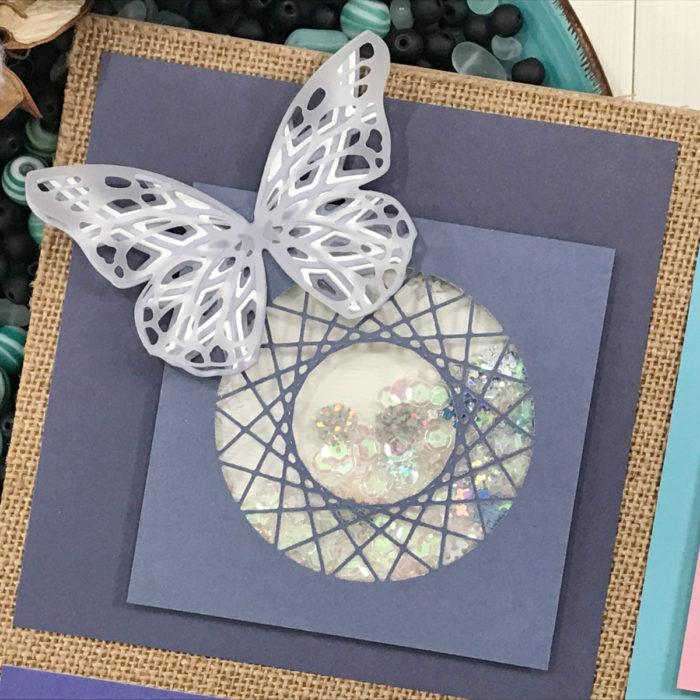
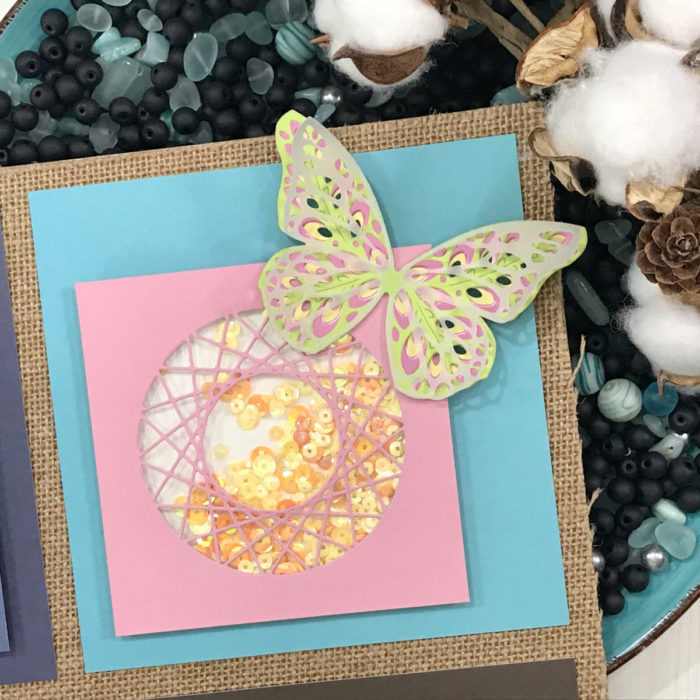
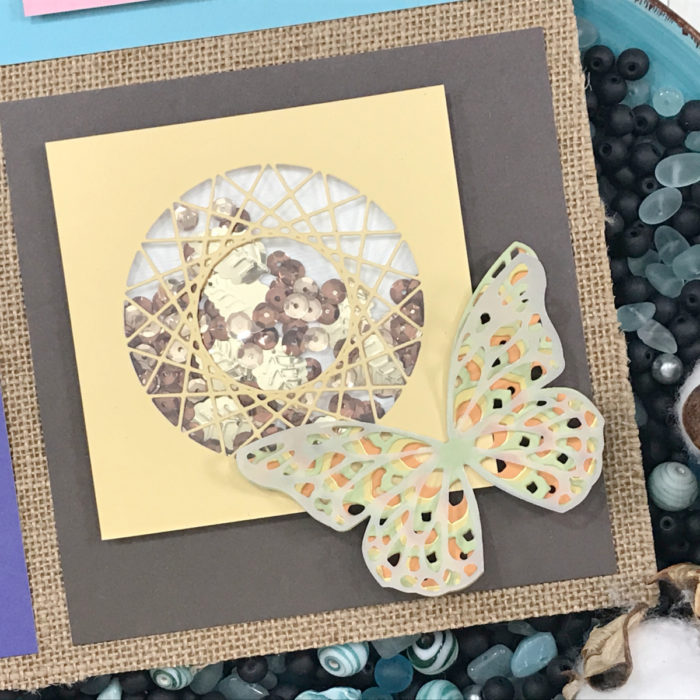
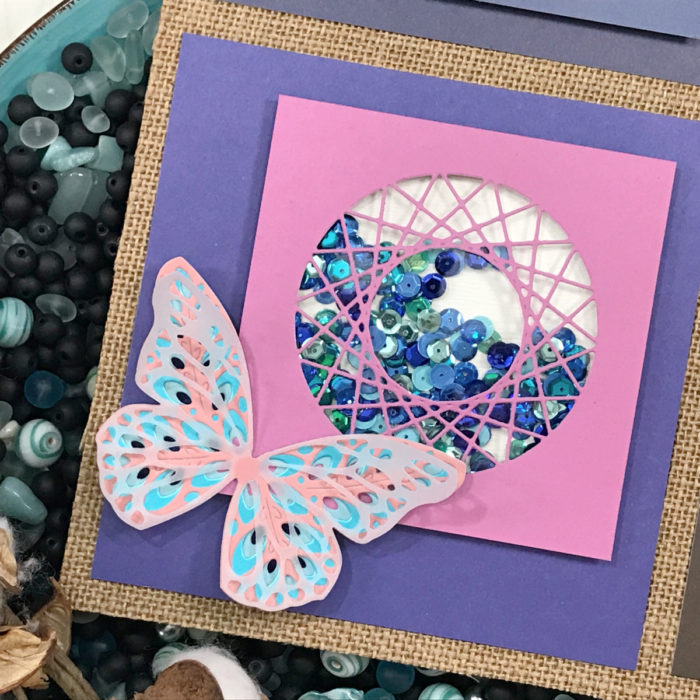
As always, let’s get our die cutting done and set those pieces aside. I dug into all those beautiful 6 x 6 Card Stock Pads by Memory Box and started choosing my layers! I did all my die cutting first and layers all the butterflies together using liquid adhesive! To give the butterflies dimension I used the last layer with vellum to add dimension and texture.
As my butterflies were drying I choice my four smaller panels cut to 5 1/2 in x 5 1/2 in and used the Strong Circle Art Panel die and added clear acetate to the back of each opening. I used my double-sided foam tape to raise this panel up and added a lot of shaker bits to the center. I then placed my back panel onto of the double-sided foam tape to secure the sequins inside the opening.
Once my panels were created, I set them on top of my chipboard background and added my butterflies to each on their respective season. There you have it, a beautiful wall hanging for any room in your house or a perfect gift!
As always, I hope you enjoyed today’s project… and if you want to see more details just click on the video below and see how these projects come together step by step!
Make sure you stay tuned for more wonderful projects coming soon! Have a great day and always remember… Be Creative!
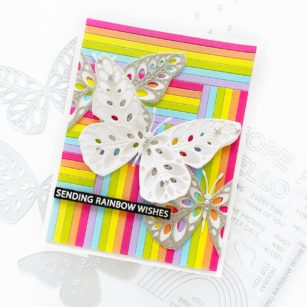
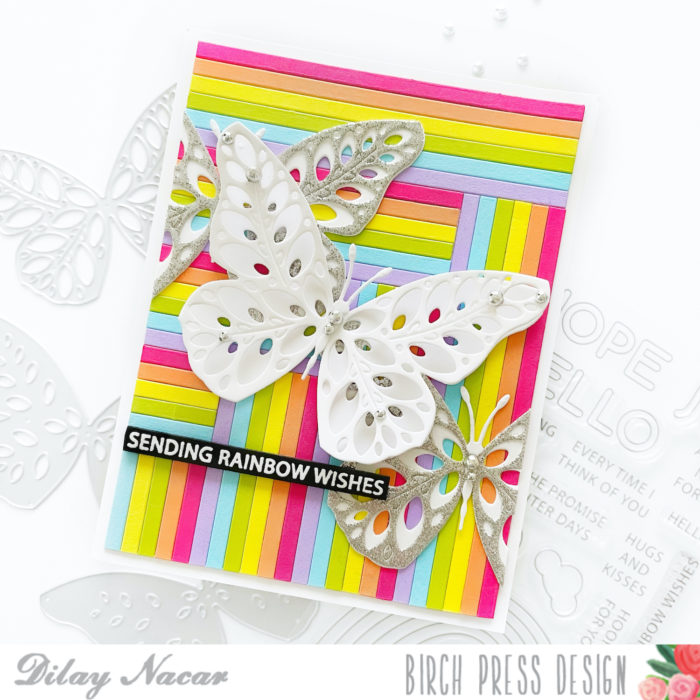
Dee (@dilaynacar) here today to share this fun and colorful butterfly card! This card is easy to recreate and combines a few of my favorite elements: stripes, rainbow-colored cardstock, and butterflies! Let’s dive right in!
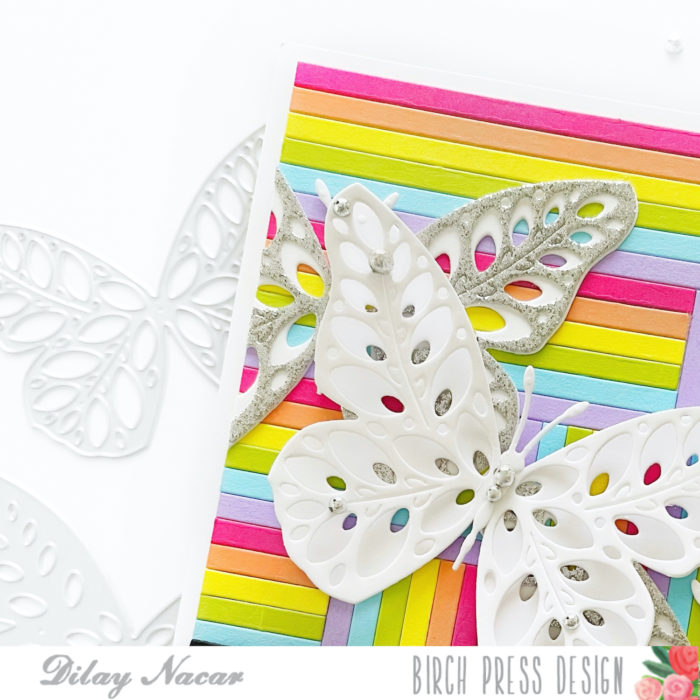
To create the striped background, I cut a piece of cardstock down to an A2-sized base then cut colored cardstock in 1/4” strips and adhered them, in rainbow order, vertically and horizontally to create a staggered look.
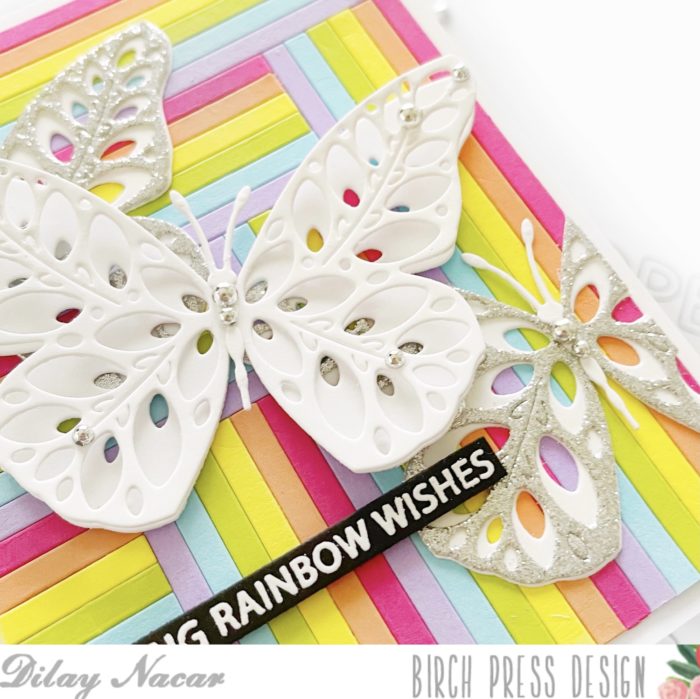
Next, I cut three of the Eloquent Butterfly layering dies, two in silver and white, and one in all white. I die cut the bodies of the butterflies using the Butterfly Basics die set and added them to the center of each butterfly.
I first adhered the silver butterflies to the background, cutting off any overhang, then adhered the white butterfly (with the wings separated to add some dimension) with foam adhesive. Finally, I heat embossed a sentiment from the Rainbow Days Lingo Notes stamp set and adhered it below the white butterfly with foam adhesive, then added some silver pearls to the butterflies as a finishing touch.
I hope that you find some inspiration to create something fun and colorful! Thank you so much for joining me today!
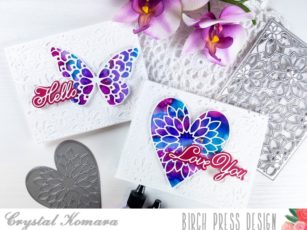
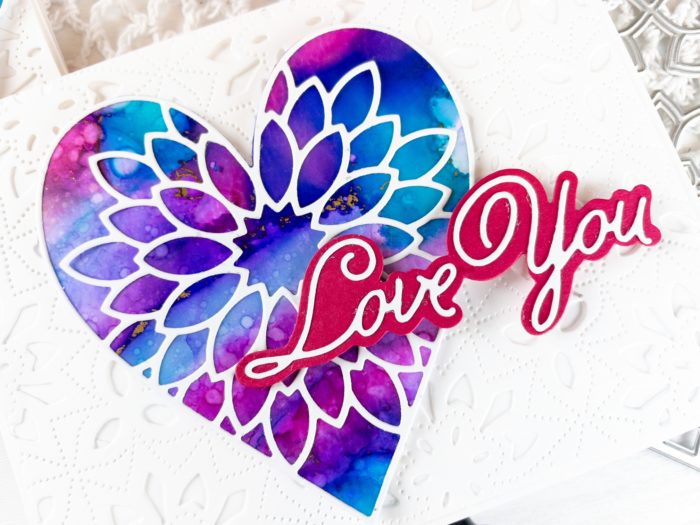
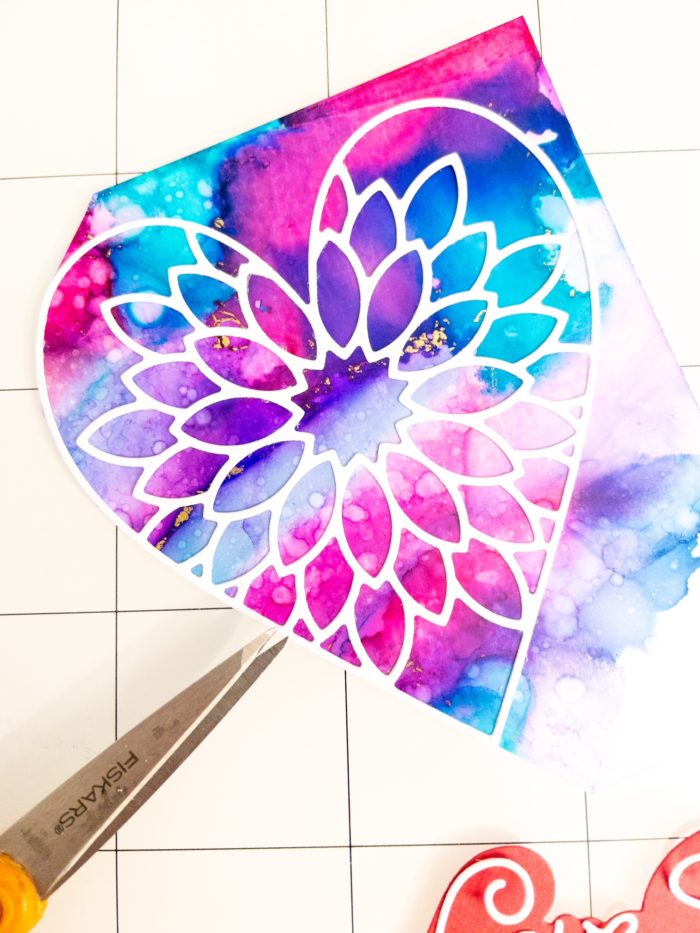
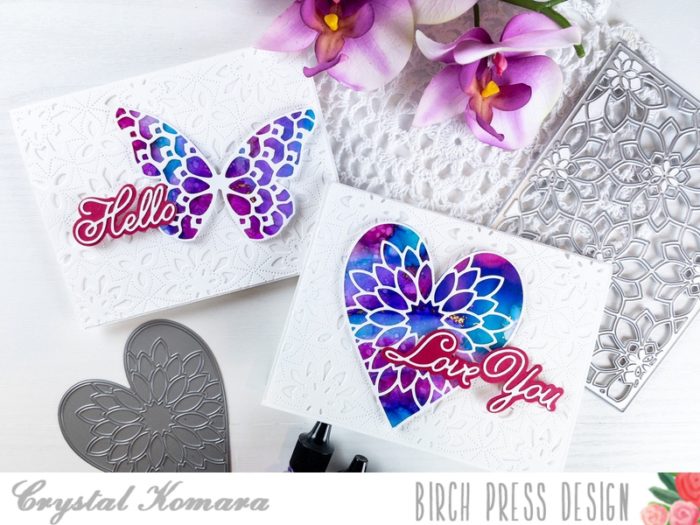
Hello crafty readers! This is Crystal Komara here with you today sharing two cards that both feature a lot of white space. You might call these CAS or “clean and simple” cards. I love white for it’s clean and fresh look and it allows the vibrant alcohol ink colored heart and butterfly to be the focal point.
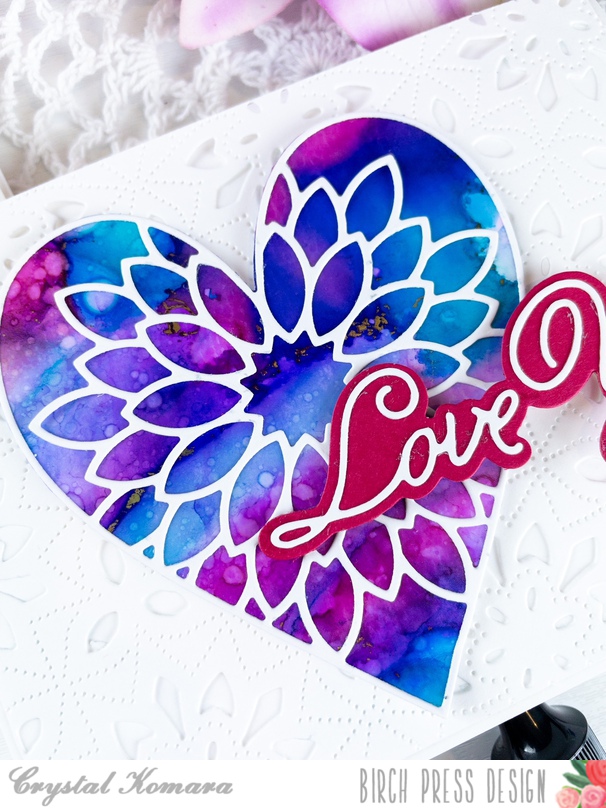
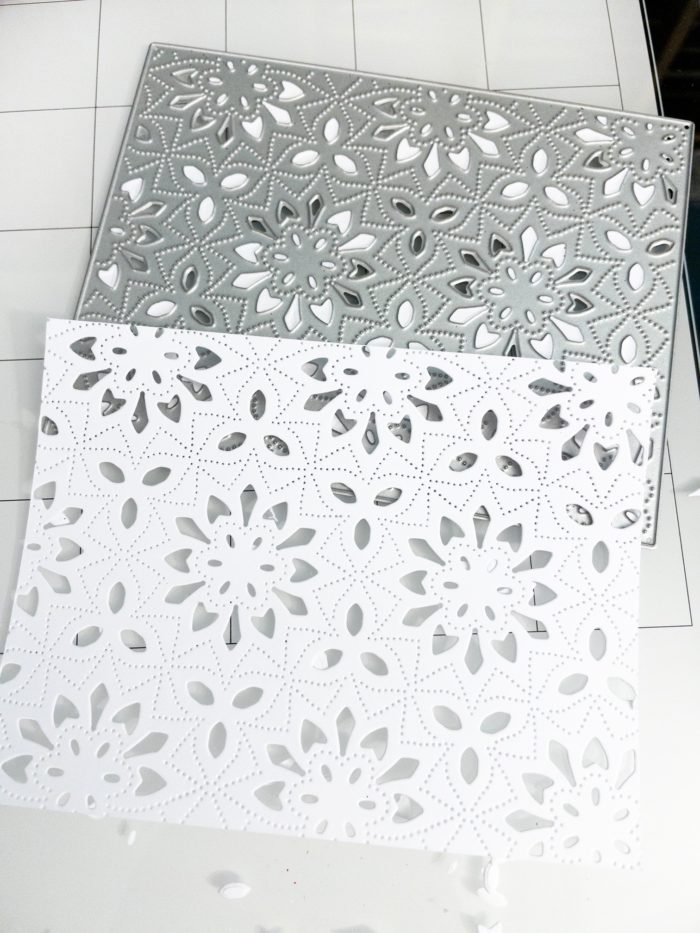
For this first A2 sized card, the base was made from 80 lb. Neenah Solar White Smooth cardstock. I die cut the Viola Layering Plate C from white cardstock and used that as a background. I had already created the alcohol ink background and simply die cut Layer A from the Dahlia Heart and adhered it over the heart.
I die cut the words using the Handwritten Love You and Outline. The first layer was die cut from magenta cardstock and the thinner top layer was cut from white cardstock.
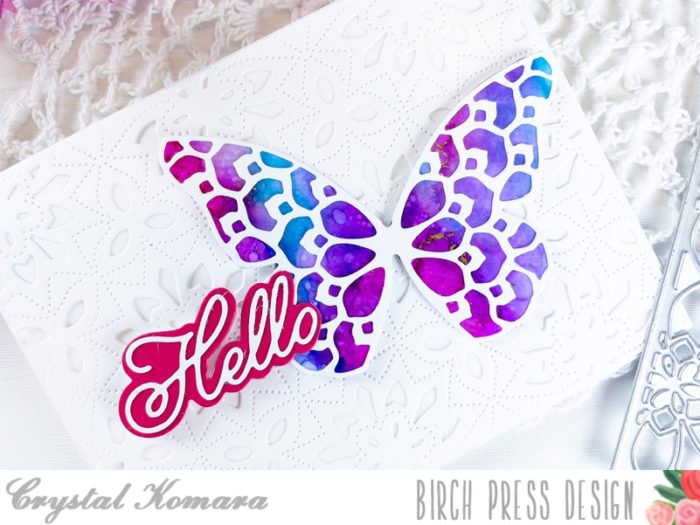
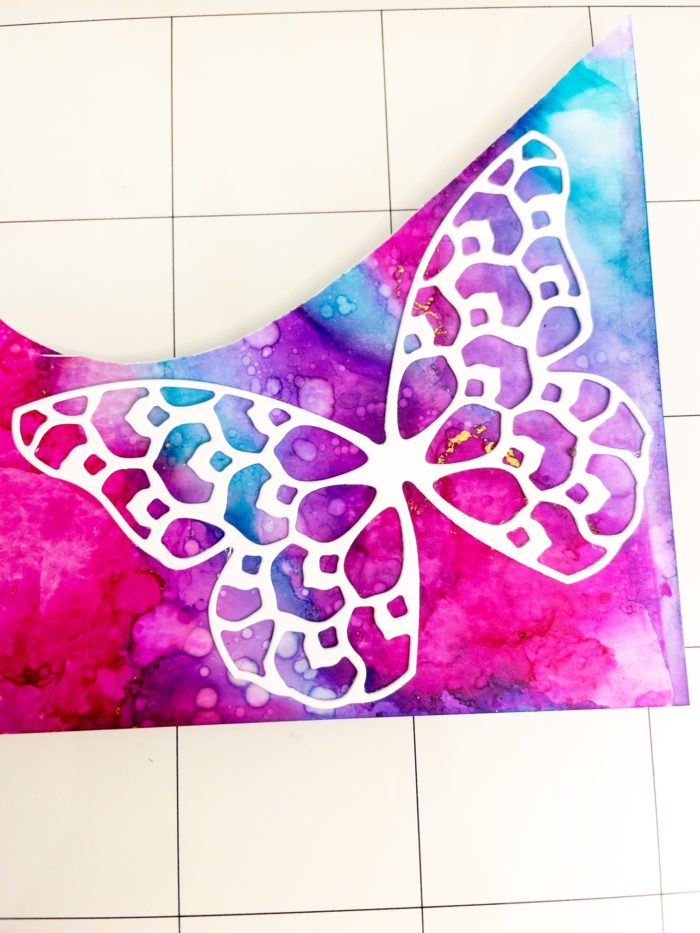
I followed the same steps for this second card, but in lieu of the heart, I used Layer A from the Glimmer Butterfly.
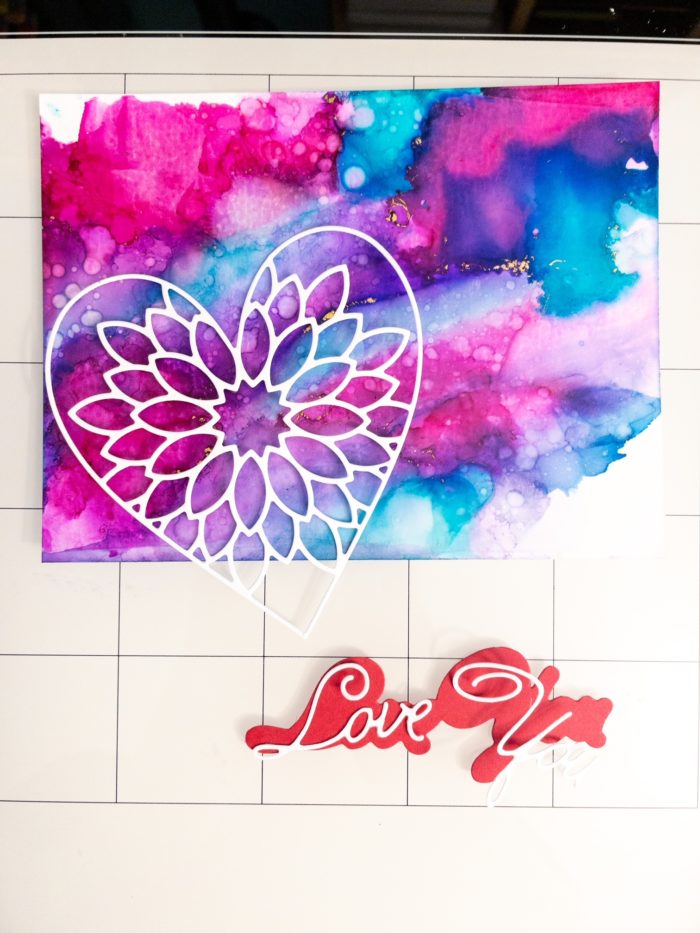
Here are some photos detailing step by step how I created the cards:
I hope you have enjoyed these cards! Thanks for visiting and have a wonderfully creative day!
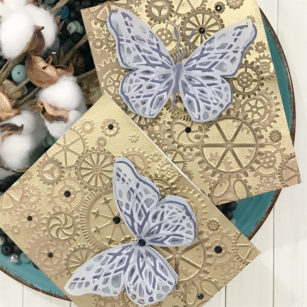
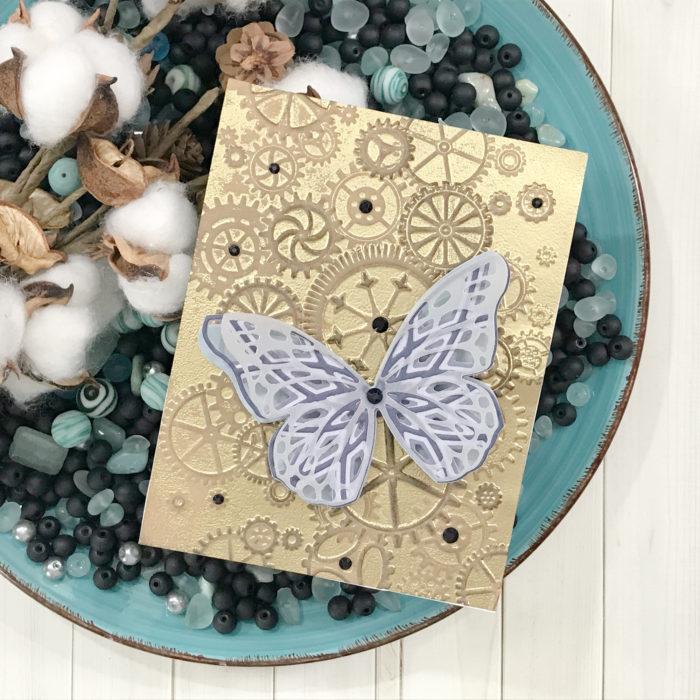
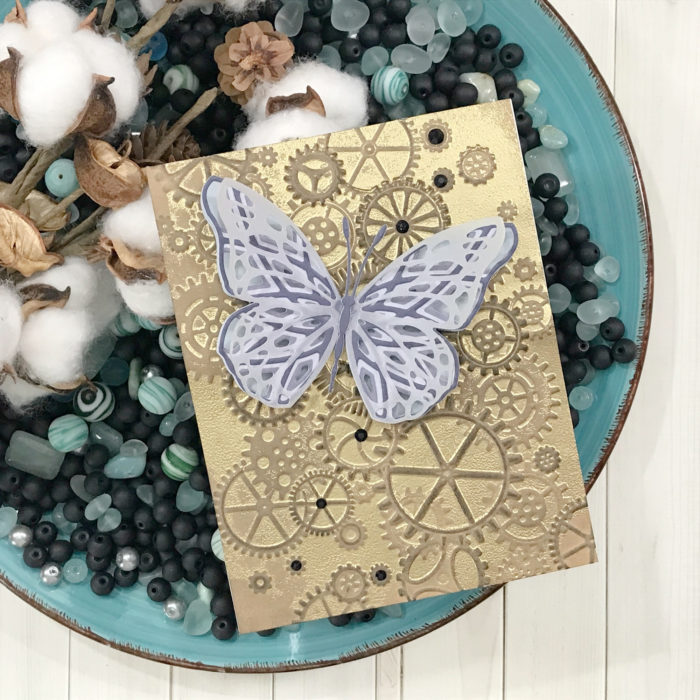
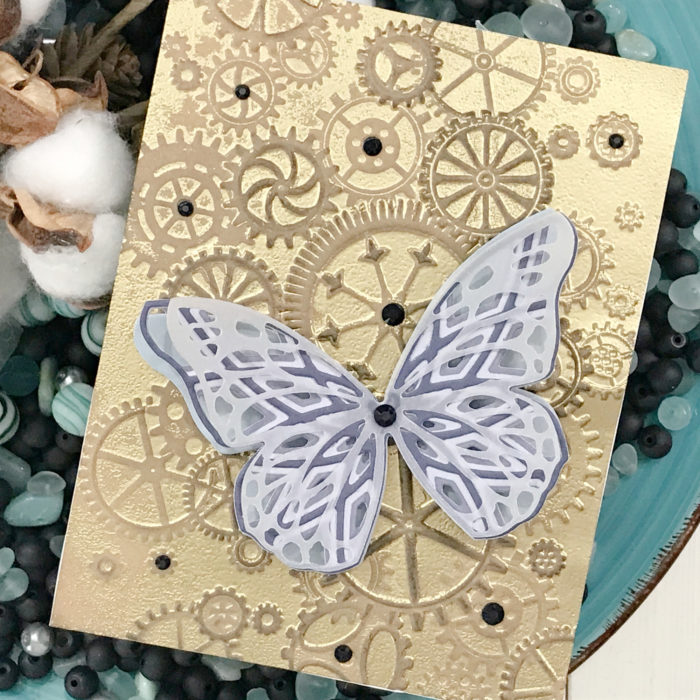
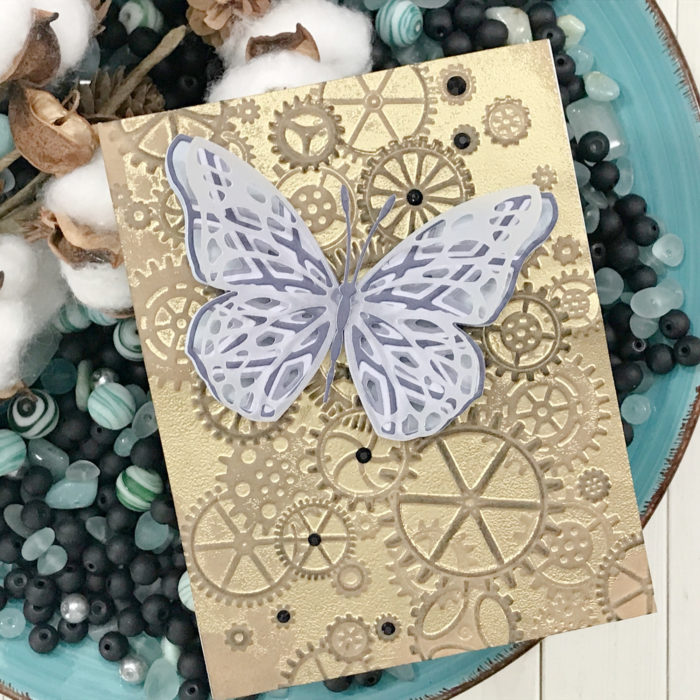
For today’s project I am making more butterflies featuring the Butterfly Basic and Starlight Layering Die Set! Our butterflies will sit on top of a steampunk background to give our cards a masculine look!
As always, let’s get our die cutting done and set those pieces aside. For my butterflies I chose the Stormy Blue 6 x 6 cardstock paper pad by Memory Box.
When creating my background, I used my clear ink inside of the embossing folder and made sure I placed the ink on the side of the folder that creates the impression into the paper. Now before I place my paper into the folder, I very lightly mist the paper on each side so the fibers don’t break but rather bend. We will get great texture from the embossing folder!
I added my gold embossing powder onto my panel and heat set making sure all the powder is melted onto my card stock.
Next, I layer my butterflies using the solid die cut base and the top layer form the butterfly basics die set and of course the layered die set! I used my liquid adhesive when placing my layers together at the center to ensure they have a strong bond!
I created my standard A2 size card base and placed my embossed panel down first and then added my butterfly off center for each of my cards.
Of course, we have to add a little bling, so black gems completed the look!
As always, I hope you enjoyed today’s project… and if you want to see more details just click on the video below and see how these projects come together step by step!
Make sure you stay tuned for more wonderful projects coming soon! Have a great day and always remember… Be Creative!