Hi Everyone, It’s Renee’ from Delaney Jane Cards here with a Christmas in July card! Yes, Christmas in July. I also used an unexpected background die to create the “tree”! Sometimes it is about stretching your dies to make them really worth owning.
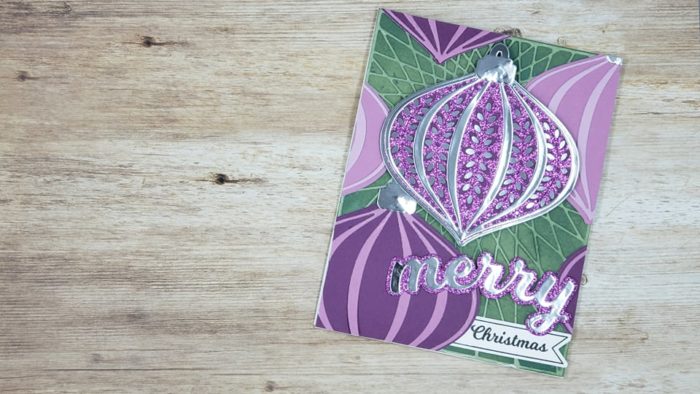
I really wanted to use the Marisol Ornament layering dies because, let’s face it, they are so beautiful!!! I decided on purple, silver and green for my color scheme.
I picked out some glitter cardstock, polished cardstock and some purple and green from the cardstock 6×6 stacks.
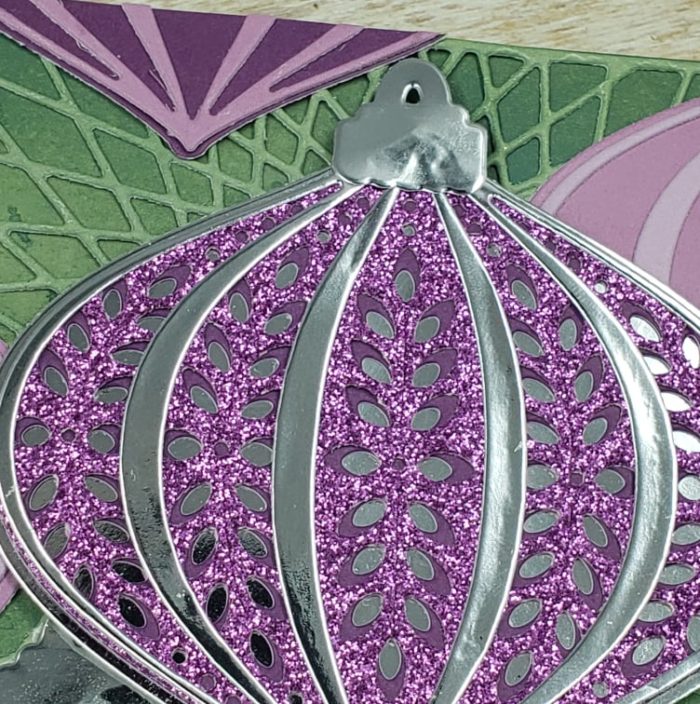
I created one entire Marisol Layering Die set and used the top layer (a) to create two other ornaments. The Christmas Ornaments and Labels Stamp and Die set has this solid die that works so well with the Marisol Ornament Layering Dies and the topper for the ornament. I used that solid die to back all three ornaments.
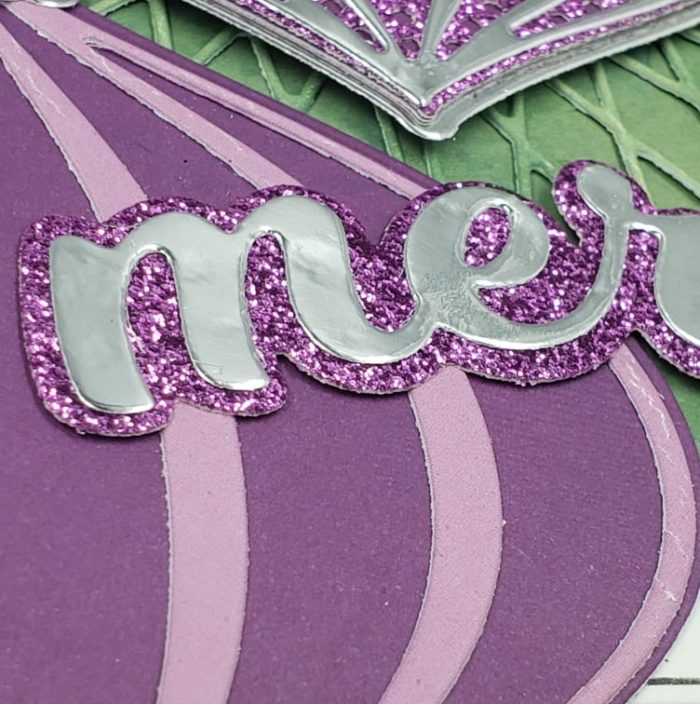
I added foam tape to the main image and adhered the other two down using liquid adhesive. Then snipped the excess off and adhered them to to other areas on the card. No need to create multiple ornaments when you can use just a few and place the bits and pieces in the blank spaces.
By being creative with how I layered them atop of the String Art Nativity Star background die I was able to “hide” the star and create the look of the branches of a pine tree. What a cool way to stretch that die, am I right?
I even stretched the Christmas Ornament and Label Stamp and Die Set and to selectively stamp the sentiment. I wanted to use the Merry Die so I only stamped the word Christmas.
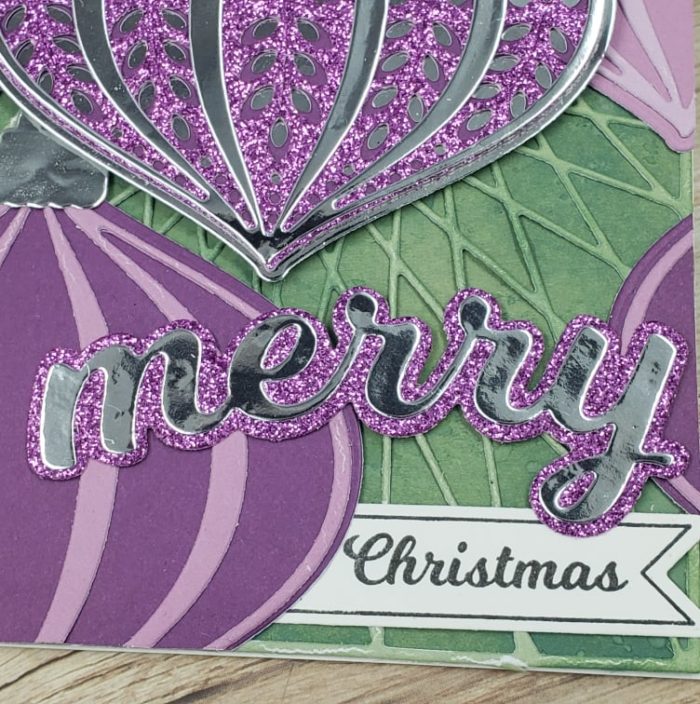
You’ll have to let me know if you think this “feels” like a closeup of a Christmas tree because I think it does. Also, if you’d like to see how my card came together, you can click on the video below.
Thank you so much for checking out my card today.
As I always say,
Give Cards Generously
-Renee’

Supplies