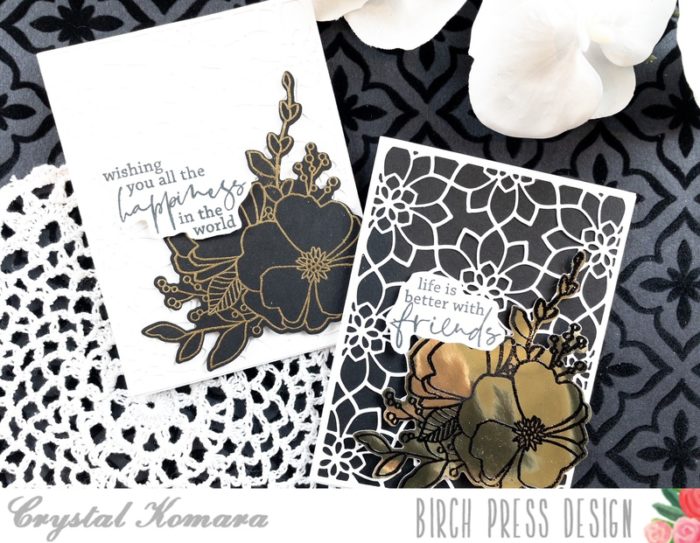
Hello crafty readers! This is Crystal Komara here with you today sharing two elegant cards created by mixing products from sister companies Birch Press Design and Memory Box. As Design Team members for Birch Press Design, we are fortunate to receive some products from both companies and today I’m showing you how beautifully they compliment each together. Do YOU mix products when you create? I love to mix stamp sets, papers and dies because it allows for an infinite amount of ideas and is a great way to use more of what you own.
Card details:
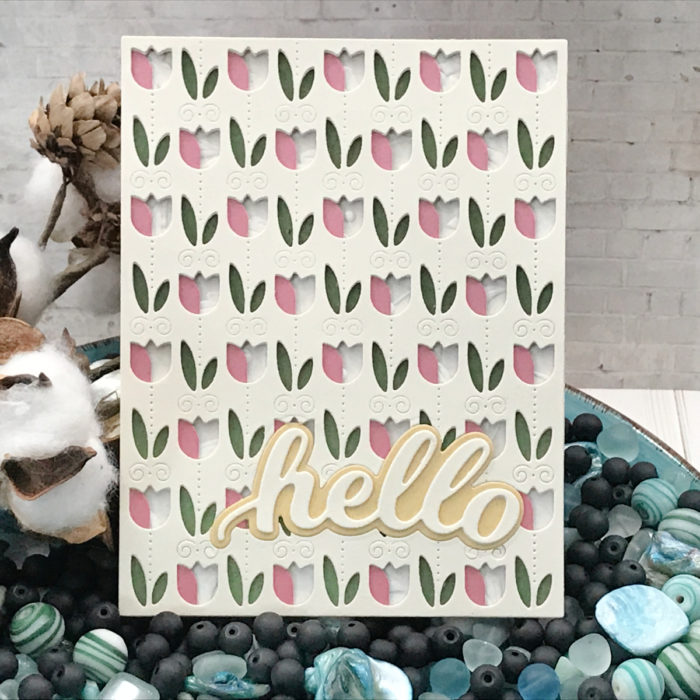
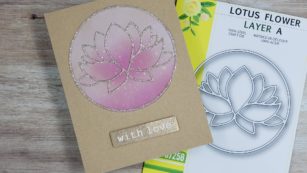
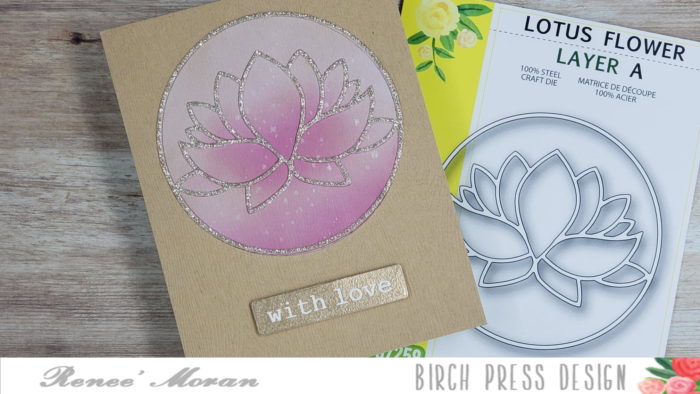
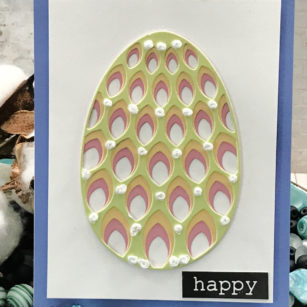
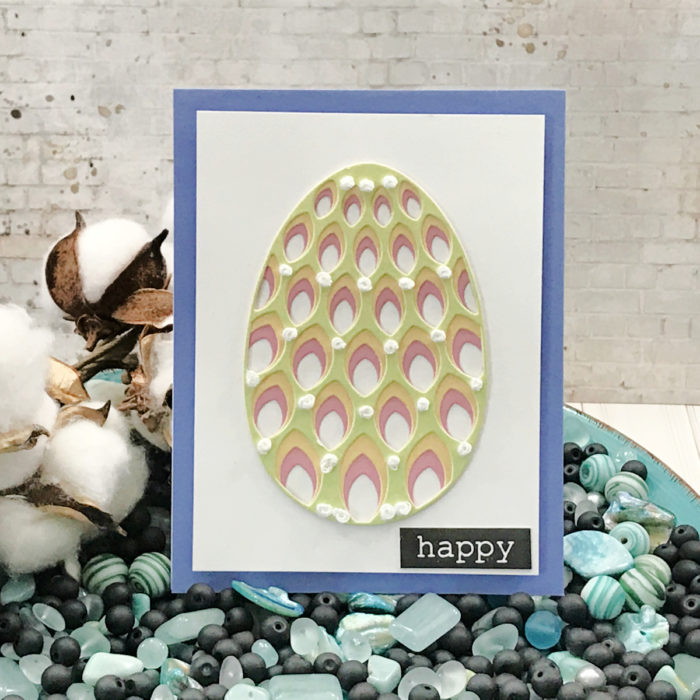
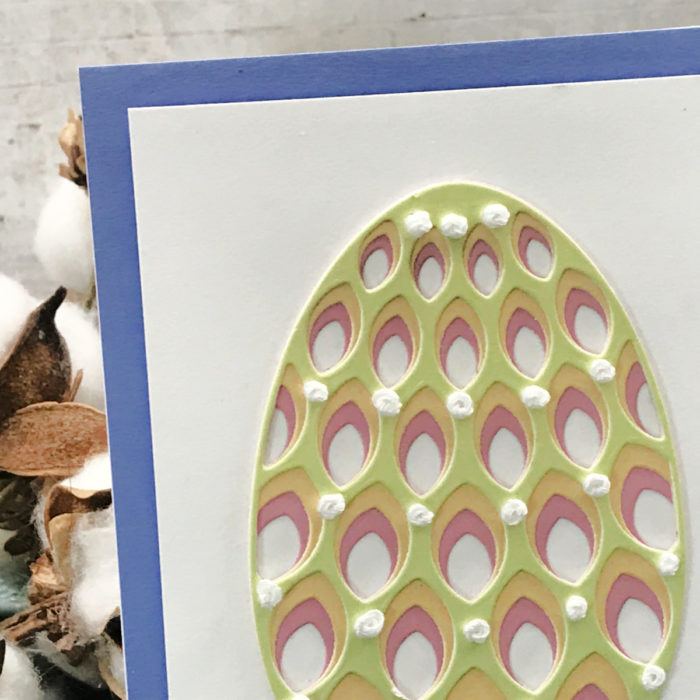
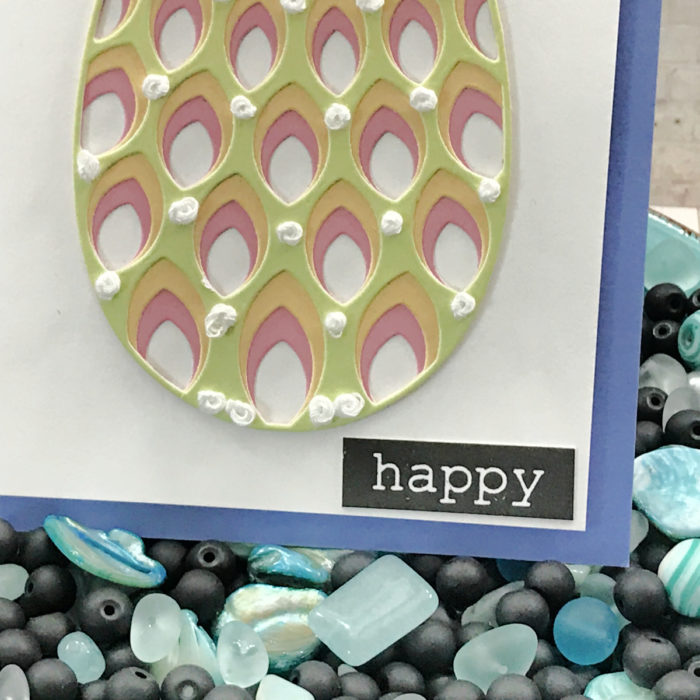
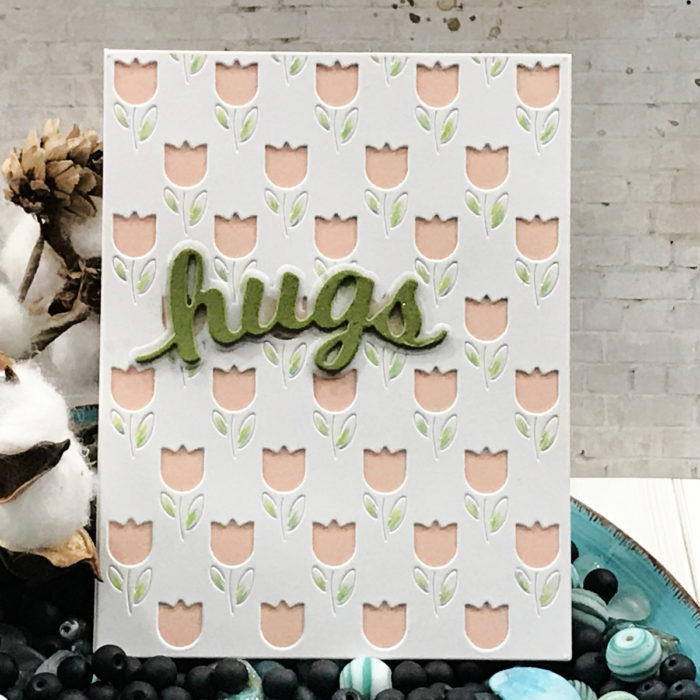
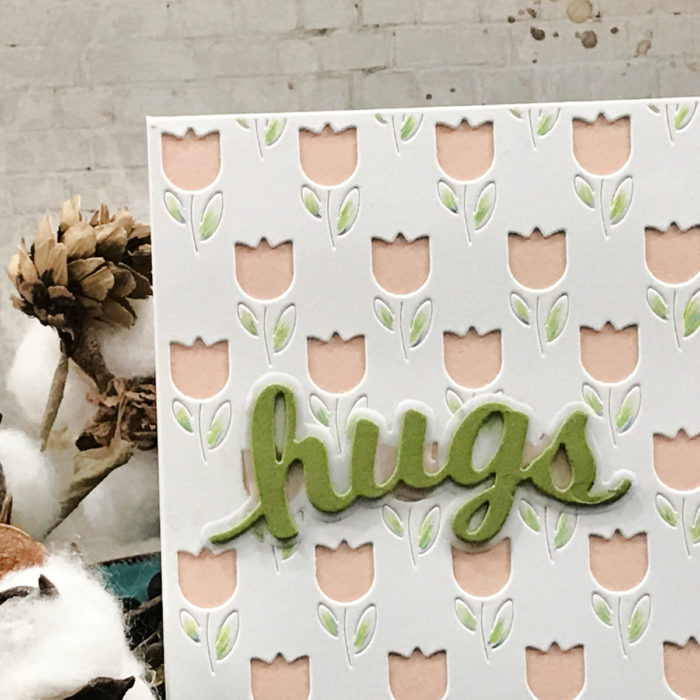
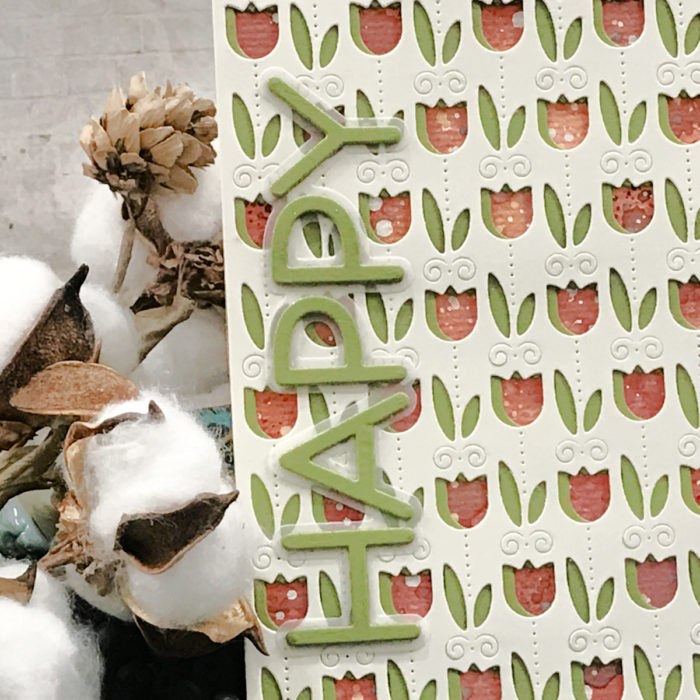
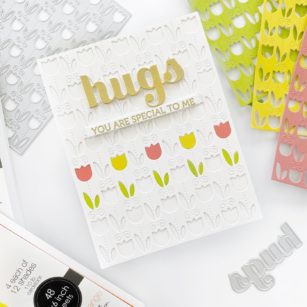
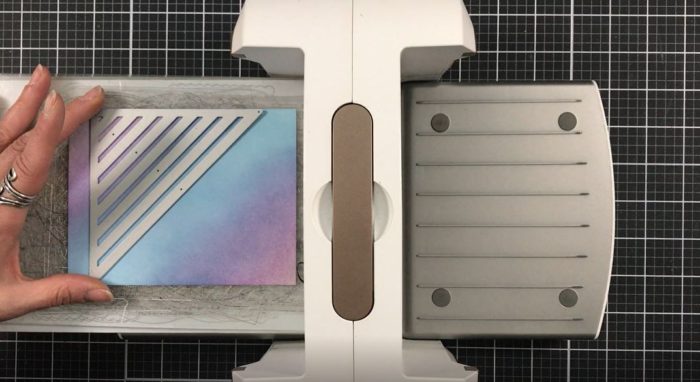
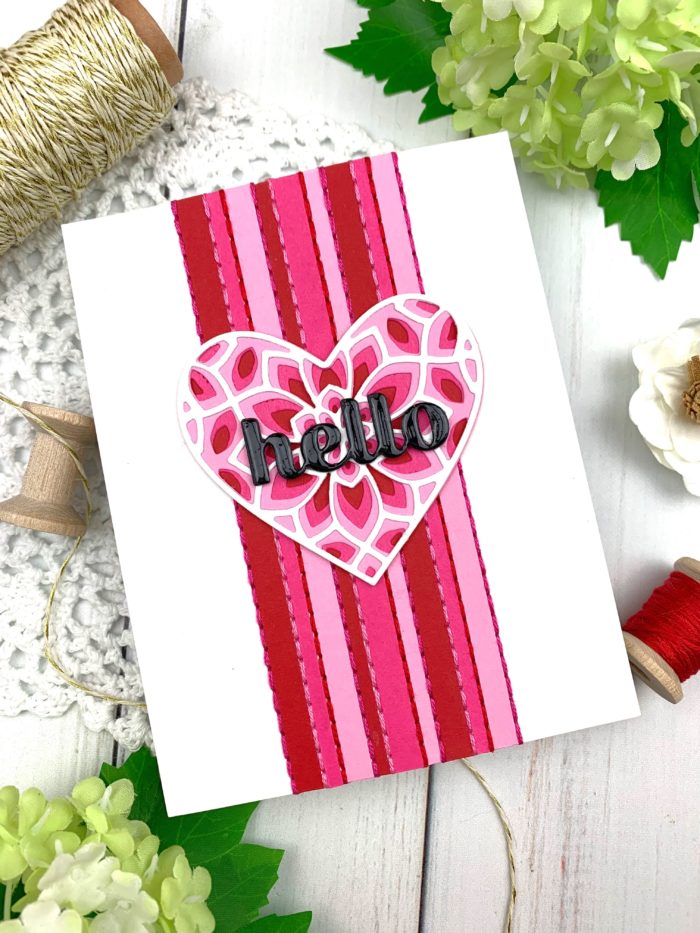
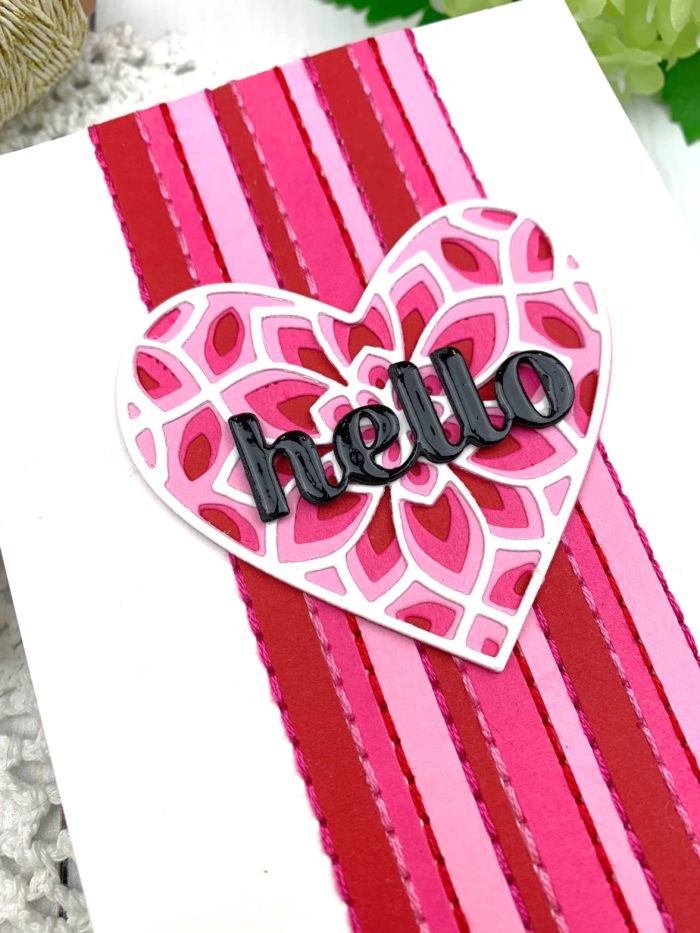
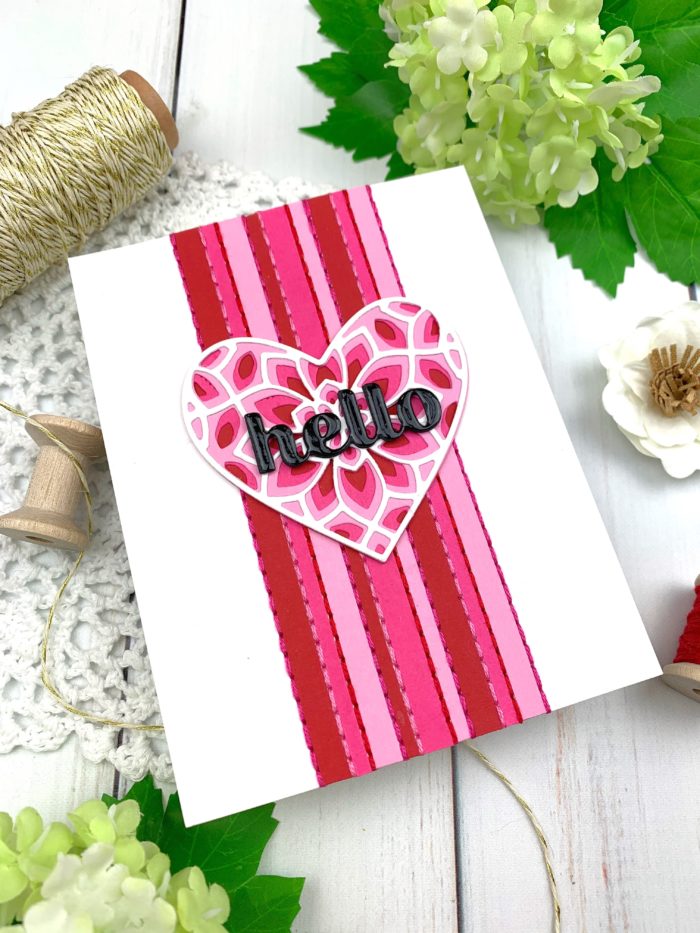
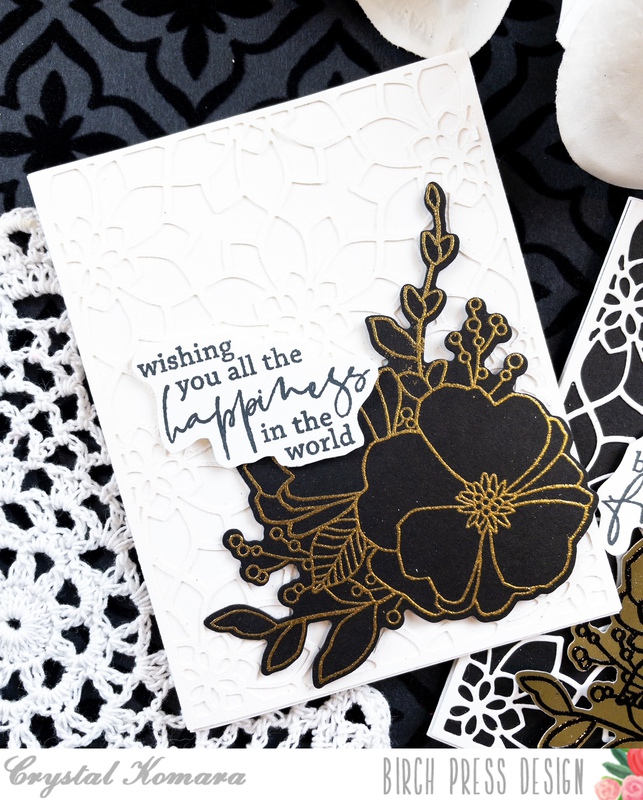
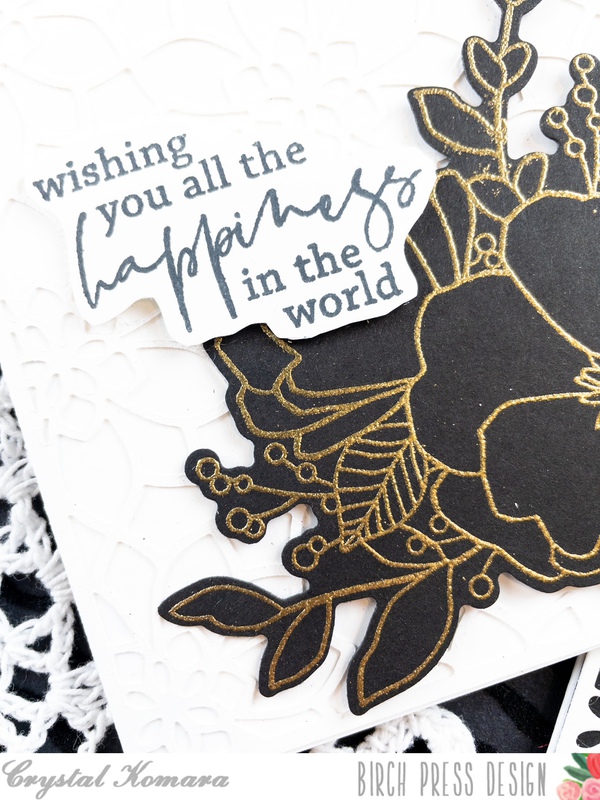
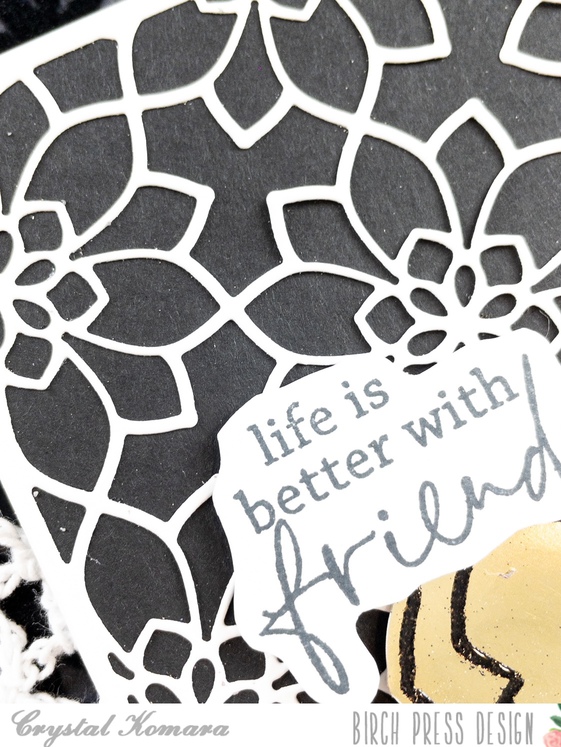
The base of this A2 sized card was made using 80 lb. Neenah Solar White smooth cardstock. I die cut the first layer from white cardstock using Layer Plate A of the Viola Layering Plate dies. I adhered this intricate layer directly to the card base. Using the All the Happiness stamp set from Memory Box, I stamped the flowers in Versamark ink on black cardstock and heat embossed the image with gold embossing powder. I die cut the flowers using the coordinating All the Happiness dies and adhered it to the lower right side of the card using 3M foam adhesive for added dimension. I stamped the sentiment in Memento Tuxedo black ink on white cardstock and fussy cut the sentiment. I adhered the sentiment to the top left of the flowers.
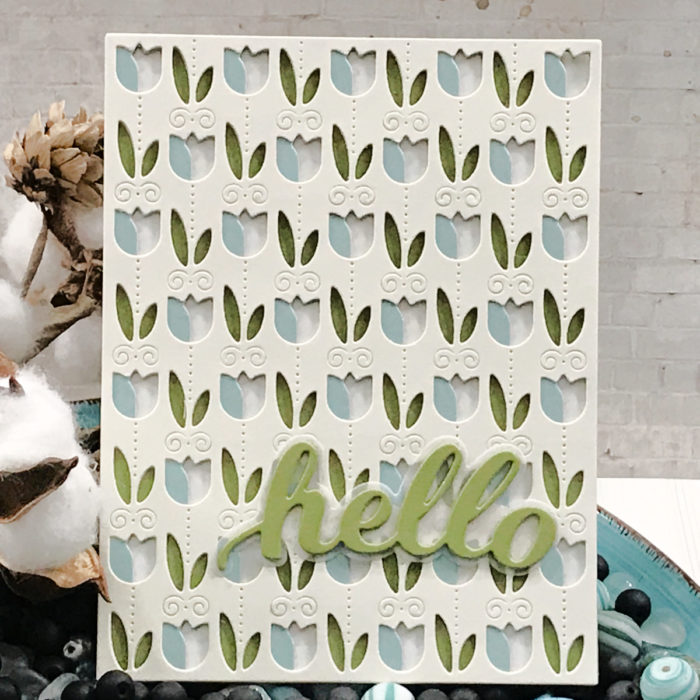
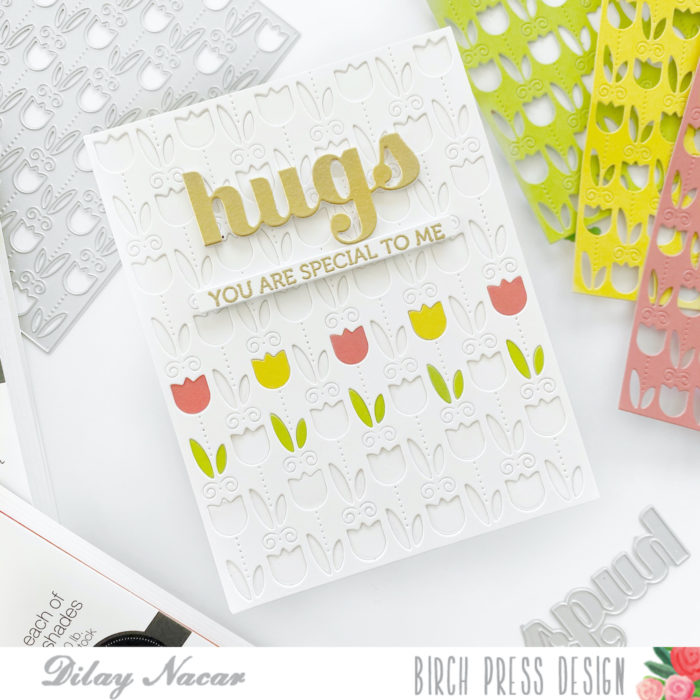
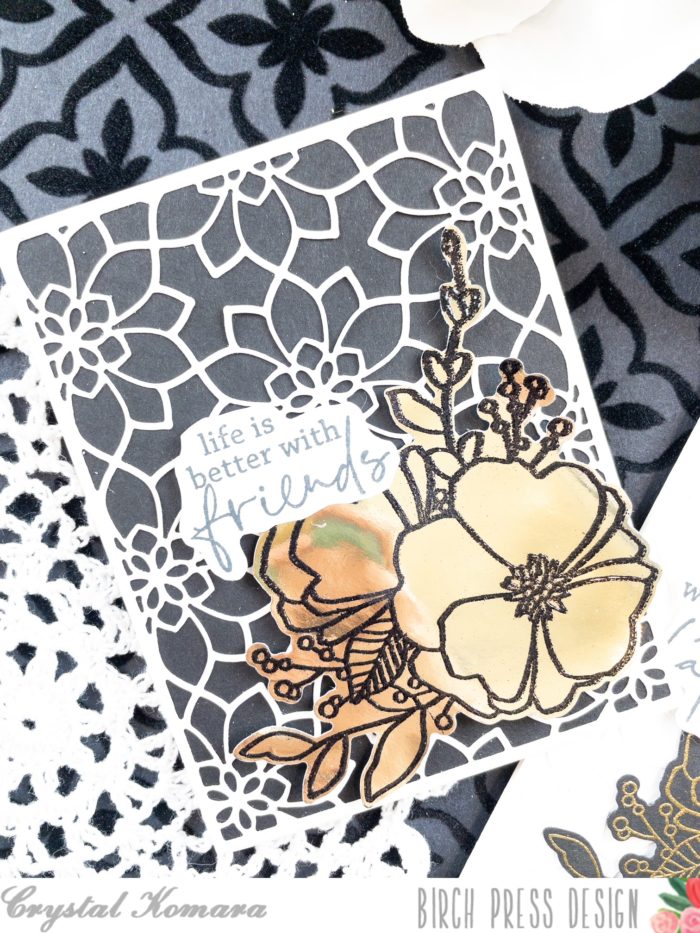
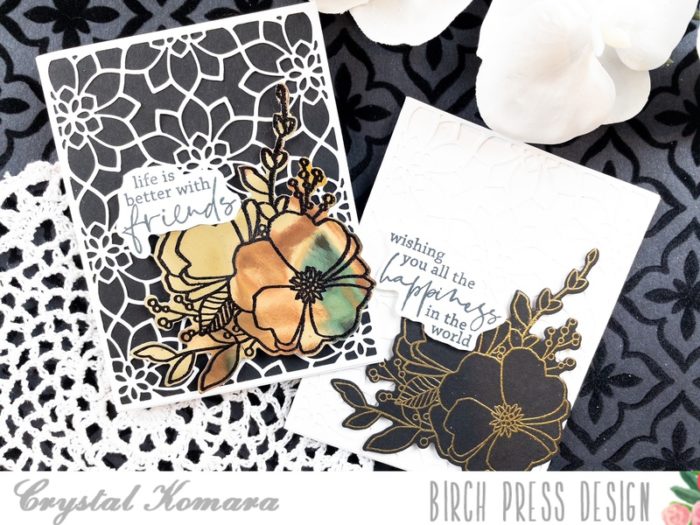
Here is the second card that I made using the same products, but a slightly different color combination:
Card details:
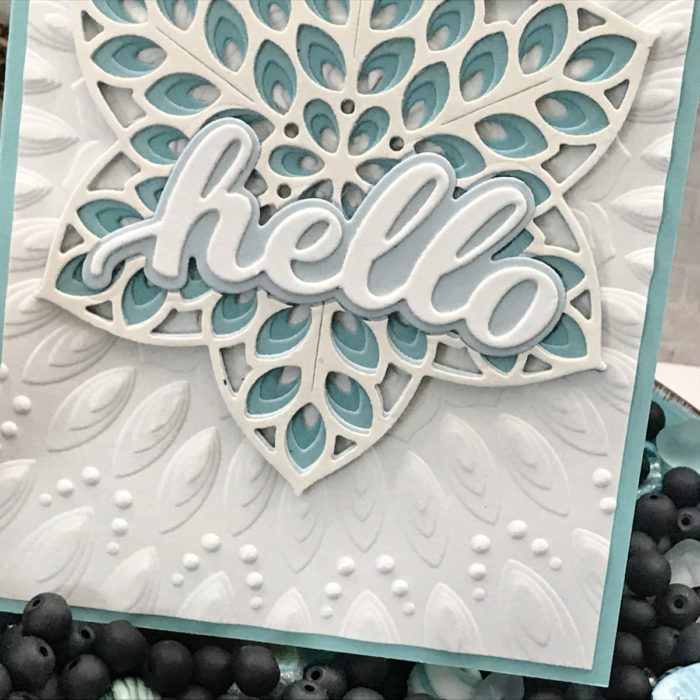
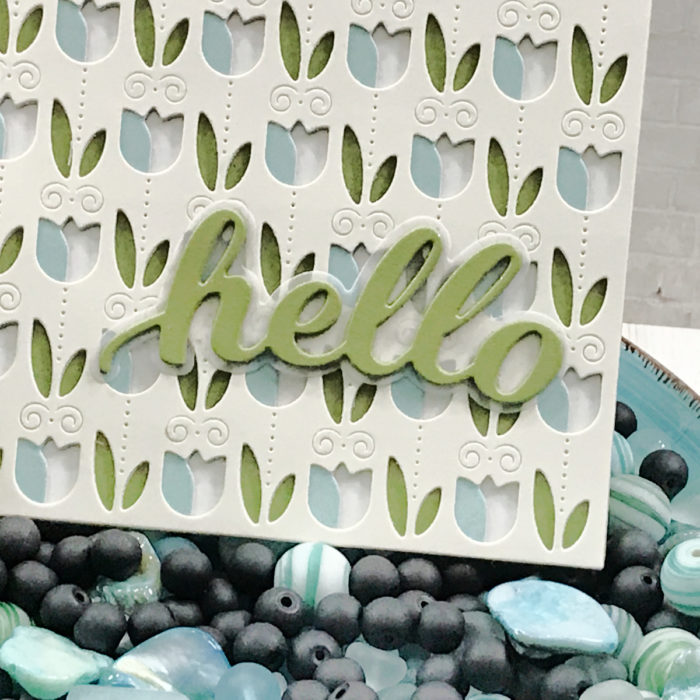
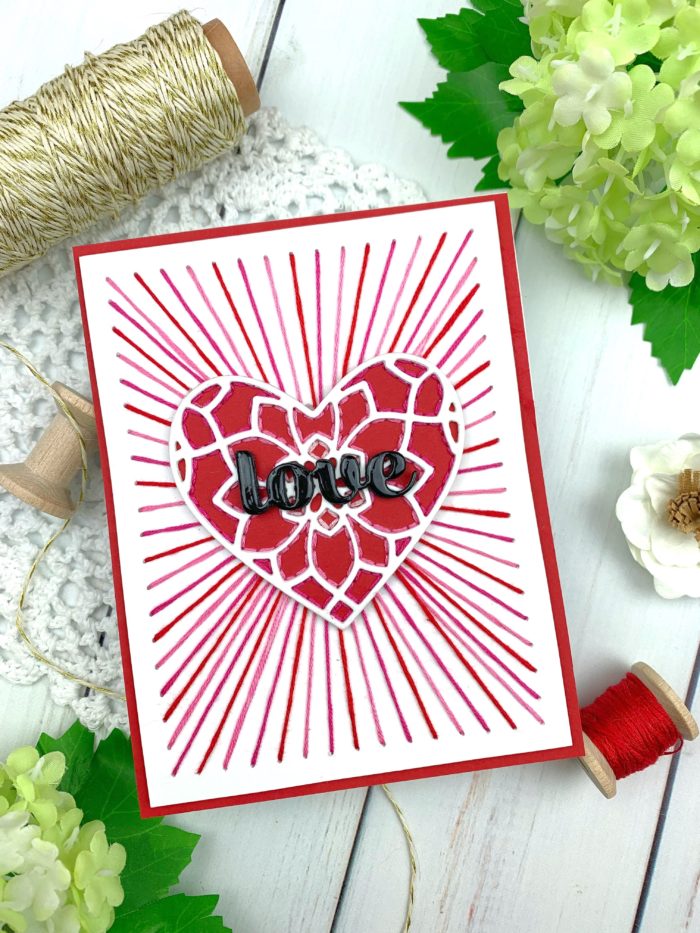
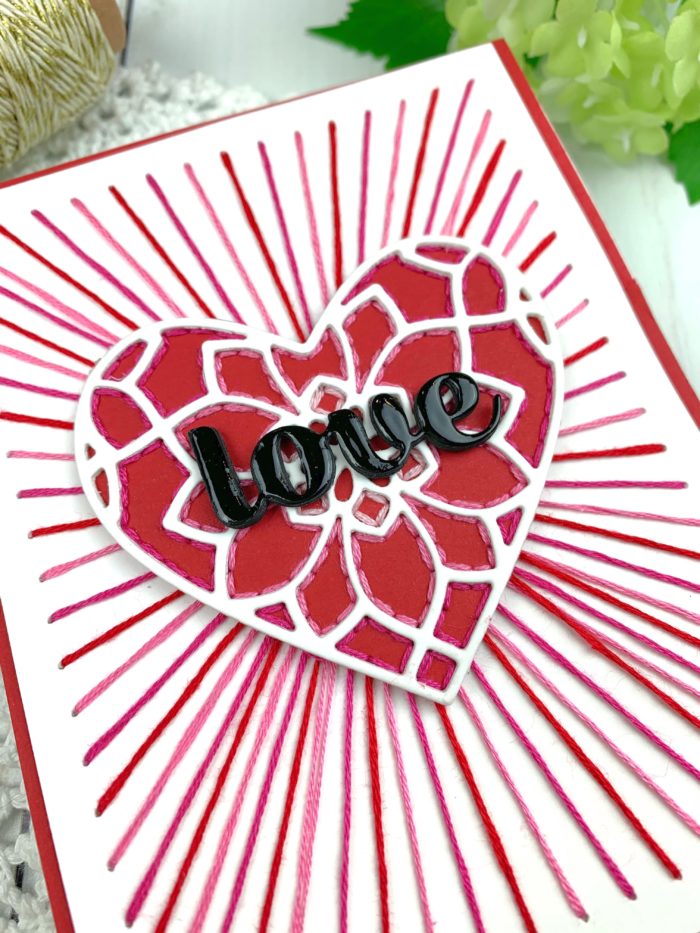
The base of this A2 sized card is made from 80 lb. Neenah Solar White smooth cardstock. I cut a 5 1/2″ x 4 1/2″ piece of black cardstock and adhered it directly to the card base. Using Layer Plate A of the Viola Layering Plates, I die cut this layer from white cardstock. I adhered this intricate layer directly over the black cardstock. Using the All the Happiness stamp set, I stamped the flowers in Versamark ink on gold foil paper. I heat embossed the image with black embossing powder and used the coordinating All the Happiness dies to die cut the flowers out. I adhered the flowers to the lower right side of the card using 3M foam adhesive for added dimension. I stamped the sentiment in Memento Tuxedo black ink on white cardstock and fussy cut the sentiment. I adhered the sentiment to the top left of the flowers.
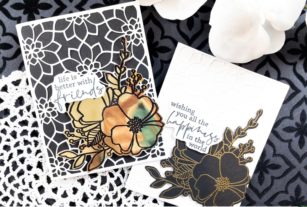
I hope you have enjoyed today’s elegant black and white cards and that you can see the magic you can create when you combine products. Thank you for visiting and have a wonderfully creative day!

Supplies