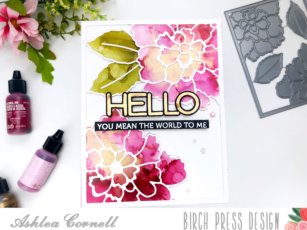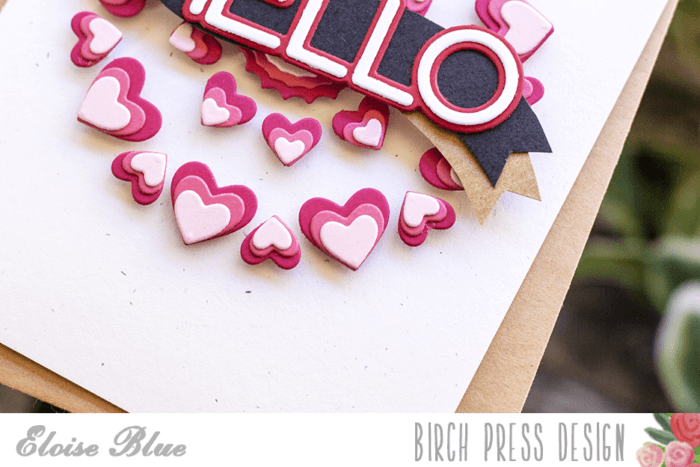

I love layering! I wouldn’t be a part of the Birch Press team if I didn’t. In today’s video, I am looking at all sorts of layering – stamps, dies and stencils and it is so much fun to create these intricate designs.

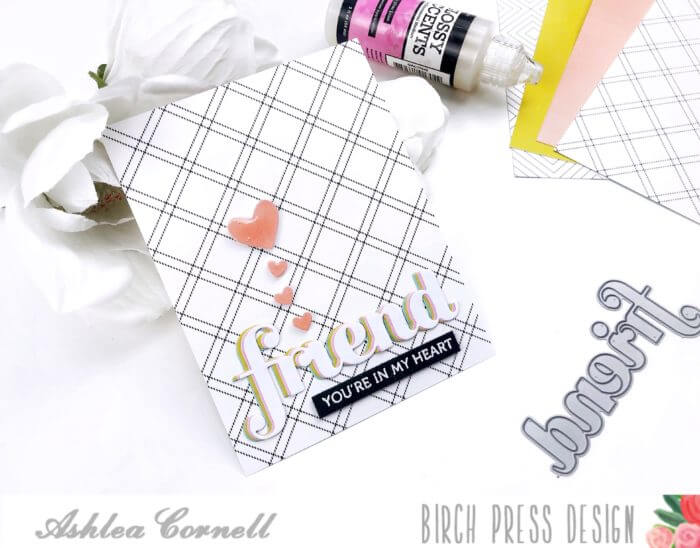
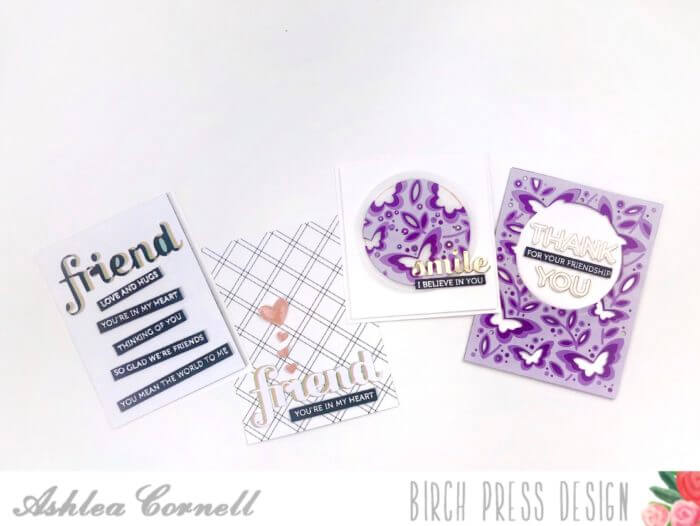
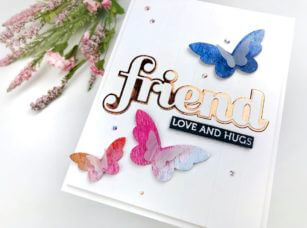
I used the stencils from the Shining Mandala Stamps and Stencils to create this super fun background in a variety of shades of pink. I topped it off with the Friend die and added a small stamp underneath which is embossed in white on black cardstock.

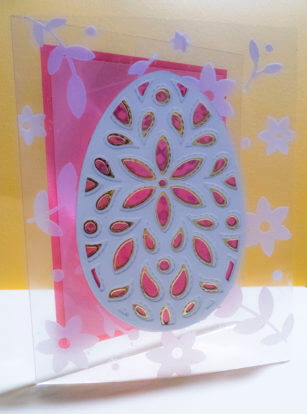
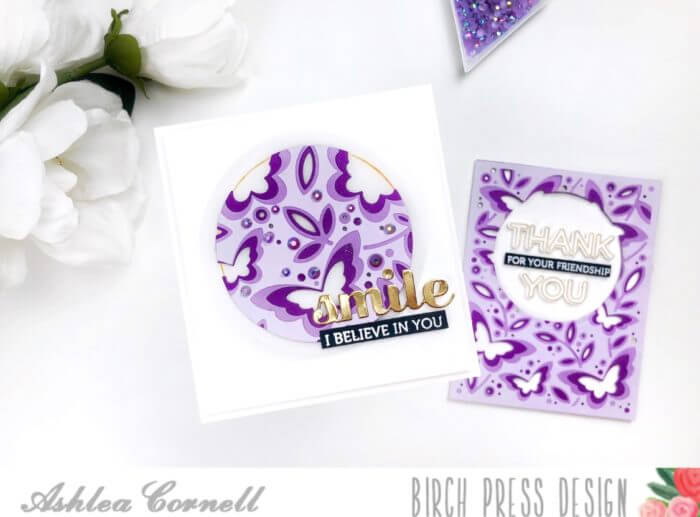
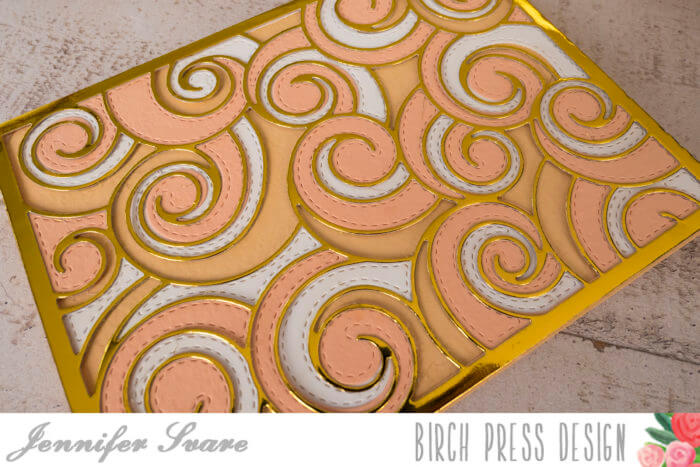
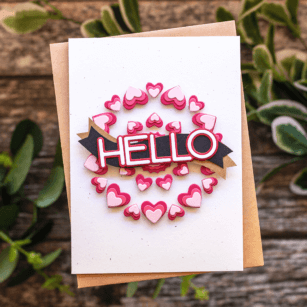
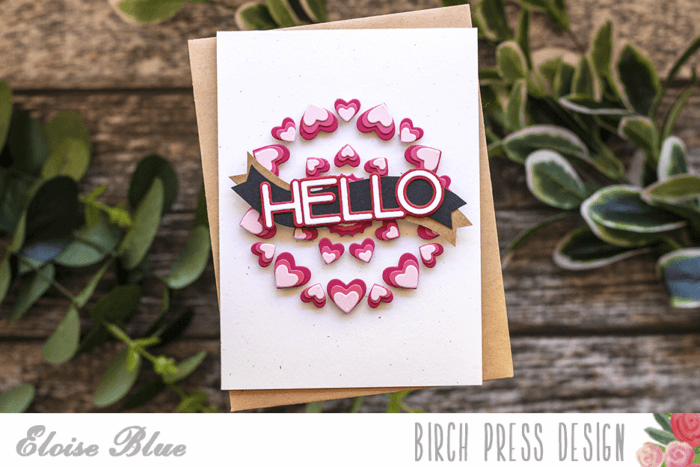
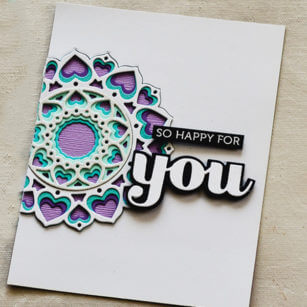
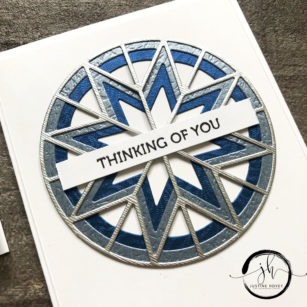
These two cards, I tried something I’ve never done before and I used all the pieces from my die cut – the pieces that were intended to be cut out as well as all those little pieces that fall out. I arranged them with the help of the frames. I can’t even tell which card I love more!

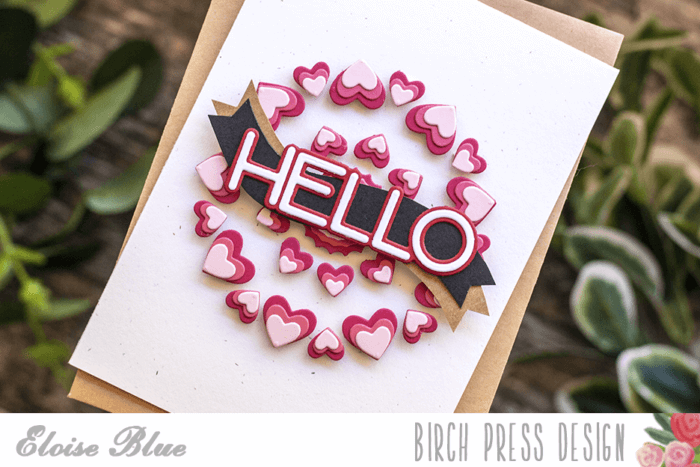
The card above is made with all the pieces that I would normally have thrown in the garbage. I didn’t use every single layer but enough of them to get enough contrast.

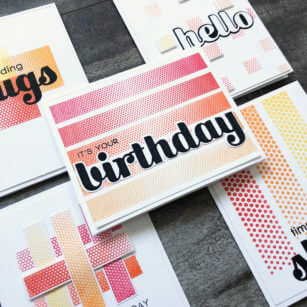
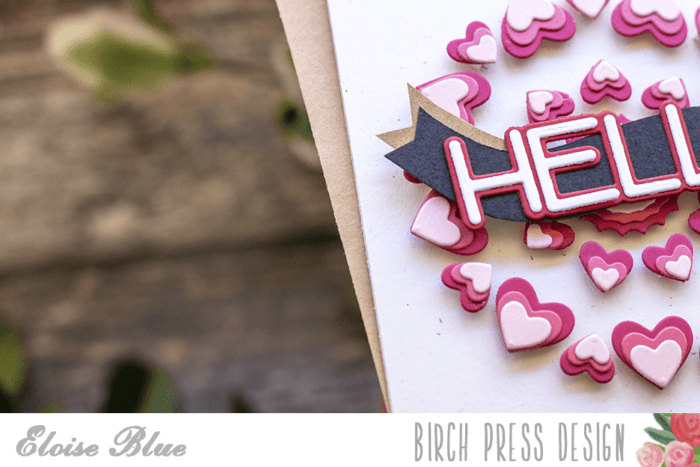
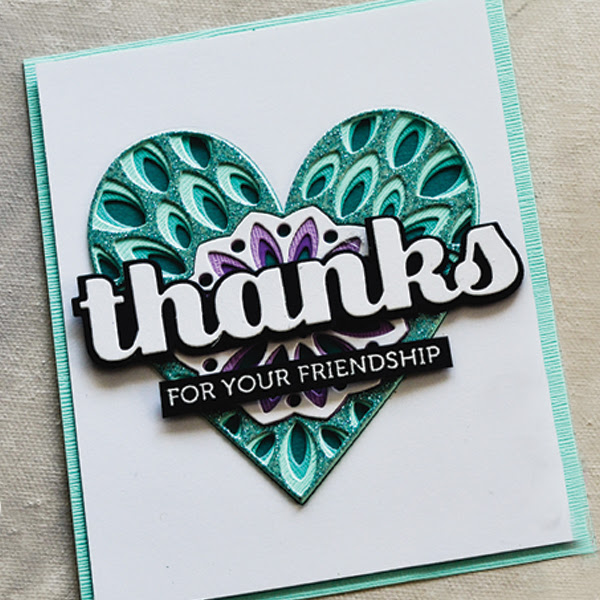
This is what the card looks like by layering the standard dies. You can see all those holes where I got the pieces from for the previous card.

Supplies