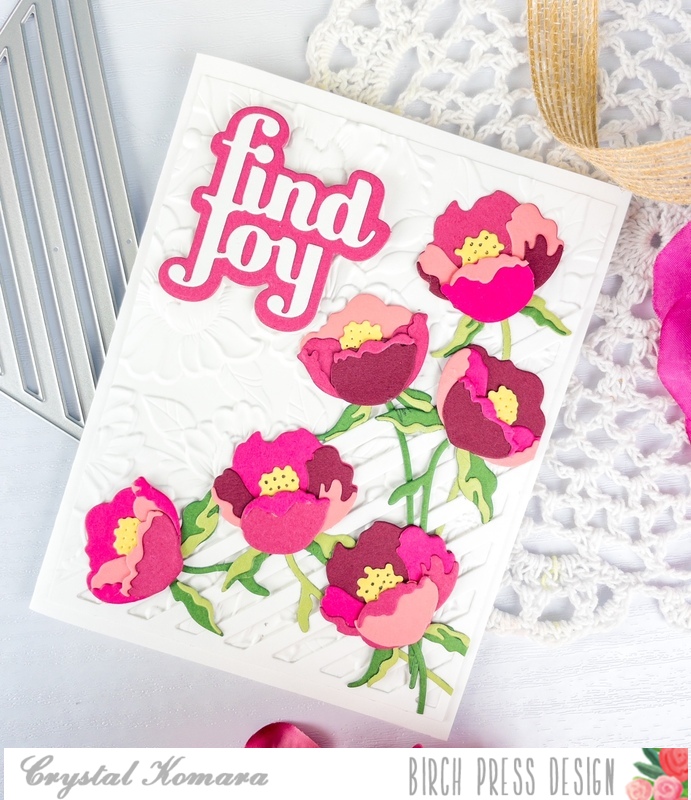
Hello Birch Press Friends, I am super excited to be back up on the Birch Press Designs blog today! Today’s card features a few floral dies from the latest collection. I had a lot of fun creating today’s card, so let’s get started!

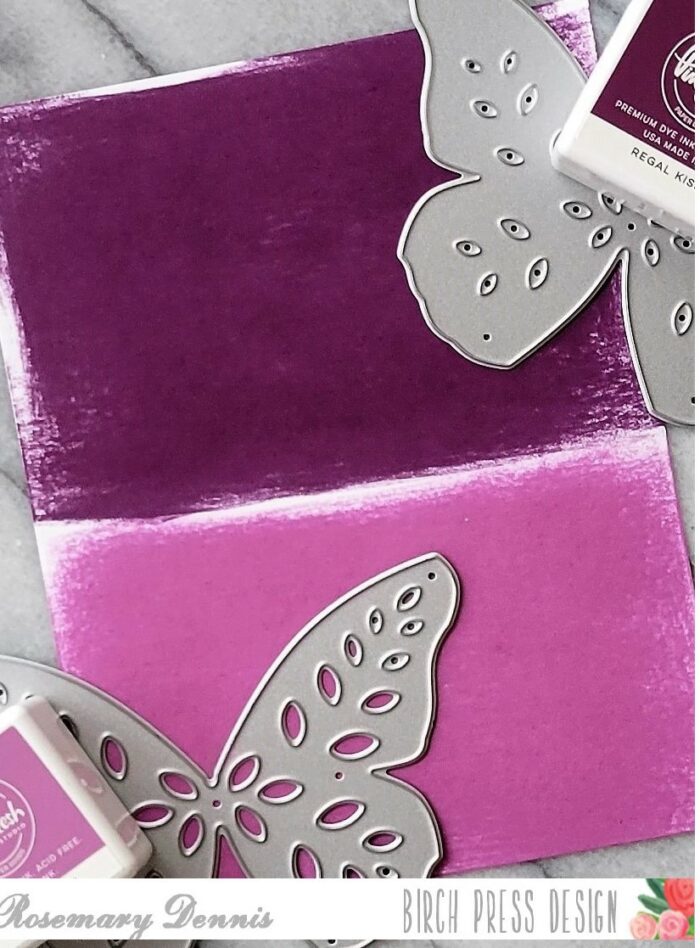
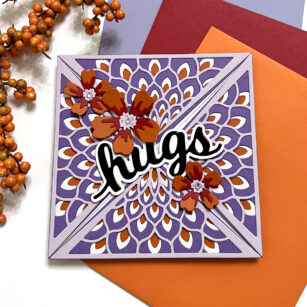
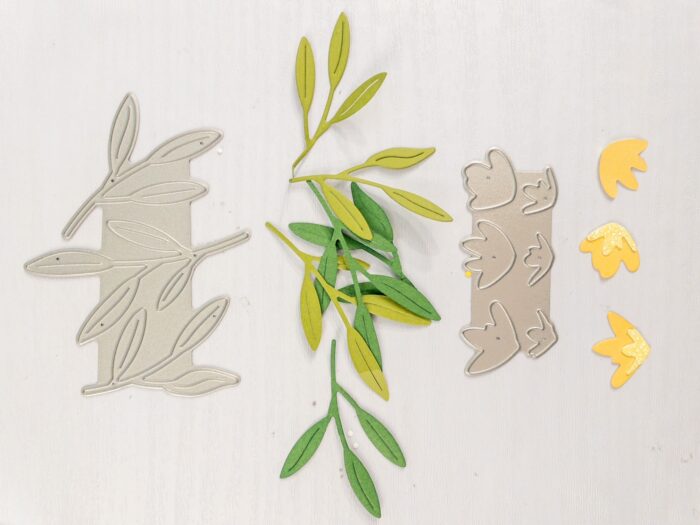
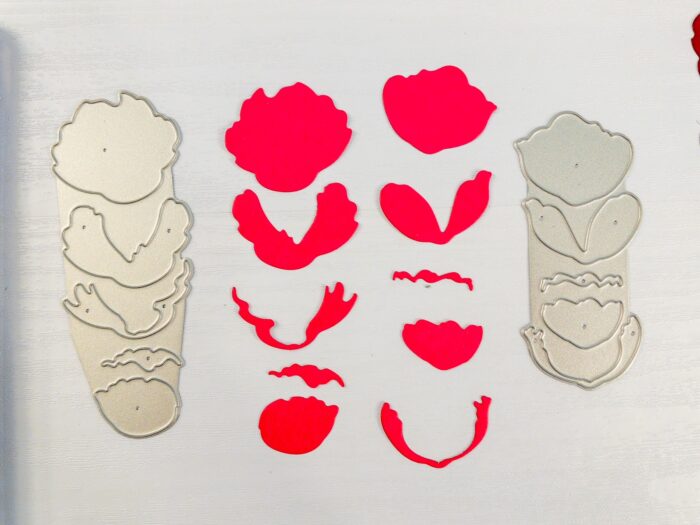
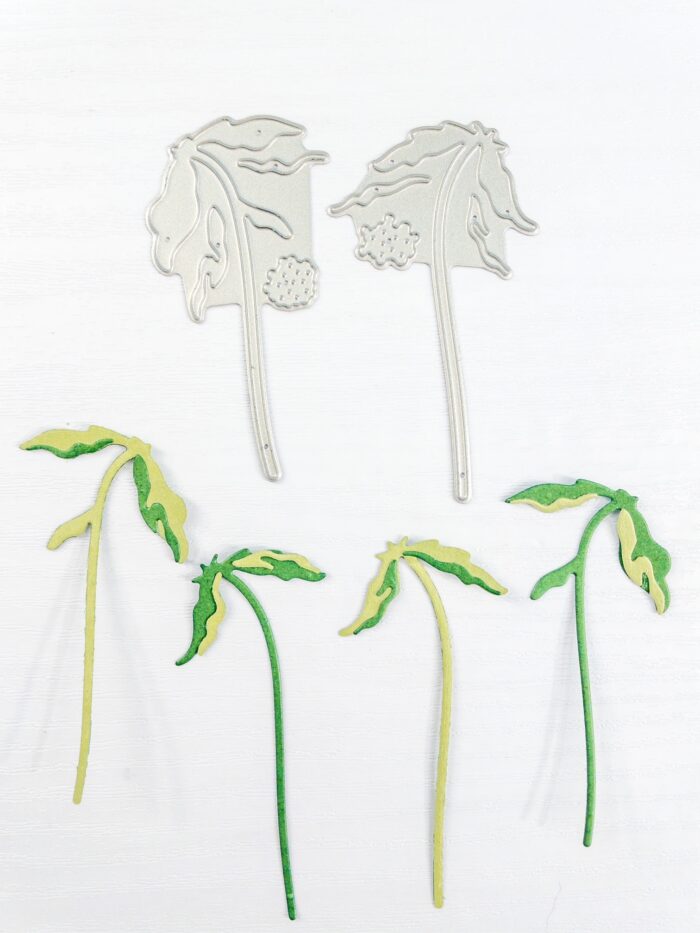
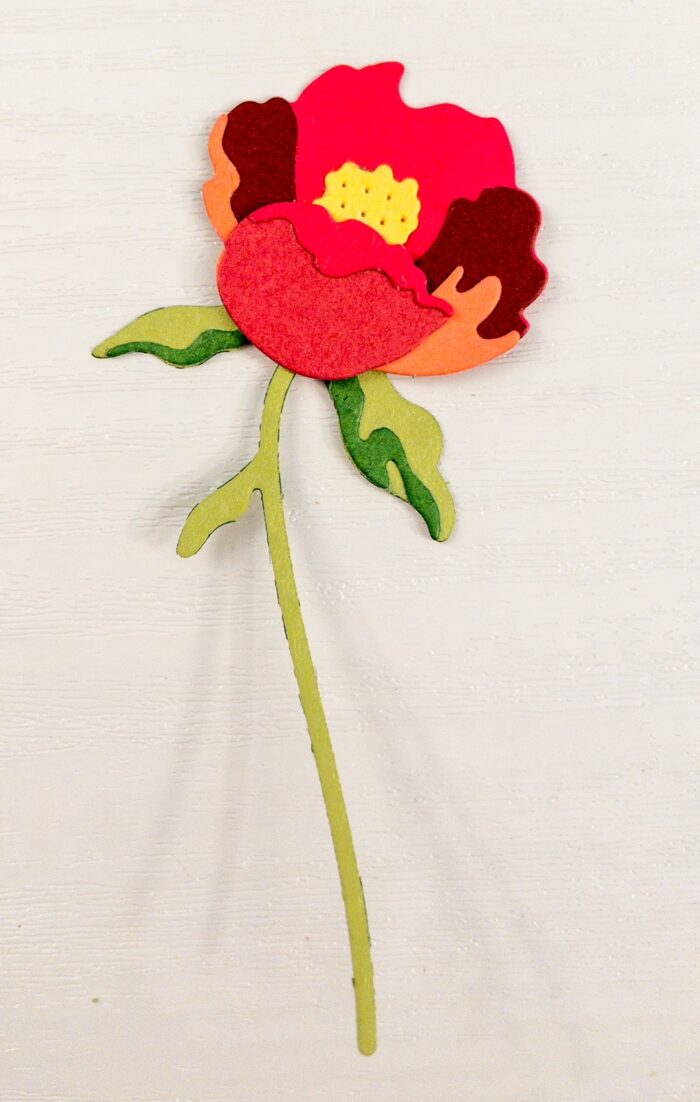
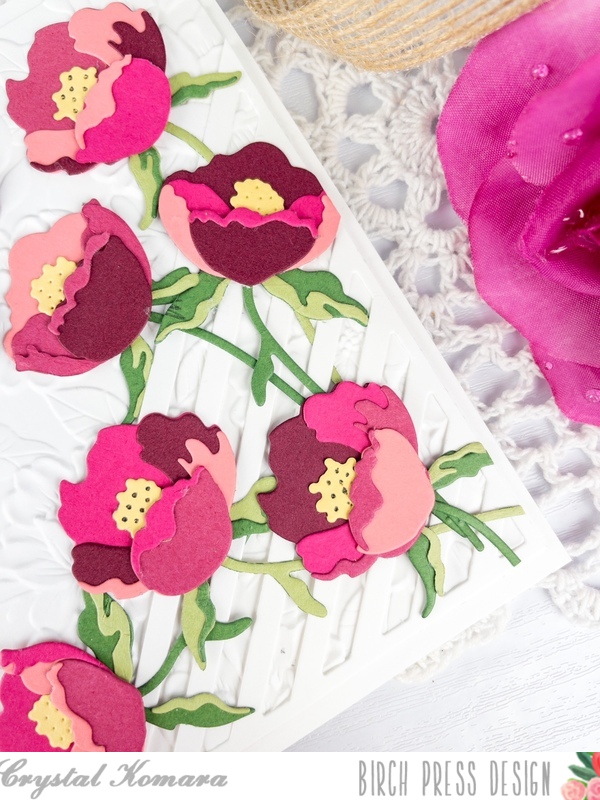
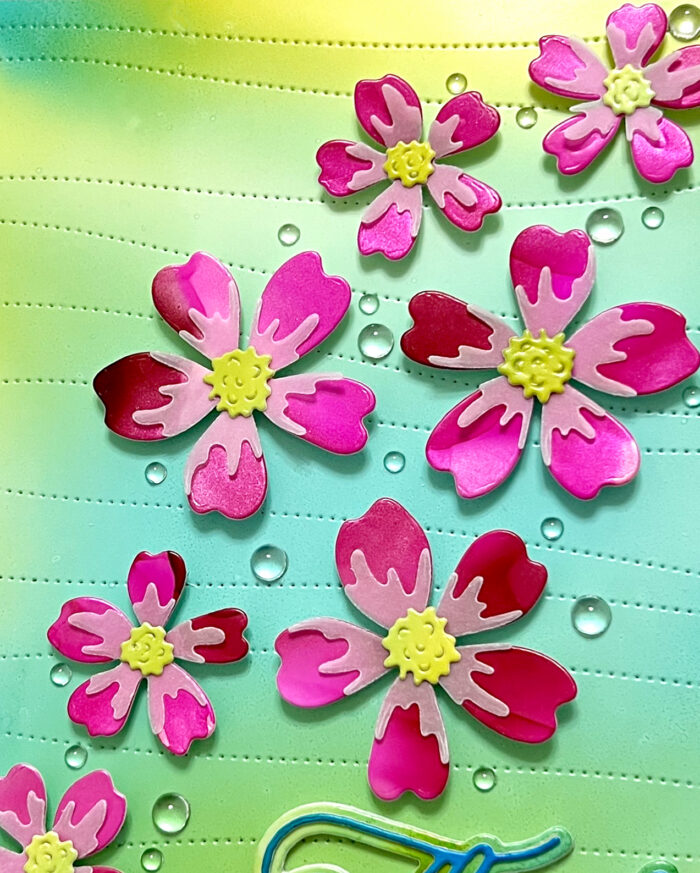
For today’s card I started with 4 die collections and 2 pads of colored card stock from Memory Box. I am using the Phlox Blooms and Leaves Contour Layers, Mixed Berry Contour Layers, Delicate Floral Buds Contour Layers, and the Sylvan Berries and Leaves Contour Layers. I used 2 pads from Memory Box: Berry Red and Lush Green. I love these pads of paper! The colors are amazing and they die cut beautifully and they are super easy to add ink blending on top as well! From each of the die sets listed above I die cut the leaves and stems using 2 shades of green paper from the Lush Green pad. Then for the floral dies (shared above) I used 2 shades of pink from the Berry Red paper pad.

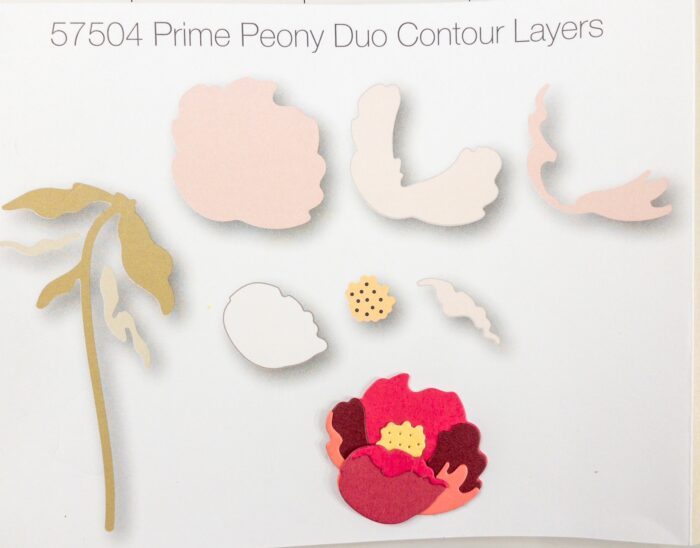
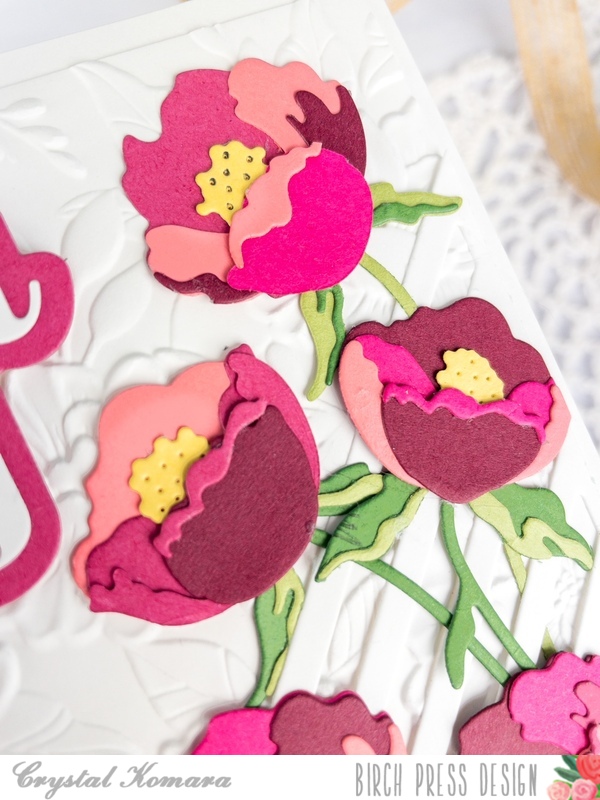
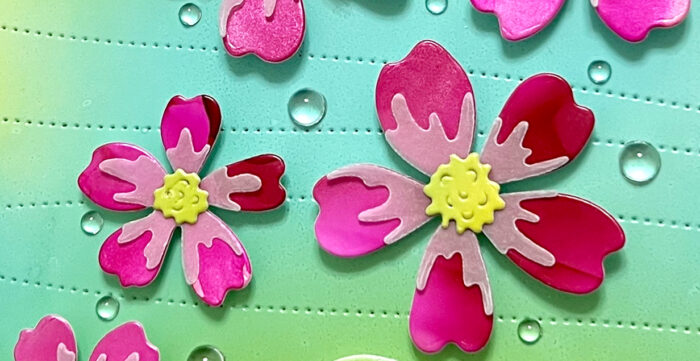
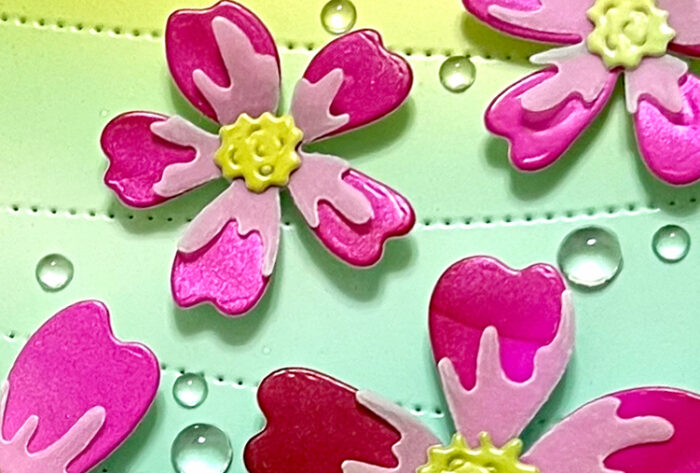
After my leaves and florals were all die cut I laid them out on my ink blending mat. For the green die cuts I used a combination of a light and green dye ink. On the pink layers I used a combination of dark pink and a purple dye ink. Once all the inking was completed I added water droplets to add a bit more texture to each piece. I added the water droplets, then picked up the color with a paper towel.

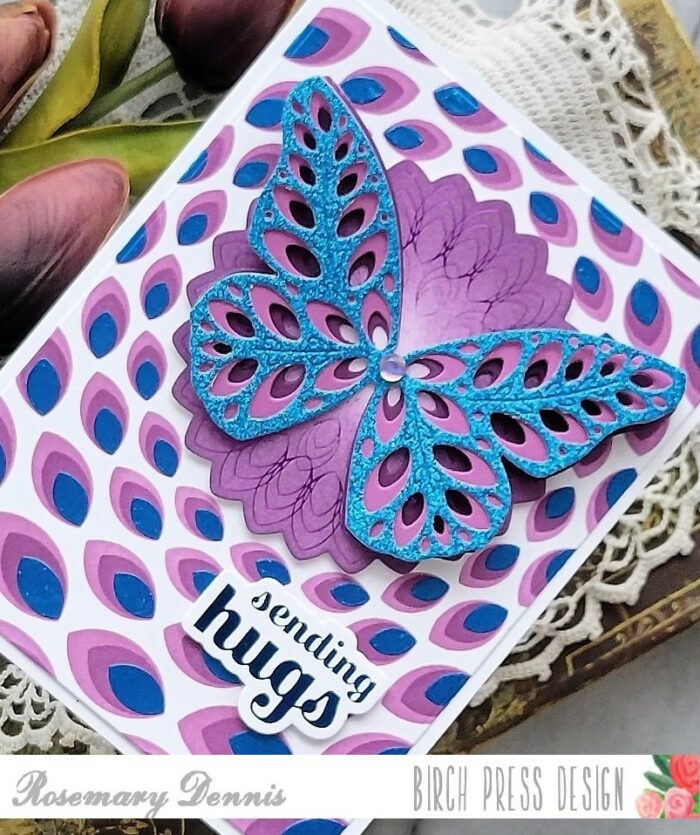
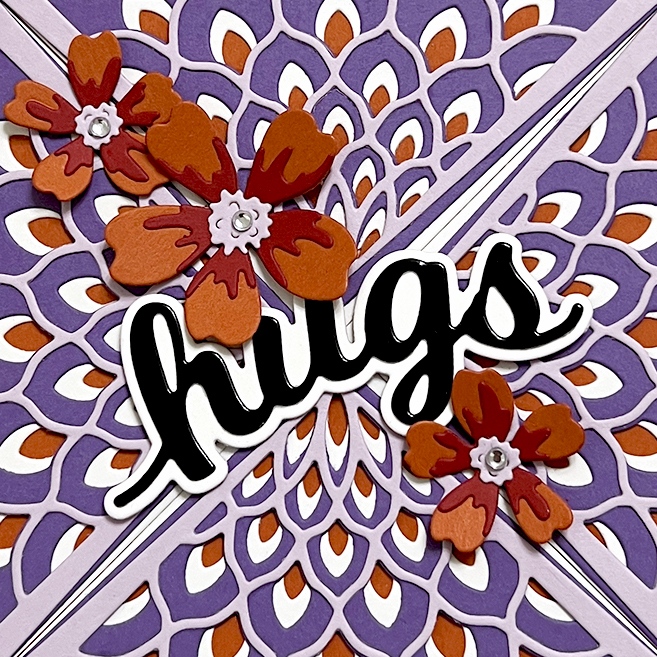
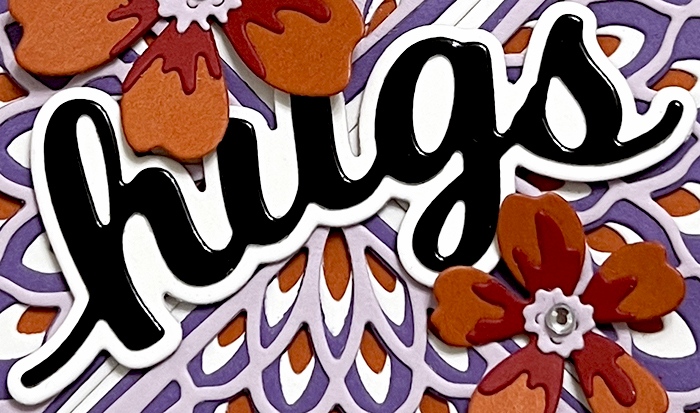
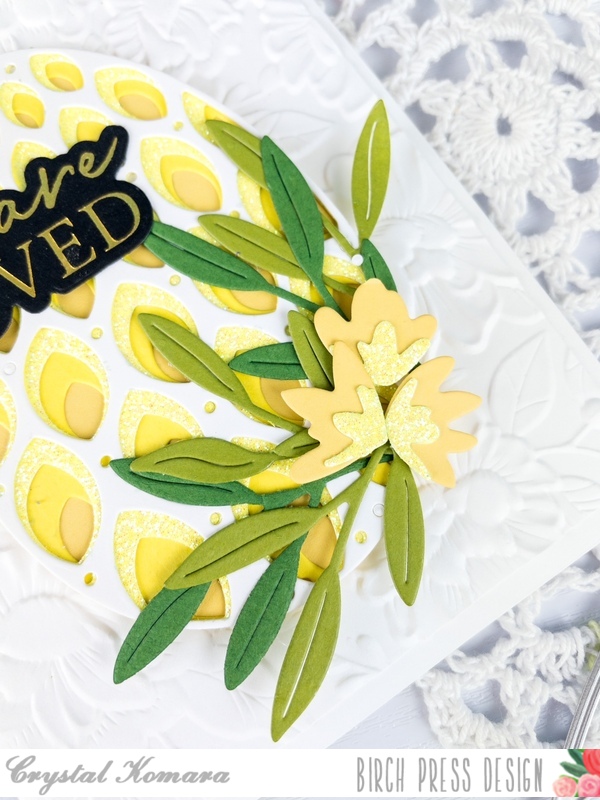
I set each piece aside and allowed them to dry. Once dry I adhered the leaves and floral layers together with liquid glue. I then added metallic gold splatters to the flowers. I allowed these to dry.

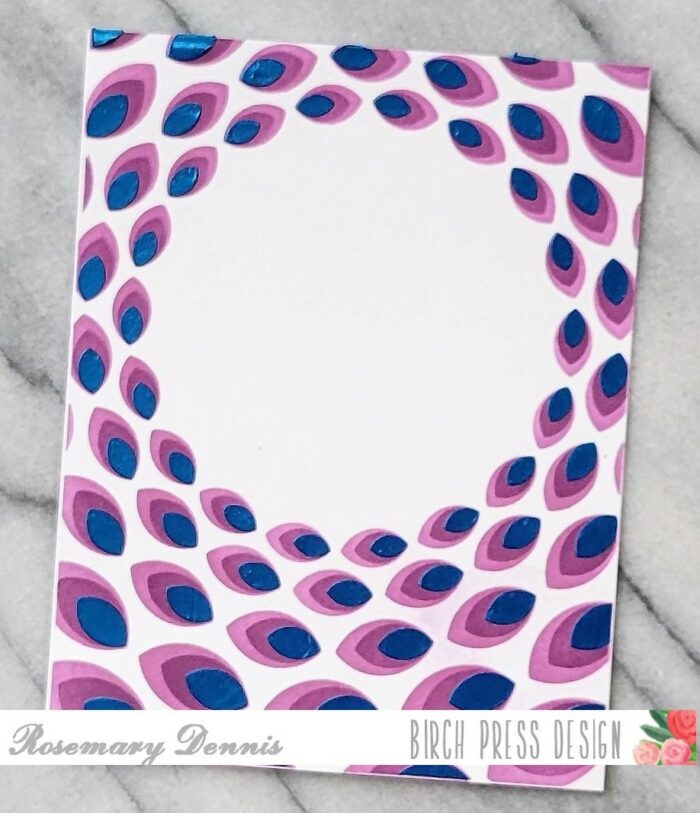
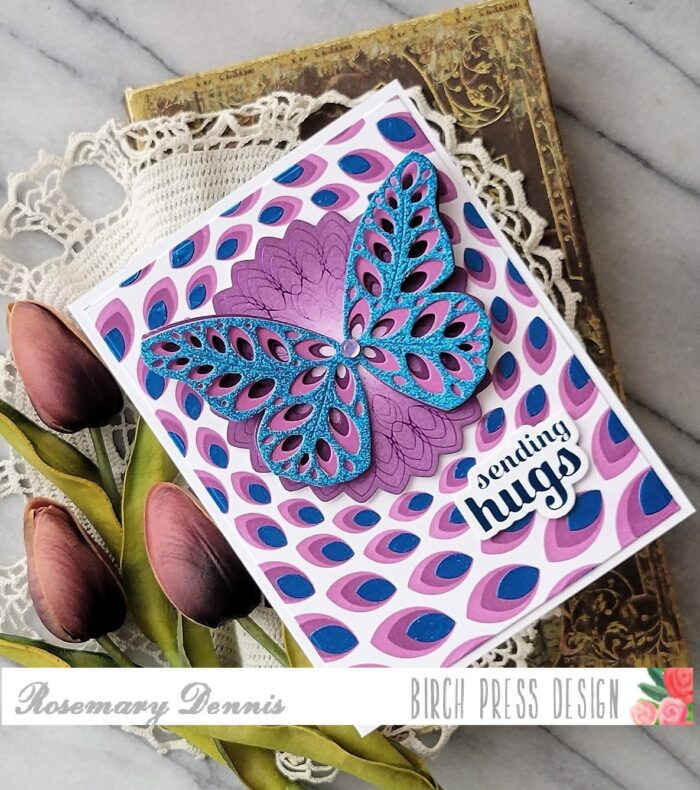
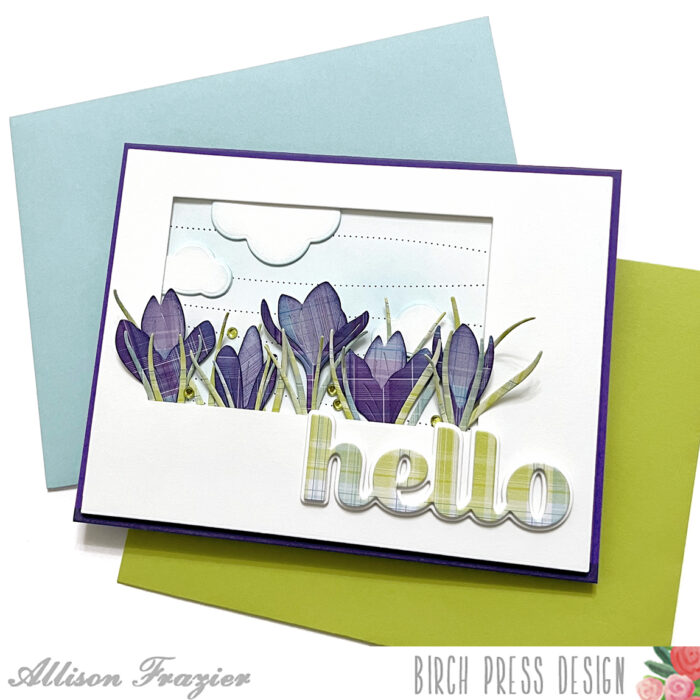
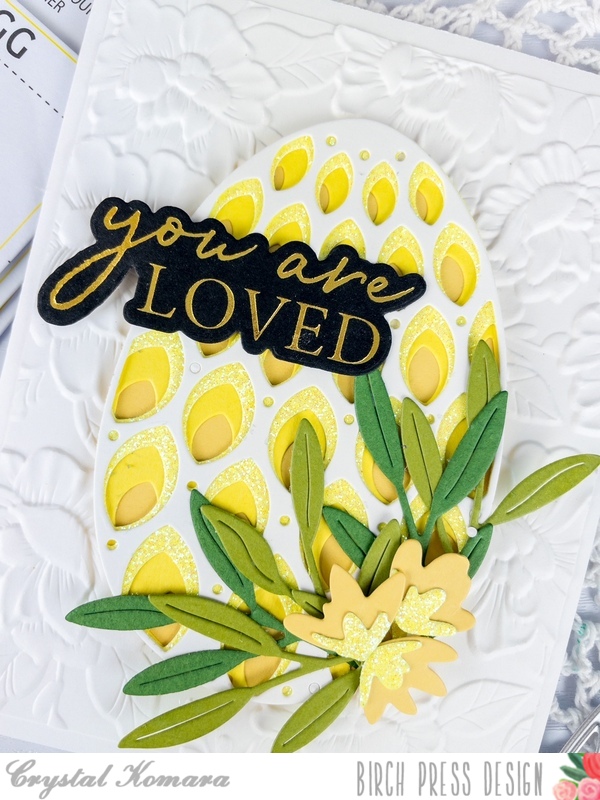
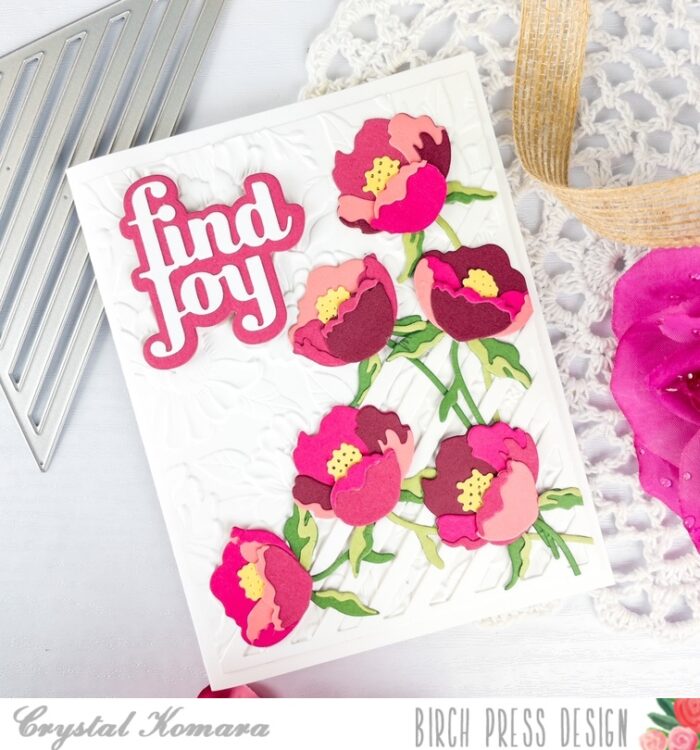
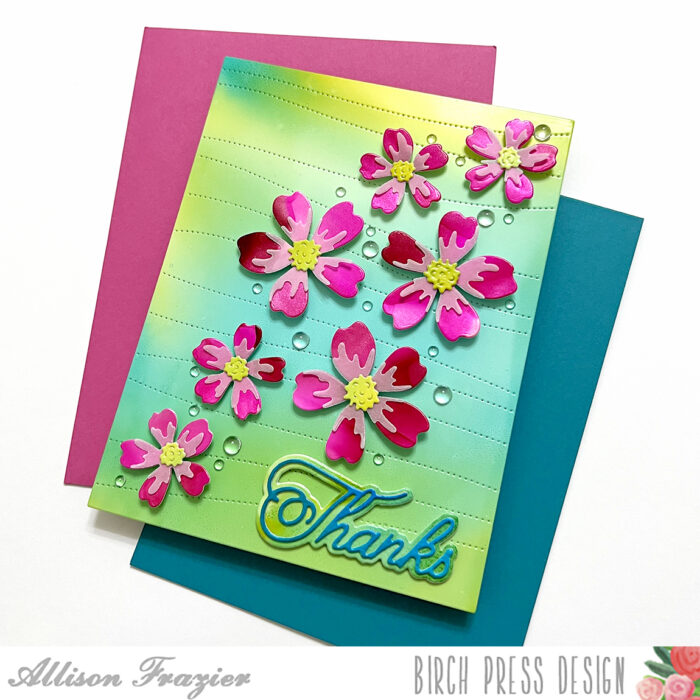
Next I chose a background from my gelli print stash. I trimmed the gelli print panel down, then adhered this to a piece of cream colored cardstock and adhered this to an A2 card base. I then worked on the arrangement for the flowers, stems, and leaves. Once I was happy with the layout I adhered all the layers down using liquid glue and foam tape onto the gelli print background.

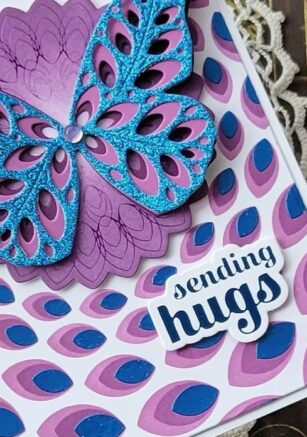
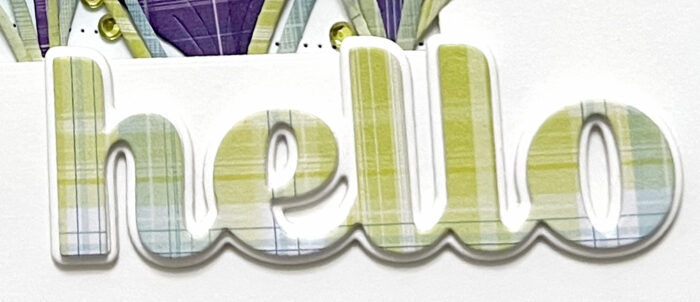
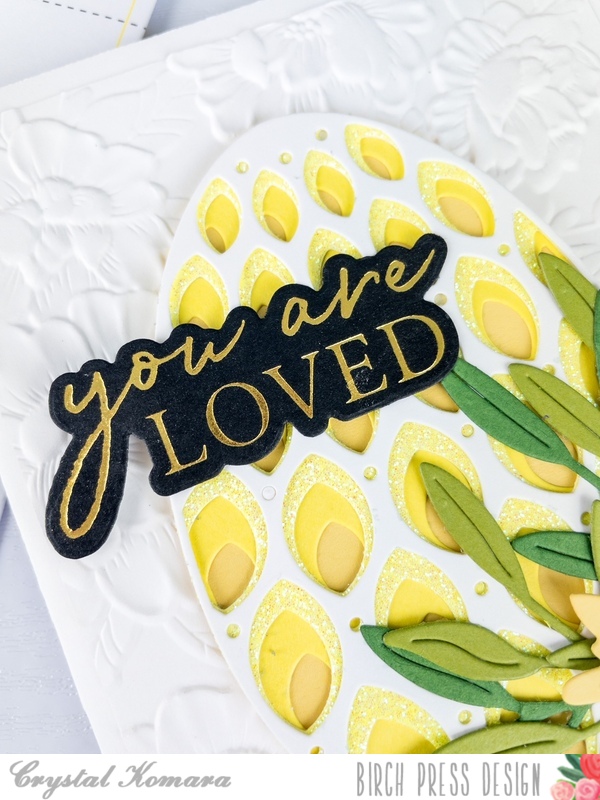
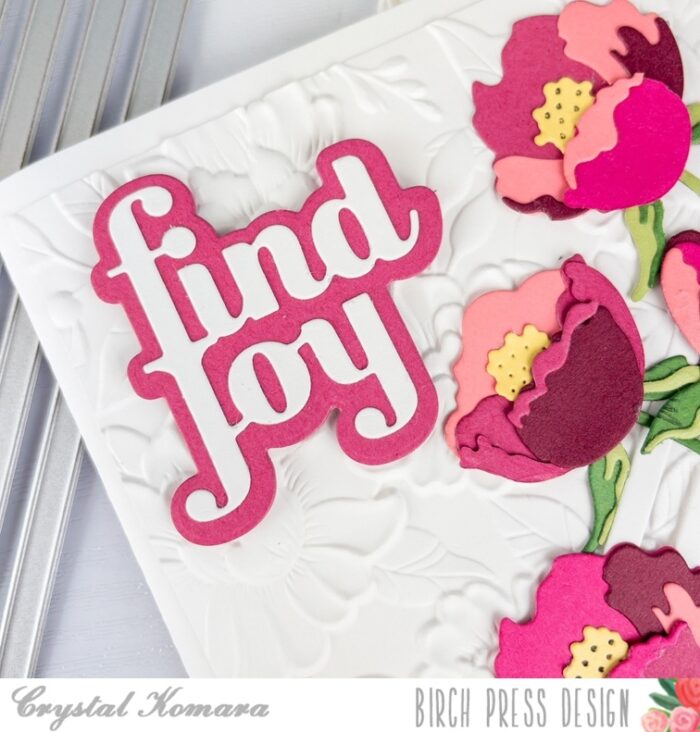
To complete my card I chose to use the foiled sentiment Just a Note from the Sugar Scripts Sentiments 1 die set. I foiled the sentiment then adhered this to my card front using foam adhesive. Finally I added a few Fairy Drops to finish my card.

I had a lot of fun creating today’s card! I hope you like it! I will be back soon to share more crafty inspiration!

Supplies


Supplies