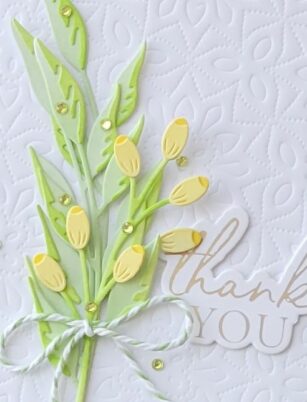
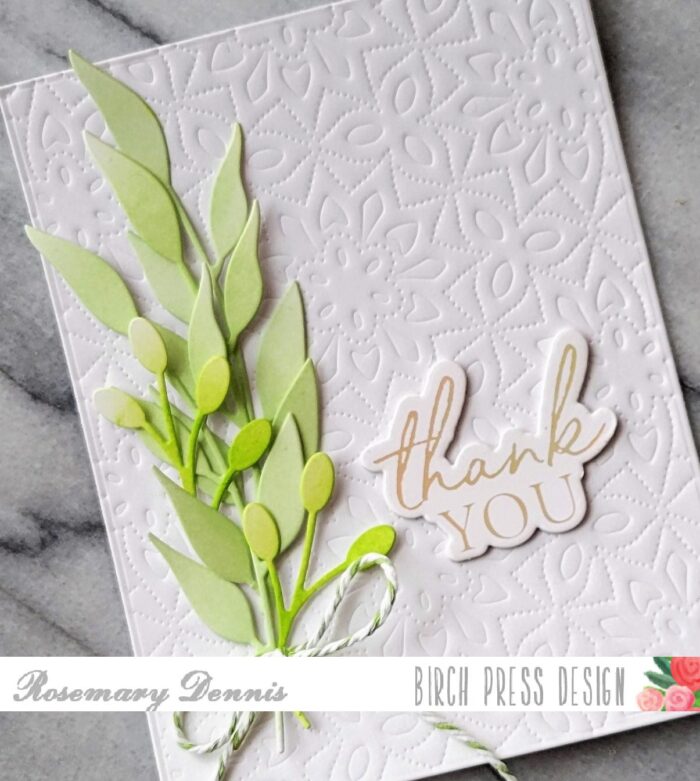
Happy Spring everyone! Today I’m sharing a sweet card showcasing the new Slyvan Berries and Leaves Contour Layers dies and the Thank You Noted Script hot foil plate and die set.
Over my years of crafting I have learned a couple of things that help me when it comes to ink blending on small die cuts. One of those things is that when I die cut the pieces I do not remove them, but flip my cardstock over and add some kind of low tack tape to the back to keep them in place.
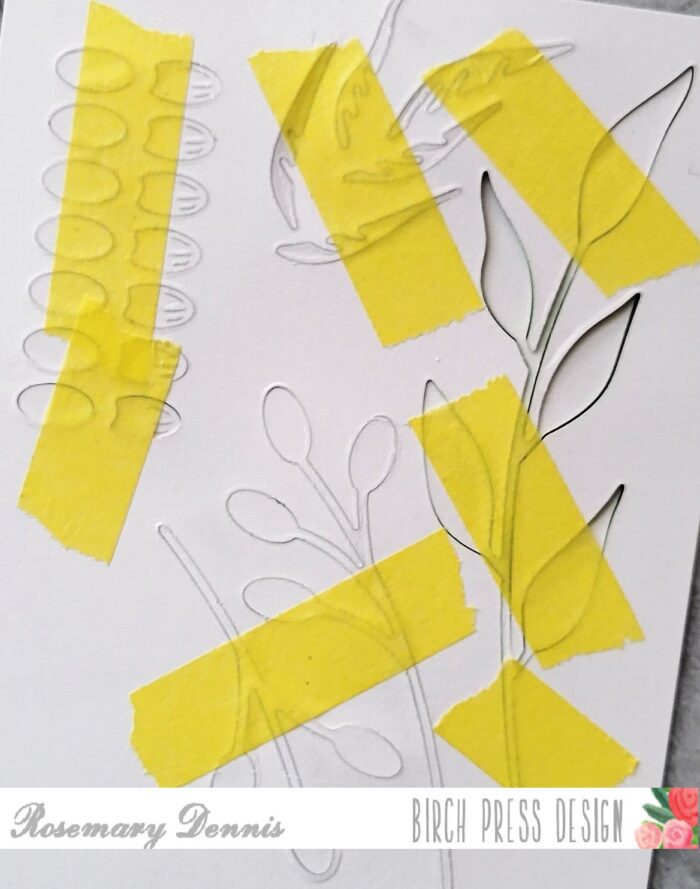
As you can see from the above photo it isn’t very pretty looking, but it is so very helpful in allowing you to ink up those small pieces. The next photo shows some of the inking and masking that i did on the die cut cardstock.
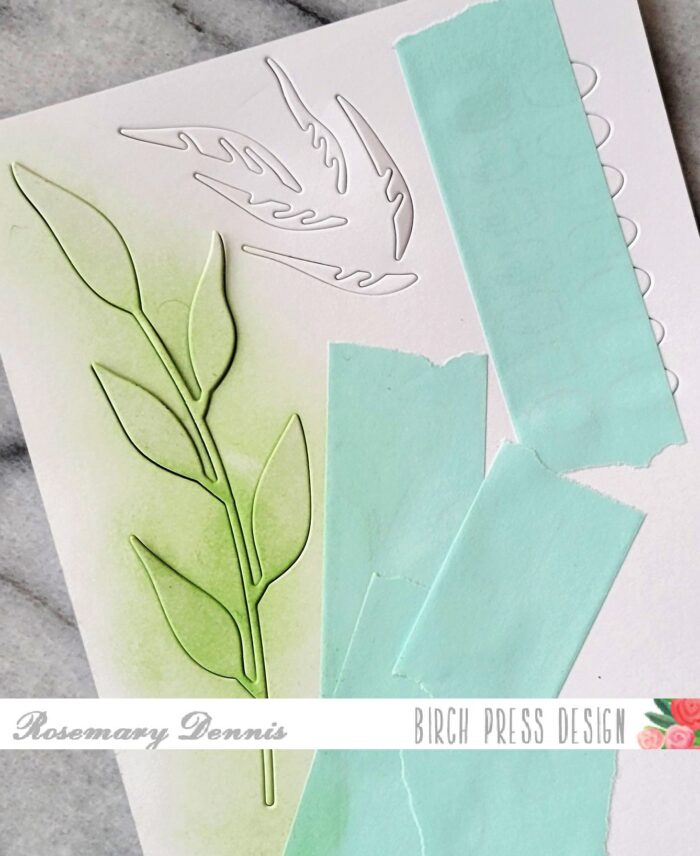
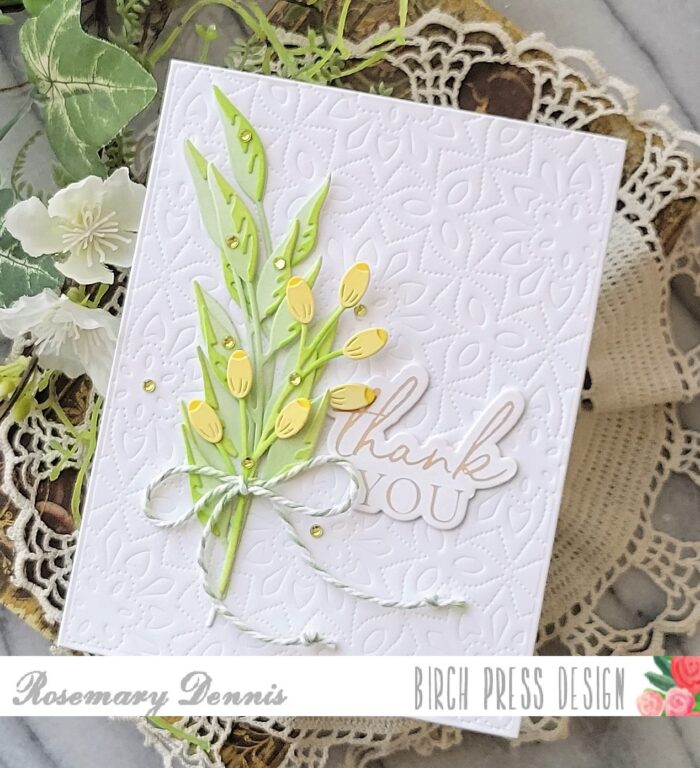
Using this method also allows you to be able to add more ink in some areas and less in others. I wanted the very top leave on the sprig to not have alot of ink and I was able to do that by keeping the die cut in place. I used two shades of light green ink for the leaves and two shades of yellow for the berries. For a bit of contrast I used a brighter green for the stems of the berry sprigs. After I inked up all the pieces to my liking I removed them from the cardstock and got to working out the placement of all of the elements. As I was working this out I decided that I wanted to add some interest to the background. I pulled out the Viola Plate die set and die cut the top layer from white cardstock to use for the background, but didn’t like it. Then I looked at the bottom layer of the die set. Inspiration hit… emboss it! The bottom layer has piercing on it and once embossed created a lovely background. Don’t forget that when you are embossing with dies you need to use a flexible embossing mat and the embossing sandwich that works for your machine.
Once the background was set I worked on determining the placement of all the elements. As you can see from the photo above I didn’t have the berries and leaves completed and the sprig arrangement is slightly different from the finished card. Doing the initial arrangement is just a good way to make sure that you are happy with your idea and you can take a photo of it for reference when you complete your card. I assembled the berries and leaves using liquid adhesive.
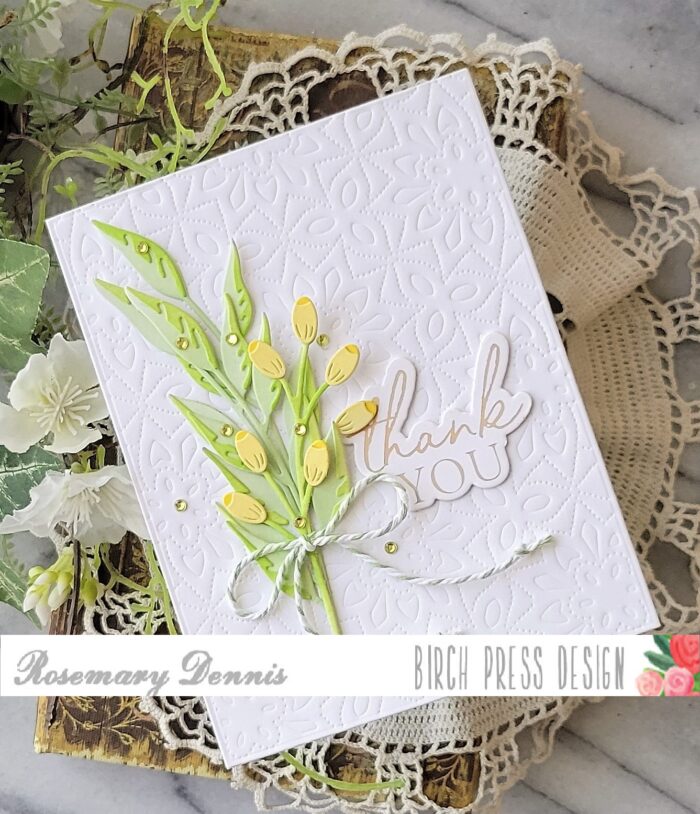
I adhered all the stems and berries using liquid adhesive. I used the die that comes with the Thank you foil set to die cut two additional layers that I adhered to the foiled one. Liquid adhesive was also used to adhere the sentiment and the little bow tied with some spring green baker’s twine. I finished off the card with some tiny yellow-green Memory Box Fairy Jewels. I must say that I took my inspiration for this card from the cheerful yellow daffodils that are blooming everywhere here in western Washington. I hope I was able to inspire you today!

Supplies


Comments
3 responses to “Spring Green | by Rosemary Dennis”
Love all the products you used, Rosemary! Such a beautifully Springy card!
What a sweet spring card, Rosemary! I love the yellow berries and fresh shades of green. Pretty background too!
What a beauty, Rosemary!! Love the viola plate dry embossed background – perfect for the delicate bouquet!!