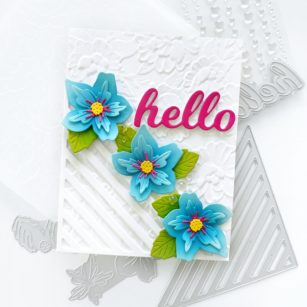
Hello, Birch Press Design friends! Dee here today sharing this embossed fresh and floral‘ hello’ card!
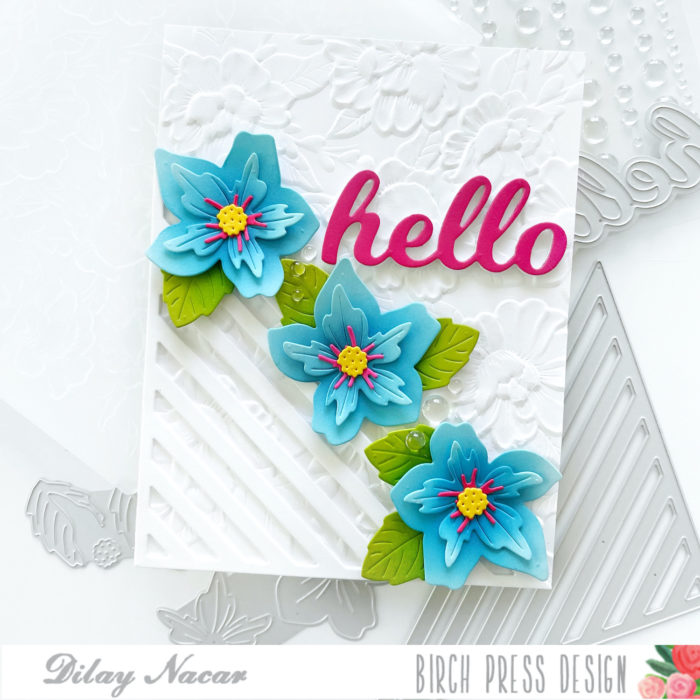
To begin, I embossed an A2-sized panel with the Memory Box Blooming 3D Embossing Folder, then adhered it onto an A2-sized, top-folding card base. I then cut the Linear Triangle die and adhered it to the bottom left corner.
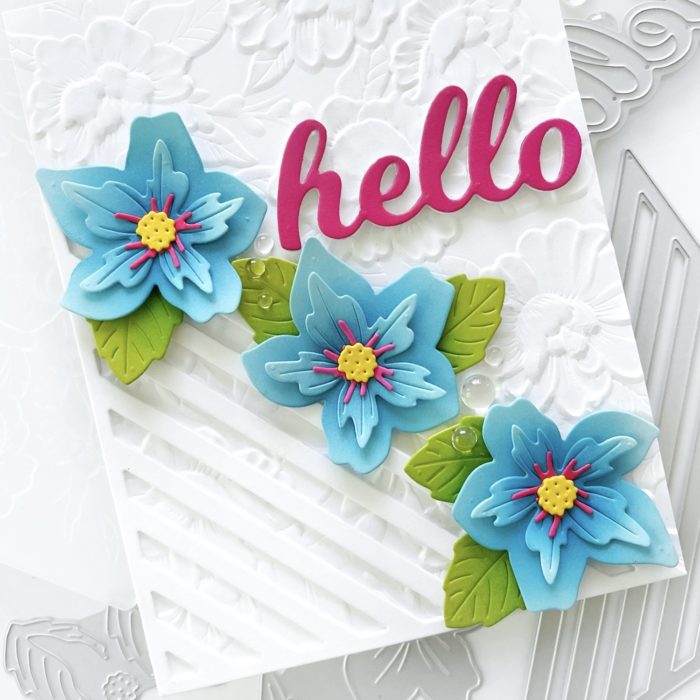
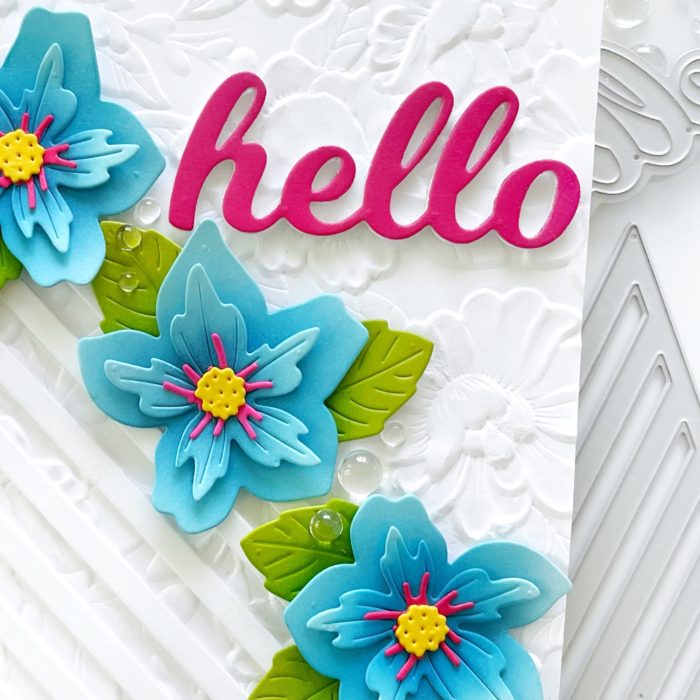
Next, I cut the Tropical Hibiscus Contour Flowers and ink blended them with vibrant blues, green, yellow, and pink. I repeated this step three times, assembled them, then adhered them to the edge of the triangle with foam tape.
For the sentiment, I die cut hello three times in white and once in pink, then stacked and adhered them together and then onto the embossed portion of the card. As a finishing touch, I added clear droplets between the flowers and leaves!
I hope you enjoyed learning more about today’s card. Thank you so much for stopping by!
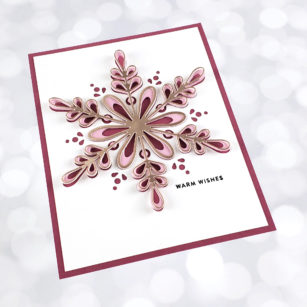
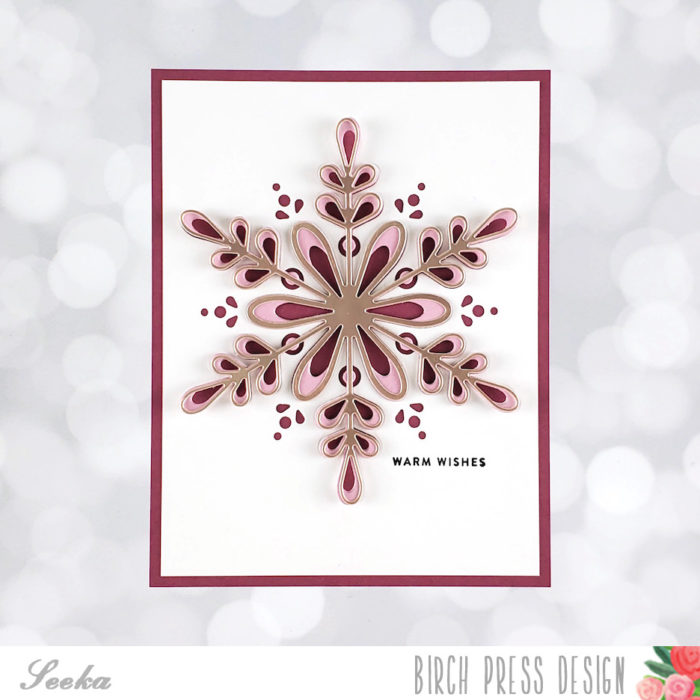
Hello and welcome! Seeka here and today I’m sharing a snowflake card using the brand new Crochet Snowflake Layer Die set. This die set is gorgeous and each of the three layers can be used together or separately for different looks!
I started off by positioning Layer C, the base layer, just above the center of a 4″ x 5.25″ panel of white cardstock. I ran the piece through my die cutting machine and then set aside the resulting snowflake for another time; for this card I wanted to use the negative space which includes the small cut out out details between the snowflake’s “arms.”
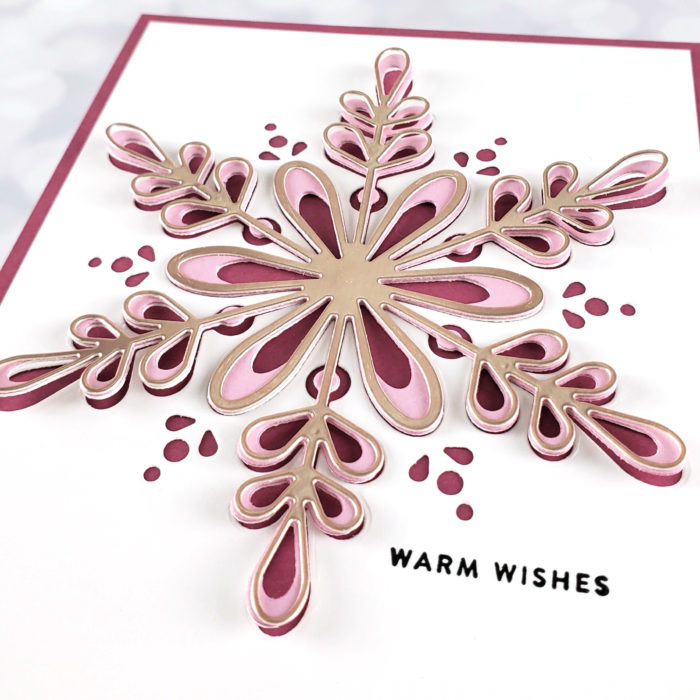
Next, I used Layer B to cut once from a light rosy mauve cardstock (some similar options can be found in the Memory Box Berry Red 6×6 Paper Pack) and once from a scrap piece of heavy white cardstock. I adhered these two layers together with the rosy mauve layer on top.
Next, I used the Layer A die to cut from a rose gold metallic cardstock (a similar color can be found in the Memory Box Vintage Pastel Mirror Pad 6×6 pack).
To assemble the card, I first glued the white panel (with Layer C cut out of it) to the center of a 4.25″ x 5.5″ panel of dark mauve cardstock. Next, I used a glue dot behind the center of Layer B to adhere it to the background panel. Then I used another glue dot behind the center of Layer A to adhere it to Layer B.
Finally, to finish the card, I stamped a small holiday sentiment from my stash in black ink and then glued the card front to a card base.
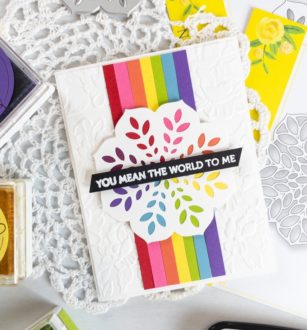
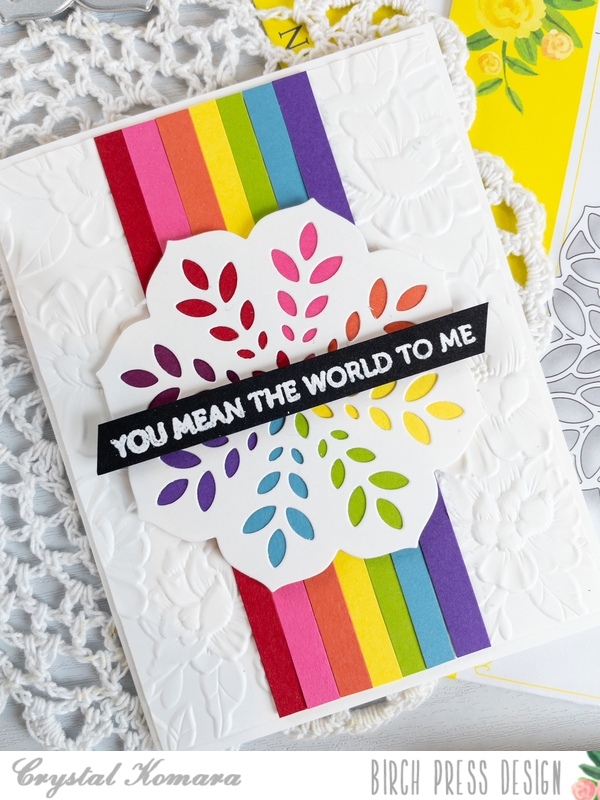
Hello readers and happy Monday! Welcome back from the weekend! This is Design Team member Crystal Komara here with you today sharing a cheerful rainbow themed card made using just layer plate B of the Floral Star Layering dies.
Card details:
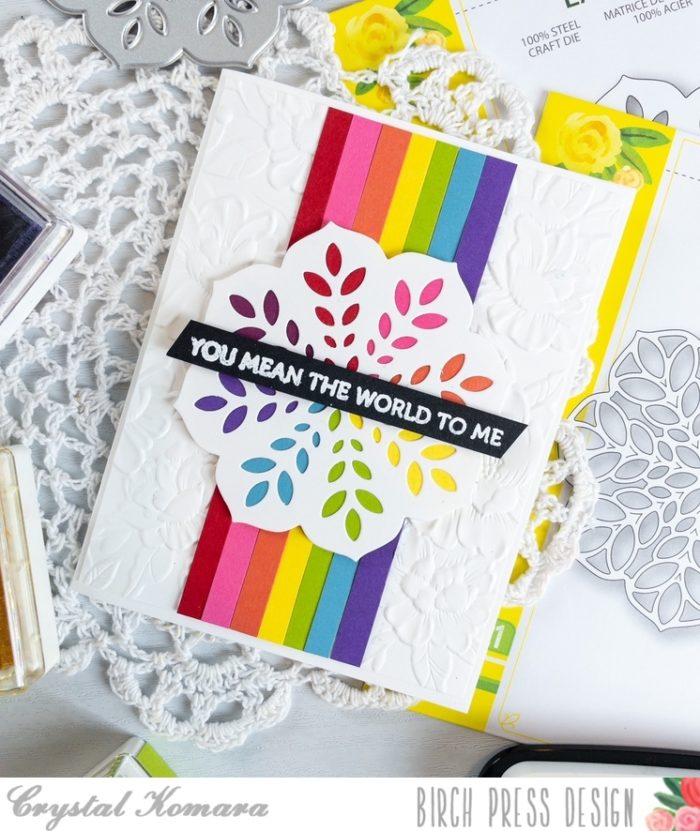
The base of this A2 sized card is made from 80 lb. Neenah Solar White smooth cardstock. I cut a 5 1/4″ x 4″ piece of the same white cardstock and ran it through my Big Shot using the Memory Box Blooming 3D embossing folder. This is one of my favorite embossing folders as the detail is impeccable and the result is always gorgeous.
I cut 5 1/2″ x 1/4″ strips of cardstock in a rainbow array of colors. I used cardstock from the following 6″ x 6″ paper packs:
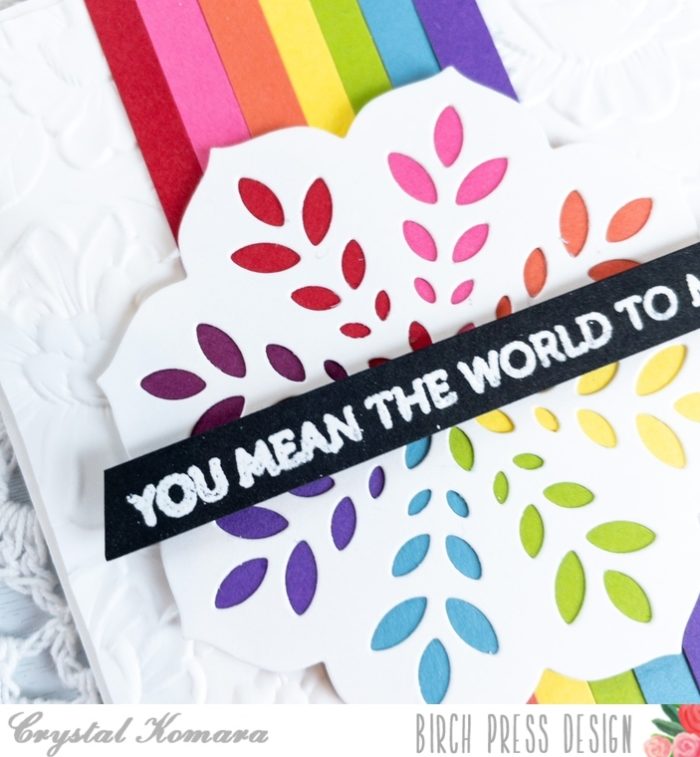
I adhered the strips of cardstock down the center of the card. I die cut Layer B of the Floral Star Layering dies from white cardstock. I then fussy cut small pieces of the colored cardstock and adhered it behind sections of the floral star to continue the rainbow theme. I adhered the floral star to the center of the card using 3M foam adhesive for added dimension.
Lastly, using the Lingo Thanks stamp set, I stamped the “you mean the world to me” sentiment in Versamark ink on black cardstock. I heat embossed the words with white embossing powder. I adhered this thin sentiment strip across the center of the card.
I love creating cards with rainbow themes. I just think they are so colorful and cheerful. Thanks for visiting and have a wonderfully creative day!
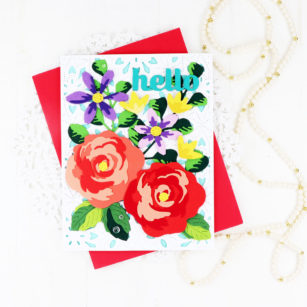
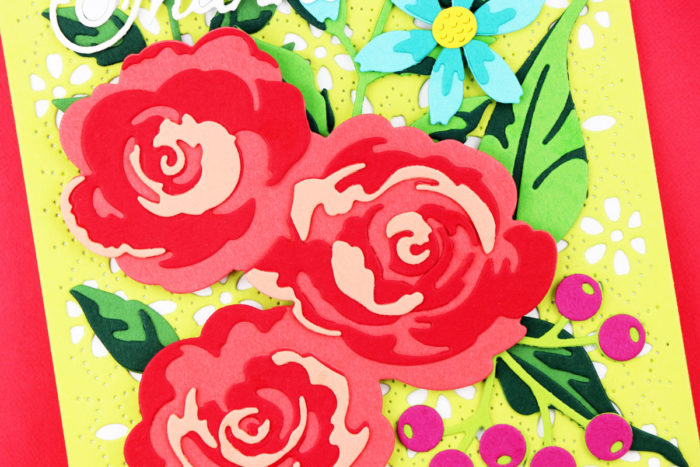
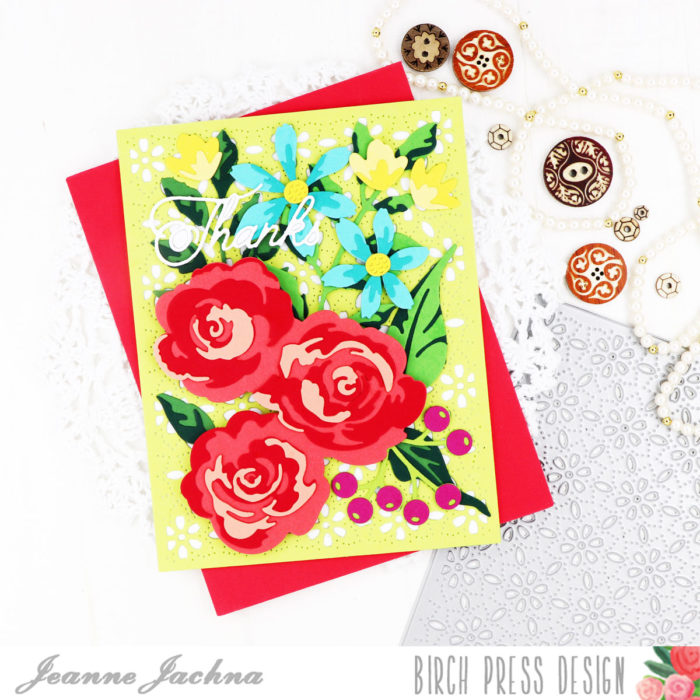
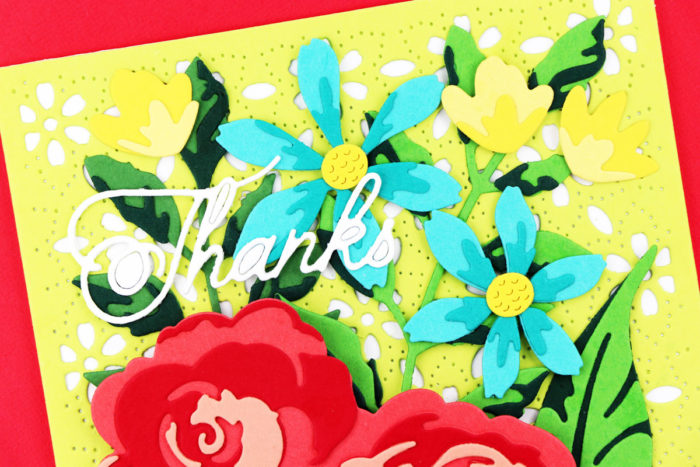
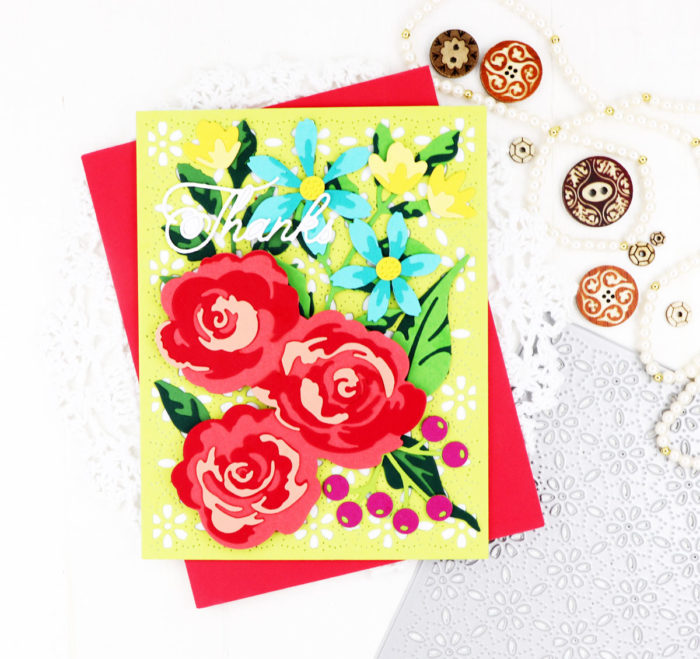
I’m smitten with flowers so I adore the last floral release from Birch Press Design. The flowers are generally all three layer and look great in any color combination. Each layer has embossed lines to help guide you in assembling them.
To get started I always cut and arrange several flowers in different shades so that later when I decide to make I have lots of assembled flowers to choose from.
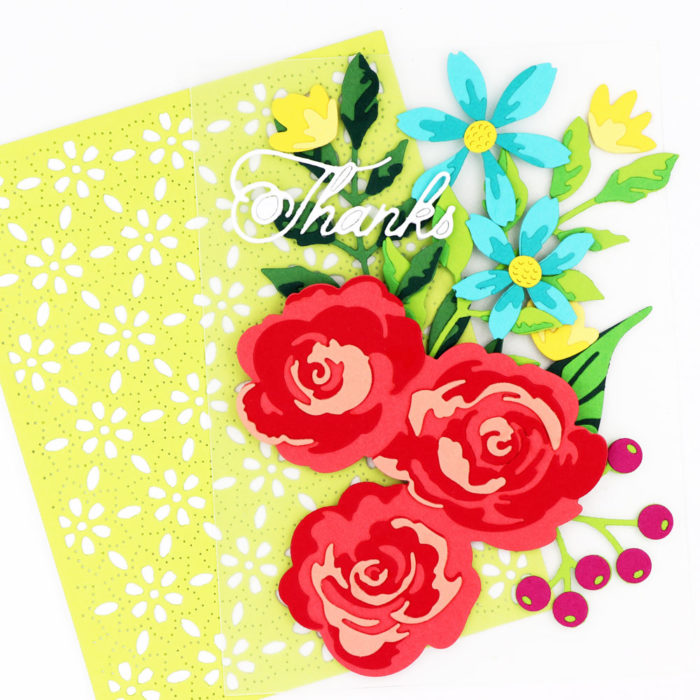
I like to assemble the images on a piece of plastic the size of my card front. The clear plastic makes it easy to pick up the entire arrangement and layer it over different backgrounds to help me decide which one I like best.
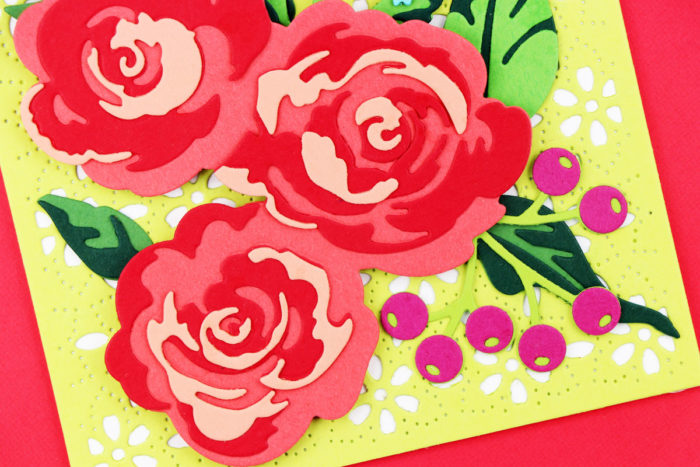
Because I cut the flowers ahead of time, before I make my cards, I find that I choose colors I might not have originally selected. Just as an example.. I wouldn’t normally think the plum colored berries would compliment the red roses, but they do, and I think they’re perfect!
If you look close you’ll notice I changed one of the Fuddled Leaf branches in the background. The color was too similar to the lime Flora cover plate so I selected a different shade for more contrast.
Enjoy creating your own floral bouquets with beautiful layered blooms from Birch Press Design!
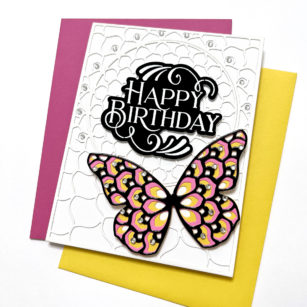
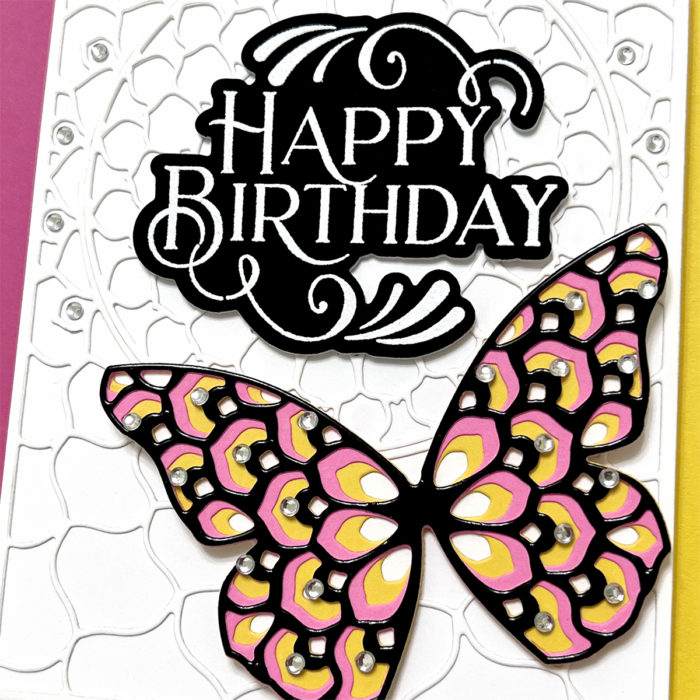
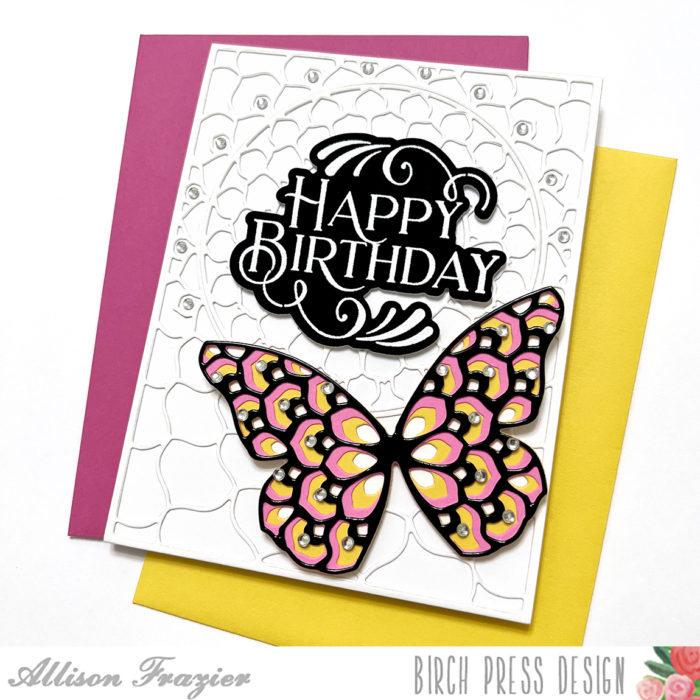
Hello, Birch Press Friends! I have been loving glossy black card stock so much lately, and I thought it would be great for a butterfly. So today I am sharing this card featuring the Glimmer Butterfly Layer Set.
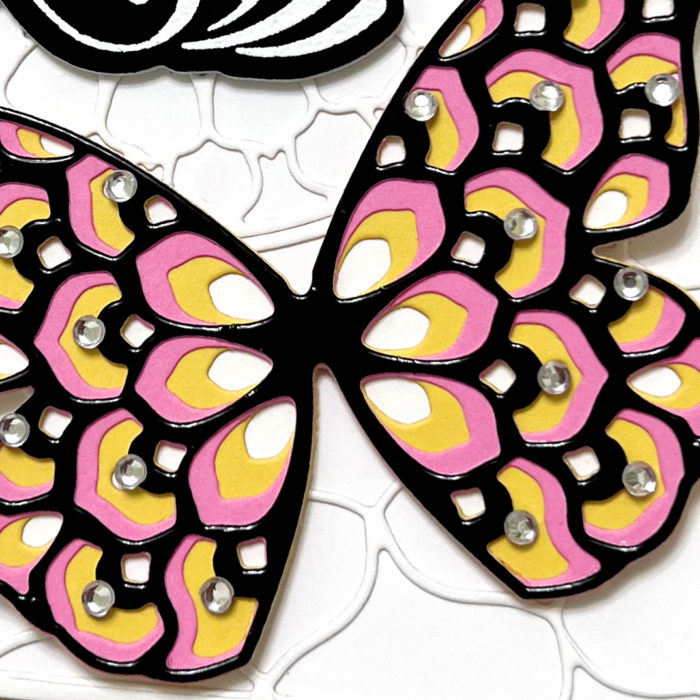
I started by making the butterfly. I used yellow card stock for the bottom layer, pink card stock for the middle layer, and the glossy black card stock for the top layer. I adhered the layers together with liquid glue. I added some clear fairy jewels as an embellishment.
For my background, I used Layer A from the Epiphany Plate Layer Set. I die cut it from white card stock and adhered the main outside layer to a white A2 card base. I also adhered the inner ring to the card base. I kept the small center piece to use at a later time. I never throw pieces out! I added some clear fairy jewels around the ring to accentuate the circle.
I white heat embossed the sentiment onto black card stock and then cut it out with the matching die. I also used the die to cut two layers of white card stock and adhered those to the back of the sentiment for dimension.
Thank you so much for joining us today. I hope this card inspires you and brings a smile to your face!
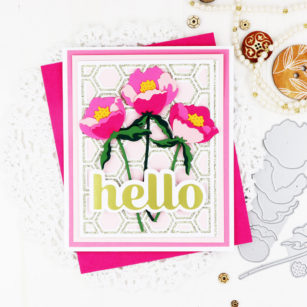
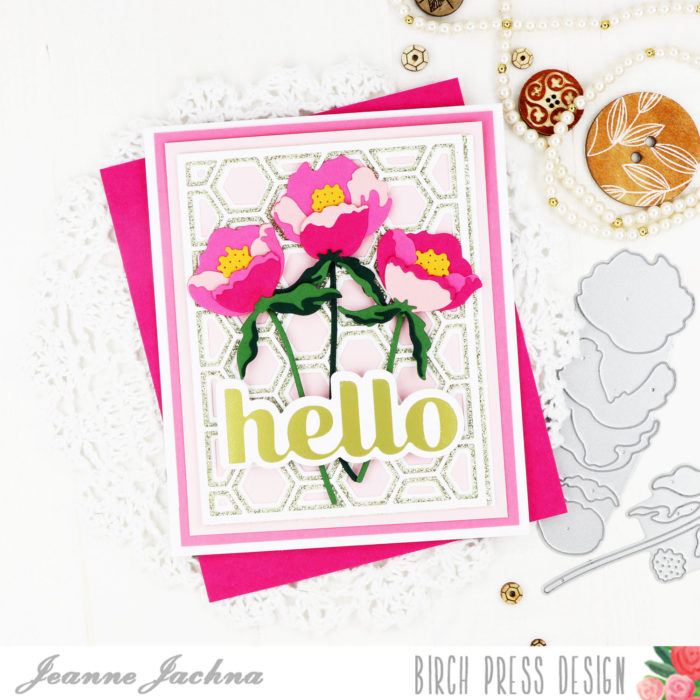
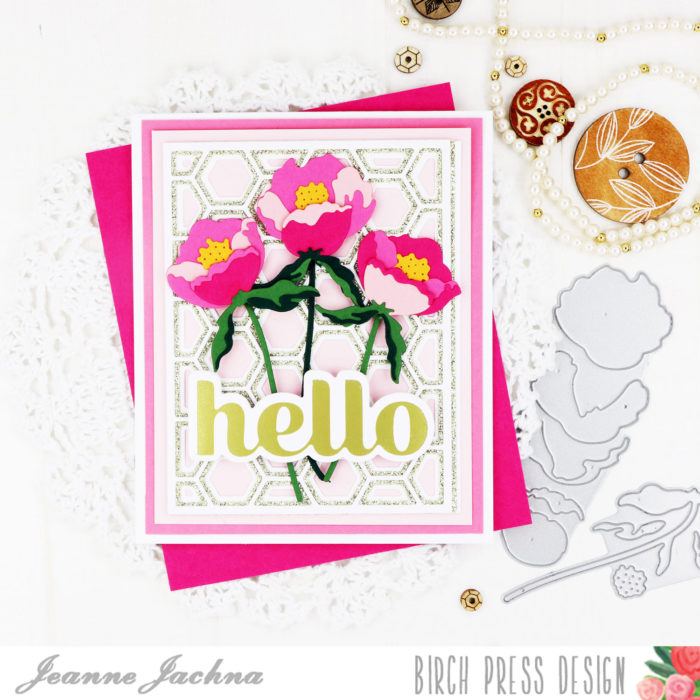
I hope you’re having a great weekend doing something that you love. If I get my way I’ll be in the garden seeing what’s new to discover. Maybe some new blooms or perhaps the beginnings of some summer veggies! I love when my hobbies overlap and these gorgeous blooms made from paper are just as beautiful as the real thing.
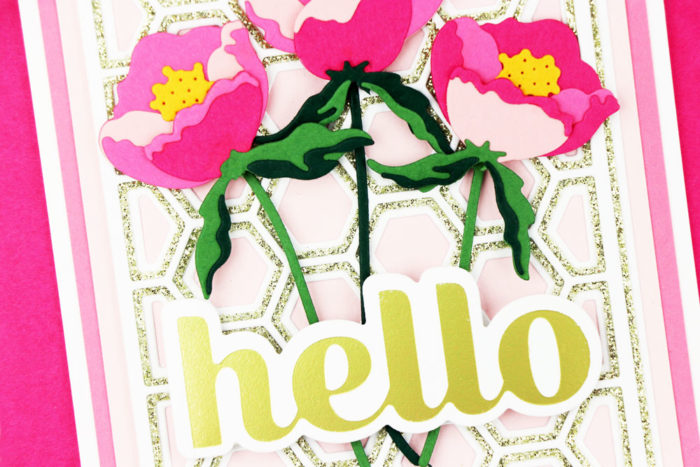
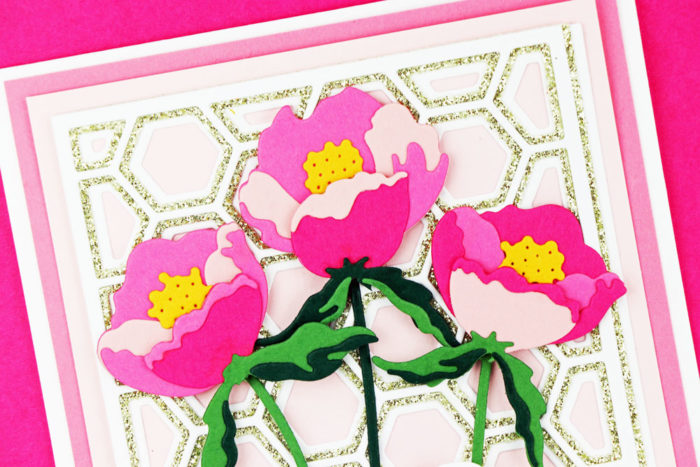
The florals are easy to assemble. This is a three layer die so I chose three shades of pink cardstock. To save time I cut all of the layers from each of the three shades. I mixed up the shades when I assembled them to create each bloom. I don’t think you need to always have blooms dark to light or vice versa.
To add some sparkle I cut the Honeycomb Bevel Layer set from white and gold glitter cardstock. To compliment the flowers I layered the assembled honeycomb panel over shades of pink cardstock.
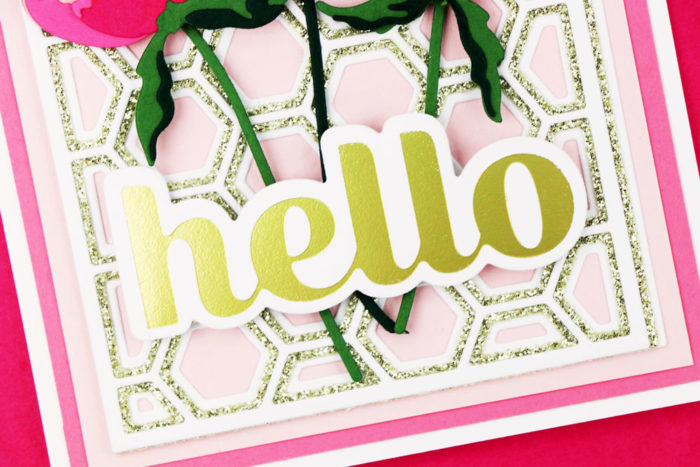
The Hello Sugar Script foil die adds even more gold elegance to this floral card. The sentiment die includes an outline die cut so there’s lots of possibilities.
I hope you’ll enjoy creating with the layered florals in the shop – they’re total eye candy!
Supplies
57504 Prime Peony Duo Contour Layers
BPF501 Hello Sugar Script Hot Foil Plate and Die Set
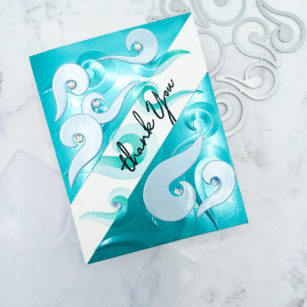
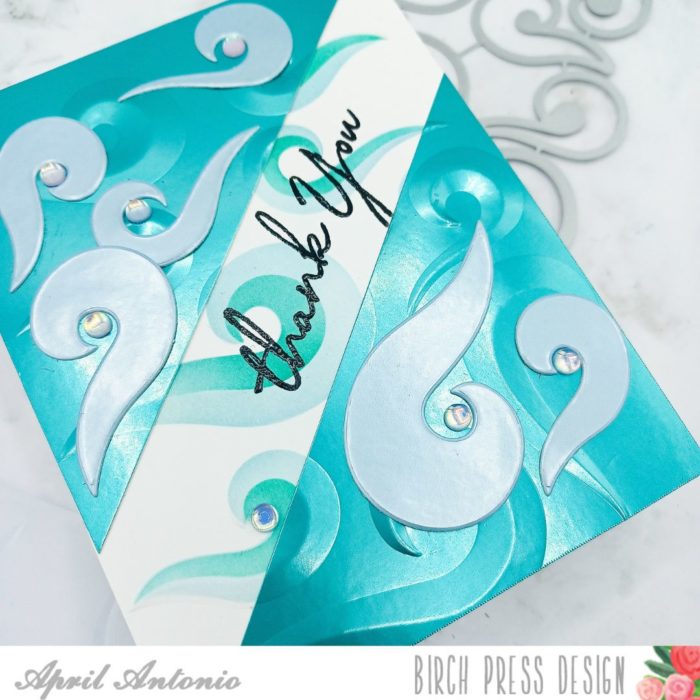
Hello and happy Wednesday! Welcome back to the Birch Press Design blog — April here bringing you some waves of crafty goodness with a new project.
Today’s project features the new Curling Waves stencils, embossing folder and matching die set.
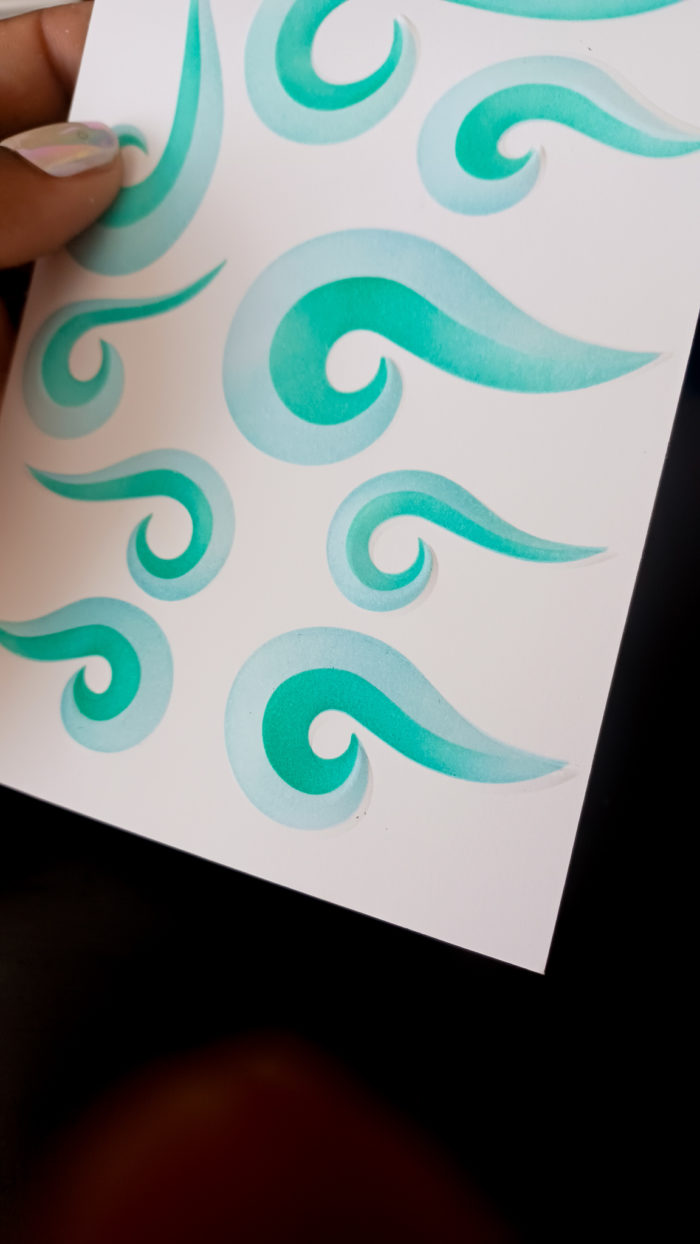
I started today’s project by really wanting to use the new Curling Waves stencils. This was my first time using the stencils and I was intrigued by the two-tone look that could be achieved by using both together. The set comes with two stencils; one has larger waves, and the other smaller waves that fit right on top to give that 3-D wave effect.
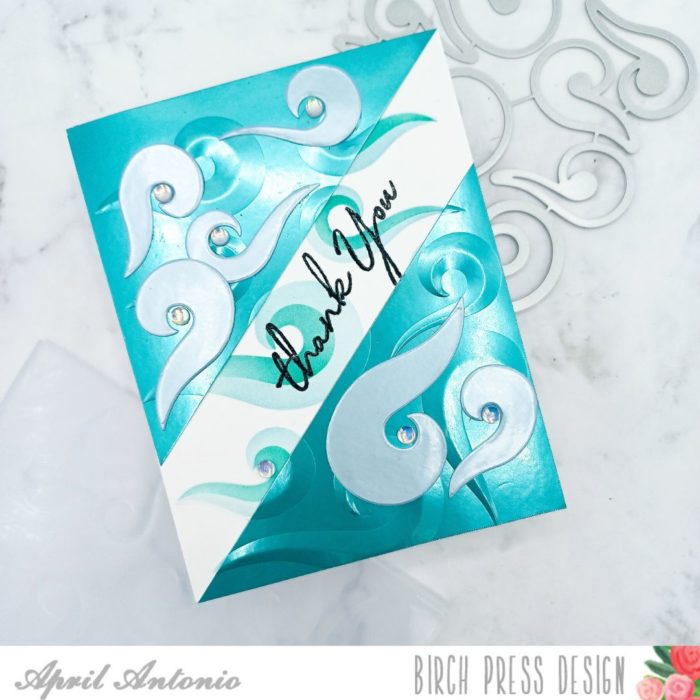
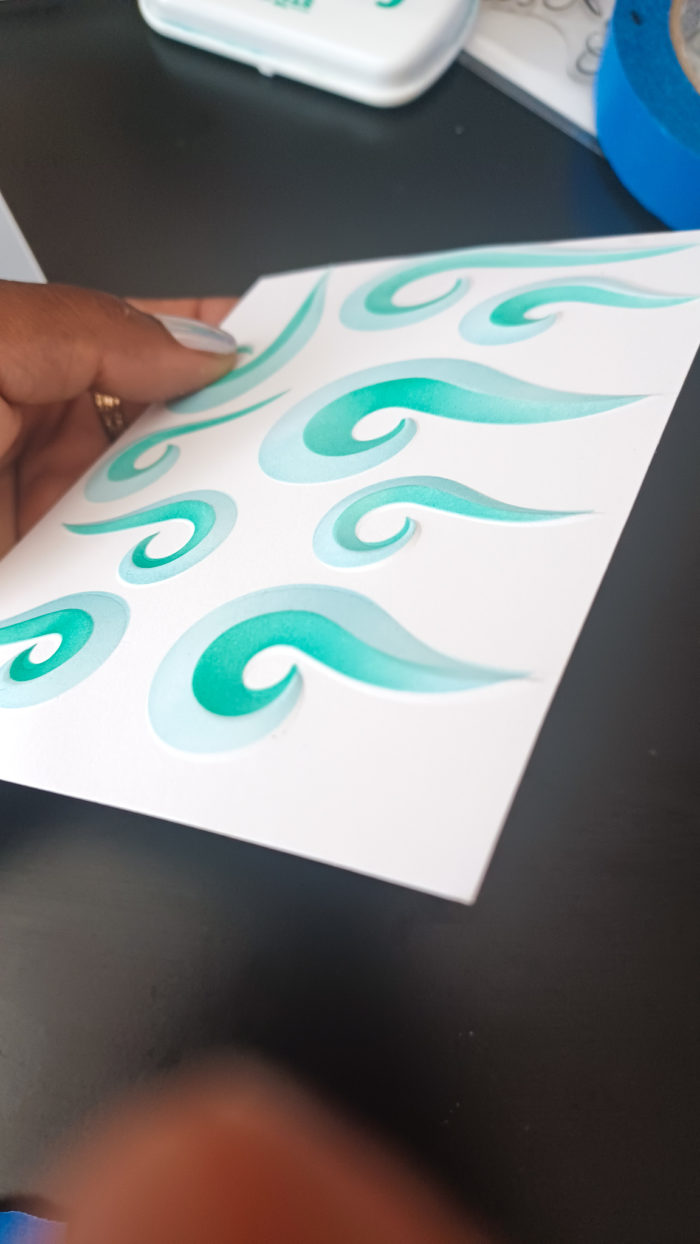
I aligned the first stencil with the larger waves over an A2 sized piece of white cardstock and ink blended using a light blue ink. Next I aligned the stencil with the smaller waves right on top, making sure to line up the waves, and ink blended using a dark teal color ink.
The next important step I did involved the embossing folder. The stencil design actually matches up to the embossing folder exactly. I took the A2 sized piece of cardstock, carefully aligned it with the embossing folder waves, and used a piece of painter’s tape to keep it in place. Then I ran it through my die cut machine.
Since this is a 3-D embossing folder, and is thicker than regular embossing folders, I used two plastic shims instead of two cutting plates to run this through. I am using Gemini die cut machine, and it worked beautifully.
Next, I took a piece of teal colored metallic paper from the Vintage Pastel Mirror Pad and also ran that through my die cut machine with the Curling Waves embossing folder — the results? Wow!
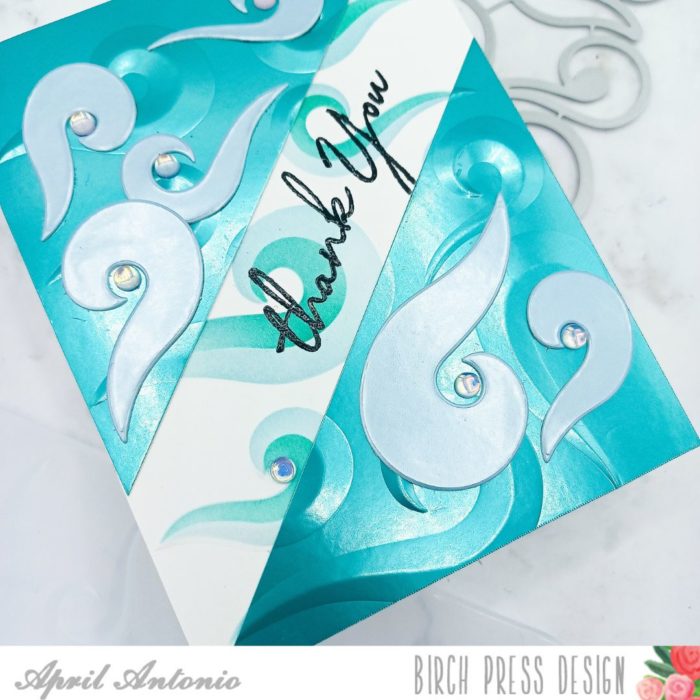
Now I have two A2 panels with the waves on them. I took the metallic A2 panel and used my paper trimmer to cut it at an angle starting at the bottom left edge. I took one of those pieces and cut a about 1.5″ off from the top.
Now I had to metallic pieces with the exact same embossed pattern as my white A2 panel that I stenciled on. Using liquid glue, I lined up the metallic pieces in the top left and bottom right corners of the white panel, make sure to line up the curling waves embossed pattern so it would appear to continue on as one seamless pattern.
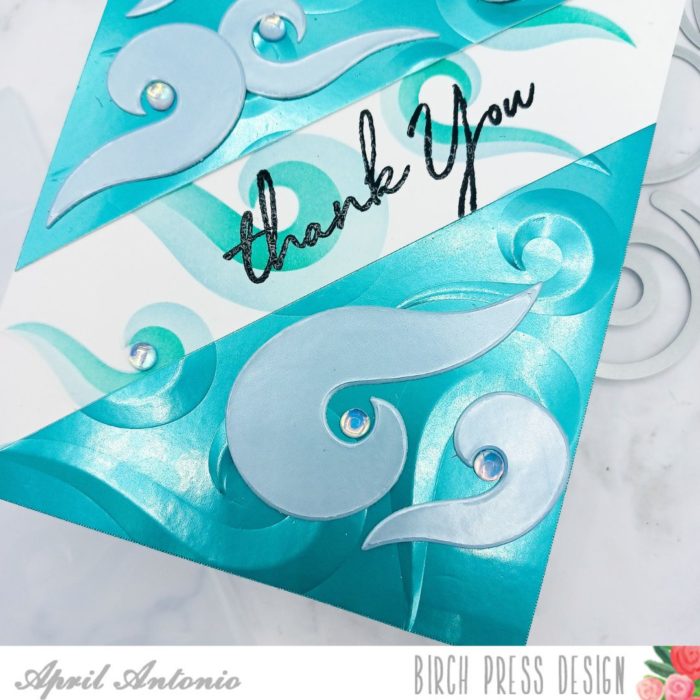
Next, I took a piece of light blue metallic cardstock from the same Vintage Pastel cardstock pack and used the matching Curling Waves die cuts to cut out the individual waves. I glued these to the front of the card using liquid glue.
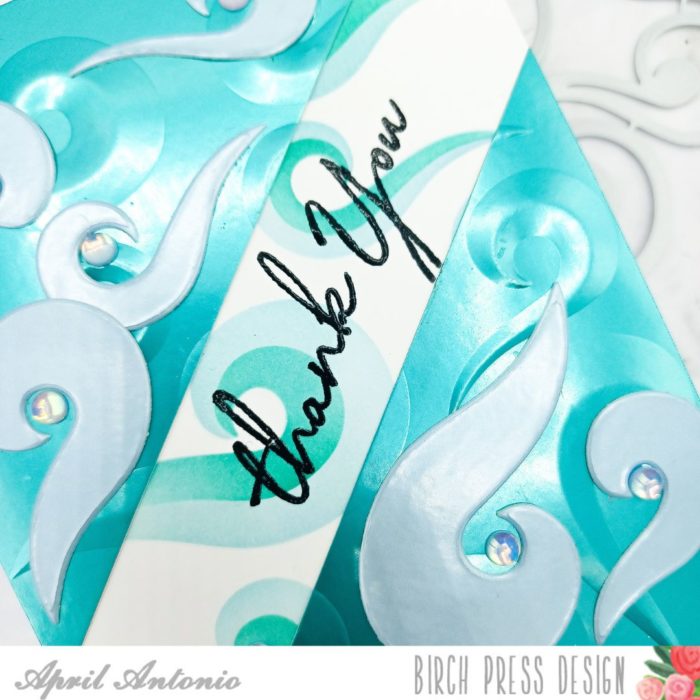
Next, I adhered the entire panel to an A2 card base and used the ‘thank you’ from the Kind Hearts stamp set to heat emboss the sentiment to the middle portion of the card. In hindsight, I should have stamped the sentiment before dry embossing the white panel, but it worked out okay.
My final touches were to add some gemstones from the Winter Fantasy Fairy set to the center of the curls.
This card took a little bit more time, but it turned out great. I’m especially excited about using these new Birch Press 3-D embossing folders. I hope this has inspired you to get out there and craft. Have a great day!
Hello Birch Press friends – it is Natasha here and I am excited to be up on the blog today! Today I am using the beautiful Eucalyptus Stem and Berries Contour Layers die set! I love this set and had so much fun creating colorful leaves and berries on today’s card! So let’s get started!
I started by creating colorful backgrounds using dye based pigment powders. You can create a similar look by using powders, inks, watercolors, whatever you have in your stash! I always work in layers to create texture within my backgrounds! Once I had my backgrounds created, it was time to do the die cutting! I love the Eucalyptus Stem and Berries set and this set was perfect to create some colorful leaves/berries! I die cut 4 leaf stems and 3 berry stems! On the berries I also die cut the “add on” berry layer. I love the added texture this provided! I adhered these to my berry stems using liquid adhesive! I set my leaves and berries aside to work on the background panel of my card!
Next I looked through my gel print stash! I found a light colored gel print, as well as a page from a book. I used both of these to create a background. I tore the section of the book panel gel print and adhered this to the other gel print. Next I die cut a piece of white card stock using the Viola Plate die set. I chose to use Layer A. I love these layered sets, as you can use all 3, as well as choose only 1 layer for a beautiful look as well! They are truly versatile!
I glued Layer A of the Viola Plate (White card stock) on top of my gel print backgrounds! I love the subtle touch of texture this provides, as well as the softness of the beautiful die cut!
Next I adhered the background panel onto an A2 card base. I then decided on the placement of the leaves and berries. Then I adhered them to the card front using both liquid glue and foam tape. I love the added dimension on the leaves and berries!
To complete my card I chose the Hugs Sugar Script Hot Foil Plate and die set. I foiled the hugs sentiment using a pink foil from my stash and then die cut the sentiment using the included die in the set! I added a few Fairy Drops to complete my card!
Thanks so much for stopping by today! I had a lot of fun! I hope today’s card inspires you to create! I will be back soon!
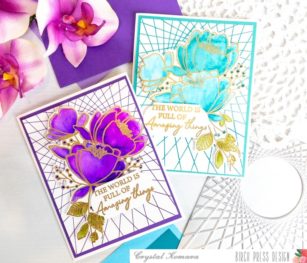
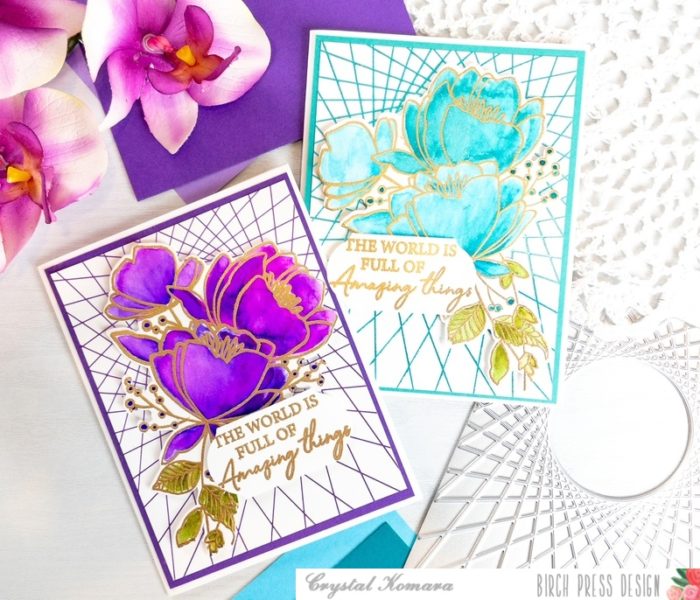
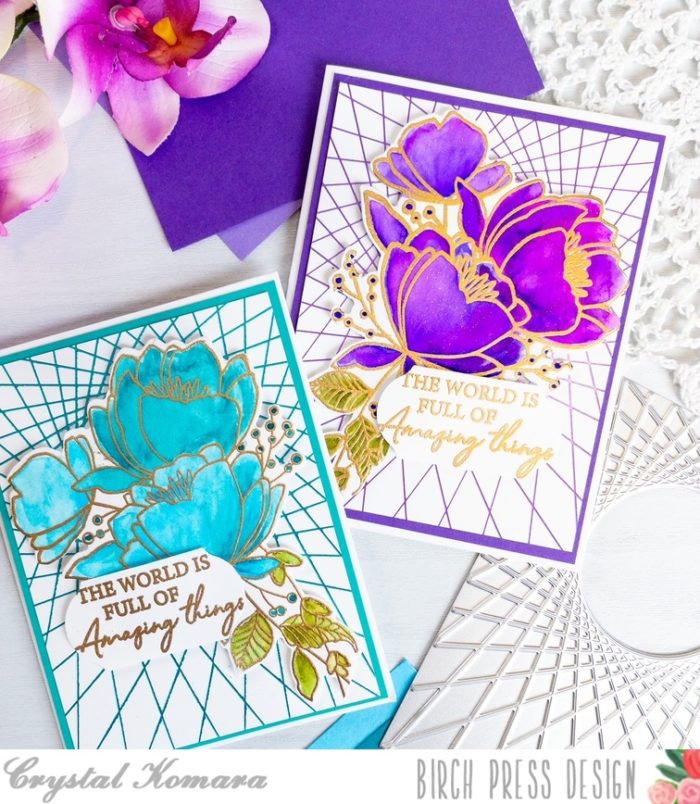
Hello crafty readers! This is Design Team member Crystal Komara here with you today. I’m excited to be sharing the first two cards I created using the new String Art Frame Hot Foil plate. Now, if I’m being completely honest, these are actually the first two cards I have ever made using hot foil!! Heat foiling is very on-trend right now in the craft industry, so I succumbed to the peer pressure and bought the Gemini Foil Press (because it works with my Gemini, Jr. die cutting machine). Heat foiling is a magical process where heat and pressure are applied to a special foil to imprint on paper. Unlike heat embossing where the image is raised when Versamark ink and embossing powder are heated with an embossing gun, in heat foiling, the image is imprinted or pressed into the paper when heat and pressure are applied.
I created two cards that are nearly identical, I simply swapped out the color combination and sentiment to achieve two unique looks. Keep reading for all the details:
Card details:
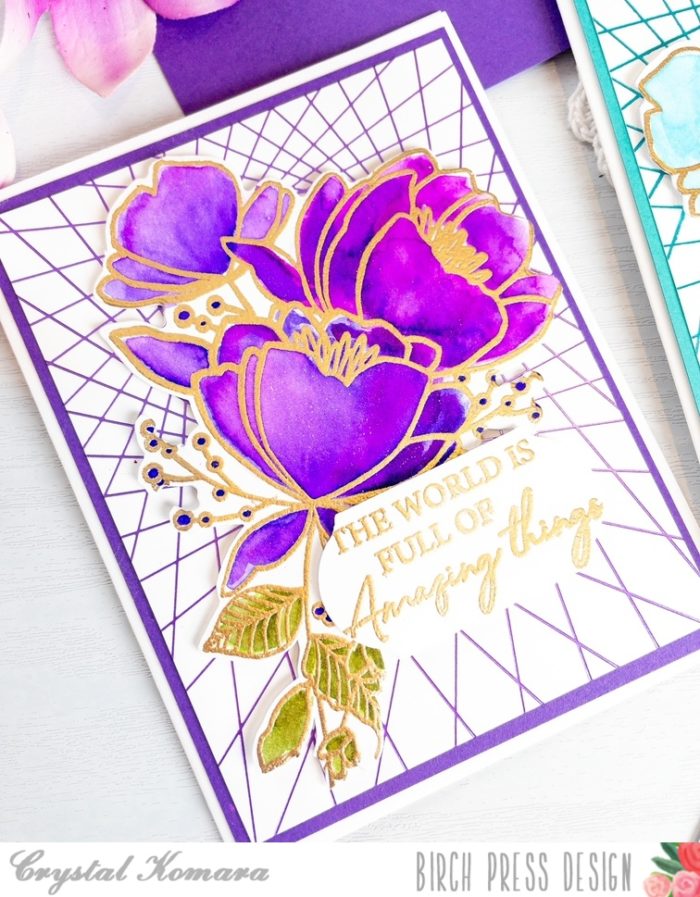
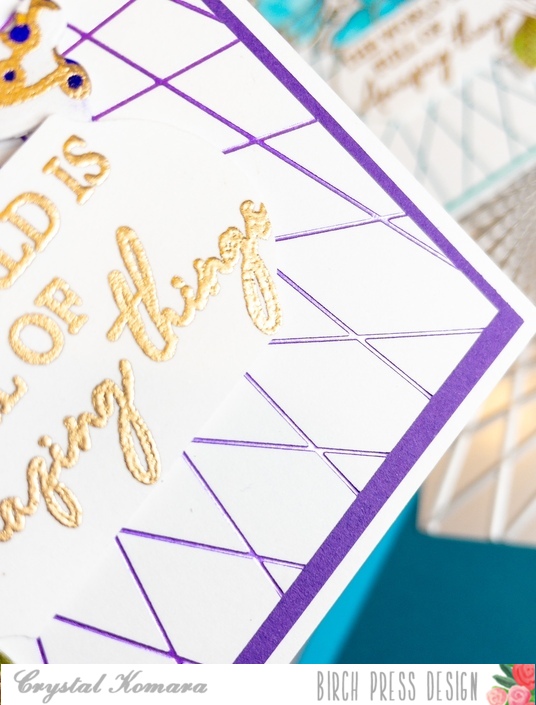
The base of this A2 sized card was made from 80 lb. Neenah Solar White Smooth cardstock. I cut a 5 1/4″ x 4″ piece of purple cardstock from the 6″ x 6″ Twilight cardstock pack. On a 5″ x 3 3/4″ sheet of white cardstock, I heat foiled the String Art Frame hot foil plate on my Gemini Foilpress machine with purple Foilpress foil.
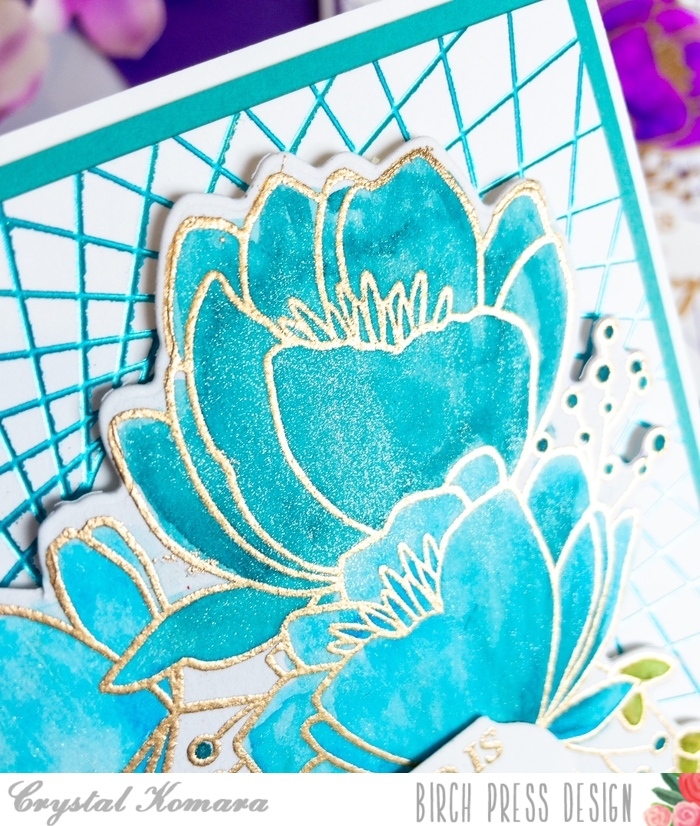
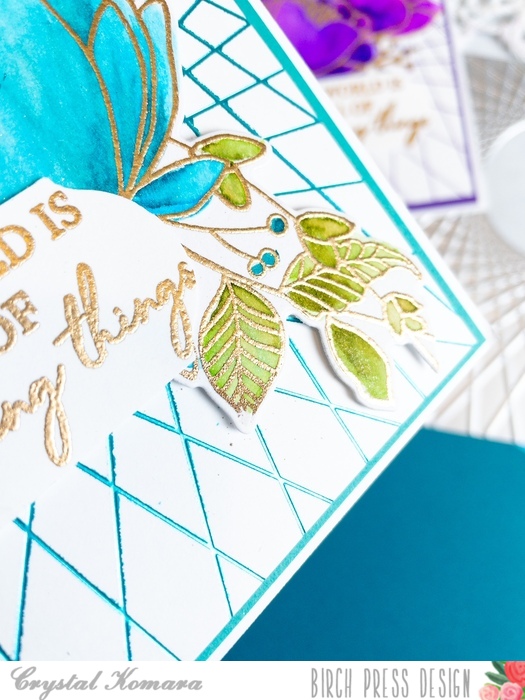
On a separate sheet of watercolor cardstock, I stamped the large floral image from the Memory Box (a sister company to BPD) All the Happiness stamp set in Versamark ink and heat embossed it with gold embossing powder. I colored the image using Zig Real Color Watercolor Brush markers. Once the image dried, I used the coordinating All the Happiness dies to cut the image out. I adhered the flowers to the card using 3M foam adhesive for added dimension. I stamped the sentiment in Versamark ink and heat embossed it with gold embossing powder. This sentiment is from the Kind Hearts clear stamp set. I adhered the sentiment to the card also using 3M foam adhesive tape. Lastly, I added a light coat of clear Wink of Stella to the flowers for added sparkle. *Be careful with Wink of Stella on watercolor though, because it will bleed as it is water-on-water based.
For this second card, I used identical products as the first card, I simply swapped out the purple foil for a teal foil and I colored the flowers with teal or turquoise hued Zig Real Color Brush markers.
Alright, so since I admitted this was my first go-round with hot foiling, I’ll also admit that I did my initial foiling wrong and ended up heat foiling the plate itself and not the paper. Note to self, read the instructions first! They do exist for a reason!! : ) But, all-in-all I was quite pleased with how my first heat foiled cards turned out and I look forward to experimenting more!
Thanks for visiting and have a wonderfully creative day!
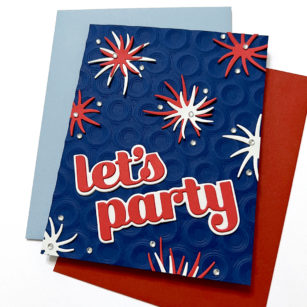
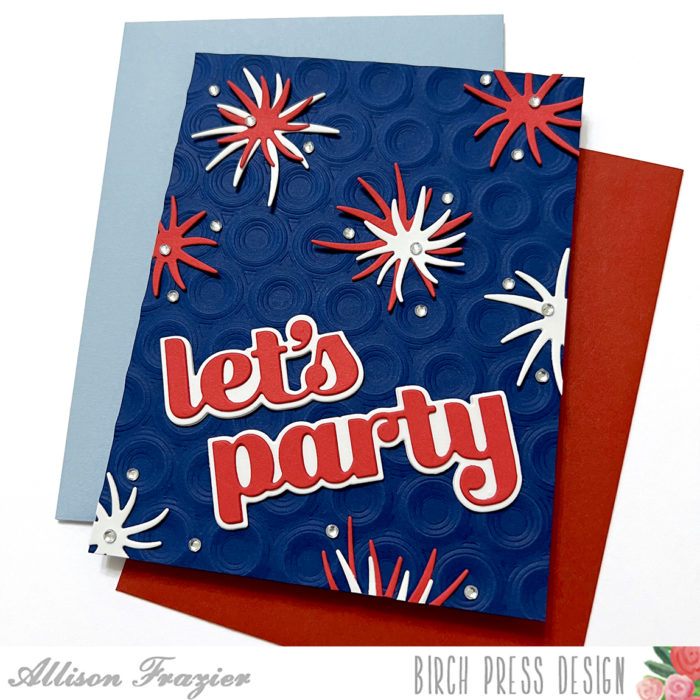
Hello, Birch Press Friends, and Happy 4th of July! Allison here, and today I’m sharing this festive card featuring the Wispy Blooms Contour Layers die set. I love finding new ways to use my supplies, so why not make fireworks out of flowers?
I started my card with an A2 panel of blue card stock, which I embossed with the Ringadings 3D embossing folder. I then adhered that to a blue A2 card base.
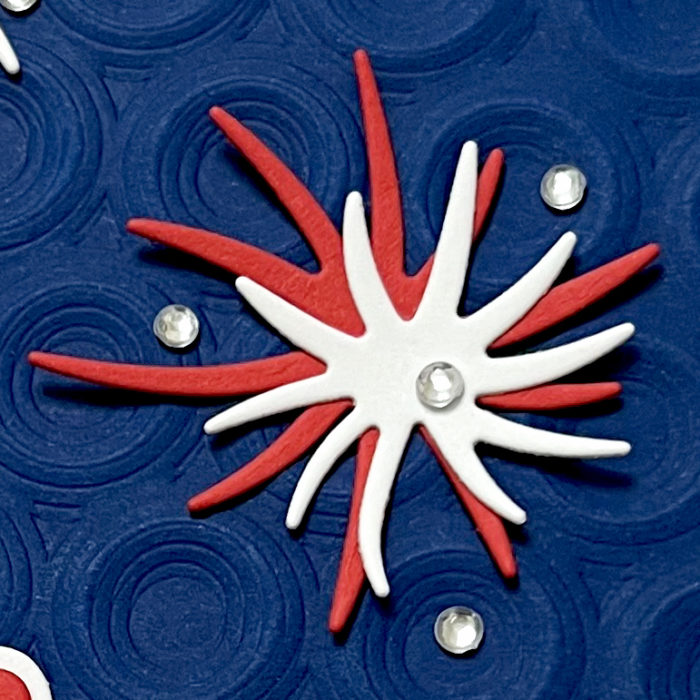
I cut the two wispy shapes from the die set out of white and red card stock. These extra wispy shapes are not part of the layering flowers, but they might be my favorite part of the die set. I have used them before as background texture, and I think it was back then that I got this idea to make them into fireworks. I adhered these shapes around the card panel. For some of the fireworks, I layered one of the smaller pieces onto the larger one.
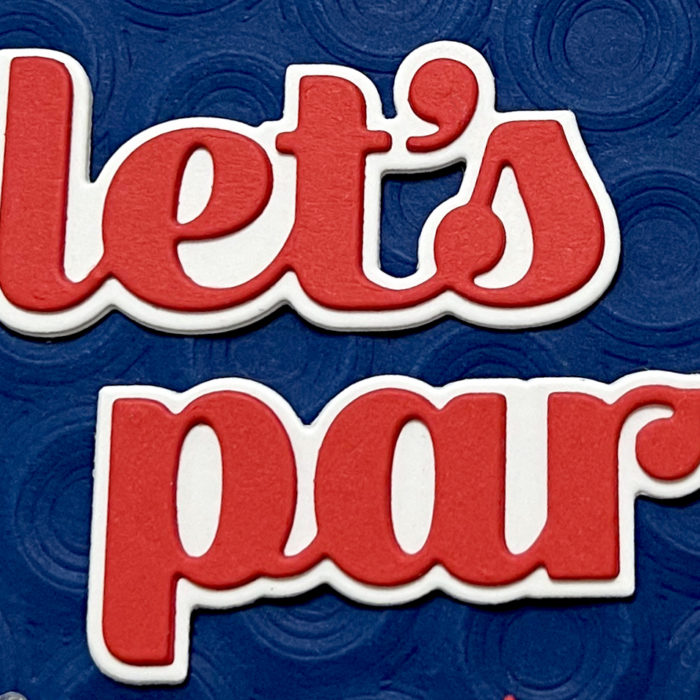
For the sentiment, I used the Let’s Party Sugar Script die. I cut the shadow out of white card stock, and the words out of red card stock. I doubled up both the shadow and the word for dimension and then glued these onto the panel at an angle.
To finish up the card, I scattered some clear fairy jewels all around the design.
Thank you so much for joining us today. I hope this card inspires you and brings a smile to your face!