Hello Everyone and Welcome Back!
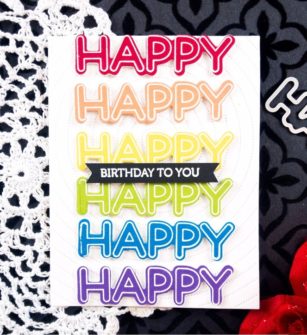
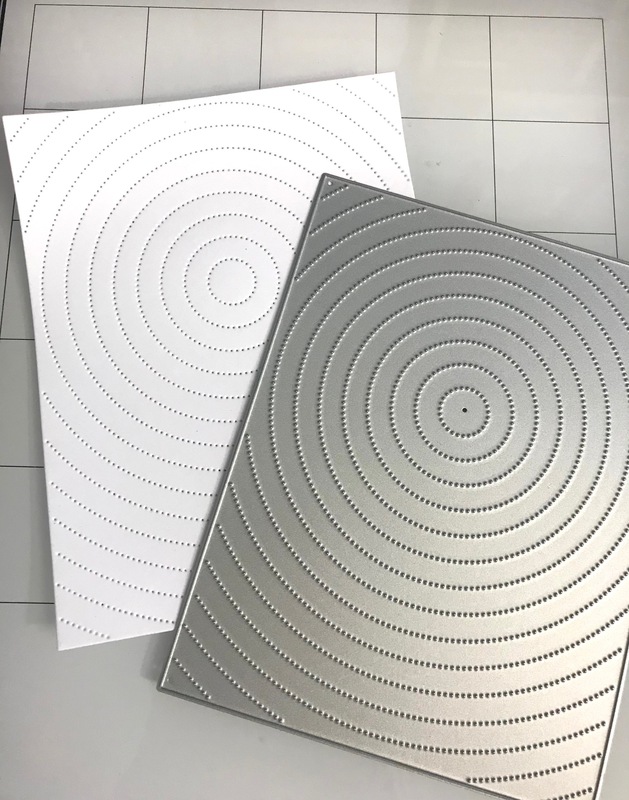
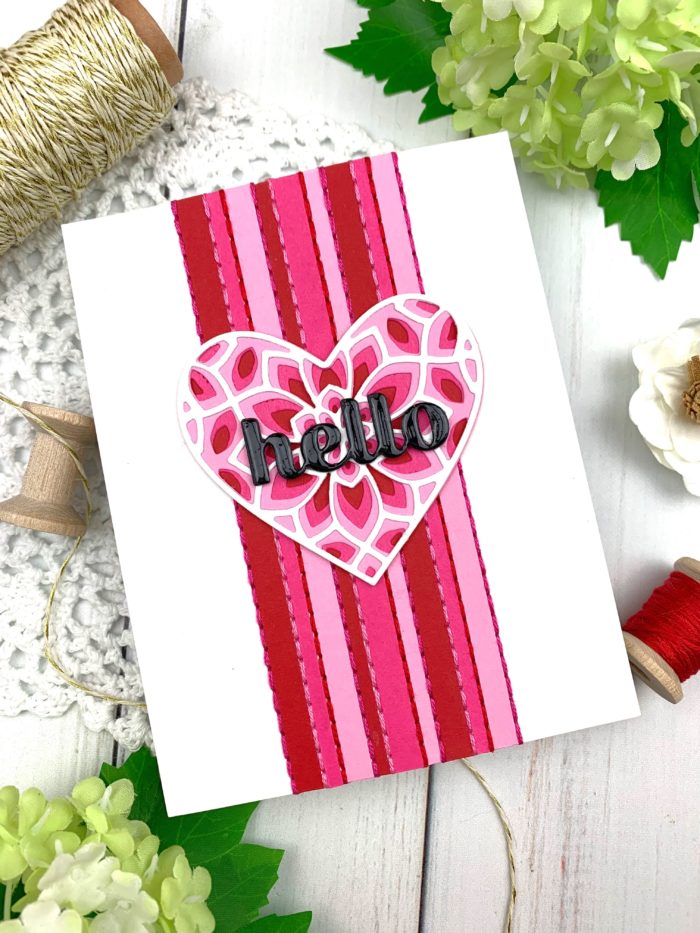
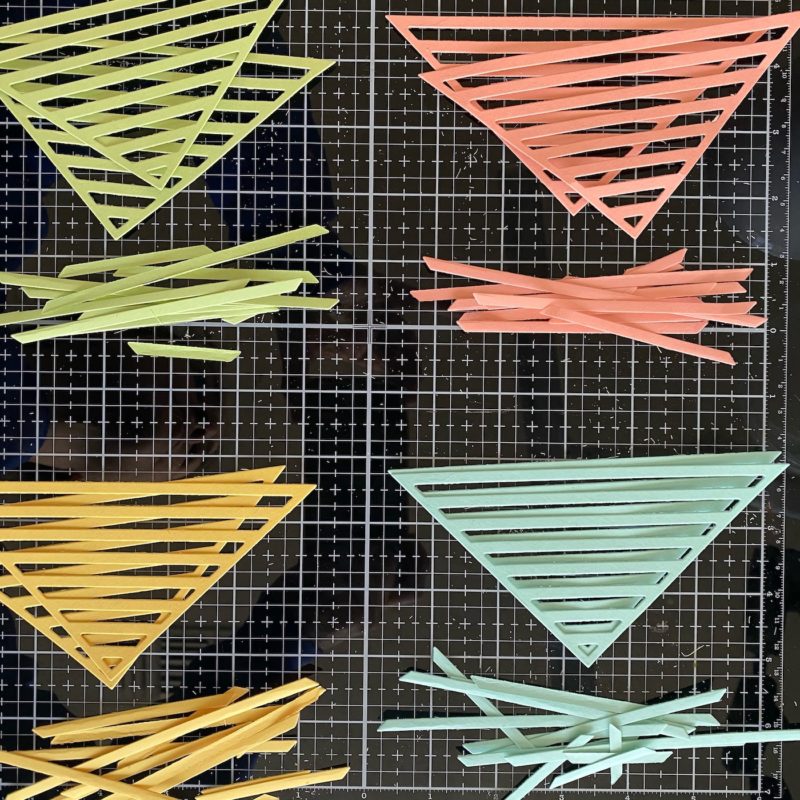
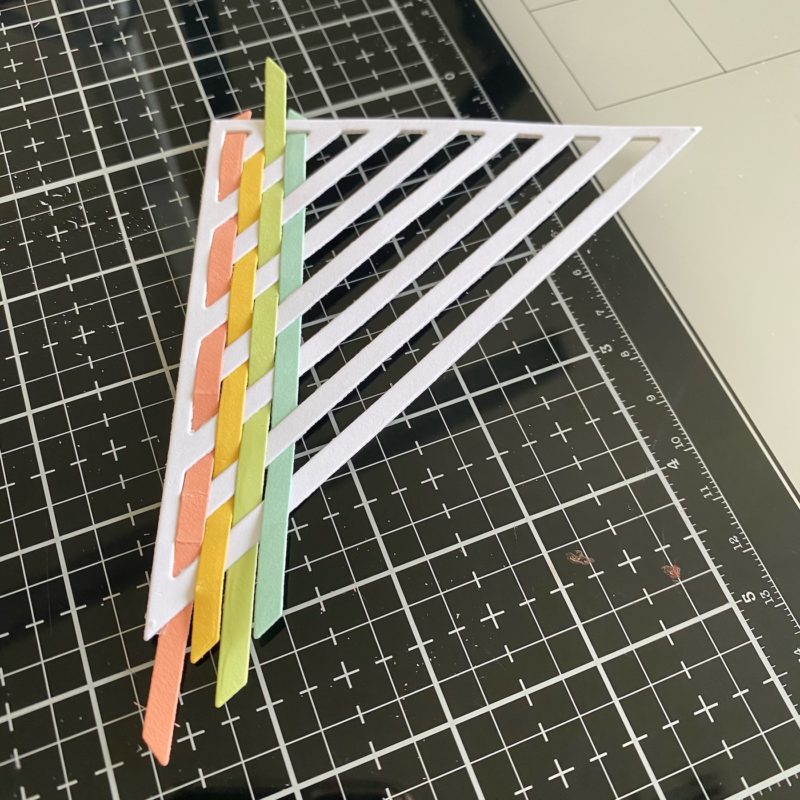
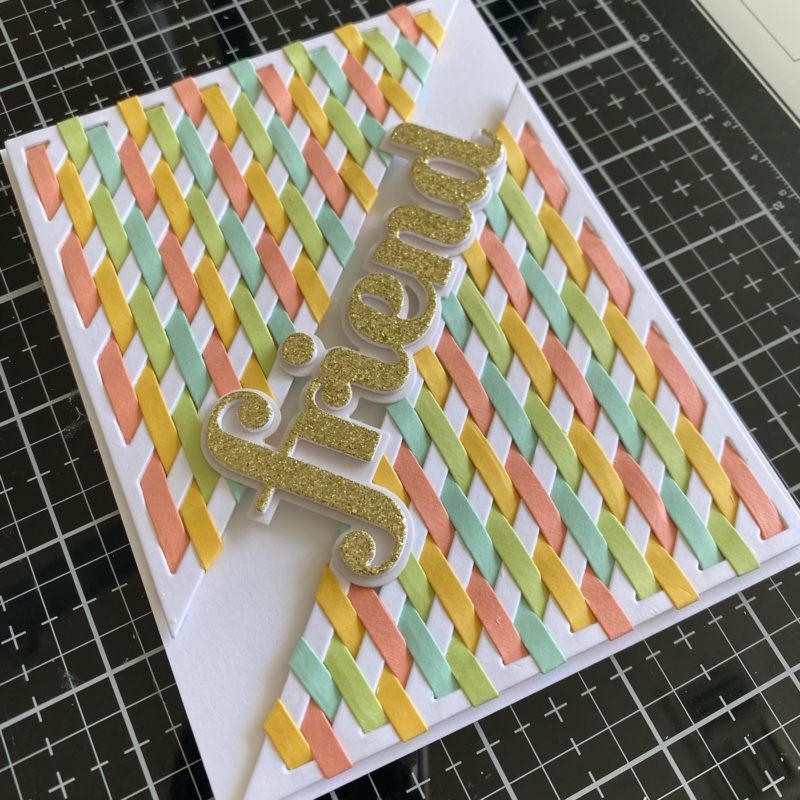
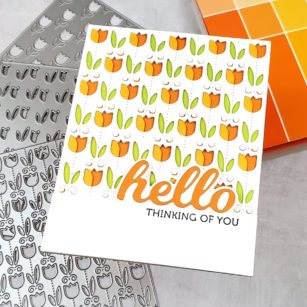
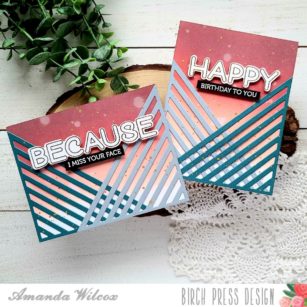
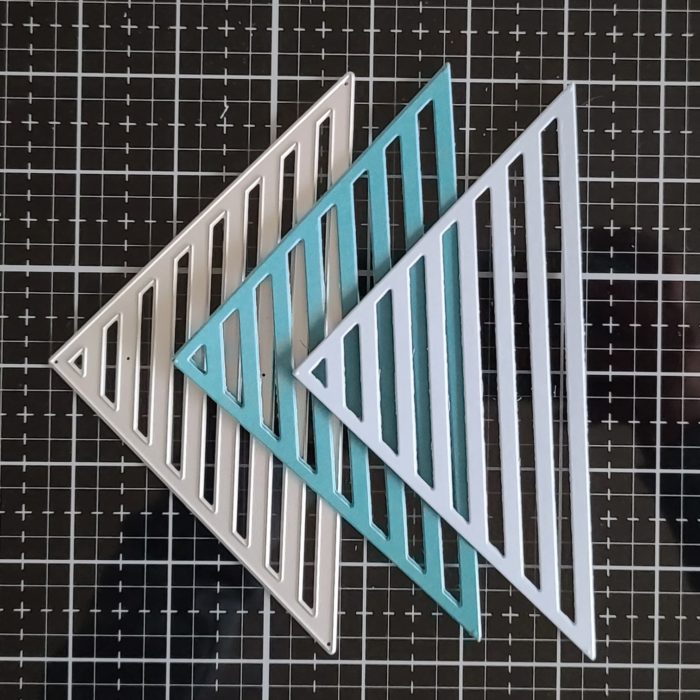
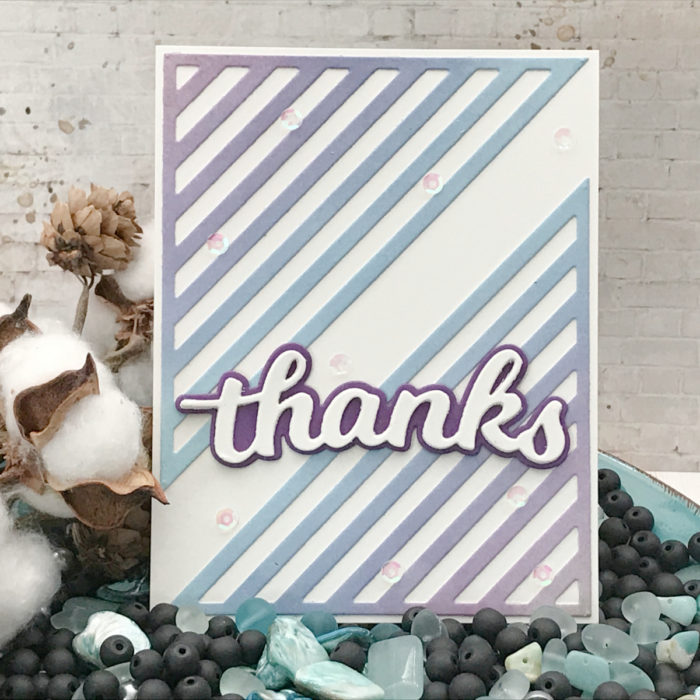
Today’s project will be featuring the Linear Triangle die and a simple blending technique. Although I must say this die has so many possibilities that we will be exploring later!
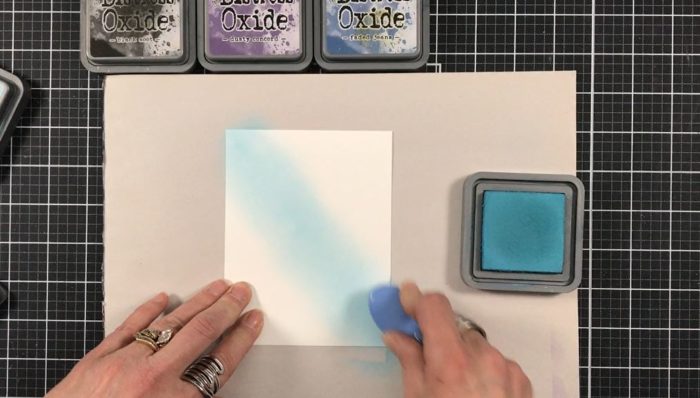
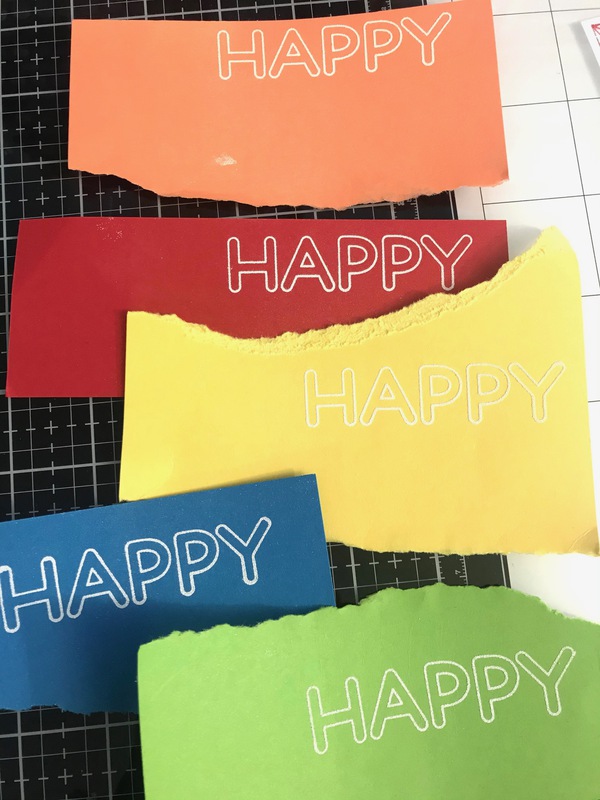
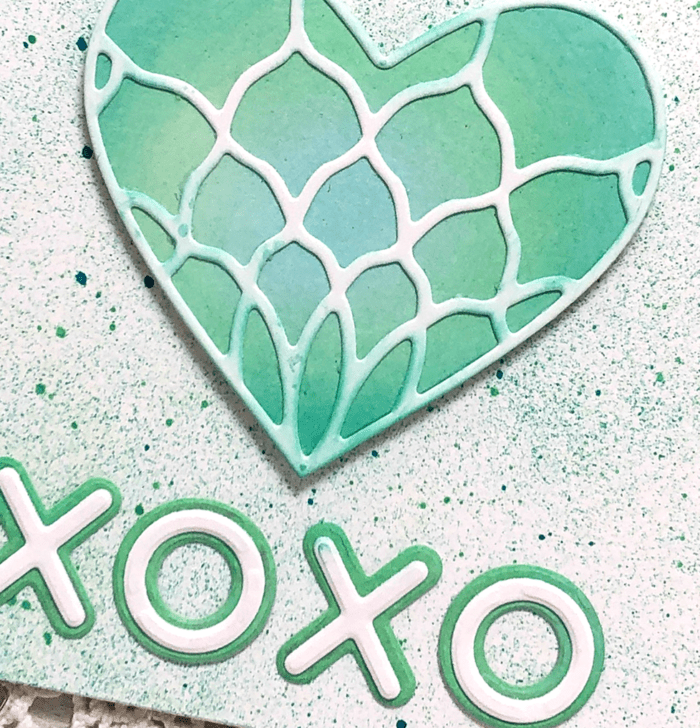
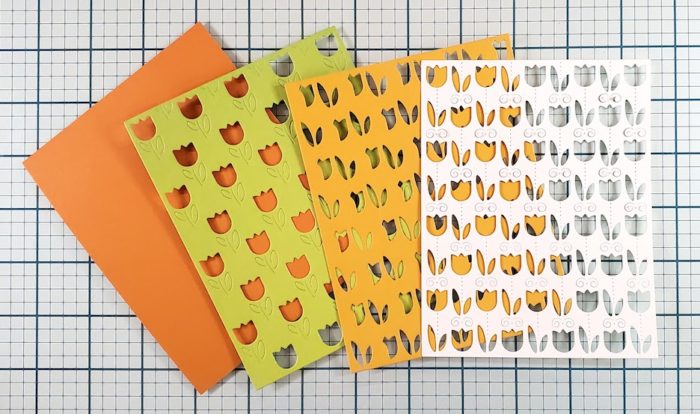
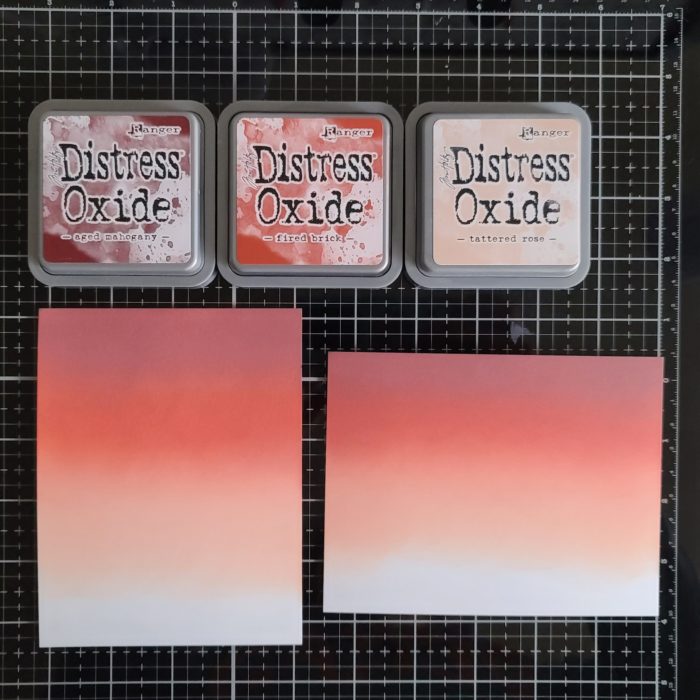
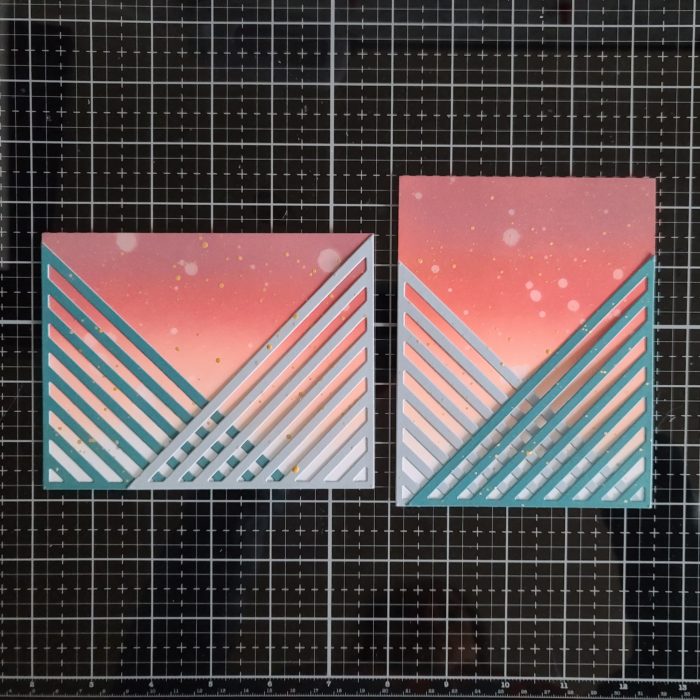
Ok so let’s get started… I first grabbed my favorite inks and yes, they are the Distress Oxides and my blending brushes. I took a piece of white card stock and started adding my colors, making sure the lightest was set in the middle and worked out to each end getting to each darker color as I went along. What makes this blend simple is we do not have to worry about a perfect blend. When we die cut out piece it will hide all those areas not completely smooth.
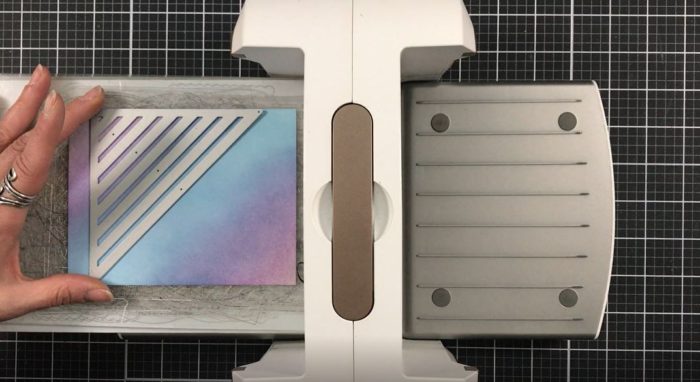
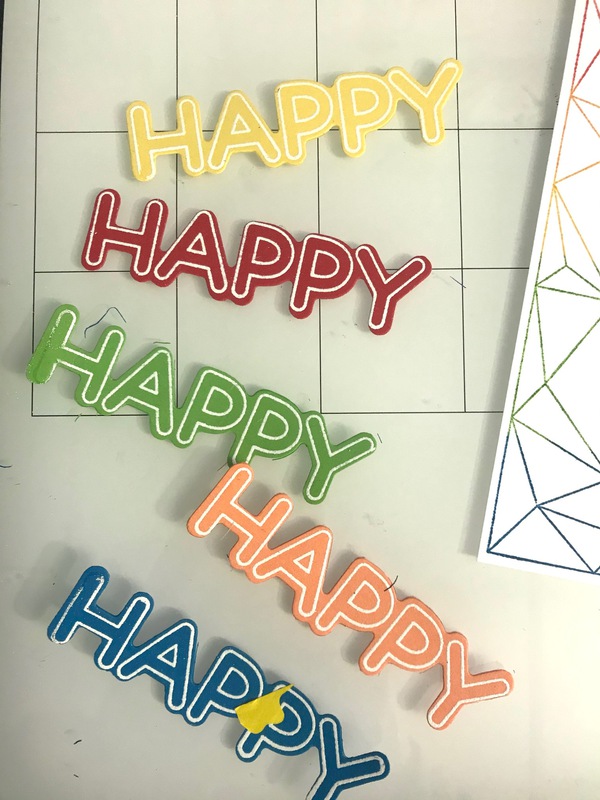
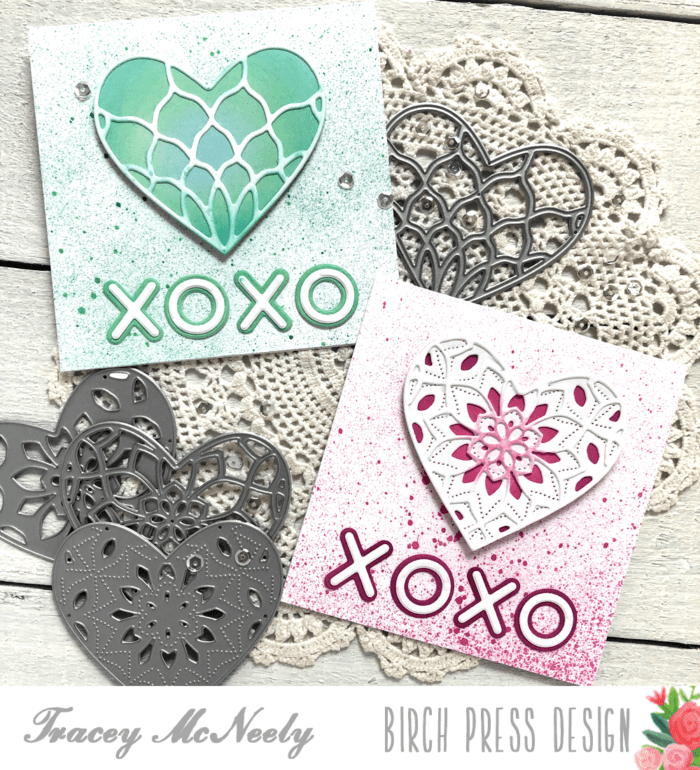
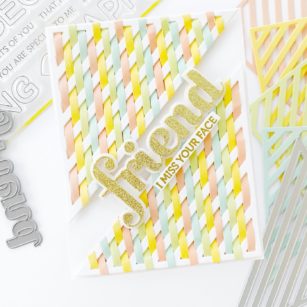
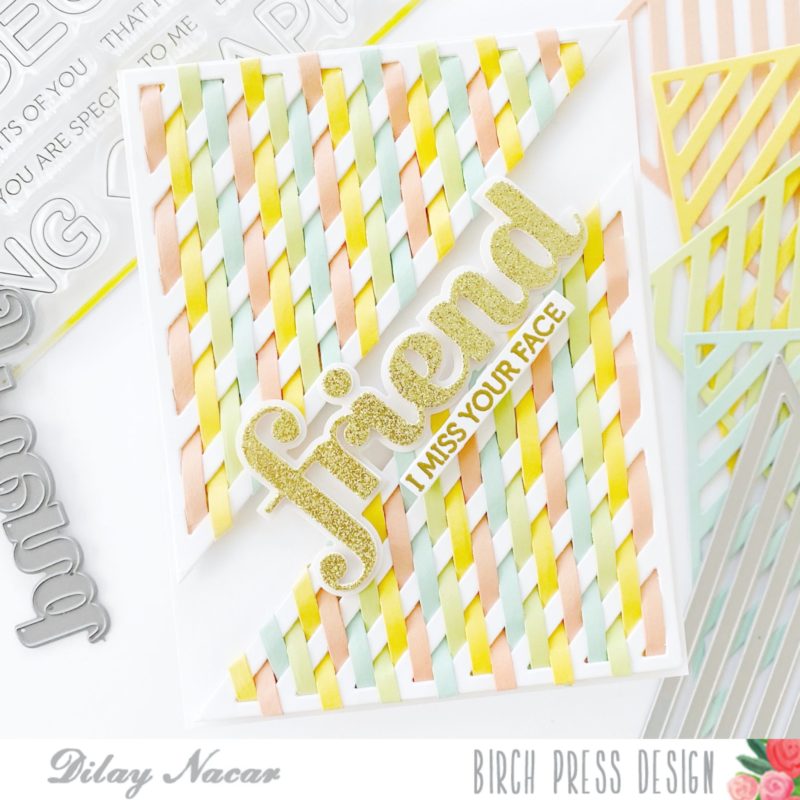
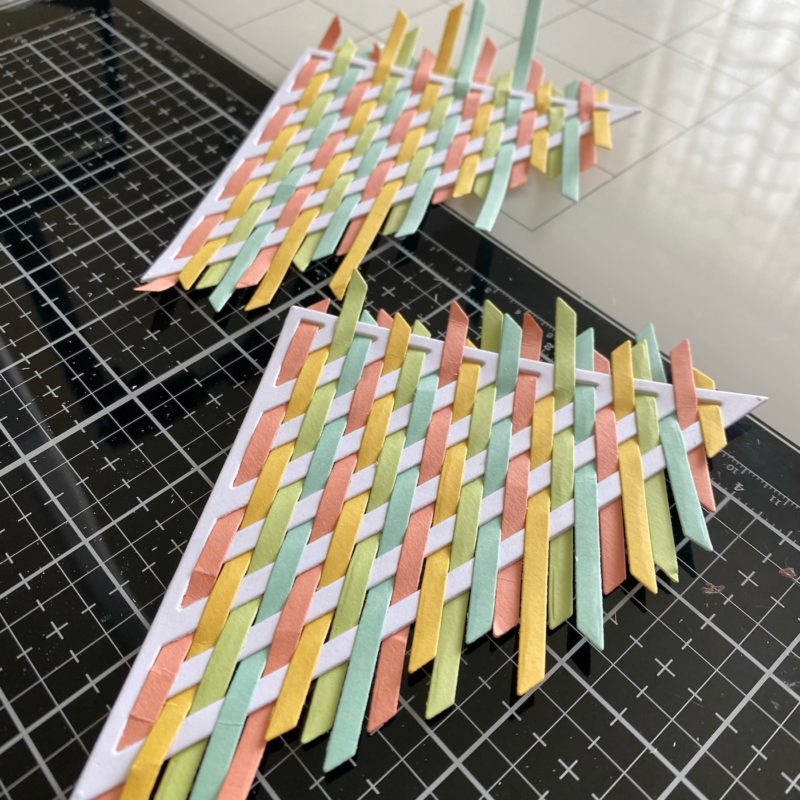
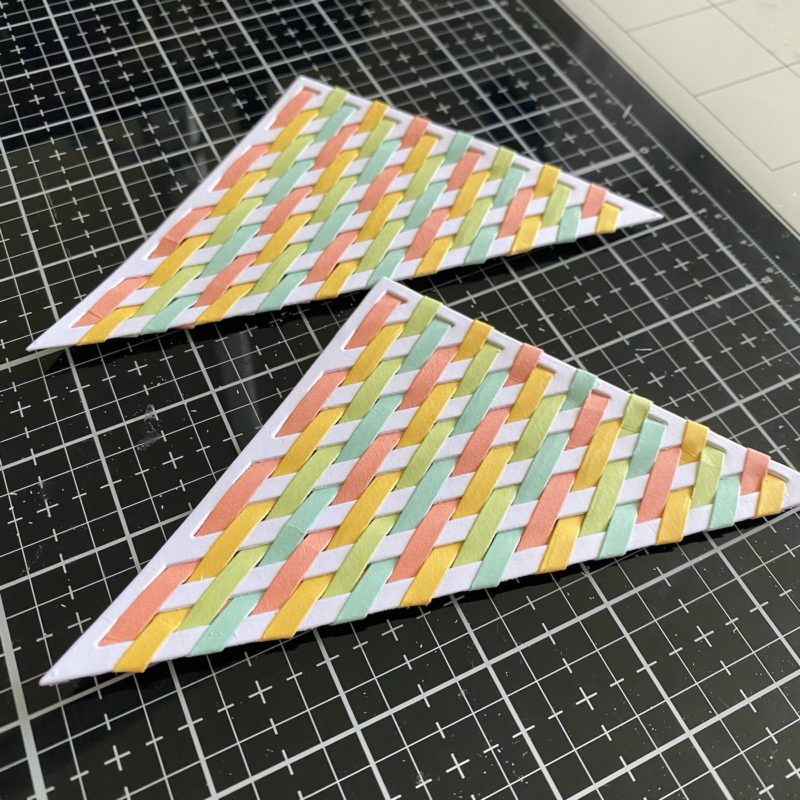
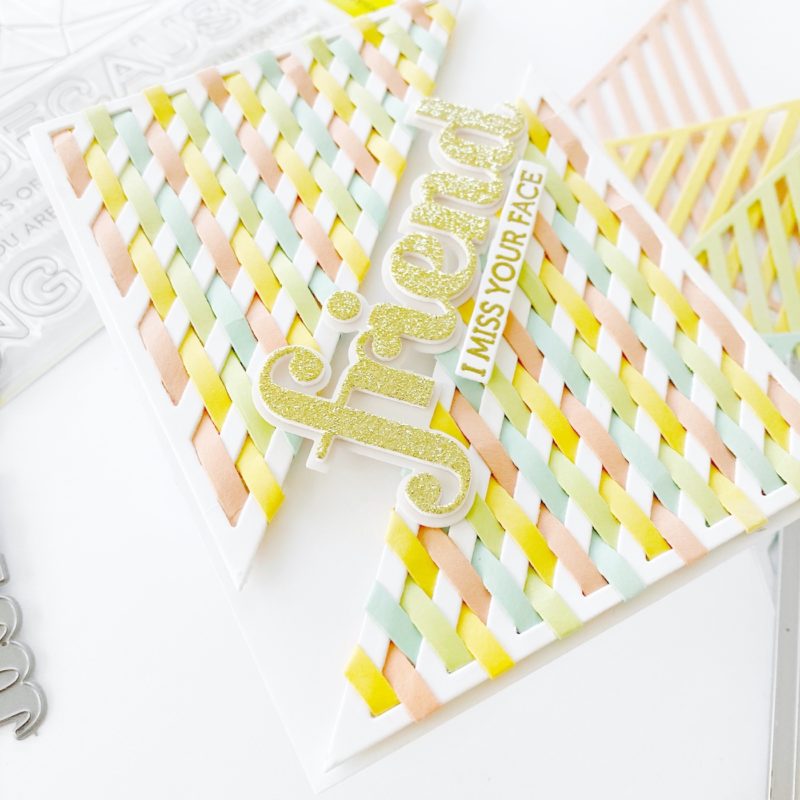
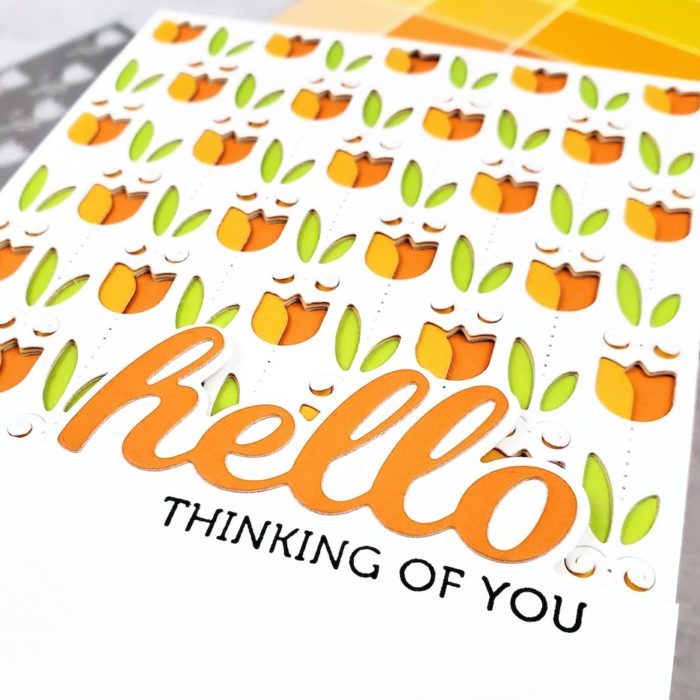
Once my panel was completed, I then die cut two images positioned at opposite corners. We now have two beautiful focal points for our card front that will add texture and dimension for the background!
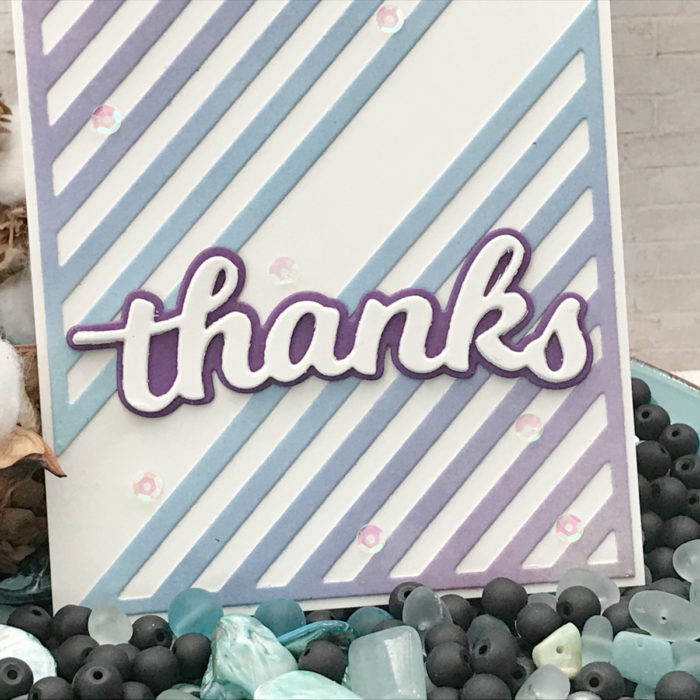
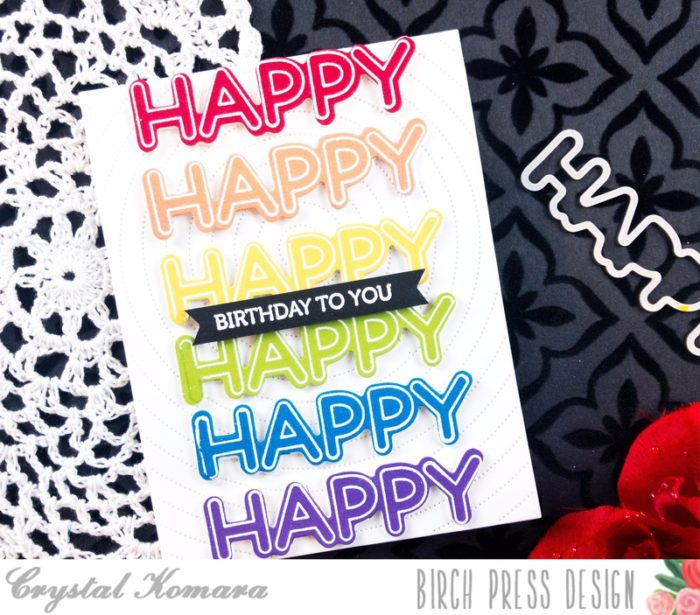
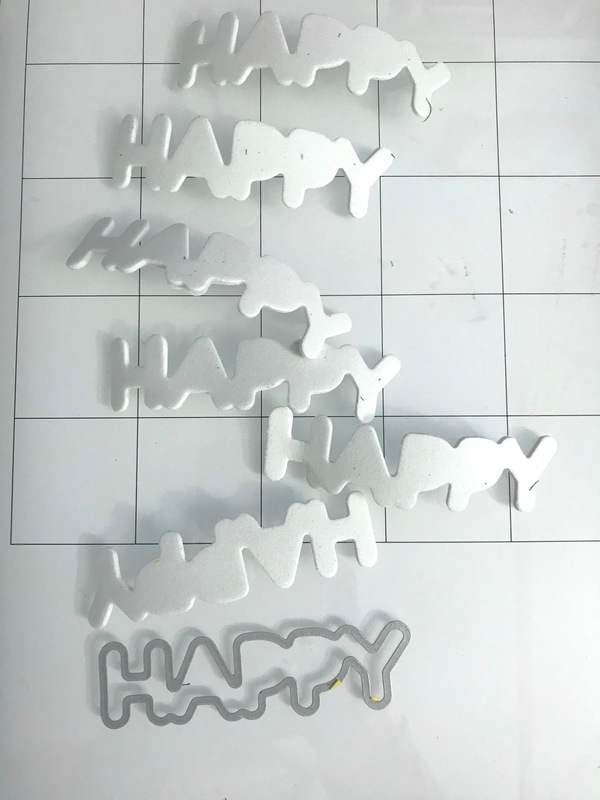
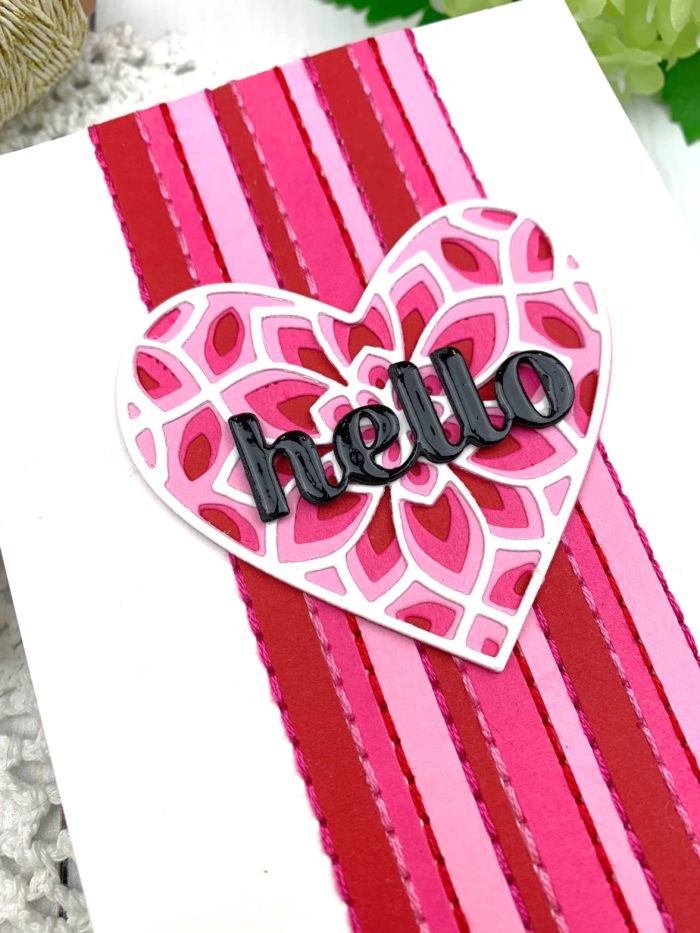
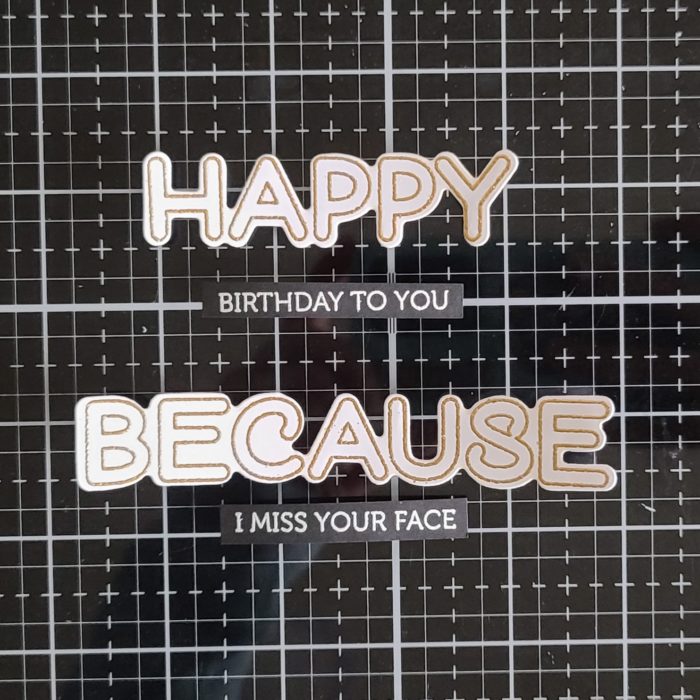
I die cut my sentiment using the Honey Script Thanks die multiple times to just add to the dimension of our card. Set that in place.
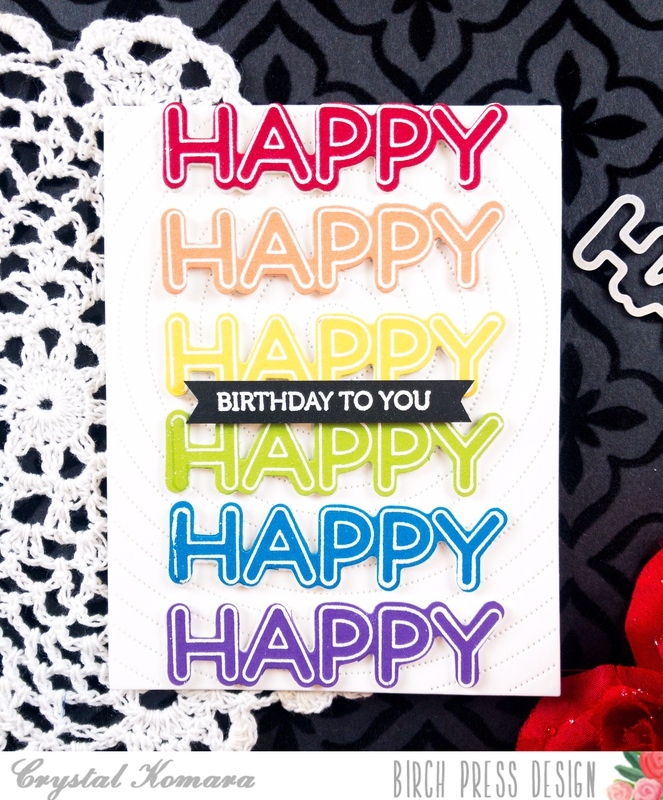
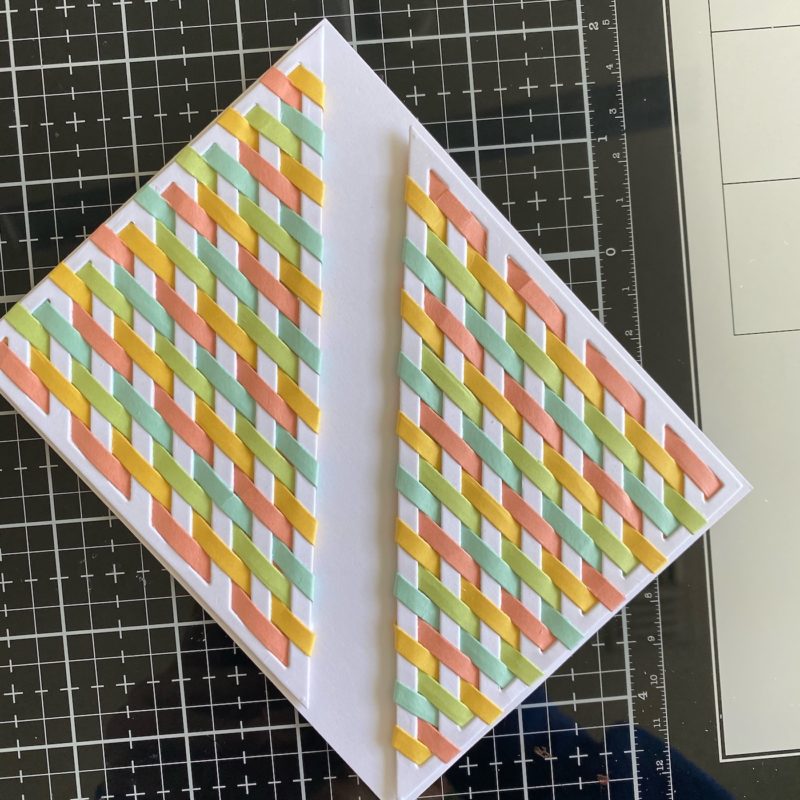
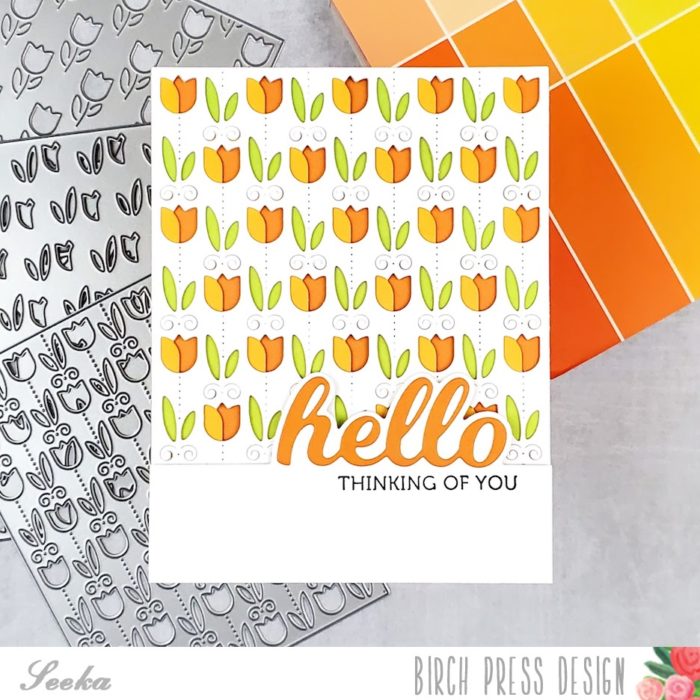
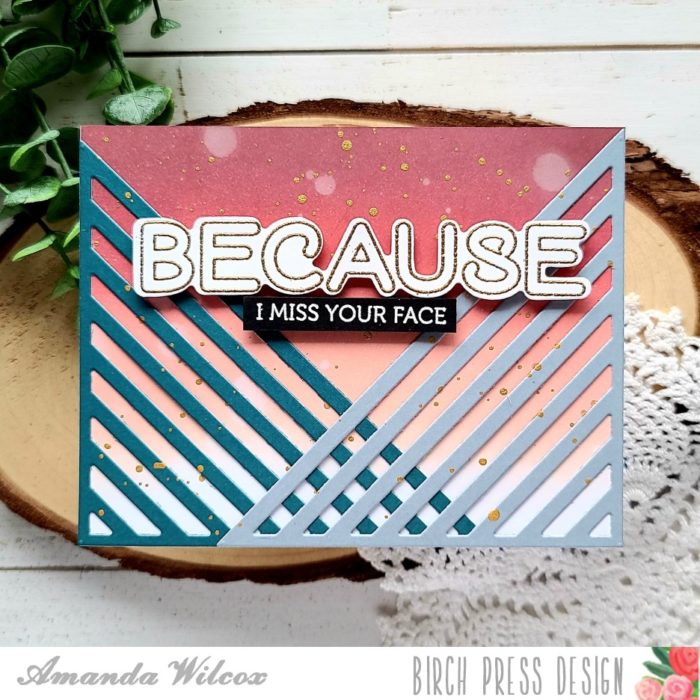
Our card front panel was set onto a top folding standard A2 size card base (4 ¼ inches x 5 ½ inches)! In no time we have a card that can be created for any occasion that pops up!

As always, I hope you enjoyed today’s project… and if you want to see more details just click on the video below and see how these projects come together step by step!
Make sure you stay tuned for more wonderful projects coming soon! Have a great day and always remember… Be Creative!

Supplies