Category: Ardyth Percy-Robb

  • Dazzling New Year | with Ardyth

    Dazzling New Year | with Ardyth

    If there’s one thing we can probably all agree on, it’s that we’re happy that 2021 is almost here!

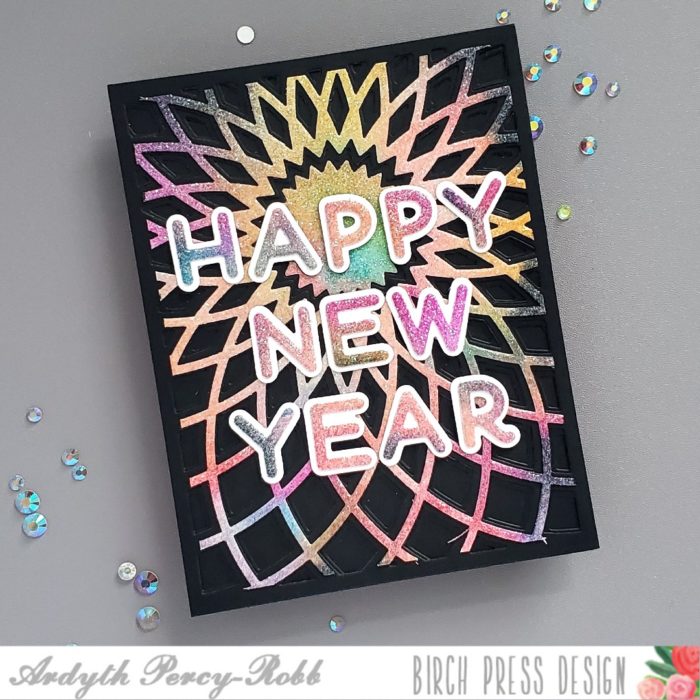
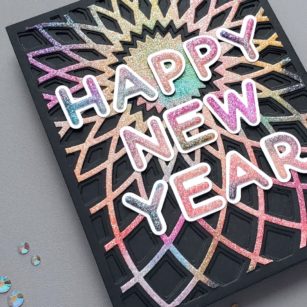
    I created a colourful New Year’s card with a fun technique using alcohol inks and the Delicate Pastels Glitter Card pack.

    I started with a 6×6 inch piece of white glitter cardstock:
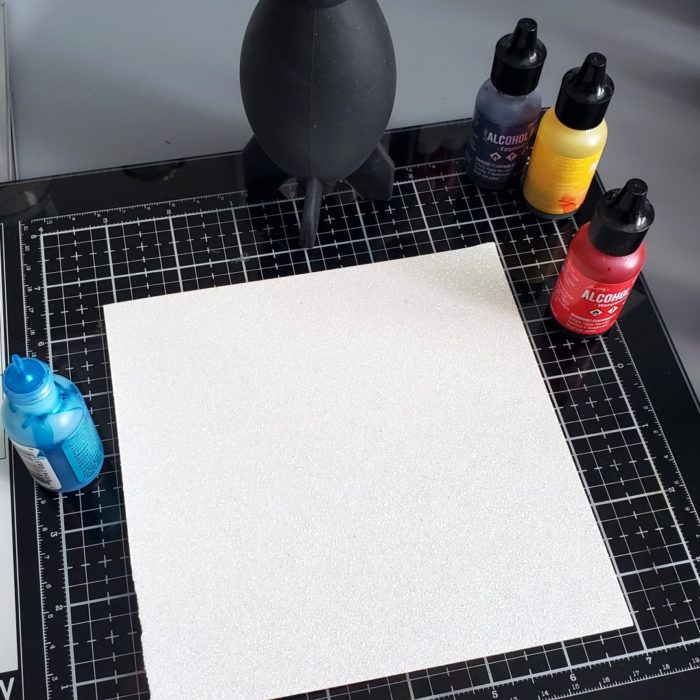
    I liberally spread rubbing alcohol (you can use blender solution) over the cardstock and dropped in lots of colours of alcohol ink. I used my lens cleaner (air pump) to spread the colours around and then left it to dry.
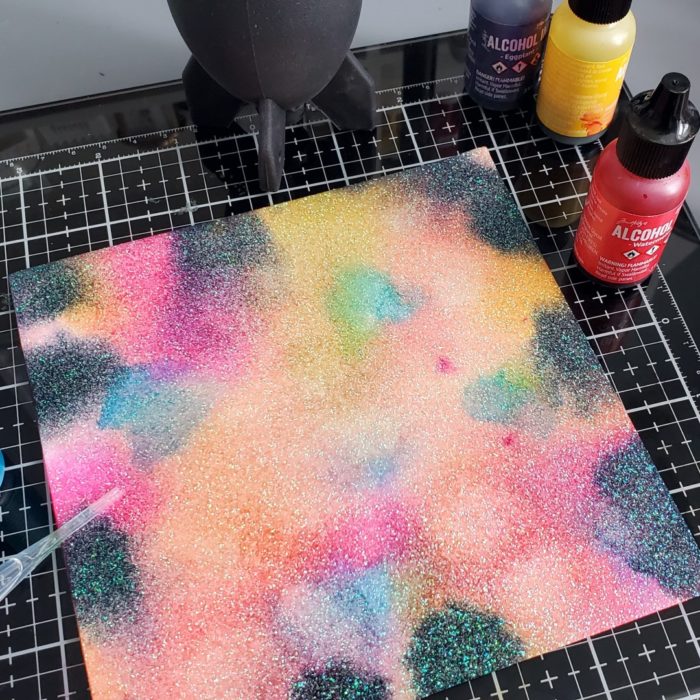
    I used mostly bright colours and I added some darker (Eggplant) ink around the edge to see how I liked it. I preferred the bright colours for this card, but I wonder about creating a ‘galaxy’ sky with more of this darker ink…..

    When it was dry, I used the top layer of the Dazzle set to cut it. This gave me a sparkly circle from the centre which I used a little later.

    I cut the bottom 2 layers from black cardstock, as well as a black cardbase, to really let the glittery colours stand out!

    I used the sparkly circle from the centre of my top layer, and placed it over the bottom layer die to cut a smaller circle. I glued it in and that created a black pointy frame around it, which has a really energetic look!

    For my sentiment, I used the rest of my glittery alcohol ink panel and the Mod Alphabet, using white cardstock for the shadow layers to try and make sure that the visibility was high.
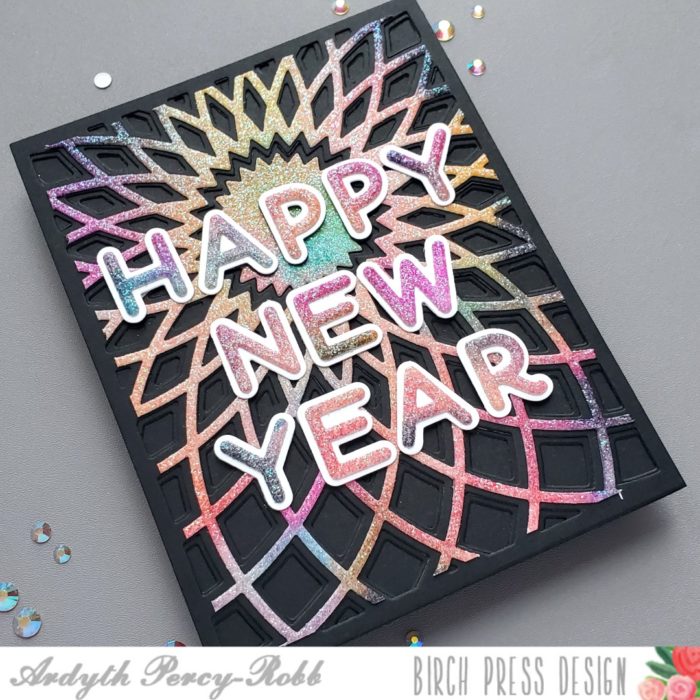
    Wishing you all a very happy and healthy New Year!

    Supplies

  • Versatile Mini Snowflake Frame Layer Set | with Ardyth

    Versatile Mini Snowflake Frame Layer Set | with Ardyth

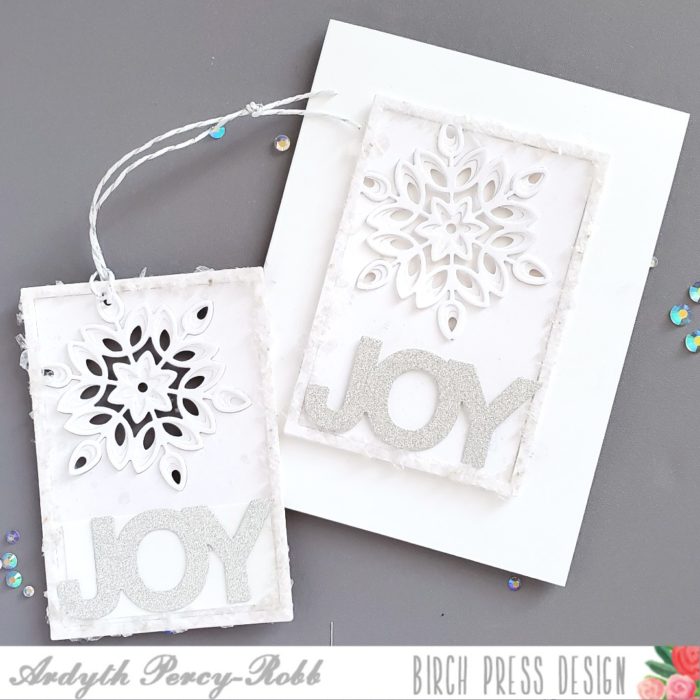
    Good morning! It’s Ardyth here with the new Mini Snowflake Frame Layer set, to show you how versatile it can be!

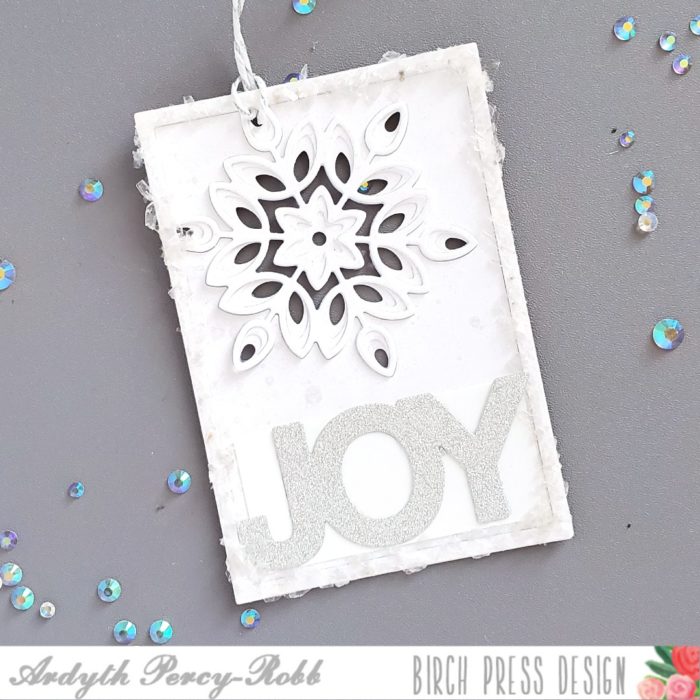
    Last week I made a see-through tag with it by discarding the inner pieces of the snowflake, but keeping the pieces between the frame and snowflake for the bottom layer in place with some clear tape on the back.

    I spritzed it with some shimmer spray, then added mica flakes on the frame for a really frosty look!

    I finished the tag with just the shadow layer of the Simple Joy die (which fits perfectly inside the frame!), cut from silver glitter card from the Holiday Glitter pad.

    That hole in the top of the snowflake is the perfect place to add some sparkly twine to attach the tag to your gift!

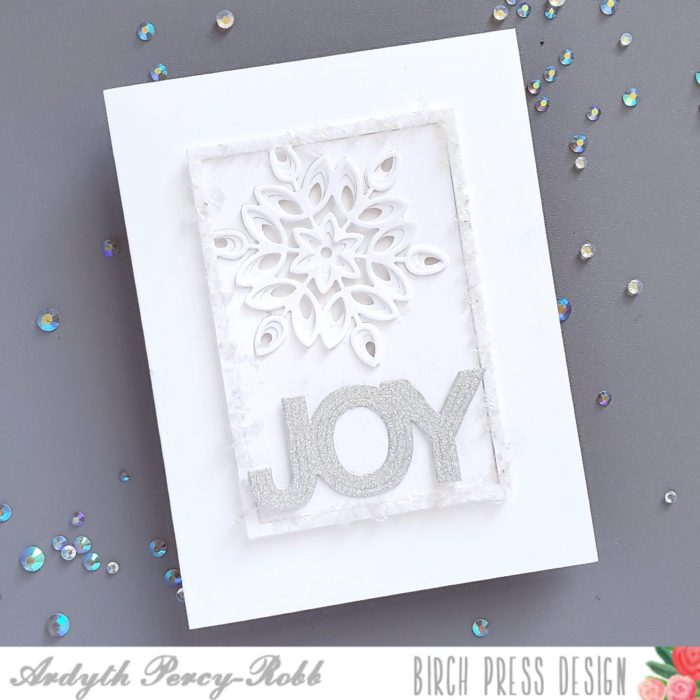
    But it also makes a perfect addition to a card! I created another tag in the exact same way, and then popped it up onto a plain white card base. The dimension allows you to see through the snowflake again, creating interest and depth.


    Supplies


  • Using Foil Paper with Embossing Folders | by Ardyth

    Using Foil Paper with Embossing Folders | by Ardyth

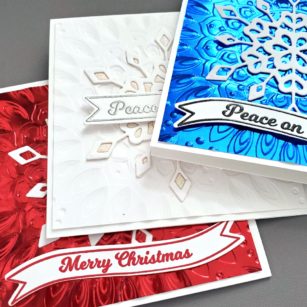
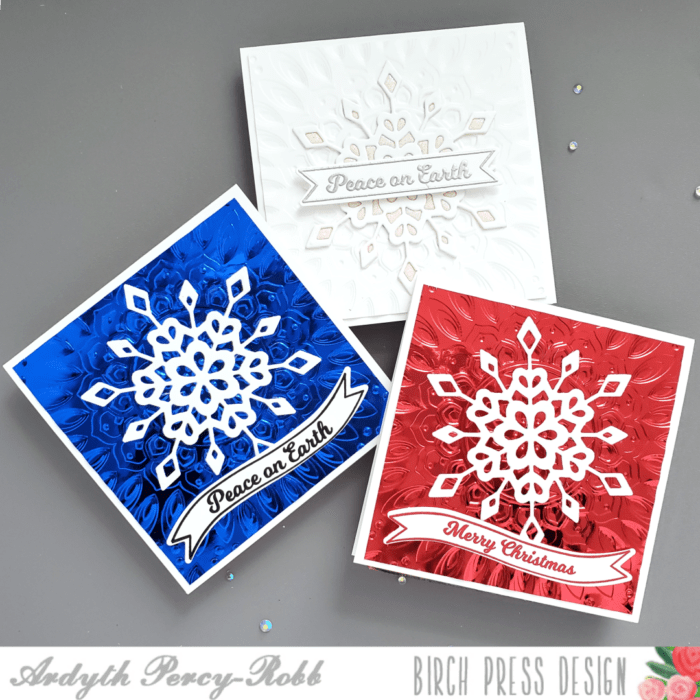
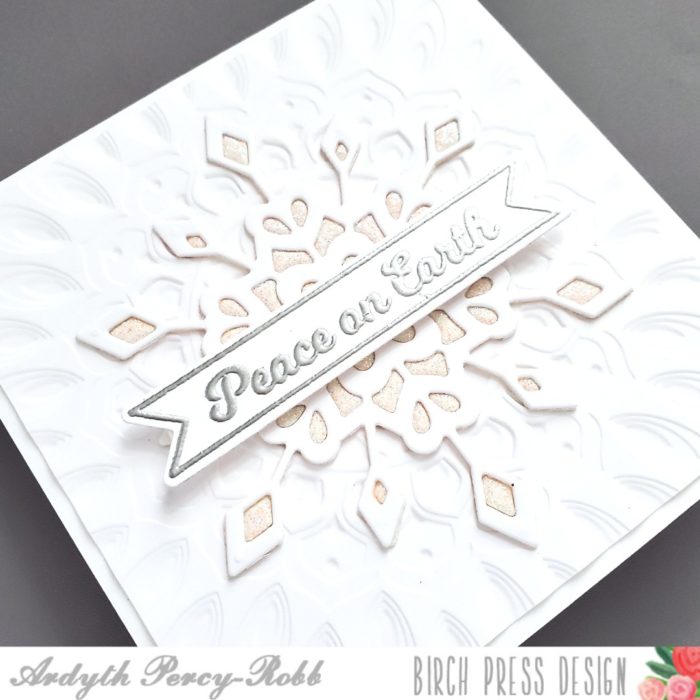
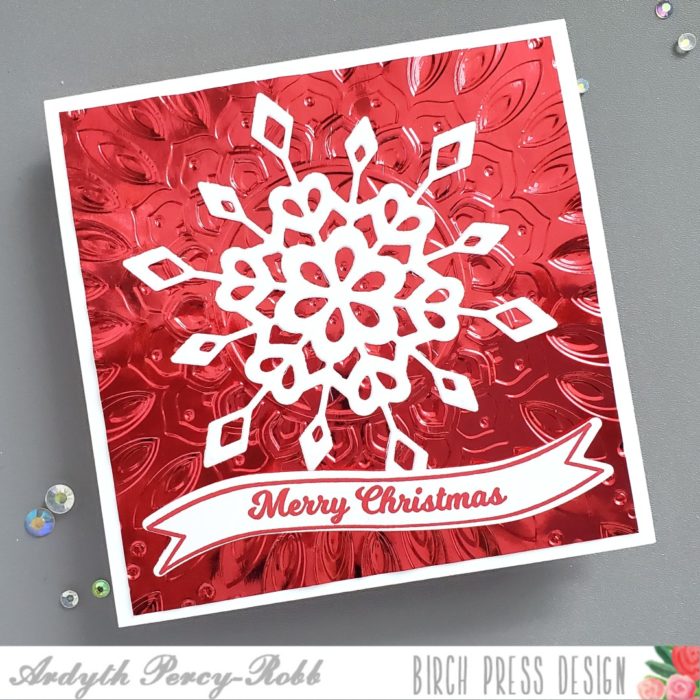
    I love the look of embossed backgrounds – the subtle texture adds so much interest to a solid background! I used the Serene Mandala embossing folder to add dimension to my white background on this card:

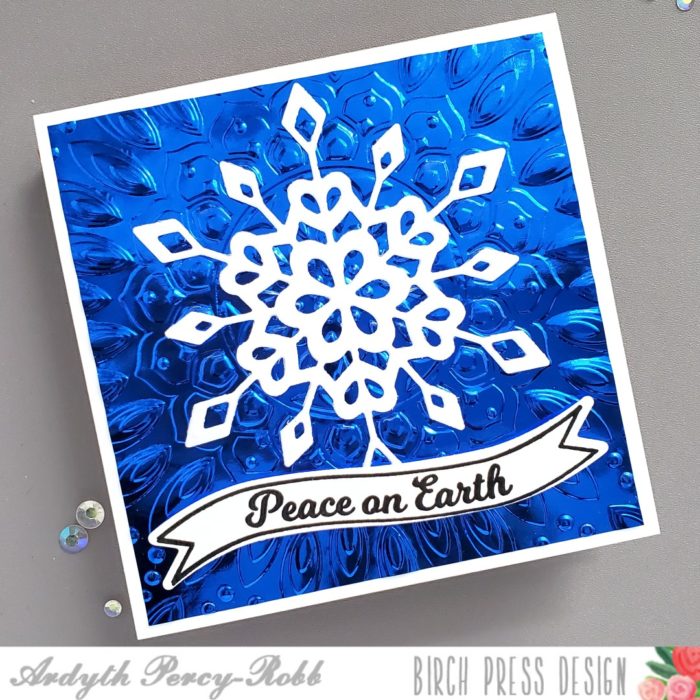
    But you can use embossing folders with specialty cardstock, too! The Polished Foil paper pack is a perfect place to start – this paper is thinner than cardstock, so it embosses beautifully!

    And you can ‘reverse’ the pattern by putting the pretty side of the foil paper on the opposite side of the embossing folder when you run it through your die cutting machine! If you look closely, you can see that the recessed portions are the opposite in my red card than the blue card.

    I finished all 3 of my cards with the B layer of the Frosty Flake set – this die-cut has the perfect proportions to stand on its own, but also looks gorgeous when stacked with the A and C layers!

    My sentiments are banners from the Christmas Ornament and Labels stamp and die set.

    The reflections from the different patterns make these 2 cards sparkle in the light with a retro feel! I hope you’ll be inspired to give this a try!


    Supplies


  • It’s all in the details |by Ardyth

    It’s all in the details |by Ardyth

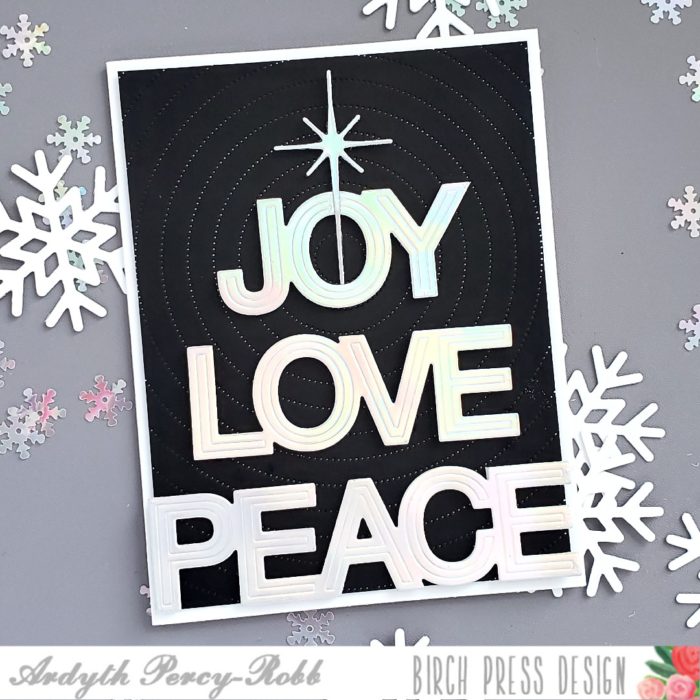
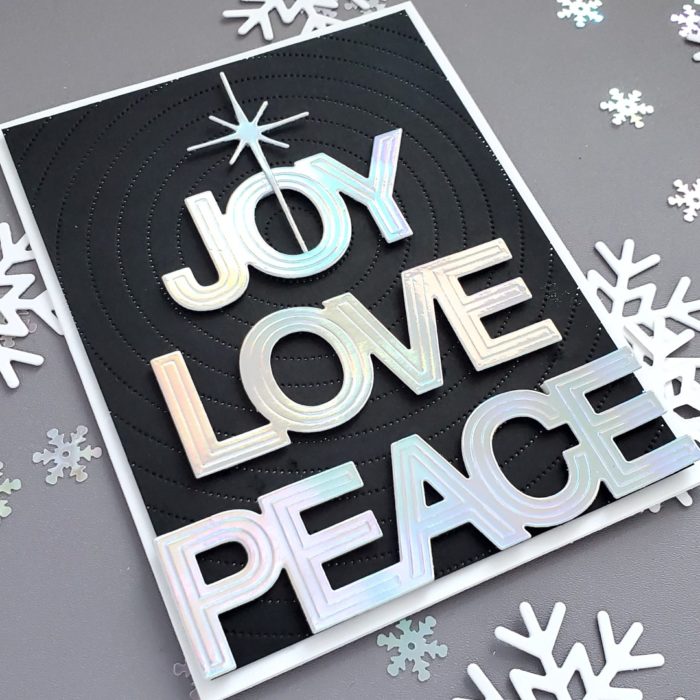
    Sometimes, simple is best. This graphic Christmas card came together really quickly, but there are a couple of small details that make it really stand out!

    First, the background. I used the new Pinpoint Radial Coverplate to add subtle interest, and give the look of movement to a simple panel of black cardstock.

    Next, I used holographic cardstock for my die cuts. I used only the shadow layer of Simple Joy, Simple Love and Simple Peace, and also the smallest star cut from the String Art Nativity Star coverplate.

    The holographic shimmer (which is so hard to capture in a photograph!) adds colours that change in the light and takes this simple design to the next level!


    Supplies


  • Stretch the Christmas Ornament and Labels Stamp Set | by Ardyth Percy-Robb

    Stretch the Christmas Ornament and Labels Stamp Set | by Ardyth Percy-Robb

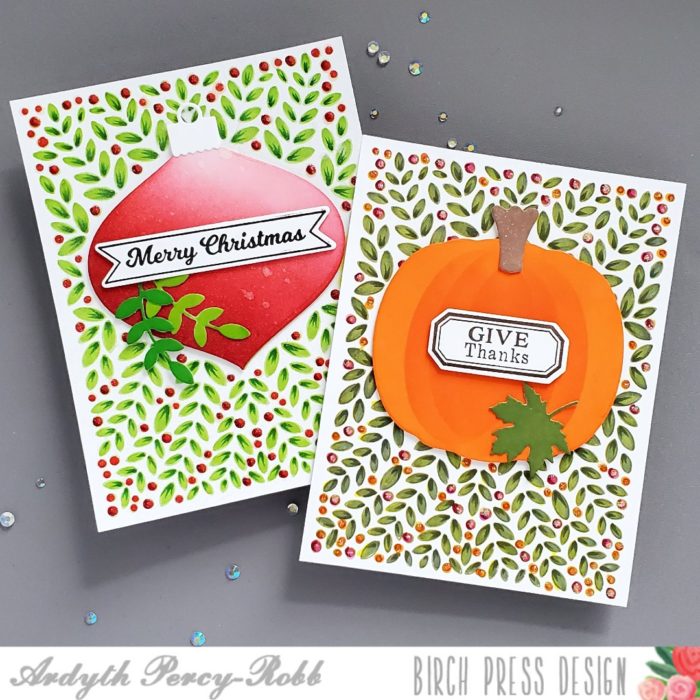
    Good morning! Ardyth here with an easy way to get more from the gorgeous leafy background in the Christmas Ornament and Labels stamp set.

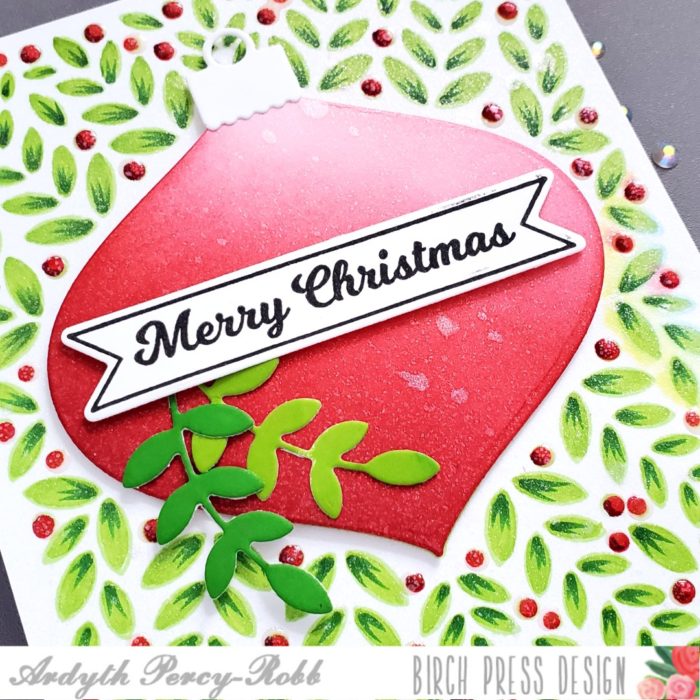
    First, I stamped the background with green ink and did some no-line colouring with alcohol markers. I die cut an ornament and blended it with red ink, leaving a lighter area on the top right as a highlight. I popped it up on the card right over the ornament outline that is part of the stamped background.

    I stamped one of the banner sentiments and cut it out, and popped it up over two of the branches, cut with the die included with the set. I added Nuvo Clear Crystal Drops to my red berries.

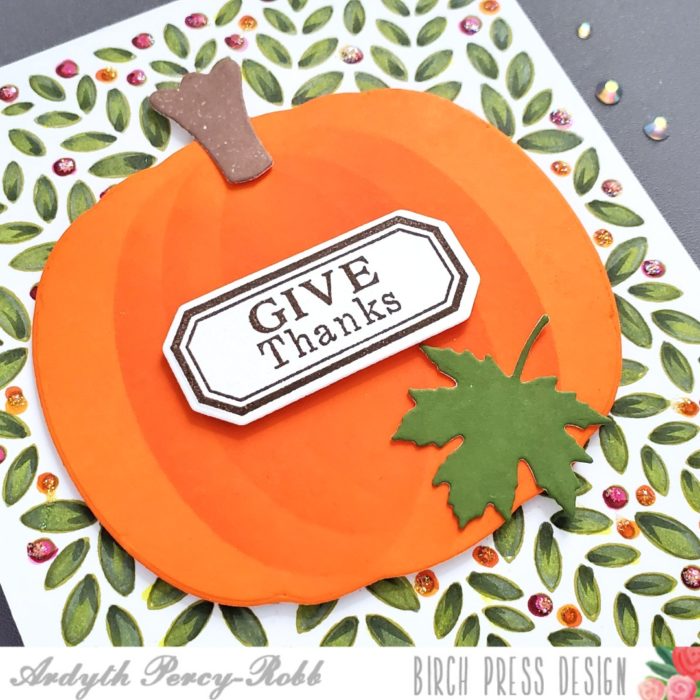
    Then, I did it all again! This time, I chose a darker, warmer green colour for my leaves, and orange and pink for my berries.

    I covered the stamped ornament outline with a die cut pumpkin from the Pumpkin Lacework stamp set. I blended orange ink over it, using the edge of the negative portion of my die cut, to give some dimension.

    I stamped one of the included sentiments, cut it out and popped it up on the pumpkin, along with the stem and a maple leaf.

    I hope you’re inspired to look at your stamps and dies to see how you can change them up and get more from them!


    Supplies

  • Stencil Turning 2 Ways | by Ardyth Percy-Robb

    Stencil Turning 2 Ways | by Ardyth Percy-Robb

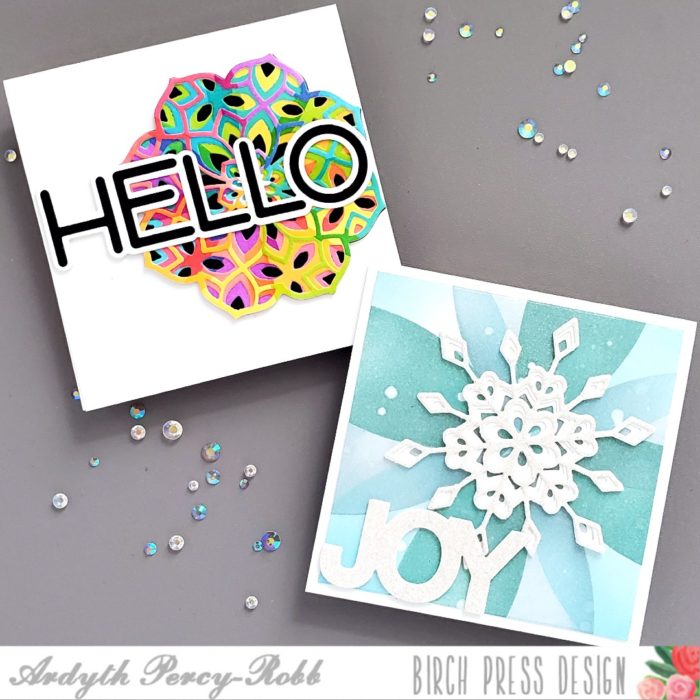
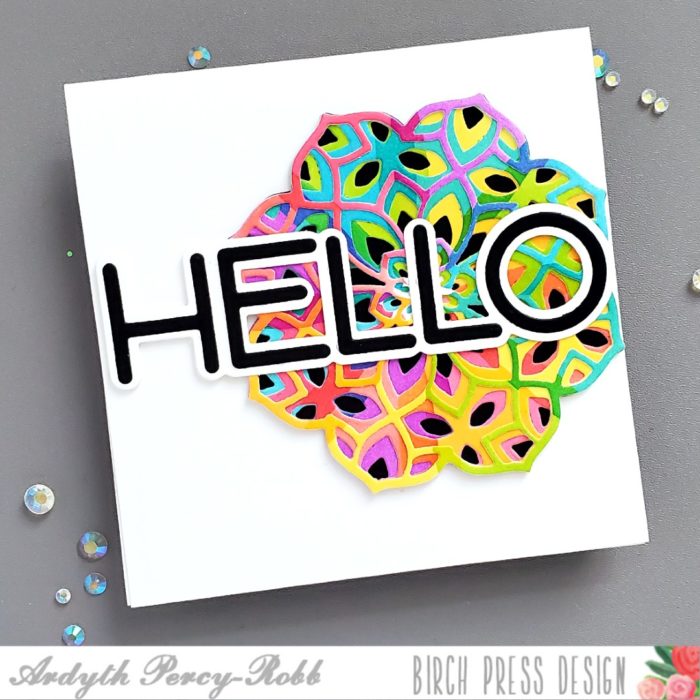
    Good morning! At first glance, these two cards don’t look like they have a lot in common, but both were made with the same Petal Burst stencil and an easy turning technique!

    I blended 4 colours of ink through the stencil – one colour for each petal, before turning it 45 degrees and blending 4 more colours through it. I did this 3 times and then cut the Kinsley Layering dies from the centre of each ‘flower’. I stacked them up, but turned them to create a bold patchwork of colour. I backed it with one of the Vivid Blooms Stitched layers die cut from black cardstock for drama. I finished the card with the Jumbo Lingo Hello die.

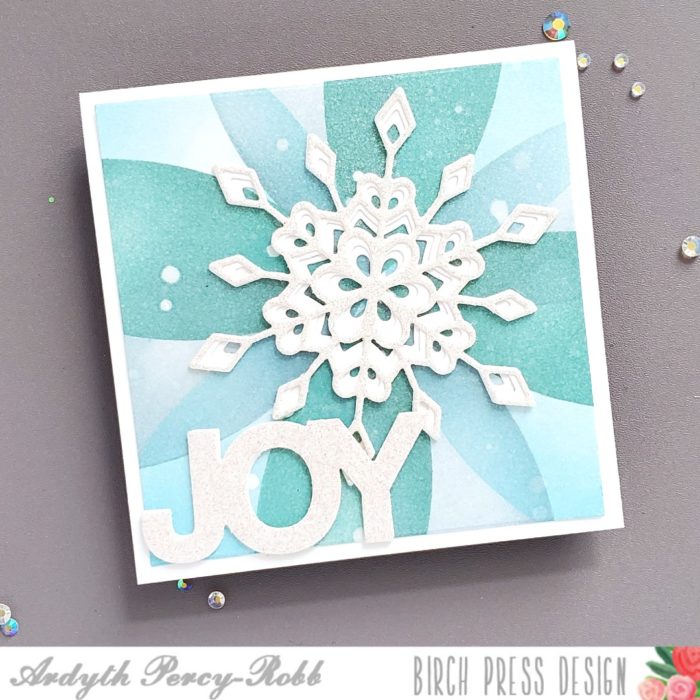
    This time I turned the stencil 30 degrees each time, and I used one colour of ink for each turn, to get a more peaceful, monochrome look. I finished this card with the new (coming soon!) Frosty Flake die set along with the shadow layer of the Simple Joy die set.

    Here’s a video showing how these cards came together:


    Supplies

  • Using Wreath Layers to make a Fall Card | by Ardyth Percy-Robb

    Using Wreath Layers to make a Fall Card | by Ardyth Percy-Robb

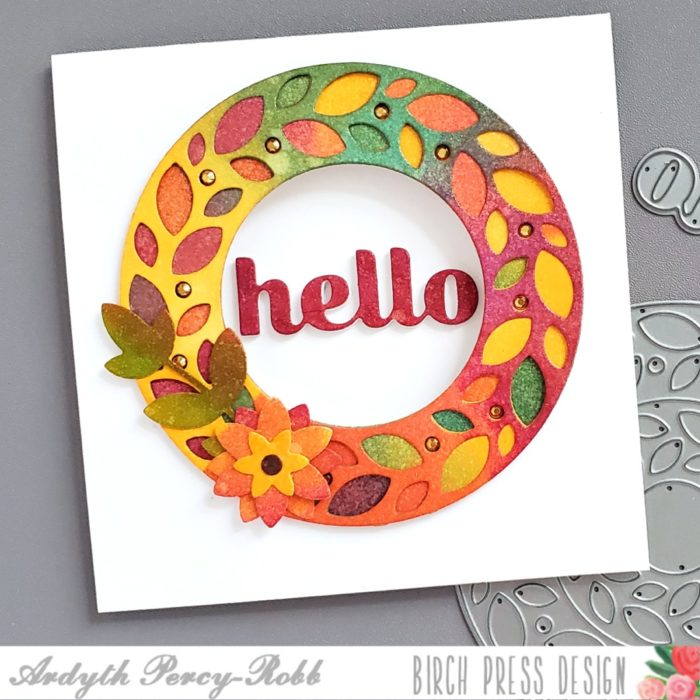
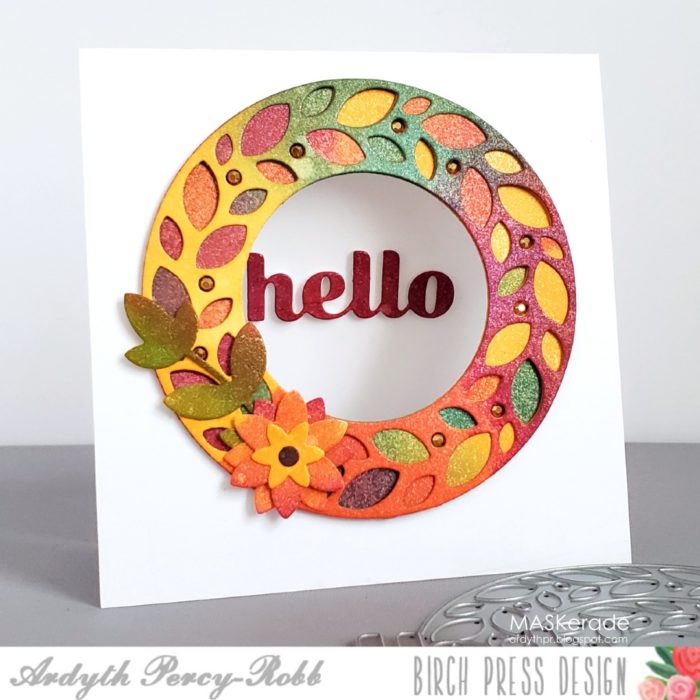
    Good morning! Ardyth here with a fun way to get more from the (Christmas) Wreath Layering die set (which is on sale right now for $30 – less than half price!) by changing the colours to create a fall card. You could easily make this wreath work at any time of year!

    I cut the 4 layers plus the ring layer from Mandala Card Frame and I blended 4 colours of ink onto each layer. Then as I glued them together, I moved them so that each layer had the colours in a different place. This gave a fun, multi-coloured look!

    I added a flower and branch cut from Layer A of the Avalon set to add some interest.

    And to really take this card to the next level, I cut a hole in the card front, and glued my stacked-up Hello Sugar Script sentiment to the inside of the card.

    Here’s a video:


    Supplies

  • Over the Edge with Jumbo Lingo Type dies | by Ardyth Percy-Robb

    Over the Edge with Jumbo Lingo Type dies | by Ardyth Percy-Robb

    Good morning! It’s Ardyth here this morning with 3 bright happy cards that focus on some new sentiment dies.

    This simple 4.25″ square design starts with the Bold Stripes stencil and two colours of ink, blended to create an ombre effect.

    Then I added the die cut Hugs sentiment, and stamped a sentiment from the Lingo Thanks stamp set.

    Then I did it again, with the Hello die cut and different colours on my background.

    And when it came time to do the third card with the Thanks die cut, it didn’t fit. It’s designed to fit on a full A2 card base. But because my square cards fit in an A2 envelope, it’s fine (and really fun!) to have the thanks hanging over the edge of this card!


    Supplies


  • Ideas for Using Ornament Layering Dies | by Ardyth Percy-Robb

    Ideas for Using Ornament Layering Dies | by Ardyth Percy-Robb

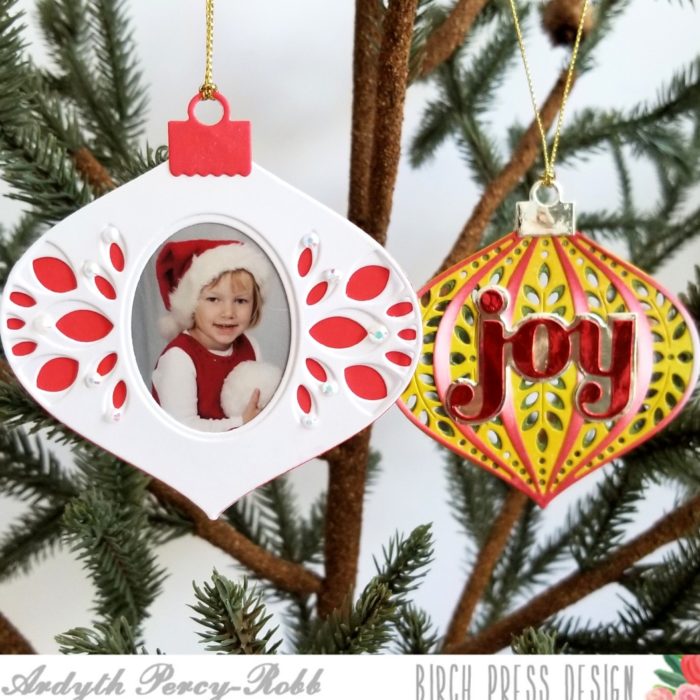
    Good morning! Ardyth here with loads of ideas for using three of the new ornament die sets: Ornament Basics, Marisol Ornament and Twinkle Ornament.

    First, I made some cards. For the one on the left, I used the outline of the Marisol ornament as a negative stencil and blended ink through. Then I put the top layer of the Marisol set over and blended more ink to create tone-on-tone stripes.

    I used the Marisol ornament die cuts as layered stencils to create the one on the right, along with the Big Sugar Script Joy sentiment.

    The new Memory Box Polished Foil paper pad has 12 different colours of foils and I used them for my ornament toppers and sentiments.

    Next, I used them to make some tags. The top and bottom tags used the top layer of the Marisol set, along with foil papers from the Polished Foil paper pad.

    I used one of the Christmas Plaid patterned papers to make the Joy tag (left).

    I also used one leafy layer from the Marisol set along with a solid background from the Ornament Basics set (right).

    Finally, I made two ornaments. The one on the left uses the top two layers of the Twinkle set – that oval is the perfect frame for photos. And I added the same two layers to the back, with a photo of my son, so that this ornament has 2 ‘pretty’ sides!

    The one on the right uses the die cuts I used as stencils for one of my cards, also doubled-up so that the back is pretty.

    There are so many ways for these die sets to be used and combined to create fun and meaningful projects for the holidays!

    Here’s a video:


    Supplies


  • Edgeless Shaker Card | by Ardyth Percy-Robb

    Edgeless Shaker Card | by Ardyth Percy-Robb

    Good morning! Ardyth here with a fun, edgeless shaker card using the stencil.

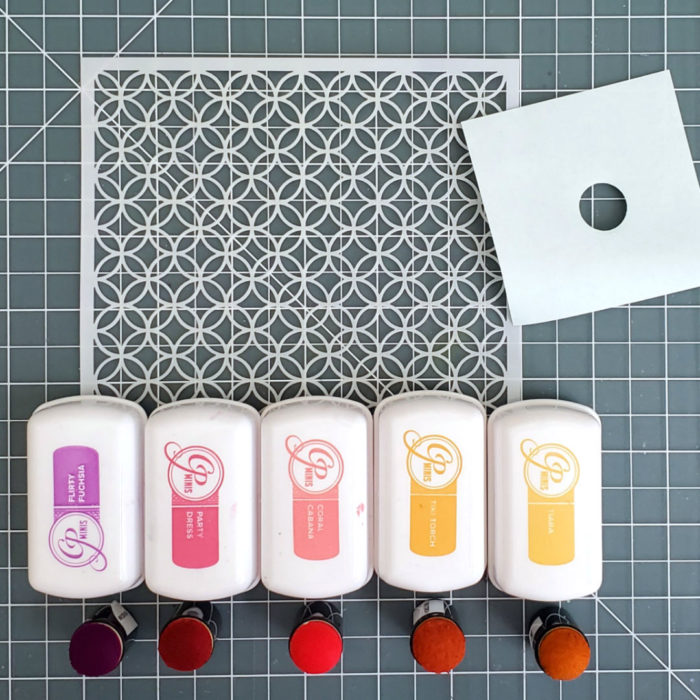
    I started by gathering my supplies: the stencil, 5 ink colours, and 5 circle masks cut from sticky notes (one for each colour).
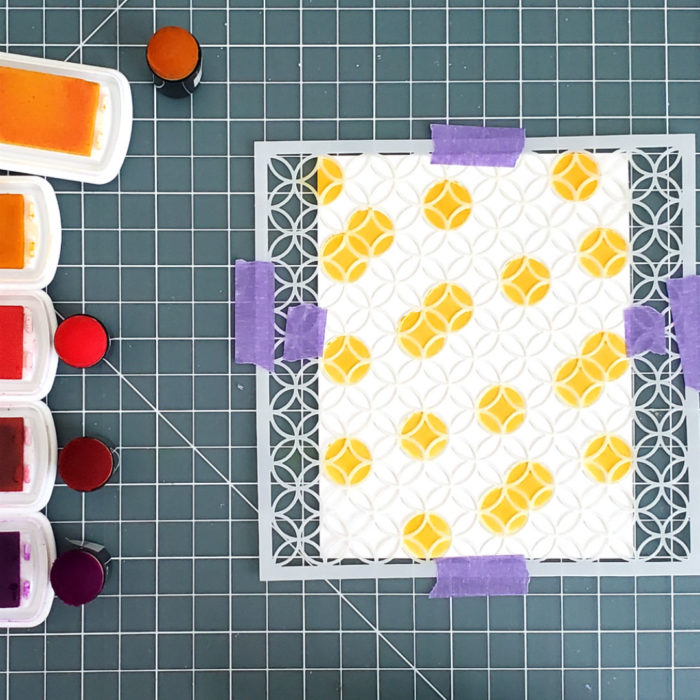
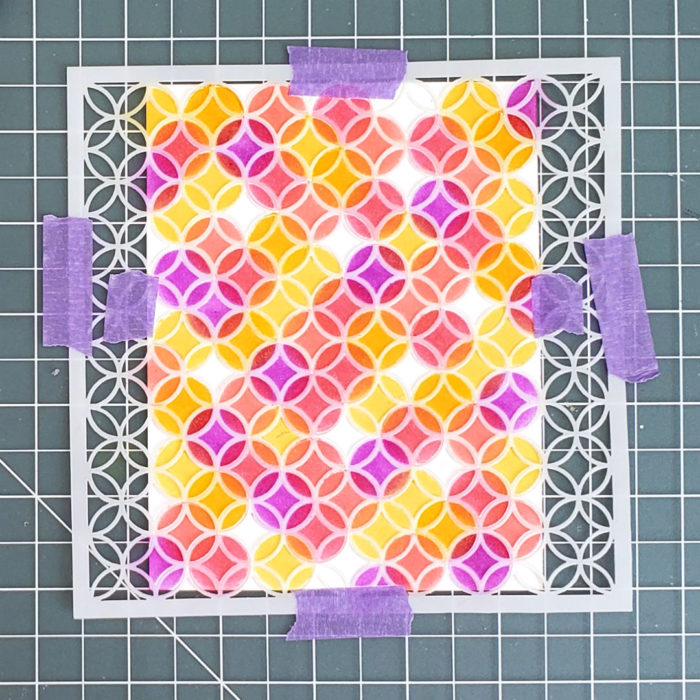
    I used sponge daubers and the masks to blend ink into the circular shapes on the stencil. I tried to make sure that they were spaced out randomly over the panel of white cardstock.

    I worked through all 5 colours, and left some areas white for some breathing space.

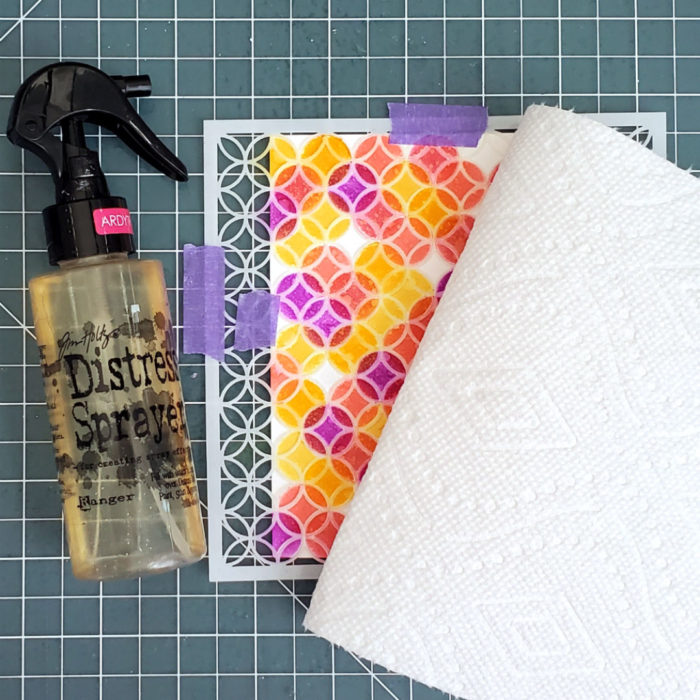
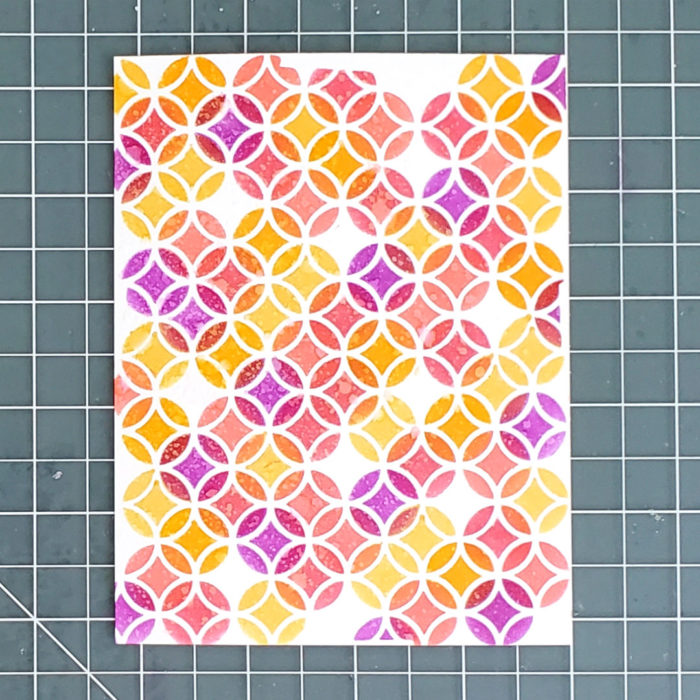
    I added texture by spritzing the panel with water and lifting the colour with a paper towel.

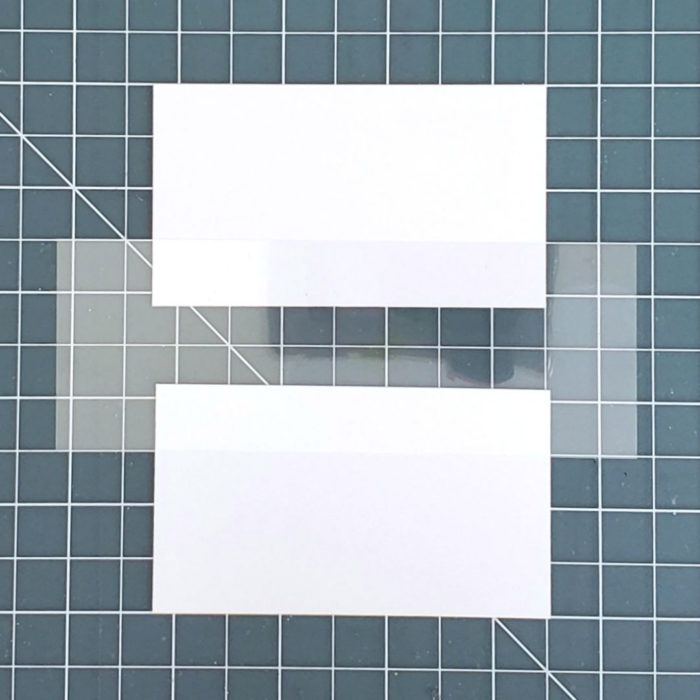
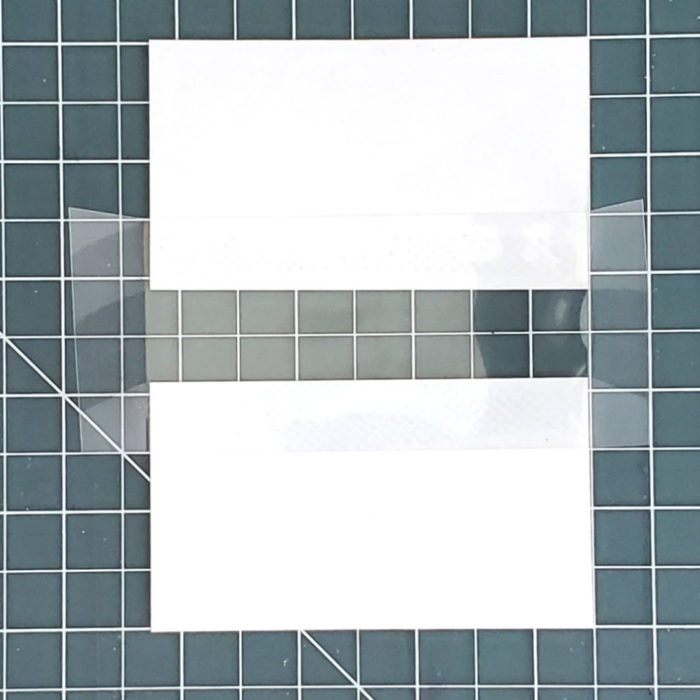
    I trimmed the panel into 2 pieces and flipped it over on my work surface. I cut a piece of acetate so that it was wider than my panel so I can create flaps.

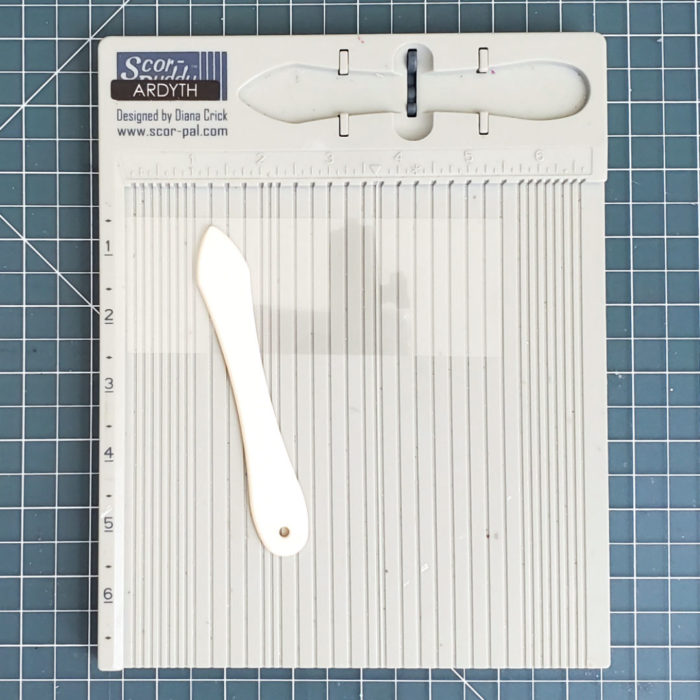
    I scored the acetate twice on each end, about 1/8 inch apart, and about an inch from the end.

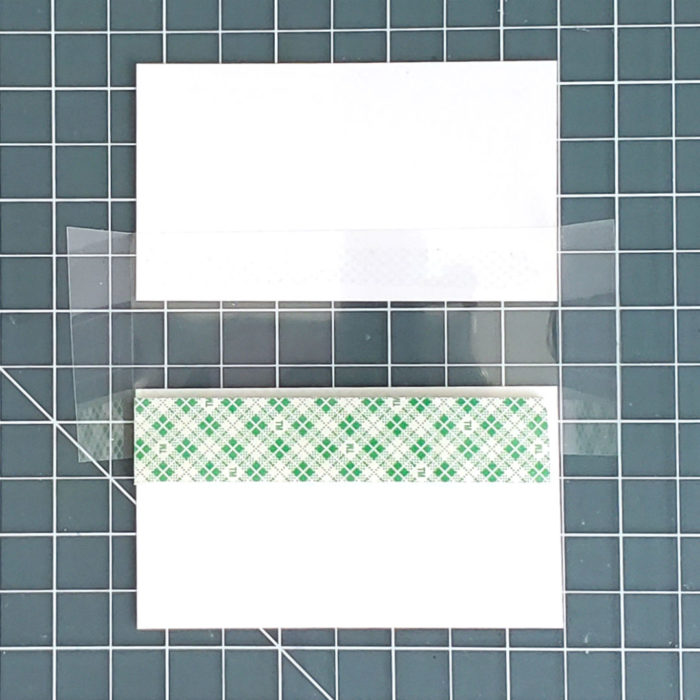
    I glued the acetate to the panel pieces – here you can see the 1/8 inch ‘walls’ and the flaps.

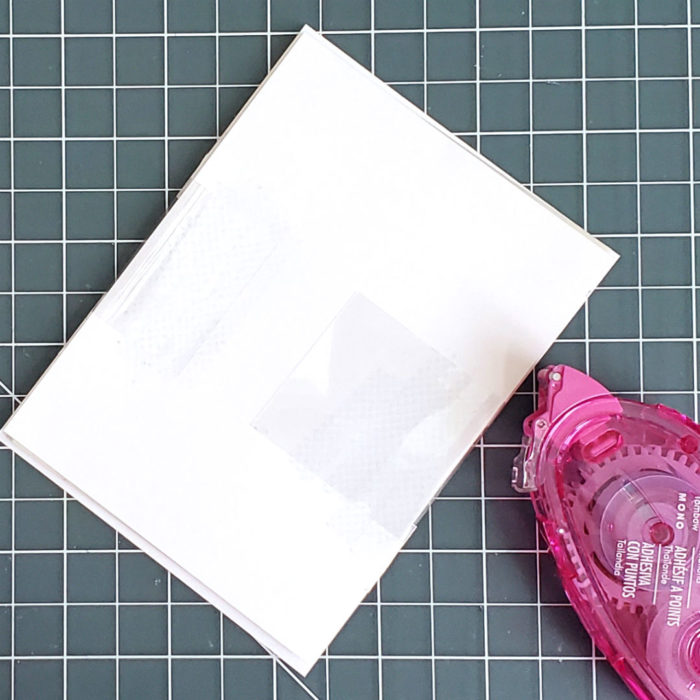
    I added strips of doubled-up foam tape to create the rest of the walls, and to support the panel.

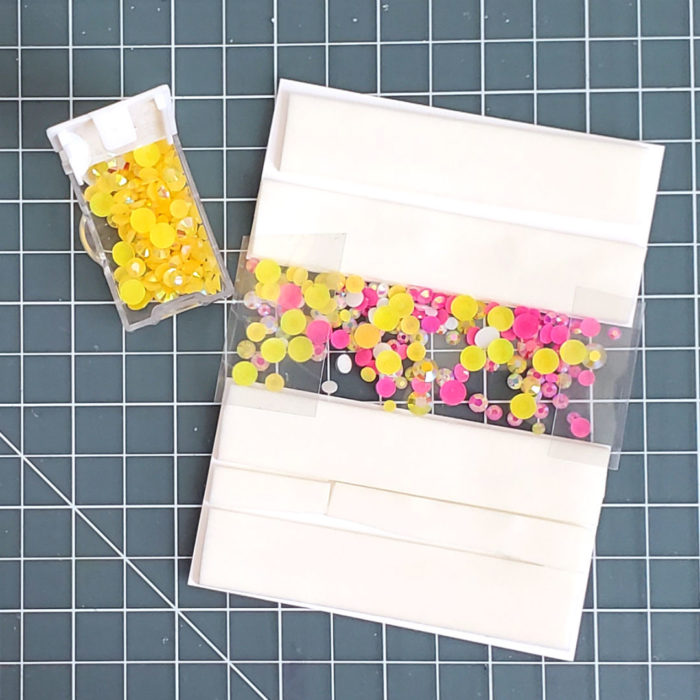
    I filled the shaker area with gems and removed the release paper from the foam tape. I left the flaps standing up for the next step.

    I placed a white panel of cardstock over the back, and then glued the acetate flaps down .


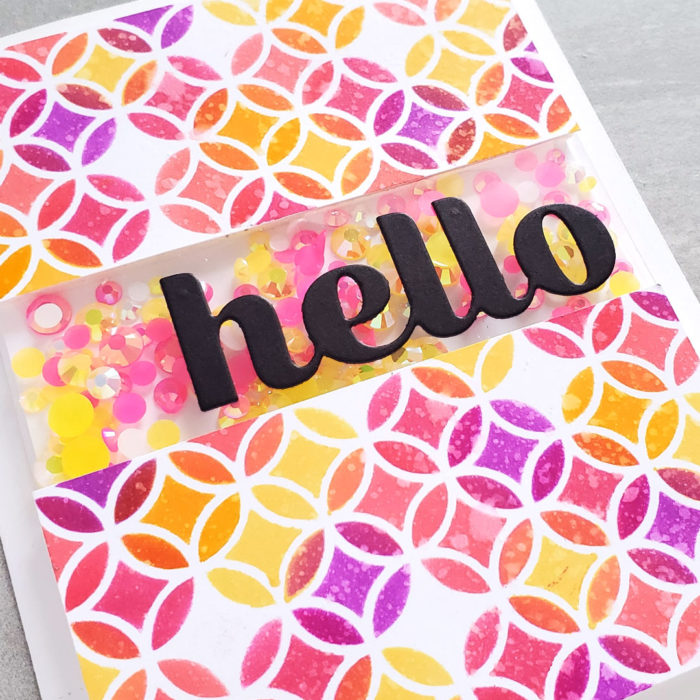
    I attached the shaker panel to a white cardbase, and added the Big Sugar Script Hello die, cut from black cardstock.

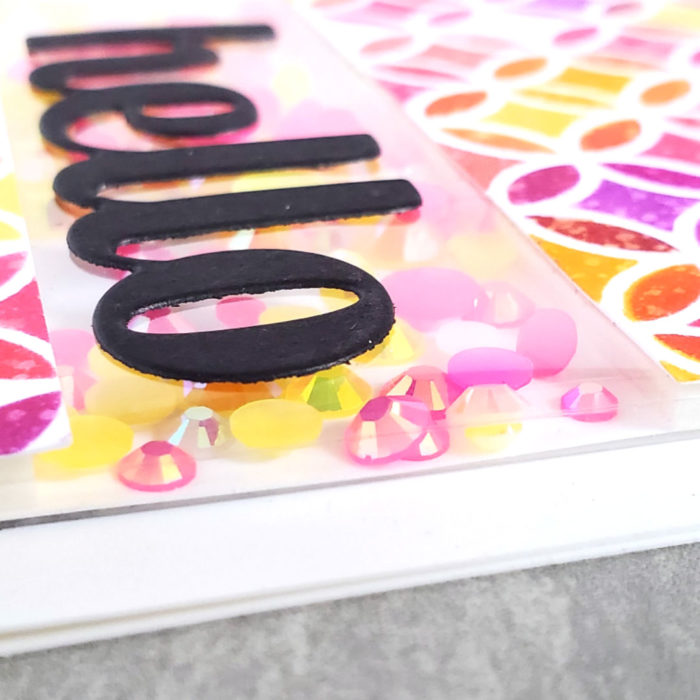
    Here’s how the edge of the shaker looks.

    And of course, I made a second card using the leftover ink from the stencil.

    An edgeless shaker has big wow factor, but it’s easier than it looks – I hope you’ll give it a try!


    Supplies