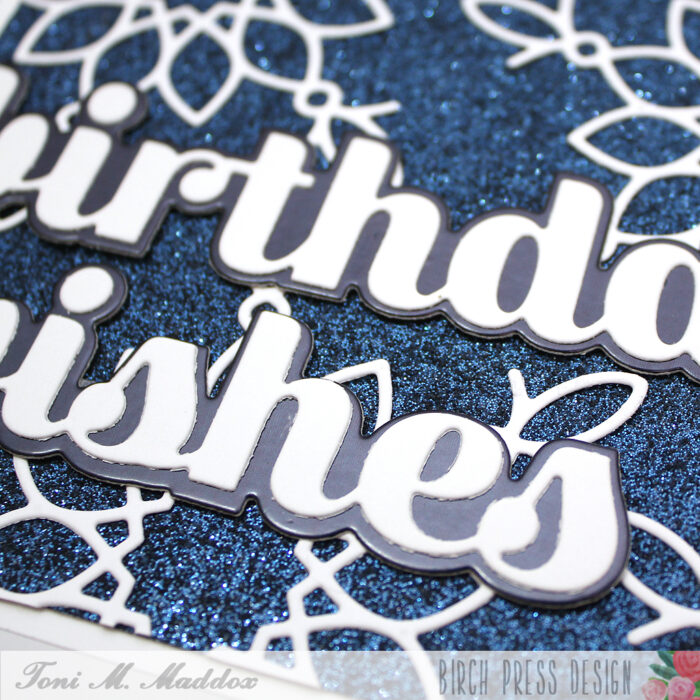
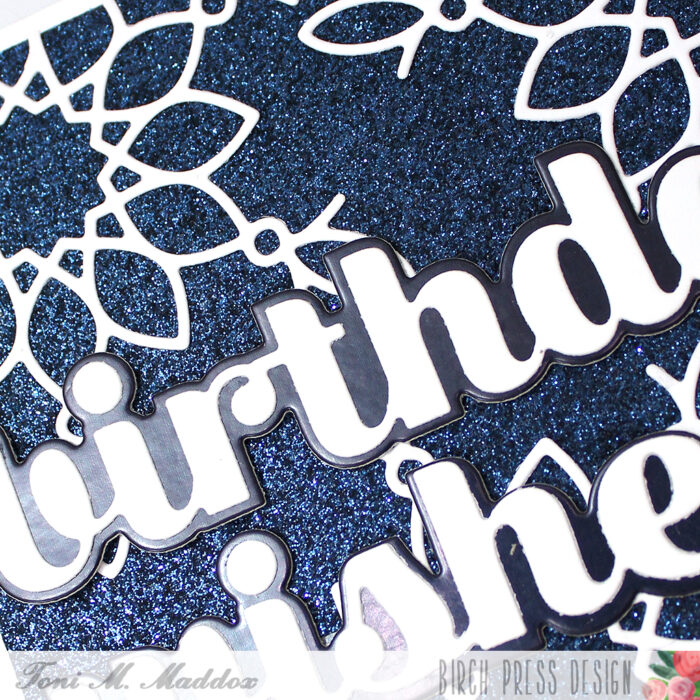
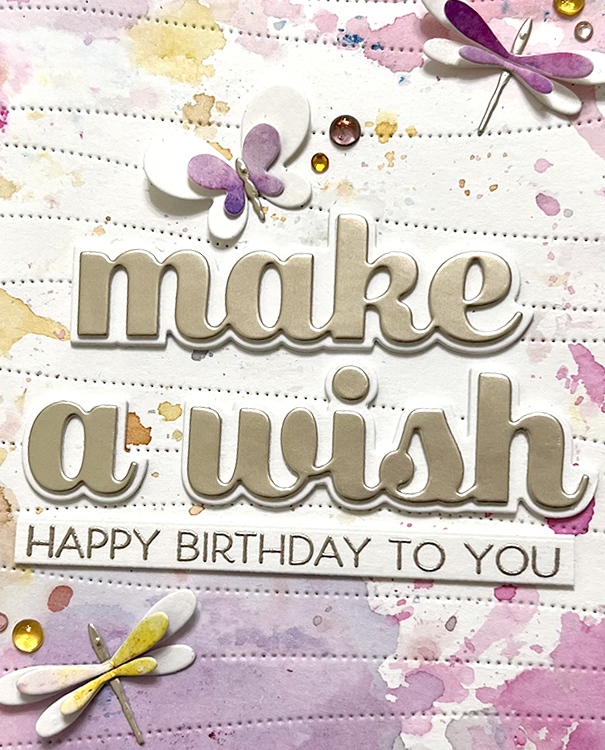
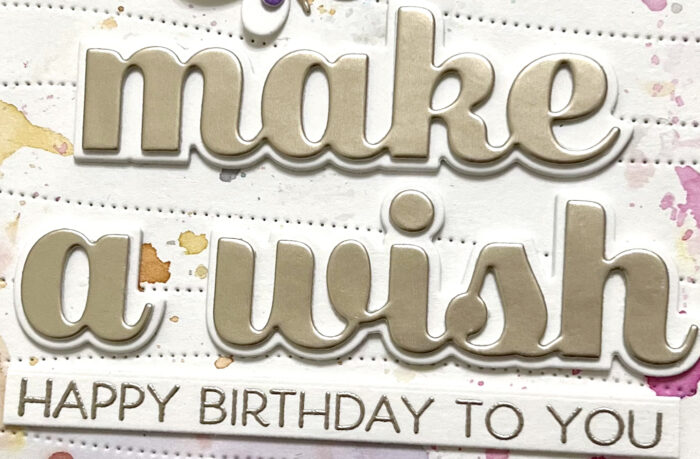
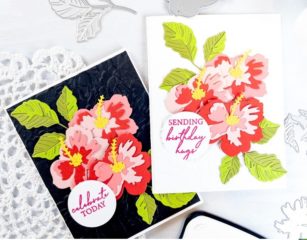
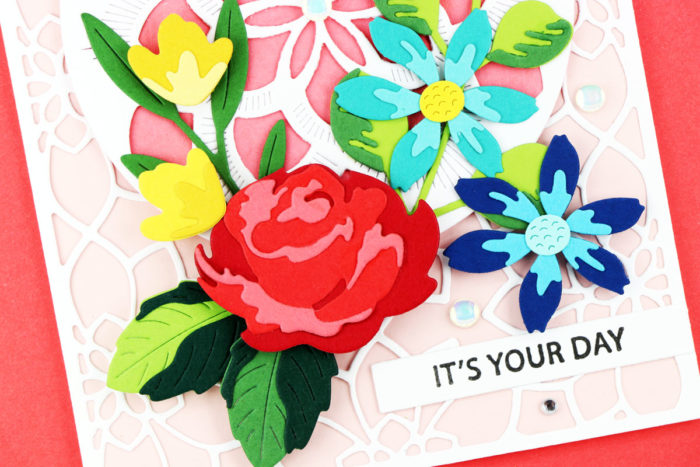
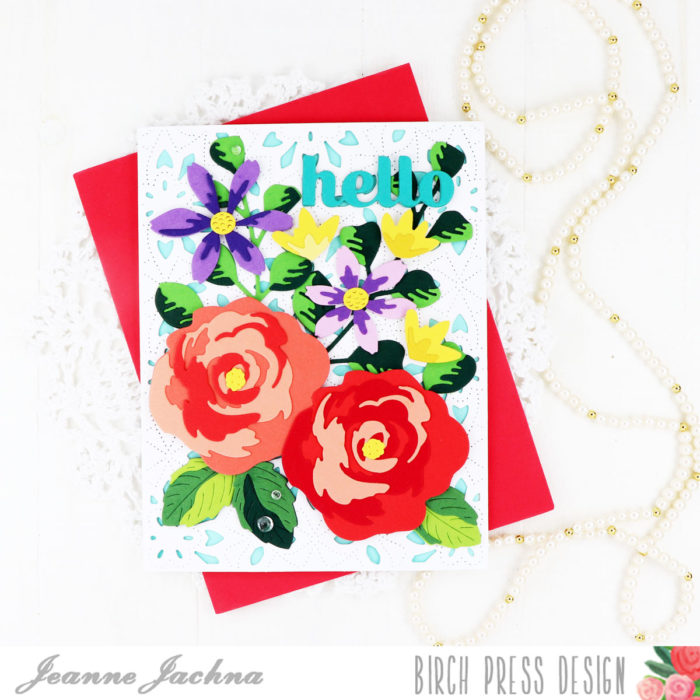
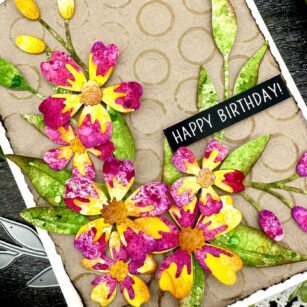
Category: Birthday

  • Birthday Shaker Bundle | By Amanda Wilcox

    Birthday Shaker Bundle | By Amanda Wilcox

    Hi there! It’s Amanda from Twiddler’s Nook back with you today sharing a set of 4 birthday shaker cards.

    All of a sudden I needed multiple birthday cards and I thought this was a fun way to get them all finished and ready to go.

    I started things off by cutting all of my pieces at once. We’ve got 4 card bases, 4 card front panels and 4 white pieces measuring 4×5.25 inches with the string art circle collage die cut from the middle top of each panel.

    Next, I blended distress oxide inks in different color combinations on each of the card front panels. Here is a little collage photo to show you all the combos in case you’d like to try them out too.

    Once they were all finished, I spritzed the panels with water and then flicked some watered down black acrylic paint on them for a little texture.

    To make these into shaker cards, I added an acetate sheet to the back side of the circle string art collage opening of each panel. Then I added doubled-up foam tape to the back too.

    Next, I chose my embellishments and made a little pile in the middle where the opening would be. I removed the release paper and added the string art collage panel to the ink blended panel, sealing the shaker bits inside.

    For each card, I chose an embellishment mix and different colored micro beads to help the pieces move around nicely.

    With all of the shaker mechanisms created and sealed up. I used liquid glue to adhere them all to the card bases and moved on to sentiments. For that I chose the Big Lingo Happy die set. You can see here that it can be used two ways – the outline over the shadow or the inside letters on the shadow. You really could use either piece on its own too. It’s a very versatile die. I chose to cut the letters twice and used both versions with white shadows.

    Then I pulled out the Crystal Lingo stamp set and stamped the “birthday to you” part on white cardstock. I die cut these with the banner die in the Christmas Ornament and Labels set.

    I used liquid glue to adhere the sentiment pieces together and then to the front of the cards.

    And then to finish things off, I glued a scattering of the shaker bits on the front of the card design to tie things in together.

    I really like what this does for the look of the cards. And then, like magic I have 4 birthday cards ready to go!

    I hope you found some inspiration to create something wonderful and share it with someone.

    I appreciate you sharing your time with me. Have a fabulous day!

    Supplies

  • Mosaic Watercolor | By Amanda Wilcox

    Mosaic Watercolor | By Amanda Wilcox

    Hey everyone! I’m so glad you’re here with me. It’s Amanda from Twiddler’s Nook with a pair of beautiful watercolor slimline cards to share.

    These cards were complete created using just the Crystal Lingo stamps and dies. It was so therapeutic and relaxing to watercolor this beautiful image! Let’s get started on how I created them.

    I started by stamping and heat embossing the mosaic image on watercolor paper with clear embossing powder. You could use any color you like here for dramatically different results. The sheet I was using happened to fit the image twice perfectly so I thought, why not!?!

    I used my Zig Clean Color Real Brush markers and a waterbrush pen to color the entire panel and trimmed it down to 3×8.

    For my supporting panels, I have a black one measuring 3.25×8.25 inches, teal that measures 3.5×8.5 inches and a slimline card base from white that is 7×8.5 inches. Folding it in half at 3.5 inches makes it the same size as the teal panel.

    The black is adhered to the watercolor panel with liquid glue, as is the teal panel to the card base. Then the two are adhered together with foam tape.

    As you can see in the photo, I stamped and heat embossed my sentiments. Hello is silver on white cardstock while the secondary sentiment is white on black cardstock. For the other card, Happy is heat embossed black on white and vice versa for the secondary sentiment there too. I love this contrast!

    The sentiments are added with a combination of foam squares and strips.

    I didn’t want any distraction from the beautiful watercoloring so I didn’t add any baubles or sequins to these cards today.

    I just love how they turned out and would be really excited to give it a try again, maybe in an A2 size and totally different color combos too!

    Do you have a favorite between the two? I don’t think I can choose one.

    I appreciate you sharing your time with me. Have a fabulous day!

    Supplies

  • Crystal Lingo Birthday | by Crystal Komara

    Crystal Lingo Birthday | by Crystal Komara

    Hello readers and happy Monday! I hope you all did something fun and crafty over the weekend. This is Crystal here with you today sharing a fun rainbow themed card I made using the new “Crystal Lingo” stamp set and coordinating dies. Yes, I’d like to think this new set was named after or even for me (though that’s likely not the case)! : )

    Here is a step-by-step tutorial for how to make this card:

    Step 1 – Using the Pinpoint Radial Layering plate, die cut the first layer from white cardstock.

    Step 2: Using Versamark ink, stamp the word “HAPPY” from the Crystal Lingo stamp set on scrap pieces of paper in rainbow colors and heat emboss the words with white embossing powder.

    Step 3: Using the coordinating Crystal Lingo dies, die cut the word “HAPPY” multiple times from each rainbow colored piece of cardstock.

    Step 4 (*Optional): I also die cut the word “HAPPY” six times from white adhesive craft foam. This will allow me to pop up my sentiment without having to cut down 3M foam tape to size, or by using little foam pieces of adhesive. It was an added step, but so worth it in the long run!

    The base of this A2 sized card is an 80 lb. sheet of Neenah Solar White Smooth cardstock. I layered the white cardstock (embossed with the Pinpoint Radial die) directly to the white card base and layered the words “HAPPY” in a rainbow ROYGBIV pattern from tp to bottom. Lastly, I heat embossed the sentiment in white embossing powder on black cardstock and adhered it to the center of the card.

    Thanks for visiting and have a wonderfully creative day!

  • Holographic See-Through Card | by Jennifer Svare

    Holographic See-Through Card | by Jennifer Svare

    Hello! Watching Jennifer McGuire make see-through cards this morning inspired me to make a mad dash to the Interlocking Frame and String Art Circle. I was so excited to make this card, it felt a bit like morning aerobics, except way more fun!

    Jennifer’s video is the original and I highly suggest watching that for overall instructions; however, I wanted to offer some additional tips and tricks specific to the Interlocking Frame. This frame has a lot of intricate detail, which may offer some challenges to a card design such as this, but it’s totally doable, easy, and the results are stunning! Make sure to check out the short video below for some tips in using this particular die for this card design.

    The mixture of the dies, holographic paper, and see-through design makes this an absolutely stunning card. As it sits on display, different colors appear just depending on the angle of light that is catching it. It’s almost like glass etching. In the photos above, blue turns to a gold, and even pastel as seen below:

    The details of the String Art Circle are so stunning, with so many options. In the photo above, I’ve die cut one out of black. All the pieces were left intact to create a background for the holographic outline. Left over negative pieces were used to embellish the center, along with an iridescent black pearl. Wow! This has to be one of my all-time favorite cards.

    For the interior, I added another String Art Circle cut out of the holographic paper to match the exterior. A light gray paper creates the background, with a white center for an embellishment. It’s a great card to have on hand because it’s so versatile. Depending on colors used, this could be very masculine or very feminine, and is great for any occasion from wedding, anniversary, birthday… even a holiday greeting would be beautiful. The inside font could be casual or formal, so it’s great for any style, too! Room for writing a note or even a larger sentiment is on the back.

    No matter how hard I try, photos simply do not do this card justice. Check out the video below for some tips, tricks, and to see this card in action!

    Thank you for stopping by today!


    Supplies


  • Stenciled and Stitched Balloon Card | By Leigh Houston

    Stenciled and Stitched Balloon Card | By Leigh Houston

    Hello, friends! I am so happy you stopped by today. I’m here sharing how I made this stenciled and stitched balloon card using Birch Press Design’s Party Balloon dies.

    These Party Balloon dies are truly a must-have for creating birthday or celebratory cards. I love their stitched details! To start my card, I die cut my largest balloon and added stenciled details using Poppystamps’s Romantic Blooms stencil and Distress Oxide Inks. I then die cut two smaller balloons and added color with the same shades of Distress Oxide inks, being sure to keep a highlight area for some realism.

    To add some more interest to the balloons, I stitched through the stitch holes using gold metallic thread and a simple backstitch. I then adhered some of the same thread to the back of the balloons to create their strings.

    To finish the card, I splattered a sky-colored background panel with some white paint. I then cut my “celebrate” sentiment from gold mirror cardstock. I popped up my largest balloon with foam tape and adhered my balloons to the cards, wrapping their strings somewhat loosely around the back of the panel to add to the floating effect. A few sparkly sequins and this card was finished!

    I hope you like this simple but pretty celebration card! Links to the products I used are below. Thanks again for stopping by and I’ll see you again soon with another card project!


    Supplies


  • Simple Outline Stamping over a Stenciled Background | by Tracey McNeely

    Simple Outline Stamping over a Stenciled Background | by Tracey McNeely

    Hi there, it’s Tracey back today with a card tutorial and video using a very simple design that uses one stencil and a very lovely stamp set.

    I used the Birch Press Design Bold Stripes Stencil for my background on my A2 sized card. I cut a panel of Bristol Smooth Cardstock to 5 1/2″ x 4 1/4″ to stencil using Distress Oxide inks.

    I stuck my panel down to my glass media mat with some purple tape to keep if from shifting. Then I sprayed a generous amount of Pixie Spray on the back of my stencil and placed it over top of my card panel. Using 2″ wide Post-it Tape I selectively masked the stencil so that there was no cross-contamination between colours on the stripes. See how I just simply kept moving my masks for each line of the stencil. Watch the video below to see all the details about how I created today’s card and there might be a few tips along the way.

    Each stripe of the stencil is ink blended with a different colour of Distress Oxide ink in a soft rainbow palette, starting darker on the right and fading out to the left.

    When the stenciling was done I allowed the panel to dry completely. Next the large outline corner rose stamp was clear embossed with VersaMark and Versafine Onyx black ink.

    Once I finished the embossing I trimmed the panel down to 5 1/4″ x 4″ and adhered it to my white top folding card base with foam tape. I stamped and white embossed on black cardstock the two line sentiment from the same Birthday Rose Corner stamp set. The two lines were also added with foam tape.

    Thank you so much for stopping in to create with me today and I hope that I have given you an idea of a fun design to try. Stop back in tomorrow for another inspiration post here at Birch Press Design.

    Supplies