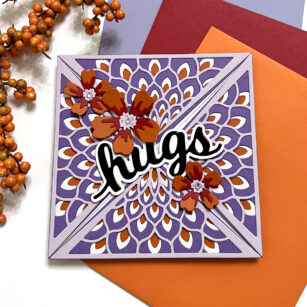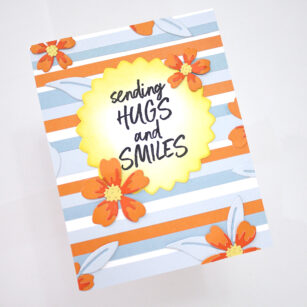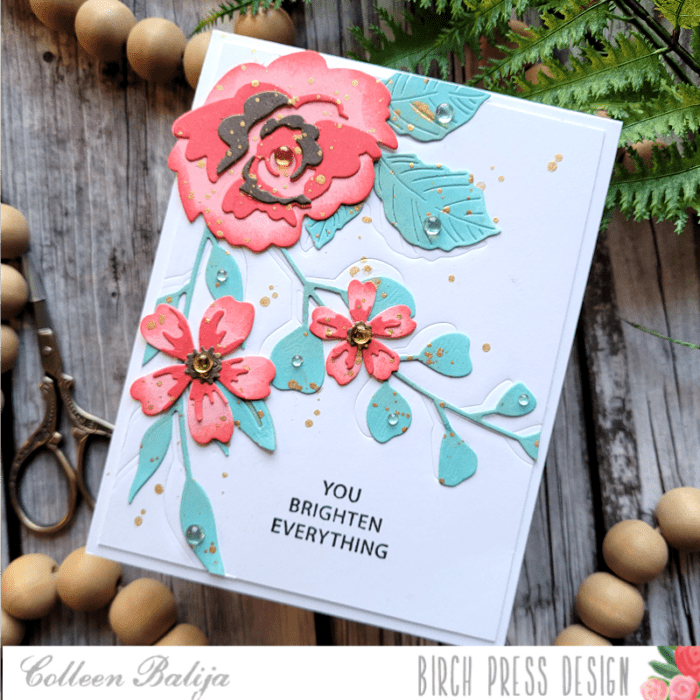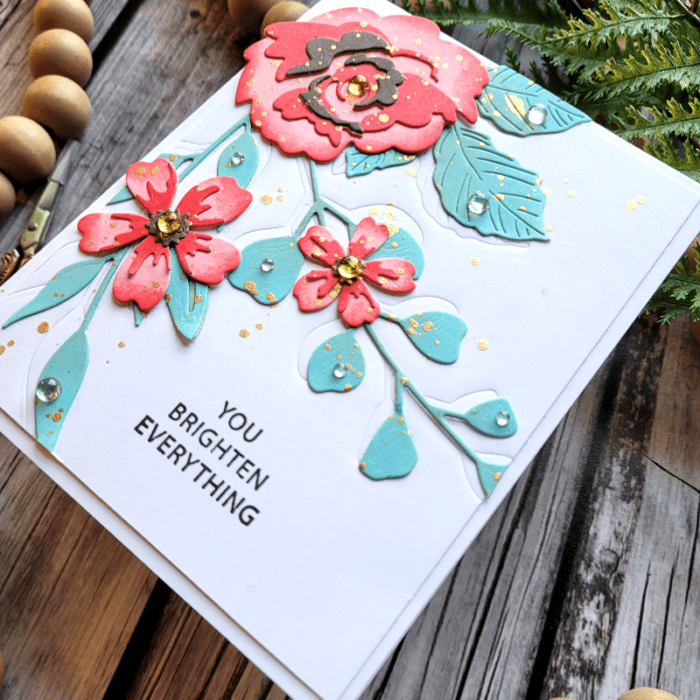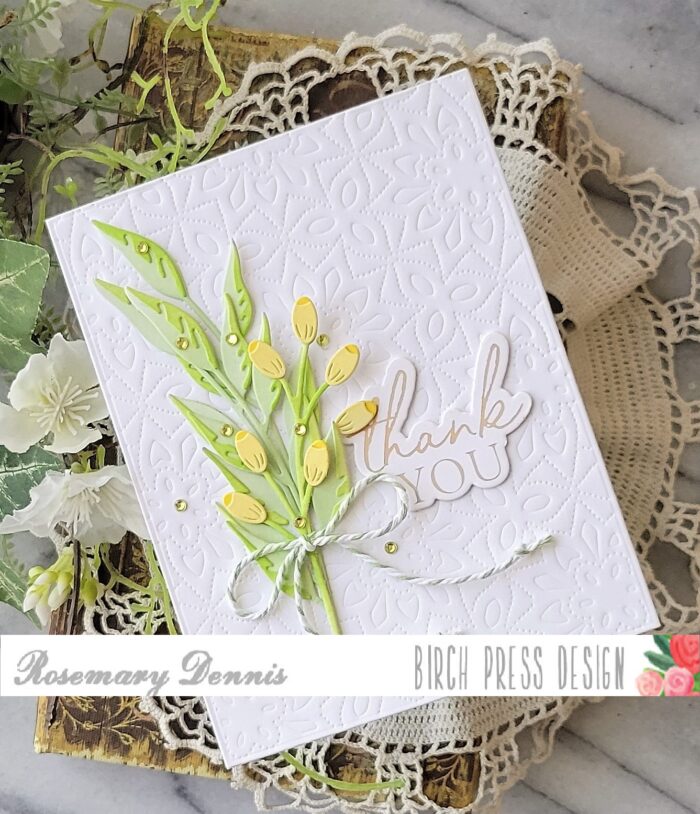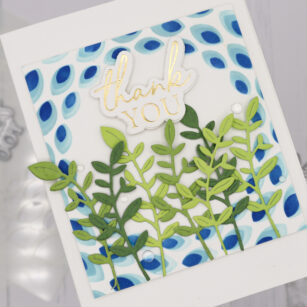
Hello and happy Monday! I’m excited to be back with you on the blog. Today’s project features some leafy dies, stenciling and hot foiling all in one card.

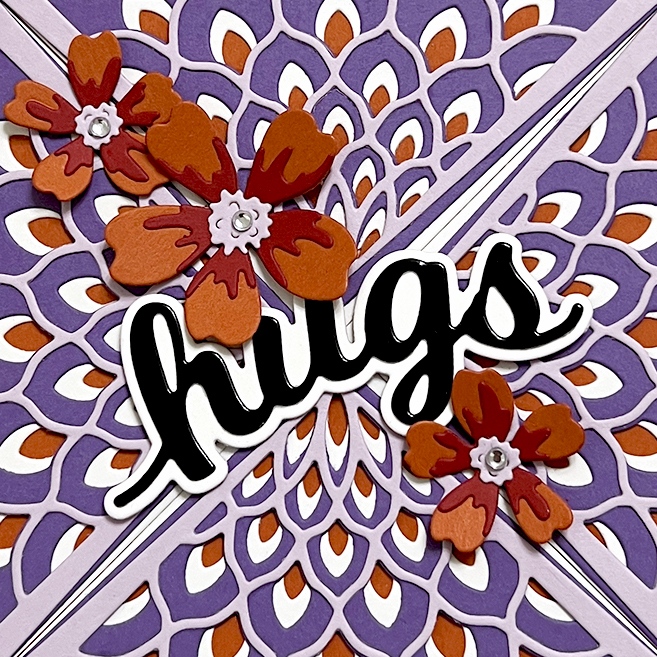
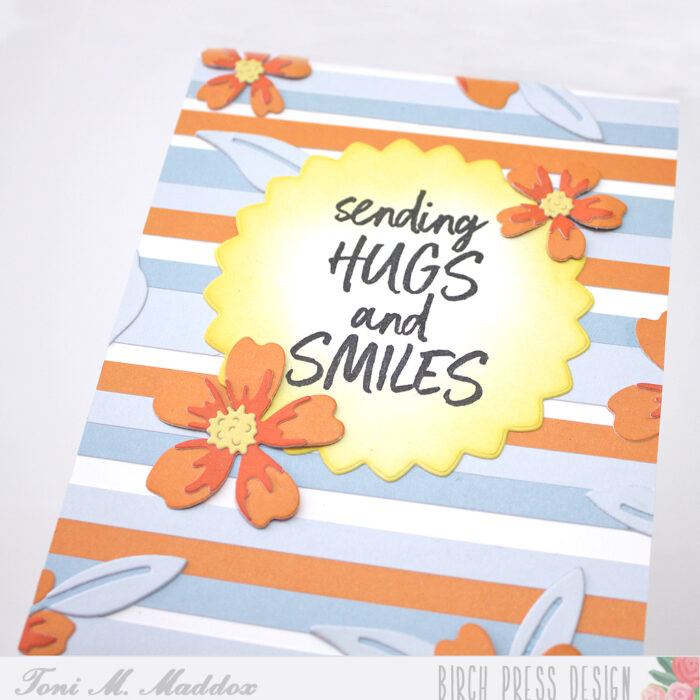
I started this card knowing that I really wanted to do some stenciling. I grabbed three complimentary shades of blue ink in a light, medium and dark tones, along with the Gilded Petalpoint Stencil Set. I placed my stick mat in the corner of my rubber stencil mat, and put a piece of A2 cardstock on top of the mat, making sure to align it with the first layer of my stencil.
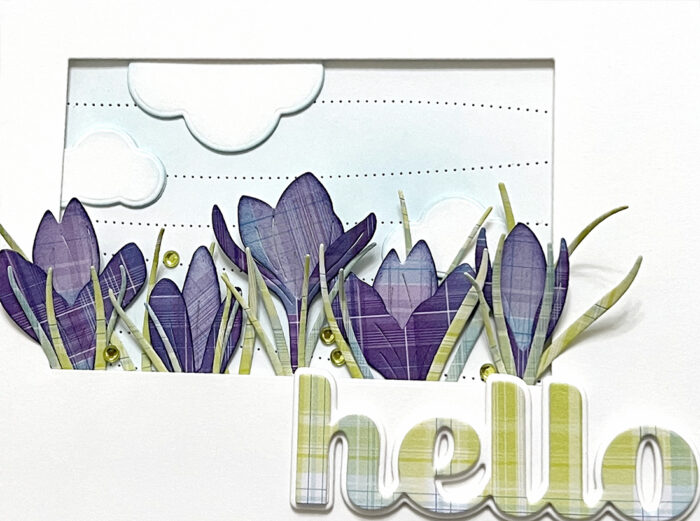
Now this stencil has 3 layers and I started with the largest layer, inking up with my lightest color. Then I took the medium sized layer, using my medium ink color, and lastly I used the darkest blue with the smallest layer. This is how I created that nice, peacock-y looking, layered effect.
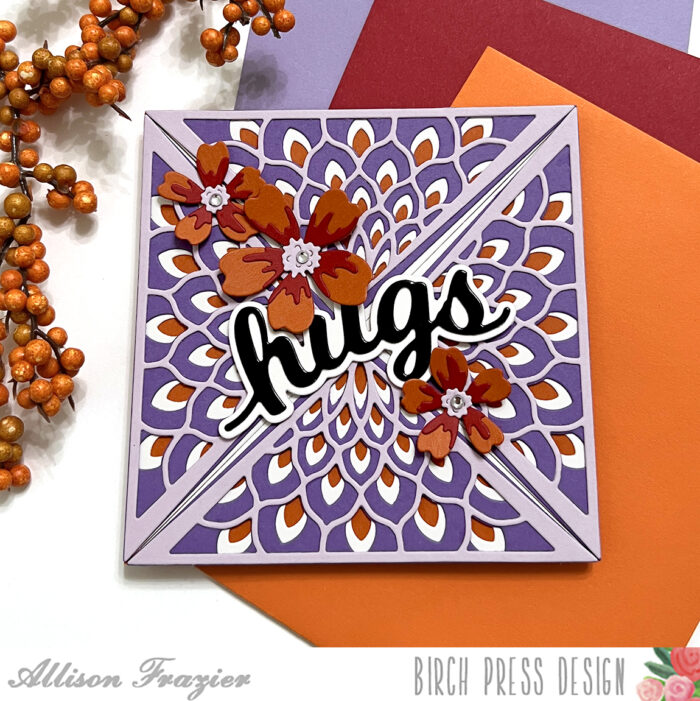
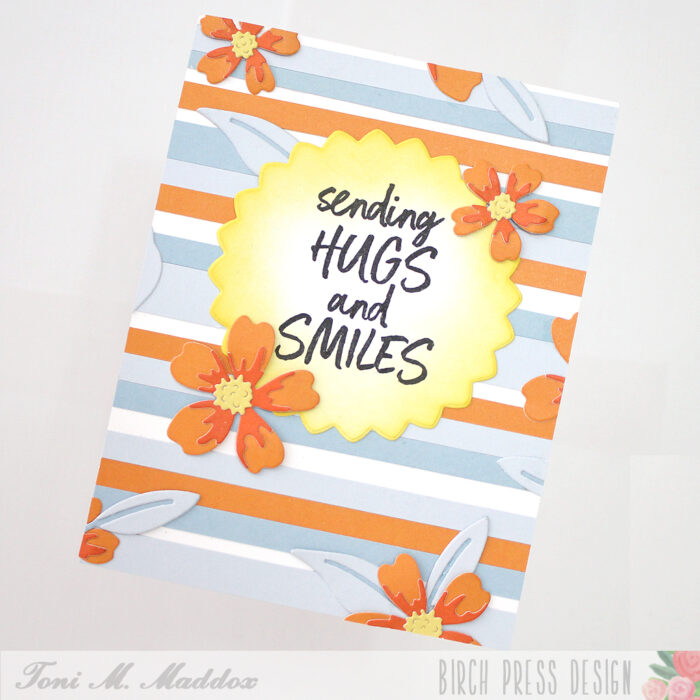
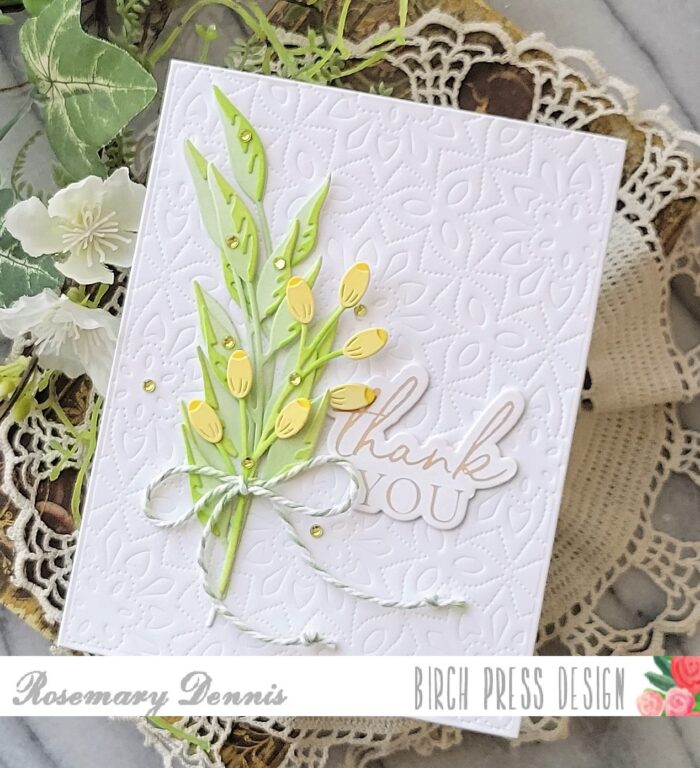
Next I trimmed down that A2 panel until it was approximately 3 5/8 x 4 1/8. There was no rhyme or reason — I just started large and kept on trimming until I liked how the panel looked. I then adhered it to the front of an A2 white card base using foam tape.
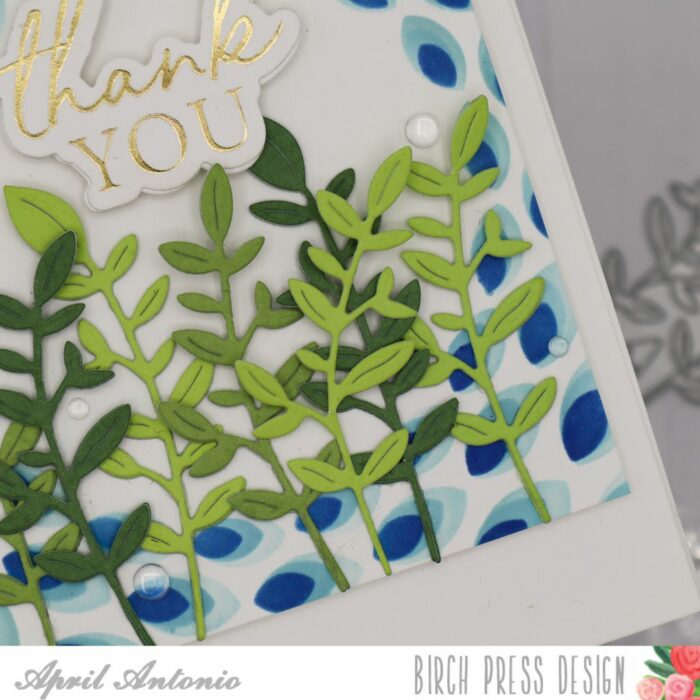
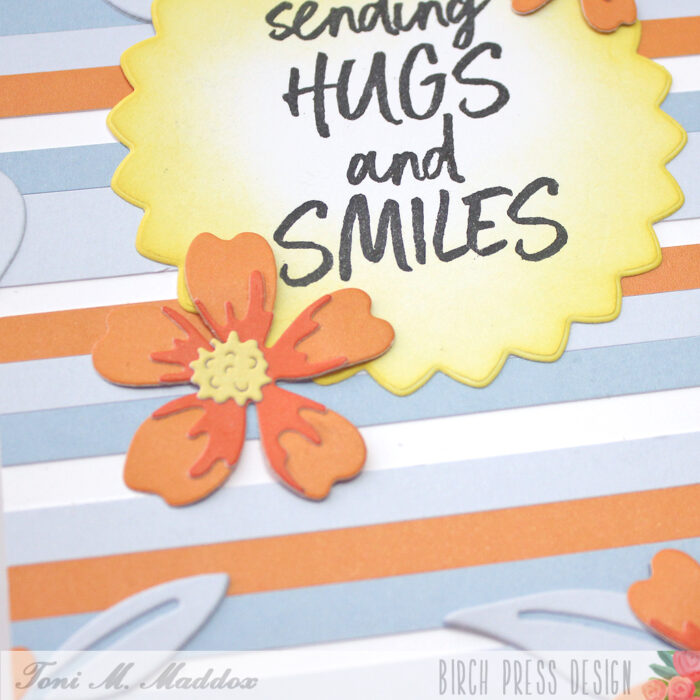
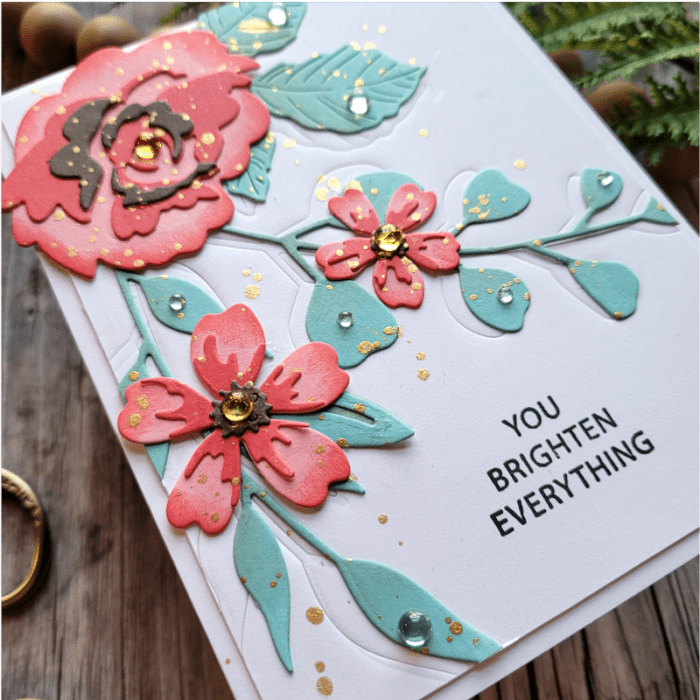
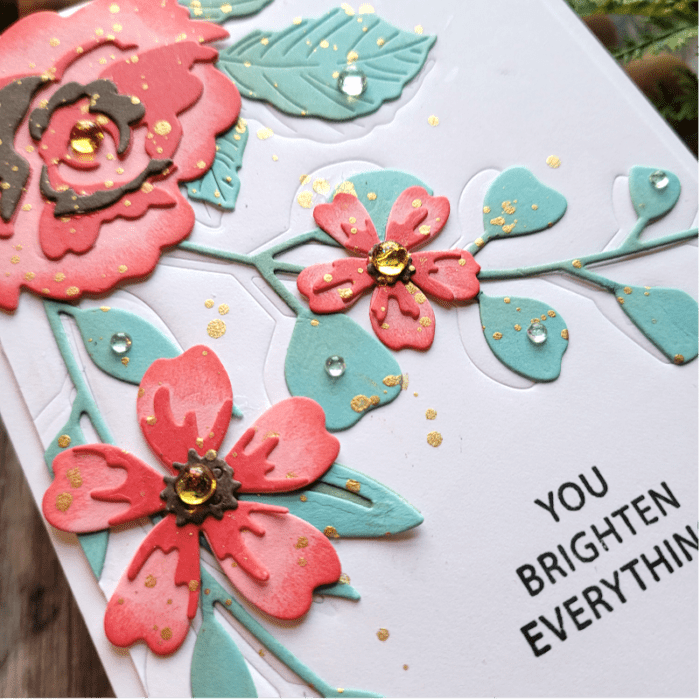
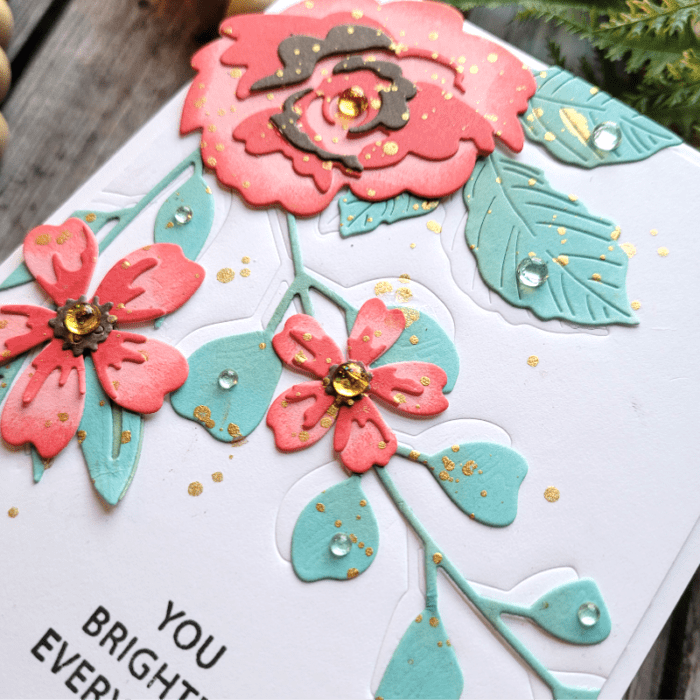
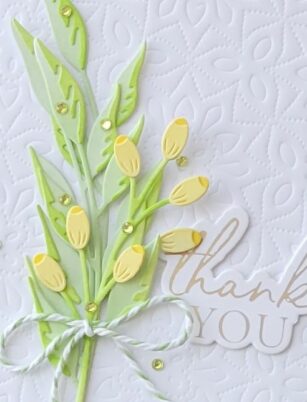
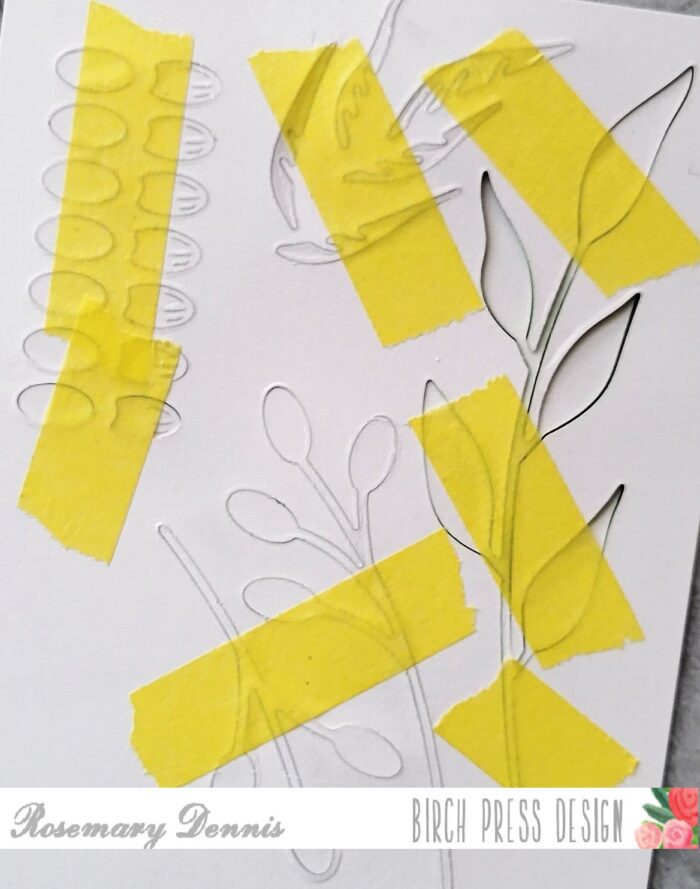
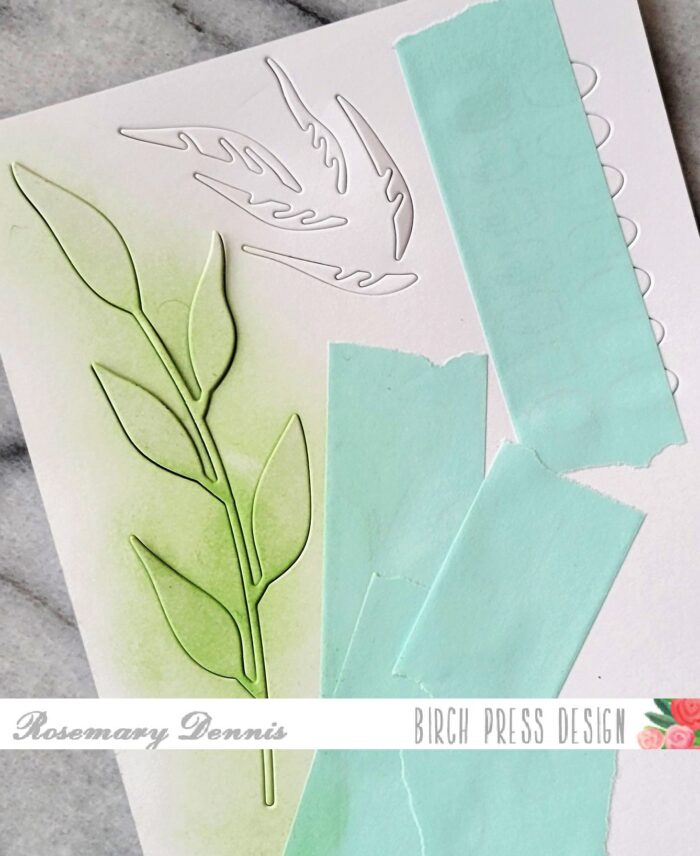
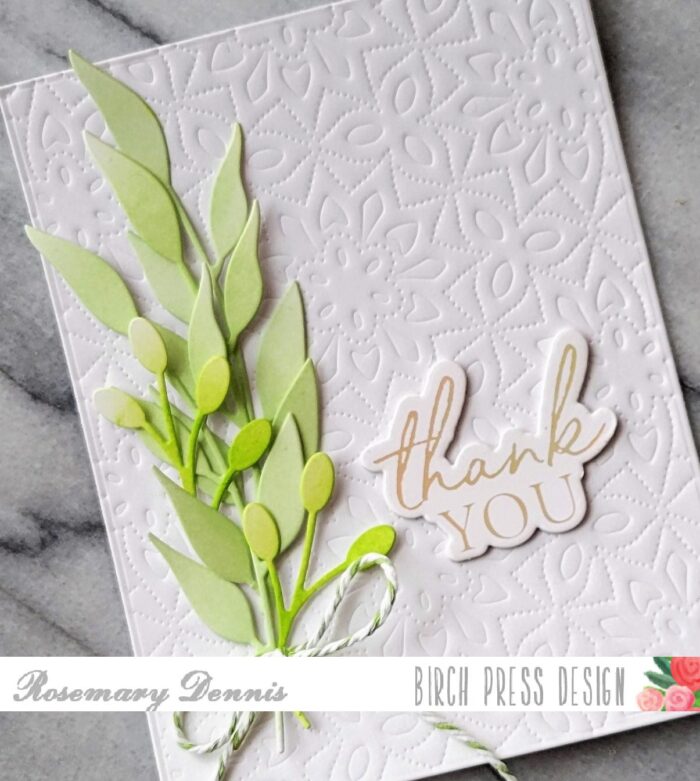
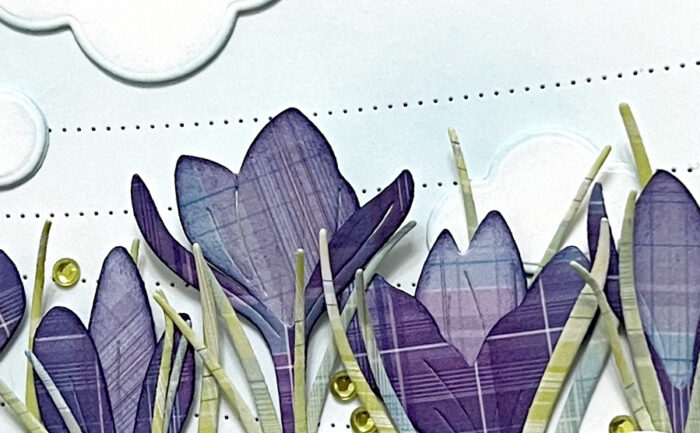
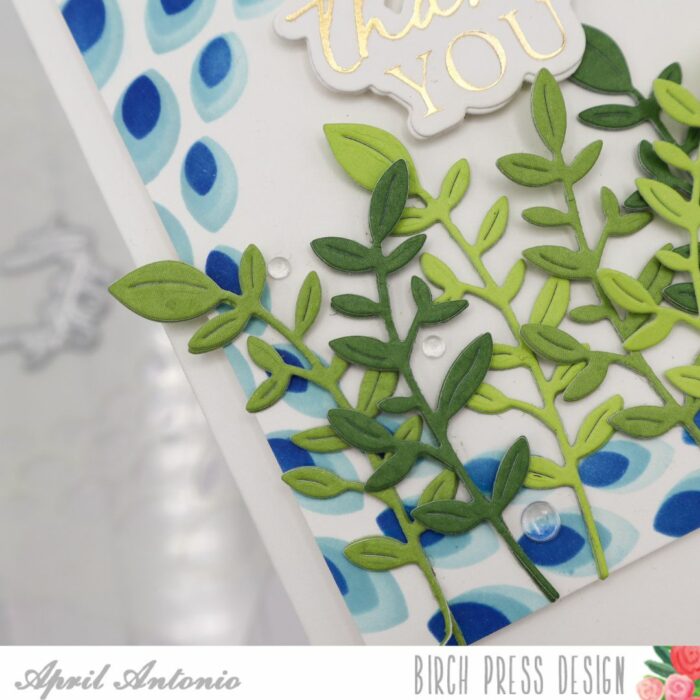
The next part was really fun to arrange. I took three shades of green from the Lush Green Collection cardstock pack and cut leaves from them using the leaves from the Jovial Blooms and Leaves Contour Layers set. After cutting from each color about 4 times, I glued two of the leaves together with liquid adhesive to create a bit more dimension and thickness. I then practiced arranging them on the front of the panel before gluing them down with liquid adhesive.
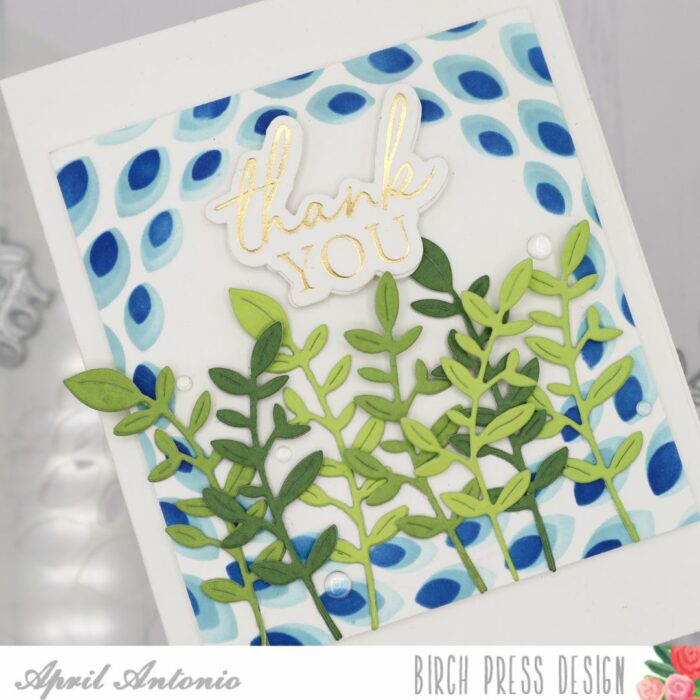
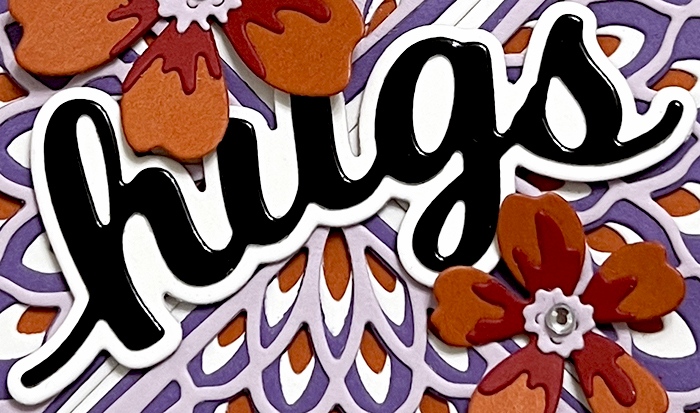
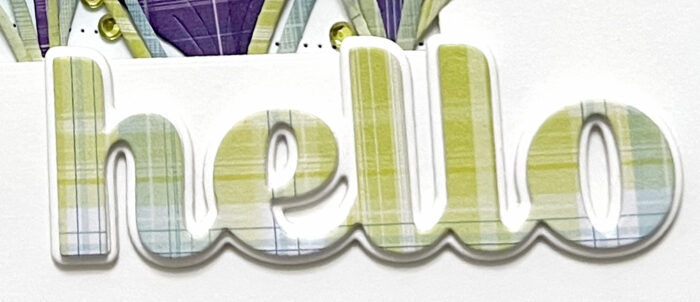
For my sentiment, I wanted something that would pop since my background was a bit busy. Since I’m low on thank you cards, I decided to use the Thank you Noted Script Hot Foil and Die set to hot foil the ‘thank you’ and die cut it out. I did die cut it two more times and glued all three layers together for some more dimension. I adhered the sentiment to my card front with foam tape.
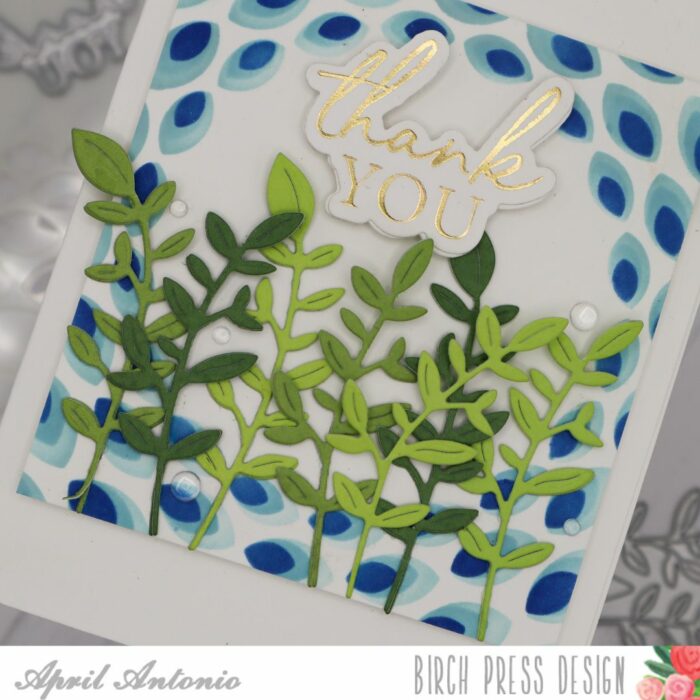
Lastly, of course I have to add some embellishments, so I used clear Fairy Drops and sprinkled a few around the leaves.
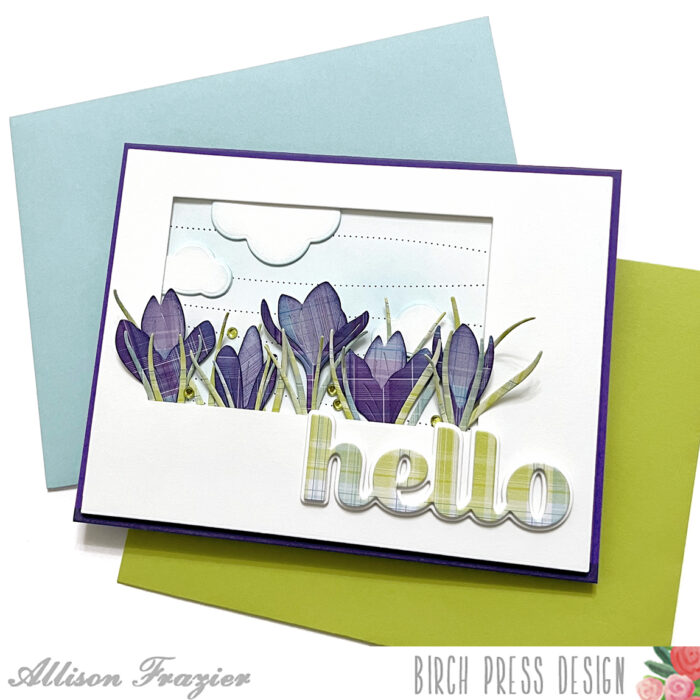
That is it! I really enjoyed adding a square sized block to a card front and mixing and matching up the stenciled background with some detailed die cuts. I hope this inspires you as you go into your week!
Thank you for stopping by today and see you soon!

Supplies


Supplies