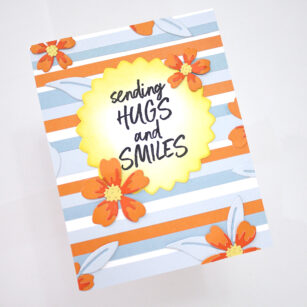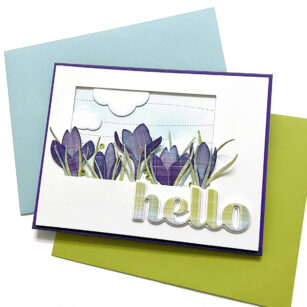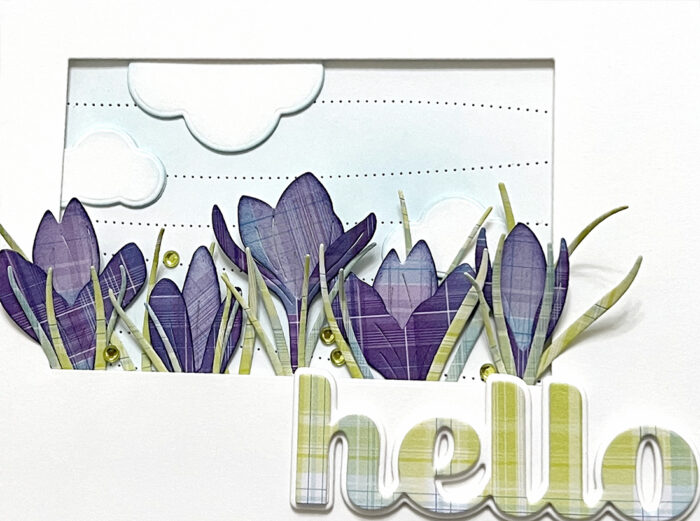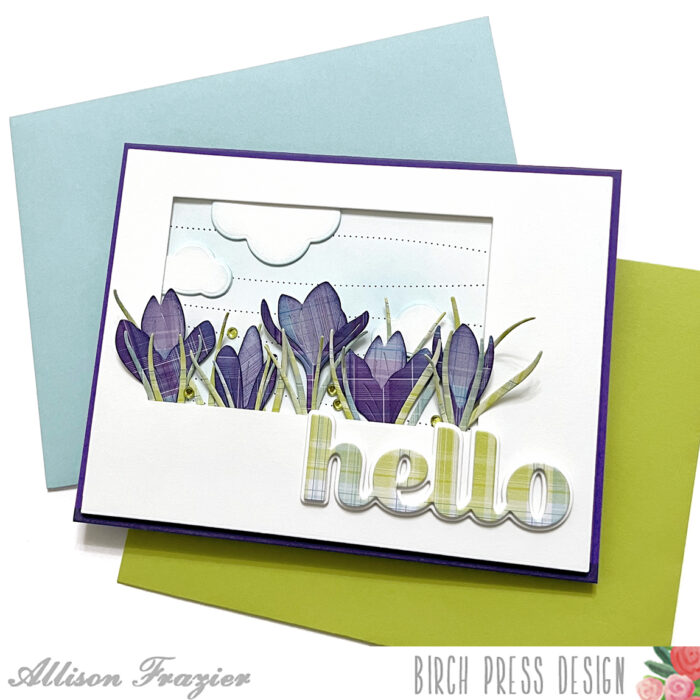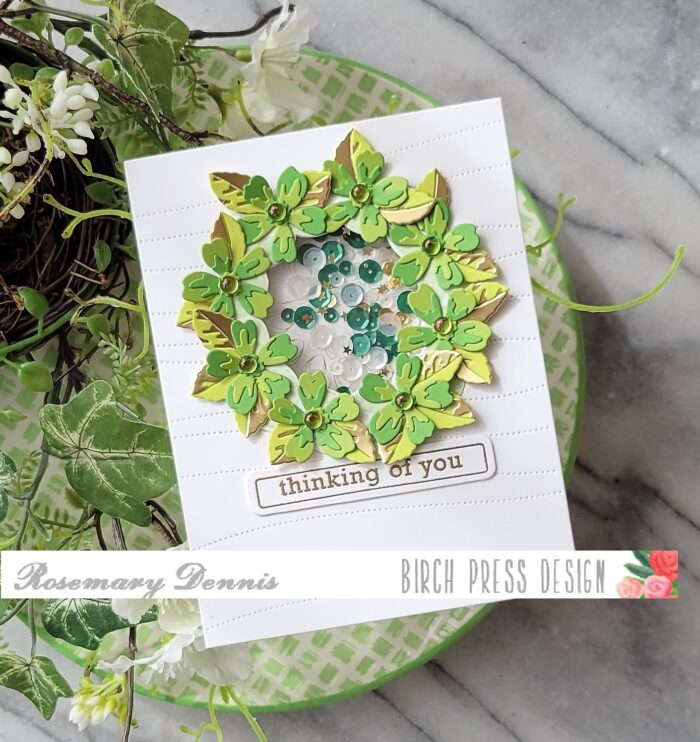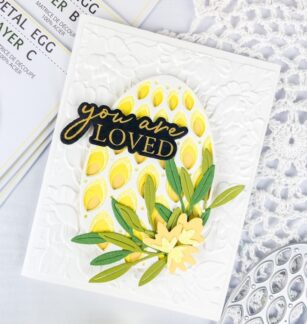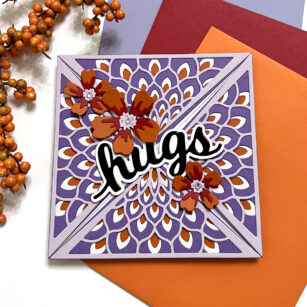
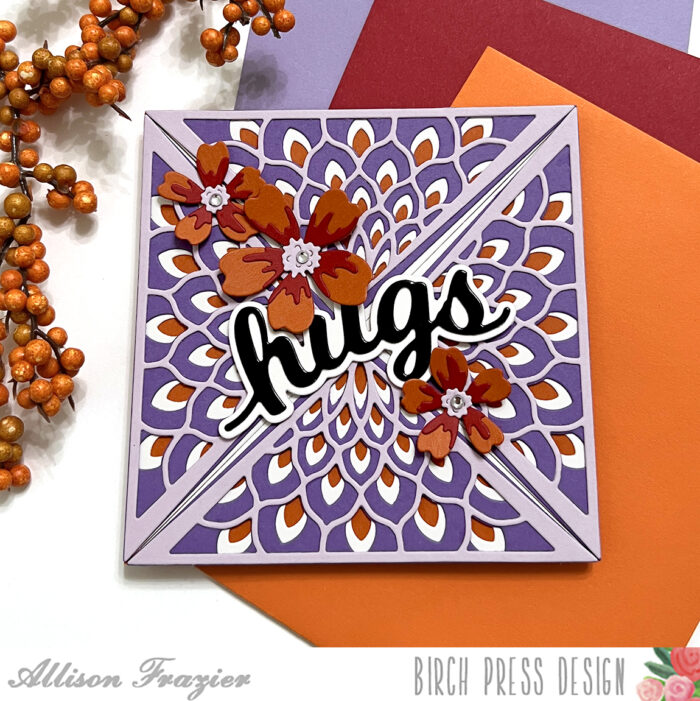
Hello, Birch Press friends! Today, I am sharing this colorful card featuring the Petal Triangle Layer Set. This color palette is something I have been wanting to try for awhile, but I was a bit apprehensive. I decided that a layering die set would be the perfect way to try it out. And, I’m really happy with the results!
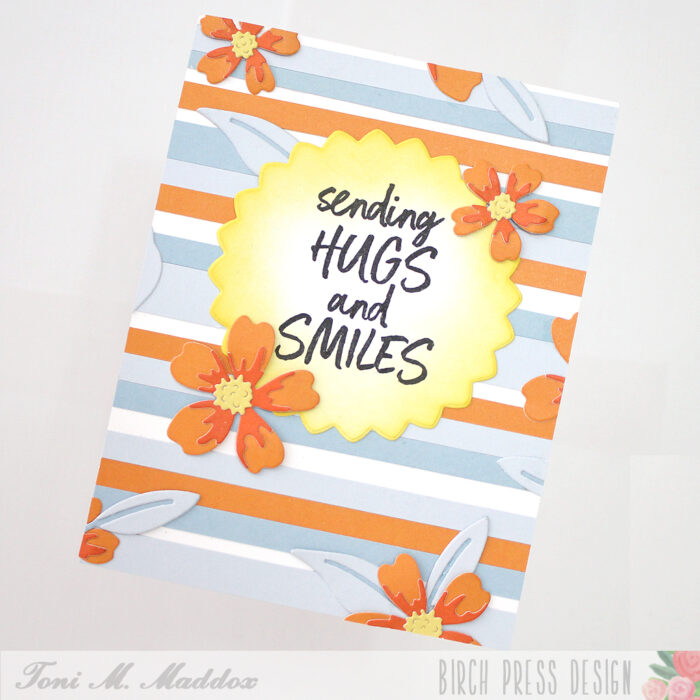
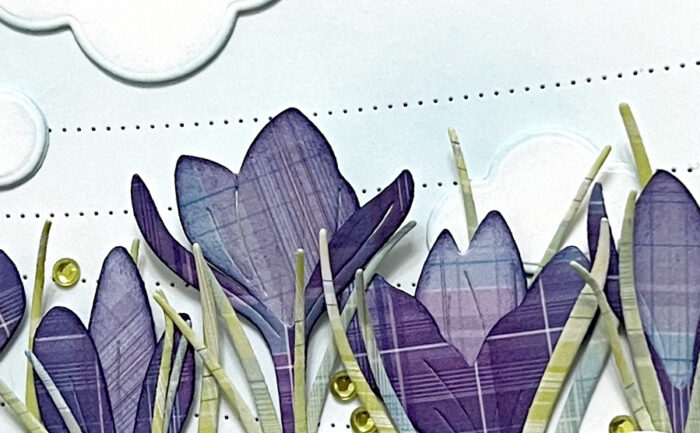
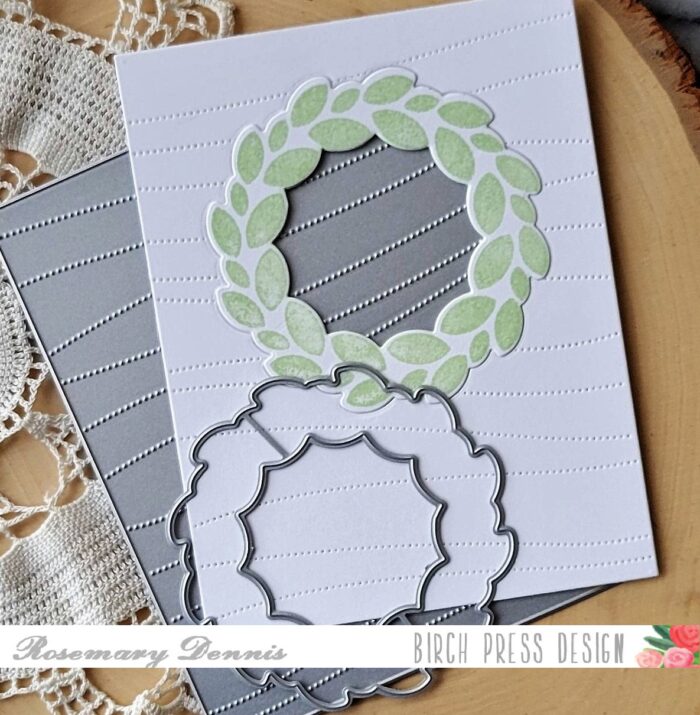
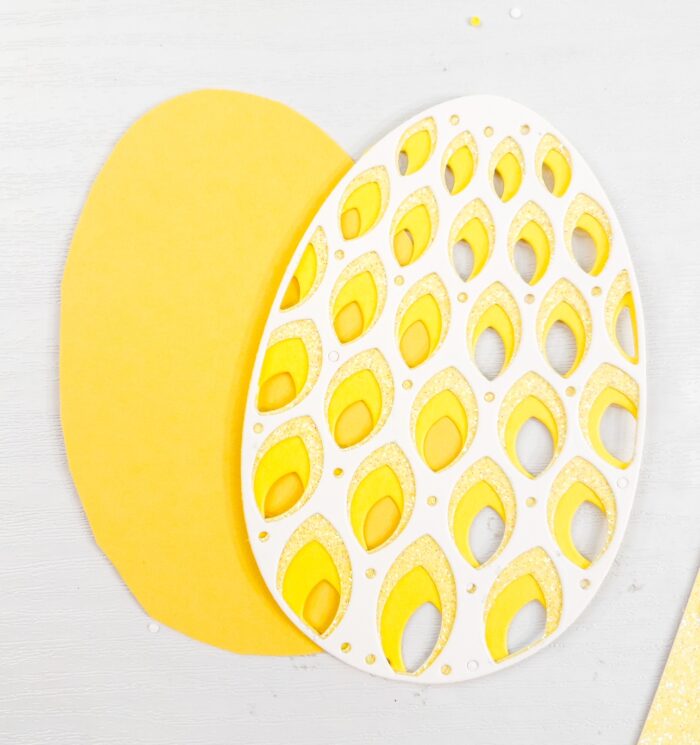
The first step was to cut all of the triangles. There are 3 layers and four total triangles, so that is a total of 12 triangles to cut out. I used white card stock for Layer C, purple card stock for Layer B, and lavender card stock for Layer A. I then glued the three layers of each triangle together with liquid glue. I mounted the finished triangles onto a 4.25″ square card base that I had made from a dark orange card stock.

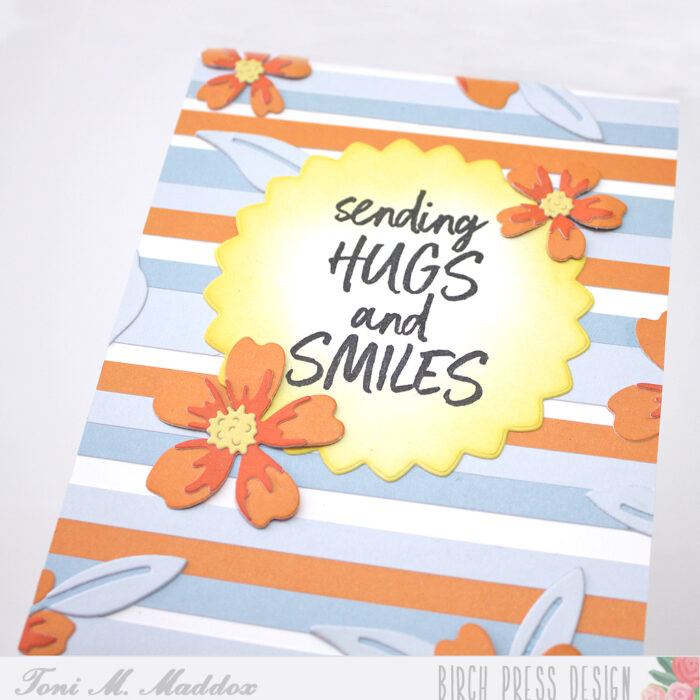
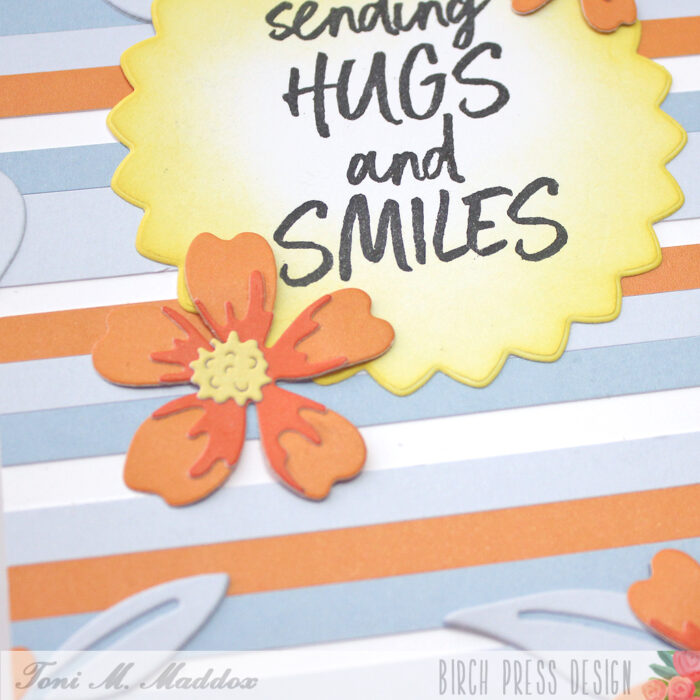
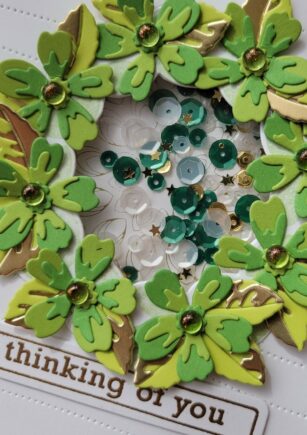
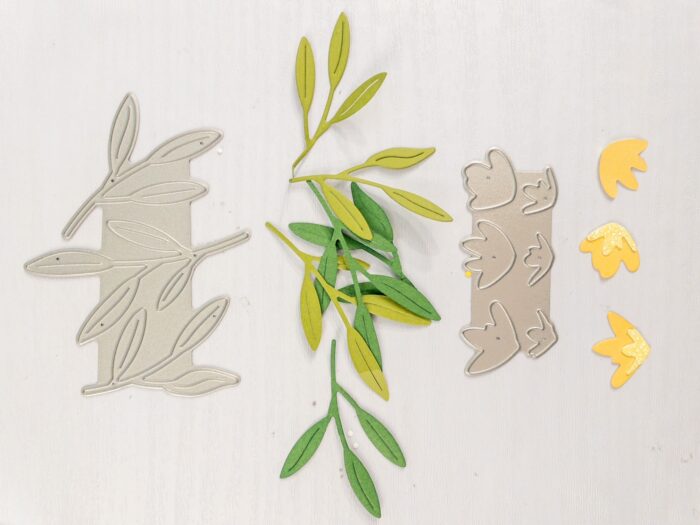
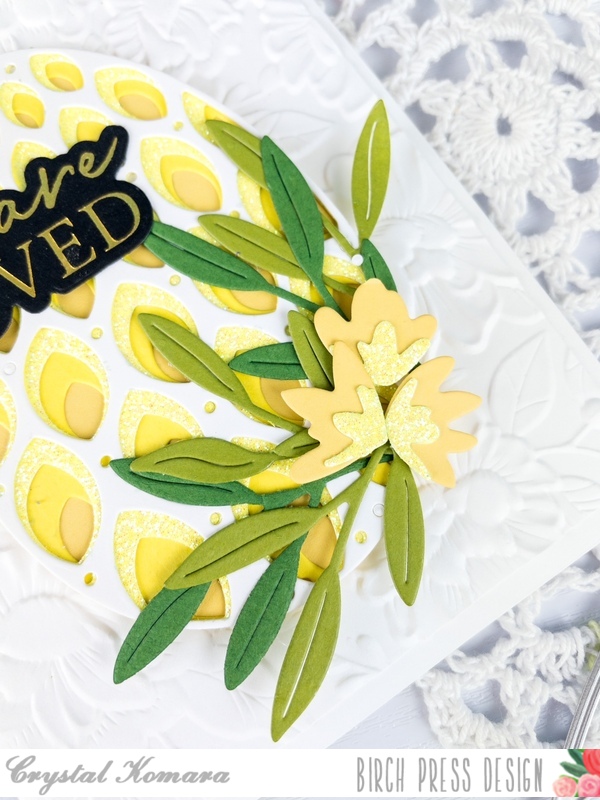
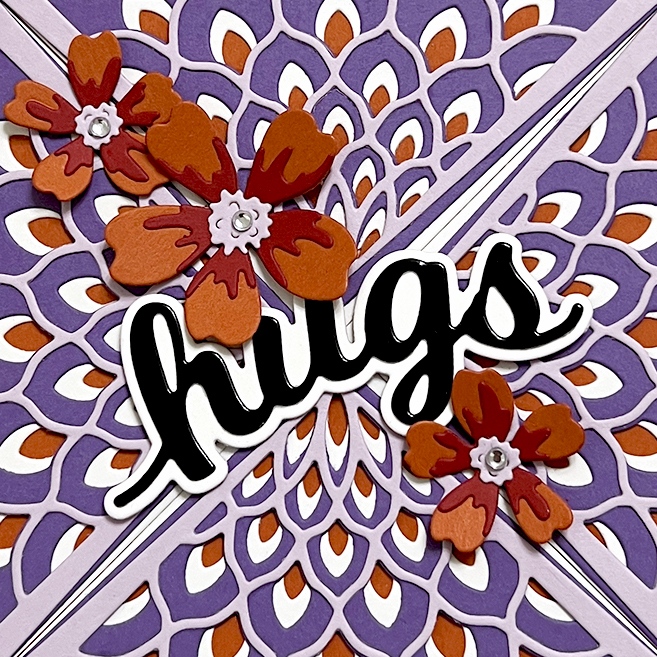
Next, I created three flowers using the Phlox Blooms and Leaves Contour Layers Set. I used the same orange color to create the base of the flower. I cut the detail pieces out of a deep red card stock. The small center pieces were cut from the lavender card stock. I adhered all of those together and set them aside for final assembly.
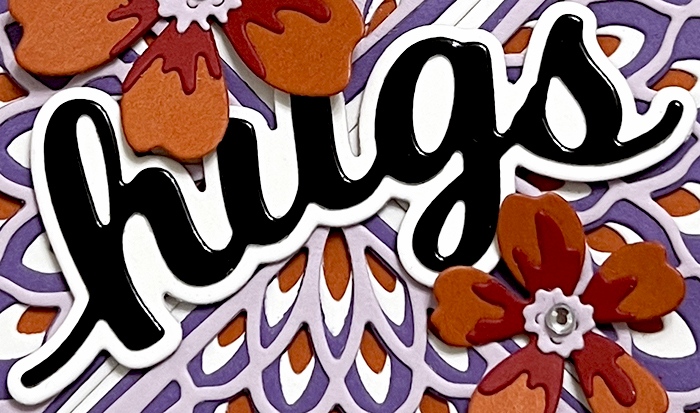
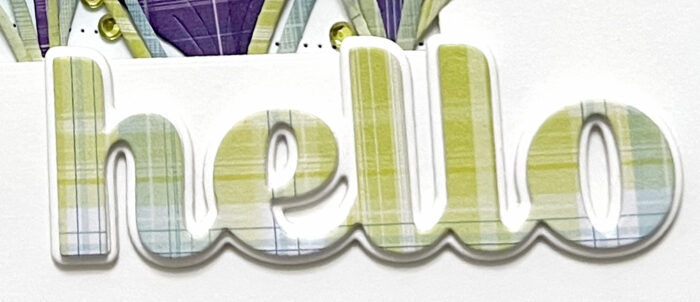
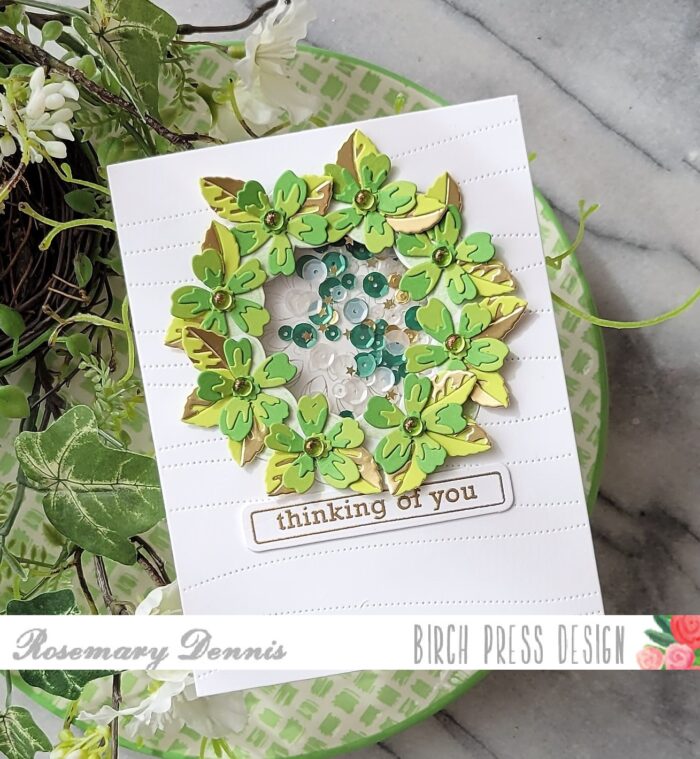
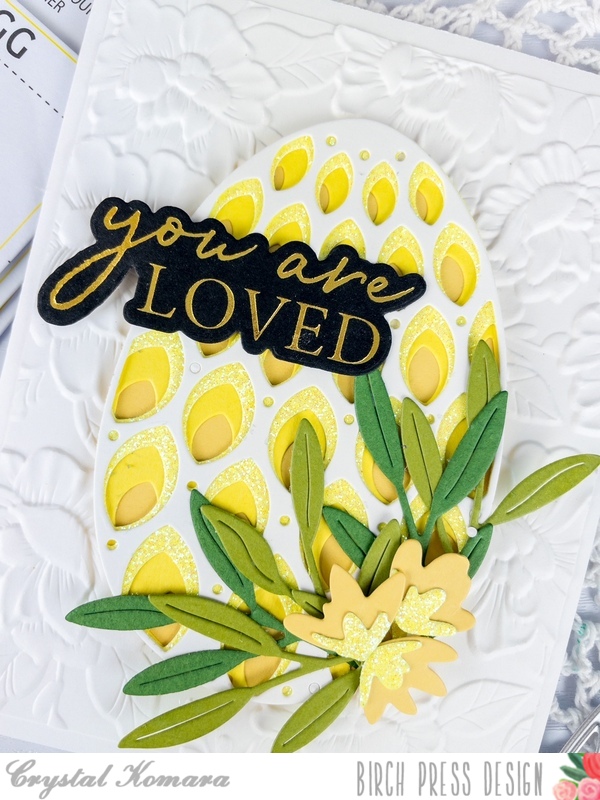
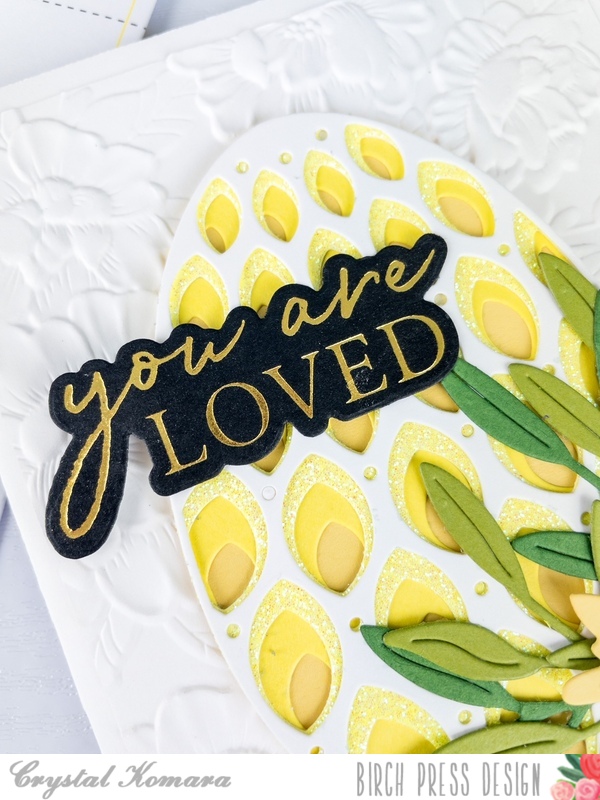
I used the Hugs Honey Script Die for my sentiment. I used two layers of white card stock for my shadow layer. I cut the main layer from black glossy card stock. I adhered the sentiment to the center of my card panel. Finally, I arranged the flowers around the sentiment and added a clear fairy jewel to the center of each flower.
Thank you so much for joining us today. I hope this card inspires you and brings a smile to your face!
Wishing you a crafty day,
Allison

Supplies


Supplies