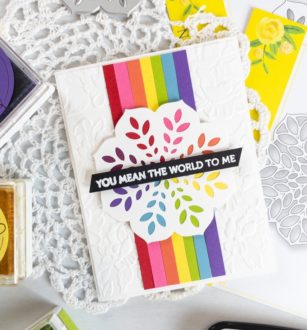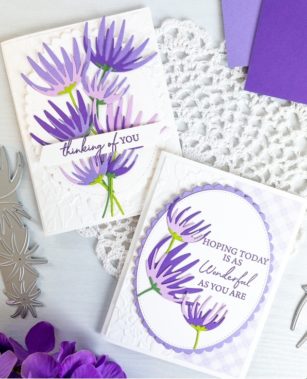
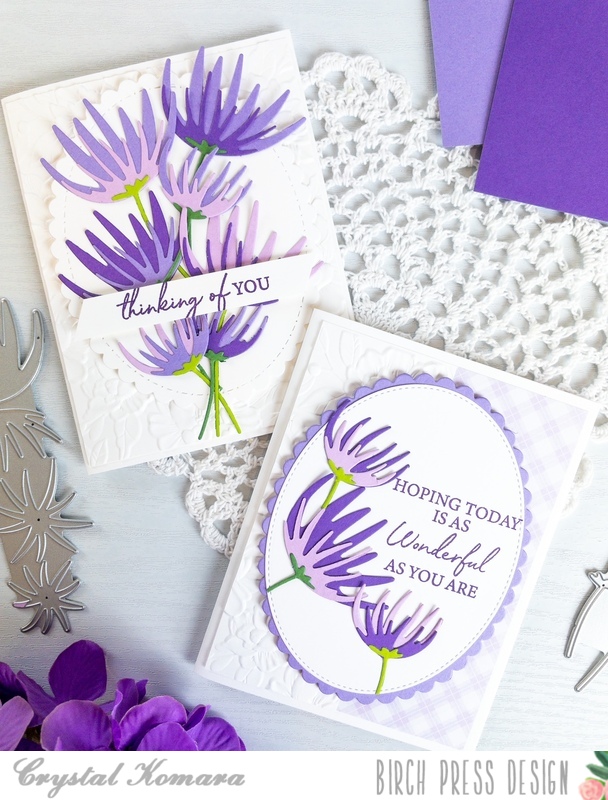
Hello friends! This is Design Team member Crystal Komara here with you today sharing my passion for the color purple! I used the Wispy Blooms Contour Layering Dies to create these two monochromatic cards, however, you could re-create them in any color imaginable and have a rainbow assortment to choose from.

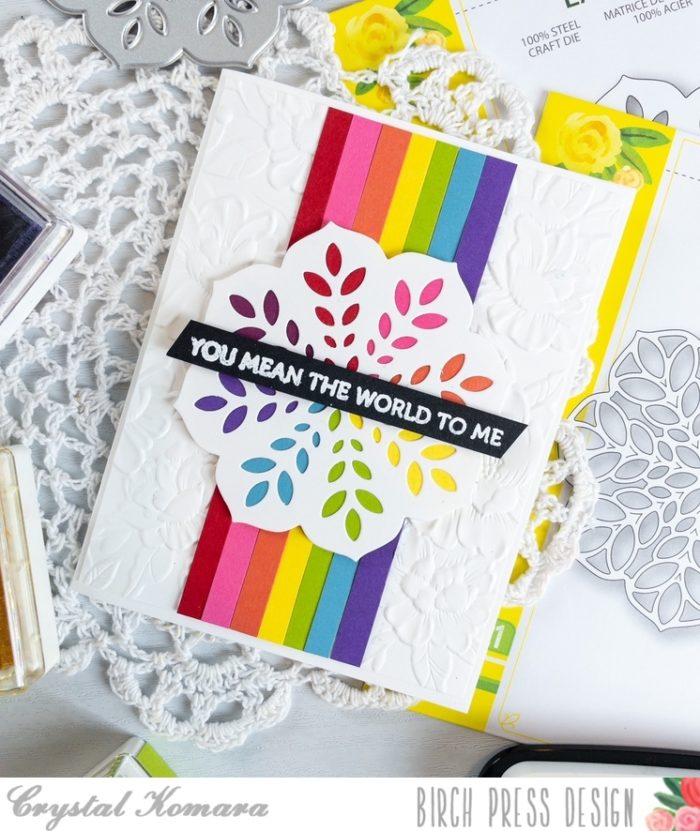
For this first card, I used a piece of 80 lb. Neenah Solar White Smooth cardstock as the base of my card. I also cut a 5 1/4″ x 4″ piece of the same white cardstock for the first layer. I ran this sheet of cardstock though my Big Shot using the Blooming 3D embossing folder (from Memory Box). I die cut one large white oval circle and adhered it to the center of the card.
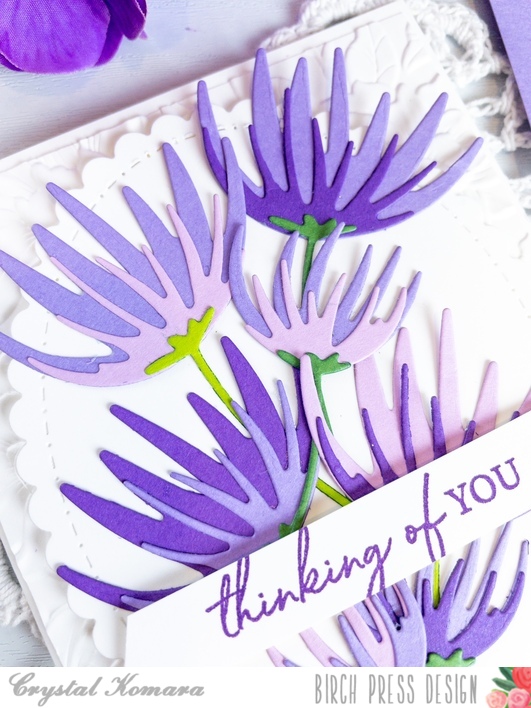
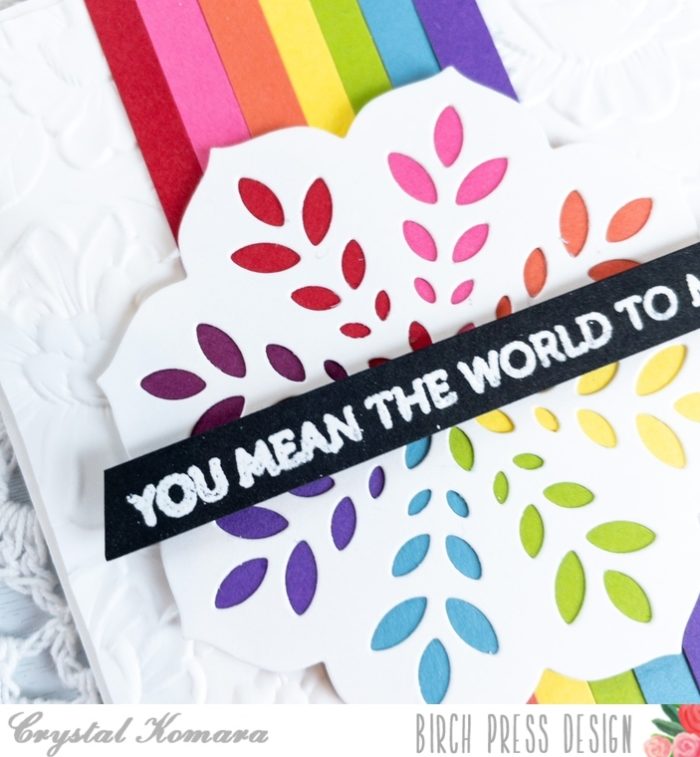
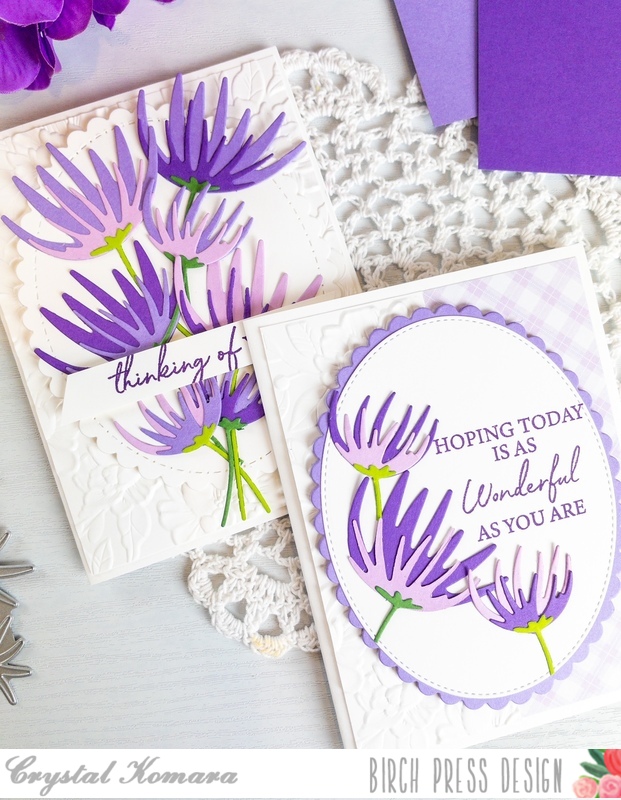
Using the Wispy Blooms Contour Layering dies, I cut multiple flowers from three different purple colors of cardstock in the 6″ x 6″ Twilight paper pack. I die cut the stems from two shades of green cardstock found in the 6″ x 6″ Lush Green paper pack. I adhered all the flowers together with a fine-tip liquid glue. I adhered the flowers to the center of the scalloped circle to create one giant bouquet. Lastly, I stamped the sentiment “thinking of you” in purple ink on a thin strip of white cardstock. This sentiment is from the Classic Sentimental Wreath stamp set.

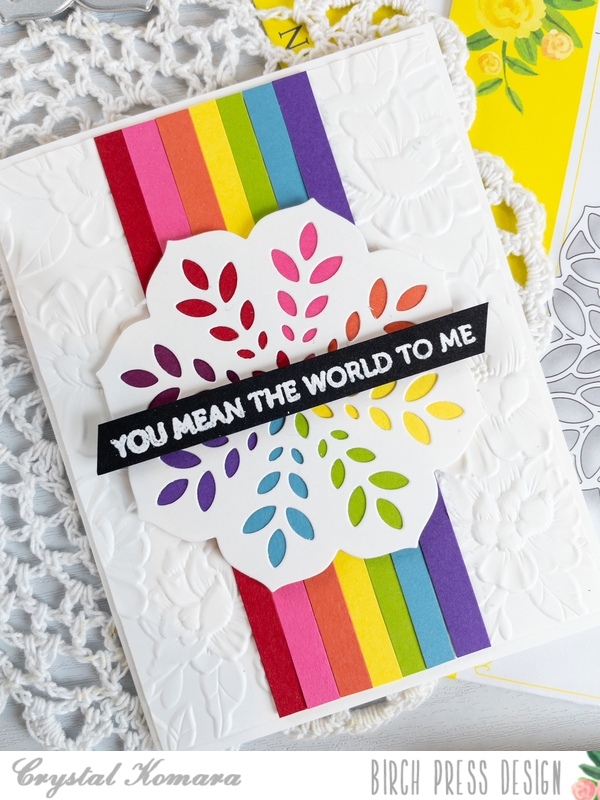
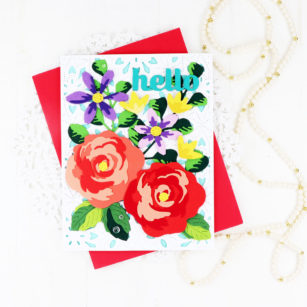
Because I had so many flowers leftover, I decided to create a second card using them, rather than waste them:
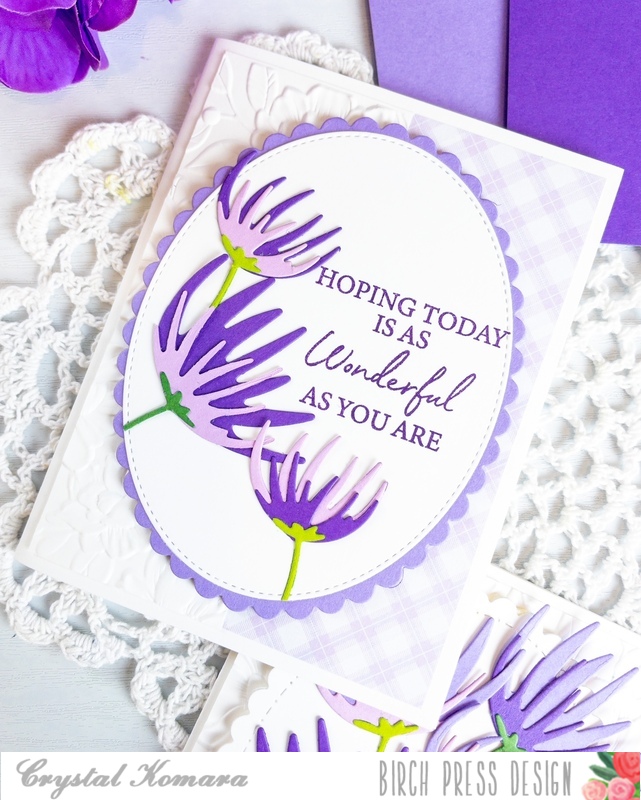
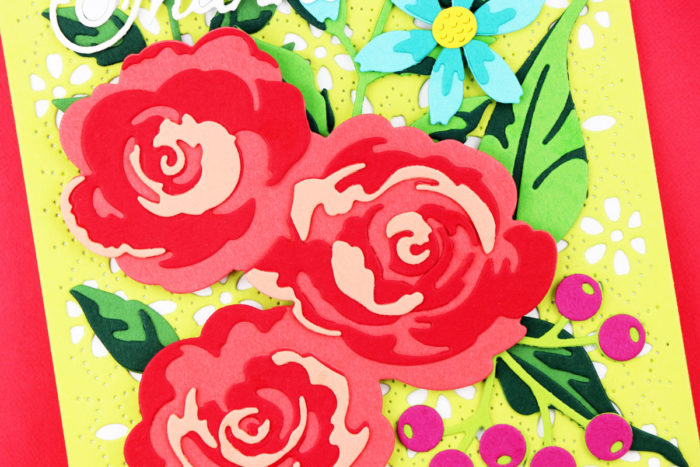
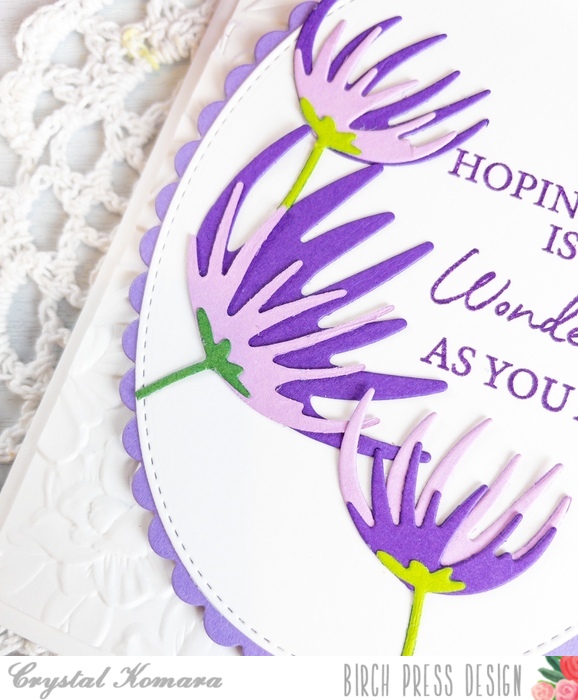
The base of this A2 sized card is also made from 80 lb. Neenah Solar White Smooth cardstock. I embossed a 5 1/4″ x 3″ piece of the same white cardstock using the Blooming 3D embossing folder (from Memory Box) and used a 5 1/4″ x 2″ piece of purple plaid paper for the other side. This paper is from the Spring Plaid slim paper from Memory Box. I die cut a large scalloped oval from Twilight cardstock and a smaller white oval for the center. I stamped the sentiment “hoping today is as wonderful as you are” in purple ink on the white oval. This sentiment is from the Kind Hearts clear stamp set. I adhered some of the leftover flowers into this white oval frame. I found that more than three flowers was too much, so I limited it to just the three.
I hope you have enjoyed these cards! Thank you for visiting and have a wonderfully creative day!