Category: Seeka
-
Love And Hugs Dahlia | By Seeka
Hi there, it’s Seeka here and today I’m sharing a card featuring one of my favorite Birch Press Designs layer die sets: Dahlia Mini Frame. I started off but cutting the three layers of the frame in three shades of violet, with the bottom layer cut out of the darkest shade. Next, I began creating…
-
Masked Ink Blending | By Seeka
Hello friends, it’s Seeka here! Today I’m sharing a way to stretch your supplies by using dies to create masks for ink blending. Using the most intricate layer of a layer die set (usually “Layer A”) you can create a beautiful pattern for your background. I began by using Layer A of the Kinsley Heart…
-
Hello Friend | By Seeka
Hello there, it’s Seeka here and today I have a card featuring the Viola Plate Layer die set over an ink-blended background. I picked a pink and red color scheme, fitting for Valentine’s Day; what colors would you choose? I began by creating the ink-blended background. I used foam blending tools to blend Candied Apple,…
-
Pink Poinsettia Joy | By Seeka
Hello there! It’s Seeka here and today I’m using the Floral Star die set which, this time of year, reminds me of a poinsettia. For a modern twist on traditional Christmas colors, I used pinks and teals instead of reds and greens. I started by die cutting the three layers of the Floral star set…
-
Thinking Of You | By Seeka
Hello, I hope you had a nice holiday! Seeka here, and today I have a clean and simple card featuring the Layer A die from one of my favorite sets, the Dahlia Mini Frame Layer Set. I began my card by using the Layer A die to cut a piece of heavy white cardstock. I…
-
Frosty Shine | By Seeka
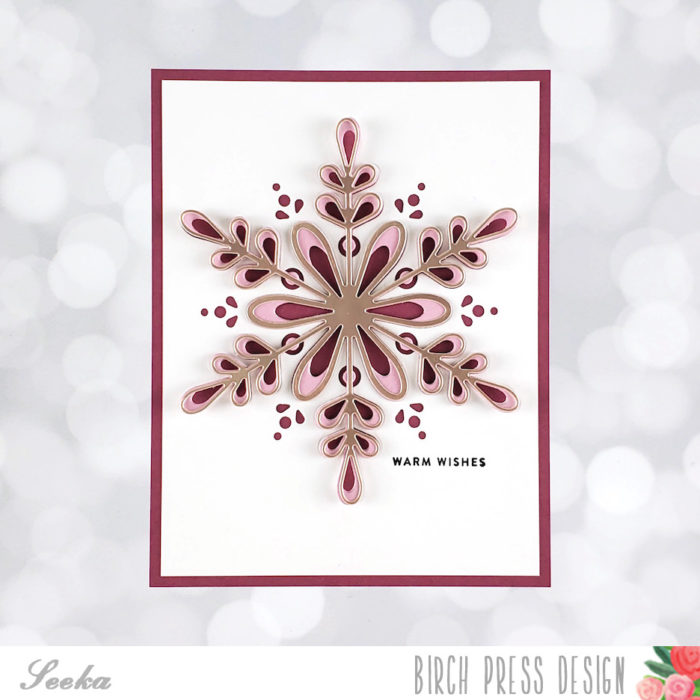
Hello there, I hope you’re having a nice day! It’s Seeka here and today I have a frosty and sparkly card to share with you. It features the Frosty Flake Layer set and the Big Shine Sugar Script sentiment. I began by creating three layered snowflakes. For the top layer, I used white cardstock and…
-
Snowflake Joy | By Seeka
Hello, crafty friends, Seeka here and today I’m sharing a sparkly monochrome card featuring the new Pinpoint Snowflake die and the Mini Snowflake Frame Layer dies. I began by die-cutting the three layers of the frame. The top and bottom layers are cut from shimmering cardstock from the Delicate Pastel Glitter Pad by Memory Box…
-
Monochrome Ornament | By Seeka
Hello! Seeka here and today I have a monochrome card featuring the Christmas Ornament and Labels stamp set. Lately I’ve been leaning towards aquas and blues for the holidays, but you could easily use any color of the rainbow! I started by using white embossing powder to heat emboss the background onto a piece of…
-
Shining Trina Snowflake | By Seeka
Hello! Seeka here, and today I have a card featuring the beautiful Trina Snowflake Layer dies. I started off by die cutting the three layers of the snowflake. My bottom two layers are cut from colored cardstock in two shades of teal and my top layer is cut from a shimmery cardstock from the Memory…
-
Joy, Hugs, and Kisses | By Seeka
Hi there, Seeka here and today I have a card featuring the Flicker Ornament Layer Die set. I started off by die-cutting the pieces of my ornament. I cut Layer B out of white cardstock and Layer A out of sparkly pink cardstock from the Memory Box Shimmering Cardstock Delicate Pastel Glitter Pad. I also…
-
Masked Marisol Ornament | By Seeka
Hello! It’s Seeka here, and today I have another example of stretching your supplies! I began by using the Marisol Ornament Layer B die to cut three masks out of masking paper (I happened to use Avery Removable ID Labels). Next, I remove the release paper and stuck the three masks onto an A2-sized piece…
-
Sunny Hugs | By Seeka
Hello there, it’s Seeka here and today I have a sunny card featuring the Cora Layer die set. I started by cutting three Layer As out of light green cardstock, and three Layer Bs out of light blue cardstock. Next I adhered the green layers to the blue layers. I created a yellow frame by…
-
Kinsley Die Cut Inlay | By Seeka
Hi there, it’s Seeka and I hope you’re having a nice week! Today I’m using color cardstock for this die cut inlay card featuring the beautiful Kinsley Layer dies. I started by cutting layers A and B out of white cardstock and gluing layer B to a white A2-sized panel. Next I cut three more…
-
Stenciled Viola Plate | By Seeka
Hello there, it’s Seeka here and I hope you’re having a good day! Lately I’ve been doing a lot of ink blending. I find it to be soothing, and a quick way to create some beautifully inked backgrounds. One of the things I love about Birch Press Designs’ layered dies is that you can often…
-
Blended Fiori Plate | By Seeka
Hello! It’s Seeka here and today I have a card featuring ink blending and the pretty Fiori Plate Layer dies. I confess that I forgot to take in-progress photos so I sincerely apologize! That said, this card was very simple to put together so I think it will be easy for you to follow along.…
-
Summer Stripes | By Seeka
Hello! Seeka here, and today I’ve got some fun striped cards for you. It was so fun and satisfying to make these, I hope you’ll give it a try! I started by using purple tape to temporarily secure the Bold Stripes stencil to a piece of Strathmore Bristol Smooth cardstock. Then I laid two strips…
-
Triple Hello | By Seeka
Hi there, Seeka here and today I’m sharing a card that combines an ink-blended background with a stenciled overlay. I started with a 4.25″ x 5.5″ piece of Strathmore Bristol Smooth cardstock. Using Post-It tape, I masked off the borders and then used foam blending tools to blend Mustard Seed, Carved Pumpkin, and Abandoned Coral…
-
Sunny Dazzler | By Seeka
Hi there, Seeka here and today I’m sharing a sunny card using the Dazzler Layer die set. First, I die cut Dazzer Layer C from white cardstock. Then I used three markers (Copic RV14, Y17, and Y15) to color the outer ring. I started with RV14, a pink, along the inside of the die cut…
-
Stencilled Die Cut | By Seeka
Hello there! It’s Seeka here, and I thank you so much for spending a bit of your day with us. For my card today, I used a die cut as a stencil to create a clean and simple (and easy!) card. I started by using the Prism Triangle Collage die to cut a piece of…
-
Hello Crafty Friend | By Seeka
Hello! Seeka here and today I’m sharing a quick and easy card featuring the Ring Tile stencil and the Hello Topper die. I started off by using low-tack Purple Tape to tape an A2-sized piece of bristol smooth cardstock to the stencil. Then I used foam blending tools to blend Victorian Velvet, Seedless Preserves, and…
-
Stained Glass Dahlia | By Seeka
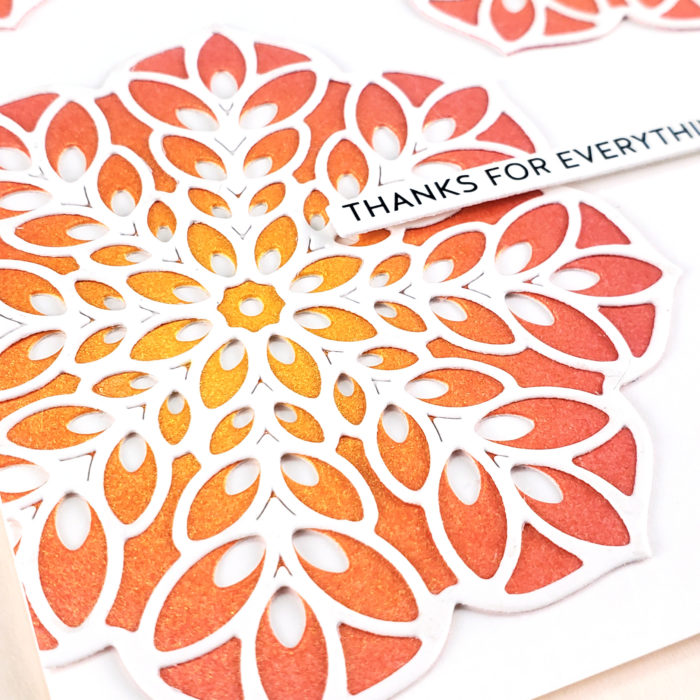
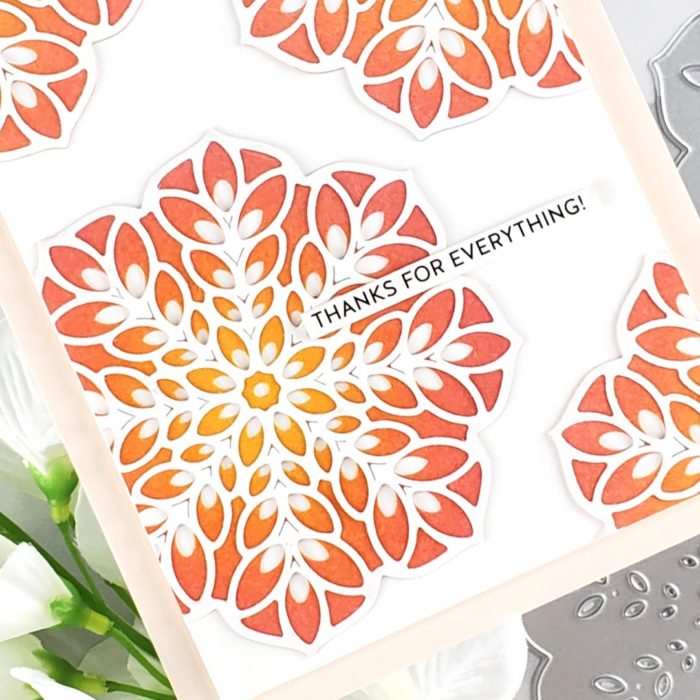
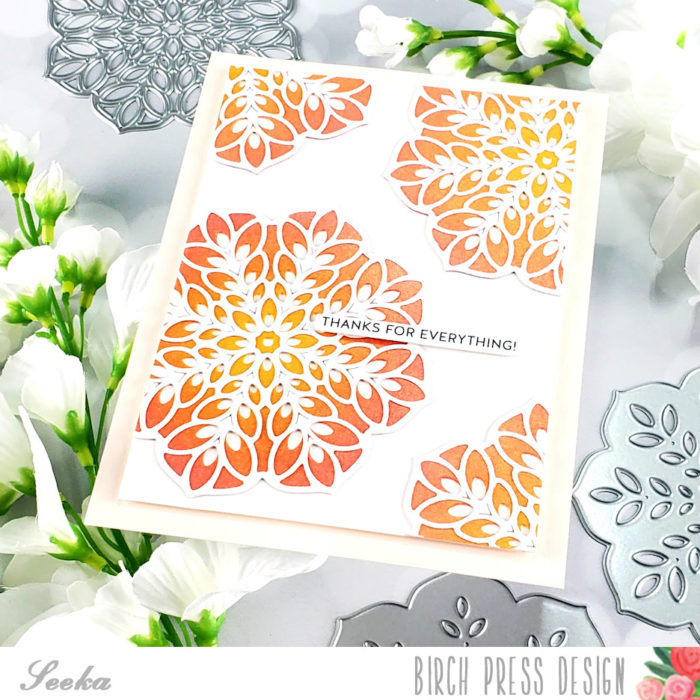
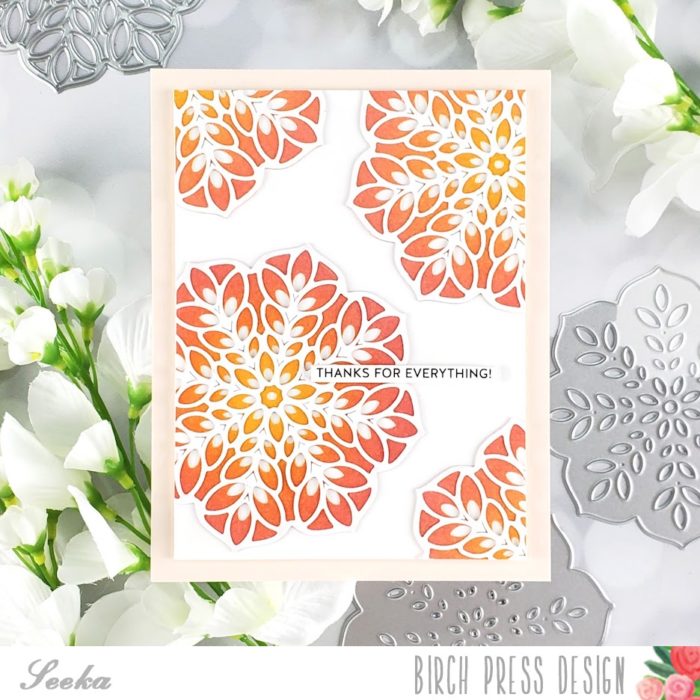
Hi crafty friends, thanks for coming by! Today I’m sharing a clean and simple card with an unexpected detail, a faux stained glass effect. This card features the Dahlia Mini Frame Layer A die, and a sentiment from the You Are Awesome stamp set. I started by using the die to cut a piece of…
-
Sweet Petal Triangles | By Seeka
Hello, crafty friends, I’m so glad you’re here! Today I’m sharing two cards that feature the pretty Petal Triangles Layer die set, and sentiments from the You Are Awesome stamp set. I started by creating two square ink-blended panels. Starting with Strathmore bristol smooth cardstock, I used foam blending tools to blend on Squeezed Lemonade,…
-
Floral Star Layering | By Seeka
Hello, crafty friends! Seeka here, and today I’m sharing a card that features the beautiful three-layer Floral Star Layer die set. I don’t own a lot of color cardstock so when I play with layering dies, I like to ink up the layers with watercolor, markers, or ink blending. For this card, I used just…
-
Love You | By Seeka
Hello there, I hope you’re having a lovely day! Seeka here and I’m so very excited to share my first post on the Birch Press Design blog! I started by die cutting the three layers of the Folk Art Heart Layer Die set out of white cardstock. Because I planned to color each heart, rather…