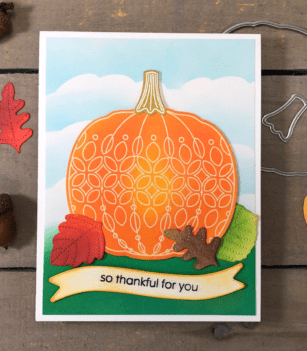
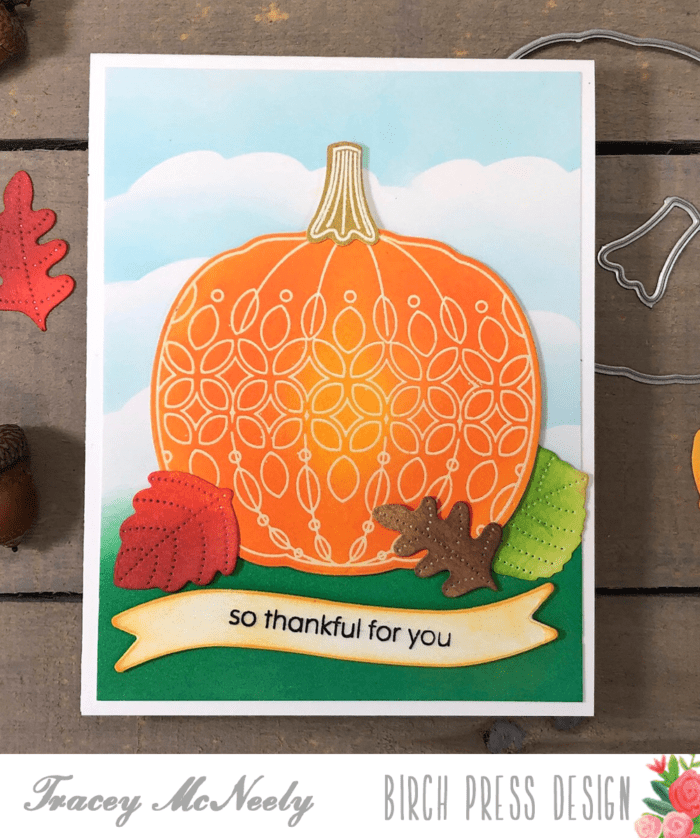
Hi there, it’s Tracey back here today and I have a quick tutorial to show you how I got inventive with my dies to help me create a scene on a grassy field.
I started off with a panel of Bristol Smooth cardstock, my favourite for use with Disress Oxides inks. All my colouring today was done with Distress Oxide inks. I ink blended my grass at the bottom of my panel using Pine Needles and Lucky Clover inks.
I wanted to create clouds for my sky but I didn’t have a cloud stencil or die. So I used the Regal Peacock dies set, Layer A to make my own stencil.
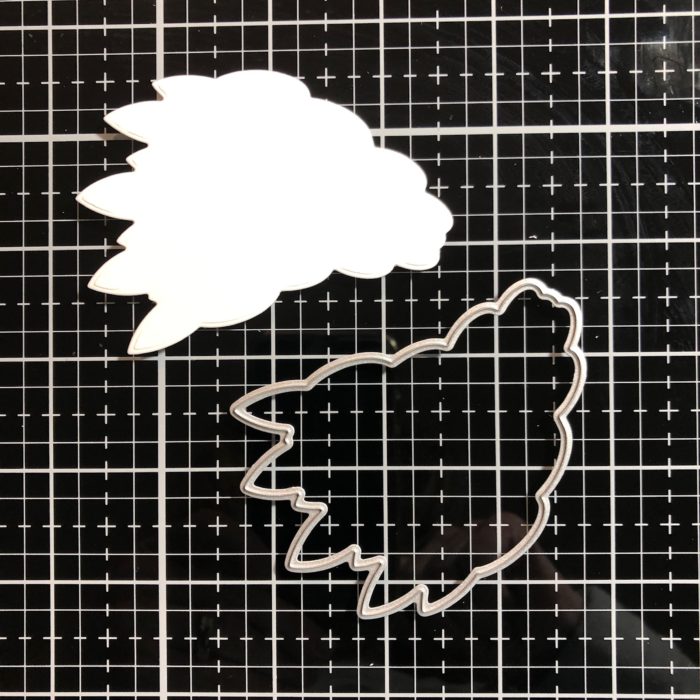
I cut the tail using lightweight cardstock, and turned the tail on it side and blended a cloudy sky using Tumbled Glass ink. Moving the stencil along from left to right, carefully turning it to fit the cloudy scene I was trying to make. Now that my background is done I set it aside to dry while I worked on the rest of the card.

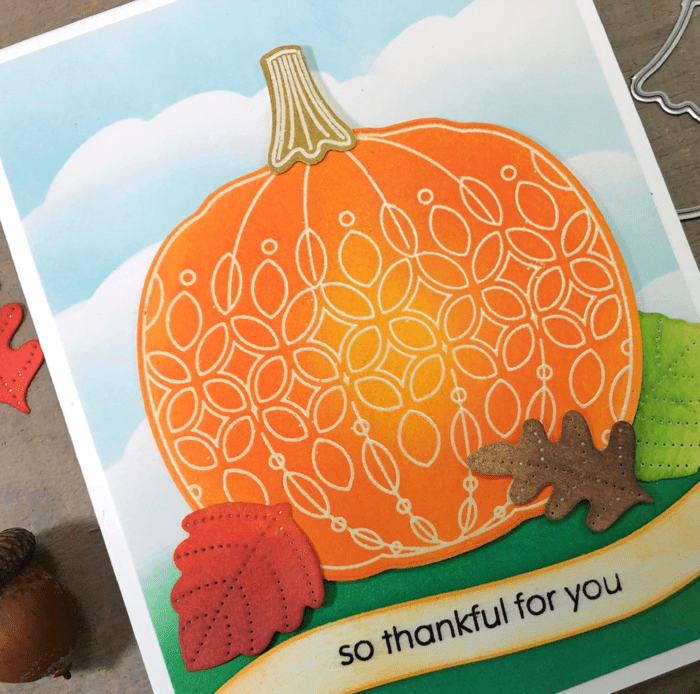
The pumpkin and stem from the Pumpkin Lacework stamp set were stamped and clear embossed on Bristol Cardstock once again. I blended Wild Honey, Spiced Marmalade and Carved Pumpkin ink over the embossed pumpkin to add a bit of shading and dimension. I blended Peeled Paint and Frayed Burlap ink over the pumpkin stem. I cut the ink blended shapes out with the coordinating dies.
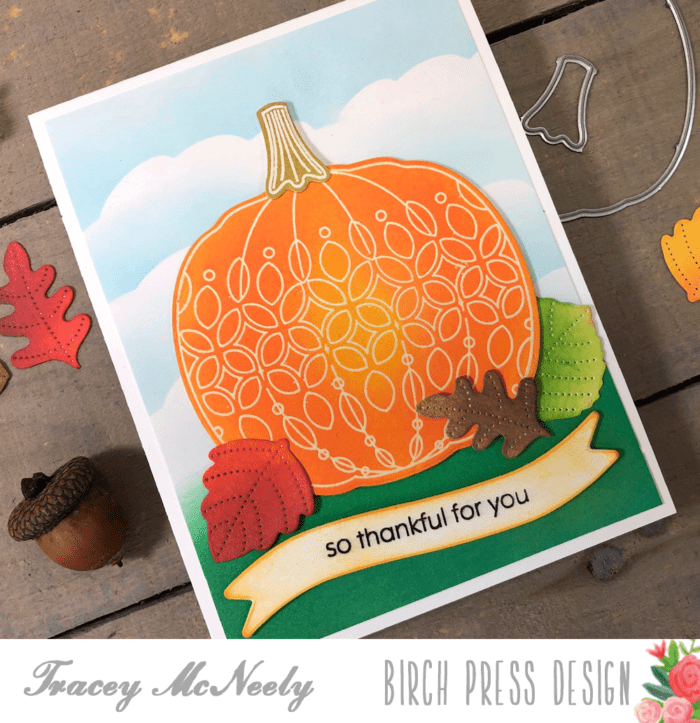
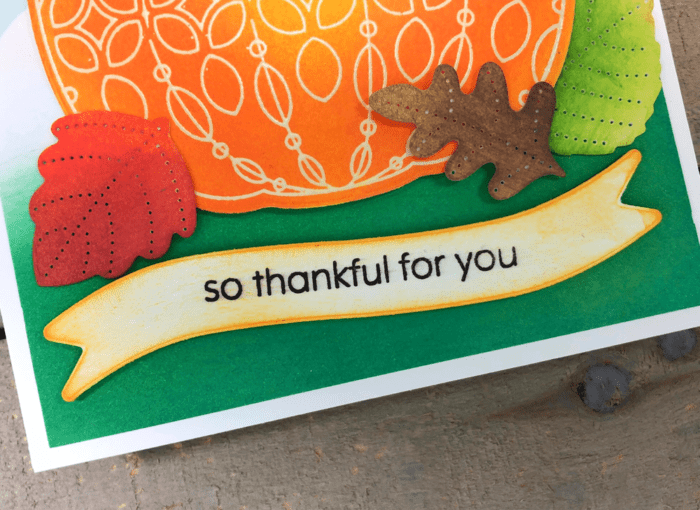
The leaves that are around the base of the pumpkin are from Layer B of the Autumn Breeze dies set. After I cut the panel, with Bristol Smooth cardstock, I ink blended the individual leaves in autumn colours.

I cut the wavy banner die from the Christmas Ornaments and Labels stamps set from white cardstock. Then I stamped a sentiment is from the You Are Awesome stamp set on to the banner. When I picked up the banner I got a bit of orange ink on to the one side of the banner. No need to start again, I just blended orange ink all around the banner. So now it is just between you and me!
It was so fun to create a my scene using just what I had on hand. The peacock tail die came in handy to create those clouds in my scene. I hope I have encouraged you to look at your supplies a bit differently. Just another way to maximize the use of what you have.
Thanks so much for stopping in today and have a wonderful week!

Supplies


