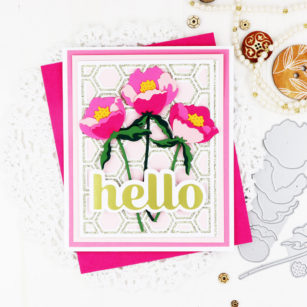
I hope you’re having a great weekend doing something that you love. If I get my way I’ll be in the garden seeing what’s new to discover. Maybe some new blooms or perhaps the beginnings of some summer veggies! I love when my hobbies overlap and these gorgeous blooms made from paper are just as beautiful as the real thing.
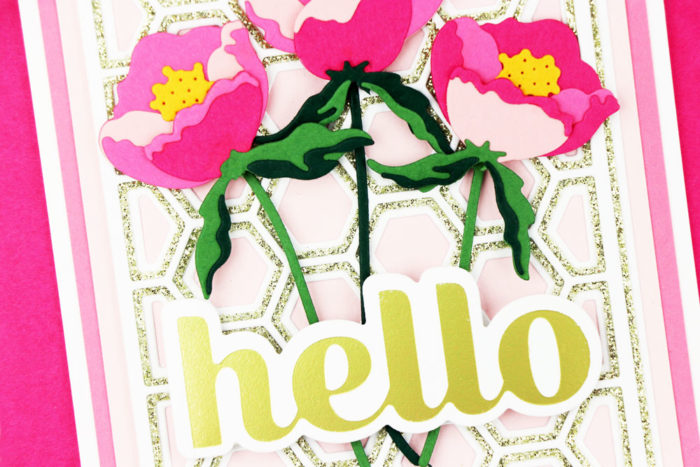
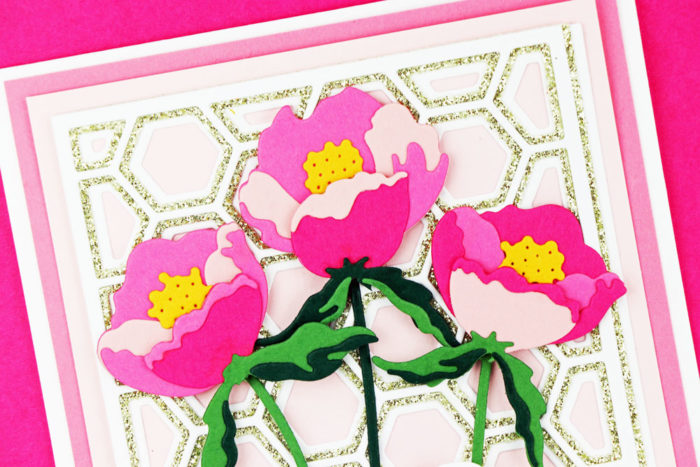
The florals are easy to assemble. This is a three layer die so I chose three shades of pink cardstock. To save time I cut all of the layers from each of the three shades. I mixed up the shades when I assembled them to create each bloom. I don’t think you need to always have blooms dark to light or vice versa.
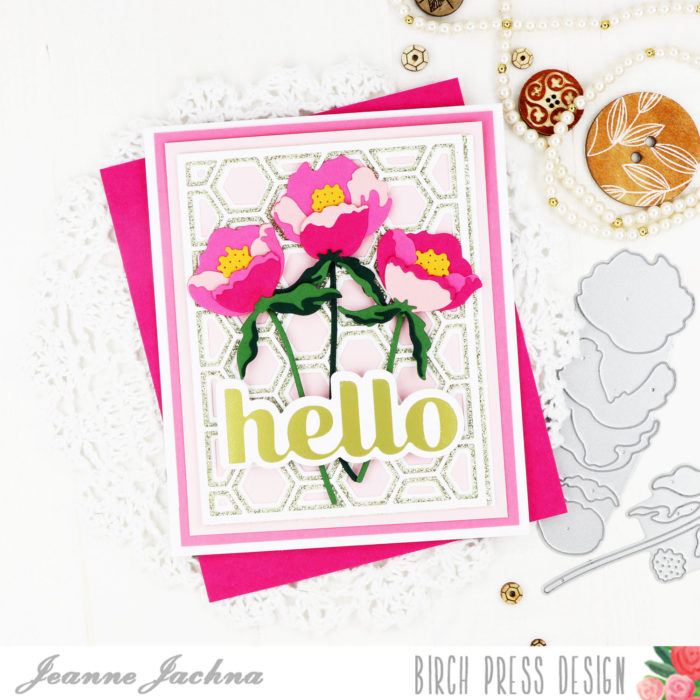
To add some sparkle I cut the Honeycomb Bevel Layer set from white and gold glitter cardstock. To compliment the flowers I layered the assembled honeycomb panel over shades of pink cardstock.
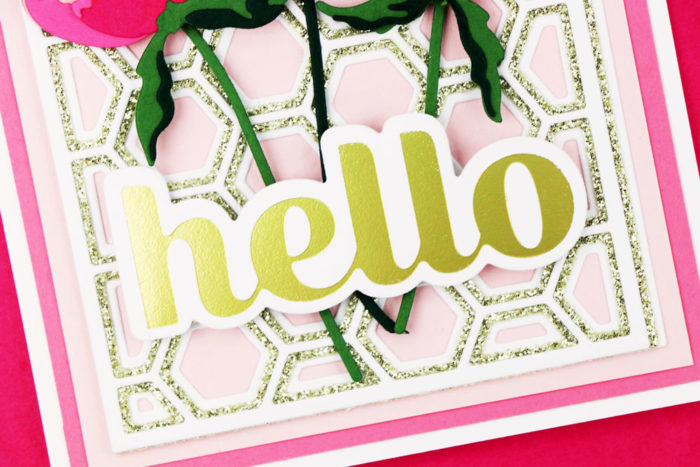
The Hello Sugar Script foil die adds even more gold elegance to this floral card. The sentiment die includes an outline die cut so there’s lots of possibilities.
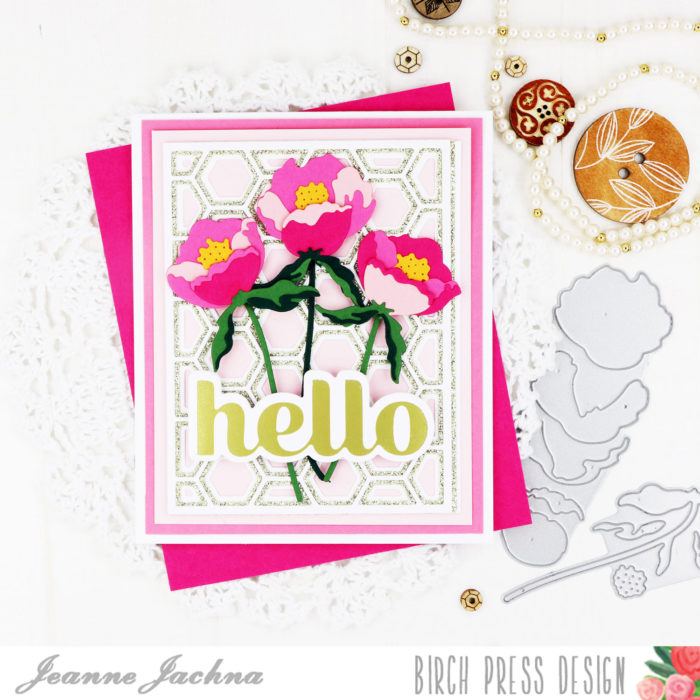
I hope you’ll enjoy creating with the layered florals in the shop – they’re total eye candy!
Supplies


