Hello! Rosemary here on the blog today. Today is July 25th and so I decided to make a “Christmas in July” project. I used several older products and one newly released product for today’s project. Let’s have a look at what I made.
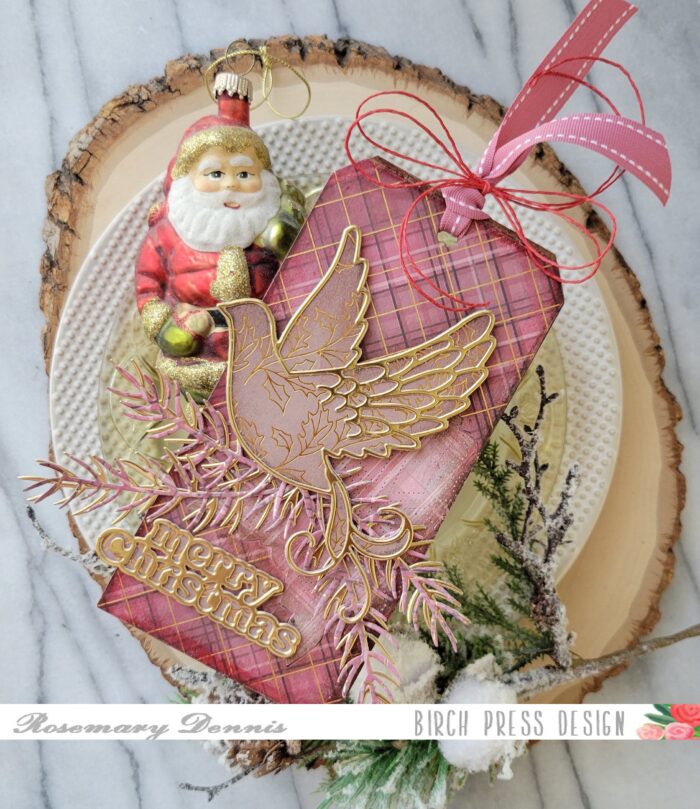
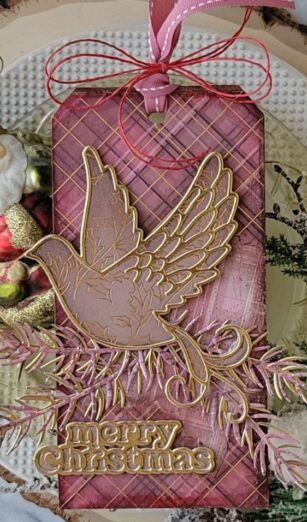
Today’s project is a large tag that can be used as a deco piece at Christmas time. I really enjoy making these kinds of projects to share. I started with a Tim Holtz thickboard tag. I pulled out a piece of plaid paper from the Poinsettia Plaid 6×6 pad that had various shades of red in it and trimmed it down to fit the tag. The top of the paper has a hole in it so that the pad can be hung and I used that to my advantage. I aligned the hole in the paper with the hole on the tag, trace around the tag and then trimmed out the paper. There was a little bit of the tag not covered at the very top, but in the end you don’t really notice it.
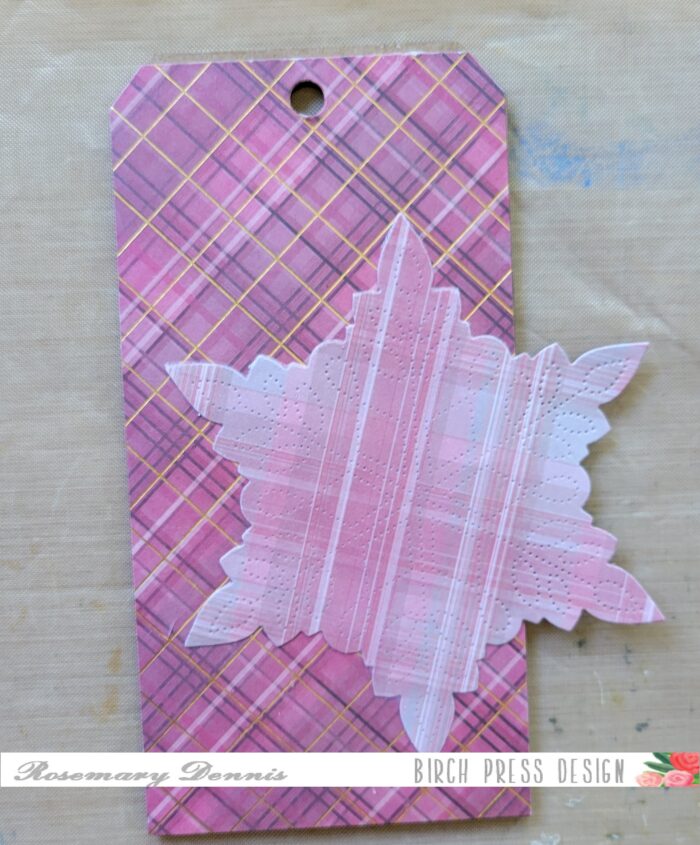
I then adhered the paper tag to the thickboard tag using distress collage medium and let it dry. I then decided to add another layer of texture to the tag by adding the large Pinpoint Snowflake that I die cut from the reverse side of the paper used for the tag. I adhered the snowflake to the tag using the collage medium, as well, and once things were dry trimmed off the one side. Once I had the base of my tag put together I worked on the focal point of the tag. For this I used the pretty Adornment Dove die set. Initially I die cut solid layer of the dove from three different papers from the Poinsettia Garland 6×6 pad and determined which one I wanted to use. As you can see I went with the lightest paper dove.

I then die cut the top layer from gold foil cardstock from the Vintage Pastel Mirror 6×6 pad. To give the base layer of the dove a little more stability I adhered the other two doves I wasn’t using behind the main one. The Vintage Merry Christmas sentiment was also die cut from the same papers and adhered together. I used liquid adhesive for both. Then I got out distress crayons in festive berries and ground espresso to blend onto the edges of the dove, the tag and around the snowflake. Once I had done that the small gap at the top of the tag almost completely disappeared!
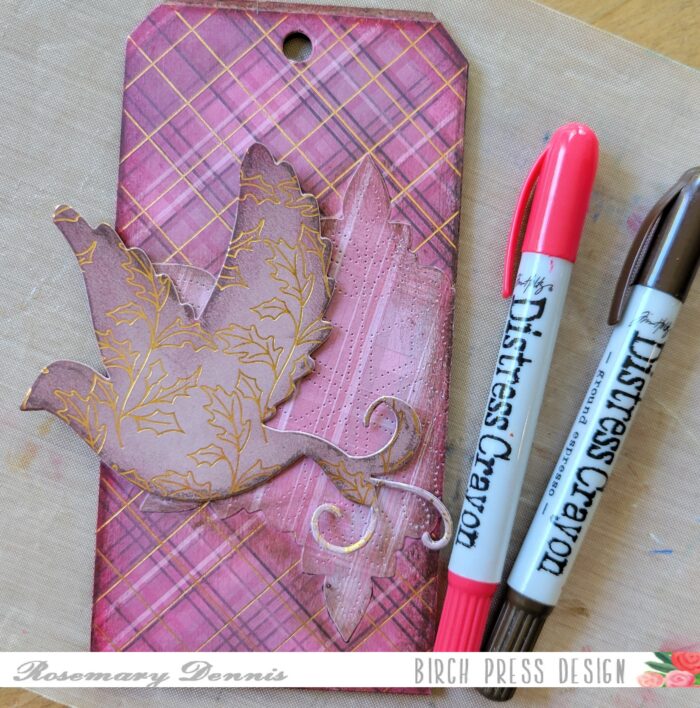
As I was working on my tag the newest release from Birch Press Design landed in my mailbox. It is absolutely gorgeous! So I decided to make sure to incorporate one of the new products from the release into my project. I made the decision to use the Pine Needle Twigs Contour Layers dies. I die cut them from scraps of the paper I used, as well as the gold foil cardstock and then layered them together using liquid adhesive.

Once they were dry I began layering the elements on to my tag. I started with the Pine Needle Twigs using liquid adhesive to attach them. I used a combination of liquid adhesive and foam squares to attach the dove. Foam squares were also used to attach the sentiment. I finished off my tag with some ribbon looped through the hole in the top and then tied with some red twine.
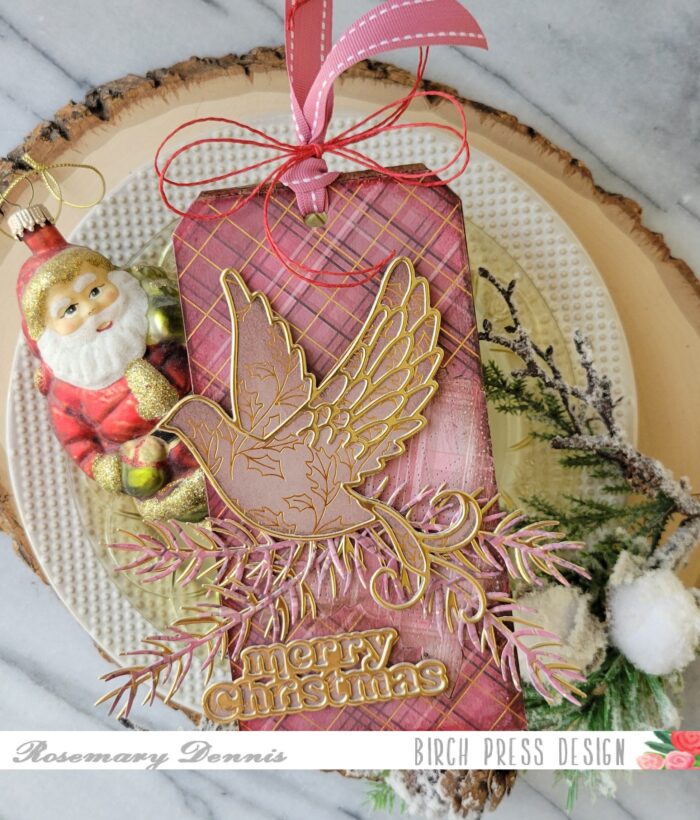
I hope you enjoyed today’s project. I had a lot of fun making it! Thanks for stopping by and have a wonderful day!

Supplies


Comments
4 responses to “Adornment Dove Tag | by Rosemary Dennis”
Such a beautiful dove, Rosemary – just love the papers you’ve combined! Your dove looks amazing on the pines!
Absolutely gorgeous, Rosemary! How clever to use the hole already in the paper! I don’t think to use my papers for these kind of diecuts, but maybe I will now. The crayons were a great idea and the uncovered top definitely isn’t noticeable. Wonderful project!
SO very beautiful, I love the richness of the colour mix and the gold, the dove outlined in gold with the gold in the paper is awesome. Gorgeous work Rosemary.
Beautiful and elegant, Rosemary! Well done!