Hello, Birch Press friends. Happy November! The holidays are getting closer and closer, and there is no better time to start making those holiday cards. Of course, I love making them all year round. The most recent release is full of holiday fun. But I wanted to show you how to use some non-holiday products and turn them into a festive card.

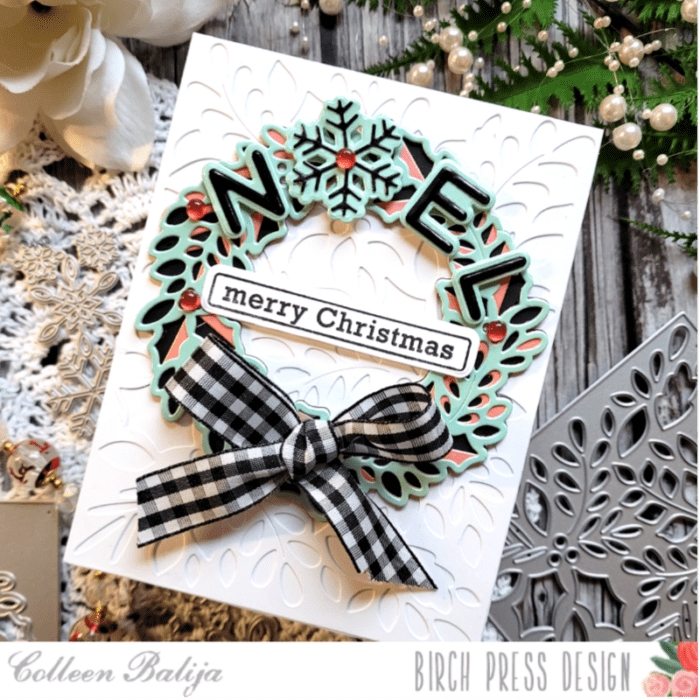
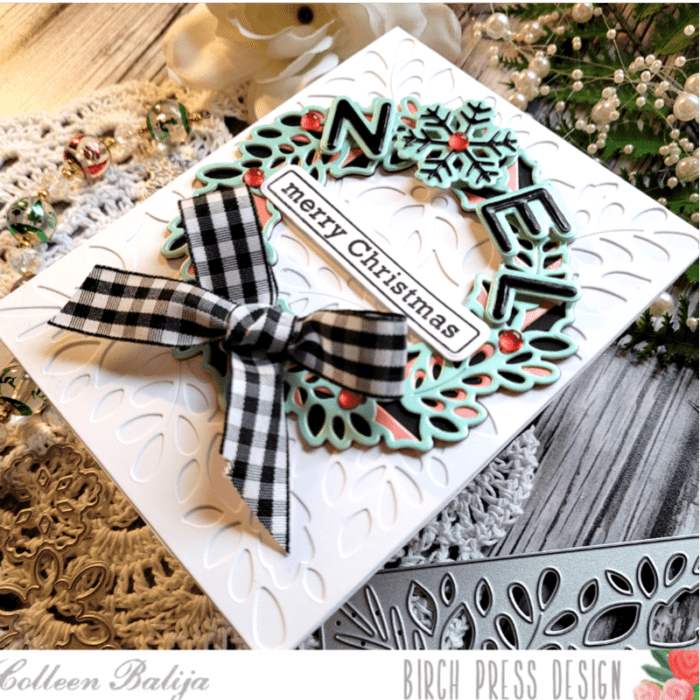
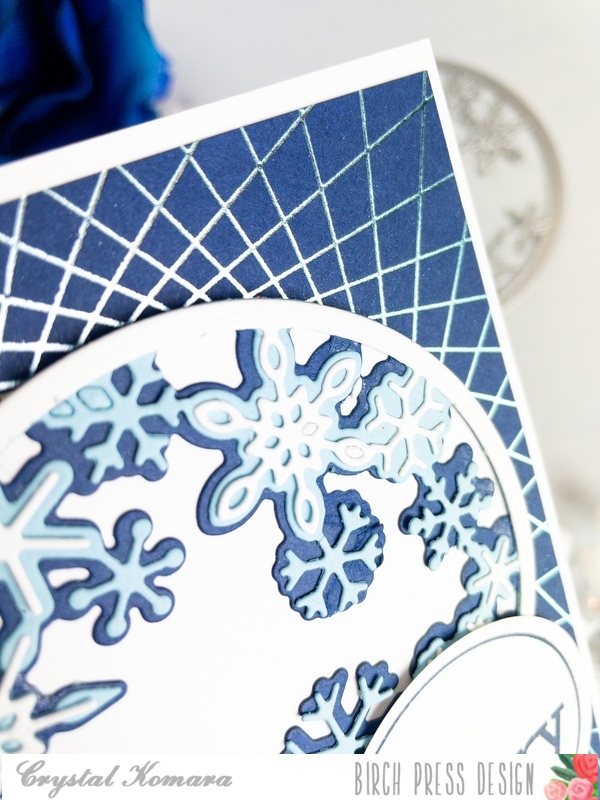
I started my card by dry embossing Layer C of the Flora Plate die set onto the front of a Kraft A2 card base. This is one of my favorite ways to create unexpected texture for a background. I then looked through my collection of Contour Layers die sets for the perfect leaf to create a wreath with. There are many floral sets with great options, but I chose the leaf from the Tiny Tuft Flowers set.
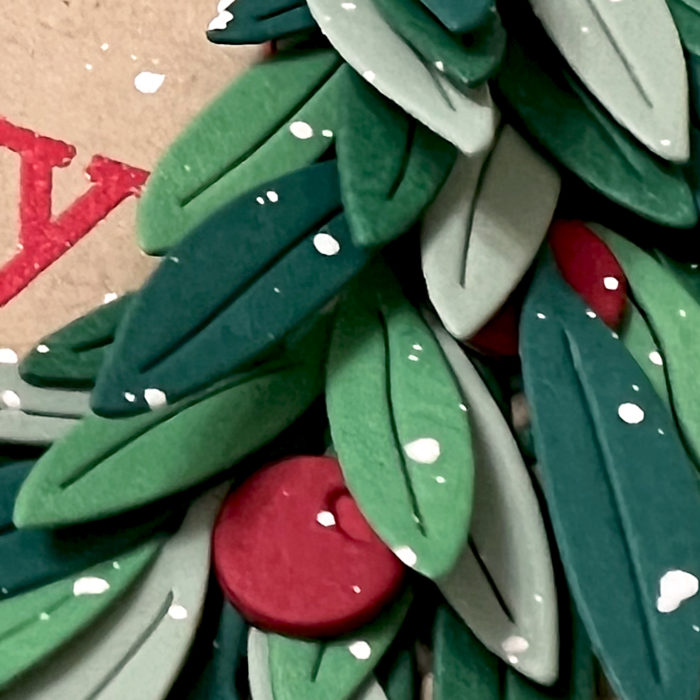
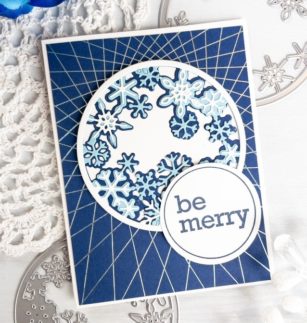
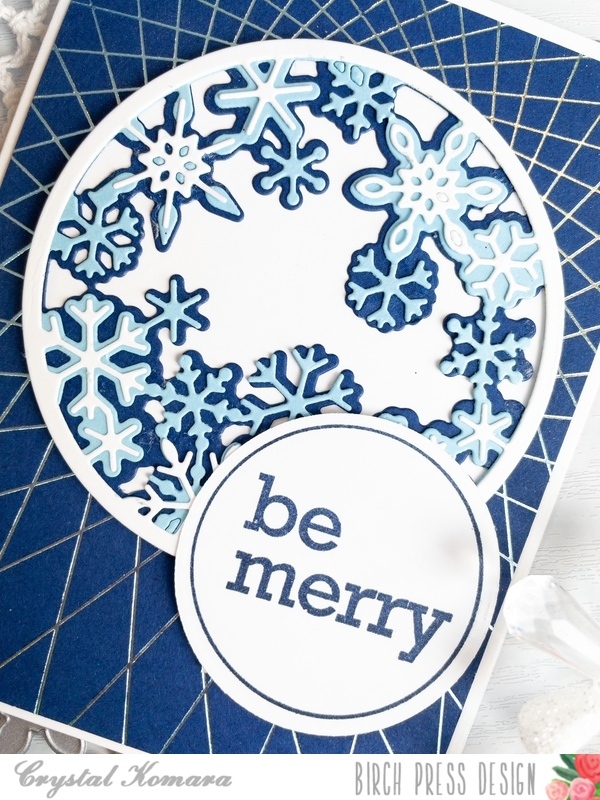
I chose four different colors of green card stock and die cut a bunch of leaves. I then began arranging them in a circle to get an idea of placement and size. I originally was going to use a word die for a sentiment, but I decided to use the round “be merry” stamp for the center of the wreath. I heat embossed it onto Kraft card stock with red embossing powder and cut it out with the matching circle die. I adhered it to the card panel, and this gave me the center point to build my wreath around.

There are three sets of leaves that are attached to branches, and I started by glueing the full elements down to form the wreath shape. As my wreath got more full, I would snip individual leaves off to fill in as needed.

For the berries, I used the Eucalyptus Stem and Berries die set, which is now retired. Again, these berries come attached to a branch (I believe there are seven berries on the branch), but I cut them into smaller bunches or even single berries as needed. When I was finished, I splattered the entire card with some white acrylic paint, making sure to cover the stamped sentiment with some washi tape first.

Thank you so much for joining us today. I hope this card inspires you and brings a smile to your face!
Wishing you a crafty day,
Allison

Supplies