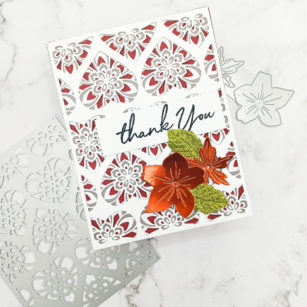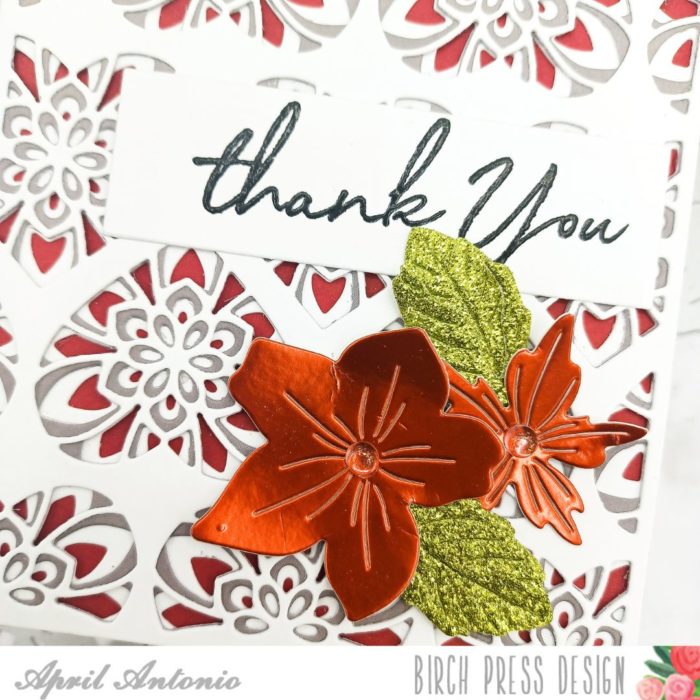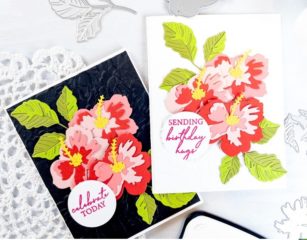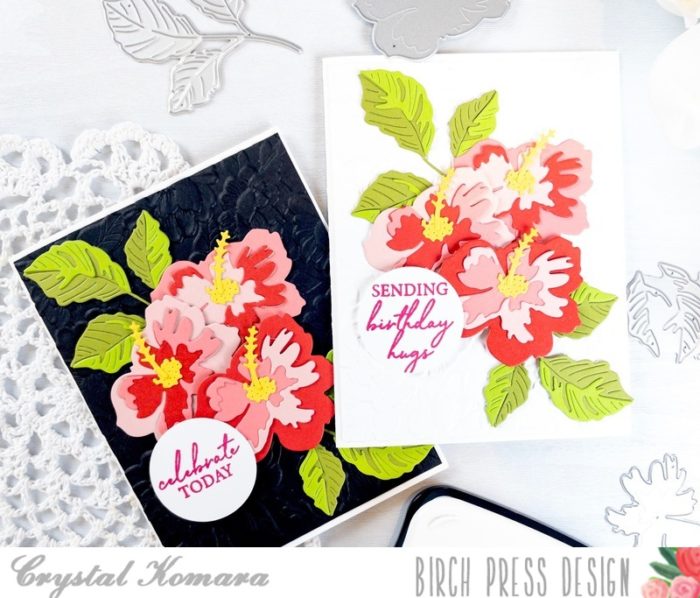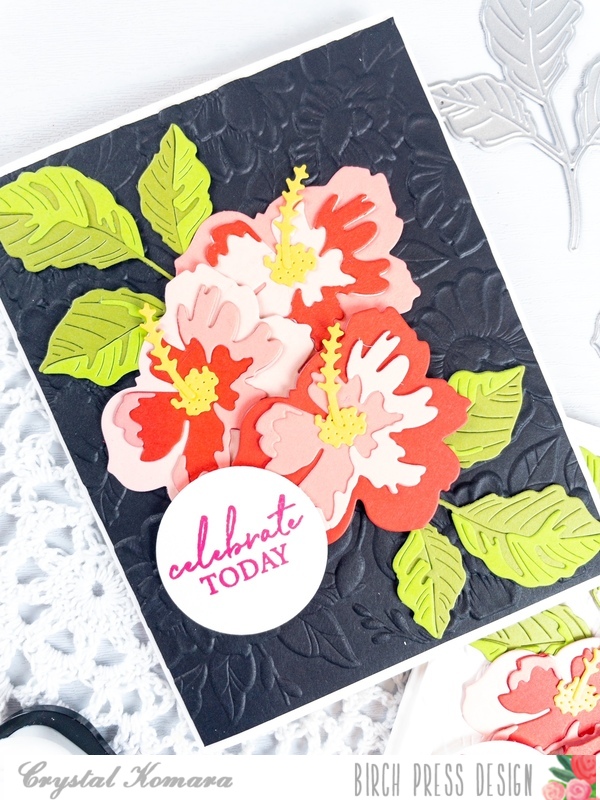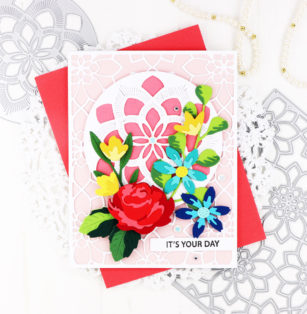
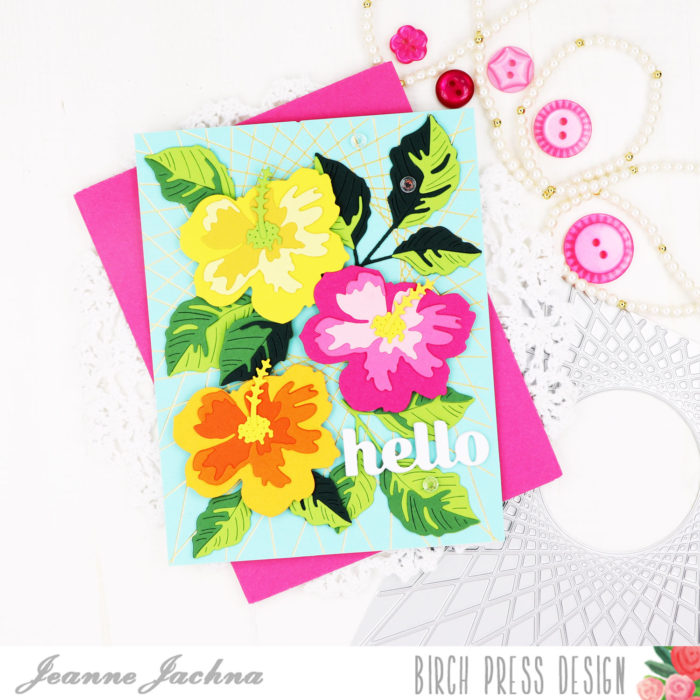
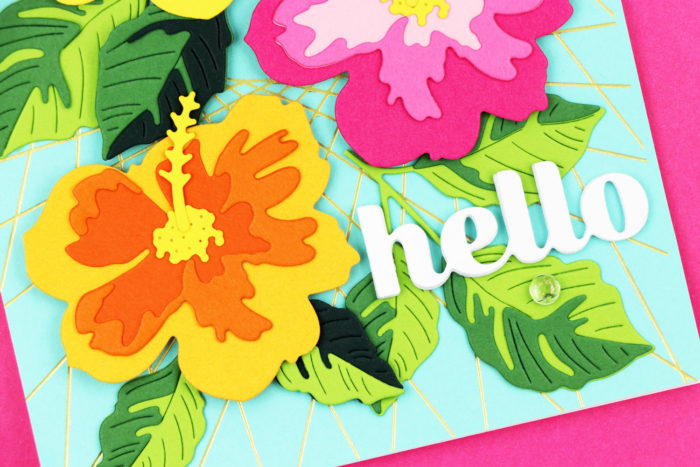
Hi and thanks for stopping by! Today I’m sharing a colorful card that just screams SUMMER. Living in the Midwest the only time I see beautiful hibiscus in shades of red, pink and apricot is when they arrive at the garden center this time of year.
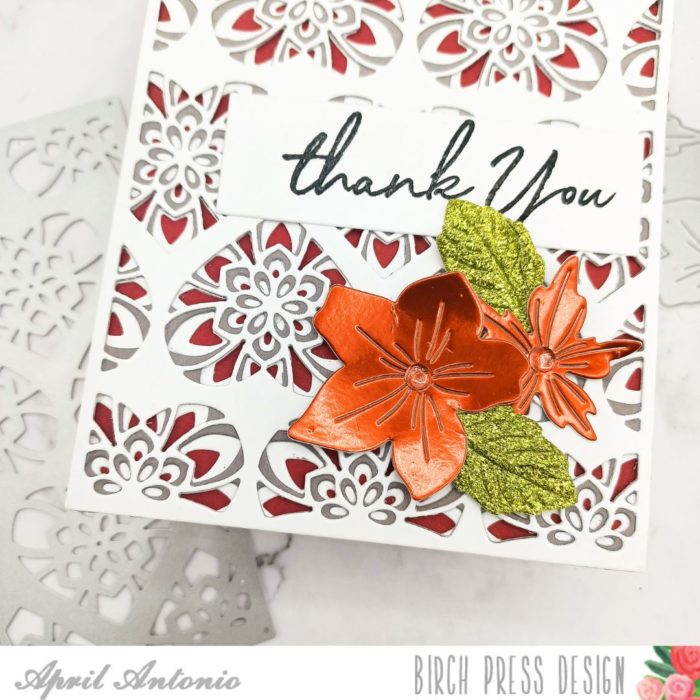
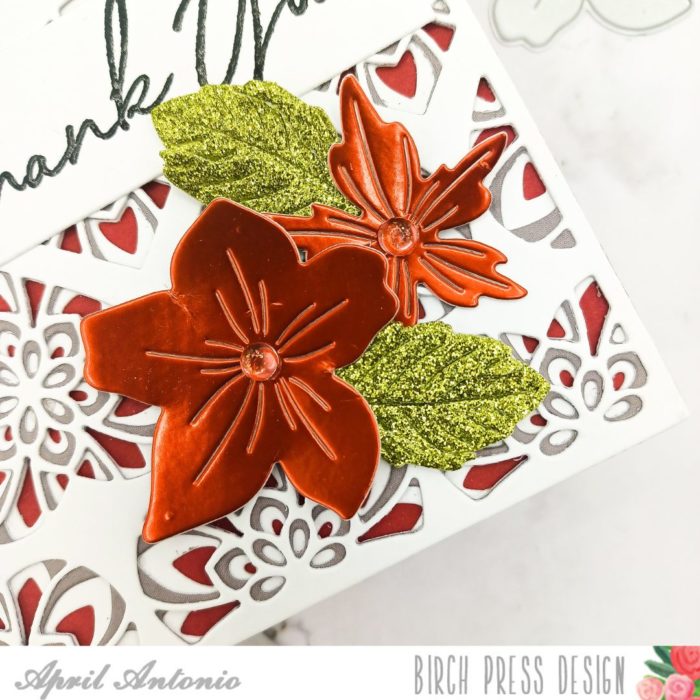
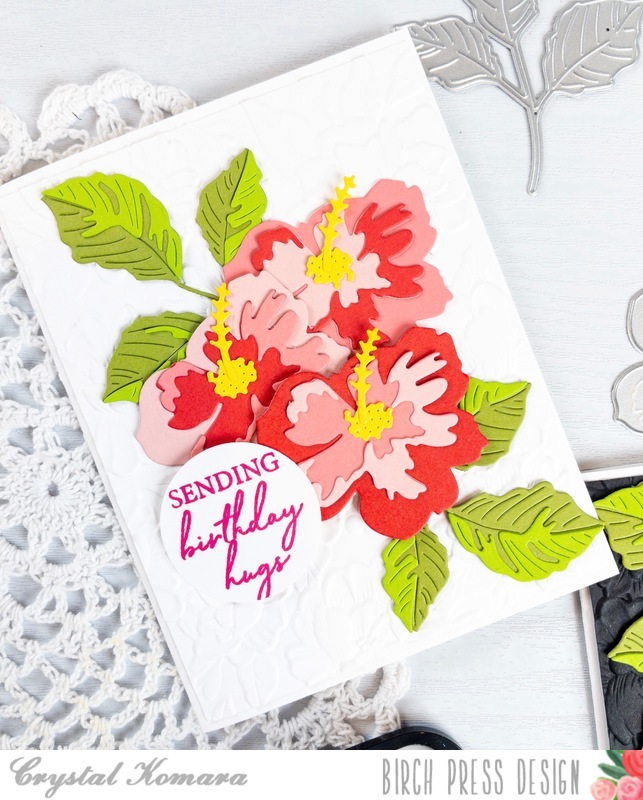
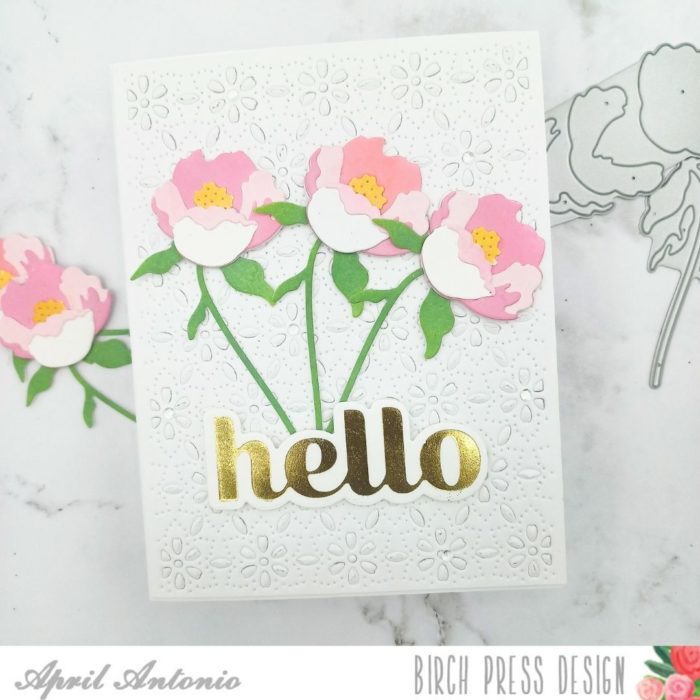
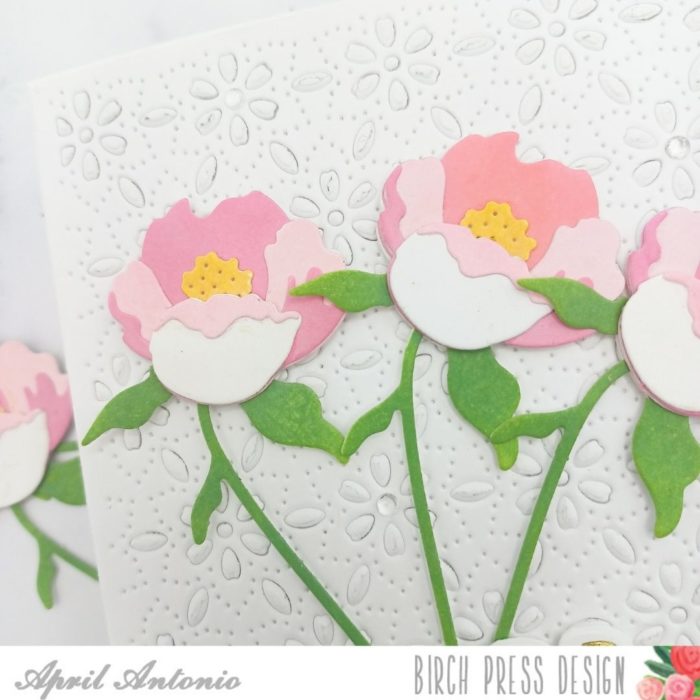
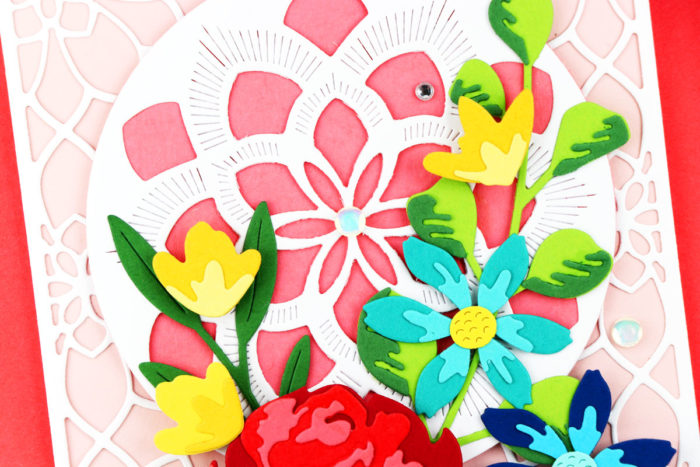
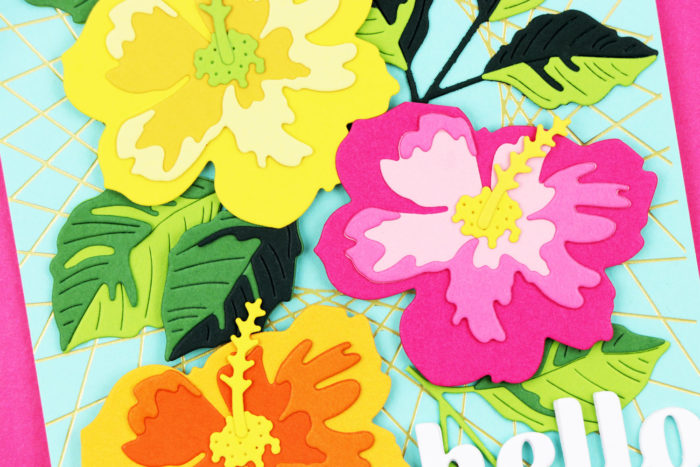
These pretties were really easy to assemble. The flower base is just three layers and an embossed line shows you exactly where to place each die cut piece.
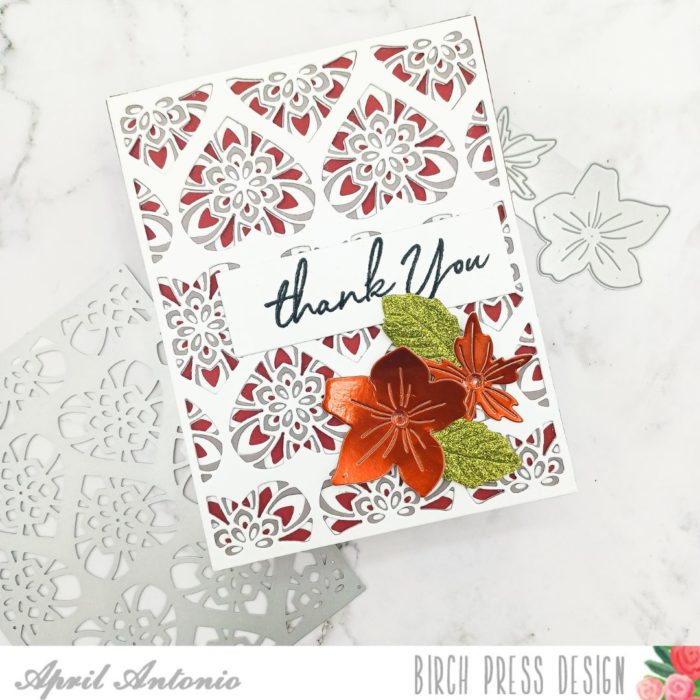
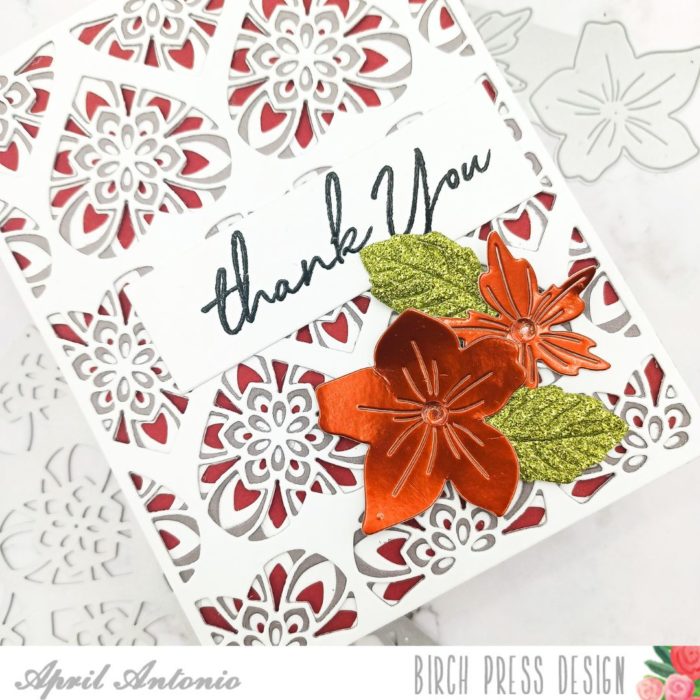
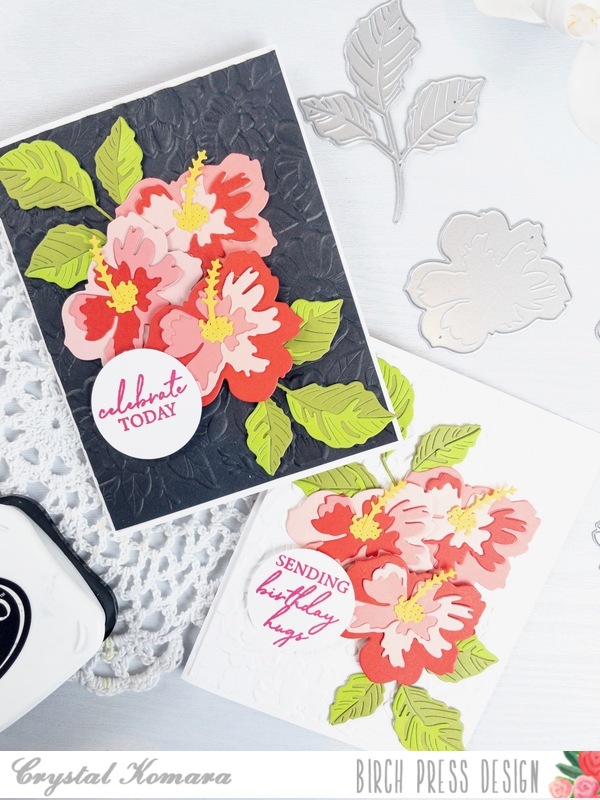
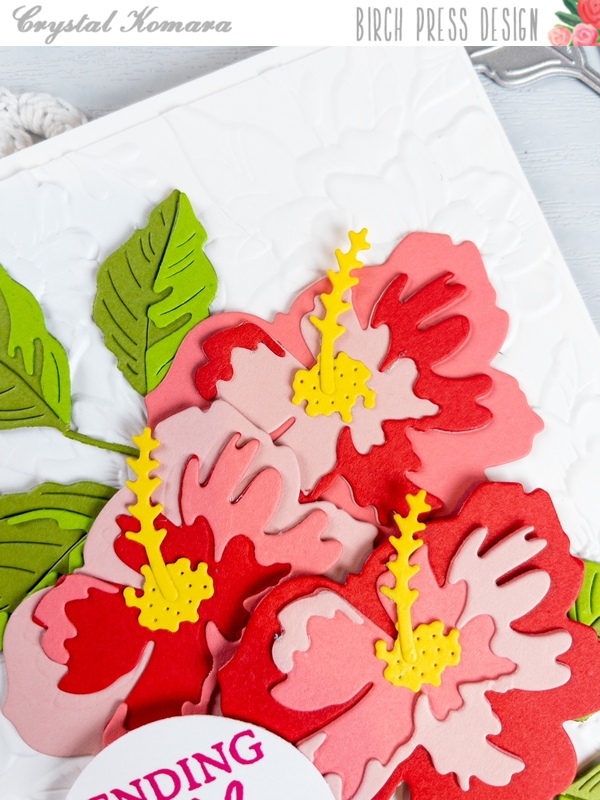
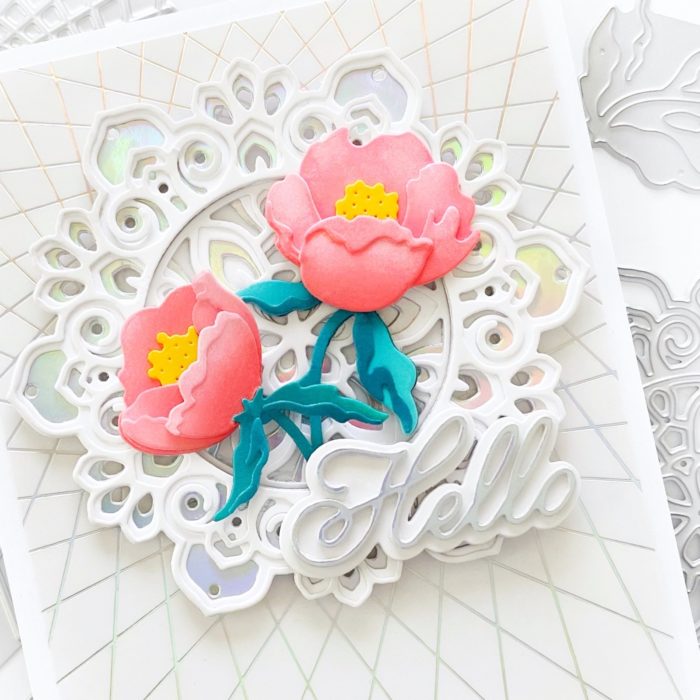
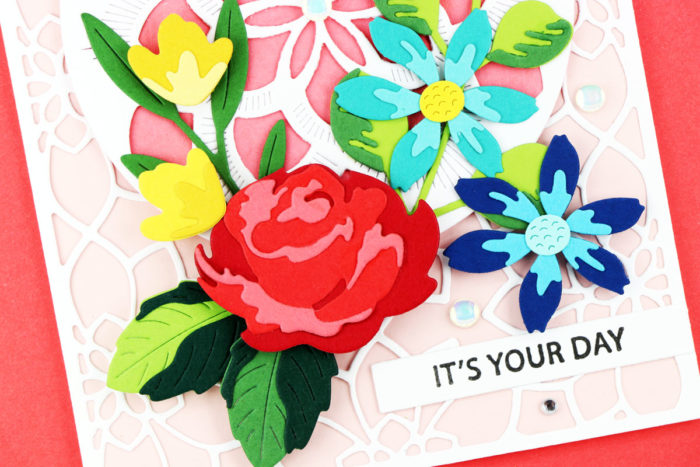
To save time on future projects I cut all the flower layers from each of the shades of cardstock and alternated the layers when I assembled them. So some have the darkest color shade on the bottom, while others have the lightest color shade on bottom. No matter what order you arrange the colors the flowers look beautiful and I have lots of flowers for other projects.
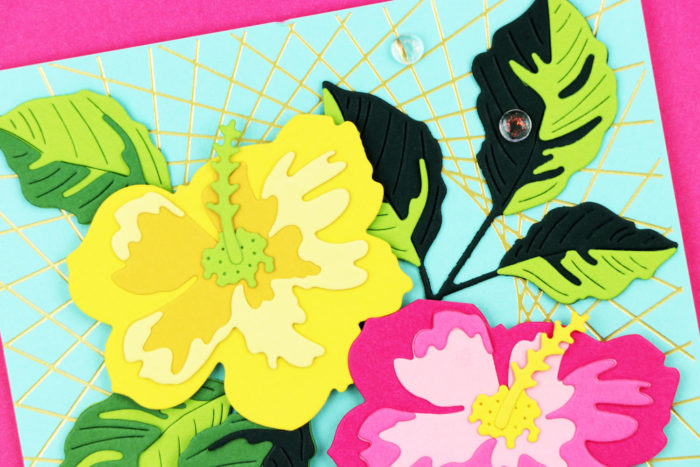
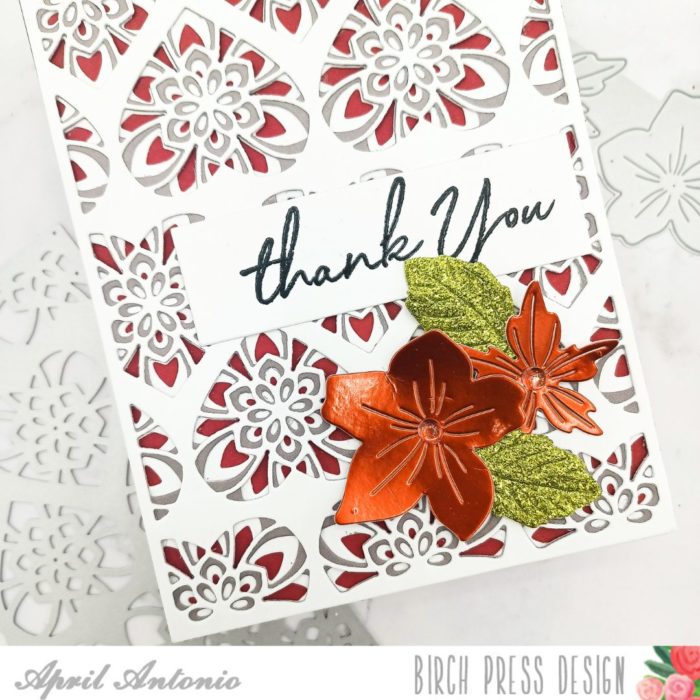
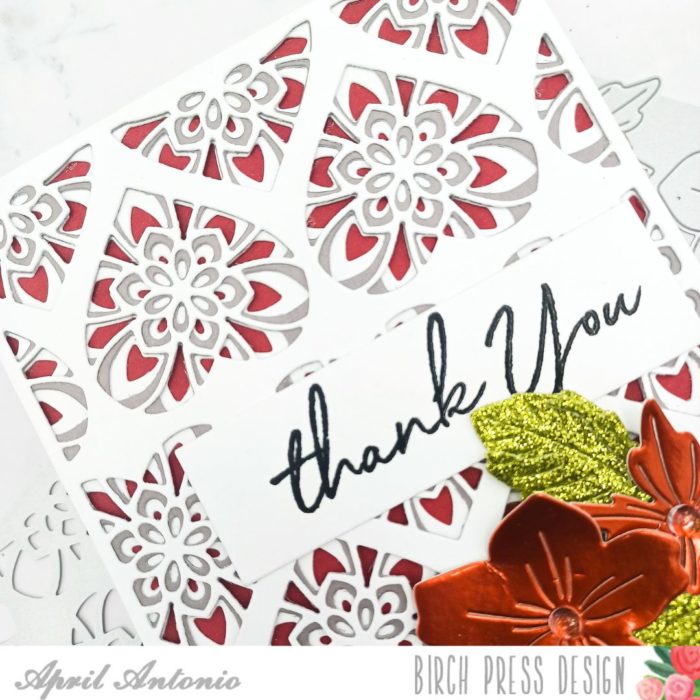
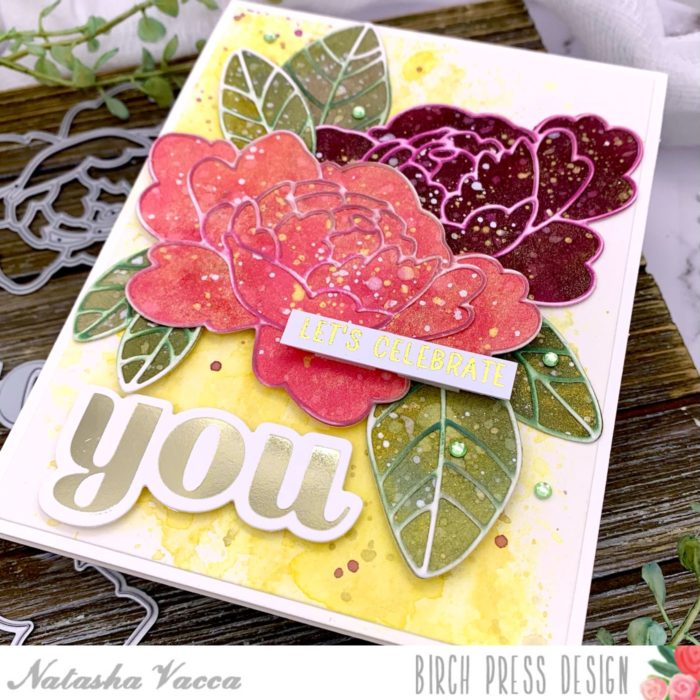
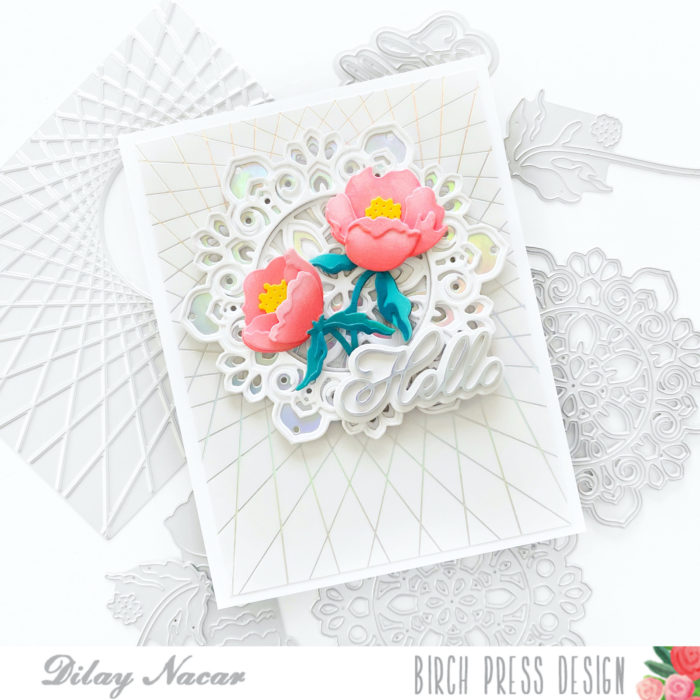
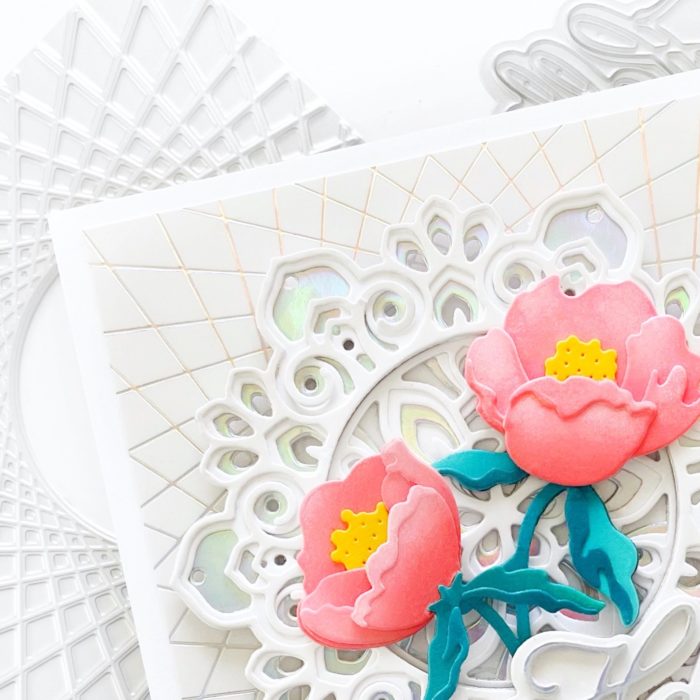
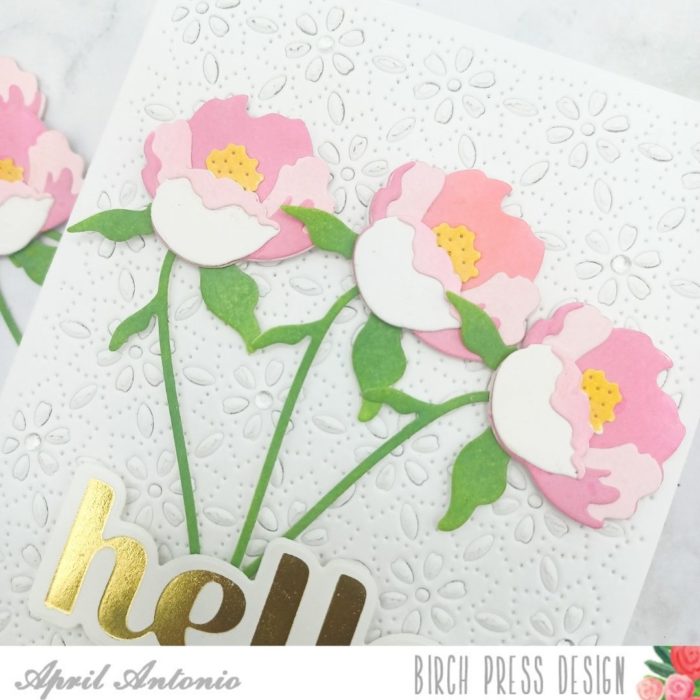
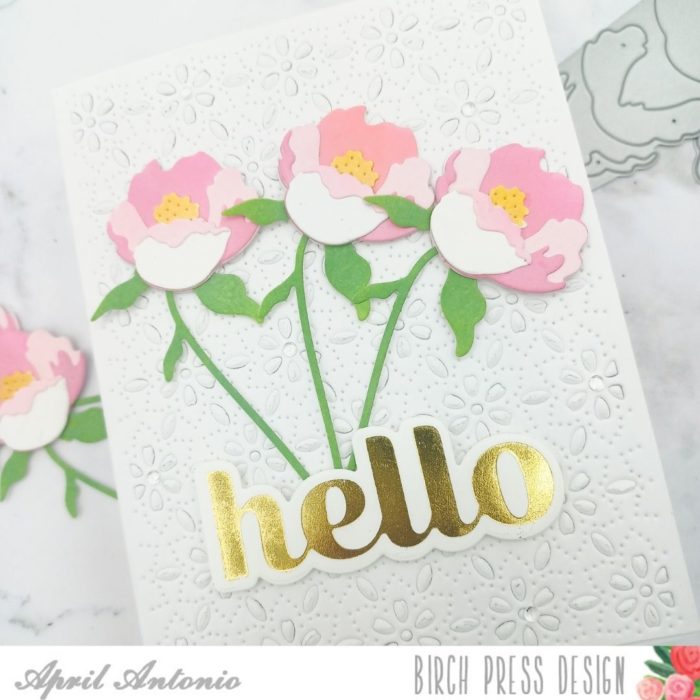
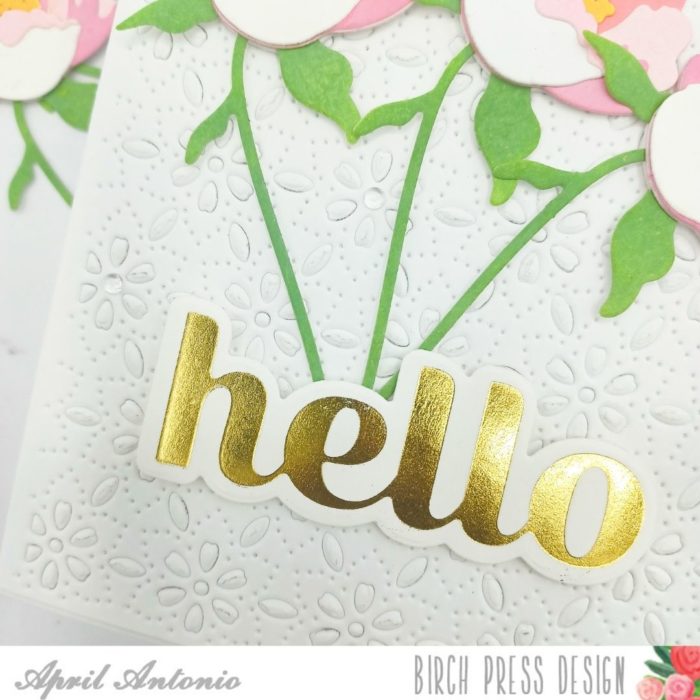
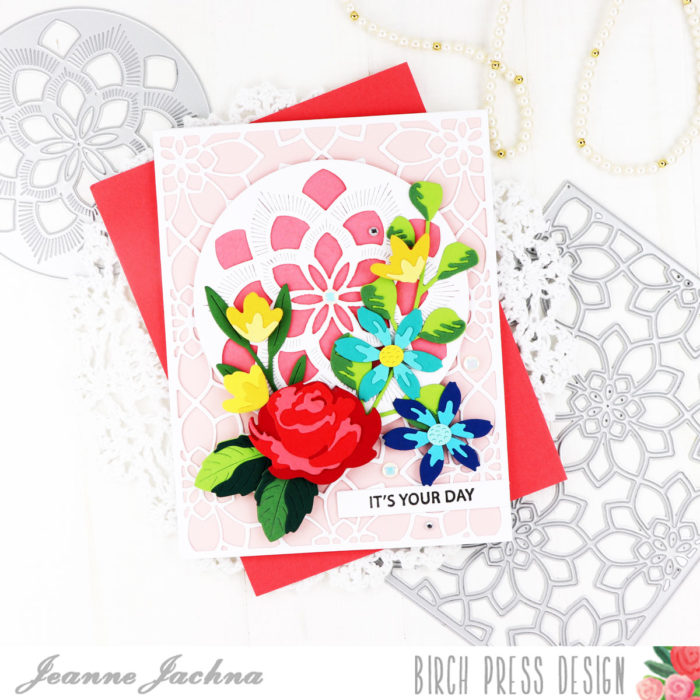
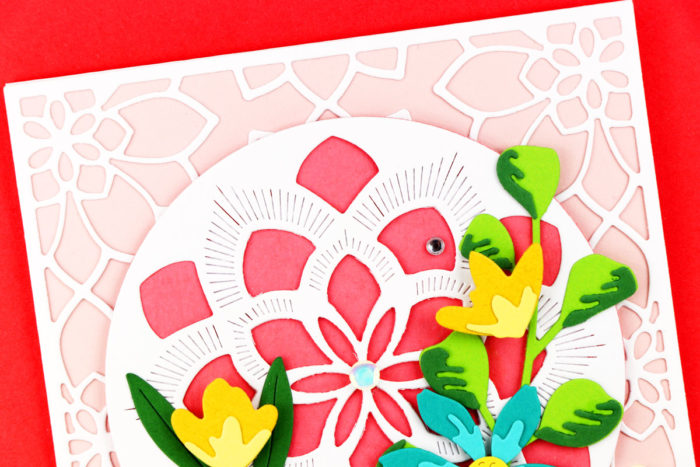
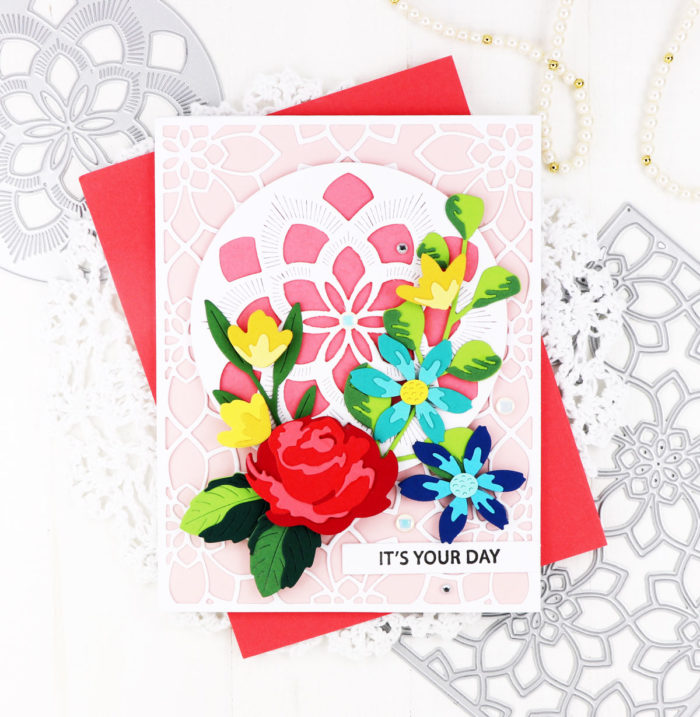
Did you notice the pretty foil background? It was made using the new String Art Foil die along with the Glimmer Hot Foil Machine and a Matt Gold Foil. Foil dies are also fantastic for embossing backgrounds.

Making with these florals was a sweet escape to a tropical paradise! I hope you find some time to make too!

Finished Size 4.25 x 5.5″
Supplies