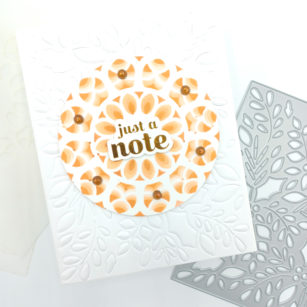
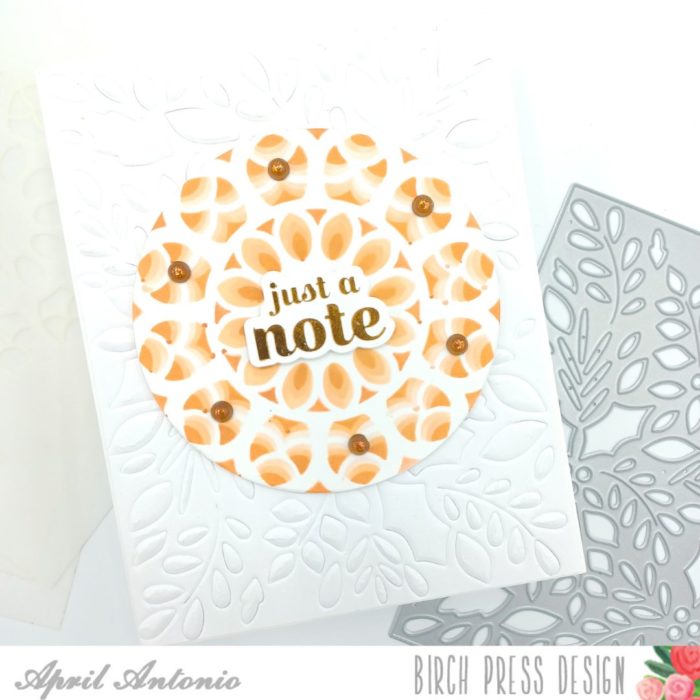
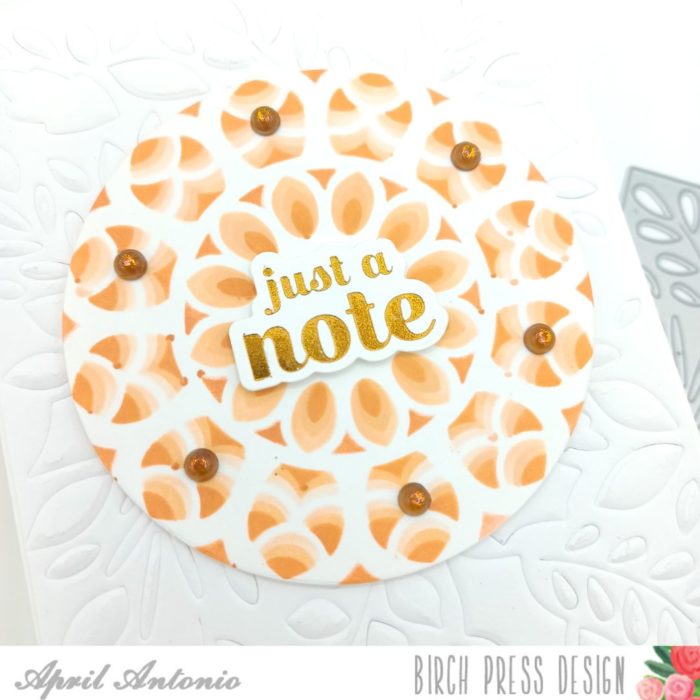
Happy Thursday! Today I am sharing a project using the beautiful, Gilded Grace Inside stencil set using some beautiful warm, Fall colors. I’ve been on a stenciling kick lately and am really excited about this stencil set.
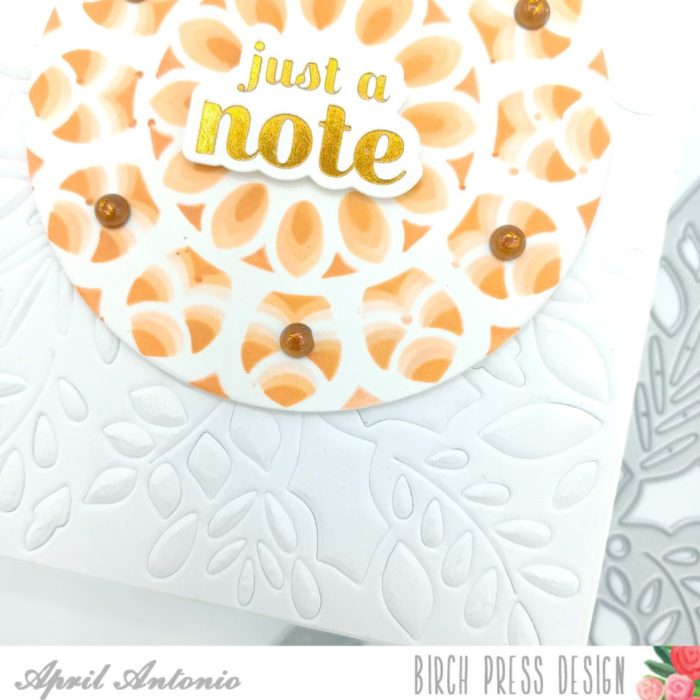
To start this card I used the Herbarium Plate Layer A die with an embossing mat to dry emboss it onto the a piece of A2 white cardstock.
Next, I took a piece of white cardstock along with a stencil mat (I like the Waffle Flower one) and put the most open, top stencil layer from the Gilded Grace Inside Stencil set and secured the edges with tape. I used my lightest color ink to fill in the stencil with my blending brushes.
Next, I took the middle stencil and used my medium ink, and then used my darkest ink with the last stencil (the one that is the least open).
I then used a larger stencil die and cut out the stenciled circle.
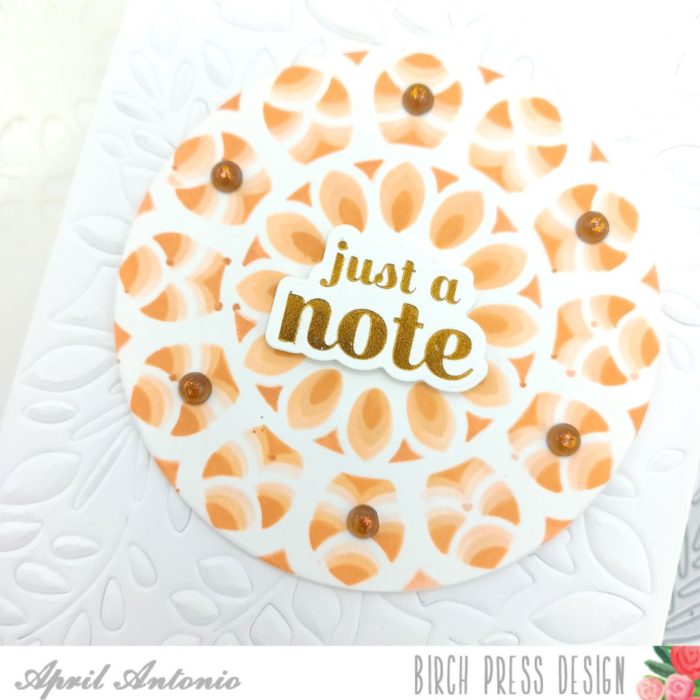
I am also fairly new hot foiling and am loving it! I used the Hot Foil Sugar Script Sentiments 1 and hot foil the ‘just a note’ sentiment with gold foil on white cardstock.
I adhered the stenciled circle to my embossed card front, and the sentiment on top of that.
If you have not tried some of the Fairy Crystals I would highly recommend using them! I used some sparkle brown crystals from the Autumn Fairy Crystals set at set places around the circle.
That is it! I hope this project has inspired you to go and have fun creating!
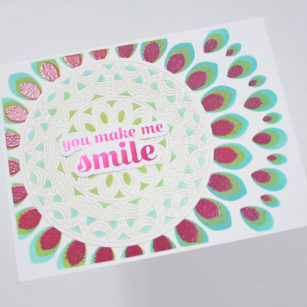
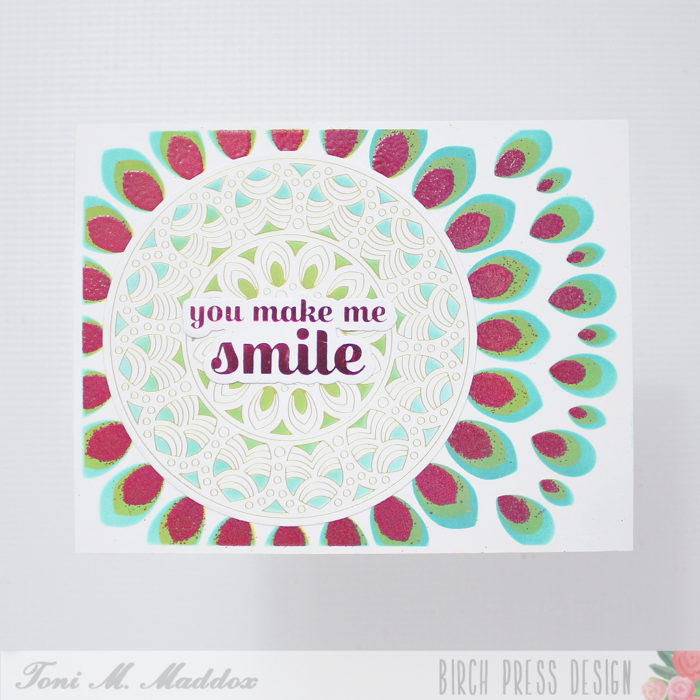
Hello, everyone! Toni here with you today sharing a card using the Gilded Grace Hot Foil Plate and dies along with the stencil set.
The first thing I did was to use the Gilded Grace Outside Stencil Set with Distress Oxide Peacock Feathers, Mustard Seed, and Barn Door. On the last color, Barn Door, I also used Versamark with WOW! Primary Fuschia Fusion embossing powder.
I used Distress Oxide Peacock Feathers and Mustard Seed to color up the center medallion as well. It totally looks like a stylized sunflower, right?!
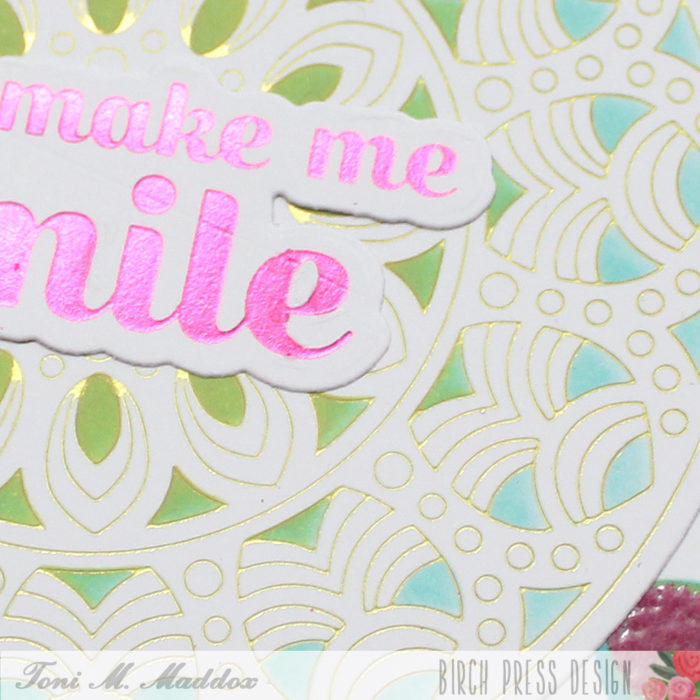
My last step was to hot foil the Sugar Script Sentiments 1 in magenta and pop it on top of the center. So pretty.
I hope you enjoyed today’s card and have a great rest of your week!
Supplies
BPF503 Sugar Script Sentiments 1 Hot Foil Plate and Die Sets
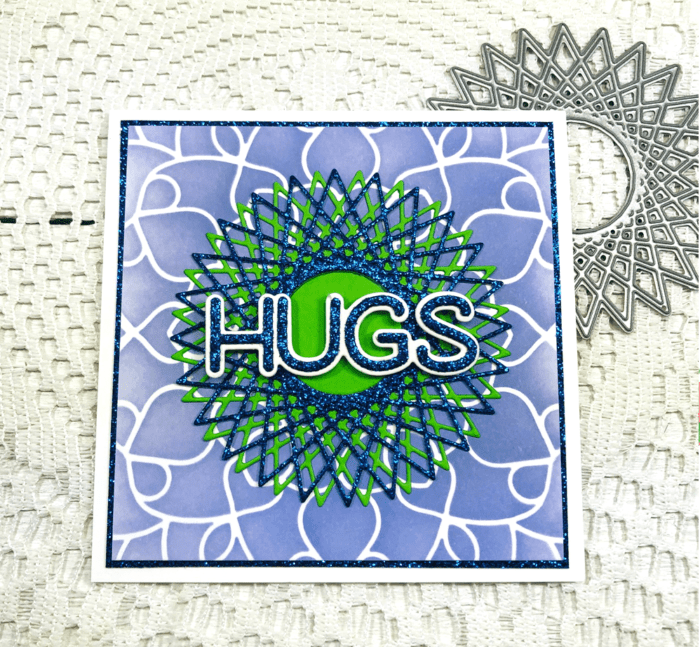
Hello, Birch Press Friends! I am thrilled to be back with you today sharing a few of Birch Press Design’s new products. Are you ready for some sparkle and shine?
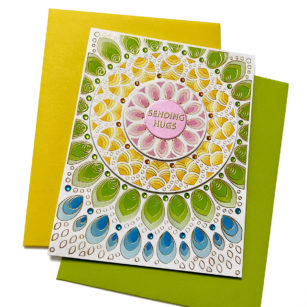
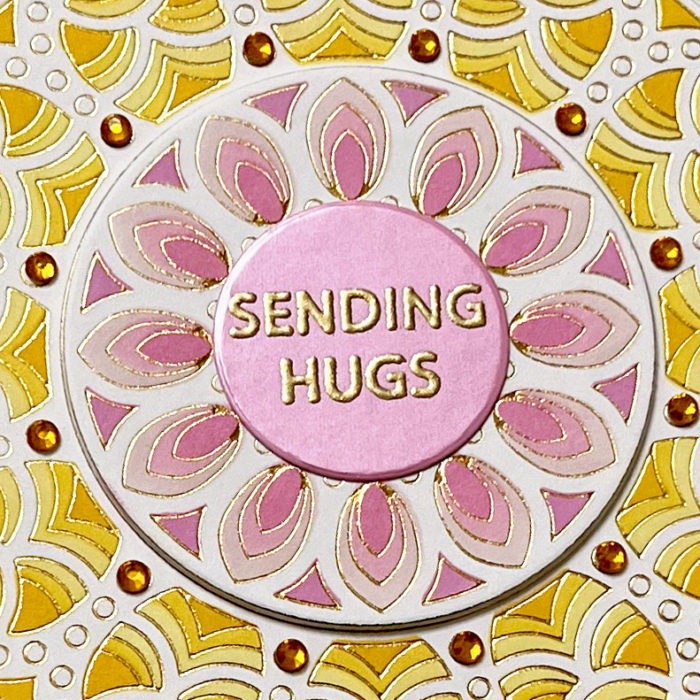
I started with the gorgeous Gilded Grace Hot Foil Plate set. There are actually two plates in this set, along with a die that cuts the bigger circle. I foiled both plates onto smooth white card stock with gold foil using my hot foil machine. The results, even before coloring, are just gorgeous! But, there are matching stencil sets that help you color the design. There is one set of stencils for the “outside” design (what you see in blue and green on my card) and another set of stencils for the “inside” design (what you see in yellow and pink on my card). These stencils line up with the two different hot plates that come in the set. I used both for my card.
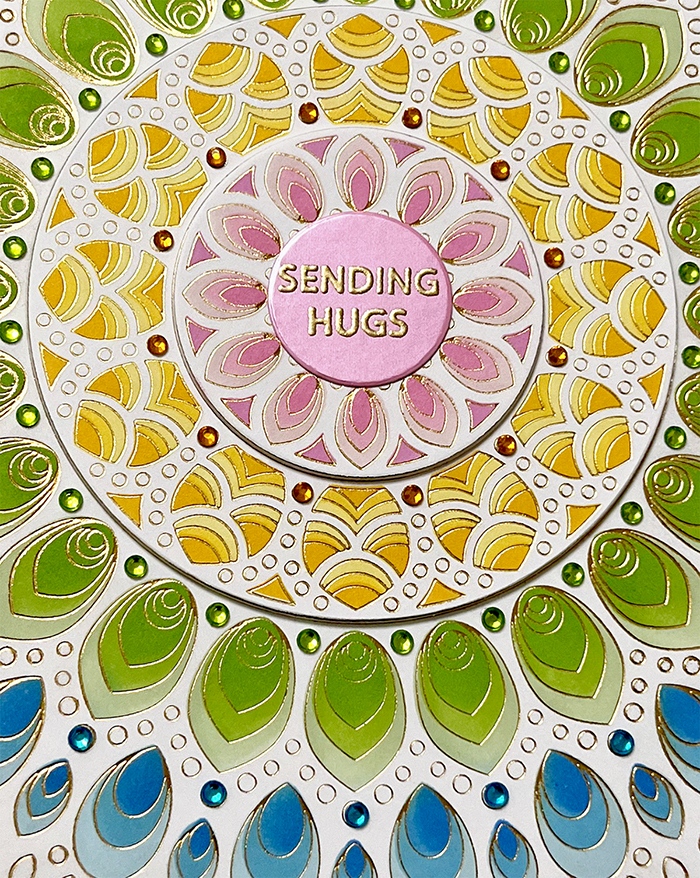
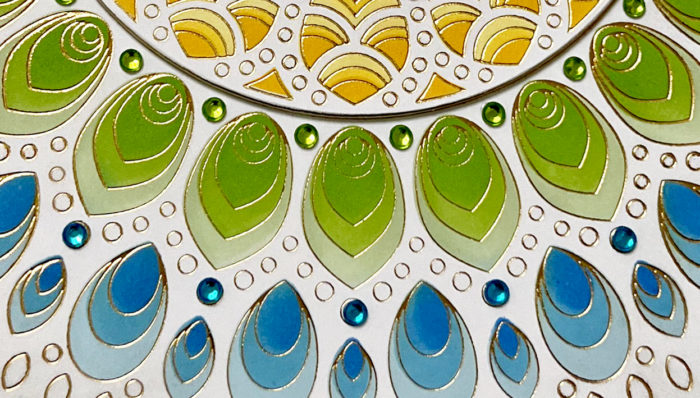
I started by planning which colors would go where. I wanted a rainbow design, so working my way out, I determined that green and blue would be the “outside” colors. So, I used that stencil set to color the main panel. I did have to be a little careful towards the bottom when I was working on the two different colors, but it was fairly easy to keep them separate by using small blending brushes. I used three different shades of each color, as there are three layering stencils in each set.
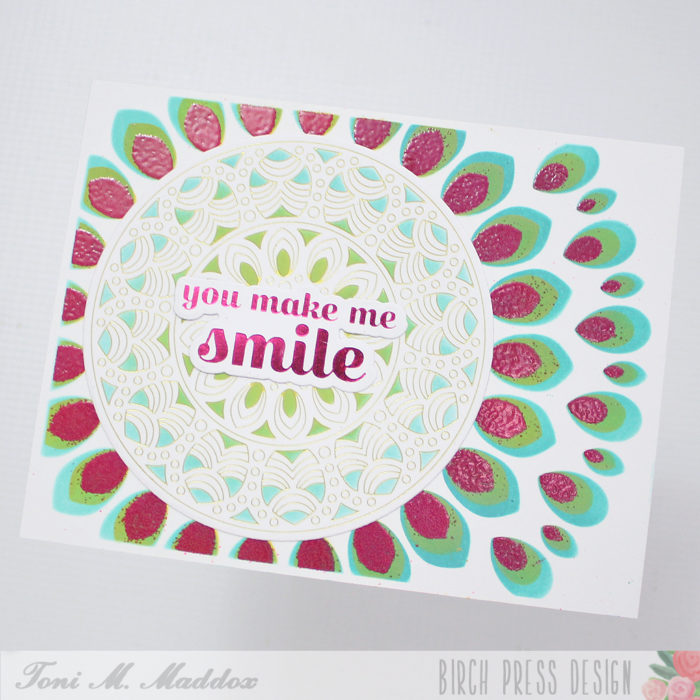
Before coloring the “inside” colors on the panel that I foiled the big circle on, I used a circle die to cut out the inner circle (where you see pink on my card). This made it easier to keep the pinks and yellows separate while ink blending. When I was finished ink blending the yellow piece, I also cut that out with a circle die. I was then able to give dimension to both of these circles by stacking additional circle dies behind them before glueing them onto the main panel. I just love the results of adding that dimension!
I used some pink paper from the Vintage Pastel Mirror Pad to gold heat emboss the sentiment, which comes from the Rainbow Days Lingo Notes stamp set. I then cut it out with a small circle die and glued it to the center of the pink blended design. I finished the card by adding some fairy jewels in matching colors to tiny circles in the foiled design.
Thank you so much for joining us today. I hope this card inspires you and brings a smile to your face!
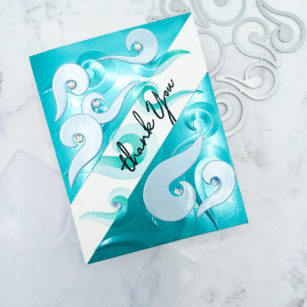
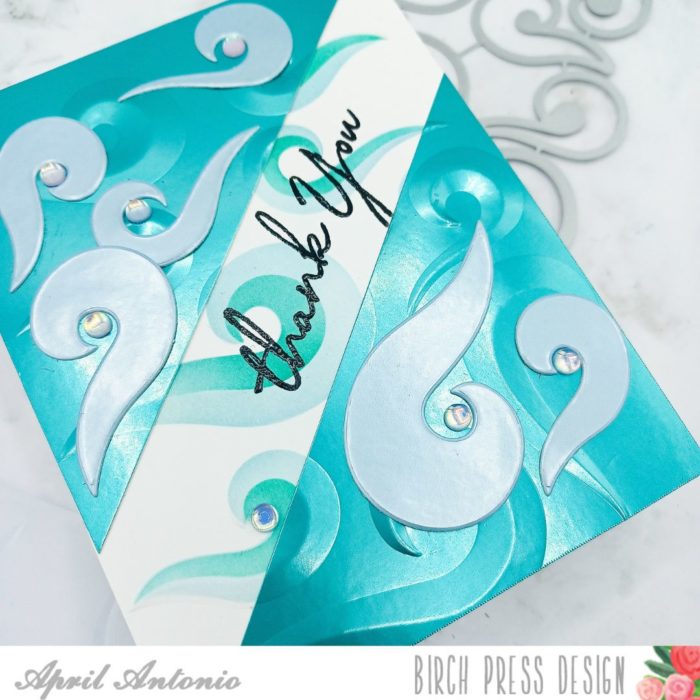
Hello and happy Wednesday! Welcome back to the Birch Press Design blog — April here bringing you some waves of crafty goodness with a new project.
Today’s project features the new Curling Waves stencils, embossing folder and matching die set.
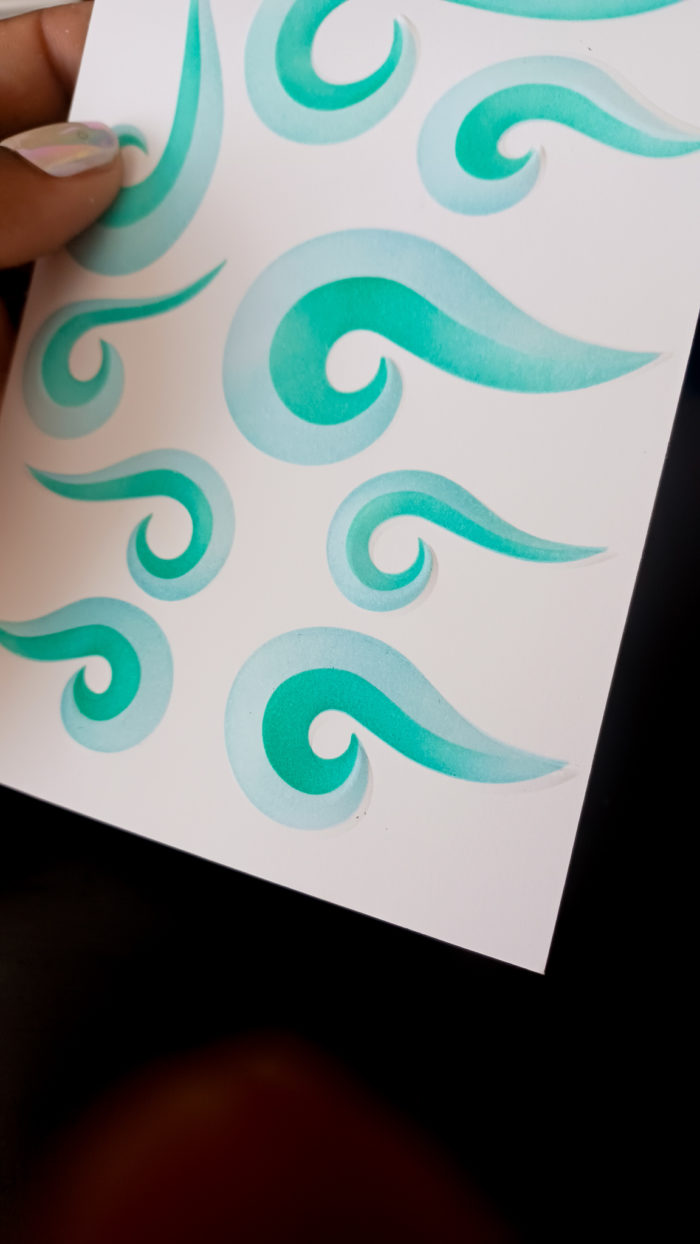
I started today’s project by really wanting to use the new Curling Waves stencils. This was my first time using the stencils and I was intrigued by the two-tone look that could be achieved by using both together. The set comes with two stencils; one has larger waves, and the other smaller waves that fit right on top to give that 3-D wave effect.
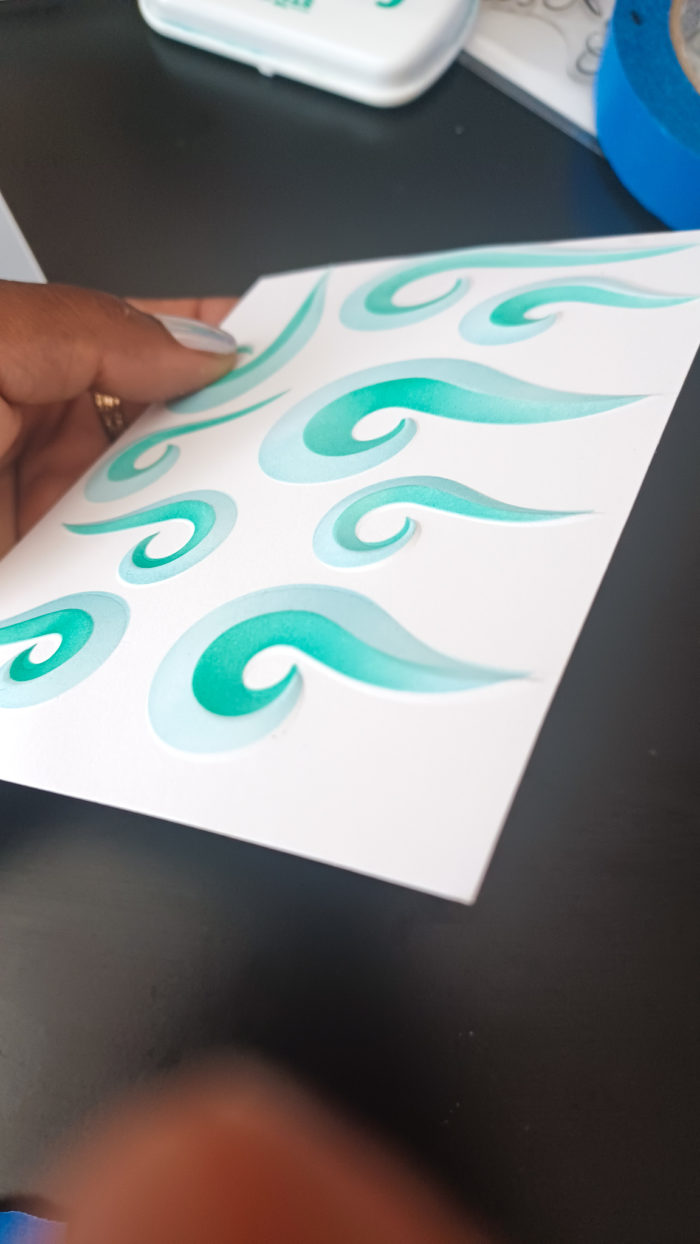
I aligned the first stencil with the larger waves over an A2 sized piece of white cardstock and ink blended using a light blue ink. Next I aligned the stencil with the smaller waves right on top, making sure to line up the waves, and ink blended using a dark teal color ink.
The next important step I did involved the embossing folder. The stencil design actually matches up to the embossing folder exactly. I took the A2 sized piece of cardstock, carefully aligned it with the embossing folder waves, and used a piece of painter’s tape to keep it in place. Then I ran it through my die cut machine.
Since this is a 3-D embossing folder, and is thicker than regular embossing folders, I used two plastic shims instead of two cutting plates to run this through. I am using Gemini die cut machine, and it worked beautifully.
Next, I took a piece of teal colored metallic paper from the Vintage Pastel Mirror Pad and also ran that through my die cut machine with the Curling Waves embossing folder — the results? Wow!
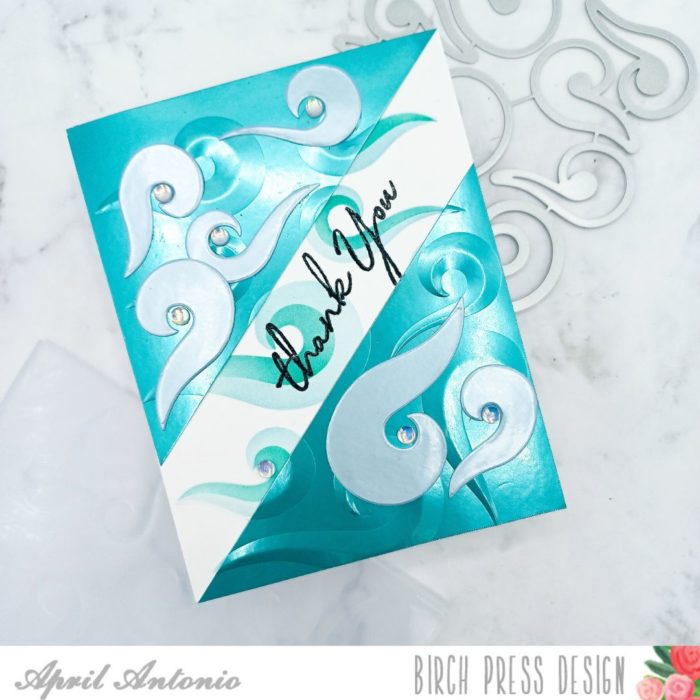
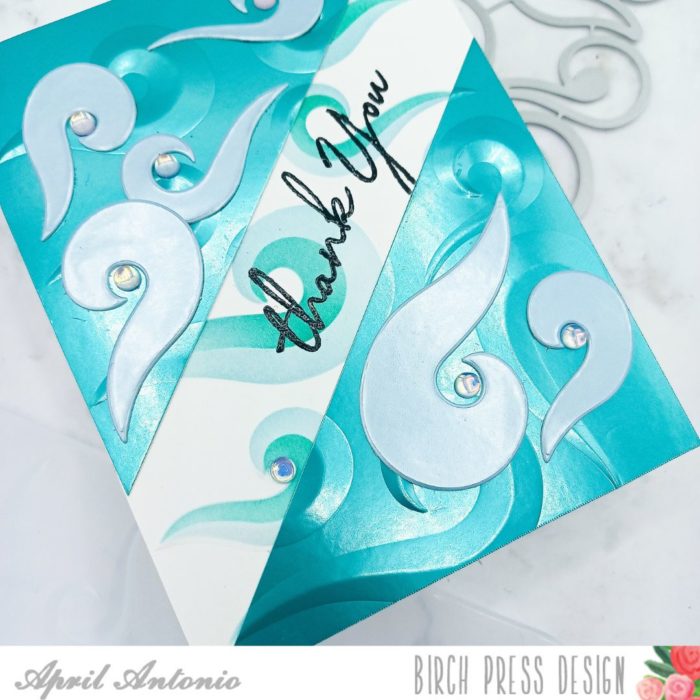
Now I have two A2 panels with the waves on them. I took the metallic A2 panel and used my paper trimmer to cut it at an angle starting at the bottom left edge. I took one of those pieces and cut a about 1.5″ off from the top.
Now I had to metallic pieces with the exact same embossed pattern as my white A2 panel that I stenciled on. Using liquid glue, I lined up the metallic pieces in the top left and bottom right corners of the white panel, make sure to line up the curling waves embossed pattern so it would appear to continue on as one seamless pattern.
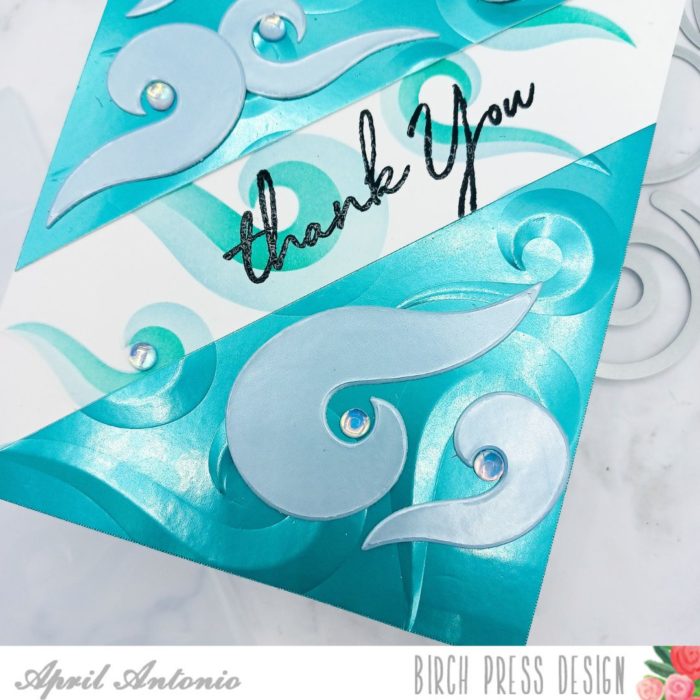
Next, I took a piece of light blue metallic cardstock from the same Vintage Pastel cardstock pack and used the matching Curling Waves die cuts to cut out the individual waves. I glued these to the front of the card using liquid glue.
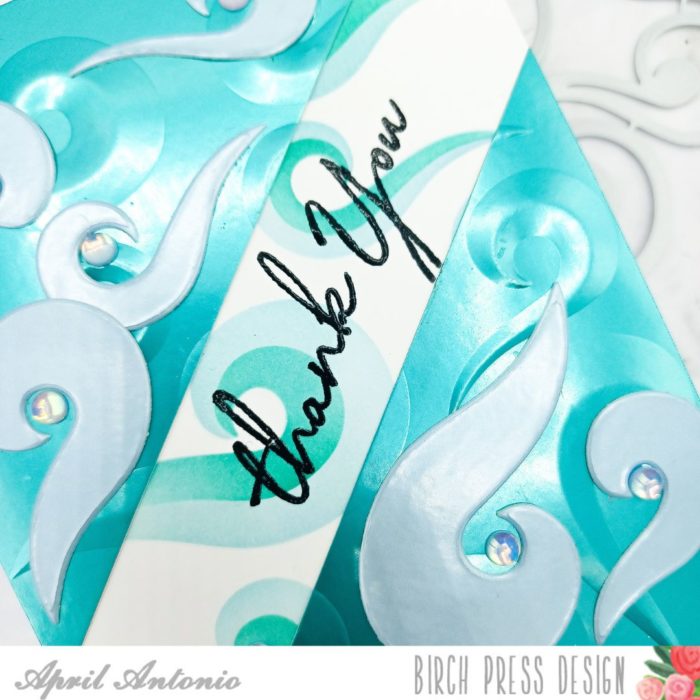
Next, I adhered the entire panel to an A2 card base and used the ‘thank you’ from the Kind Hearts stamp set to heat emboss the sentiment to the middle portion of the card. In hindsight, I should have stamped the sentiment before dry embossing the white panel, but it worked out okay.
My final touches were to add some gemstones from the Winter Fantasy Fairy set to the center of the curls.
This card took a little bit more time, but it turned out great. I’m especially excited about using these new Birch Press 3-D embossing folders. I hope this has inspired you to get out there and craft. Have a great day!
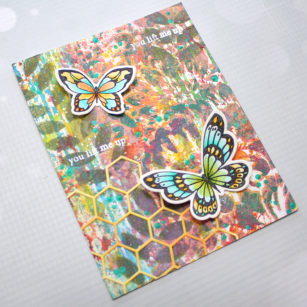
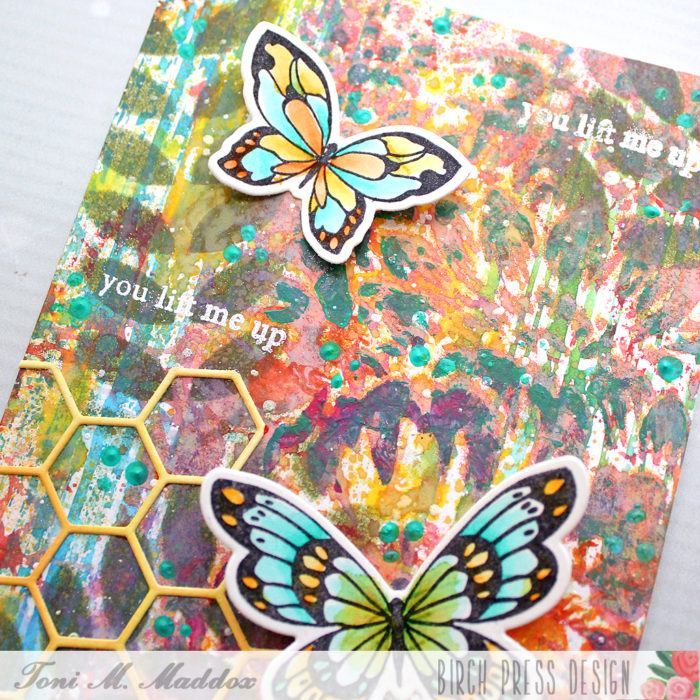
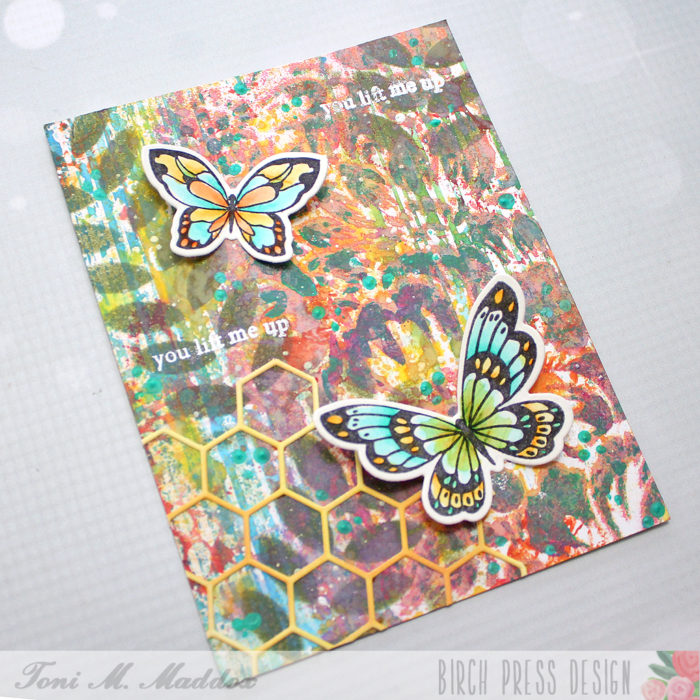
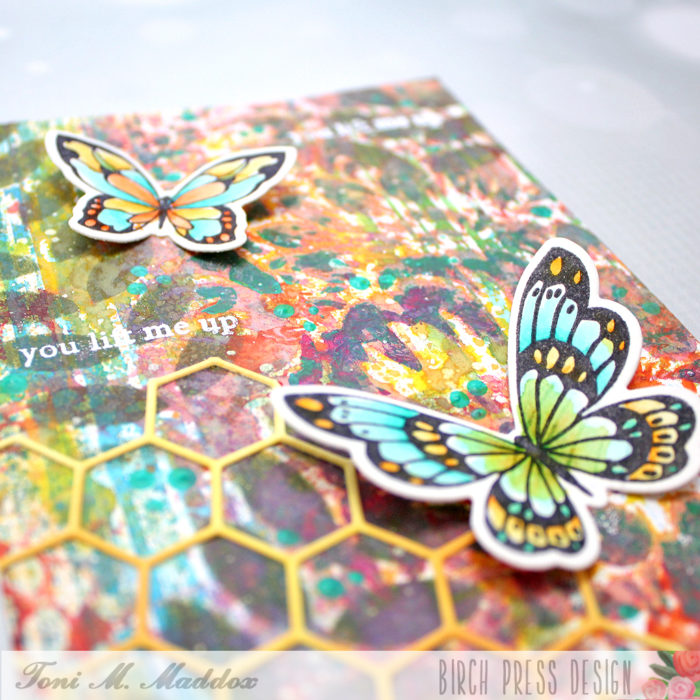
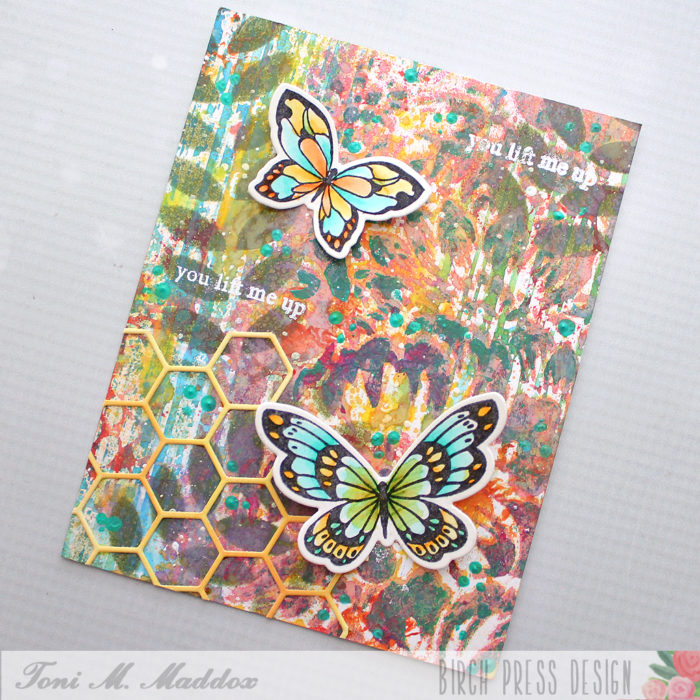
Hello, everyone! Toni here with you today sharing a mixed media card as I felt like a change of pace. My garden is starting to awaken which had me thinking of spring, flowers, and butterflies plus a healthy dose of rain in the Pacific Northwest.
The card front is a combination of Distress Inks, Ranger Archival and Catherine Pooler inks sponged through stencils like the Memory Box Open Studio Leafy Rows. I also used the smooshing technique with the flower and stripes stencils.
I added some additional dots of Liquitex Acrylic Paint using the rounded end of my paintbrush handles. I love the texture on this card so very much!
I finished the card base by embossing the Lovely Butterflies sentiment a few times in white and adding the top layer of the Honeycomb Bevel Plate Layer Set which I sponged with Distress Oxide Mustard Seed and Fossilized Amber.
I stamped the Lovely Butterflies with Ranger Archival Jet Black on Memory Box Open Studio Watercolor Paper and colored them up with Zig Real Brush Markers 042, 052 and 070. I creased the wings along the body of the butterflies so they would stick up. The watercolor paper is sturdy enough I think they’ll pop back up after mailing too.
I hope you enjoyed today’s card and have a great rest of your week!
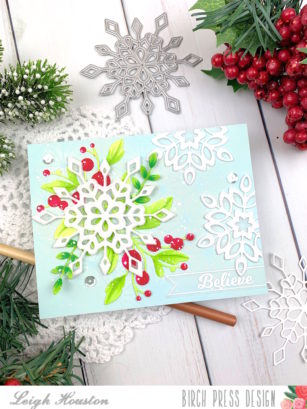
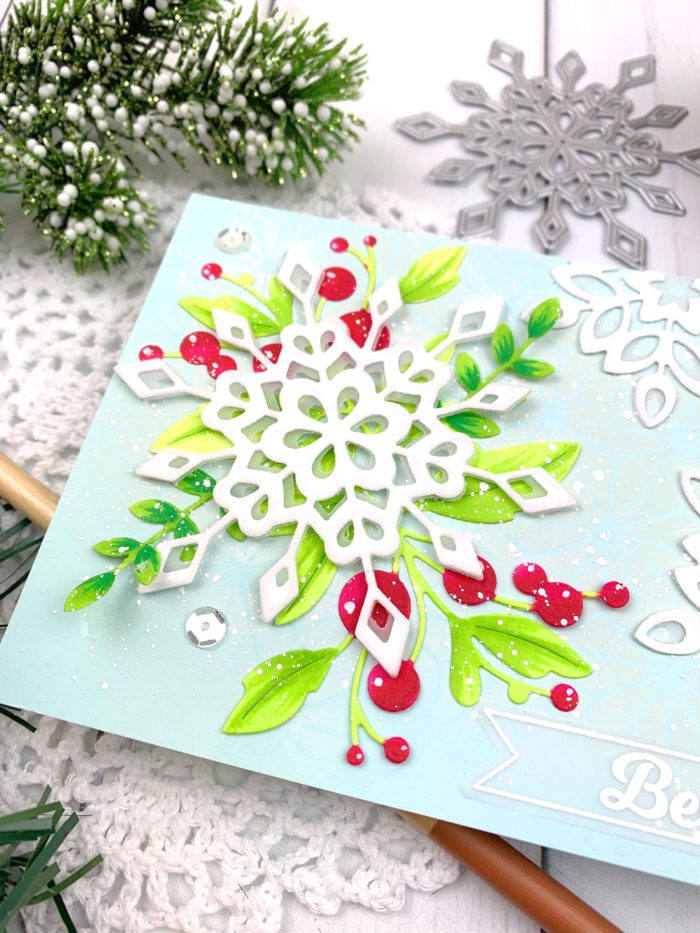
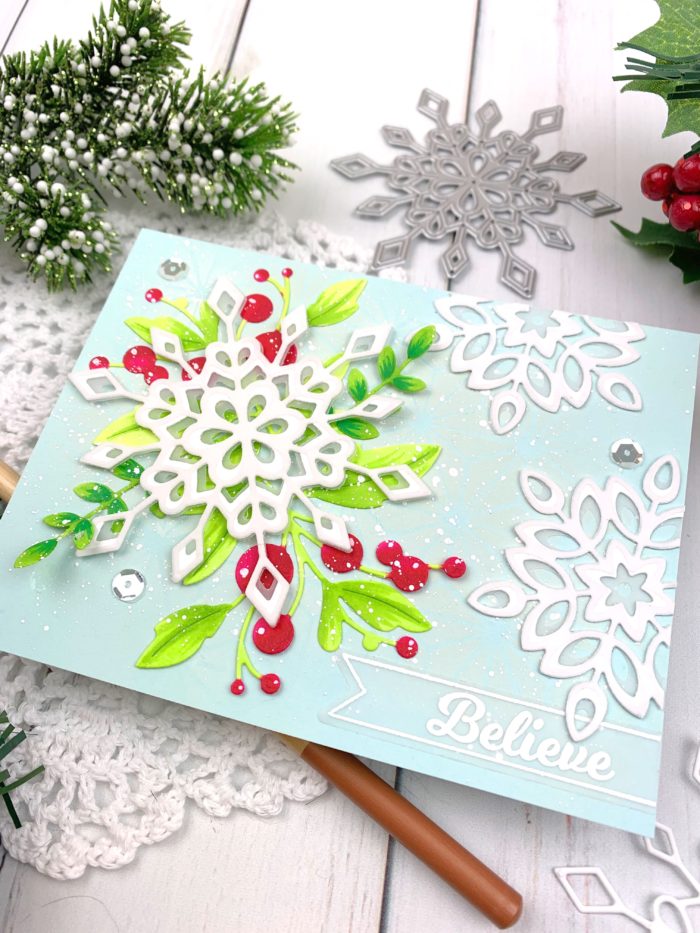
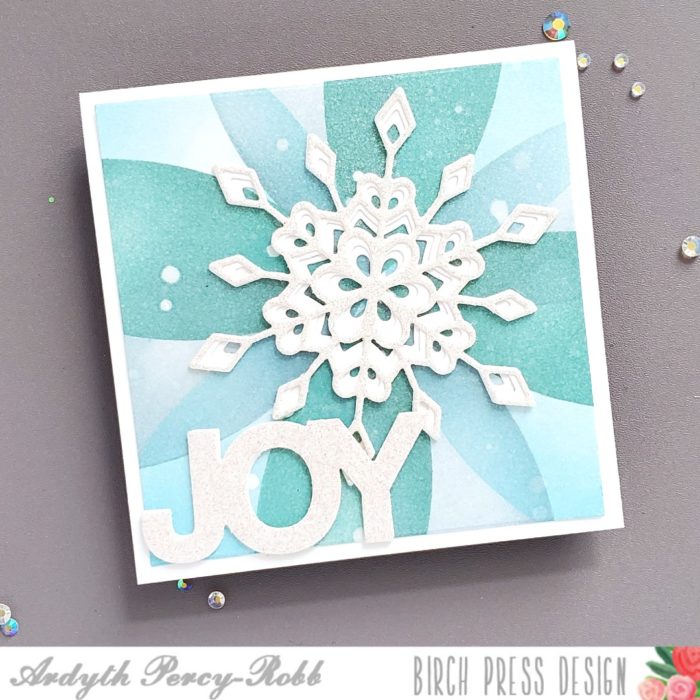
Hello, friends! Have you started your holiday crafting yet? I am just dipping my toes into the holidays, and I was so excited to start the season making a card featuring the gorgeous Frosty Flake Layered Snowflake dies from Birch Press Design!
I started this winter-themed card by creating my background. I used white pigment ink and the Memory Box Fractal Diamond stencil to create a subtle background on a piece of light aqua cardstock. I then die cut two foliage pieces with Memory Box’s Silverdale Branch die, which is a gorgeous foliage die. I used Copic markers to color in the die cuts before adhering them to my card. A tip: to create dimension on your cards, don’t adhere the ends of your foliage die cuts. It’s so beautiful and interesting to see the ends of the die cuts floating from the surface of the card!
I then die cut all 3 layers from Birch Press Designs’s Frosty Flake, using vellum for layers A and C and white cardstock for layer B. I adhered this beautiful snowflake over my foliage. I then cut two smaller snowflakes from the Mini Snowflake Frame, using all 3 layers in the same configuration as the first snowflake. I adhered these on the edge of my card.
To finish the card, I heat embossed my sentiment from the Christmas Ornament and Labels stamp set on vellum. After adhering this to my card, I added white splatters over the whole surface and a few sparkly sequins here and there.
I hope you enjoyed this project! Thanks so much for stopping by today, and I’ll see you again soon with another Birch Press Design cardmaking project!
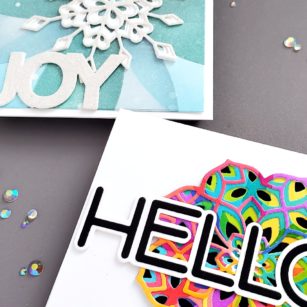
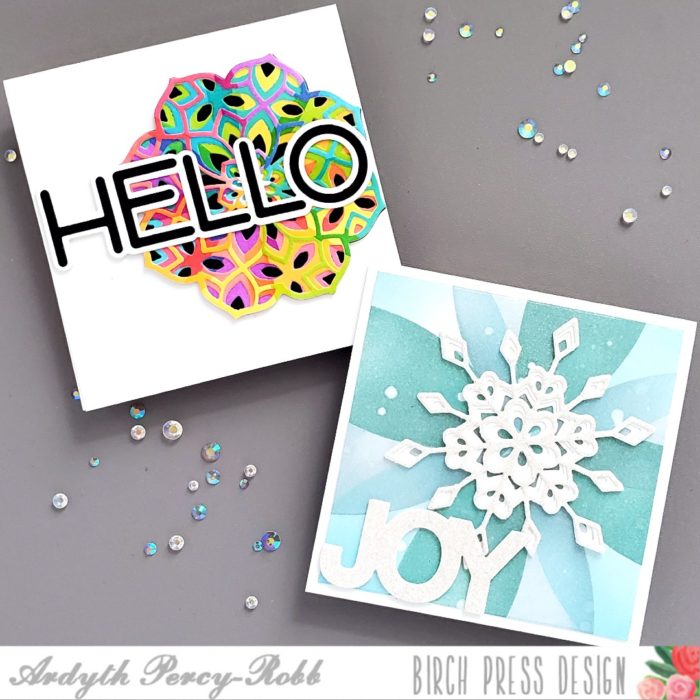
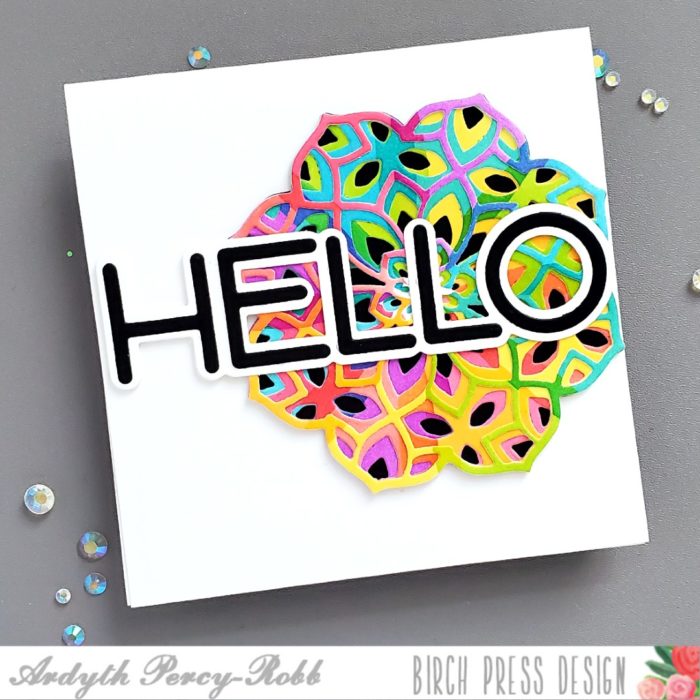
Good morning! At first glance, these two cards don’t look like they have a lot in common, but both were made with the same Petal Burst stencil and an easy turning technique!
I blended 4 colours of ink through the stencil – one colour for each petal, before turning it 45 degrees and blending 4 more colours through it. I did this 3 times and then cut the Kinsley Layering dies from the centre of each ‘flower’. I stacked them up, but turned them to create a bold patchwork of colour. I backed it with one of the Vivid Blooms Stitched layers die cut from black cardstock for drama. I finished the card with the Jumbo Lingo Hello die.
This time I turned the stencil 30 degrees each time, and I used one colour of ink for each turn, to get a more peaceful, monochrome look. I finished this card with the new (coming soon!) Frosty Flake die set along with the shadow layer of the Simple Joy die set.
Here’s a video showing how these cards came together:
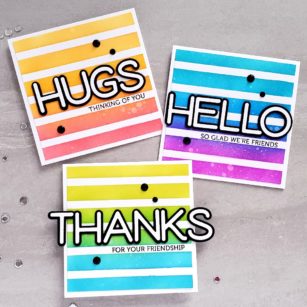
Good morning! It’s Ardyth here this morning with 3 bright happy cards that focus on some new sentiment dies.
This simple 4.25″ square design starts with the Bold Stripes stencil and two colours of ink, blended to create an ombre effect.
Then I added the die cut Hugs sentiment, and stamped a sentiment from the Lingo Thanks stamp set.
Then I did it again, with the Hello die cut and different colours on my background.
And when it came time to do the third card with the Thanks die cut, it didn’t fit. It’s designed to fit on a full A2 card base. But because my square cards fit in an A2 envelope, it’s fine (and really fun!) to have the thanks hanging over the edge of this card!
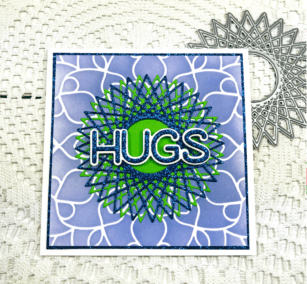
Hi there, it’s Tracey here with you this morning. Today I might be using the wrong design principles to create a sparkly card that looks right in my eyes.
I started by ink blending the Midnight Mandala Stencil with Shaded Lilac Distress Oxide Ink over a panel of Bristol Smooth cardstock. I cut the panel down to a 3 7/8″ x 3 7/8″ square making sure the flower in the centre of the stencil was right in the centre of my ink blended panel. I had to do a little math and use my T-square to move out 1 15/16″ from the centre point of the flower.
I cut of piece of royal blue cardstock from the Twinkling Jewel Glitter Pad to a 4″ square. I adhered this panel to a a 4 1/4″ card base. Next I adhered the ink blended panel over the glitter panel. This leaves a tiny 1/16″ border around the ink blended panel.
The String Art Circle was cut twice, once with a bright green cardstock and once with the same royal blue glitter cardstock. I adhered the green string art circle to the centre of the ink blended panel and then I inlay the green centre. Next I adhered the royal blue string art circle over top slightly offset.
The sentiment is from the Big Lingo Type Hugs die set. I cut the shadow using white cardstock and the inner letters from the royal blue glitter cardstock. I glued the letters over the shadow. Before adding it to the card I added tiny pieces of foam tape to the back of the word hugs and then placed it over the centre of the string art circle.
So much glitter and sparkle! The best is that the glitter on the Twinkling Jewel Glitter papers stays put, no getting all over your hands and workspace or recipient!
You could use any of the Birch Press Design stencils to create magnificent backgrounds to use along with any of the stand alone die cuts. Add in some of the beautiful glitter paper and you have a gorgeous card whether you used sound design principles or not! Thank you so much for creating with me today and have a great weekend!
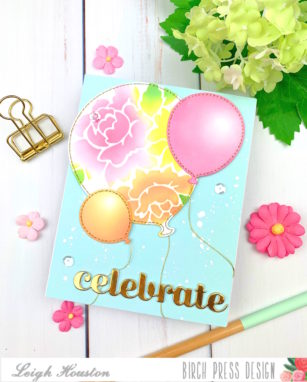
Hello, friends! I am so happy you stopped by today. I’m here sharing how I made this stenciled and stitched balloon card using Birch Press Design’s Party Balloon dies.
These Party Balloon dies are truly a must-have for creating birthday or celebratory cards. I love their stitched details! To start my card, I die cut my largest balloon and added stenciled details using Poppystamps’s Romantic Blooms stencil and Distress Oxide Inks. I then die cut two smaller balloons and added color with the same shades of Distress Oxide inks, being sure to keep a highlight area for some realism.
To add some more interest to the balloons, I stitched through the stitch holes using gold metallic thread and a simple backstitch. I then adhered some of the same thread to the back of the balloons to create their strings.
To finish the card, I splattered a sky-colored background panel with some white paint. I then cut my “celebrate” sentiment from gold mirror cardstock. I popped up my largest balloon with foam tape and adhered my balloons to the cards, wrapping their strings somewhat loosely around the back of the panel to add to the floating effect. A few sparkly sequins and this card was finished!
I hope you like this simple but pretty celebration card! Links to the products I used are below. Thanks again for stopping by and I’ll see you again soon with another card project!