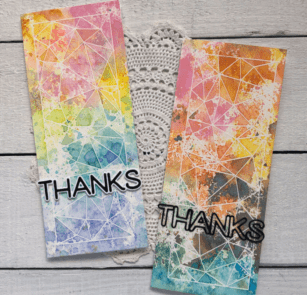
Happy Spring crafty friends! Today I’m creating two slimline cards using the Crystal Lingo Stamps and dies.
The faceted rectangle stamp in the Crystal Lingo clear stamp set is the perfect size for 8 1/2″ x 3 1/2″ slimline cards.
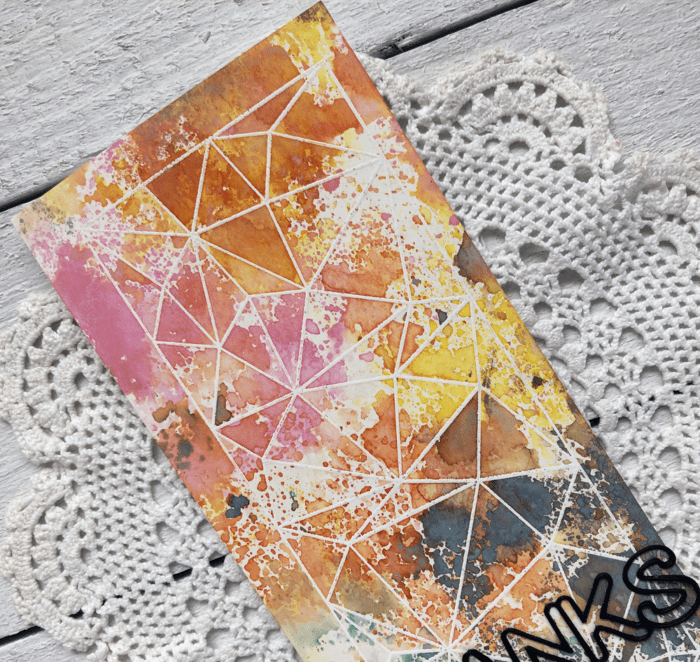
For both of the my cards today I started off by white heat embossing the faceted rectangle from Crystal Lingo on to two panels of watercolour cardstock cut to 8 1/2″ x 3 1/2″.
TIP: When embossing on watercolour cardstock I always make sure I prep the paper well with my embossing buddy and I always double stamp my embossing ink.
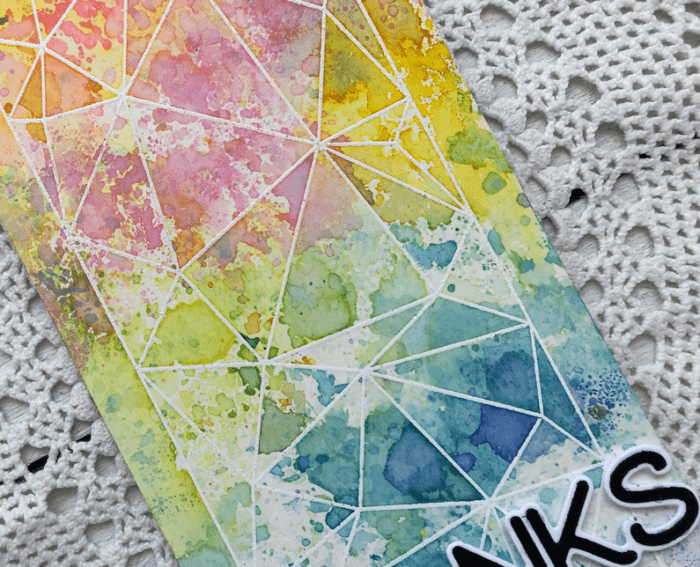
I laid down a combination of Distress Ink and Distress Oxide inks on to my craft mat in a staggered rainbow. I used Kitsch Flamingo, Carved Pumpkin, and Twisted Citron Distress Oxide inks and Mustard Seed, Tumbled Glass and Shaded Lilac Distress ink.
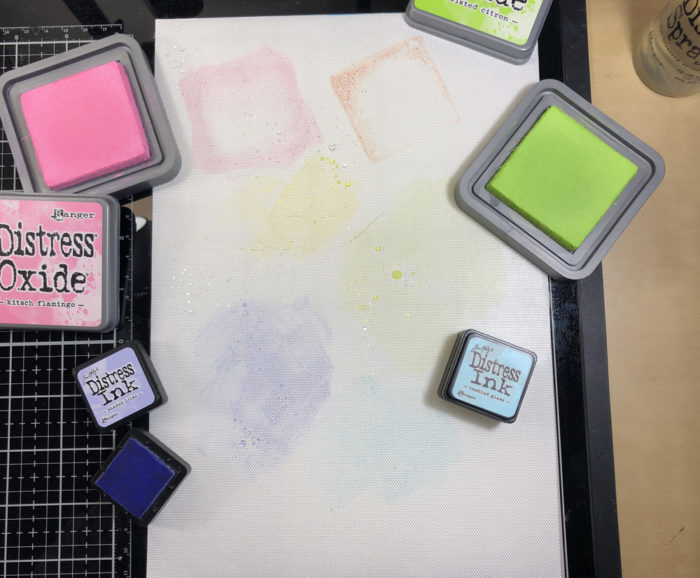
I spritzed some water onto the mat and then put my panel facedown into the ink and picked it up right away. I did not smoosh the ink, just straight on and off. I dried the panel thoroughly and then went back to the mat and tapped the panel around putting on a second layer. I spritzed a bit of water on my panel where the Distress Inks were to disperse them a bit more.
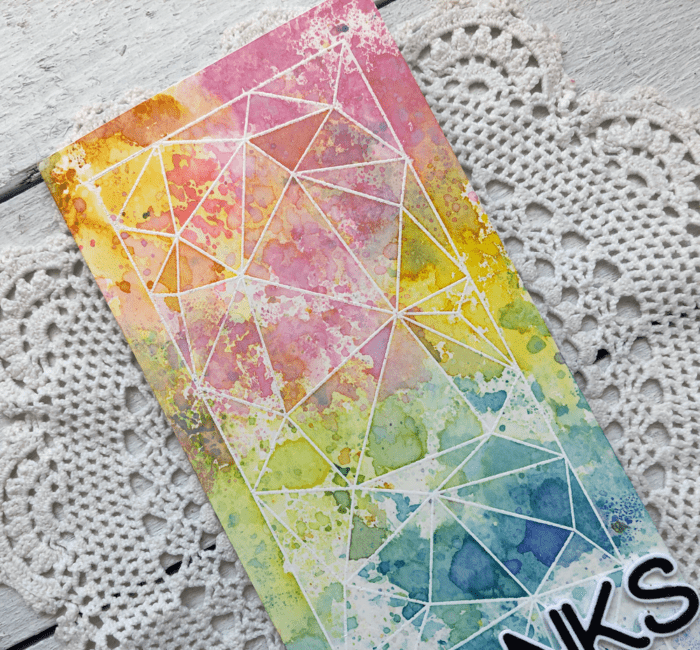
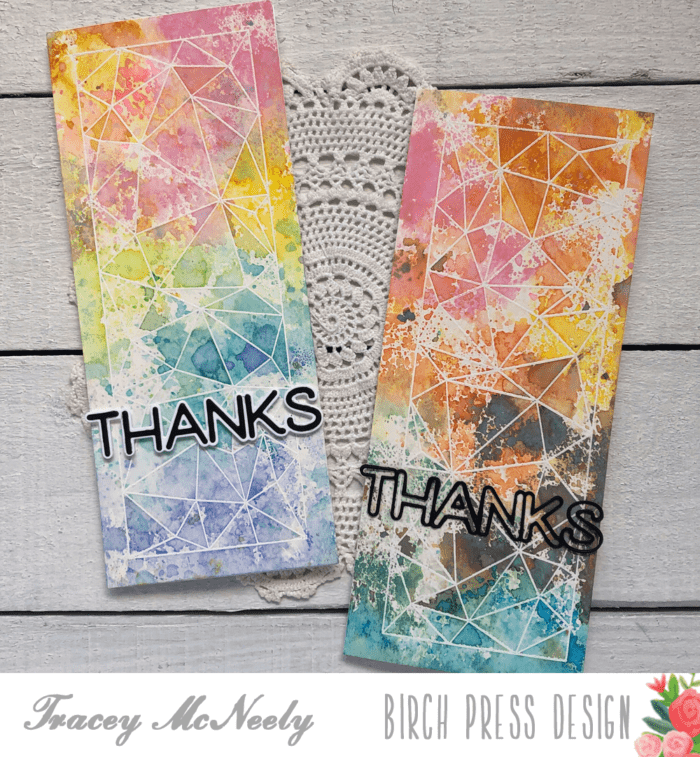
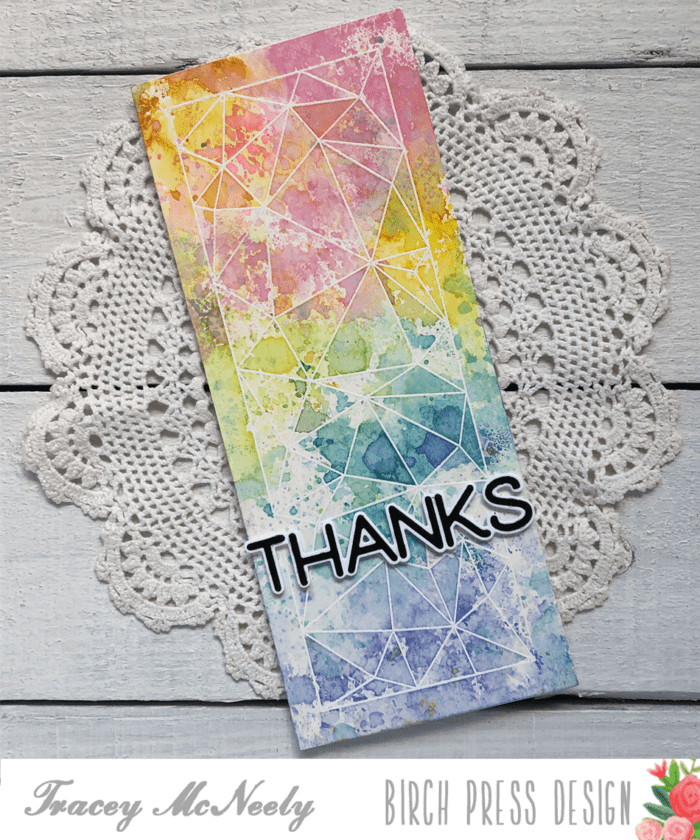
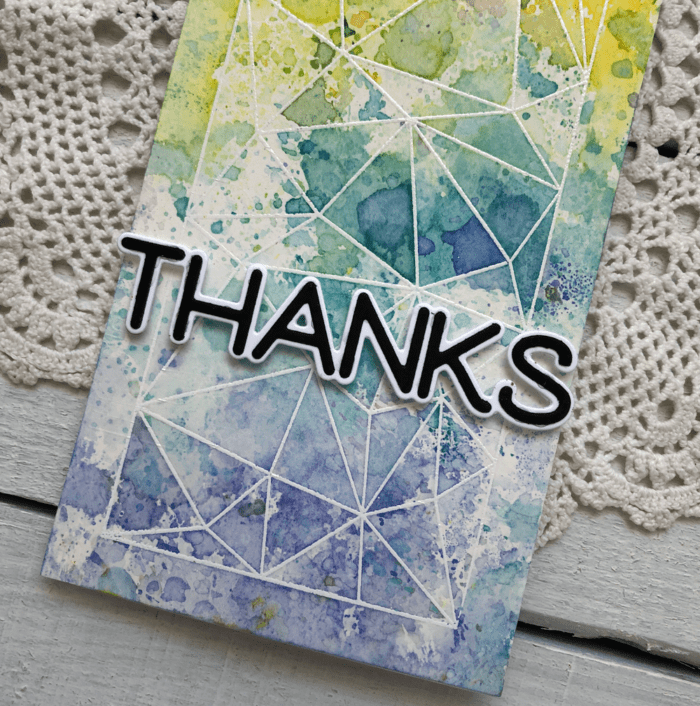
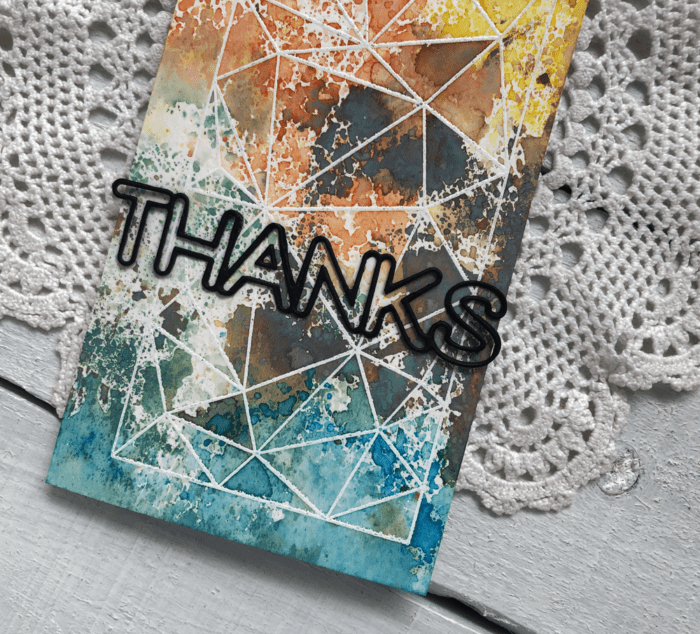
Once again I dried the panel thoroughly and went back to the mat one more time but before tapping down I spritzed the craft mat a bit more to reactivate the ink and did one final layer by tapping the panel on the craft mat. I stamped and die cut the Big Lingo Type Thanks die in white and black and attached it to the card with foam adhesive!
The second panel was actually the first panel but a little bit of Frayed Burlap was all it took to muddy up my rainbow.
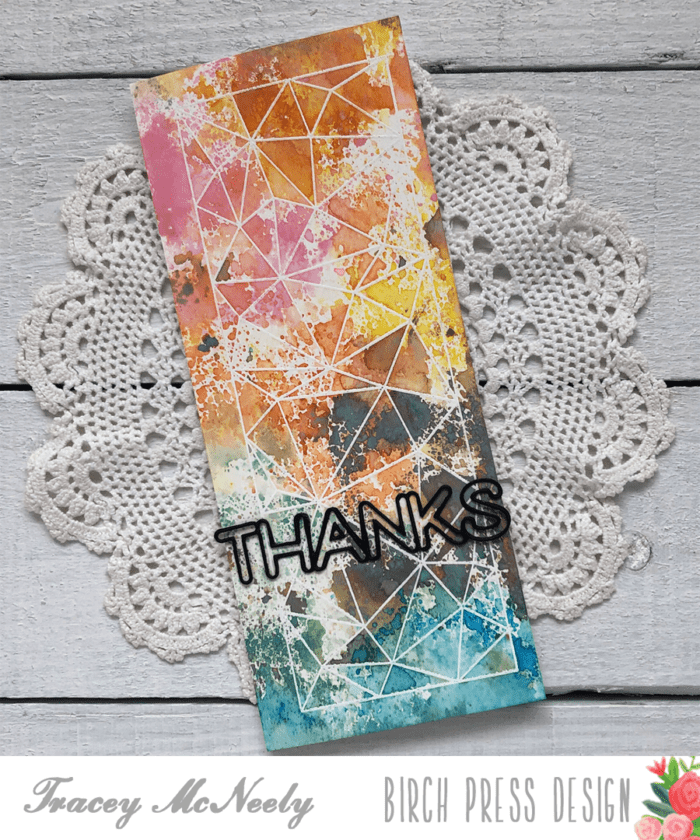
Rather than toss it away I kind of liked the masculine vibe that the brown gave to the card. So I did the same as I did for the other card.
I dried it and added more ink until I had three layers! I die cut the Big Lingo Type Thanks using only the detailed die three times for the sentiment. I adhered the three layers together to give the die cut some stability. Trust me this takes some patience–lol! I adhered the die cut directly to the card front.
It’s so much fun to take an image like this, emboss it and then have some fun with your inks. This technique can be done with most inks and of course a little bit of water.
Thanks so much for joining me today and we’ll see you next time!

Supplies

